Introduction
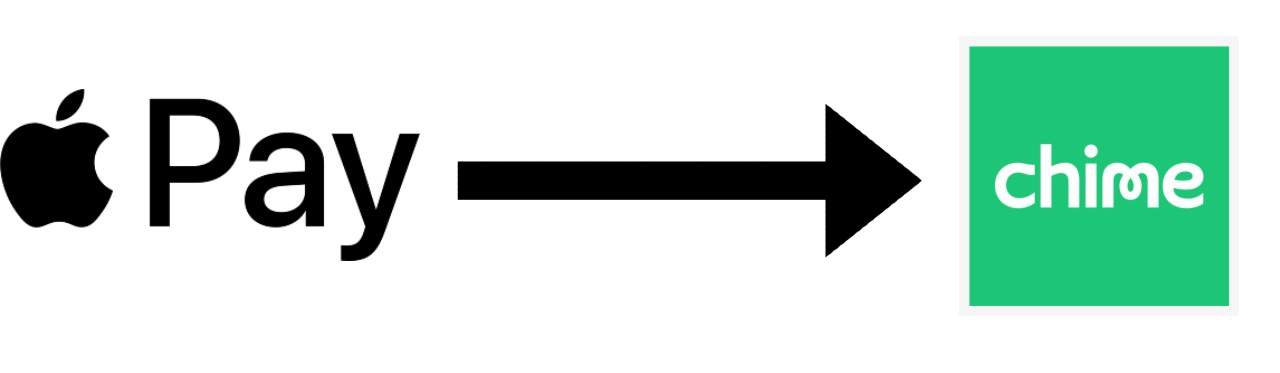
Welcome to our guide on how to transfer money from Apple Pay to your Chime card. With the increasing popularity of mobile payment platforms like Apple Pay, many users are looking for convenient ways to move funds between their accounts. Fortunately, Apple Pay offers a simple and secure method to transfer money to your Chime card, making it easy to access and manage your finances on the go.
Apple Pay provides a seamless and contactless payment experience, allowing users to make purchases in stores, online, and even within apps. By linking your Chime card to Apple Pay, you can take advantage of this functionality and enjoy the added benefit of transferring funds between your accounts.
In this guide, we will walk you through the step-by-step process of transferring money from Apple Pay to your Chime card. Whether you need to pay a friend, cover unexpected expenses, or simply transfer funds for any other reason, this method will allow you to do so quickly and safely.
Before we get started, ensure that you have both Apple Pay and the Chime mobile app installed on your iPhone. Additionally, make sure your Chime card is linked to your Apple Pay account. If you haven’t already set this up, don’t worry – we’ll cover the steps to link your Chime card to Apple Pay in the first section.
Now, let’s dive into the details and learn how to transfer money from Apple Pay to your Chime card.
Step 1: Link your Chime card to Apple Pay
The first step in transferring money from Apple Pay to your Chime card is to ensure that your Chime card is linked to your Apple Pay account. This process is straightforward and can be done within the Chime mobile app. Here’s what you need to do:
- Open the Chime mobile app on your iPhone and sign in using your Chime account credentials.
- Navigate to the settings or account section of the app. This may vary slightly depending on the version of the app you’re using.
- Select the option to link your Chime card to Apple Pay. The app will guide you through the necessary steps to complete the process.
- Follow the on-screen prompts to add your Chime card to Apple Pay. This may involve verifying your identity, entering your card details, or agreeing to the terms and conditions.
- Once your Chime card is successfully added to Apple Pay, you will receive a confirmation message. Your Chime card is now ready to be used for transfers in Apple Pay.
It’s important to note that Apple Pay may require additional verification for security purposes. This may involve receiving a verification code via SMS or email or providing additional information about your account. Follow the prompts carefully to ensure a smooth and successful linking of your Chime card to Apple Pay.
By linking your Chime card to Apple Pay, you’ll be able to take advantage of the convenience and security offered by both platforms. You’ll now be ready to initiate the transfer of funds from Apple Pay to your Chime card, which we’ll cover in the subsequent steps.
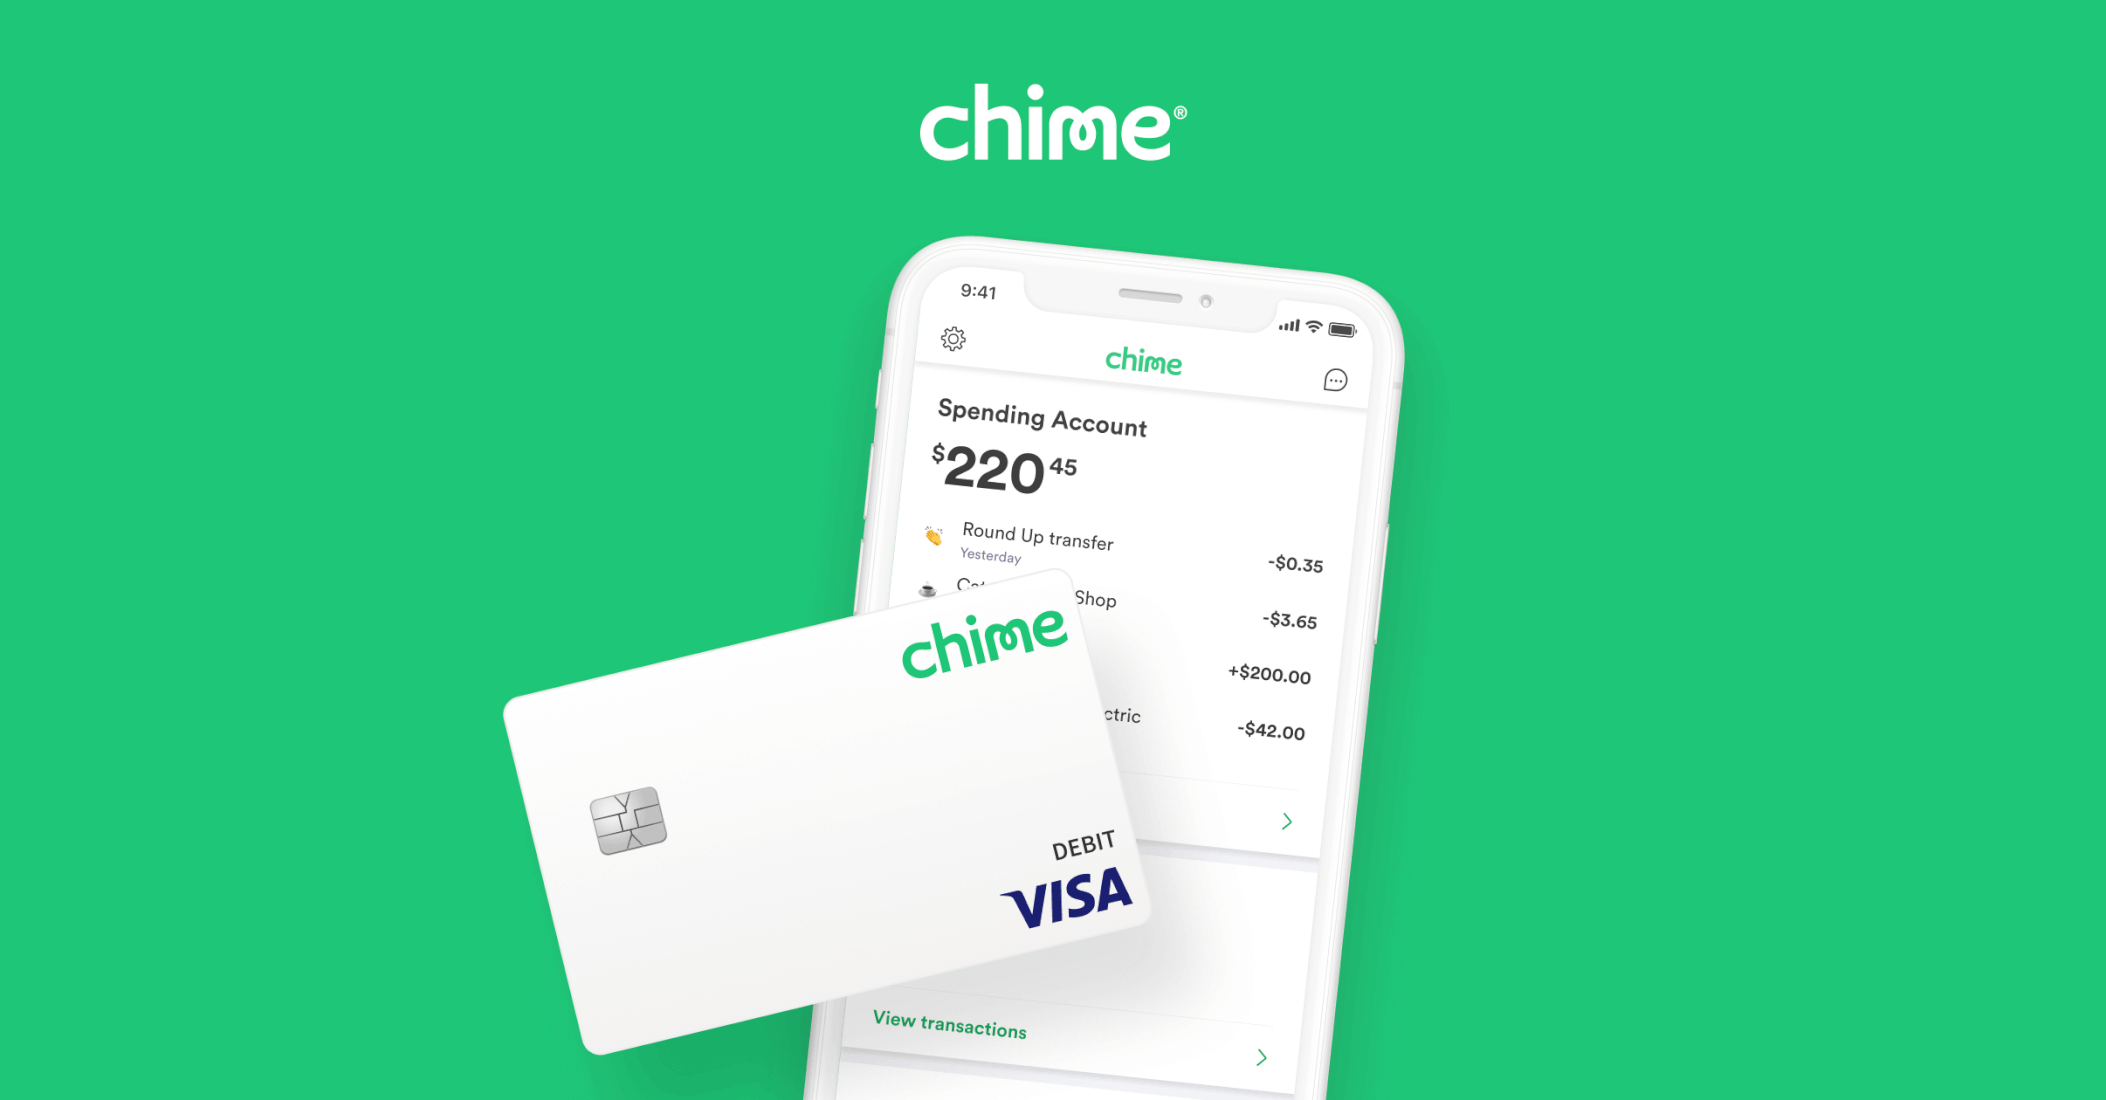
Step 2: Open the Wallet app on your iPhone
Once you have successfully linked your Chime card to Apple Pay, it’s time to initiate the money transfer. Start by opening the Wallet app on your iPhone, which is the native app for managing your digital payment cards, including Apple Pay.
Here’s how you can open the Wallet app on your iPhone:
- Locate the Wallet app on your iPhone’s home screen. It is represented by a white wallet icon with blue and red sections.
- Tap on the Wallet app icon to open it. The app will launch, displaying your default payment card if you have one set up.
- If you have multiple payment cards added to Apple Pay, swipe left or right to view them. Look for the Chime card that you recently linked to Apple Pay, as you will need to select it for the money transfer process.
By opening the Wallet app on your iPhone and finding your Chime card within the app, you’re ready to proceed to the next step of the money transfer process. In the following steps, we’ll guide you on how to select your Chime card and initiate the transfer to your Chime account.
Step 3: Select your Chime card
After opening the Wallet app on your iPhone, it’s time to select your Chime card. This step is crucial as it ensures that the money transfer is directed to the correct payment card. Here’s how you can select your Chime card:
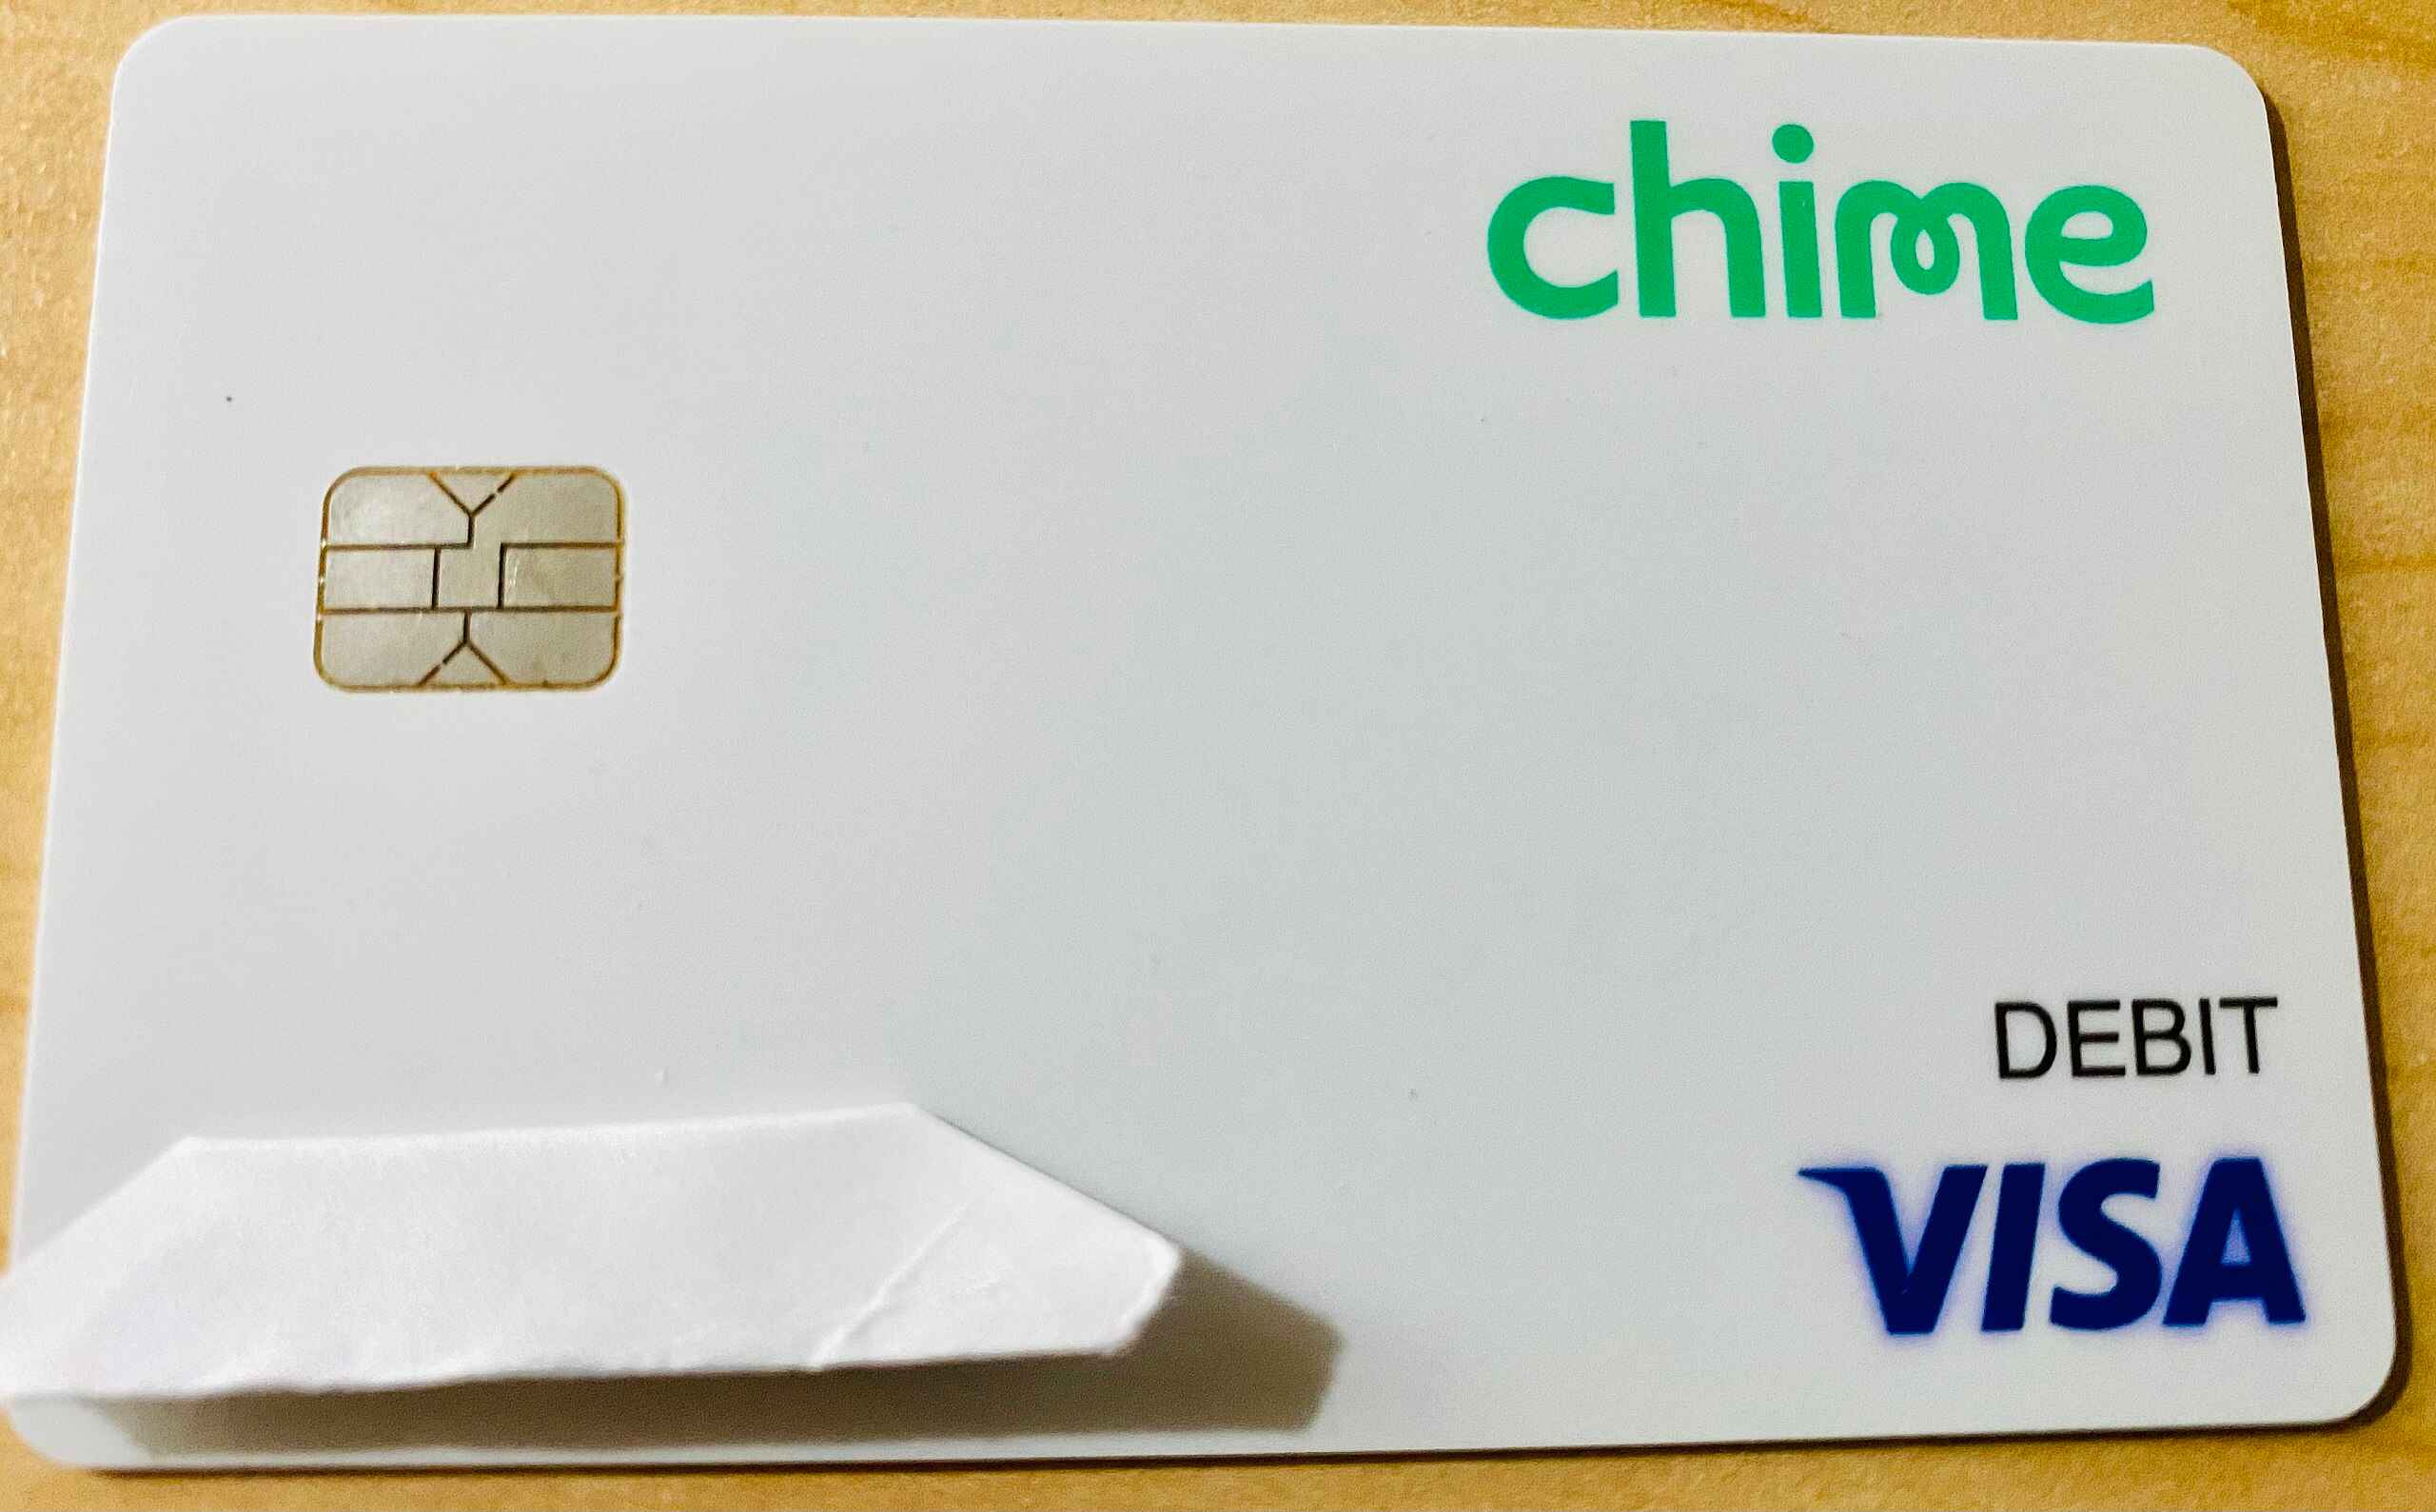
- In the Wallet app, swipe left or right to locate your Chime card among the list of added payment cards. It should be labeled with the Chime logo or the last four digits of your Chime card number.
- Once you’ve found your Chime card, tap on it to select it as the active card for the money transfer.
By selecting your Chime card, you’re indicating to Apple Pay that you want to transfer money to this specific payment card. It ensures that the funds are sent to the correct account associated with your Chime card.
It’s important to note that if you have multiple payment cards added to Apple Pay, it’s crucial to choose the correct one for the transfer. Double-check the card details and ensure that you’ve selected your Chime card before proceeding further with the money transfer process.
Once you’ve selected your Chime card, you’re ready to move on to the next step, where you’ll find the option to initiate the transfer from Apple Pay to your Chime card.
Step 4: Tap on the ellipsis (…) button
With your Chime card selected in the Wallet app, it’s time to access the additional options for your card. This can be done by tapping on the ellipsis (…) button, which will provide you with a menu of actions specific to your Chime card. Here’s how to do it:
- In the Wallet app, locate your Chime card and look for the ellipsis (…) button. It is typically represented by three dots stacked vertically or horizontally.
- Tap on the ellipsis button to access the menu of options associated with your Chime card.
When you tap on the ellipsis button, a dropdown menu or a new screen will appear, presenting you with several actions that you can perform with your Chime card. These actions may include making payments, accessing transaction details, or managing the card settings.
For the purpose of transferring money from Apple Pay to your Chime card, you’ll need to proceed to the next step, where you’ll find the specific option to initiate the transfer.
By tapping on the ellipsis button, you’re taking the necessary step to access the additional functionalities and options available for your Chime card. This menu provides you with the flexibility to manage your Chime card effectively and makes it convenient to perform various actions, including the money transfer process.
Step 5: Choose “Transfer to Bank”
After tapping on the ellipsis (…) button in the Wallet app, a menu of options specific to your Chime card will appear. Among these options, you need to select “Transfer to Bank,” which is the feature that allows you to initiate the transfer of funds from Apple Pay to your Chime card. Here’s how to choose “Transfer to Bank”:
- In the menu that appears after tapping on the ellipsis button, scroll through the options until you find “Transfer to Bank.” It may be listed as “Transfer Funds” or something similar.
- Tap on “Transfer to Bank” to proceed with the money transfer.
Choosing “Transfer to Bank” signifies to Apple Pay that you want to move funds from your Apple Pay account to your Chime card, which is set up as a linked bank account. Once selected, you’re one step closer to completing the transfer process and having the funds available in your Chime account.
It’s important to note that the wording and placement of the “Transfer to Bank” option may vary based on the version of the Wallet app or any recent updates. However, the essence remains the same, allowing you to transfer funds from Apple Pay to your Chime card securely and efficiently.
Now that you’ve selected “Transfer to Bank,” let’s move on to the next step, where you’ll need to enter the transfer amount.
Step 6: Enter the transfer amount
After choosing “Transfer to Bank” in the Wallet app, you’ll be prompted to enter the transfer amount. This is the specific amount of money that you want to transfer from your Apple Pay account to your Chime card. Here’s how to enter the transfer amount:
- Upon selecting “Transfer to Bank,” you’ll be presented with a screen or a dialog box where you can input the transfer amount.
- Using the keyboard on your iPhone screen, enter the desired amount you wish to transfer.
It’s important to specify the exact amount you want to transfer to ensure the correct funds are moved from Apple Pay to your Chime card. Take a moment to double-check the entered amount before proceeding further.
Keep in mind that there may be limits on the amount you’re allowed to transfer, which could vary based on your Apple Pay and Chime card settings. Make sure you’re aware of any transfer limits and that your desired transfer amount falls within those limits.
Once you’ve entered the transfer amount, you’re ready to move on to the next step, where you’ll confirm the transfer details before proceeding with the transaction.
By entering the transfer amount accurately, you’re ensuring that the correct sum of money is deposited into your Chime account, making it readily available for your use.
Step 7: Confirm the transfer details
Once you have entered the transfer amount, the Wallet app will display the transfer details for you to review and confirm. This step is important as it allows you to verify that all the information is correct before proceeding with the transfer from Apple Pay to your Chime card. Here’s how to confirm the transfer details:
- After entering the transfer amount, carefully review the transfer details shown on the screen. This includes the transfer amount and any applicable fees or charges.
- Double-check the recipient account information, ensuring that your Chime card is selected as the destination for the transfer.
- Take a moment to ensure that the transfer details align with your intended transaction, and that everything appears accurate and in order.
Confirming the transfer details is crucial in preventing any mistakes or errors in the transfer process. It ensures that the funds are directed to the correct account and that the transfer amount matches your intentions.
If you notice any discrepancies or incorrect information, it’s important to correct them before proceeding. Look for options to edit or modify the transfer details, if necessary. This allows you to make any necessary adjustments before finalizing the transfer.
Once you are confident that the transfer details are correct, proceed to the next step, where you will initiate the transfer and wait for it to complete.
By confirming the transfer details, you are taking the necessary precaution to ensure a smooth and accurate transfer of funds from Apple Pay to your Chime card.
Step 8: Wait for the transfer to complete
After confirming the transfer details, you will need to wait for the transfer from Apple Pay to your Chime card to complete. The time it takes for the transfer to be processed and reflected in your Chime account may vary, but it generally occurs within a few minutes or up to a few business days. Here’s what you need to do while waiting for the transfer to complete:
- Once you have confirmed the transfer details, you can exit the Wallet app or continue using your iPhone as you normally would.
- It’s important to note that you may receive notifications or updates regarding the transfer progress. Be sure to keep an eye out for any messages or alerts related to the transfer.
- During the waiting period, refrain from initiating any further transfer requests or making significant changes to your Chime account or Apple Pay settings that may interfere with the ongoing transfer process.
- While waiting for the transfer to complete, it’s a good idea to monitor your Chime account periodically to check if the funds have been successfully deposited.
Keep in mind that the actual duration of the transfer process may depend on various factors, such as the processing speed of the financial institutions involved and any additional security measures in place. If you have any concerns or if the transfer takes longer than expected, it’s always best to contact Chime customer support for assistance.
Patience is key during this step. Waiting for the transfer to complete ensures that the funds are safely and securely transferred from your Apple Pay account to your Chime card, making them available for your use.
Step 9: Check your Chime account for the transferred funds
Once the transfer process is complete, it’s time to check your Chime account to verify that the funds have been successfully deposited. Here’s how to check your Chime account for the transferred funds:
- Open the Chime mobile app on your iPhone.
- Sign in to your Chime account using your login credentials.
- Navigate to the account overview or transaction history section within the app.
- Look for the transaction corresponding to the transferred funds from Apple Pay.
- Check the transaction details, including the transferred amount and the date and time of the transfer.
- Ensure that the transferred funds have been deposited into your Chime account.
By checking your Chime account for the transferred funds, you can confirm that the transfer from Apple Pay was successful and that the funds are now available for your use. It’s essential to review the transaction details and verify that they align with your expectations.
In some cases, there may be a slight delay in the transaction appearing in your Chime account. If you don’t see the transferred funds immediately, wait for a few minutes and refresh the transaction history. If you still don’t see the funds, reach out to Chime customer support for further assistance.
Once you’ve verified that the transferred funds are reflected in your Chime account, you can proceed with using the funds as needed, whether it’s for making purchases, paying bills, or any other financial transactions.
Checking your Chime account for the transferred funds ensures that the money has been successfully moved from Apple Pay to your Chime card, providing you with peace of mind and access to your funds when you need them.
Step 10: Enjoy the convenience of transferring money from Apple Pay to your Chime card
Congratulations! You have successfully completed the process of transferring money from Apple Pay to your Chime card. By following the previous steps, you have unlocked the convenience of moving funds between these two platforms seamlessly. Here’s what you can do now:
1. Take advantage of the flexibility: With your Chime card linked to Apple Pay, you have the flexibility to transfer money whenever you need it. Whether you’re splitting the bill with friends, reimbursing someone, or simply managing your finances, the ability to transfer money between Apple Pay and your Chime card grants you greater convenience and control.
2. Utilize your Chime card for payments: Now that the transferred funds are in your Chime account, you can use your Chime card as you would with any other traditional bank account. You can make purchases in-store or online, withdraw cash from ATMs, and even set up automatic bill payments – giving you the freedom to manage your finances efficiently.
3. Enjoy the benefits of both platforms: By combining Apple Pay’s contactless payment technology and the features of your Chime card, you can enjoy the best of both worlds. Apple Pay offers convenience and security, while Chime provides innovative banking solutions such as early direct deposit, fee-free overdraft protection, and real-time transaction alerts.
4. Stay up to date with new features: Both Apple Pay and Chime are regularly updated with new features and enhancements. Keep an eye out for any updates from both platforms, as they may introduce new functionalities that can further enhance your banking and payment experience.
Transferring money from Apple Pay to your Chime card opens up a world of possibilities, allowing you to manage your finances efficiently and securely. The convenience and flexibility offered by this simple process provide you with peace of mind and control over your funds.
Remember to always keep your Chime card linked to Apple Pay and ensure that both platforms are updated to the latest versions for the best experience. If you encounter any difficulties or have questions, don’t hesitate to reach out to the respective customer support teams for assistance.
Now, go ahead and make the most of this convenient method of transferring money from Apple Pay to your Chime card, and enjoy the seamless integration of these two powerful financial tools!
Conclusion
Transferring money from Apple Pay to your Chime card has never been easier. By following the steps outlined in this guide, you can seamlessly move funds between these two platforms and enjoy the convenience and flexibility it provides.
From linking your Chime card to Apple Pay, to selecting your Chime card in the Wallet app, to confirming the transfer details, each step ensures a smooth and secure transfer process. By checking your Chime account for the transferred funds, you can verify that the transfer was successful and that the funds are readily available for your use.
The ability to transfer money from Apple Pay to your Chime card opens up a world of possibilities. Whether you need to split a bill, reimburse a friend, or simply manage your finances, this process empowers you with greater control over your money.
Both Apple Pay and Chime continue to innovate, offering new features and functionalities that enhance your banking and payment experience. Stay up to date with any updates from these platforms to enjoy the latest advancements and take full advantage of their offerings.
Remember to keep your Chime card linked to Apple Pay and ensure that both platforms are up to date. Should you encounter any difficulties or have questions, don’t hesitate to reach out to the respective customer support teams for assistance.
With the convenience of transferring money from Apple Pay to your Chime card, you can enjoy the best of both worlds: the seamless payment experience of Apple Pay combined with the innovative banking solutions of Chime.
Now that you’re equipped with the knowledge and steps outlined in this guide, go ahead and make the most of this hassle-free method of transferring money. Take control of your finances, manage your transactions with ease, and enjoy the benefits that come with the integration of Apple Pay and Chime.
Embrace the convenience, flexibility, and security it offers, and experience the freedom to manage your finances on your terms. Start transferring money from Apple Pay to your Chime card today and enjoy the seamless integration of these powerful financial tools.