Introduction:
Welcome to the digital age, where sending money to friends and family has become easier than ever. With the rise of peer-to-peer payment platforms like Venmo, you can conveniently split bills, pay for goods and services, and even request money with just a few taps on your smartphone. However, with this convenience comes the need for privacy and security.
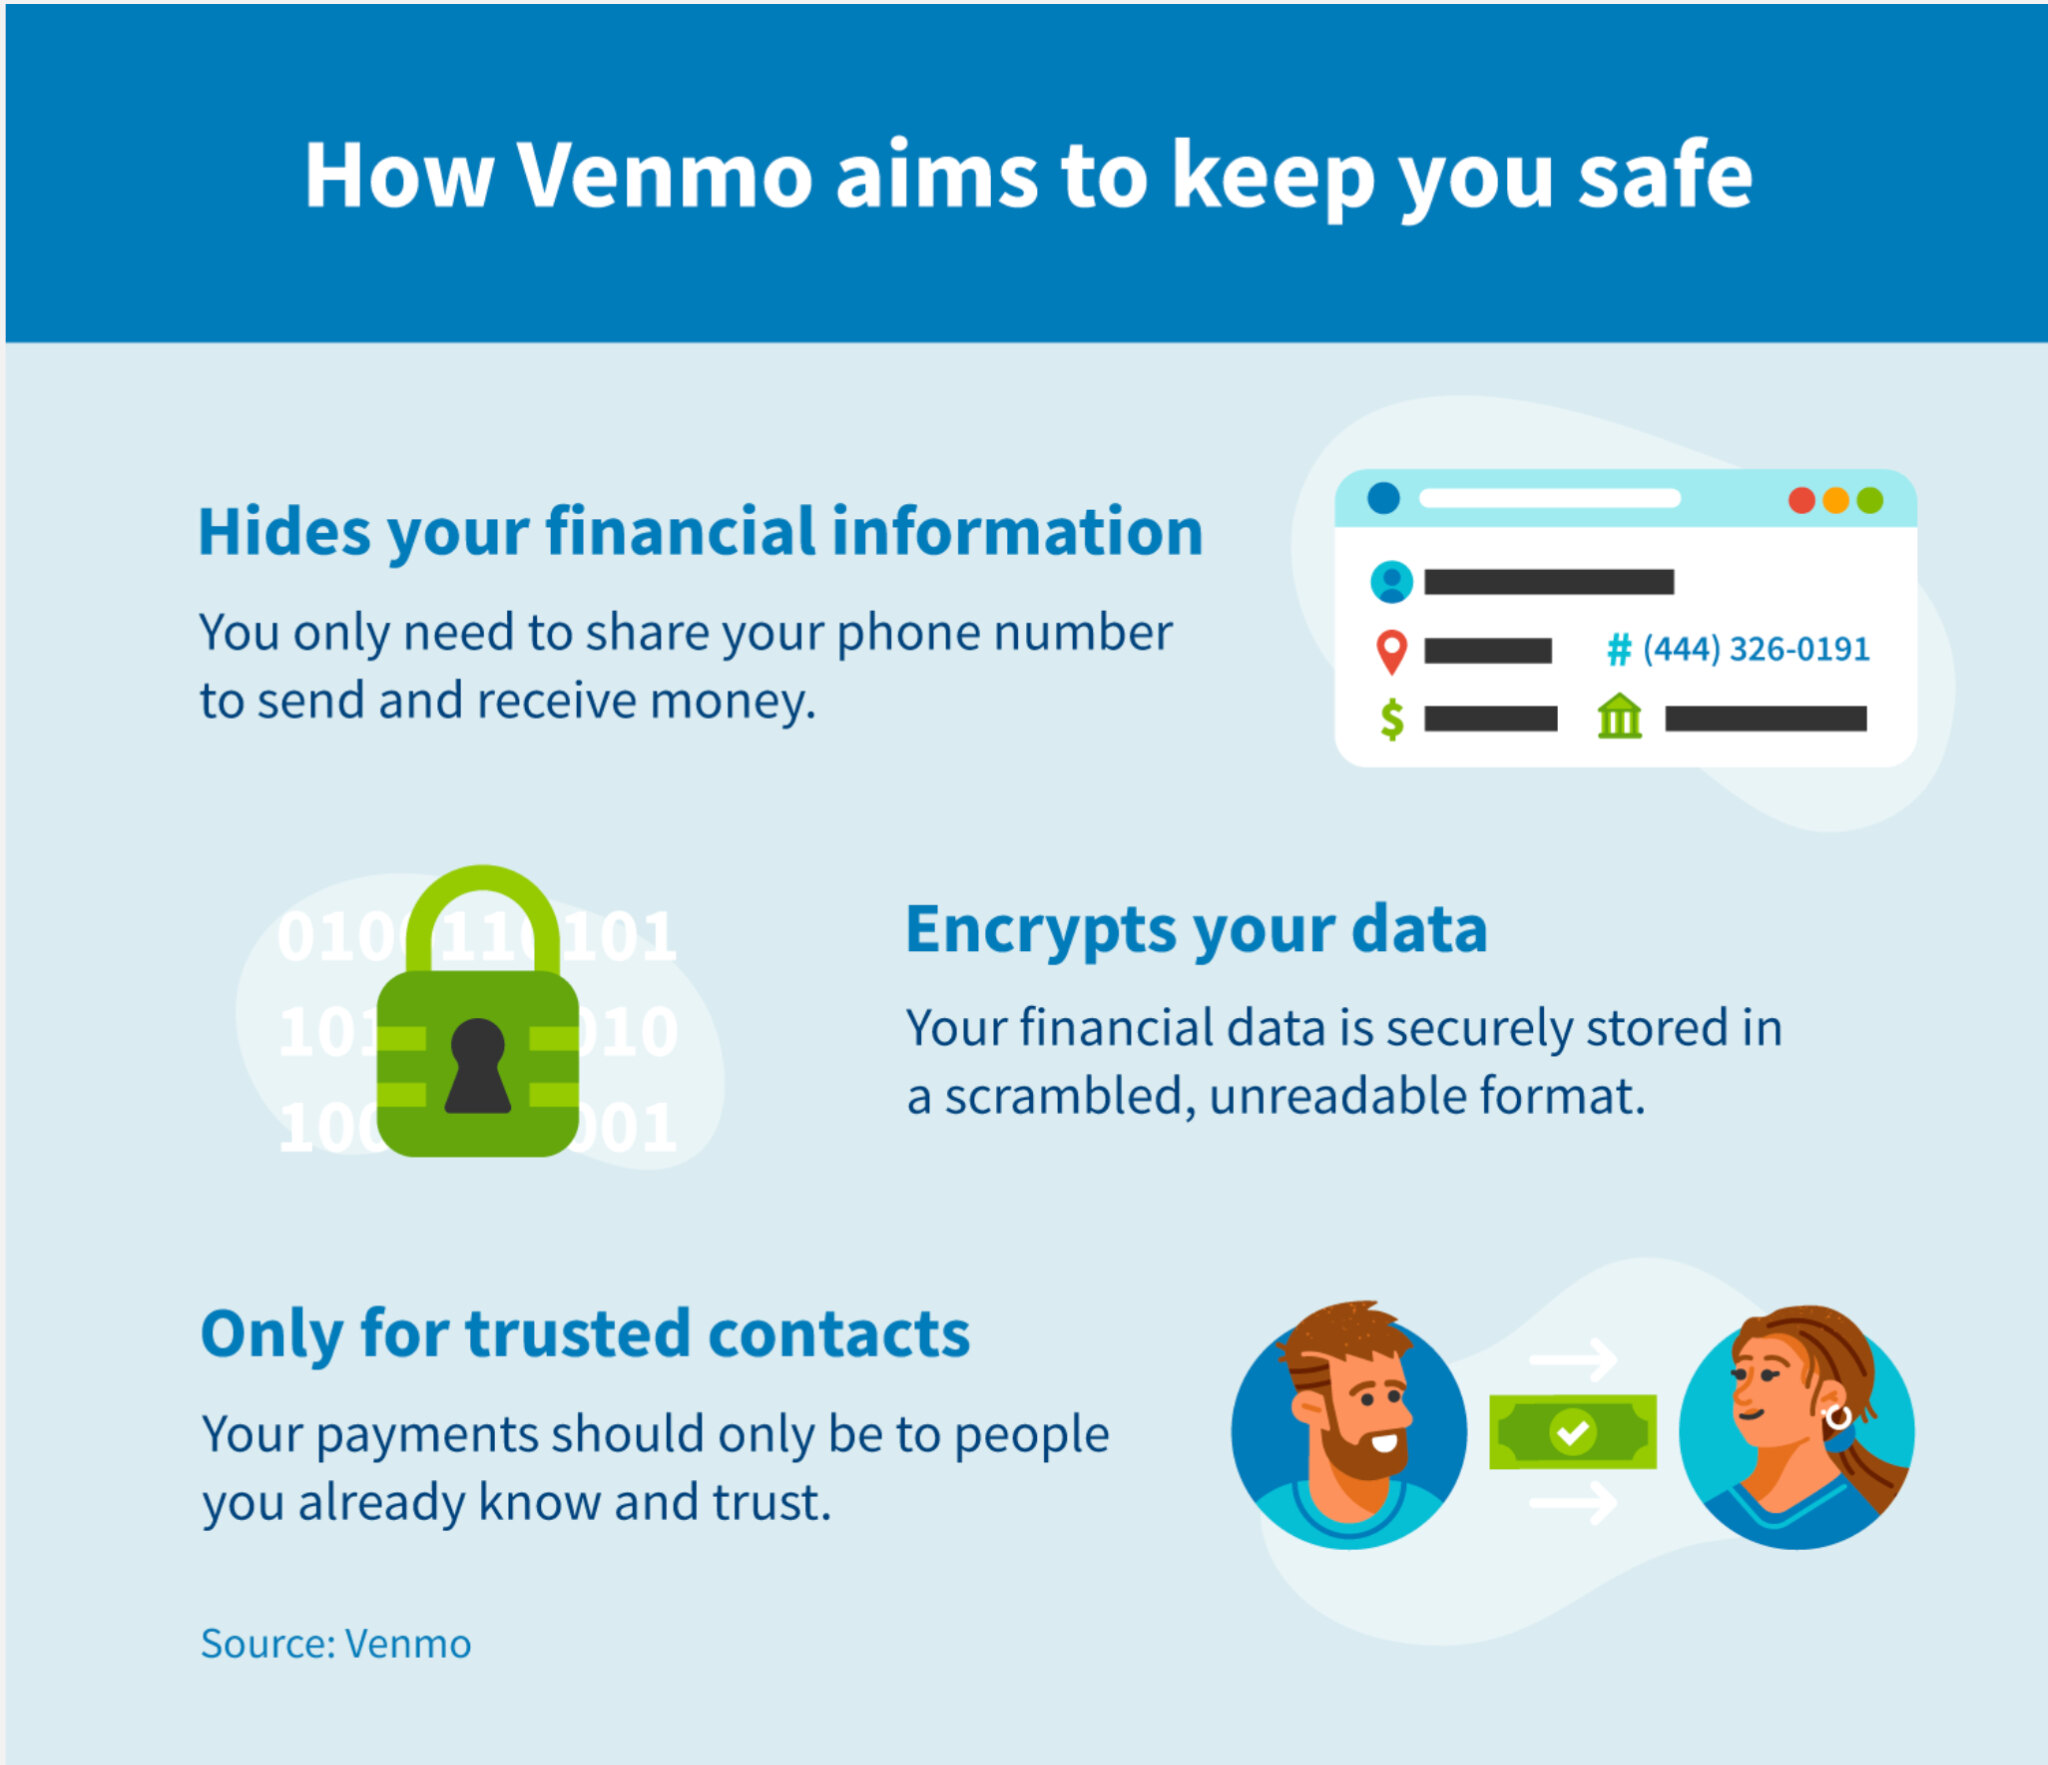
Venmo allows users to make their transactions and personal information private, safeguarding their financial details from prying eyes. In this article, we will delve into the various privacy settings available on Venmo and guide you on how to make it a confidential and secure platform for your financial transactions.
Whether you’re concerned about keeping your recent purchase hidden from friends or you simply value your privacy, understanding and utilizing Venmo’s privacy settings is essential. In the following sections, we will walk you through the process of setting your transactions to private, adjusting your friends list visibility, controlling who can see your profile, managing your notifications and sharing preferences, and enhancing your Venmo privacy with additional security measures.
By the end of this article, you’ll have the knowledge and tools to tailor your Venmo experience to your desired level of privacy. So let’s dive in and explore how you can make your Venmo account more private and secure.
Understanding Venmo Privacy Settings:
Before we dive into the nitty-gritty of tweaking your privacy settings on Venmo, it’s important to grasp the basic concepts behind Venmo’s privacy features.
Venmo offers several privacy settings that allow you to control who can see your transactions, friends list, profile, and more. These settings ensure that you have full control over the visibility of your financial activities.
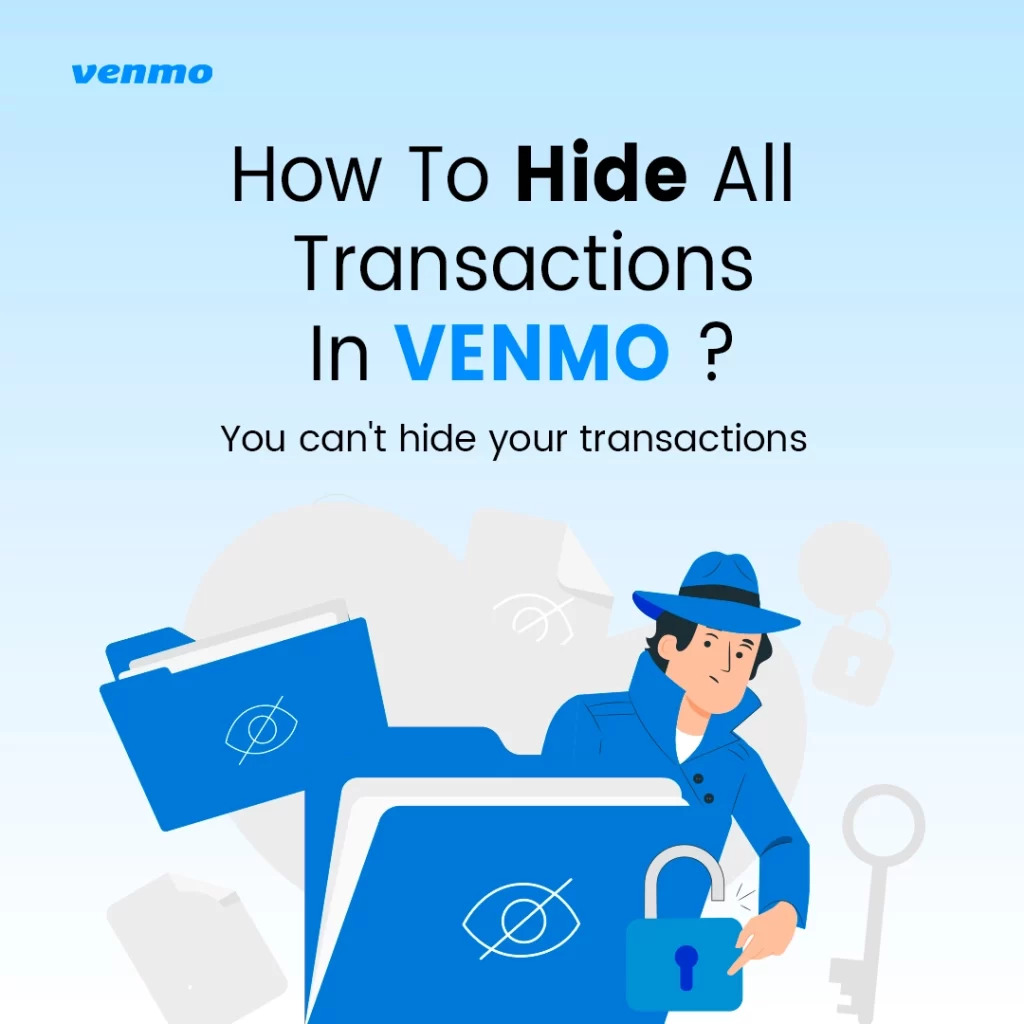
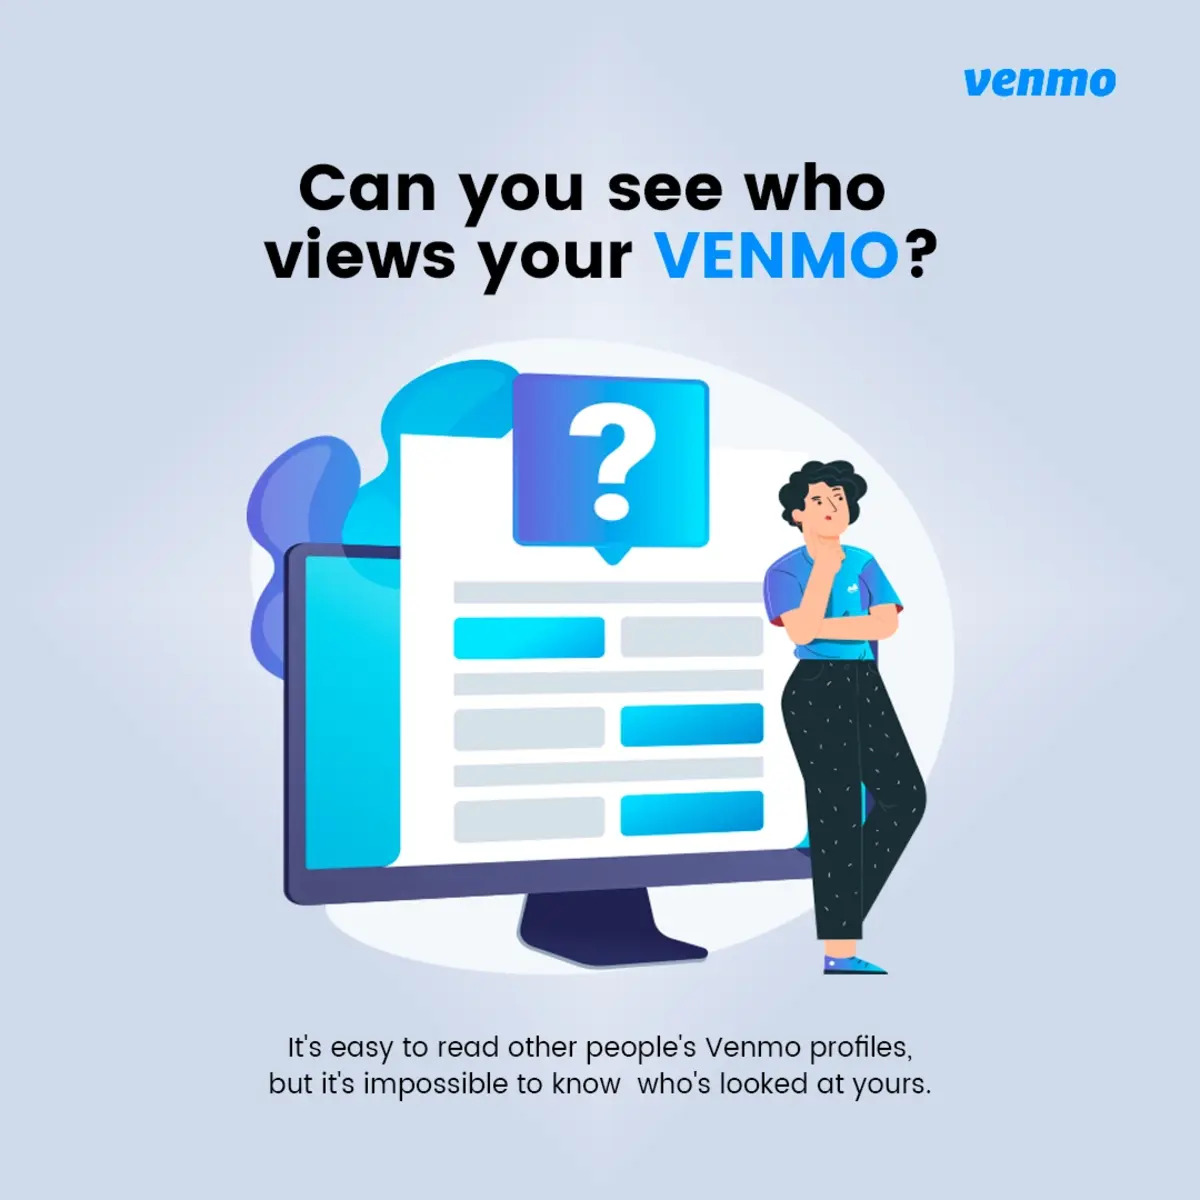
The primary privacy setting on Venmo revolves around the visibility of your transactions. By default, all transactions on Venmo are set to “public,” meaning they are visible to anyone using the app. This includes your friends, other Venmo users, and even those who are not in your network.
To maintain a higher level of privacy, you can choose to make your transactions “private.” When a transaction is set to private, it is only visible to the sender, recipient, and any other participants directly involved in the transaction. This ensures that your financial activities remain confidential and are not displayed on the Venmo public feed.
Aside from transaction privacy, Venmo also allows you to adjust the visibility of your friends list. By default, your friends list is visible to other Venmo users. However, you have the option to make your friends list private, limiting its visibility to only you.
Furthermore, Venmo allows you to control who can see your profile. By default, your profile is visible to all Venmo users, including friends of friends. However, you have the option to limit the visibility of your profile to only your Venmo friends or even make it completely private, visible to no one except yourself.
In the next sections, we’ll provide step-by-step instructions on how to adjust these privacy settings to your preference. So let’s get started and make your Venmo transactions as private as you desire!
Setting Your Transactions to Private:
To ensure that your transactions on Venmo remain private and are not visible to the public, you can change the default setting from “public” to “private.” By setting your transactions to private, only you, the recipient, and any other participants directly involved in the transaction will be able to see the details.
Here’s how you can adjust your transaction privacy settings:
- Open the Venmo app on your smartphone and log in to your account.
- Tap on the three horizontal lines in the top-left corner of the screen to open the menu.
- Scroll down and select “Settings.”
- Under the “Sharing” section, tap on “Privacy.”
- Locate the “Who can see your future transactions?” option and tap on it.
- Select “Private” from the available options.
Once you have set your transactions to private, any future transactions you make will only be visible to you, the recipient, and any other participants directly involved in the transaction.
Keep in mind that changing this setting will only affect future transactions. Your previous transactions, if set to public, will still be visible to other Venmo users unless you manually change their visibility.
It’s important to note that while setting your transactions to private increases your privacy, it means that other users will not be able to see your activity on the Venmo public feed. This can affect the social aspect of Venmo, as your recent transactions will not be visible to your friends and acquaintances by default.
If you want to maintain some level of visibility while still keeping your transactions private, you can consider using Venmo’s social feature called “Split” or manually sharing your activity on your social media accounts.
Now that you’ve learned how to set your transactions to private, let’s move on to the next section and explore how you can adjust the visibility of your friends list on Venmo.
Adjusting Your Friends List Visibility:
Venmo automatically sets the visibility of your friends list to “public” by default. This means that anyone using the app can view the list of friends you have on Venmo. If you prefer to keep your friends list private, you can adjust the visibility settings accordingly.
Here’s how you can make changes to your friends list visibility:
- Launch the Venmo app and log in to your account.
- Tap on the three horizontal lines in the top-left corner to open the menu.
- Scroll down and select “Settings.”
- Under the “Sharing” section, tap on “Privacy.”
- Locate the “Who can see your friends list?” option and tap on it.
- Choose the desired visibility setting for your friends list. You can select “Only Me” to keep it completely private or choose “Friends” to limit its visibility to your Venmo friends.
By adjusting your friends list visibility, you can control who can view the list of people you are connected with on Venmo. Keeping your friends list private adds an extra layer of privacy to your Venmo account.
It’s important to note that if you choose to make your friends list private, other users will not be able to see the friends you have added on Venmo. Similarly, you will also be unable to view the friends list of other users who have chosen to keep their lists private.
In the next section, we’ll discuss how you can control who can see your profile on Venmo. By adjusting these settings, you can ensure that only the intended individuals have access to your personal information on the platform.
Controlling Who Can See Your Profile:
Venmo allows you to customize the visibility of your profile, giving you control over who can view your personal information. By default, your profile is visible to all Venmo users, including friends of friends. However, you can adjust these settings to ensure that your profile remains private or visible only to your Venmo friends.
Here’s how you can control who can see your profile on Venmo:
- Open the Venmo app and log in to your account.
- Tap on the three horizontal lines in the top-left corner to access the menu.
- Scroll down and select “Settings.”
- Under the “Sharing” section, tap on “Privacy.”
- Locate the “Who can see your profile?” option and tap on it.
- Choose the desired visibility setting for your profile. You can select “Public” to make it visible to all Venmo users, “Friends” to limit visibility to your Venmo friends, or “Only Me” to keep your profile completely private.
By adjusting your profile visibility, you can ensure that only the individuals you choose can access your personal information on Venmo. This allows you to maintain a higher level of privacy and control over who can view your profile details, including your profile picture, bio, and transaction history.
It’s important to note that if you choose to make your profile private or visible only to your friends, other users will not be able to find you in the Venmo network search. This means that you will need to manually connect with others or accept friend requests for them to see your profile and initiate transactions with you.
Now that you’ve learned how to control who can see your profile, let’s move on to managing your notifications and sharing preferences in Venmo.
Managing Your Notifications and Sharing Preferences:
Venmo provides various options to manage your notifications and sharing preferences, allowing you to customize what information you want to receive and share with others on the platform. By adjusting these settings, you can further enhance your privacy and control over your Venmo experience.
Here’s how you can manage your notifications and sharing preferences on Venmo:
- Launch the Venmo app and log in to your account.
- Tap on the three horizontal lines in the top-left corner to access the menu.
- Scroll down and select “Settings.”
- Under the “Notifications” section, you can toggle notifications on or off for various activities, such as payments received, payments sent, and friend requests.
- Scroll down further to the “Sharing” section, where you can customize what information you want to share on Venmo’s public feed.
- Here, you can choose to share your transactions, purchases, or both on Venmo’s public feed or disable sharing altogether.
By managing your notifications, you can control the frequency and types of alerts you receive from Venmo, ensuring that you stay informed without being overwhelmed by excessive notifications.
Additionally, customizing your sharing preferences allows you to decide what information you want to be visible on the Venmo public feed. Disabling sharing ensures that your financial activities are not displayed to other Venmo users, adding an additional layer of privacy to your account.
It’s important to find a balance between privacy and social interaction on Venmo. By adjusting your sharing preferences, you can still showcase select activities while keeping the more private transactions hidden.
In the next section, we’ll discuss ways to enhance your Venmo privacy by implementing additional security measures.
Enhancing Your Venmo Privacy with Additional Security Measures:
While Venmo provides privacy settings to control the visibility of your transactions and personal information, it’s always a good idea to implement additional security measures to further enhance your privacy and protect your account.
Here are some steps you can take to enhance your Venmo privacy:
- Enable two-factor authentication: Two-factor authentication adds an extra layer of security to your Venmo account by requiring a verification code in addition to your password during login. You can enable this feature by going to the “Settings” section of the Venmo app and navigating to the “Privacy & Security” tab.
- Set a strong password: Choose a unique, strong password for your Venmo account. Avoid using easily guessable passwords and consider using a password manager to securely store your passwords.
- Regularly review connected apps: Occasionally review the list of connected apps in your Venmo settings. Revoke access to any apps or services that you no longer use or recognize.
- Be cautious with public Wi-Fi: Avoid accessing Venmo and making transactions on public Wi-Fi networks, as they may not be secure. Use a trusted and secure network or consider using a virtual private network (VPN) when making Venmo transactions.
- Keep your app and devices updated: Ensure that you have the latest version of the Venmo app installed on your device and regularly update your smartphone’s operating system to take advantage of the latest security features.
- Be mindful of sharing personal information: Avoid sharing sensitive personal information, such as your Venmo username, on public forums or social media platforms. Keep this information private to avoid potential security risks.
By implementing these additional security measures, you can add an extra layer of protection to your Venmo account, further enhancing your privacy and safeguarding your financial information.
As technology and security practices evolve, it’s important to remain vigilant and stay informed about any new security features or updates offered by Venmo. Regularly review your privacy settings and make adjustments as needed to ensure your privacy preferences are up to date.
Now that you’ve learned how to enhance your Venmo privacy with additional security measures, let’s wrap up this article with a summary of what we’ve covered so far.
Conclusion:
Protecting your privacy is essential in today’s digital world, especially when it comes to financial transactions. With Venmo, you have the ability to control the visibility of your transactions, friends list, profile, and more, ensuring that your personal information remains confidential.
In this article, we explored the various privacy settings available on Venmo and provided step-by-step instructions on how to adjust them to your preference. By setting your transactions to private, adjusting your friends list visibility, controlling who can see your profile, and managing your notifications and sharing preferences, you can tailor your Venmo experience to suit your privacy needs.
Additionally, we discussed how to enhance your Venmo privacy with additional security measures, such as enabling two-factor authentication, setting strong passwords, and being cautious with public Wi-Fi. These measures add an extra layer of protection to your Venmo account and help safeguard your financial information.
Remember to regularly review and update your privacy settings as needed to stay up to date with the latest features and ensure that your privacy preferences align with your needs.
By taking control of your Venmo privacy and implementing additional security measures, you can enjoy the convenience of peer-to-peer payments while maintaining the confidentiality of your financial activities. So go ahead, make your Venmo transactions private, protect your personal information, and enjoy peace of mind in your digital financial interactions.