Introduction
Face ID is a cutting-edge facial recognition technology developed by Apple, designed to provide users with a seamless and secure way to unlock their devices and authenticate various actions. While Face ID is generally reliable and convenient, there may be instances where it fails to set up properly.
This article aims to explore the common reasons why Face ID may not set up correctly and provide helpful tips to troubleshoot these issues. Whether you’re experiencing difficulties during the initial Face ID setup or facing challenges when attempting to reconfigure it, this guide will assist you in identifying and resolving the problem.
It’s important to note that the troubleshooting steps provided here assume that there are no hardware defects with your device. If you suspect that your device has a faulty sensor or other hardware-related issues, it is recommended to contact Apple Support for assistance or seek professional help.
Now, let’s delve into some common reasons why your Face ID may not be setting up correctly and how to address them.
Common Reasons Why Face ID Will Not Set Up
Setting up Face ID on your device should be a straightforward process. However, there are a few common issues that can prevent Face ID from setting up correctly. Let’s take a closer look at these factors:
- Dirty or Damaged TrueDepth Camera: The TrueDepth camera on your device is responsible for capturing and analyzing your facial features. If the camera lens or sensors are dirty or damaged, it can hinder Face ID setup.
- Incorrect Positioning of Your Face: Face ID relies on precise positioning to create a detailed map of your facial features. If you hold your device too far away, too close, or at an odd angle during setup, Face ID may fail to capture accurate data.
- Poor Lighting Conditions: Adequate lighting is crucial for Face ID to work effectively. Insufficient lighting, harsh shadows, or direct sunlight can interfere with the camera’s ability to recognize your face accurately.
- Wearing Accessories or Covering Your Face: Face ID requires a clear view of your face. Wearing sunglasses, hats, scarves, or any accessories that obstruct your facial features, such as large beards or masks, can hinder the setup process.
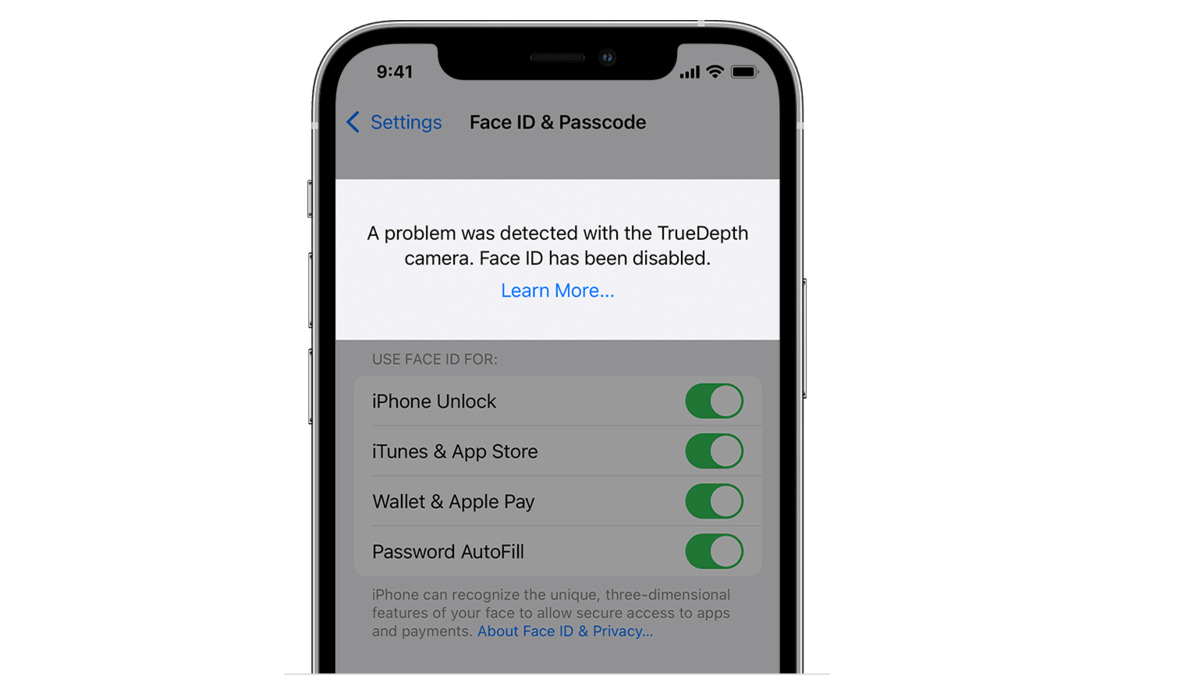
- Software Issues or Updates: Sometimes, software glitches or outdated system versions can affect the performance of Face ID. Installing the latest software updates can often resolve these issues.
- Face ID Already Set Up by Another User: If someone else has already set up Face ID on your device, you won’t be able to configure it again unless they remove their facial data from the settings.
It’s essential to recognize and address these factors to ensure a successful Face ID setup. In the following sections, we’ll provide troubleshooting tips to help you overcome these common challenges.
Dirty or Damaged TrueDepth Camera
The TrueDepth camera on your device plays a crucial role in the Face ID setup process. It captures detailed depth and facial information to create a unique map of your face, allowing for accurate authentication. If the TrueDepth camera lens or sensors are dirty or damaged, it can hinder the Face ID setup. Here are some steps you can take to address this issue:
- Clean the camera lens: Use a soft, lint-free cloth to gently wipe the camera lens. Be careful not to apply excessive pressure or use harsh cleaning agents as this may damage the lens. Keeping the camera clean ensures that it can capture clear and precise facial data.
- Remove any obstructions: Sometimes, dirt, dust, or other particles can accumulate around the camera area, obstructing its view. Use a small brush or a can of compressed air to remove any debris that might be blocking the camera’s line of sight.
- Inspect for damage: Check the camera for any signs of physical damage, such as cracks or scratches. If you notice any significant damage, it’s recommended to contact Apple Support or visit an authorized service provider to get your device examined and repaired.
By ensuring the cleanliness and integrity of the TrueDepth camera, you can help eliminate potential obstacles that may prevent Face ID from setting up correctly. If you’ve addressed this issue and continue to experience difficulties, proceed to the next section for additional troubleshooting steps.
Incorrect Positioning of Your Face
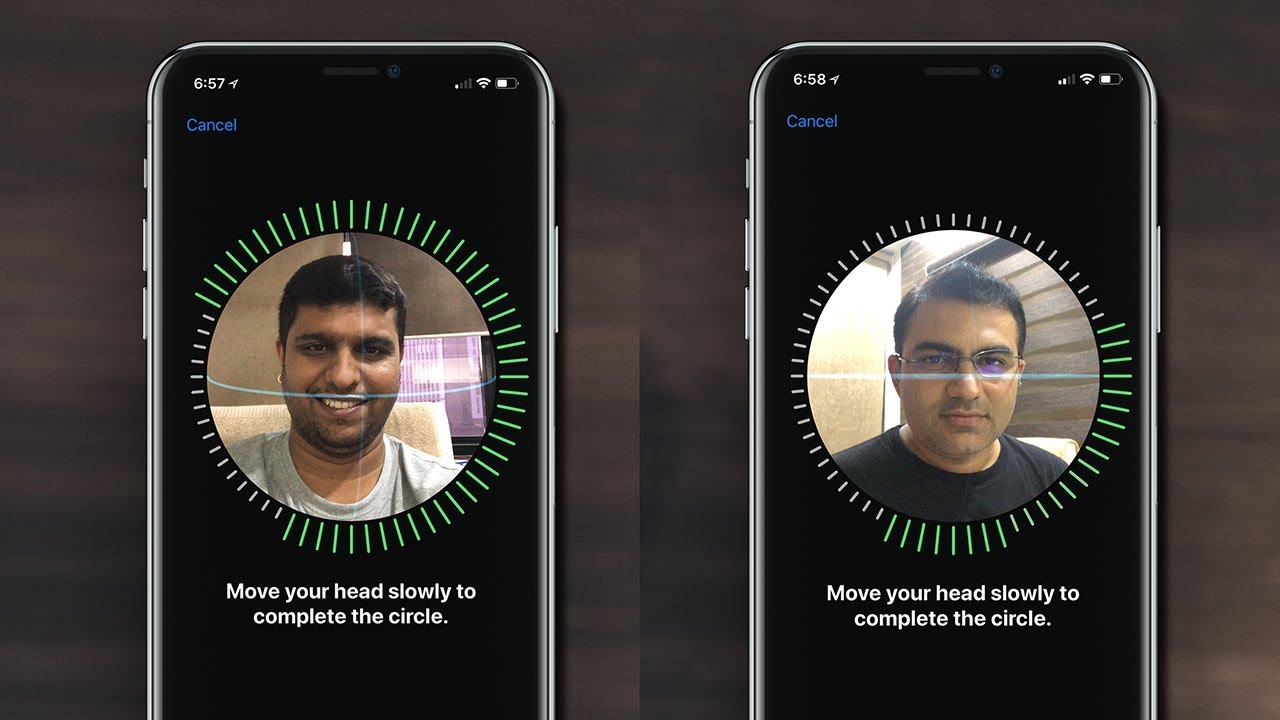
Proper positioning of your face is crucial during the Face ID setup process. Face ID relies on capturing multiple angles and dimensions of your facial features to create an accurate map. If you hold your device too far away, too close, or at an odd angle, it may result in Face ID setup issues. Here are some tips to ensure correct positioning:
- Hold your device at eye level: For optimal results, position your device at eye level, approximately 10-20 inches away from your face. This allows the TrueDepth camera to capture the necessary facial information without distortion or loss of detail.
- Align your face within the frame: During setup, make sure your entire face is visible within the frame on the screen. Avoid tilting your head, as it can affect the accuracy of the captured data. Keep your face centered and ensure that your eyes, nose, and mouth are well within the guidelines.
- Remove any glasses or eyewear: If you wear glasses or other eyewear, it’s recommended to take them off temporarily during the Face ID setup process. The presence of glasses can interfere with the device’s ability to accurately capture your facial features.
By following these positioning guidelines, you increase the likelihood of a successful Face ID setup. Remember to take your time and make any necessary adjustments to ensure that your face is properly aligned and framed during the process. In the next section, we’ll address the role of lighting conditions in Face ID setup and provide tips to overcome any related issues.
Poor Lighting Conditions
Lighting conditions play a significant role in the effectiveness of Face ID. Adequate lighting is essential for the TrueDepth camera to accurately capture and analyze your facial features. Poor lighting can result in Face ID setup difficulties. Here are some tips to address poor lighting conditions:
- Move to a well-lit area: When setting up Face ID, make sure you are in a well-lit environment. Natural daylight or evenly distributed indoor lighting provides the best results. Avoid areas with harsh shadows or direct sunlight, as they can cause uneven illumination on your face.
- Avoid backlighting: Backlighting occurs when the light source is behind you, causing your face to appear dark or blacked out. Position yourself in a way that ensures the lighting is in front of you or at least evenly distributed to prevent backlighting issues during Face ID setup.
- Make use of the screen brightness: Sometimes, increasing the brightness of your device’s screen can help compensate for low-light situations. Go to your device’s settings and adjust the screen brightness accordingly to ensure better visibility during Face ID setup.
By optimizing the lighting conditions and ensuring proper illumination on your face, you can improve the accuracy of Face ID during setup. If you continue to face issues, the following section will provide tips on removing any accessories or obstructions that may interfere with the setup process.
Wearing Accessories or Covering Your Face
Face ID requires a clear and unobstructed view of your face for accurate authentication. If you’re wearing accessories or covering your face during setup, it may lead to difficulties in configuring Face ID. Here are some steps to address this issue:
- Remove any accessories: Before setting up Face ID, remove any accessories that may obstruct your facial features, such as hats, scarves, or helmets. These items can cast shadows or cover parts of your face, making it challenging for the TrueDepth camera to capture accurate data.
- Take off sunglasses or prescription glasses: If you wear sunglasses or prescription glasses with thick frames, they may interfere with Face ID’s ability to recognize your face. Remove them temporarily during the setup process to ensure proper facial detection.
- Ensure a clear view of your face: It’s important to keep your face fully visible to the TrueDepth camera. Avoid covering your face with your hands or holding your device at an angle that obstructs your facial features. The camera needs a clear view of your eyes, nose, and mouth to create an accurate facial map.
By removing accessories, including sunglasses or prescription glasses, and ensuring an unobstructed view of your face, you enhance the chances of successful Face ID setup. If you’ve addressed these issues and continue to experience difficulties, the next section will provide tips on software-related issues and updates.
Software Issues or Updates
Software issues or outdated system versions can sometimes interfere with the Face ID setup process. It’s essential to keep your device’s software up to date to ensure optimal functionality. Here’s how you can address software-related issues:
- Check for software updates: Go to your device’s settings and check for any available software updates. If updates are available, download and install them. Software updates often include bug fixes and enhancements that can resolve issues with Face ID setup.
- Restart your device: Sometimes, a simple restart can help resolve any temporary software glitches affecting Face ID. Power off your device, wait a few seconds, and then turn it back on. Attempt to set up Face ID after the restart to see if the issue is resolved.
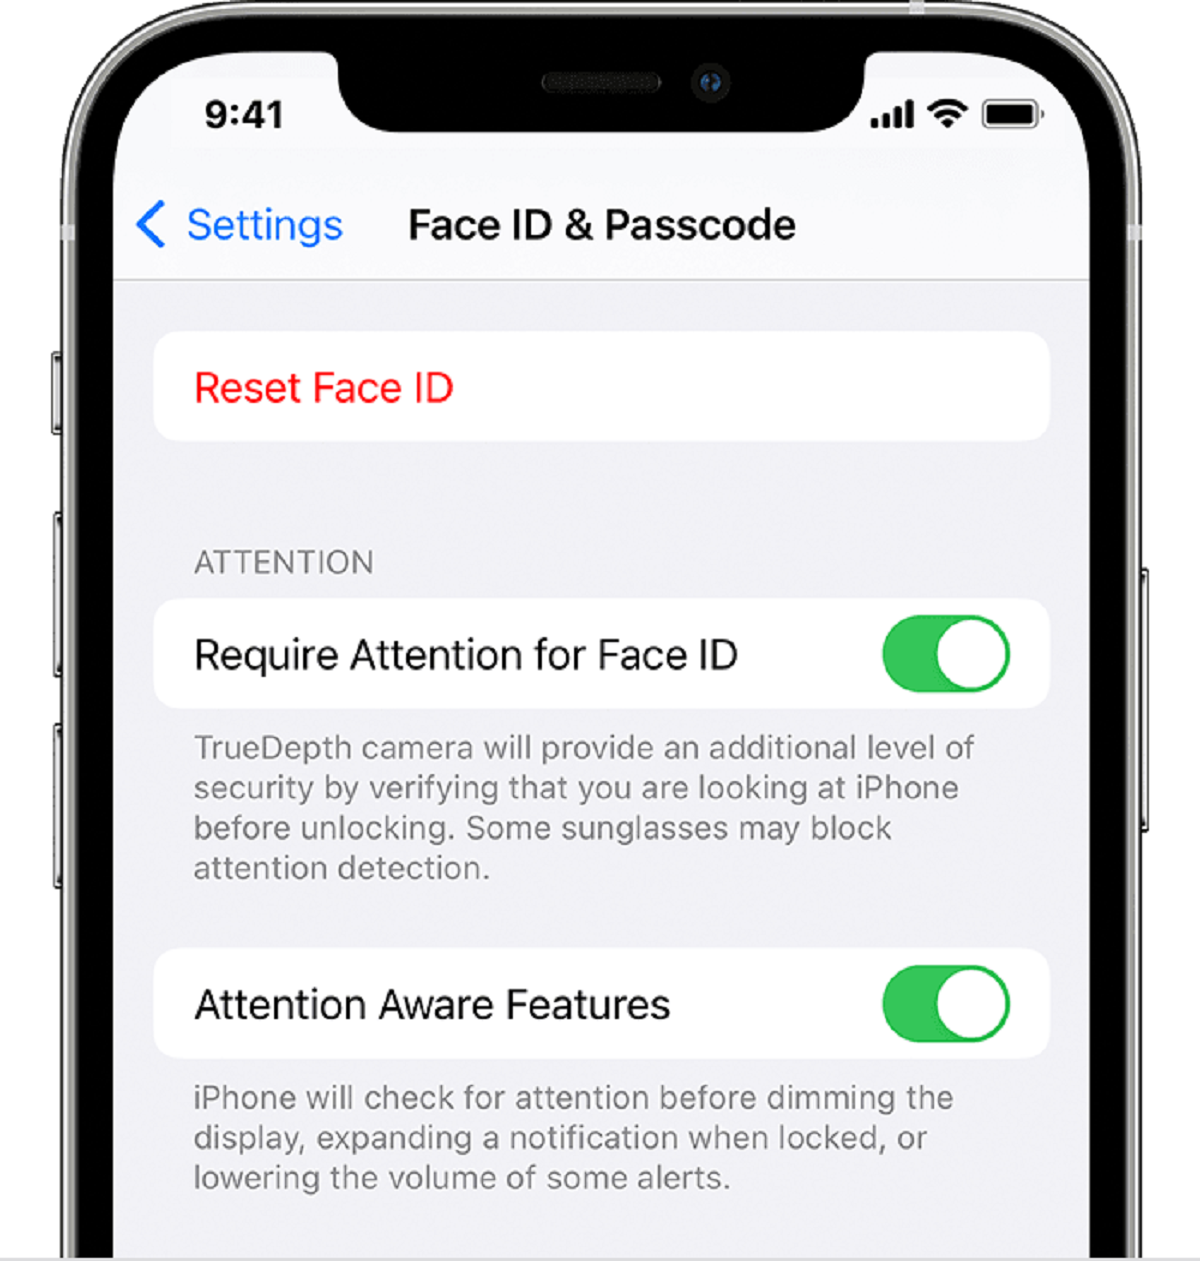
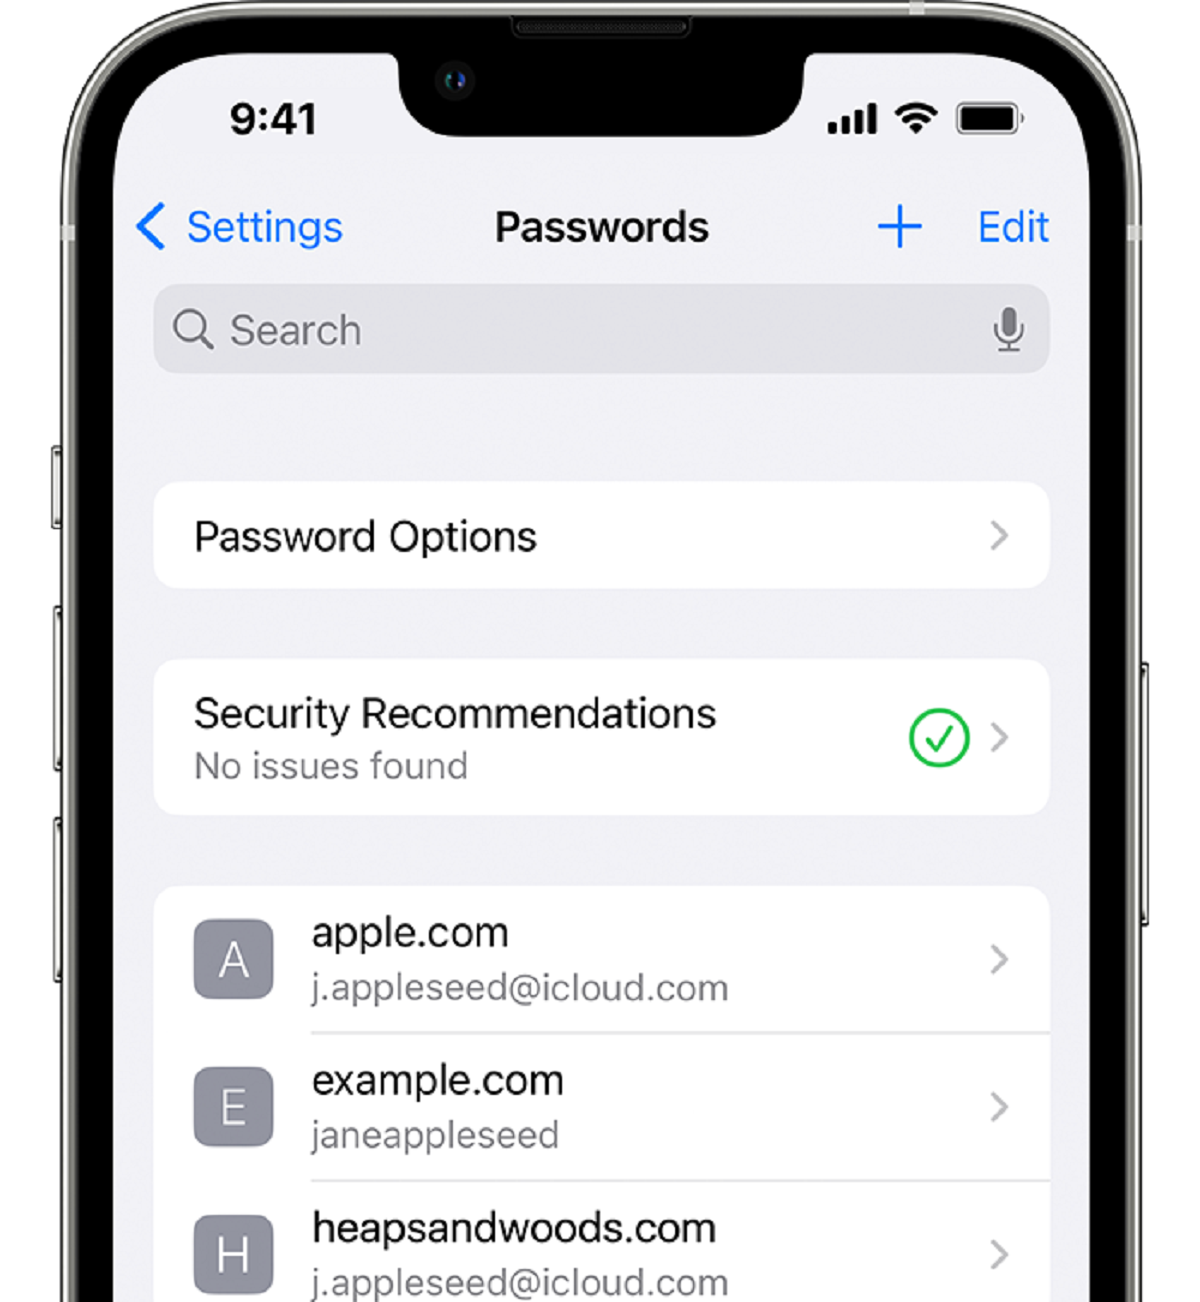
- Reset Face ID settings: If you’re still experiencing problems, you can try resetting the Face ID settings. Go to your device’s settings, find the Face ID & Passcode section, and choose the option to reset Face ID. Afterward, set up Face ID again from scratch.
By ensuring that your device’s software is up to date, restarting your device, and resetting Face ID settings if needed, you can address any software-related issues that may be preventing a successful Face ID setup. If these steps do not resolve the problem, consider the possibility that Face ID may have already been set up by another user, as explained in the next section.
Face ID Already Set Up by Another User
If another user has already set up Face ID on your device, you won’t be able to configure it again unless their facial data is removed from the settings. This situation can occur if you’ve purchased a device that was previously owned or if someone else had access to your device and set up Face ID without your knowledge. Here’s what you can do in this scenario:
- Ask the previous owner to remove their Face ID: If you purchased a pre-owned device, reach out to the previous owner and request that they remove their Face ID data from the settings. They can do this by going to the device’s settings, selecting Face ID & Passcode, and choosing the option to remove Face ID.
- Reset your device: If you’re unable to contact the previous owner or if you prefer to start fresh, you can reset your device to factory settings. This will remove all data, including any existing Face ID configurations. Note that resetting your device will erase all personal information, so be sure to back up your data beforehand.
- Contact Apple Support: If you’re unable to resolve the issue on your own, it’s recommended to contact Apple Support for further assistance. They can guide you through the necessary steps to remove the previously set up Face ID or provide further troubleshooting options specific to your device.
It’s crucial to address the presence of another user’s Face ID data on your device to ensure the security and accurate functionality of your own Face ID setup. By either having the previous owner remove their Face ID data or resetting your device, you can proceed with setting up Face ID using your own facial data.
Now that we’ve explored the common reasons why Face ID may not set up correctly and provided troubleshooting tips for each issue, you should be better equipped to overcome any challenges you encounter during the Face ID setup process.
Tips to Troubleshoot Face ID Setup Issues
Experiencing difficulties during the Face ID setup process can be frustrating, but there are several troubleshooting tips you can follow to overcome these issues. Here are some helpful suggestions:
- Clean the TrueDepth camera: Ensure the camera lens and sensors are clean and free of dirt or debris. Gently wipe the lens with a soft, lint-free cloth and remove any obstructions that may hinder the camera’s view.
- Ensure proper positioning: Hold your device at eye level and align your face within the frame on the screen. Avoid tilting your head and make sure your eyes, nose, and mouth are well within the guidelines.
- Check lighting conditions: Choose a well-lit area with even lighting to enhance the accuracy of Face ID. Avoid backlighting and make use of the screen brightness settings if necessary.
- Remove accessories or obstructions: Take off hats, scarves, sunglasses, or any other items that may obstruct your face during setup. Ensure a clear view of your face for the TrueDepth camera.
- Update your device’s software: Check for and install any available software updates for your device. Software updates often include bug fixes and improvements that can resolve Face ID setup issues.
- Reset Face ID settings: If all else fails, you can try resetting the Face ID settings on your device and set it up again from scratch. This can help address any underlying software issues that may be affecting the setup process.
By following these troubleshooting tips, you increase the chances of successfully setting up Face ID on your device. If you’re still unable to configure Face ID, consider seeking assistance from Apple Support or an authorized service provider who can provide further guidance.
Remember, Face ID is an advanced technology designed to provide convenience and security. By addressing any setup issues and ensuring an accurate configuration, you can enjoy the benefits of effortless facial recognition on your device.
Clean the TrueDepth Camera
The TrueDepth camera plays a vital role in the functionality of Face ID. It captures the depth and precise details of your facial features, allowing for accurate authentication. However, a dirty or dusty camera lens can hinder the Face ID setup process. Here are some steps to clean the TrueDepth camera:
- Use a soft, lint-free cloth: Start by gently wiping the camera lens with a soft, lint-free cloth. This will remove any smudges, fingerprints, or light dirt that may be obstructing the camera’s view. Avoid using rough or abrasive materials that could scratch the lens.
- Avoid applying excessive pressure: When cleaning the camera lens, be mindful not to apply too much pressure. The TrueDepth camera is delicately calibrated, and too much force could damage it. Use gentle, circular motions to clean the lens effectively.
- Remove stubborn dirt or debris: If there is stubborn dirt or debris on the lens, you can moisten a corner of the cloth with a small amount of water or lens cleaning solution. Gently rub the affected area in a circular motion until the dirt is removed. Dry the lens thoroughly afterward.
- Check for other obstructions: In addition to the camera lens, it’s essential to inspect the surrounding area for any obstructions that might hinder Face ID. Look for dirt or debris around the camera sensors and the proximity sensor. Use a small brush or can of compressed air to remove any particles.
By ensuring that the TrueDepth camera is clean and free from obstructions, you provide optimal conditions for Face ID to accurately capture and recognize your facial features. If you continue to experience problems with Face ID setup, proceed to the next section for additional troubleshooting measures.
Ensure Proper Positioning
Proper positioning of your face during the Face ID setup process is crucial for accurate facial recognition. Face ID relies on capturing multiple angles and dimensions of your facial features to create a unique map. Here are some tips to ensure the correct positioning of your face:
- Hold your device at eye level: When setting up Face ID, position your device at eye level, approximately 10-20 inches away from your face. This allows the TrueDepth camera to capture your facial features accurately without distortion or loss of detail.
- Align your face within the frame: During the setup, make sure your entire face is visible within the frame on the screen. Avoid tilting your head or holding your device at odd angles, as it can affect the accuracy of the captured data. Keep your face centered and ensure that your eyes, nose, and mouth are well within the guidelines.
- Remove any obstructions: Double-check that there are no obstructions, such as your hands or other objects, covering any part of your face during the setup process. The TrueDepth camera needs an unobstructed view to create an accurate map of your facial features.
- Ensure a stable position: It’s important to hold your device steadily during Face ID setup. Maintain a stable position to reduce any motion blur that might affect the quality of the captured facial data. Avoid sudden movements or shaking while the camera is analyzing your face.
By following these positioning guidelines, you increase the likelihood of a successful Face ID setup. Taking the time to ensure proper positioning improves the accuracy and reliability of Face ID for quick and effortless device authentication. If you still encounter difficulties during the setup process, refer to the next section for tips on addressing lighting conditions that may affect Face ID functionality.
Check Lighting Conditions
Lighting conditions play a crucial role in the effectiveness of Face ID. The TrueDepth camera relies on adequate lighting to accurately capture and analyze your facial features for authentication. Suboptimal lighting can lead to Face ID setup difficulties. Here are some tips to ensure optimal lighting conditions:
- Choose a well-lit area: When setting up Face ID, select an area with sufficient lighting. Natural daylight or evenly distributed indoor lighting tends to provide the best results. Avoid areas with harsh shadows or direct sunlight, as they can cause inconsistencies in the illumination on your face.
- Avoid backlighting: Backlighting occurs when the main light source is behind you, causing your face to appear dark or silhouette-like. Position yourself in a way that ensures the lighting is in front of you or evenly distributed. This helps the TrueDepth camera capture your facial features accurately.
- Adjust screen brightness: If the lighting conditions are not ideal, you can compensate by adjusting your device’s screen brightness. Increasing the screen brightness can help improve visibility and ensure better detection of your facial features by the TrueDepth camera.
By checking and optimizing the lighting conditions, you enhance the accuracy and reliability of Face ID during the setup process. Remember to choose an area with adequate lighting, avoid backlighting, and adjust the screen brightness if necessary. If you continue to experience difficulties, proceed to the next section for tips on removing accessories or obstructions that may interfere with Face ID setup.
Remove Accessories or Obstructions
Face ID requires a clear and unobstructed view of your face for accurate authentication. If you’re wearing accessories or there are obstructions present during the Face ID setup process, it can interfere with the configuration. Here are some steps to address this issue:
- Remove accessories: Before setting up Face ID, remove any accessories that may obstruct your facial features, such as hats, scarves, or helmets. These items can cast shadows or cover parts of your face, making it challenging for the TrueDepth camera to capture accurate data.
- Take off glasses: If you wear glasses, especially those with thick frames or tinted lenses, they can interfere with Face ID’s ability to recognize your face. Temporarily remove them during the setup process to ensure unobstructed facial detection.
- Ensure a clear view of your face: It is essential to keep your face fully visible to the TrueDepth camera during the setup process. Avoid covering your face with your hands or holding the device at an angle that obstructs your facial features. The camera needs a clear view of your eyes, nose, and mouth to create an accurate facial map.
By removing accessories, including sunglasses or prescription glasses, and ensuring an unobstructed view of your face, you enhance the chances of successfully setting up Face ID. These steps allow the TrueDepth camera to capture your facial features accurately, resulting in reliable face recognition. If you’re still experiencing problems during the setup process, refer to the next section for troubleshooting tips related to software issues and updates.
Update Your Device’s Software
Software issues or outdated system versions can sometimes cause difficulties during the Face ID setup process. To ensure optimal functionality, it’s crucial to keep your device’s software up to date. Here’s how you can address any software-related issues:
- Check for software updates: Regularly check for available software updates on your device. Go to the settings and look for the ‘Software Update’ option. If updates are available, download and install them. Software updates often include bug fixes, security enhancements, and improvements to Face ID functionality.
- Restart your device: If you’re experiencing issues during Face ID setup, a simple restart may help resolve temporary software glitches. Power off your device, wait for a few seconds, and then turn it back on. Attempt to set up Face ID again after the restart to see if the problem persists.
- Reset Face ID settings: In some cases, resetting the Face ID settings can help resolve software conflicts. Go to your device’s settings, locate the Face ID & Passcode section, and choose the option to reset Face ID. Afterward, set up Face ID again from scratch.
By ensuring that your device’s software is up to date, restarting it if needed, and resetting Face ID settings as a last resort, you can often resolve software-related issues that might be affecting the Face ID setup process. It’s important to maintain an updated software environment to have the latest features and improvements. If you’re still facing setup difficulties, proceed to the next section for additional troubleshooting tips.
Reset Face ID Settings
If you’re still experiencing issues during the Face ID setup process, resetting the Face ID settings on your device can sometimes resolve the problem. Resetting Face ID removes any existing facial data associated with your device and gives you a fresh start. Here’s how you can reset Face ID settings:
- Open your device’s settings: Go to the settings app on your device. It’s usually represented by a gear or cog icon.
- Select Face ID & Passcode: Look for the Face ID & Passcode section within the settings menu. Depending on your device, you may need to enter your passcode or use Touch ID to access this section.
- Choose to reset Face ID: Within the Face ID & Passcode settings, you’ll find an option to reset Face ID. Select this option to proceed.
- Set up Face ID again: After resetting Face ID, you can now set it up again from scratch. Follow the on-screen instructions to position your face correctly within the frame and complete the setup process.
Resetting Face ID settings clears any stored facial data and removes any potential conflicts that may have been causing startup difficulties. It’s important to note that resetting Face ID will not affect any other data or settings on your device.
If even after resetting Face ID settings, you’re still experiencing issues, you may want to consider reaching out to Apple Support or visiting an authorized service provider for further assistance. They can provide more specific troubleshooting steps based on your device model and help identify any underlying hardware-related issues.
Now that you’re aware of the troubleshooting steps, you can proceed with confidence and overcome any challenges you may encounter during the Face ID setup process.
Conclusion
Setting up Face ID is meant to provide users with a secure, seamless, and convenient way to authenticate their devices. However, there are several common challenges that can hinder a successful Face ID setup. By understanding these challenges and following the troubleshooting tips provided, you can overcome them effectively.
We explored various reasons why Face ID may not set up correctly, including issues with the TrueDepth camera, incorrect positioning of your face, poor lighting conditions, the presence of accessories or obstructions, software issues, and the possibility of another user already having set up Face ID on your device. We discussed specific steps to address each of these challenges, such as cleaning the TrueDepth camera, ensuring proper positioning, checking lighting conditions, removing accessories or obstructions, updating your device’s software, and resetting Face ID settings if necessary.
It’s important to note that while these troubleshooting tips can resolve most Face ID setup issues, there may be cases where underlying hardware or software defects require assistance from Apple Support or authorized service providers.
Remember, Face ID technology continues to evolve and improve with each software update and device iteration. Keeping your device and software up to date not only optimizes Face ID’s performance but also ensures access to the latest features and security enhancements.
By following the tips and guidelines outlined in this article, you can troubleshoot Face ID setup issues effectively and enjoy the convenience and security of facial recognition authentication on your device.