Introduction
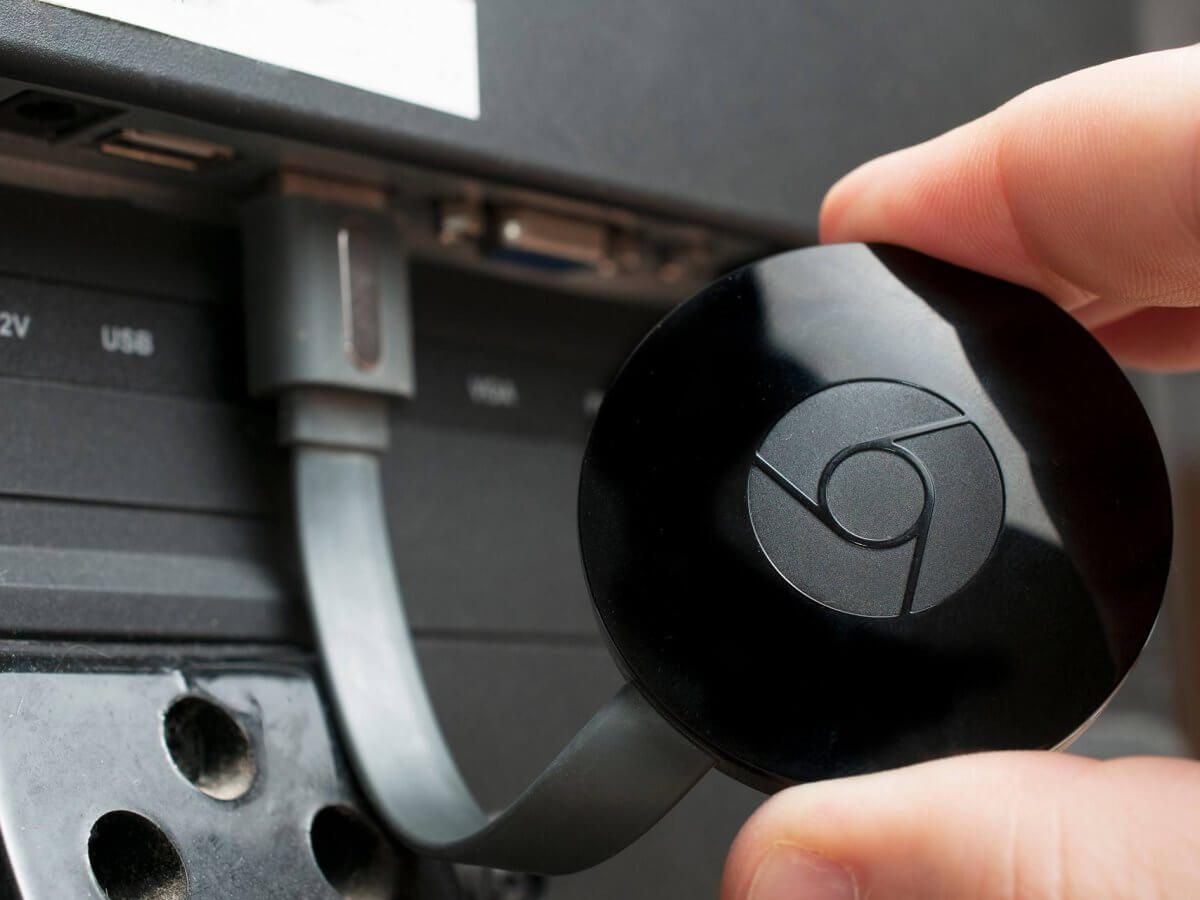
Welcome to the world of streaming media with Chromecast!
Chromecast, developed by Google, is a popular streaming device that allows you to cast your favorite movies, TV shows, and music from your mobile devices or computer to your television. It’s a convenient and user-friendly device that has gained widespread popularity for its seamless streaming experience.
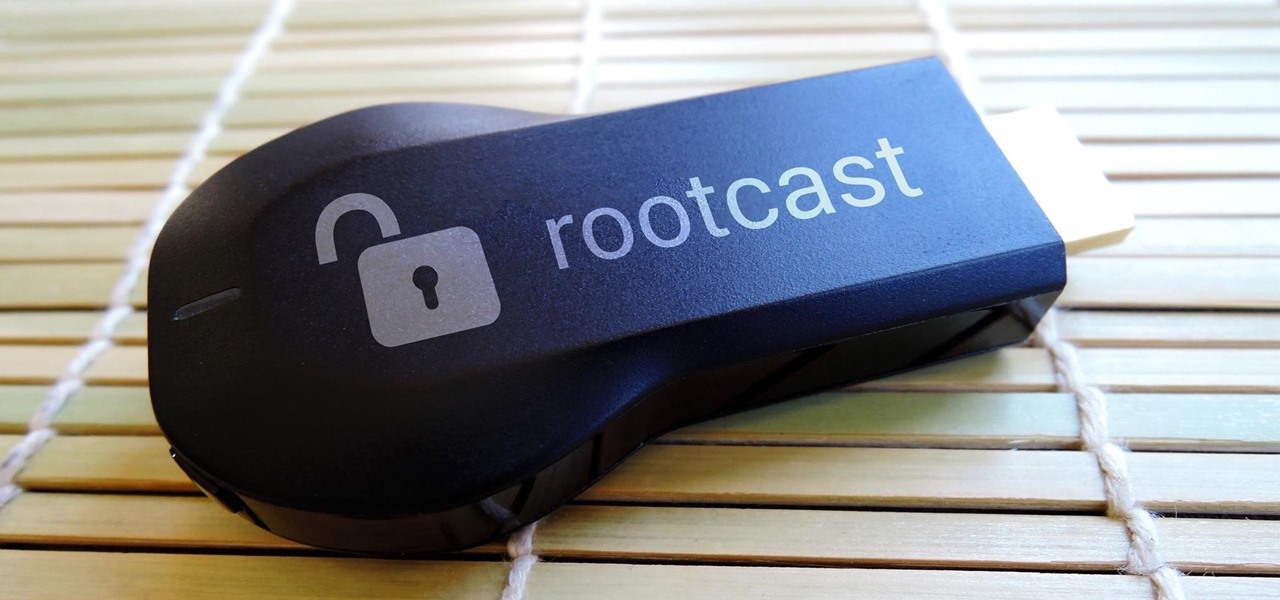
While Chromecast offers a wide range of features and functionality right out of the box, tech-savvy users may be intrigued by the possibilities that arise with rooting the device.
Rooting Chromecast, similar to rooting a smartphone, grants users privileged access to the device’s operating system, enabling them to customize its functionalities and access advanced features that are otherwise inaccessible.
In this article, we will explore the benefits and risks of rooting Chromecast, as well as provide step-by-step instructions on how to root the device using different methods. We will also discuss the potential hidden features that can be unlocked after successfully rooting Chromecast and answer some frequently asked questions to address any concerns you may have.
Whether you’re a tech enthusiast looking to enhance the capabilities of your Chromecast or simply curious about the world of rooting, this guide will provide you with the information you need to make an informed decision.
Benefits of Rooting Chromecast
Rooting Chromecast opens up a world of possibilities and can greatly enhance your streaming experience. Here are some of the key benefits of rooting your Chromecast:
- Customized Firmware: By rooting Chromecast, you gain the ability to install custom firmware. This allows you to optimize the device’s performance, add new features, and tweak settings to suit your preferences.
- Access to Third-Party Apps: Rooting Chromecast grants you the freedom to install and use third-party apps that are not officially supported by Google. This opens up a wide range of entertainment options, including streaming apps, digital media players, and more.
- Ad Blocking: Tired of pesky ads interrupting your streaming sessions? Rooting Chromecast allows you to install ad-blocking apps that can effectively eliminate advertisements from your streaming experience.
- Improved Performance: With customized firmware and advanced tweaks, rooted Chromecast devices can benefit from improved performance. This can result in smoother playback, reduced buffering, and overall faster streaming.
- Extended Device Compatibility: Rooting Chromecast enables compatibility with devices that are not officially supported. This means you can cast content from a wider range of devices, expanding your streaming options.
- Advanced Network Configuration: Rooting gives you greater control over your network settings, allowing you to optimize your streaming experience. You can prioritize bandwidth for Chromecast, use advanced network protocols, and even extend the device’s Wi-Fi range.
These benefits highlight the flexibility and customization that comes with rooting Chromecast. However, it’s important to note that rooting your device may void the warranty and can potentially cause stability or security issues if not done correctly. In the next section, we will discuss the risks and drawbacks of rooting Chromecast to help you make an informed decision.
Risks and Drawbacks of Rooting Chromecast
While there are many benefits to rooting your Chromecast, it’s essential to be aware of the potential risks and drawbacks before proceeding. Here are some factors to consider:
- Voiding Warranty: Rooting your Chromecast will most likely void the warranty provided by the manufacturer. This means that if you encounter any issues with your device in the future, you may not be eligible for support or repairs.
- Potential Damage: Rooting involves modifying the device’s system files, which can be risky if not done correctly. A small mistake during the rooting process can potentially brick your Chromecast, rendering it unusable.
- Security Risks: By rooting your Chromecast and installing custom firmware or apps, you may expose your device to potential security vulnerabilities. Custom software may not go through the same rigorous testing as official firmware, increasing the risk of malware or unauthorized access to your device.
- Instability: Rooting your Chromecast and making system modifications can lead to instability and unexpected issues. This could result in crashes, freezes, or apps not working properly. It’s important to have a good understanding of how to troubleshoot and fix any problems that may arise.
- Software Updates: With a rooted Chromecast, you may encounter difficulties when installing official software updates. Updating the firmware may require additional steps or even undoing the root access, which can be time-consuming and technically complex.
- Limited Official Support: Rooting your Chromecast goes against the terms and conditions set by the manufacturer. As a result, official support may not be available if you encounter any issues related to rooting or the use of custom firmware or apps.
Considering these risks and drawbacks, it’s important to weigh the potential benefits against the potential consequences of rooting your Chromecast. If you’re comfortable with the technical aspects involved and understand the risks, you can proceed to the next section, where we will discuss different methods to root Chromecast.
How to Root Chromecast
Rooting Chromecast requires some technical knowledge and careful execution. There are different methods available, each with its own requirements and steps. In this section, we will outline two popular methods to root Chromecast: the ADB method and the Flashcast method.
Preparing Your Device for Rooting:
Before you proceed with rooting Chromecast, there are a few preliminary steps you need to follow:
- Ensure you have a compatible Chromecast device. Not all models are supported for rooting.
- Enable USB debugging on your Chromecast by going to Settings > System > Developer options.
- Download and install the necessary software and drivers on your computer, such as the Android Debug Bridge (ADB) and the appropriate USB drivers for your Chromecast model.
- Make sure you have a stable internet connection and a USB cable to connect your Chromecast to your computer.
- Backup any important data on your Chromecast, as the rooting process may erase all your data.
Rooting Chromecast using the ADB Method:
The ADB method requires using the Android Debug Bridge tool to connect your Chromecast to your computer and execute commands. Here are the general steps:
- Connect your Chromecast to your computer via USB.
- Open the Command Prompt or Terminal on your computer.
- Navigate to the directory where you have installed the ADB tool.
- Enter the command to check if your Chromecast is detected:
adb devices - If your Chromecast is detected, enter the command to push the necessary files:
adb push [rooting files] /sdcard/ - Execute the rooting command:
adb shellfollowed bysu - If successful, you will have root access on your Chromecast.
Rooting Chromecast using the Flashcast Method:
The Flashcast method involves flashing a custom image onto your Chromecast using a tool called Flashcast. Here’s a general overview of the process:
- Download and install Flashcast on your computer.
- Connect your Chromecast to your computer via USB.
- Open Flashcast and follow the on-screen instructions to identify your Chromecast and flash the custom image.
- Once the flashing process is complete, your Chromecast should be rooted.
Keep in mind that these are simplified instructions, and the actual steps may vary depending on your Chromecast model and the rooting method you choose. It is crucial to follow detailed guides and tutorials specific to your device and chosen method.
After successfully rooting your Chromecast, you can explore the various hidden features and customization options available to enhance your streaming experience. In the next section, we will discuss some of these features in more detail.
Preparing Your Device for Rooting
Before you begin the process of rooting your Chromecast, it is important to properly prepare your device to ensure a smooth and successful rooting experience. Here are the key steps you need to follow:
1. Check Compatibility:
Make sure that your Chromecast model is compatible with rooting. Not all Chromecast models can be rooted, so it is important to research and verify if your specific model is supported. This information can usually be found on community forums or rooting websites dedicated to Chromecast.
2. Enable USB Debugging:
USB debugging is a crucial setting that needs to be enabled on your Chromecast before rooting. To enable USB debugging, follow these steps:
- Go to the Settings menu on your Chromecast.
- Scroll down and select System.
- Choose Developer options.
- Toggle the USB debugging switch to enable it.
Enabling USB debugging allows your Chromecast to communicate with your computer during the rooting process.
3. Install Necessary Software and Drivers:
In order to connect your Chromecast to your computer and perform the rooting process, you will need to install the required software and drivers. These include:
- Android Debug Bridge (ADB): ADB is a command-line tool used for communication between a computer and an Android device. Download and install the ADB tool on your computer.
- USB Drivers: Depending on your Chromecast model, you may need to install specific USB drivers to establish a proper connection between your Chromecast and your computer. These drivers are available for download from the official Google developer website or the manufacturer’s support page.
4. Stable Internet Connection and USB Cable:
Ensure that you have a stable internet connection to download any necessary files or software during the rooting process. Additionally, you will need a USB cable to connect your Chromecast to your computer. Make sure the cable is in good condition and capable of transferring data.
5. Backup Your Data:
Rooting your Chromecast involves modifying its system files, which can potentially lead to data loss or device malfunction. It is highly recommended to back up any important data or media files stored on your Chromecast to a separate storage device or cloud storage service to prevent permanent loss.
By following these preparation steps, you will ensure that your Chromecast is ready for the rooting process. Taking the time to properly prepare your device will minimize the risk of encountering issues or complications during the rooting process.
Rooting Chromecast using ADB Method
The ADB (Android Debug Bridge) method is a popular way to root Chromecast. It involves using the ADB tool, which allows you to communicate with your Chromecast from a computer. Here is a step-by-step guide on how to root Chromecast using the ADB method:
1. Connect your Chromecast to your computer:
Start by connecting your Chromecast device to your computer using a USB cable. Ensure that your computer recognizes the Chromecast and establishes a proper connection.
2. Open the Command Prompt or Terminal:
On your computer, open the Command Prompt (in Windows) or Terminal (in macOS or Linux). This is where you will enter the necessary commands to communicate with your Chromecast.
3. Navigate to the ADB installation directory:
In the Command Prompt (or Terminal), navigate to the directory where you have installed the ADB tool. If you haven’t installed it yet, you will need to download and install the ADB tool for your operating system before proceeding.
4. Check if your Chromecast is detected:
Enter the command adb devices in the Command Prompt (or Terminal). This will list all the devices connected to your computer. If your Chromecast is properly connected, it should appear in the list along with its unique device identifier.
5. Push the rooting files:
Use the adb push command to push the rooting files onto your Chromecast. The specific files and their destinations may vary depending on the rooting method you are using. Make sure you have downloaded the necessary rooting files and know their location on your computer.
6. Enter the root command:
Once the rooting files are pushed to your Chromecast, you need to enter the root command to gain root access. In the Command Prompt (or Terminal), enter the following commands:
adb shell
su
7. Verify root access:
If the rooting process is successful, you will gain root access on your Chromecast. To verify if your Chromecast is rooted, you can install a root-checking app from the Play Store or use a command such as su or id in the ADB shell to confirm the superuser privileges.
It’s important to note that these steps provide a general outline of the process, and the exact commands and files you need to use may vary depending on the specific rooting method you are following. It’s crucial to follow a detailed guide or tutorial specific to the rooting method you have chosen to ensure a successful rooting process.
Rooting Chromecast Using Flashcast Method
The Flashcast method is another popular approach to rooting Chromecast. It involves using a tool called Flashcast to flash a custom image onto your Chromecast, granting root access. Here’s a step-by-step guide on how to root Chromecast using the Flashcast method:
1. Download and install Flashcast:
Start by downloading the Flashcast tool onto your computer. Flashcast is a specialized tool designed for flashing custom images onto Chromecast. Install the tool following the instructions provided by the developer.
2. Connect your Chromecast to your computer:
Using a USB cable, connect your Chromecast device to your computer. Ensure that the connection is established and recognized by your computer.
3. Open Flashcast:
Launch the Flashcast tool on your computer. The tool should detect your connected Chromecast device.
4. Select the custom image:
In Flashcast, you will need to choose a custom image to flash onto your Chromecast. This custom image is typically a modified firmware that includes root access. Ensure that you have downloaded the suitable custom image for your Chromecast model from a trusted source.
5. Begin the flashing process:
Follow the on-screen instructions in Flashcast to initiate the flashing process. The tool will guide you through the necessary steps to flash the custom image onto your Chromecast.
6. Wait for the process to complete:
Allow Flashcast to complete the flashing process. This may take a few minutes, during which it is crucial not to disconnect or interrupt the connection between your Chromecast and your computer.
7. Verify root access:
After the flashing process is successfully completed, you can verify if your Chromecast is rooted. You can use a root-checking app from the Play Store or run a command, such as su or id, in the ADB shell to confirm the superuser privileges.
As with any rooting process, it is vital to follow a detailed guide specific to the Flashcast method and the custom image you are using. The steps outlined here provide a general overview, but the exact procedures and requirements may vary.
Rooting Chromecast using the Flashcast method offers a way to gain root access to your device by flashing a custom image. This can unlock advanced customization options and features, but it is important to proceed with caution and ensure that you fully understand the process before proceeding.
Unlocking Hidden Features After Rooting Chromecast
Once you have successfully rooted your Chromecast, a new realm of hidden features and customization options becomes available. Here are some of the exciting possibilities you can explore:
1. Advanced Customization:
Rooting Chromecast allows you to install custom firmware, giving you the ability to customize various aspects of the device. From changing the boot animation to modifying system settings, you can personalize your Chromecast experience to suit your preferences.
2. Ad Blocking:
Root access enables you to block annoying advertisements that may interrupt your streaming sessions. Through the use of ad-blocking applications, you can enjoy a cleaner and uninterrupted streaming experience.
3. Overclocking and Underclocking:
By manipulating CPU clock speeds, you can overclock or underclock your Chromecast for performance optimizations. Overclocking can lead to smoother media playback, while underclocking can reduce power consumption.
4. Expanded App Compatibility:
Rooting your Chromecast may allow you to use apps that were previously incompatible. With root access, you can modify certain system files to enable compatibility with a wider range of applications, expanding your entertainment options.
5. Increased Network Controls:
Rooting your Chromecast grants you more control over your network settings. You can prioritize bandwidth for Chromecast, use advanced network protocols, or even extend the Wi-Fi range, ensuring a smoother and more stable streaming experience.
6. Backup and Restore:
Root access allows you to back up the entire system and data of your Chromecast. This means that if anything goes wrong or you want to revert to a previous state, you can easily restore your Chromecast to its previous configuration without losing any data.
7. Access System Files and Resources:
Rooting Chromecast gives you access to system files and resources that are otherwise inaccessible. This allows for deeper exploration and potential modifications to optimize your device’s performance or experiment with new features.
It’s important to note that while these hidden features can enhance your Chromecast experience, they do come with certain risks. Modifying system files and settings may introduce instability or security vulnerabilities if not done carefully. Therefore, it is crucial to research and understand the potential consequences before making any changes.
Always proceed with caution, follow reputable guides, and be prepared to accept the responsibility that comes with root access. With proper understanding and careful execution, you can unlock exciting hidden features and customize your Chromecast to create a personalized streaming experience like never before.
Frequently Asked Questions about Rooting Chromecast
Rooting Chromecast can be an exciting endeavor, but it also raises some common questions and concerns. Here are answers to frequently asked questions about rooting Chromecast:
1. Is rooting Chromecast legal?
Rooting Chromecast is a legal process in most countries. However, it is essential to note that rooting may void your warranty, and any damage caused during the process is your responsibility. Always check your local laws and the terms and conditions set by the manufacturer before proceeding with rooting.
2. Will I lose my data when rooting Chromecast?
Rooting Chromecast can potentially lead to data loss. It is crucial to back up any important data before starting the rooting process. This includes media files, settings, and any other data you wish to preserve.
3. Can I unroot Chromecast if I change my mind?
Yes, it is possible to unroot Chromecast if you decide to revert to the original firmware. However, the process of unrooting can be complex and may not guarantee complete restoration. It is important to follow specific guides or seek assistance from the rooting community to properly unroot your Chromecast.
4. Can I still receive official system updates after rooting Chromecast?
Rooting Chromecast can complicate or prevent the installation of official system updates. Manufacturers may release updates that specifically target rooted devices, making them incompatible or potentially causing issues. You may need to manually revert to the official firmware before installing system updates.
5. Does rooting Chromecast expose it to security risks?
Rooting Chromecast can potentially expose it to security risks if you install unauthorized apps or modify system files without proper understanding. It’s important to practice caution, only download apps from trusted sources, and be aware of the risks associated with rooting.
6. Can I still use Google services and apps after rooting Chromecast?
Rooting Chromecast may disable certain Google services or apps that rely on the official firmware. However, there are often alternatives available in the rooting community that can provide similar functionality. It’s essential to research and ensure compatibility before making any changes.
7. Will rooting Chromecast improve its performance?
Rooting Chromecast can potentially improve its performance by allowing advanced customization, overclocking capabilities, and other optimizations. However, individual results may vary, and improper modifications can lead to instability or reduced performance. Always proceed with caution and follow recommended practices.
These frequently asked questions address some of the common concerns and uncertainties surrounding the process of rooting Chromecast. Before proceeding with rooting, it is crucial to thoroughly research and understand the implications to make an informed decision that aligns with your preferences and needs.
Conclusion
Rooting Chromecast can offer an exciting and customizable streaming experience for tech enthusiasts and advanced users. It provides access to hidden features, advanced customization options, and the ability to unlock the full potential of your device. However, it is important to weigh the benefits against the risks and drawbacks before proceeding with rooting.
We discussed the benefits of rooting Chromecast, such as customized firmware, access to third-party apps, improved performance, and advanced network configuration. Rooting also comes with risks, including voiding the warranty, potential device damage, security vulnerabilities, and limited official support.
To root Chromecast, we explored two popular methods: the ADB method and the Flashcast method. The ADB method involves using the Android Debug Bridge tool to communicate with your Chromecast and execute commands. The Flashcast method requires flashing a custom image onto your Chromecast using the Flashcast tool.
After successfully rooting your Chromecast, you can unlock hidden features, such as advanced customization, ad blocking, overclocking, increased app compatibility, enhanced network controls, backup and restore capabilities, and access to system files and resources.
We also addressed frequently asked questions about rooting Chromecast, covering topics like legality, data loss, unrooting, system updates, security risks, Google services compatibility, and potential performance improvements.
Ultimately, the decision to root your Chromecast should be based on your own requirements, technical knowledge, and willingness to accept any risks involved. It is essential to follow accurate and up-to-date guides specific to your Chromecast model and chosen rooting method, and to proceed with caution.
By understanding the benefits, risks, and procedures of rooting Chromecast, you can make an informed decision and enjoy a customized, feature-rich streaming experience tailored to your preferences.