Introduction
Welcome to our guide on how to clear the cache on your Chromecast! If you are experiencing any issues with your Chromecast, such as buffering problems or streaming interruptions, clearing the cache may just be the solution you need. In this article, we will explain what cache is and why it’s important to clear it on your Chromecast device.
Before we dive into the steps to clear the cache, let’s first understand what cache is and how it impacts your Chromecast’s performance.
Cache is a temporary storage location that stores data to improve the speed and performance of your device. It stores a copy of frequently accessed data so that when you revisit a website or use an app, the content can be loaded faster. While cache can be beneficial, over time it can accumulate a large amount of data that may cause issues on your Chromecast.
Clearing the cache on your Chromecast is crucial to maintaining optimal performance. When the cache becomes overloaded, it can lead to buffering problems, slow loading times, and even app crashes. Clearing the cache ensures that your Chromecast starts fresh, freeing up precious space and allowing it to function smoothly.
In the upcoming sections, we will guide you through the steps to clear the cache on your Chromecast. We will cover both mobile devices and desktop platforms, so no matter how you access your Chromecast, you’ll be able to follow along.
What is Cache?
Cache is a temporary storage location that stores data to improve the speed and performance of your device. When you visit a website, use an app, or stream media on your Chromecast, certain elements of that content are stored in the cache. This includes images, scripts, videos, and other types of data that are necessary for the proper functioning of the website or app.
The purpose of cache is to reduce the load on the server and minimize the amount of data that needs to be downloaded each time you access a website or use an app. By storing a copy of frequently accessed data, your Chromecast can retrieve it quickly instead of having to download it from the internet every time. This significantly improves the loading speed and responsiveness of websites and apps on your device.
Cache is implemented at various levels, including your browser cache and the cache on individual devices like your Chromecast. Each device or app has its own cache, which is managed independently from others. This means that clearing the cache on your Chromecast will not affect the cache on your other devices.
While cache is beneficial in speeding up your browsing or streaming experience, it can also cause problems when it becomes overloaded or outdated. Over time, the cache can accumulate a large amount of data, including outdated or corrupted files. This can lead to performance issues, such as slow loading times, buffering problems, and even app crashes.
Clearing the cache on your Chromecast is essential to maintain optimal performance and ensure a smooth streaming experience. By removing the accumulated cache, you are essentially starting fresh, allowing your device to efficiently retrieve and store newly accessed data.
In the next section, we will discuss why it is important to clear the cache on your Chromecast.
Why Should You Clear Chromecast Cache?
Clearing the cache on your Chromecast is essential for maintaining optimal performance and fixing various issues that may arise during your streaming experience. Here are some reasons why you should consider clearing the cache on your Chromecast:
- Improved Streaming Performance: Over time, the cache on your Chromecast can become filled with outdated or corrupted files. This can lead to buffering problems, interruptions in your streaming, and overall decreased performance. By clearing the cache, you are essentially refreshing your Chromecast, allowing it to operate smoothly and efficiently.
- Solving App Crashes: If you experience frequent app crashes or error messages on your Chromecast, clearing the cache can often resolve the issue. Outdated or corrupted cache files can cause apps to malfunction, resulting in crashes. By clearing the cache, you get rid of these problematic files and give the apps a fresh start.
- Freeing up Storage Space: Cache files can take up a significant amount of storage space on your Chromecast. By regularly clearing the cache, you can free up space and ensure that your device has enough room to store essential data and perform at its best.
- Resolving Sluggish Performance: If you notice that your Chromecast has become slow or unresponsive, clearing the cache can help improve its performance. Removing the excess cache files can reduce the burden on your device’s resources, allowing it to operate more efficiently and without lags.
- Fixing Display or Playback Issues: Sometimes, cache files can interfere with the proper display or playback of content on your Chromecast. This can manifest as distorted images, audio/video synchronization problems, or other visual glitches. By clearing the cache, you can eliminate these issues and enjoy a seamless streaming experience.
Overall, clearing the cache on your Chromecast is a simple yet effective solution to many common streaming problems. It ensures that your device operates smoothly, frees up valuable storage space, and helps to resolve issues that may be hindering your streaming experience.
Now that you understand the importance of clearing the cache on your Chromecast, let’s proceed to the next section, where we will discuss the step-by-step process of clearing the cache on different devices.
How to Clear Chromecast Cache
Clearing the cache on your Chromecast is a straightforward process that can be done through the Google Home app on your mobile device or the Chrome browser on your desktop. Below, we will guide you through the step-by-step instructions for both platforms:
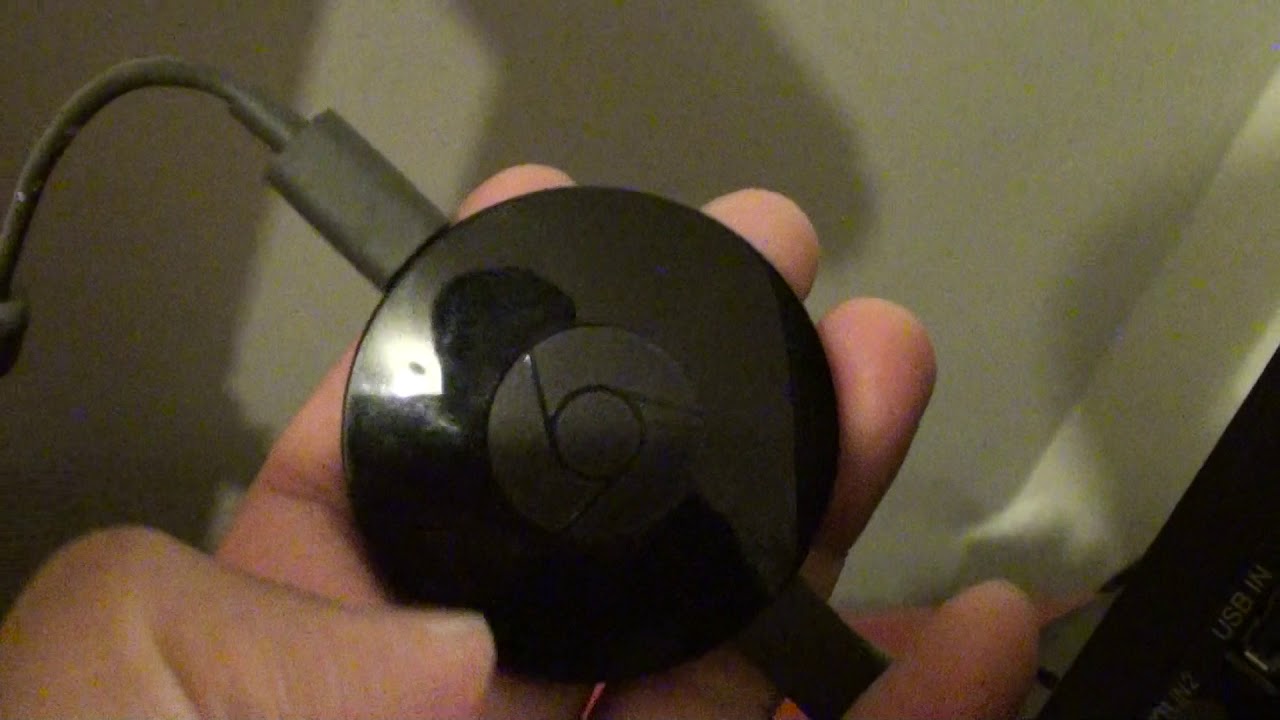
Step 1: Disconnecting Chromecast
The first step is to disconnect your Chromecast from power for a few seconds. This helps to ensure a clean restart and clears any temporary data stored in the device’s memory.
Step 2: Clearing Cache on Mobile Devices
If you’re using a mobile device, follow these steps:
- Open the Google Home app on your mobile device.
- Select your Chromecast device.
- Tap on the gear icon in the top-right corner to access the device settings.
- Scroll down and find the option “Clear Cache” or “Clear Data”.
- Tap on the option and confirm your selection to clear the cache.
Step 3: Clearing Cache on Desktop
If you’re using a desktop computer or laptop, follow these steps:
- Open the Chrome browser on your computer.
- Type “chrome://cast” in the address bar and press Enter.
- Click on the three-dot menu icon on the top-right corner of the browser window.
- Select “Options” or “Settings” from the drop-down menu.
- Under the “Chromecast” section, locate your Chromecast device and click on the “Refresh” button next to it.
- Click on the three-dot menu icon again and select “Clear Cache”.
Step 4: Reconnecting Chromecast
After clearing the cache, reconnect your Chromecast to power and follow the standard setup process to reconnect it to your Wi-Fi network and any apps or devices that you use with it.
Following these steps will clear the cache on your Chromecast, ensuring a fresh start and optimal performance. It’s recommended to repeat this process periodically to keep your Chromecast running smoothly.
Now that you’ve learned how to clear the cache on your Chromecast, let’s move on to the next section, where we’ll share some additional tips and tricks to further enhance your Chromecast experience.
Step 1: Disconnecting Chromecast
The first step in clearing the cache on your Chromecast is to disconnect the device from power. This simple action helps ensure a clean restart and clears any temporary data stored in the device’s memory. Follow the steps below to disconnect your Chromecast:
- Locate the power cord connected to your Chromecast device.
- Unplug the power cord from the Chromecast or from the power outlet.
- Wait for a few seconds to make sure the device is completely powered down.
By temporarily cutting off the power supply, you allow the Chromecast to reset its internal cache and remove any residual data that may be causing performance issues. This also gives the device a chance to cool down, reducing the risk of overheating.
Disconnecting your Chromecast from power is a simple yet important step in the cache-clearing process. It can help resolve various issues such as buffering problems, slow loading times, and app crashes. It also serves as a necessary precursor to the following steps of clearing the cache.
Once you have disconnected your Chromecast from power and ensured that it is completely powered down, you can proceed to the next steps to clear the cache on your mobile device or desktop computer, depending on your preferred platform.
Now that you have completed step 1, it’s time to move on to step 2, where we will guide you through the process of clearing the cache on mobile devices.
Step 2: Clearing Cache on Mobile Devices
If you’re using a mobile device to control your Chromecast, follow these step-by-step instructions to clear the cache:
- Open the Google Home app on your mobile device. This app is used to manage and control your Chromecast.
- Select your Chromecast device from the available devices listed in the app. Make sure your device and the Chromecast are connected to the same Wi-Fi network.
- Once you have selected your Chromecast, tap on the gear icon located in the top-right corner of the app. This will take you to the device settings.
- Scroll down the settings menu and look for the option that says “Clear Cache” or “Clear Data”. The specific wording may vary depending on the version of the Google Home app you are using.
- Tap on the “Clear Cache” or “Clear Data” option.
- A confirmation message will appear asking if you want to clear the cache. Tap on “OK” or “Clear” to proceed.
By following these steps, you will clear the cache on your Chromecast using the Google Home app on your mobile device. Clearing the cache helps improve the overall performance of your Chromecast by removing any accumulated temporary data that may be causing issues.
It’s worth noting that clearing the cache on your Chromecast using the Google Home app will not affect any other data or settings on your mobile device. The cache clearing process is specific to the Chromecast device and does not interfere with other apps or data stored on your phone or tablet.
Now that you have successfully cleared the cache on your Chromecast using your mobile device, it’s time to move on to step 3, where we will guide you through the process of clearing the cache on a desktop computer or laptop using the Chrome browser.
Step 3: Clearing Cache on Desktop
If you prefer to control your Chromecast from a desktop computer or laptop, you can clear the cache using the Chrome browser. Follow these step-by-step instructions:
- Open the Chrome browser on your desktop computer or laptop. Ensure that you are using the same Google account that is connected to your Chromecast device.
- In the address bar, type “chrome://cast” and press Enter. This will take you to the Chromecast settings page in Chrome.
- On the Chromecast settings page, you will see a list of available Chromecast devices. Locate your Chromecast device and click on the three-dot menu icon located next to it.
- From the dropdown menu that appears, select “Options” or “Settings”. This will open the settings page for your Chromecast.
- Scroll down the settings page until you find the “Chromecast” section. Within this section, you will see a “Refresh” button. Click on this button to refresh your Chromecast connection.
- After refreshing the connection, click on the three-dot menu icon again and select “Clear Cache” from the dropdown menu.
By following these steps, you can clear the cache on your Chromecast using the Chrome browser on your desktop computer or laptop. Clearing the cache helps improve the performance and resolve any buffering or loading issues you may be experiencing.
It’s important to note that clearing the cache using the Chrome browser will only affect the cache stored on your Chromecast device. It will not clear the cache on your desktop browser or affect any other data or settings on your computer.
Once you have successfully cleared the cache on your Chromecast from your desktop computer or laptop, you’re ready to move on to the final step – reconnecting your Chromecast.
Step 4: Reconnecting Chromecast
After successfully clearing the cache on your Chromecast, it’s time to reconnect the device and ensure everything is set up properly. Follow the steps below to reconnect your Chromecast:
- Plug the power cord back into your Chromecast and connect it to a power outlet.
- Wait for your Chromecast to power up and display the home screen on your TV.
- Using the Google Home app on your mobile device or the Chrome browser on your desktop, go through the setup process to reconnect your Chromecast to your Wi-Fi network.
- If prompted, enter the required Wi-Fi network credentials and follow the on-screen instructions to complete the setup.
- Once the setup is complete, your Chromecast should be successfully reconnected and ready to use.
Reconnecting your Chromecast ensures that it is properly synced with your Wi-Fi network and any apps or devices you use with it. This step is important as it allows your Chromecast to regain access to your preferred streaming services and ensures a seamless streaming experience.
If you encounter any issues during the reconnection process, make sure that your Wi-Fi network is stable and that you have entered the correct network credentials. You can also try rebooting your router or contacting your internet service provider for assistance.
With your Chromecast successfully reconnected, you can now enjoy your favorite movies, TV shows, and online content without any cache-related performance issues. Remember, it’s a good practice to periodically clear the cache on your Chromecast to maintain optimal performance and avoid any potential buffering or loading problems in the future.
In the next section, we will share some additional tips and tricks to further enhance your Chromecast experience, so stay tuned!
Additional Tips and Tricks
Now that you have cleared the cache on your Chromecast and reconnected it, here are some additional tips and tricks to further enhance your Chromecast experience:
- Keep your Chromecast updated: Regularly check for firmware updates for your Chromecast device. These updates often include performance improvements, bug fixes, and new features that can enhance your streaming experience. You can check for updates through the Google Home app.
- Optimize your Wi-Fi network: To ensure smooth streaming, make sure your Chromecast is connected to a stable and reliable Wi-Fi network. If possible, place your router closer to your Chromecast device and avoid any physical obstructions that may weaken the Wi-Fi signal.
- Use a wired connection: If possible, consider using an Ethernet adapter to connect your Chromecast directly to your router with an Ethernet cable. This can provide a more stable and reliable connection, especially if you’re experiencing buffering or connectivity issues.
- Clear cache on other devices: In addition to clearing the cache on your Chromecast, it’s also a good practice to clear the cache on the apps or devices you use to stream content. This can help optimize performance and ensure a smooth streaming experience.
- Manage device congestion: If you’re experiencing slowdowns or buffering issues due to multiple devices using your Wi-Fi network, consider limiting the number of active devices or prioritizing your Chromecast for optimal bandwidth allocation.
- Reboot your Chromecast: If you’re still encountering issues after clearing the cache, try power cycling your Chromecast by unplugging it from power and plugging it back in. This can help resolve any temporary software or connectivity issues.
- Explore additional features: Take advantage of other features offered by your Chromecast, such as screen mirroring, casting from supported apps, or using voice commands with Google Assistant. These features can enhance your streaming experience and offer new ways to enjoy your favorite content.
By following these additional tips and tricks, you can optimize your Chromecast performance and have an even more enjoyable streaming experience. Don’t hesitate to experiment with different settings and features to find the best setup that suits your needs and preferences.
Now that you’re equipped with these tips and tricks, you’re ready to make the most of your Chromecast. Enjoy streaming your favorite content without any cache-related issues!
If you have any further questions or need additional assistance, consult the Chromecast support documentation or reach out to Google support for further guidance.
Conclusion
Congratulations! You have learned how to clear the cache on your Chromecast to improve its performance and resolve various streaming issues. Clearing the cache is a simple yet effective way to ensure that your Chromecast operates smoothly and delivers a seamless streaming experience.
In this guide, we explained what cache is and why it’s important to clear it on your Chromecast. We provided step-by-step instructions for clearing the cache on both mobile devices and desktop platforms. By following these steps, you can remove accumulated temporary data that may be causing buffering problems, slow loading times, or app crashes.
In addition to the cache-clearing process, we shared some additional tips and tricks to enhance your Chromecast experience. Keeping your device updated, optimizing your Wi-Fi network, using a wired connection, and managing device congestion are just some of the strategies you can employ to further improve your streaming performance.
Remember to periodically clear the cache on your Chromecast to maintain optimal performance. You can also explore other features offered by your Chromecast, such as screen mirroring, casting from supported apps, or using voice commands with Google Assistant, to enhance your streaming experience.
If you encounter any further issues or have specific questions about using your Chromecast, consult the official Chromecast support documentation or reach out to Google support for assistance.
Thank you for reading our guide on how to clear the cache on your Chromecast. We hope you find this information useful in maximizing your streaming enjoyment!