Introduction
Welcome to this troubleshooting guide on why your HDMI cable may not be working. HDMI (High-Definition Multimedia Interface) cables are widely used for transmitting high-quality audio and video signals between devices such as televisions, monitors, and gaming consoles. However, sometimes you may encounter issues where the HDMI cable fails to deliver the expected output.
There can be several reasons for this, ranging from simple connectivity problems to device compatibility issues. In this article, we will explore common problems that can arise with HDMI cables and provide step-by-step solutions to help you resolve them.
Before diving into the troubleshooting steps, it’s essential to have a basic understanding of how HDMI cables work. HDMI cables are designed to carry both audio and video signals in a single cable, providing a convenient and high-quality connection between devices. The HDMI standard has evolved over the years, with different versions offering increased bandwidth and support for higher resolutions.
Now, let’s delve into the potential issues you may encounter with your HDMI cable and how to troubleshoot them effectively.
Understanding HDMI Cables
Before we address the issues with HDMI cables, it’s essential to have a clear understanding of their features and capabilities. HDMI cables are the industry standard for transmitting high-definition audio and video signals between devices. They provide a digital connection, ensuring superior quality and clarity compared to older analog formats.
HDMI cables come in different versions, including HDMI 1.4, HDMI 2.0, and HDMI 2.1. Each version offers specific features and capabilities, so it’s important to use the appropriate cable for your devices and desired resolution.
One crucial aspect of HDMI cables is their bandwidth. Bandwidth determines the amount of data that can be transmitted through the cable and affects the resolution and frame rate that the cable can support. For example, HDMI 1.4 cables are capable of transmitting 1080p resolution at 60Hz, while HDMI 2.0 and 2.1 cables support higher resolutions, including 4K and even 8K, along with higher refresh rates.
HDMI cables also carry audio signals, eliminating the need for separate audio cables. They support various audio formats, including Dolby Digital and DTS, ensuring immersive sound quality when connected to compatible devices.
Furthermore, HDMI cables can transmit additional data through their HDMI ARC (Audio Return Channel) feature. This allows you to send audio signals from your TV to a soundbar or audio receiver without the need for a separate audio cable.
It’s important to note that while HDMI cables are generally backward compatible, using an older version cable with a newer device may limit the capabilities and features available. To ensure optimal performance, it’s recommended to use the highest version HDMI cable that your devices support.
With a basic understanding of HDMI cables, you can better troubleshoot common issues that may arise. In the following sections, we’ll explore some of the most common problems encountered with HDMI cables and provide step-by-step solutions to help you resolve them.
Common Issues with HDMI Cables
While HDMI cables are generally reliable, there are several common issues that users may encounter. Understanding these issues will help you effectively troubleshoot and resolve any problems you may face. Let’s take a look at some of the most frequent issues:
1. No signal or blank screen: One of the most common issues is when the connected device fails to display any image or shows a blank screen. This can be caused by various factors, including loose connections, incompatible resolutions between devices, or faulty cables.
2. Poor picture quality: If the picture quality on your display is not as sharp or clear as expected, it could be due to issues such as incorrect display settings, lower-quality HDMI cables, or outdated firmware on the devices.
3. Audio problems: You may encounter audio-related issues, such as no sound, distorted audio, or audio not synchronized with the video. These problems can arise due to incorrect audio settings, faulty cables, or compatibility issues between devices.
4. HDMI handshake issues: The HDMI handshake is the process by which devices establish a connection and exchange information. Sometimes, the handshake can fail, resulting in devices not recognizing each other or displaying an “HDMI handshake error” message.
5. Limited functionality: In some cases, certain features or functionalities of the connected devices may not work when using an HDMI cable. This can happen if the cable does not support the required bandwidth or if the devices have different HDMI version compatibility.
These are just a few examples of the common issues you may encounter with HDMI cables. It’s essential to identify the specific problem you’re facing so that you can apply the appropriate troubleshooting steps. In the next sections, we will provide detailed instructions on how to address these issues and get your HDMI cable working seamlessly.
Check the Physical Connection
When experiencing issues with your HDMI cable, the first step is to check the physical connection between your devices. Loose or faulty connections can often cause problems with the signal transmission. Here are some steps to ensure a secure physical connection:
1. Verify cable connections: Make sure that both ends of the HDMI cable are securely plugged into the HDMI ports of your devices. Sometimes, the cable may appear to be connected, but it might not be inserted fully. Give it a gentle push to ensure a snug fit.
2. Inspect the cable for damage: Examine the HDMI cable for any visible signs of damage, such as cuts, fraying, or bent pins. If you notice any issues, it’s advisable to replace the cable with a new one to rule out any physical damage causing the problem.
3. Consider cable length and quality: HDMI cables have a maximum recommended length for optimal performance. If your cable is too long, it may result in degraded signal quality. Additionally, using lower-quality cables or excessively cheap cables can also affect the signal integrity. Consider using a certified high-speed HDMI cable for best results.
4. Test with a different HDMI port: If you have multiple HDMI ports on your devices, try connecting the cable to a different port. This can help determine if the issue lies with a faulty HDMI port rather than the cable itself.
5. Try a different HDMI cable: If possible, try using a different HDMI cable to see if the problem persists. This will help determine if the issue is specific to the cable or if it’s related to other factors.
By thoroughly checking the physical connection of your HDMI cable, you can ensure a solid foundation for troubleshooting any issues. If the problem still persists after verifying the physical connection, continue to the next section for further troubleshooting steps.
Ensure Both Devices are Compatible
Device compatibility is an important factor when it comes to HDMI cable connectivity and functionality. Incompatible devices can lead to issues with signal transmission or limited functionality. To ensure smooth operation of your HDMI cable, make sure that both devices are compatible with each other. Here’s what you need to consider:
1. Check HDMI version compatibility: HDMI versions (such as HDMI 1.4, HDMI 2.0, HDMI 2.1) may offer different features and capabilities. Verify the HDMI version supported by your devices and ensure that they are compatible. For example, if your TV supports HDMI 2.0, but your media player only supports HDMI 1.4, you may encounter compatibility issues.
2. Confirm resolution compatibility: Different devices have different resolution capabilities. Check if the output resolution of the source device (e.g., a Blu-ray player or gaming console) is supported by the receiving device (e.g., a TV or monitor). If the resolution is not supported by the receiving device, it can lead to improper display or a blank screen.
3. Consider HDCP compatibility: HDCP (High-bandwidth Digital Content Protection) is a content protection technology commonly implemented on HDMI connections. It ensures that copyrighted content is transmitted securely. However, HDCP compatibility can vary between devices. If either the source or receiving device does not support HDCP, it can result in issues such as no video or distorted playback.
4. Verify audio format compatibility: HDMI cables transmit both audio and video signals. Check if the audio format supported by the source device is compatible with the receiving device. Incompatibility in audio formats can lead to no sound or distorted audio.
5. Update firmware: Firmware updates are often released by manufacturers to enhance device compatibility and address any known issues. Check if there are any available firmware updates for your devices and install them if necessary.
By ensuring that both devices are compatible with each other, you can eliminate potential compatibility issues and enhance the functionality of your HDMI cable. If compatibility is not the root cause of the problem, proceed to the next section for further troubleshooting steps.
Verify the HDMI Inputs and Outputs
When troubleshooting HDMI cable issues, it’s important to verify the HDMI inputs and outputs on both your source and receiving devices. Sometimes, incorrect input or output settings can prevent the devices from communicating properly. Follow these steps to ensure that the HDMI inputs and outputs are correctly configured:
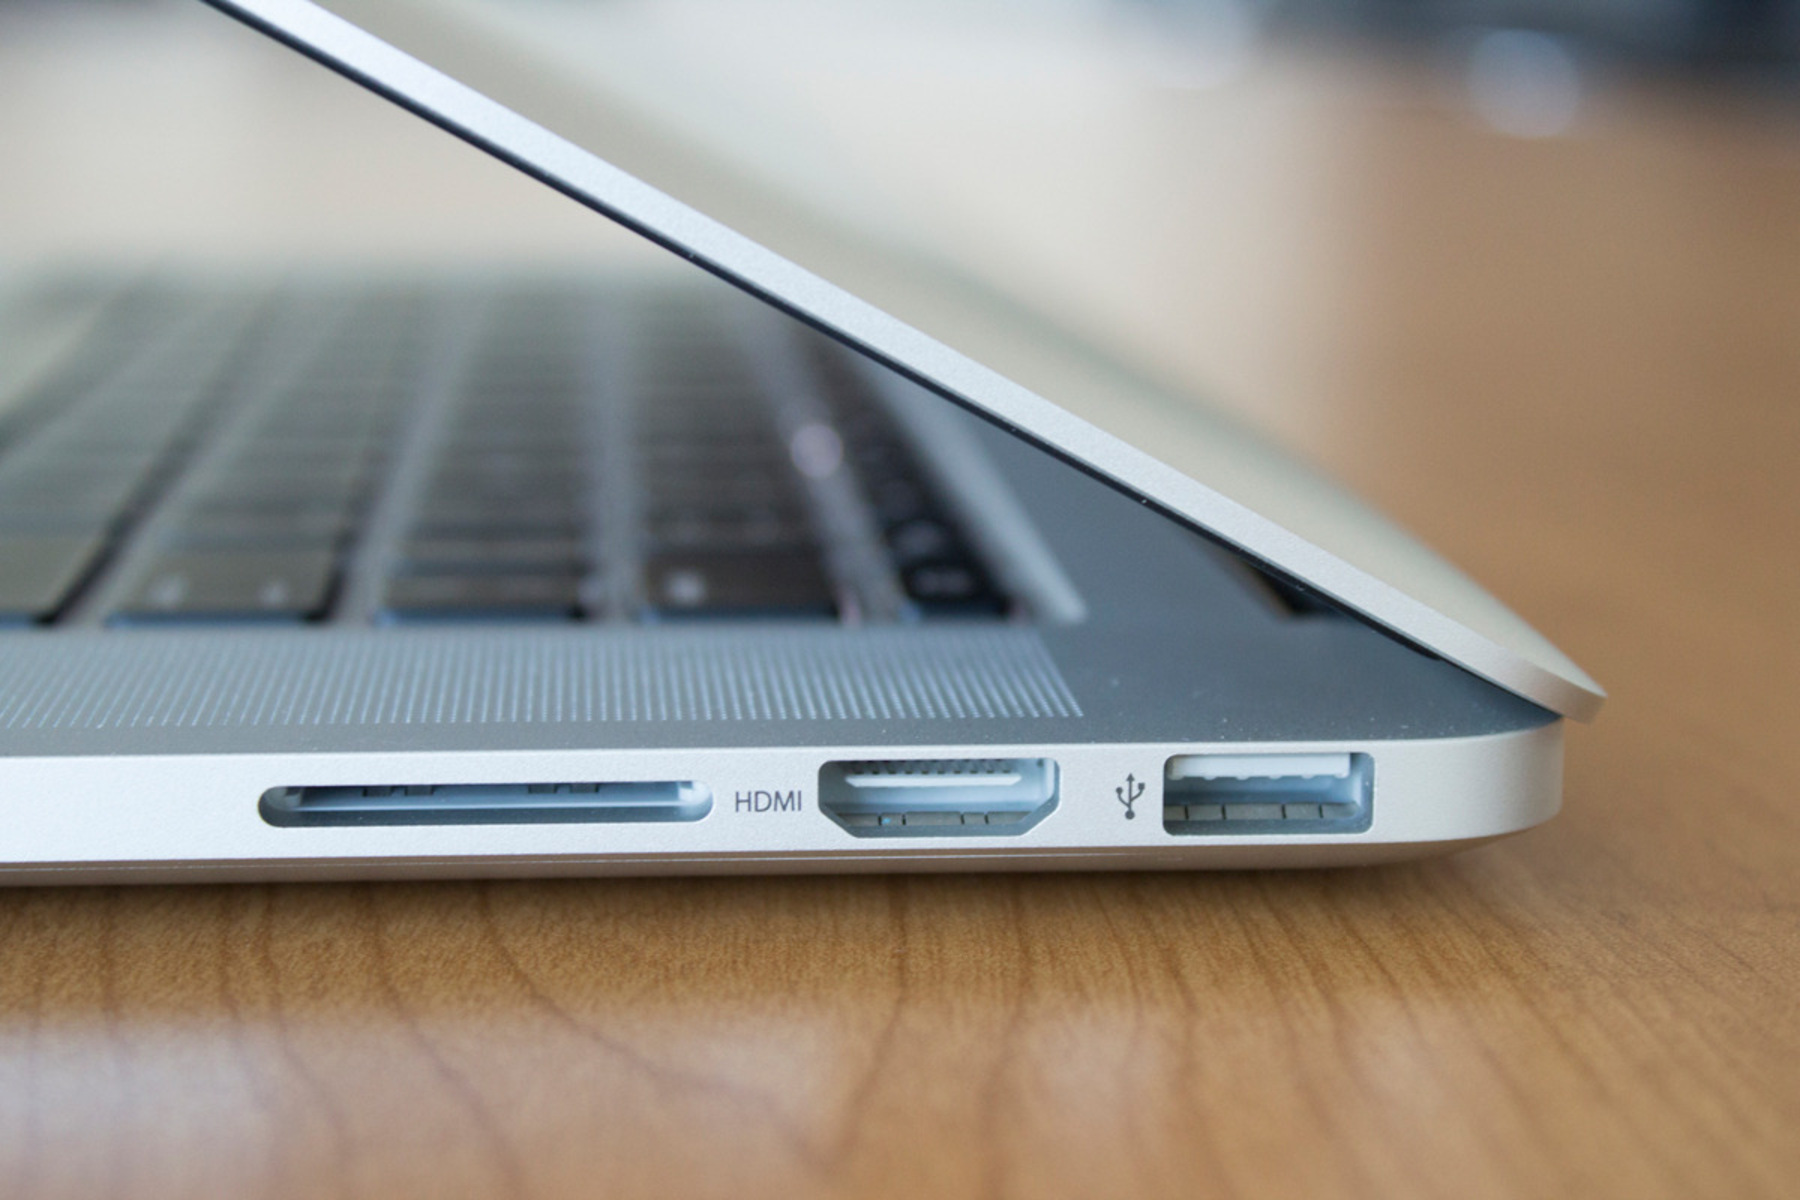
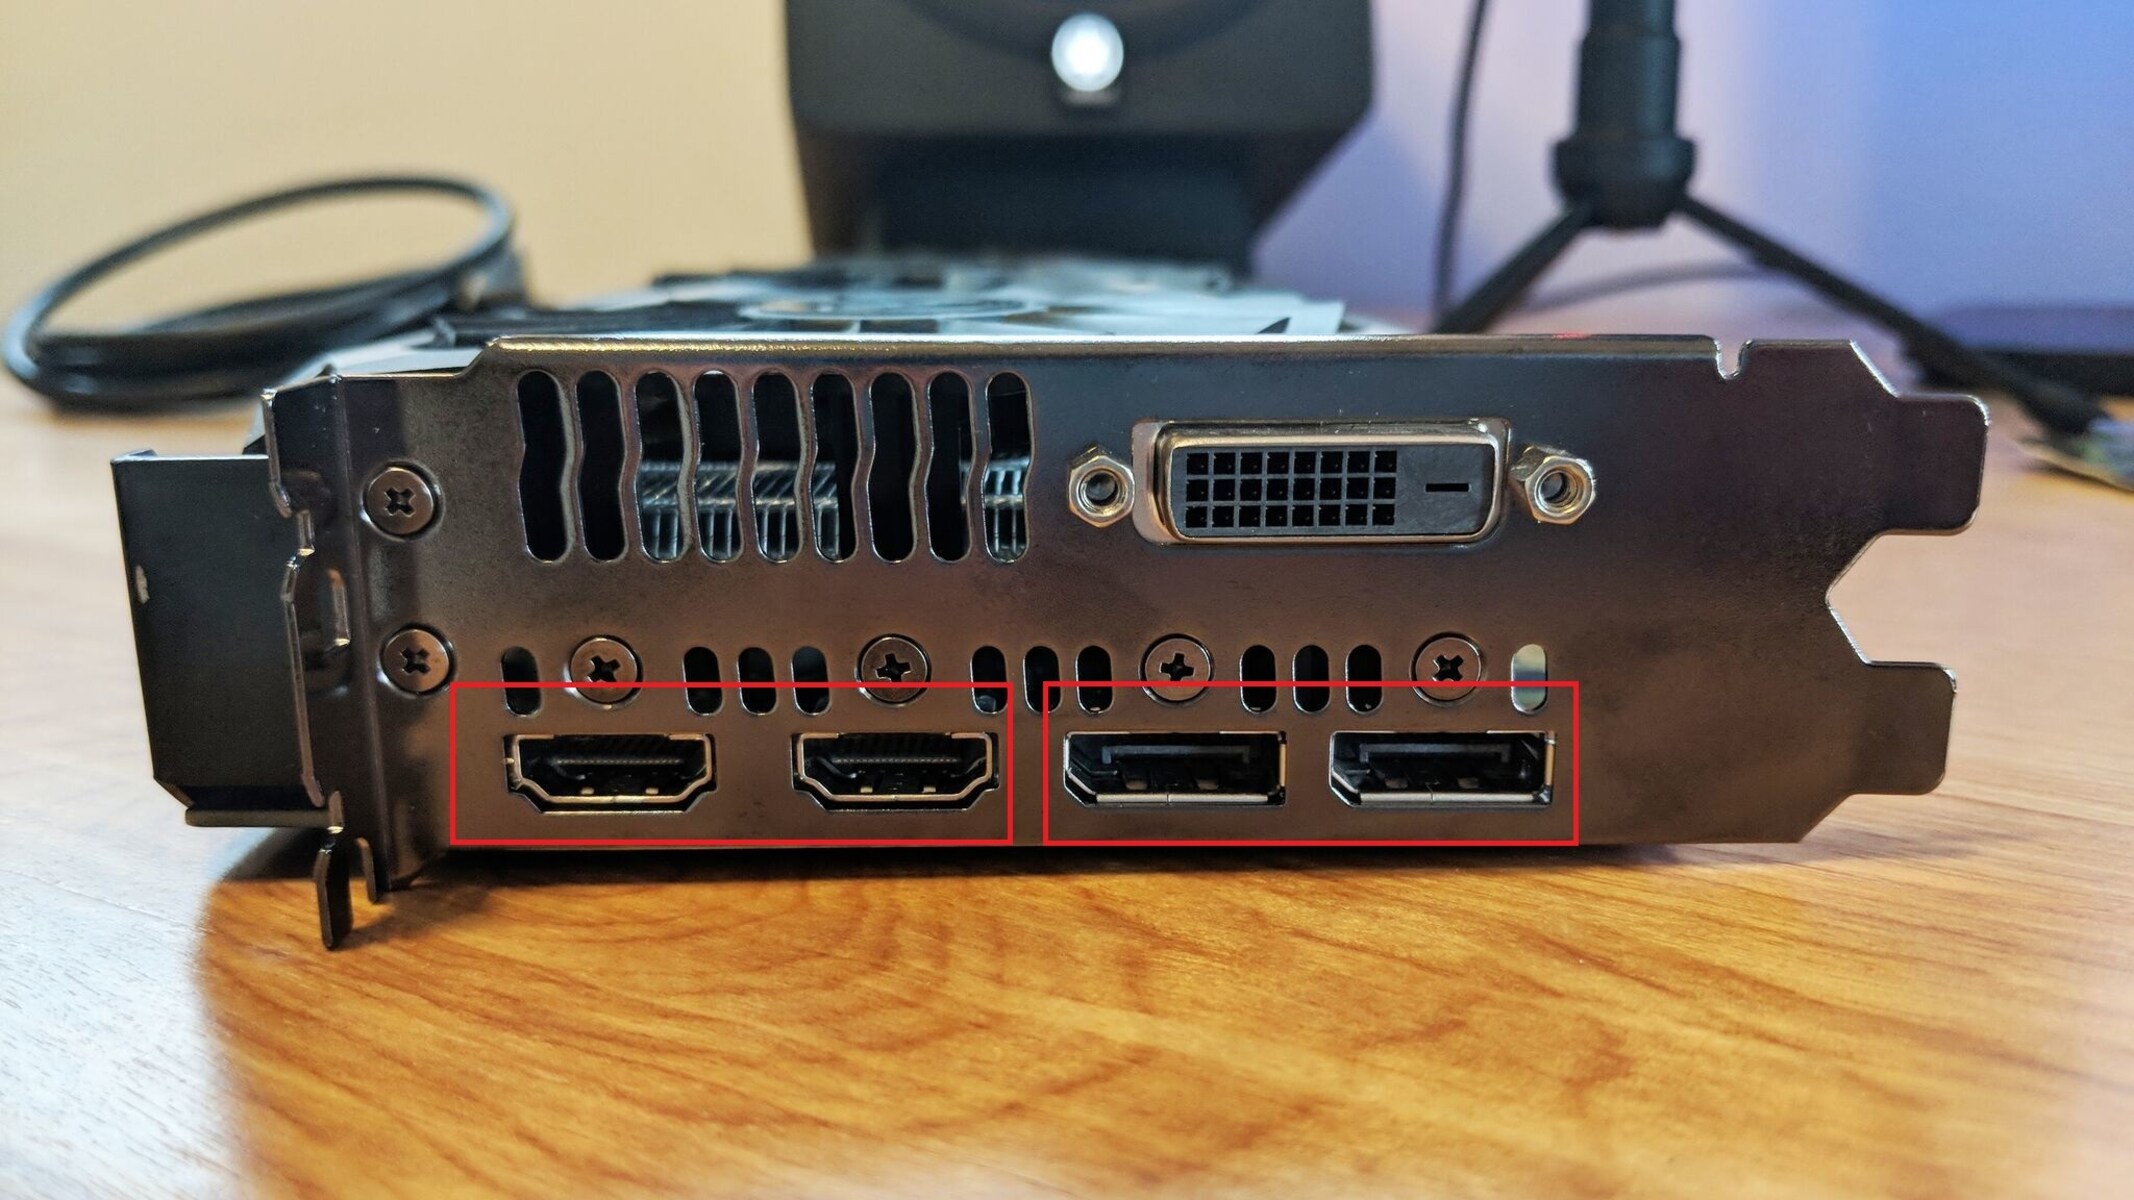
1. Check input and output labels: Look for clearly labeled HDMI input and output ports on your devices. Make sure that you are connecting the HDMI cable to the correct ports. The input port on the receiving device should be connected to the output port on the source device.
2. Select the correct input source: On your receiving device (e.g., TV or monitor), use the input/source button on the remote control or the device itself to select the appropriate HDMI input. Choose the HDMI input that corresponds to the port you connected the cable to.
3. Check for multiple HDMI inputs: Some devices, such as TVs or AV receivers, may have multiple HDMI inputs. If you have connected the HDMI cable to a different input than the one you are currently using, switch to the correct HDMI input to see if the signal appears.
4. Verify ARC (Audio Return Channel) settings: If you are using the HDMI ARC feature to route audio from the TV to a soundbar or audio receiver, ensure that the ARC settings are enabled on both devices. Refer to the user manual of your devices for instructions on how to enable ARC and configure the audio settings accordingly.
5. Confirm CEC (Consumer Electronics Control) settings: CEC allows devices connected via HDMI to control each other using a single remote. Sometimes, issues can arise if the CEC settings are not properly configured. Check the settings menu on your devices and enable CEC if necessary.
Verifying the HDMI inputs and outputs and ensuring they are correctly configured can help establish a seamless connection between your devices. If the issue persists, proceed to the next section for additional troubleshooting steps.
Reset Display Settings
If you are experiencing problems with your HDMI cable, resetting the display settings on your devices can often resolve any issues related to incorrect configurations or incompatible settings. Follow these steps to reset the display settings:
1. Power off both devices: Turn off the source device (e.g., gaming console or media player) and the receiving device (e.g., TV or monitor) by using the power buttons or unplugging them from the power source.
2. Disconnect the HDMI cable: Unplug the HDMI cable from both devices. Wait for a few seconds and then reconnect the cable securely to ensure a good connection.
3. Power on the receiving device first: Plug in and turn on the receiving device (e.g., TV or monitor) first. Wait for it to fully initialize and display the home screen or input source options.
4. Power on the source device: Turn on the source device (e.g., gaming console or media player) next. Allow it to boot up completely and establish a connection with the TV or monitor.
5. Access display settings: Use the remote control or on-screen menu of the receiving device to access the display settings. Navigate to the HDMI input that you are using and check if the settings are correctly configured.
6. Reset display settings: If you notice any incorrect settings or if you are unsure about the configurations, choose the option to reset the display settings to their default values. This will restore the settings to their factory defaults.
7. Adjust settings as needed: After resetting the display settings, make any necessary adjustments to customize the picture quality, resolution, aspect ratio, or other settings to your preference.
Resetting the display settings can help resolve compatibility issues, incorrect configurations, or HDMI handshake problems that may be causing your HDMI cable issues. If the problem persists, proceed to the next section for further troubleshooting steps.
Test the HDMI Cable
When troubleshooting HDMI issues, it’s important to test the HDMI cable itself to determine if it’s functioning properly. A faulty or damaged cable can result in problems with the signal transmission. Follow these steps to test the HDMI cable:
1. Test with a different HDMI cable: If you have access to another HDMI cable, try using it to connect the source and receiving devices. This will help determine if the issue lies with the HDMI cable itself. If the problem is resolved with the new cable, it indicates that the original HDMI cable may be faulty and needs to be replaced.
2. Swap HDMI ports: If you only have one HDMI cable available, try connecting it to a different HDMI port on the receiving device. Sometimes, specific ports on a device may have issues, and switching to a different port can help diagnose the problem. Make sure to select the corresponding HDMI input on your TV or monitor.
3. Check for physical damage: Inspect the HDMI cable for any visible signs of physical damage, such as cuts, fraying, or bent pins. If you notice any damage, it’s advisable to replace the cable with a new one to ensure a proper connection and prevent signal loss or distortion.
4. Test on a different display: If possible, try connecting your source device to a different display (e.g., a different TV or monitor) using the HDMI cable. This will help determine if the issue is related to the cable or the receiving device. If the HDMI cable works fine on another display, the problem may be with the original receiving device.
5. Test with a different source device: Similarly, if you have access to another source device (e.g., a different gaming console or media player), try connecting it to the receiving device using the HDMI cable. This will help isolate whether the issue is with the original source device or the cable.
Testing the HDMI cable is crucial to identify if it is the culprit behind the connectivity issues. By following these steps, you can determine whether the cable needs to be replaced or if the problem lies elsewhere. If the issue persists, proceed to the next section for further troubleshooting.
Update Device Firmware
Updating the firmware of your devices can often resolve compatibility issues, software bugs, or other problems that may be affecting the HDMI cable’s performance. Firmware updates are released by manufacturers to improve the functionality and stability of their devices. Follow these steps to update the firmware:
1. Check for firmware updates: Visit the official website of the manufacturer for both your source device (e.g., gaming console or media player) and receiving device (e.g., TV or monitor). Look for the support or downloads section and search for firmware updates specific to your models.
2. Download the firmware: If a firmware update is available for your device, download it to your computer. Follow the instructions provided by the manufacturer to ensure a successful download and save the firmware update file to a location you can easily access.
3. Prepare a USB drive: Most firmware updates are performed using a USB drive. Format a USB drive to a compatible file system (e.g., FAT32 or exFAT) and ensure there is sufficient free space to store the firmware update file.
4. Transfer the firmware update: Copy the firmware update file from your computer to the root directory of the USB drive. Ensure that the file is not placed within any folders on the USB drive, as some devices may not recognize the firmware update file if it is not in the root directory.
5. Connect the USB drive: Connect the USB drive to the USB port on your source device. Refer to the device’s user manual for the specific USB port to use for firmware updates.
6. Start the firmware update: Follow the instructions provided by the manufacturer to start the firmware update process. This typically involves accessing a system menu or settings on your source device and selecting the option to update the firmware using the connected USB drive.
7. Wait for the update to complete: Allow the firmware update process to run its course. It may take several minutes for the update to complete, during which your device may restart or display progress indicators. Avoid interrupting the update process to avoid potential issues.
8. Repeat for other devices: If you have multiple devices connected via HDMI, it’s essential to update the firmware of each device separately to ensure compatibility and optimal performance.
By updating the firmware of your devices, you can address potential software-related issues that may be causing HDMI cable problems. After completing the firmware update, test the HDMI cable to see if the issue has been resolved. If the problem persists, proceed to the next section for further troubleshooting steps.
Conclusion
HDMI cables are essential for transmitting high-quality audio and video signals between devices, but they can encounter issues from time to time. By following the troubleshooting steps outlined in this guide, you can effectively address common problems and get your HDMI cable working seamlessly once again.
Start by checking the physical connection, ensuring that the cable is securely plugged in and free from any damage. Next, verify that both devices connected through the HDMI cable are compatible with each other in terms of HDMI versions, resolutions, audio formats, and HDCP support.
If the issue persists, double-check the HDMI inputs and outputs, making sure they are correctly configured. Resetting the display settings on your devices can also help resolve any incorrect configurations or HDMI handshake issues.
Additionally, testing the HDMI cable itself and trying different cables, ports, displays, and source devices can help identify and resolve any cable-related problems. Finally, updating the firmware on your devices can address software bugs and improve compatibility.
Remember to consult the user manuals provided by the manufacturers of your devices for specific instructions and guidelines. If you are unsure about any steps or encounter further difficulties, it is always beneficial to seek assistance from the device manufacturers or professional technicians.
By implementing these troubleshooting steps and considering the compatibility and settings of your devices, you can optimize the performance of your HDMI cable and enjoy uninterrupted audio and video transmission.