Introduction
Welcome to our guide on how to change the display port on the MSI Optix G27C4 Curved Gaming Monitor. If you’re a gaming enthusiast or someone who values a high-quality viewing experience, then you know the importance of having the right display settings.
The MSI Optix G27C4 is a top-of-the-line curved gaming monitor that offers stunning visuals and immersive gameplay. However, there may be instances where you need to change the display port to optimize your gaming experience or connect the monitor to different devices.
In this article, we will walk you through the steps required to change the display port on the MSI Optix G27C4. Whether you’re a tech-savvy individual or a beginner, our detailed instructions will help you navigate the process with ease.
Before we dive into the steps, let’s take a closer look at the MSI Optix G27C4 Curved Gaming Monitor and understand why changing the display port can be useful.
What is the MSI Optix G27C4 Curved Gaming Monitor?
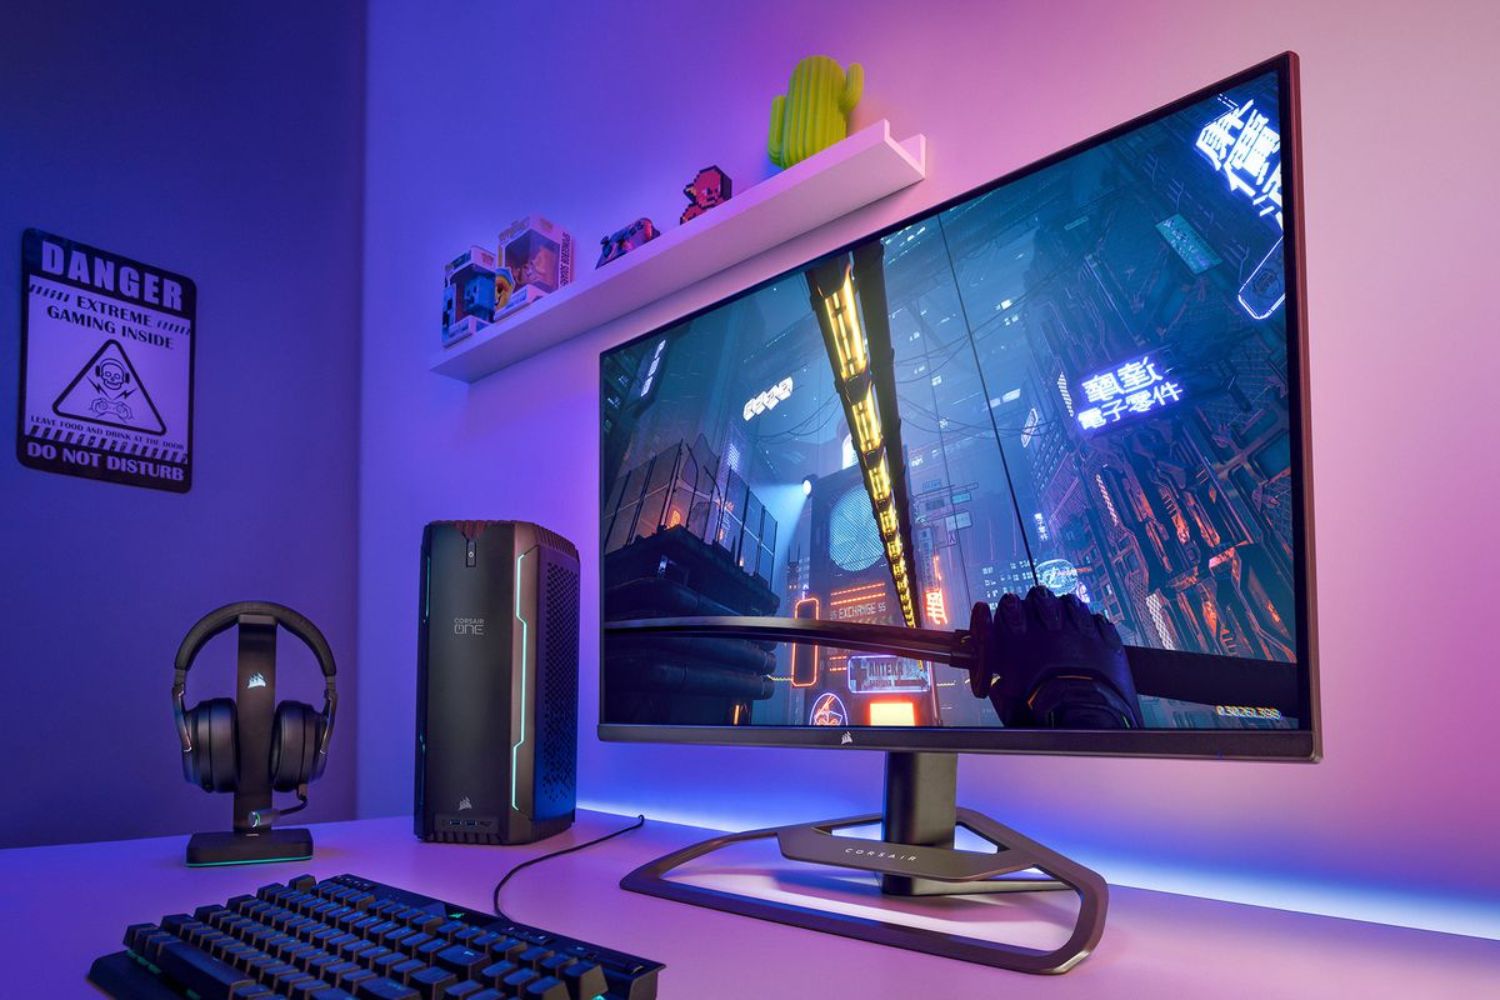
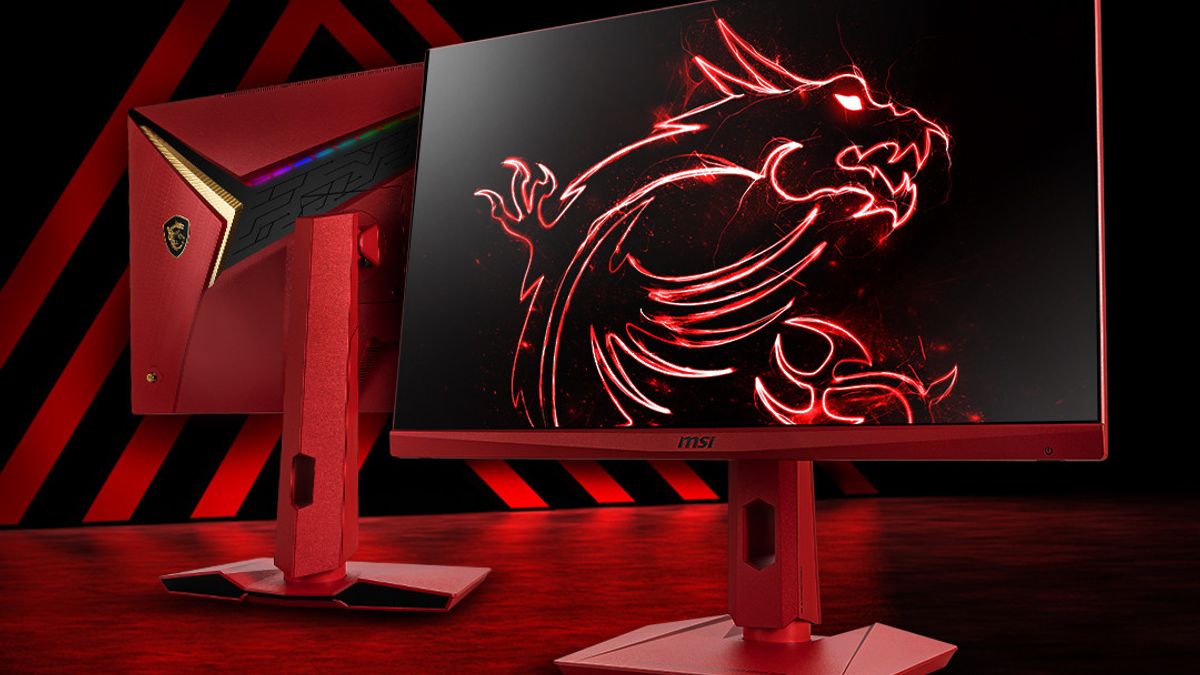
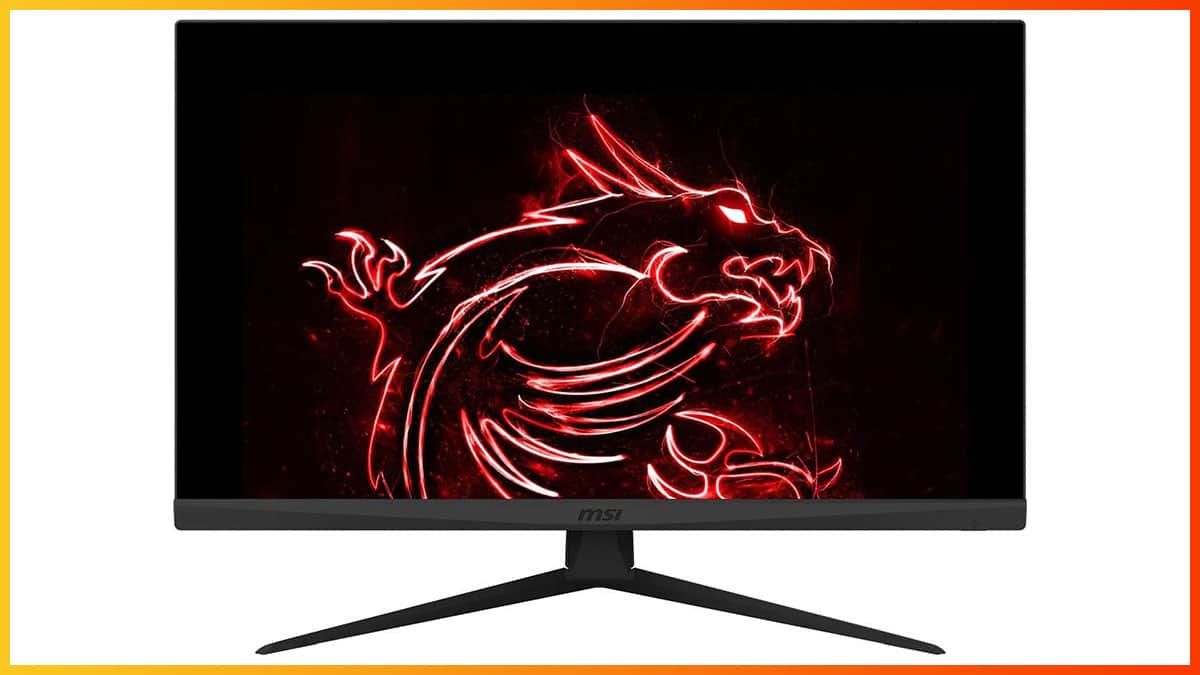
The MSI Optix G27C4 Curved Gaming Monitor is a cutting-edge display designed specifically for gamers. With its sleek design, immersive curved screen, and high refresh rate, it offers an unparalleled gaming experience.
This monitor features a 27-inch curved display, which provides a wider field of view and ensures that all gaming action is within your peripheral vision. The curvature of the screen also enhances immersion, making you feel as though you’re right in the middle of the action.
One of the standout features of the MSI Optix G27C4 is its impressive refresh rate of 165Hz. This means that the monitor refreshes the image on the screen 165 times per second, resulting in ultra-smooth gameplay and minimizing motion blur. It’s particularly beneficial for fast-paced games where quick reactions are crucial.
Moreover, the MSI Optix G27C4 boasts a Full HD resolution of 1920×1080, ensuring crisp and vibrant visuals. Coupled with a high contrast ratio and wide color gamut, this display provides stunning image quality that brings games to life.
This gaming monitor also incorporates AMD FreeSync technology, which synchronizes the monitor’s refresh rate with your graphics card. This eliminates screen tearing and stuttering, delivering a seamless and fluid gaming experience.
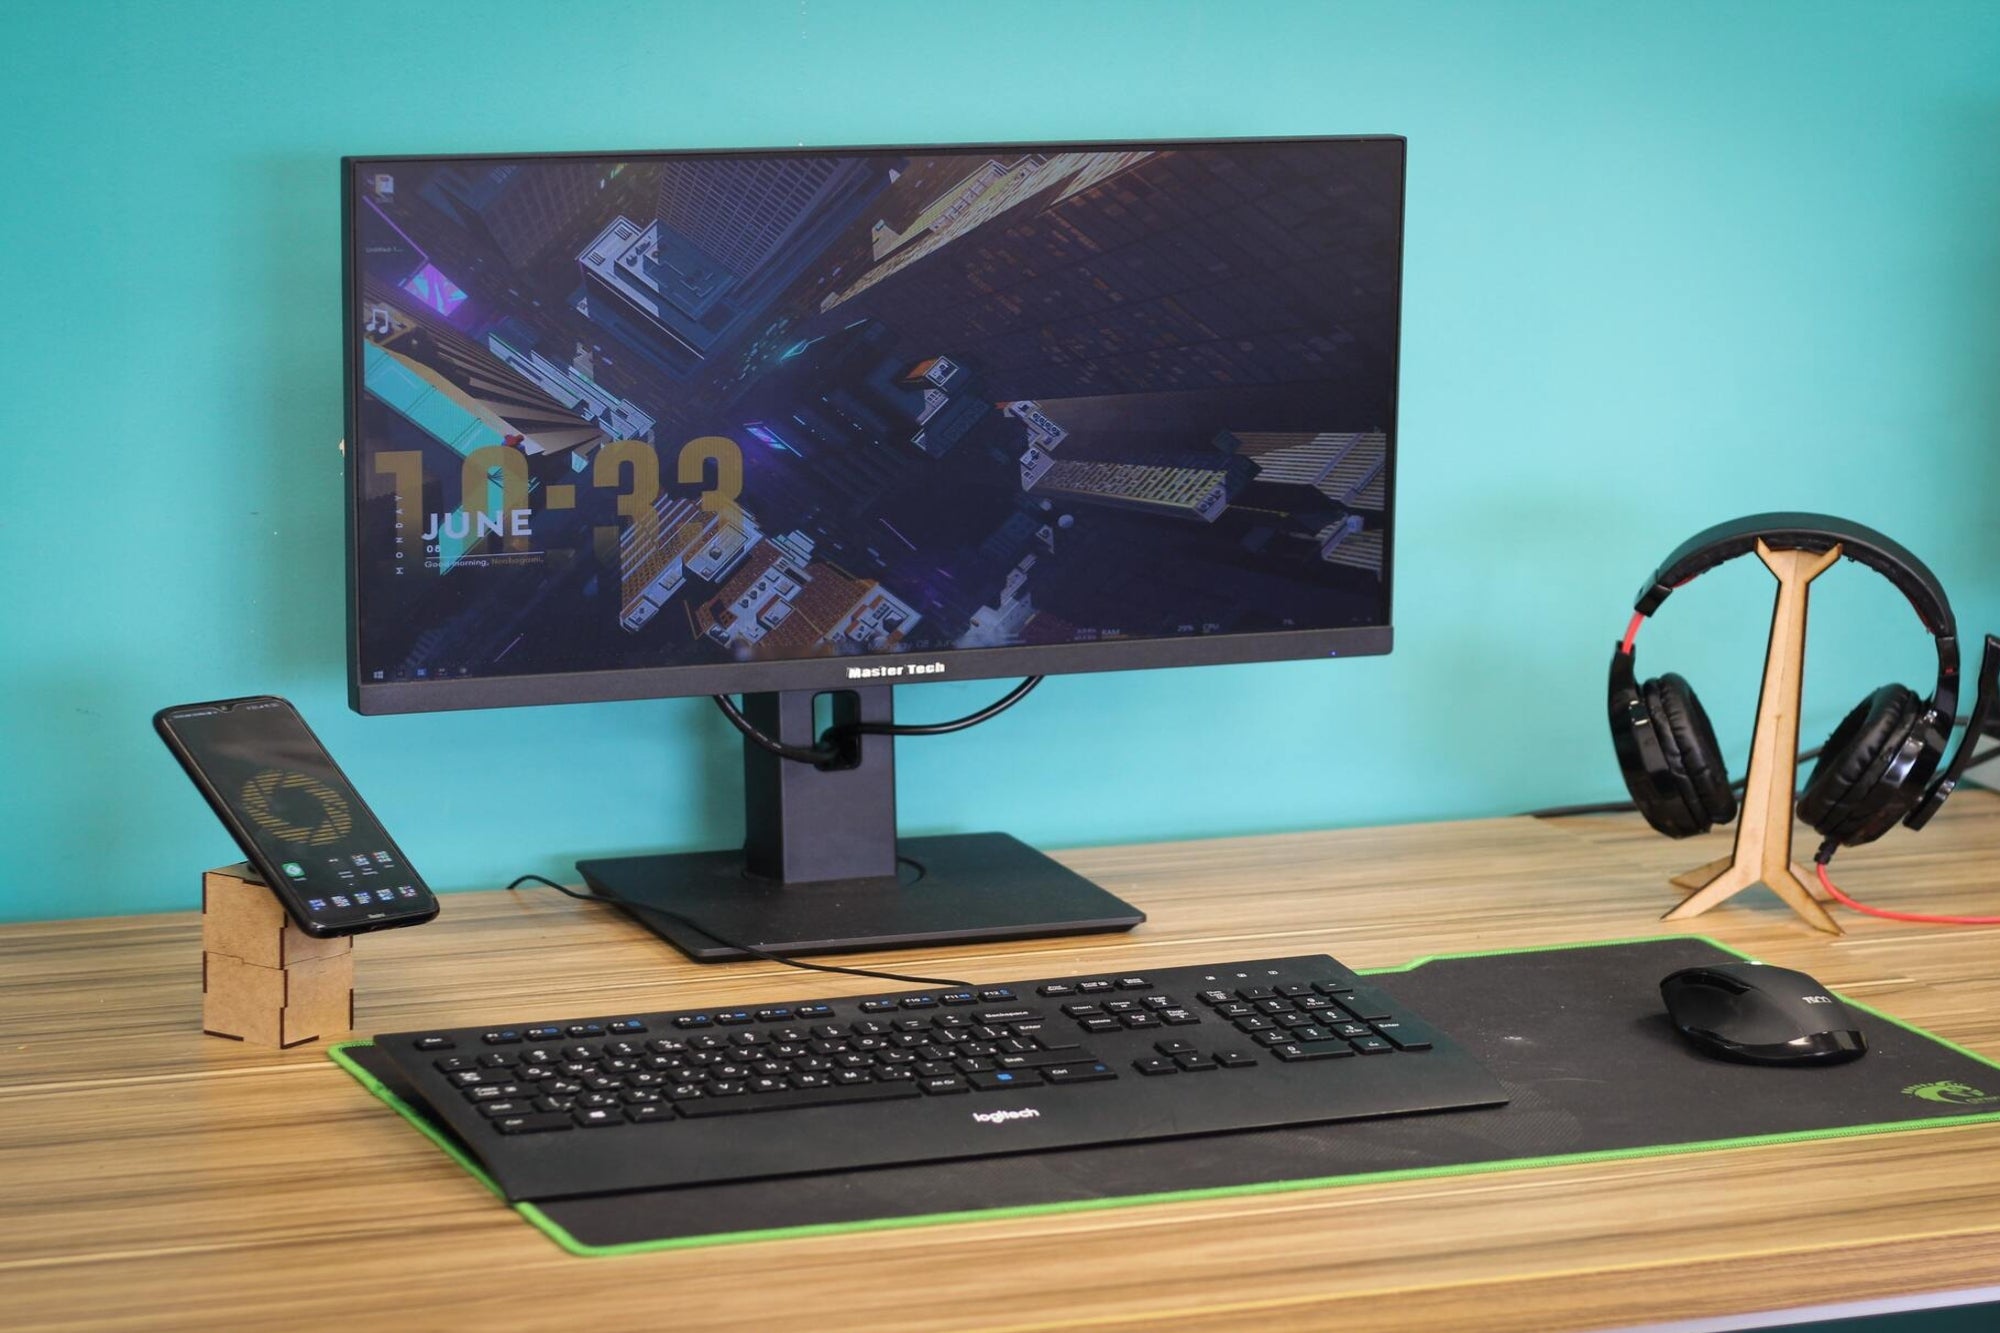
The MSI Optix G27C4 is equipped with multiple connectivity options, including HDMI and DisplayPort. This allows you to connect to various gaming devices, consoles, and PCs without any hassle. And that brings us to the topic of changing the display port on this monitor.
Now that you have a better understanding of the MSI Optix G27C4 Curved Gaming Monitor, let’s explore why changing the display port can be beneficial.
Why Change Display Port?
Changing the display port on the MSI Optix G27C4 Curved Gaming Monitor can offer several advantages and benefits, depending on your specific needs and gaming setup. Here are a few reasons why you may consider changing the display port:
1. Compatibility: Different devices and graphics cards utilize different display ports. By changing the display port, you can ensure that your monitor is compatible with the device you are connecting it to. Whether it’s HDMI, DisplayPort, or DVI, having the ability to switch between these ports gives you flexibility in connecting your monitor to various devices.
2. Enhanced Performance: Changing the display port can potentially improve the performance of your gaming monitor. For example, if you are currently using HDMI and experiencing display issues or limitations like lower refresh rates or limited resolution, switching to DisplayPort may provide a higher refresh rate and better overall performance.
3. Multi-Monitor Setup: If you have multiple monitors and want to connect them in a daisy-chain configuration or extend your display across multiple monitors, changing the display port may be necessary. Some monitors offer specific ports for daisy-chaining, and by changing the display port, you can ensure a seamless and efficient multi-monitor setup.
4. Connecting New Devices: As technology advances, new devices with different display port options become available. Changing the display port allows you to connect the latest gaming consoles, graphics cards, or other devices that may require a specific display port for optimal performance.
5. Troubleshooting: In some cases, changing the display port can help troubleshoot issues such as flickering screen, no signal errors, or compatibility problems. By experimenting with different ports, you can identify potential sources of the problem and find a suitable solution.
6. Personal Preference: Finally, choosing to change the display port could simply be a matter of personal preference. Some users may prefer the features and capabilities of a particular display port over others, or they may have specific requirements for their gaming setup.
Understanding why you might need to change the display port on your MSI Optix G27C4 Curved Gaming Monitor can help you make informed decisions and optimize your gaming experience. Now, let’s move on to the necessary tools and supplies you’ll need for the process.
Necessary Tools and Supplies
Before you embark on changing the display port on your MSI Optix G27C4 Curved Gaming Monitor, it’s essential to gather the necessary tools and supplies to ensure a smooth process. Here’s what you’ll need:
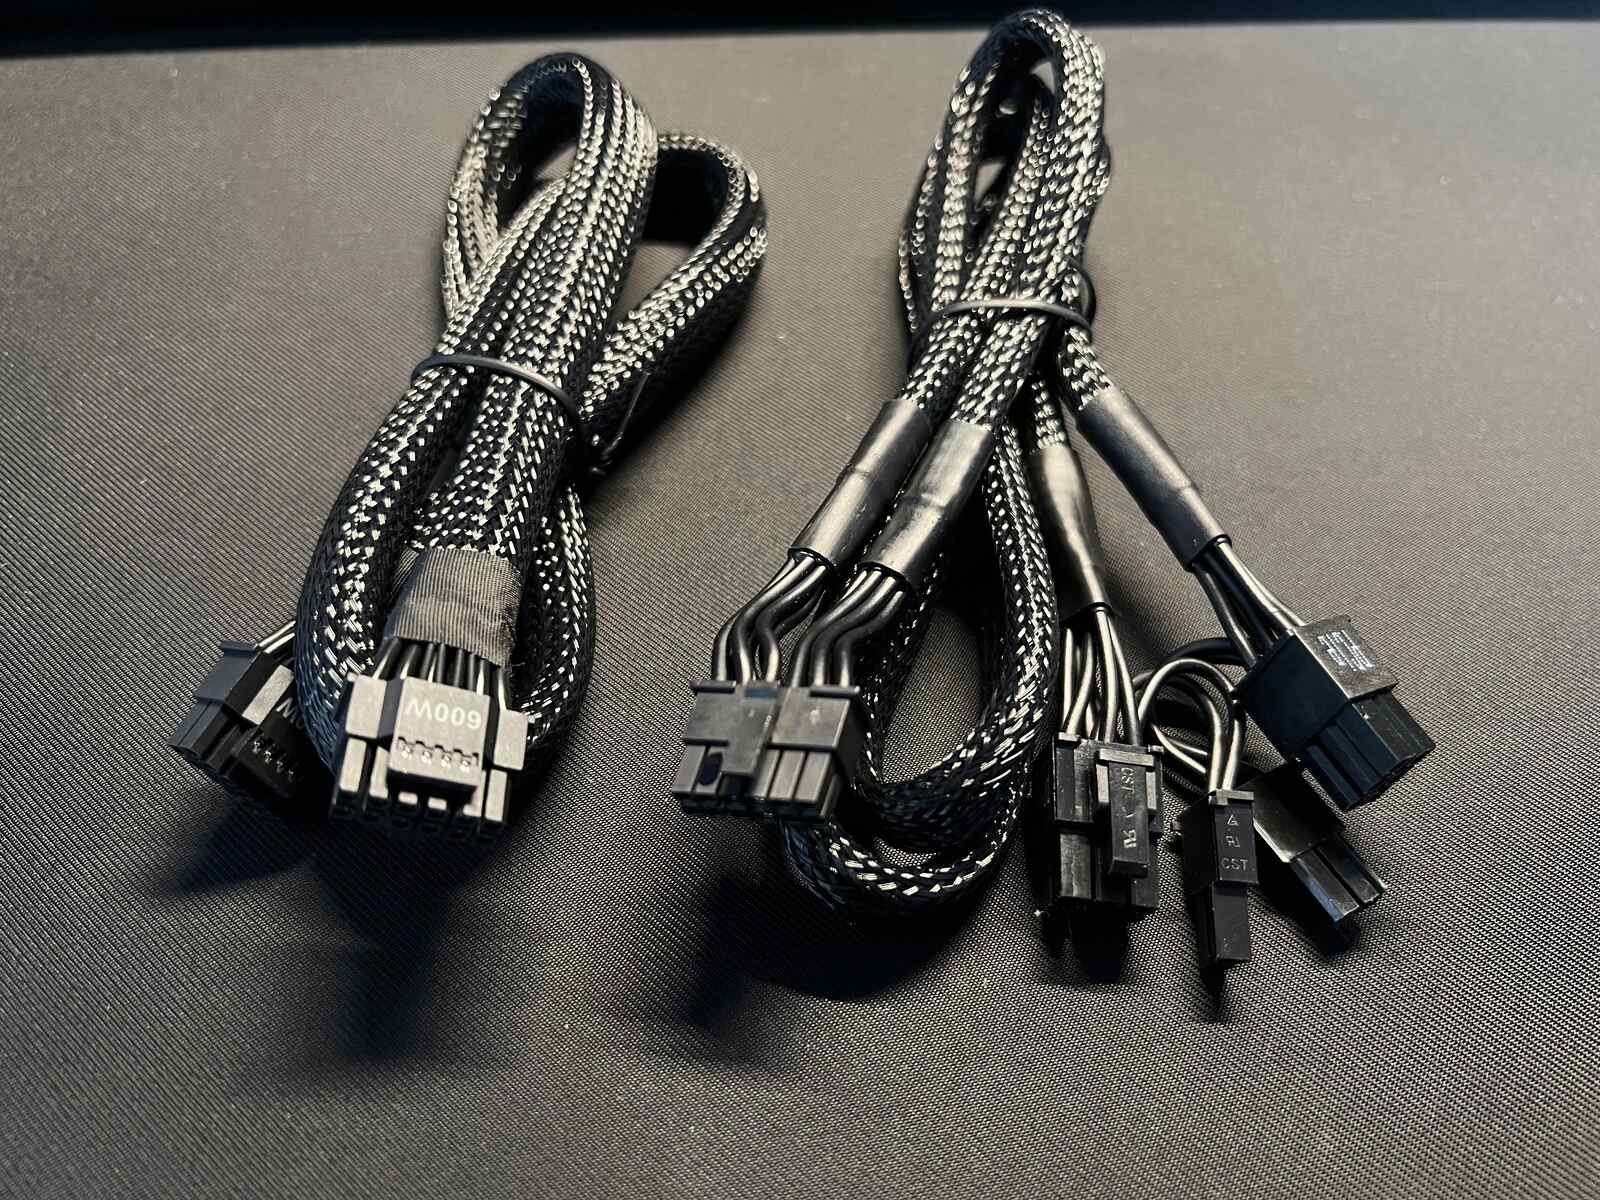
1. MSI Optix G27C4 Monitor: Of course, you’ll need your MSI Optix G27C4 Curved Gaming Monitor, along with its power cable, DisplayPort cable, and any other accompanying cables that came with the monitor.
2. Screwdriver: Depending on the specific model of your monitor, you may require a screwdriver to remove the back panel or make any adjustments. Make sure to have the appropriate screwdriver on hand to avoid any mishaps.
3. Clean Cloth: It’s always a good idea to have a clean cloth or microfiber cloth available to wipe down the monitor and remove any dust or fingerprints. This will ensure a clear and smudge-free display.
4. HDMI Cable (Optional): If you plan to switch to HDMI or connect your monitor to a device that uses HDMI, have an HDMI cable ready. This is particularly useful if you need to switch display ports or connect multiple devices simultaneously.
5. DisplayPort Cable (Optional): Similarly, if you’re considering switching from HDMI to DisplayPort or connecting a device that uses DisplayPort, have an appropriate DisplayPort cable available.
6. Adapters (If Needed): Depending on your specific requirements or the availability of ports on your gaming devices, you may need adapters to convert between different types of display ports. Ensure you have the necessary adapters on hand, such as HDMI to DisplayPort or DisplayPort to DVI, to facilitate smooth connections.
By having these tools and supplies ready, you’ll be well-prepared to tackle the task of changing the display port on your MSI Optix G27C4 Curved Gaming Monitor. With everything in place, let’s move on to the step-by-step process of changing the display port.
Steps to Change Display Port
Now that you have gathered the necessary tools and supplies, it’s time to walk through the step-by-step process of changing the display port on your MSI Optix G27C4 Curved Gaming Monitor. Follow these instructions carefully to ensure a successful transition:
Step 1: Power Off the Monitor: Before making any changes, ensure that your monitor is powered off and disconnected from the power source. This will prevent any potential electrical issues or damage during the process.
Step 2: Disconnect Existing Cable: If your monitor is currently connected to a display port, gently disconnect the cable from both the monitor and the connected device. This can be either a DisplayPort cable or an HDMI cable, depending on your current setup.
Step 3: Assess Available Ports: Take a look at the various ports on your MSI Optix G27C4 monitor and identify the desired display port you wish to connect. Common options include HDMI, DisplayPort, and DVI. Choose the port that best suits your requirements.
Step 4: Connect New Cable: Once you have determined the desired display port, take the corresponding cable (HDMI or DisplayPort) and connect one end to the monitor and the other end to the device you want to connect. Ensure a secure and snug fit on both ends.
Step 5: Power On the Monitor: With the new cable connected, you can now power on your MSI Optix G27C4 Curved Gaming Monitor. Make sure to configure the settings on your device to recognize the new display port connection.
Step 6: Test the Display: To ensure that the new display port is functioning correctly, verify that the monitor is receiving a stable signal from the connected device. Check the display settings on your computer or gaming console to see if the monitor is recognized and adjust the resolution and refresh rate if necessary.
Step 7: Fine-tune Settings: Once the display is working properly, take the time to fine-tune the settings on your MSI Optix G27C4 monitor. Adjust the brightness, contrast, and color settings to your liking, ensuring an optimal visual experience for your gaming sessions.
Step 8: Enjoy Your New Display Port: Congratulations! You have successfully changed the display port on your MSI Optix G27C4 Curved Gaming Monitor. You can now enjoy gaming, streaming, or working with improved visuals and performance.
By following these step-by-step instructions, you can seamlessly change the display port on your MSI Optix G27C4 Curved Gaming Monitor and optimize your gaming or viewing experience. With the new display port in place, you’re ready to immerse yourself in the world of high-quality gaming.
Conclusion
Changing the display port on the MSI Optix G27C4 Curved Gaming Monitor is a straightforward process that can greatly enhance your gaming experience. By following the steps outlined in this guide and using the necessary tools, you can seamlessly switch between different display ports and optimize your monitor’s performance.
We started by introducing the MSI Optix G27C4 Curved Gaming Monitor, highlighting its features such as the curved screen, high refresh rate, and stunning visuals. Understanding the monitor’s capabilities sets the stage for why changing the display port can be valuable.
We then explored the reasons why you might need to change the display port, including compatibility, enhanced performance, multi-monitor setup, connecting new devices, troubleshooting, and personal preference. Each of these factors demonstrates the versatility and customization options offered by the MSI Optix G27C4.
Next, we discussed the necessary tools and supplies you’ll need, such as the monitor itself, screwdriver, clean cloth, HDMI and DisplayPort cables, and adapters if required. Having these items on hand ensures a smooth and efficient process.
We then provided a detailed step-by-step guide on changing the display port, from disconnecting the existing cable to connecting the new one, powering on the monitor, testing the display, and fine-tuning the settings. Following these steps will help you seamlessly transition to a new display port and enjoy optimal visuals and performance.
Now that you have a clear understanding of how to change the display port on the MSI Optix G27C4 Curved Gaming Monitor, you can confidently adapt your gaming setup and connect to various devices. Experiment with different display ports to find the optimal configuration that suits your needs and preferences.
Remember, a smooth and uninterrupted gaming experience starts with the right display settings. By harnessing the power of the MSI Optix G27C4 and utilizing its versatile display ports, you can truly immerse yourself in the world of gaming and take your gaming sessions to new heights.
So, what are you waiting for? Grab your tools, follow the steps, and prepare to unlock the full potential of your MSI Optix G27C4 Curved Gaming Monitor. Happy gaming!