Introduction
Welcome to the exciting world of homemade ice cream! There’s nothing quite like the satisfaction of creating your own delicious frozen treats right at home. But what happens when your ice cream maker refuses to freeze? Don’t worry, you’re not alone. Many people encounter this frustrating issue and wonder what might be causing it. In this article, we’ll explore some of the common issues that can prevent your ice cream maker from freezing properly and provide you with troubleshooting tips to get it back on track.
When you first unbox your ice cream maker, you may expect it to start churning out creamy creations immediately. However, it’s important to understand that most ice cream makers require a pre-freezing process. This involves chilling the machine’s components in the freezer for a specific amount of time before use. Failing to do this step can result in the inability to freeze the mixture properly. So, before you dive into your ice cream making adventure, make sure you have given your machine enough time to freeze by following the manufacturer’s instructions.
In some cases, the issue may not be with the pre-freezing process, but with the freezer mechanism of the ice cream maker itself. It’s crucial to ensure that the freezing mechanism is working correctly and has the necessary power to freeze the mixture. A fault in this mechanism can lead to inconsistent freezing or no freezing at all. It’s worth checking the manual or contacting the manufacturer to understand how the freezing mechanism works and what steps can be taken to troubleshoot any potential issues.
Overfilling your ice cream maker can also lead to freezing problems. When making ice cream, the mixture needs room to expand as it is churned and frozen. If you fill the machine beyond its recommended capacity, it will restrict the movement of the paddles and hinder the freezing process. Always follow the instructions provided with your ice cream maker regarding fill levels to ensure optimal freezing.
Improper temperature or usage settings can affect the freezing process. Take a close look at the temperature controls and ensure they are set correctly for the type of ice cream you are making. Different recipes may require different freezing temperatures, so adjust accordingly. Additionally, pay attention to the usage settings, such as speed controls, and make sure they are appropriate for the specific ice cream maker model you are using.
A low power or malfunctioning motor can also be a culprit behind a non-freezing ice cream maker. If the motor is not spinning the paddle at the required speed, the mixture will not churn and freeze properly. In this case, contacting the manufacturer for assistance or seeking professional help may be necessary to repair or replace the motor.
Faulty parts or components can also impact the freezing process. Inspect your ice cream maker for any signs of damage or wear, such as cracked paddles or loose connections. These issues can prevent the machine from freezing the mixture effectively. If you identify any faulty parts, it’s best to consult the manufacturer or a professional for replacement options.
In the following sections, we will delve deeper into each of these issues and provide you with troubleshooting tips to help you revive your ice cream maker and get it back on track to freeze that perfect batch of homemade ice cream.
Common Issues with Ice Cream Makers
Ice cream makers are fantastic appliances that can turn simple ingredients into creamy, mouthwatering desserts. However, like any other appliance, they can encounter some common issues that can prevent them from freezing the ice cream properly. Understanding these issues can help you troubleshoot and solve the problem quickly. Let’s explore some of the most common issues:
1. Insufficient Pre-Freezing: As mentioned earlier, many ice cream makers require a pre-freezing step before use. If you do not properly pre-freeze the machine, the freezing process may not occur or may be inadequate. Make sure to follow the manufacturer’s instructions and allow sufficient time for the ice cream maker to freeze before adding your mixture.
2. Faulty or Inadequate Freezing Mechanism: The freezing mechanism is the heart of an ice cream maker. If it is not functioning correctly or lacks the necessary power, it can result in inconsistent freezing or no freezing at all. Consult the manual or contact the manufacturer for troubleshooting advice specific to your ice cream maker’s freezing mechanism.
3. Overfilling the Ice Cream Maker: Fill levels are crucial when using an ice cream maker. Overfilling can restrict the movement of the paddles and hinder the freezing process. Ensure you follow the recommended fill levels provided by the manufacturer to allow enough room for the mixture to expand as it freezes.
4. Improper Temperature or Usage Settings: Incorrect temperature or usage settings can impact the freezing process. Double-check that the temperature controls are set correctly for the type of ice cream you are making. Additionally, verify that the usage settings, such as speed controls, are appropriate for your specific ice cream maker model.
5. Low Power or Malfunctioning Motor: A motor that lacks power or malfunctions can affect the freezing process. If the motor is unable to spin the paddles at the required speed, the mixture will not churn and freeze effectively. In such cases, contacting the manufacturer or a professional for motor repair or replacement might be necessary.
6. Faulty Parts or Components: Inspect your ice cream maker for any signs of faulty parts or components, such as cracked paddles or loose connections. Damaged parts can hinder the freezing process and may need to be replaced. Consult the manufacturer or a professional for guidance on the appropriate replacement options.
These are some of the common issues that can arise with ice cream makers. By identifying the specific issue affecting your machine, you’ll be better equipped to find the right solution and enjoy delicious homemade ice cream in no time.
Issue 1: Insufficient Pre-Freezing
One of the primary reasons your ice cream maker may not be freezing properly is insufficient pre-freezing. Many ice cream makers require a pre-freezing step to ensure the machine is cold enough to freeze the mixture effectively. Neglecting this crucial step can result in inadequate freezing or no freezing at all.
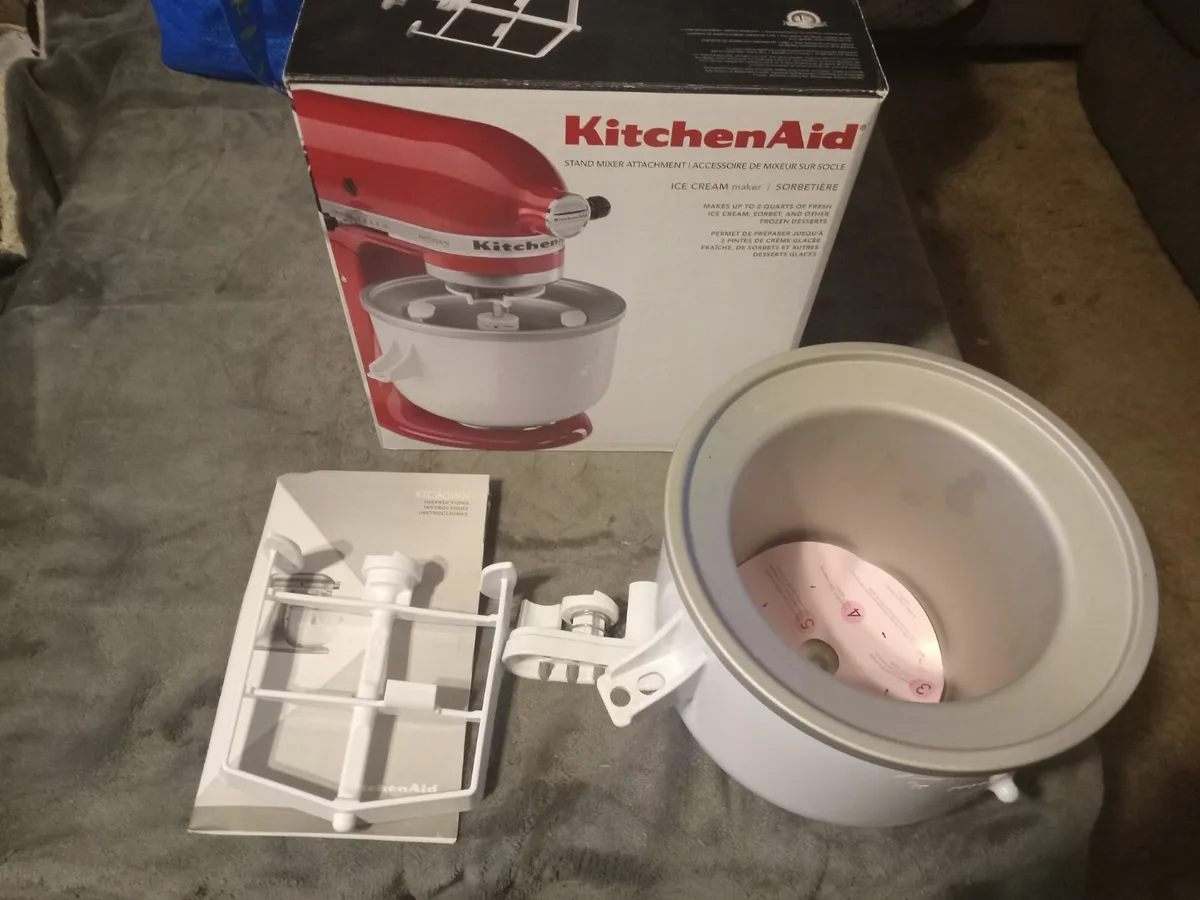
When you unbox your ice cream maker, it’s essential to read the instructions carefully and follow the recommended pre-freezing time. The specific duration can vary depending on the brand and model, so it’s crucial to refer to the manual for precise instructions. Typically, pre-freezing involves placing the ice cream maker’s components, such as the freezing bowl or canister, in the freezer for a set number of hours. This allows them to reach a temperature low enough to freeze the mixture when it’s added later.
To ensure sufficient pre-freezing, it’s recommended to keep your freezer at the right temperature. The ideal temperature for freezer storage is around 0°F (-18°C). Setting the freezer temperature too low or too high can impact the pre-freezing process and subsequent freezing of the ice cream mixture.
Once you’ve pre-frozen the necessary components, it’s important to assemble the ice cream maker quickly. Avoid leaving the components sitting at room temperature for an extended period, as they can start to thaw, reducing their ability to freeze properly. Additionally, ensure that the freezing bowl or canister is securely attached to the machine to maintain optimal chilling during the ice cream making process.
If you find that your ice cream maker is still not freezing adequately despite following the pre-freezing instructions, there are a few troubleshooting steps you can try:
- Double-check that you’ve pre-frozen the correct components. Some ice cream makers require chilling the paddle or dasher as well. Refer to the instruction manual to verify which parts need pre-freezing.
- Extend the pre-freezing time. If the recommended pre-freezing duration is not sufficient, try leaving the components in the freezer for a bit longer. However, don’t exceed the maximum pre-freezing time mentioned in the manual, as this can cause damage.
- Reposition the components. Ensure that the freezing bowl or canister is placed in the freezer in an upright position and not at an angle. This allows for even distribution of cold air and better freezing efficiency.
- Assess your freezer’s temperature and make sure it is set correctly. If your freezer isn’t cooling properly, it may affect the pre-freezing process. Consider adjusting the temperature or contacting a professional for assistance.
Addressing the issue of insufficient pre-freezing can significantly improve the freezing performance of your ice cream maker. By following the pre-freezing instructions accurately and troubleshooting any potential problems, you’ll be well on your way to enjoying perfectly frozen homemade ice cream.
Issue 2: Faulty or Inadequate Freezing Mechanism
If your ice cream maker is not freezing properly, a potential issue could lie within the freezing mechanism itself. The freezing mechanism is responsible for creating the cold environment necessary to freeze the ice cream mixture. If it is faulty or inadequate in any way, it can lead to inconsistent freezing or no freezing at all.
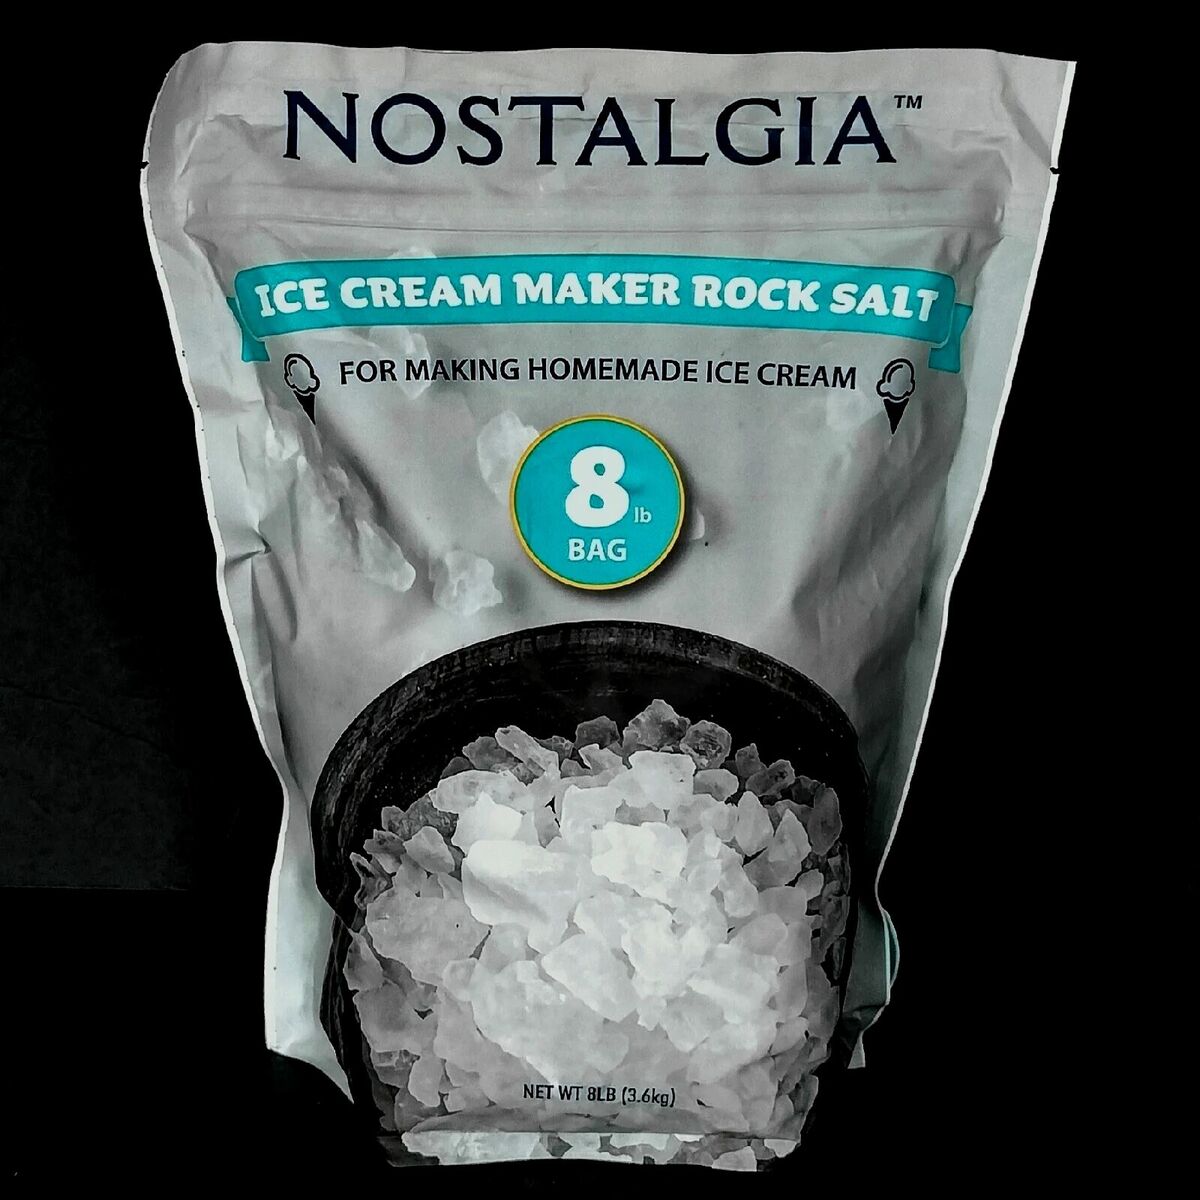
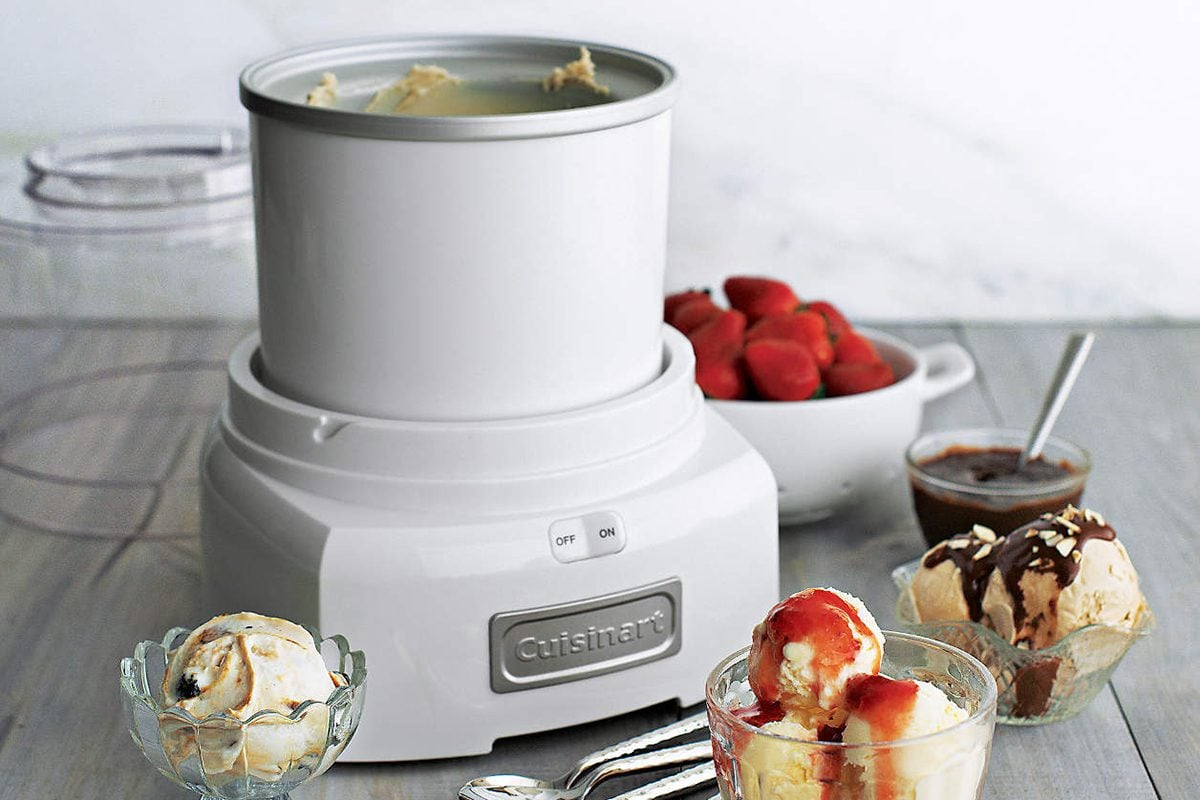
Firstly, it’s crucial to understand the specific type of freezing mechanism your ice cream maker utilizes. Different models employ different methods, such as a built-in refrigeration system, freezing canister, or ice and salt combination. Familiarize yourself with the workings of your ice cream maker by referring to the instruction manual or contacting the manufacturer for more information.
Here are some potential issues with the freezing mechanism to consider:
Faulty Compressor: If your ice cream maker employs a built-in compressor, a malfunctioning or defective compressor can inhibit the freezing process. Signs of a faulty compressor may include unusual noises, the inability to reach the desired freezing temperature, or inconsistent freezing results. In such cases, it is recommended to contact the manufacturer or seek professional assistance for repair or replacement.
Inadequate Cooling Power: For freezing mechanisms that rely on external chilling methods, such as a freezing canister or ice and salt combination, insufficient cooling power can prevent proper freezing. Ensure that the ice and salt mixture is adequately prepared and that the canister is effectually chilled. If the ice cream maker still fails to freeze properly, consider adding more ice and salt or replacing the freezing canister if it shows signs of damage or wear.
Insufficient Insulation: The insulation of the ice cream maker plays a crucial role in maintaining the cold temperature needed for freezing. If the insulation is inadequate or damaged, it can result in heat transfer, causing inefficient freezing. Inspect the insulation of your ice cream maker and check for any signs of wear, cracks, or gaps. If necessary, contact the manufacturer for advice on how to address the insulation issue.
Inaccurate Temperature Control: Some ice cream makers feature temperature controls that allow you to set the desired freezing temperature. If the temperature control is not calibrated correctly or malfunctions, it can affect the freezing process. Make sure to set the temperature control to the appropriate level for the type of ice cream you are making and verify its accuracy using an external thermometer if possible.
If you suspect an issue with the freezing mechanism, it is best to consult the instruction manual or reach out to the manufacturer for specific troubleshooting steps. They can offer guidance tailored to your ice cream maker’s model and assist you in diagnosing and resolving the problem effectively.
By addressing any faulty or inadequate freezing mechanism issues, you can ensure that your ice cream maker performs optimally and delivers that delightful, creamy homemade ice cream you crave.
Issue 3: Overfilling the Ice Cream Maker
Overfilling the ice cream maker is a common issue that can hinder the freezing process and prevent your ice cream from reaching the desired consistency. It is important to follow the recommended fill levels provided by the manufacturer to ensure optimal freezing and avoid any potential problems.
When making ice cream, it is crucial to leave enough room in the ice cream maker for the mixture to expand as it freezes. If you exceed the recommended fill level, the movement of the paddles can be restricted, inhibiting the churning and freezing process. This can result in uneven freezing, ice crystals forming, and an overall unsatisfactory texture.
To avoid overfilling your ice cream maker:
- Always refer to the instruction manual for the specific fill levels recommended by the manufacturer. These guidelines are designed to ensure proper freezing and to prevent any overflow or mishaps.
- Measure your ice cream mixture accurately to ensure it fits within the recommended capacity. Use a measuring cup or scale to portion the mixture precisely, keeping in mind that it will expand during the freezing process.
- Avoid adding additional ingredients or mix-ins past the recommended limit. While it may be tempting to add extra flavorings or toppings, overdoing it can lead to insufficient freezing and compromise the overall quality of the ice cream.
- Consider splitting your ice cream mixture into smaller batches if you have exceeded the recommended fill level. This allows for better movement of the paddles and promotes even freezing.
Remember, the goal is to allow enough space for the ice cream mixture to churn and freeze efficiently. Paying attention to the recommended fill levels will help you achieve the best results and ensure that your homemade ice cream turns out creamy, smooth, and delicious.
If you have already overfilled your ice cream maker, there are a few steps you can take to alleviate the issue:
- Transfer a portion of the mixture to a separate container and freeze it separately. This will help relieve the pressure on the ice cream maker and allow for better freezing.
- If possible, remove some of the excess mixture from the ice cream maker and continue the freezing process with the remaining mixture.
- In extreme cases, you may need to start the freezing process over again with a properly filled ice cream maker to achieve the desired consistency.
By being mindful of the fill levels and taking appropriate actions if overfilling occurs, you can ensure optimal freezing results and enjoy perfectly churned homemade ice cream.
Issue 4: Improper Temperature or Usage Settings
The freezing process in an ice cream maker is highly influenced by the temperature settings and usage settings. If these settings are not adjusted correctly, it can impact the freezing process and result in ice cream that is either too soft or too hard.
One common issue is improper temperature settings. Different types of ice cream require different freezing temperatures to achieve the desired texture. It’s vital to understand the specific temperature requirements for the type of ice cream you are making. Some ice cream makers have adjustable temperature controls, while others have fixed settings. Consult the instruction manual to determine the appropriate temperature setting for your machine.
If your ice cream maker has adjustable temperature controls:
- Refer to the recommended temperature ranges provided in the instruction manual for the type of ice cream you are making.
- Do not set the temperature too low, as it can result in freezing the mixture too quickly, leading to small ice crystals and a grainy texture.
- On the other hand, setting the temperature too high can cause the ice cream to remain soft and fail to reach the desired consistency.
- For machines without adjustable temperature controls, be sure to pre-freeze the components adequately and follow the recommended freezing time to help achieve the optimal temperature for freezing.
In addition to temperature settings, improper usage settings can also affect the freezing process. Usage settings may include speed controls, timers, and specific modes for different types of frozen desserts. It’s essential to understand the usage settings of your ice cream maker and adjust them accordingly.
Here are some tips for setting the usage settings correctly:
- Refer to the instruction manual to understand the different usage settings available on your ice cream maker.
- Choose the appropriate speed setting for the type of ice cream you are making. Higher speeds are typically used for lighter mixtures, while lower speeds are better for denser mixtures.
- Use any built-in timers or presets according to the recommended times for freezing different types of frozen desserts. Following these guidelines will help ensure optimal results.
By adjusting the temperature and usage settings correctly, you can enhance the freezing process and produce ice cream with the perfect texture. Be conscious of the specific requirements of your ice cream maker, and don’t hesitate to experiment with different settings to achieve the best results.
Issue 5: Low Power or Malfunctioning Motor
A low power or malfunctioning motor can be a significant factor contributing to an ice cream maker’s failure to freeze properly. The motor is responsible for spinning the paddles that churn the ice cream mixture, creating the necessary movement and aiding in the freezing process. If the motor is weak or not functioning correctly, the ice cream will not freeze as intended.
If you suspect that a low power or malfunctioning motor is the issue, here are some steps you can take:
- Check the power supply: Ensure that the ice cream maker is properly connected to a power source and that the outlet is functioning correctly. Check the power cord for any damage or loose connections that may affect the motor’s performance.
- Power up the motor: If your ice cream maker has an on/off switch or power button, verify that it is turned on. Some models may have additional speed controls or motor switches that need to be set correctly.
- Inspect for obstructions: Examine the motor area and the paddle assembly for any obstructions or blockages that may impede the motor’s movement. Clear out any debris or ice cream buildup that could be hindering the motor’s ability to spin properly.
- Test the motor: If the motor does not appear to be running or is running at a significantly reduced speed, it may be experiencing a malfunction. Contact the manufacturer for troubleshooting assistance or consider seeking professional repair support for the motor.
- Consider power requirements: Ice cream makers typically require a certain amount of power to function optimally. If you are using an extension cord or sharing the outlet with other high-power appliances, it may be affecting the motor’s performance. Try plugging the ice cream maker directly into a dedicated outlet to see if it improves the freezing process.
If none of these steps resolve the issue, the motor may require repair or replacement. Reach out to the manufacturer or a professional technician for guidance on how to proceed.
It is worth noting that some ice cream makers utilize a separate motor to power the freezing mechanism, while others have a single motor that serves both the freezing and churning functions. If the motor that powers the freezing mechanism is malfunctioning, it will directly impact the ice cream maker’s ability to freeze the mixture effectively.
Addressing the issue of a low power or malfunctioning motor is crucial to ensure proper freezing and optimal performance of your ice cream maker. By troubleshooting and resolving any motor-related problems, you’ll be one step closer to enjoying delicious, homemade frozen treats.
Issue 6: Faulty Parts or Components
If your ice cream maker is not freezing properly, it’s possible that the issue lies with faulty parts or components. Damaged or worn-out parts can hinder the freezing process and prevent your ice cream from reaching the desired consistency. It’s important to inspect your ice cream maker for any signs of faulty components and address them accordingly.
Here are some common faulty parts or components that may impact the freezing process:
Cracked or Damaged Paddles: The paddles are responsible for churning the ice cream mixture during the freezing process. If they are cracked or damaged, they may not spin properly, resulting in uneven freezing or no freezing at all. Carefully examine the paddles for any signs of wear, cracks, or breaks. If necessary, replace them with new ones recommended by the manufacturer.
Loose or Misaligned Components: Improperly fitted or loose components can lead to inefficient freezing. Check that all parts are securely attached and aligned correctly. This includes the freezing canister or bowl, lid, paddle, and any other removable parts. If there is any looseness or misalignment, adjust or tighten the components as needed.
Faulty Seals or Gaskets: Seals and gaskets play a crucial role in maintaining a tight seal, preventing the escape of cold air during the freezing process. If the seals or gaskets are damaged or worn, they can compromise the ice cream maker’s ability to freeze properly. Inspect the seals and gaskets, and if you notice any signs of leaks or deterioration, replace them with compatible replacements.
Malfunctioning Thermostat: The thermostat is an essential component that controls the freezing temperature of your ice cream maker. If it malfunctions, it can result in inaccurate temperature readings or inconsistent freezing. If you suspect a problem with the thermostat, consult the instruction manual or the manufacturer for guidance on troubleshooting or possible replacement options.
Electrical Issues: Faulty wiring, a damaged power cord, or a malfunctioning control board can all impact the freezing process. If you suspect an electrical issue, it’s crucial to discontinue use of the ice cream maker and have it inspected by a professional or contact the manufacturer for guidance on repairs or replacement.
If you identify any faulty parts or components, it’s important to consult the ice cream maker’s instruction manual or reach out to the manufacturer for specific recommendations. They can provide guidance on where to source replacement parts or how to address the issue effectively.
By ensuring that all parts and components are in proper working condition, you can enhance the freezing performance of your ice cream maker and enjoy consistently delicious homemade ice cream.
Troubleshooting Tips
If your ice cream maker is not freezing properly, here are some troubleshooting tips to help you diagnose and resolve the issue:
- Inspect the pre-freezing process: Ensure that you have properly pre-frozen the necessary components, such as the freezing bowl or canister, according to the manufacturer’s instructions. If you haven’t allowed sufficient time for pre-freezing, return the components to the freezer and wait until they are adequately chilled.
- Check the freezing mechanism: Examine the freezing mechanism of your ice cream maker. Confirm that it is functioning correctly and has the necessary power to freeze the mixture. Consult the instruction manual or contact the manufacturer for troubleshooting advice specific to your ice cream maker’s freezing mechanism.
- Verify the fill level: Ensure that you have not overfilled the ice cream maker. Follow the recommended fill levels provided by the manufacturer to allow enough room for the mixture to expand as it freezes. If you have overfilled it, remove some of the mixture to prevent any obstruction to the freezing process.
- Adjust the temperature settings: Double-check that the temperature controls of your ice cream maker are set correctly for the type of ice cream you are making. Different recipes may require different freezing temperatures, so make sure to adjust accordingly. Use an external thermometer to verify the accuracy of the temperature if necessary.
- Ensure proper usage settings: Verify that the usage settings, such as speed controls or timers, are set correctly for your ice cream maker. Refer to the instruction manual for guidance on selecting the appropriate settings based on the type of ice cream you are making.
- Check the motor power: Ensure that the motor of your ice cream maker is running smoothly and at the appropriate speed. If the motor lacks power or is malfunctioning, it can hinder the freezing process. Contact the manufacturer or seek professional assistance for motor repair or replacement if needed.
- Inspect for faulty parts or components: Carefully examine your ice cream maker for any signs of faulty parts or components. Cracked paddles, loose connections, damaged seals, or malfunctioning thermostats can all impact the freezing process. Replace any faulty parts or consult the manufacturer for guidance on repairs or replacements.
- Ensure a stable power supply: Plug your ice cream maker into a dedicated outlet to ensure a stable power supply. Sharing the outlet with other high-power appliances or using an extension cord can affect the motor’s performance and overall freezing efficiency.
- Clean and maintain your ice cream maker: Regularly clean and maintain your ice cream maker according to the manufacturer’s instructions. A clean machine operates more efficiently and ensures optimal freezing results.
- Contact the manufacturer for assistance: If you have tried the troubleshooting tips mentioned above and are still experiencing issues with your ice cream maker, contact the manufacturer for further assistance. They may provide specific advice based on your model or offer warranty support if necessary.
Remember, the troubleshooting process may vary depending on the specific make and model of your ice cream maker. Always consult the instruction manual and reach out to the manufacturer for guidance if needed. By following these troubleshooting tips, you can increase the chances of resolving the freezing issue and enjoy the delightful experience of homemade ice cream.
Conclusion
When your ice cream maker isn’t freezing properly, it can be frustrating and disappointing. However, by understanding and addressing the common issues that can hinder the freezing process, you can overcome these challenges and enjoy delicious homemade ice cream.
In this article, we’ve explored the various issues that may arise with ice cream makers, such as insufficient pre-freezing, faulty or inadequate freezing mechanisms, overfilling, improper temperature or usage settings, low power or malfunctioning motors, and faulty parts or components. We’ve provided troubleshooting tips for each of these issues to help you diagnose and resolve the problem.
Remember to carefully follow the manufacturer’s instructions and recommendations for pre-freezing, fill levels, temperature settings, and usage settings. Regular maintenance and proper cleaning of your ice cream maker are also vital to ensure optimal performance.
If you’ve exhausted all troubleshooting options and are still experiencing difficulties, don’t hesitate to contact the manufacturer for support or seek professional assistance.
By addressing these issues and implementing the troubleshooting tips mentioned in this article, you’ll be well on your way to creating delightful batches of homemade ice cream that are perfectly frozen and utterly delicious.