Introduction
Ice cream is a delectable treat that brings joy to people of all ages. Whether it’s a hot summer day or a cozy winter evening, ice cream is a go-to indulgence. While we often relish the creamy delight, have you ever noticed a strange salt residue on your ice cream maker when you open it?
Ice cream makers, whether electric or manual, work by creating a freezing environment that slowly churns the mixture of ingredients. They employ a fascinating scientific process that involves the use of rock salt and ice to lower the temperature inside the machine. Although this process contributes to the perfect texture and consistency of your ice cream, it can sometimes leave behind an unwanted residue.
In this article, we will delve into the common issue of salt residue on ice cream makers and explore the possible causes behind it. By understanding these factors, you will be better equipped to prevent or mitigate the problem, ensuring a smooth and enjoyable ice cream-making experience.
The Science Behind Ice Cream Making
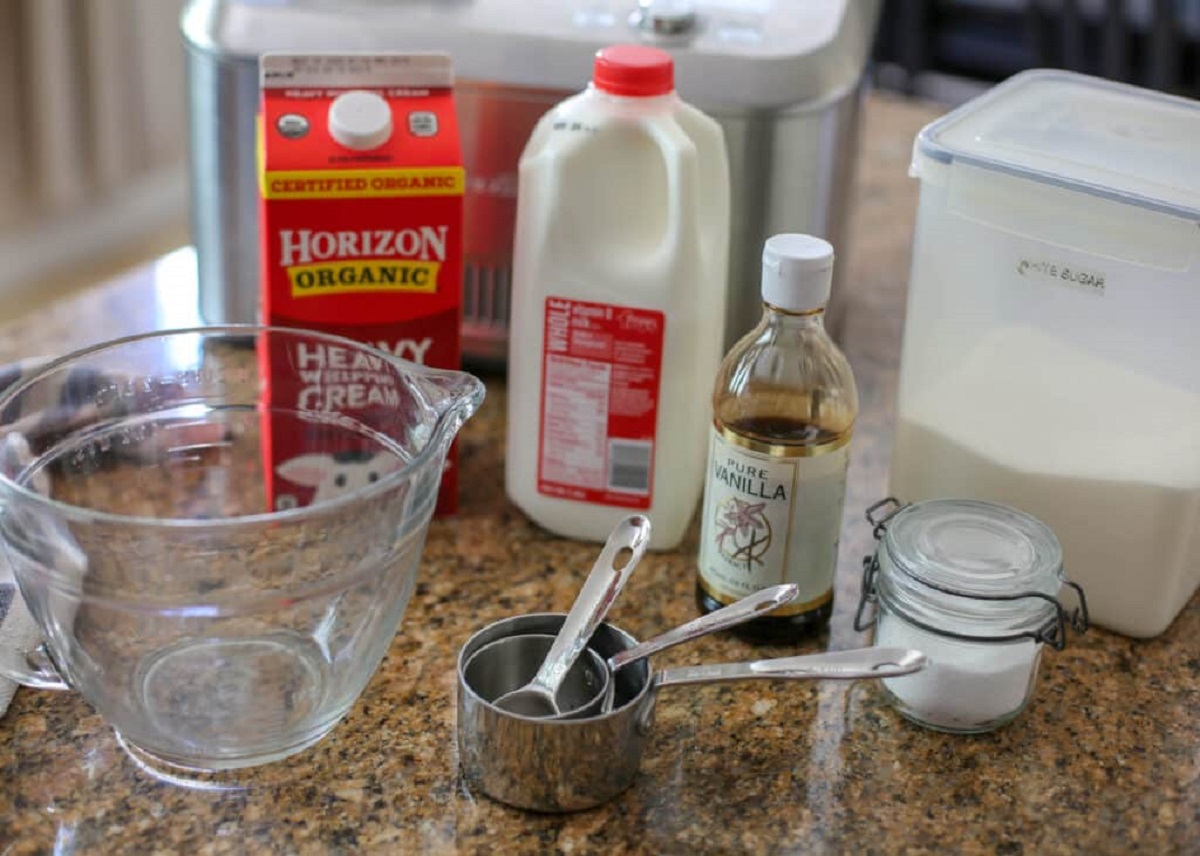
Ice cream making is a fascinating blend of culinary art and scientific principles. At its core, ice cream is a frozen dessert created by blending and freezing a mixture of cream, sugar, and flavorings. However, achieving the perfect texture and consistency requires an understanding of the science behind the process.
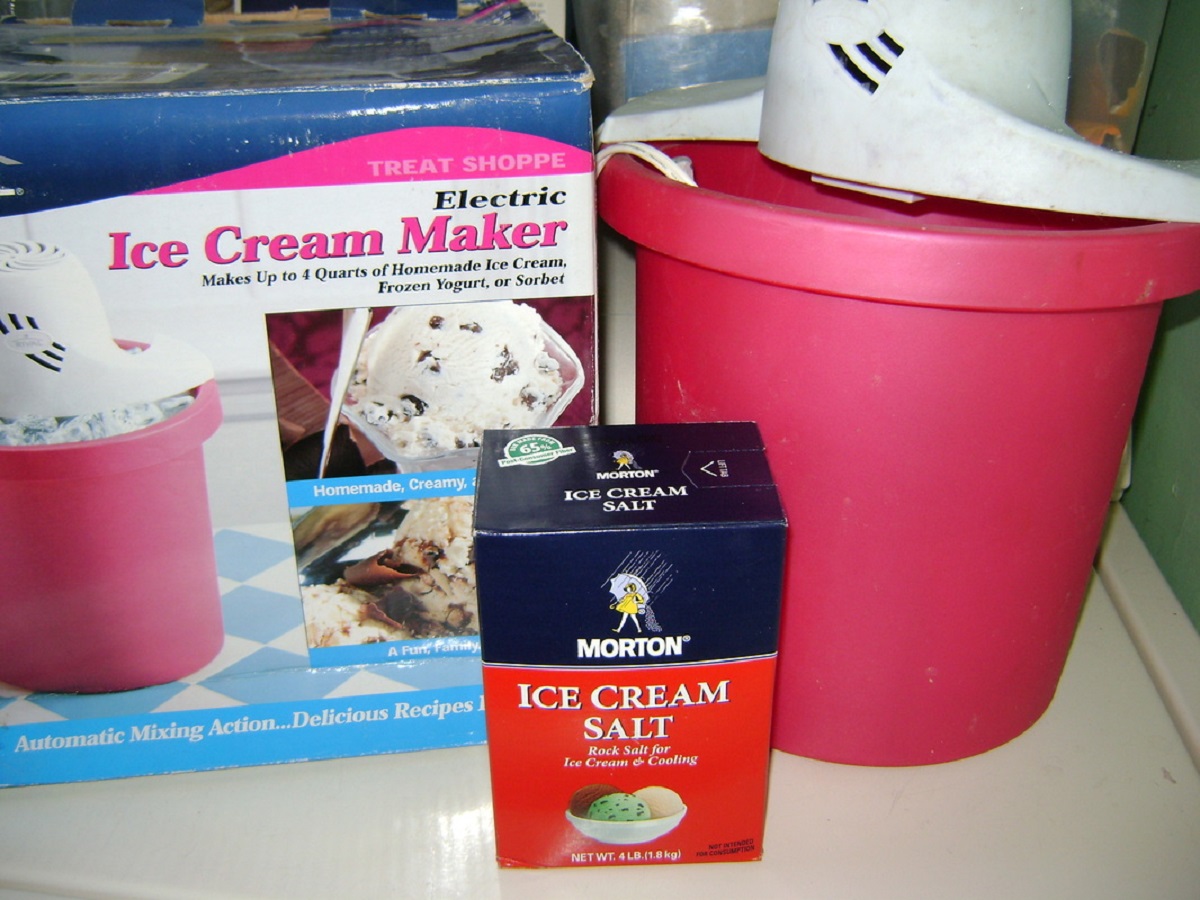
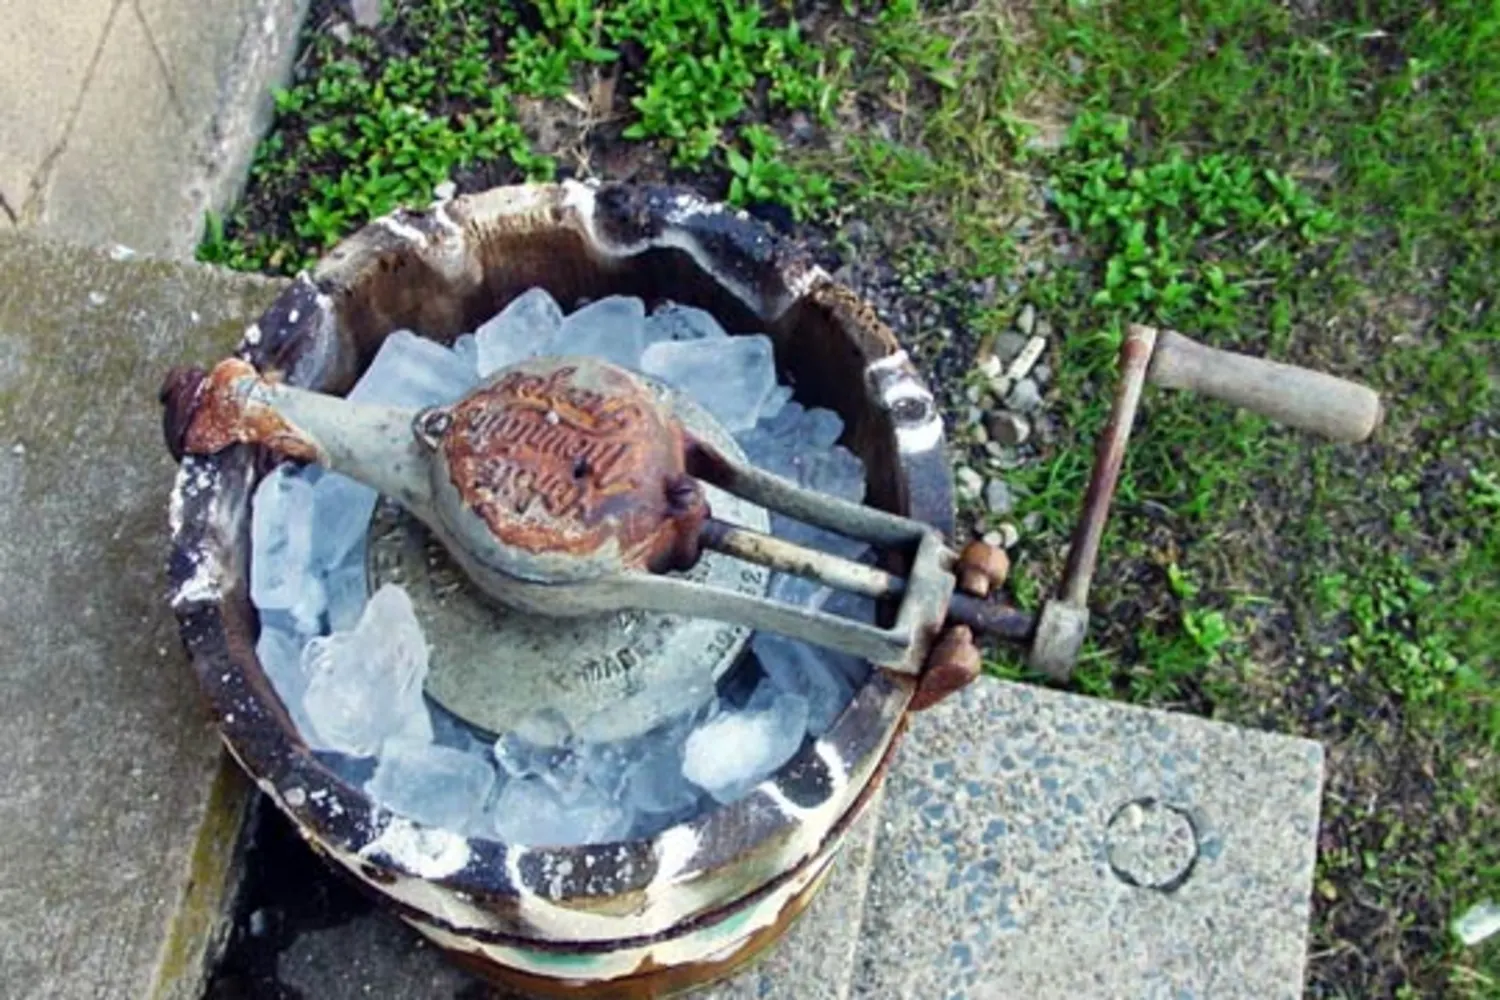
The basic principle behind ice cream making is the concept of freezing point depression. When we add salt to water, it lowers the freezing point of the water. This is why salt is commonly used in ice cream makers. By creating a mixture of ice and rock salt in the machine, we can achieve lower temperatures than freezing water alone.
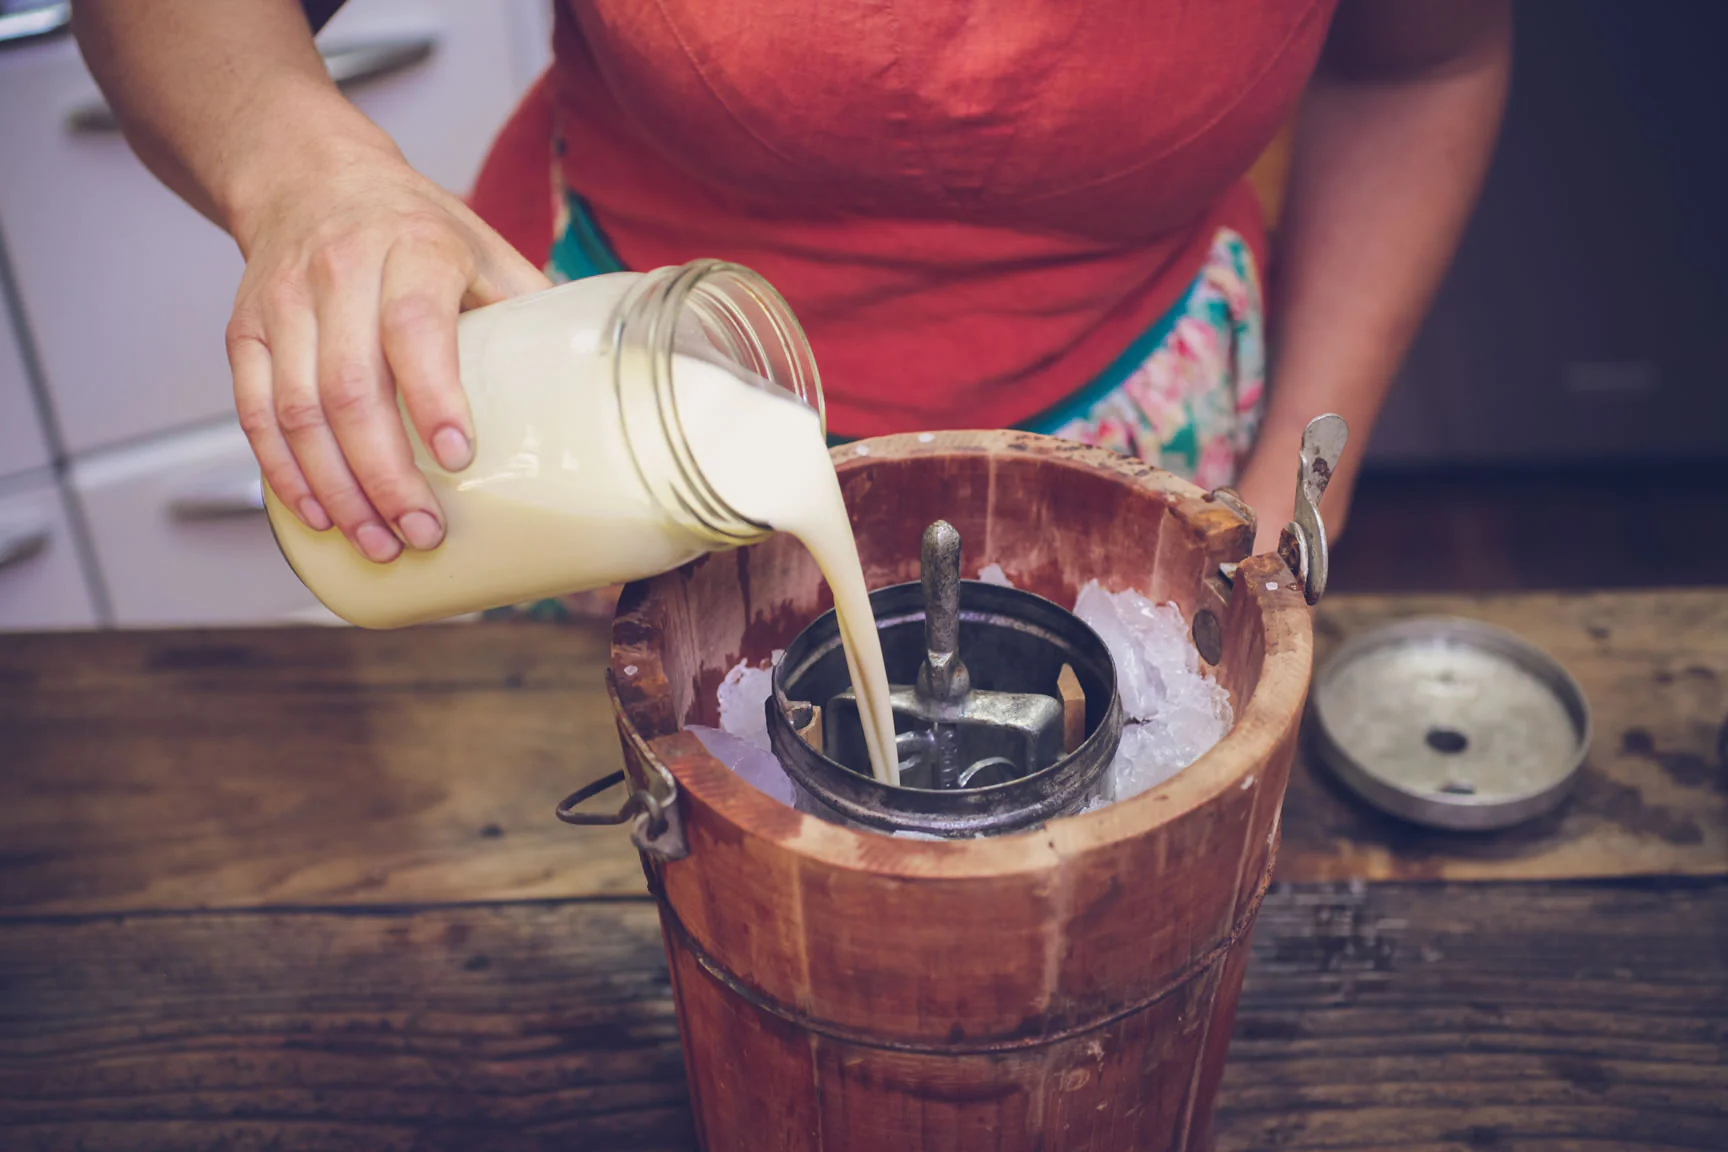
During the freezing process, the ice cream mixture is added to the inner container of the machine. As the mixture begins to freeze, the ice cream maker’s paddle or dasher churns it continuously. This constant movement prevents large ice crystals from forming and ensures a smooth, creamy texture.
The addition of salt to the ice creates a supersaturated solution. This solution absorbs heat from the ice cream mixture, causing it to freeze. The salt also creates a slushy texture, which allows for better contact between the freezing mixture and the ice cream container.
As the freezing continues, the liquid from the ice cream mixture freezes onto the container’s walls, creating a layer of ice. This layer of ice prevents the ice cream from sticking to the container, allowing for easy removal and serving.
Once the desired consistency is reached, the ice cream is transferred to a separate container and placed in the freezer to harden further. This step, known as “ripening,” allows the flavors to meld together and enhances the overall taste of the ice cream.
Understanding the science behind ice cream making can help to troubleshoot any issues that may arise, such as the presence of salt residue. By mastering the art and science of ice cream making, you can create delicious frozen treats that will delight family and friends.
Common Salt Residue Issue
One common issue that ice cream enthusiasts often encounter is the presence of salt residue on the ice cream maker after use. This salt residue can be frustrating as it may affect the taste and overall quality of your homemade ice cream. Understanding the potential causes of this issue can help you prevent and address it effectively.
The primary reason for salt residue on the ice cream maker is the use of rock salt during the freezing process. While rock salt is crucial for achieving the desired freezing temperature, it can sometimes leave behind traces of salt that adhere to the inner walls of the machine.
Another factor that may contribute to the salt residue issue is improper cleaning and maintenance of the ice cream maker. Accumulated salt and ice cream remnants on the machine’s surfaces can mix and form a residue over time, affecting subsequent batches of ice cream.
Additionally, overfilling the ice cream maker beyond its recommended capacity can lead to salt residue. When the machine is filled to its maximum capacity, the mixture may come into contact with the rock salt and cause it to dissolve faster, increasing the chances of salt residue being left behind.
Leaking seals and gaskets can also contribute to the salt residue problem. If the ice cream maker’s sealing is compromised, it can allow saltwater to seep into areas where it should not be, leading to salt residue buildup on the machine’s surfaces.
Insufficient mixing and freezing times can also result in salt residue. Properly mixing the ice cream mixture and allowing it to fully freeze in the machine can help ensure that the rock salt is properly diluted and prevents excessive salt residue from forming.
By understanding these common causes of salt residue on ice cream makers, you can take the necessary precautions to prevent or minimize the issue. In the following sections, we will explore each potential cause in more detail and provide tips on how to address them effectively.
Possible Causes of Salt Residue on Ice Cream Maker
When you open your ice cream maker and find salt residue, it can be frustrating. Understanding the possible causes of this issue can help you troubleshoot and prevent it from occurring in the future. Here are some of the main culprits behind salt residue on ice cream makers:
1. Overfilling the Ice Cream Maker:
One common cause of salt residue is overfilling the ice cream maker. When the machine is filled beyond its recommended capacity, the ice cream mixture may come into contact with the rock salt more frequently. This excessive contact can cause the rock salt to dissolve faster, increasing the likelihood of salt residue being left behind.
2. Leaking Ice Cream Maker Sealing:
If the seals or gaskets in your ice cream maker are compromised and leaking, saltwater can seep into areas where it should not be. This can result in the formation of salt residue on the machine’s surfaces. Regularly inspecting and maintaining the seals and gaskets can help prevent this issue.
3. Insufficient Mixing Time:
Proper mixing is essential for achieving a smooth and homogeneous ice cream mixture. If the ice cream mixture is not mixed thoroughly, the rock salt may not be evenly distributed, resulting in concentrated pockets of salt. During the freezing process, these pockets can create salt residue on the ice cream maker.
4. Insufficient Freezing Time:
Similar to mixing, allowing the ice cream mixture to freeze for the recommended duration is crucial. If the freezing time is insufficient, the rock salt may not have enough time to dissolve completely. As a result, some undissolved salt may remain and contribute to the salt residue issue.
5. Using Excessive Rock Salt:
The amount of rock salt used in the ice cream maker should be in line with the manufacturer’s recommendations. Using excessive rock salt in an attempt to speed up the freezing process can actually lead to salt residue. It is important to follow the guidelines provided by the manufacturer to achieve optimal results.
By considering these possible causes, you can pinpoint the source of the salt residue issue in your ice cream maker. In the following sections, we will explore preventive measures and cleaning tips to help you address and minimize salt residue effectively.
Overfilling the Ice Cream Maker
Overfilling the ice cream maker is a common mistake that can contribute to the presence of salt residue. When the machine is filled beyond its recommended capacity, the ice cream mixture has a higher chance of coming into contact with the rock salt, leading to faster dissolution of the salt and potential residue formation.
When the ice cream mixture exceeds the machine’s capacity, it can cause an overflow during the freezing process. This overflow can carry excess rock salt into areas where it shouldn’t be, such as the sealing or other parts of the machine. The combination of saltwater and ice cream remnants creates a perfect environment for salt residue buildup.
To prevent overfilling the ice cream maker, it is crucial to carefully follow the manufacturer’s instructions and guidelines. These guidelines typically indicate the maximum capacity of the machine and provide recommendations for the appropriate amount of ice cream mixture to use.
It is advisable to leave some room for expansion as the ice cream mixture freezes and churns. This extra space allows for proper movement and mixing without the risk of overflowing or coming into contact with excessive amounts of rock salt.
Before adding the ice cream mixture, ensure that the machine’s inner container is clean and free from any residue from previous batches. Proper cleaning and maintenance of the ice cream maker not only prevent salt residue but also enhance the overall quality and taste of your homemade ice cream.
If you find that you have overfilled the ice cream maker, you can remove some of the excess mixture to prevent overflow. However, be cautious not to remove too much, as this may result in an insufficient amount of ice cream being made.
By avoiding the temptation to overfill the ice cream maker, you can reduce the chances of salt residue formation. Keep in mind the recommended capacity and be mindful of the ice cream mixture’s volume before starting the freezing process. This simple precaution can go a long way in ensuring a smooth and enjoyable ice cream-making experience.
Leaking Ice Cream Maker Sealing
A common cause of salt residue on ice cream makers is a compromised sealing. If the seals or gaskets in your ice cream maker are leaking, saltwater can seep into areas where it should not be, leading to the formation of salt residue.
Over time, the seals or gaskets of the ice cream maker may wear out or become damaged, resulting in leakage. This can be caused by factors such as regular wear and tear, improper handling, or exposure to high temperatures. It is important to regularly inspect the seals, gaskets, and other components of the machine to identify any potential issues.
When the sealing is compromised, saltwater can mix with the ice cream mixture during the freezing process. As the mixture churns and freezes, the saltwater and ice cream remnants can form a residue on the inner walls of the machine.
To prevent salt residue formation due to leaking sealing, it is crucial to address the issue promptly. Depending on the severity of the damage, you may need to replace the seals or gaskets. Consult the manufacturer’s instructions or contact their customer support for guidance on obtaining and installing the correct replacements.
Regular cleaning and maintenance of your ice cream maker can help detect any signs of leaking sealing early on. Clean the machine thoroughly after each use, paying close attention to the areas where the seals or gaskets are located. This will help you spot any potential leaks or damage and take appropriate action.
In addition, avoid exposing the ice cream maker to extreme temperatures or placing excessive weight on it, as these can contribute to seal damage. Proper handling and storage of the machine can help prolong the lifespan of the seals and prevent leaking.
By maintaining the integrity of the sealing in your ice cream maker, you can minimize the risk of saltwater seepage and subsequent salt residue formation. Regular inspections, prompt repairs, and proper cleaning practices are essential to ensure the longevity and optimal performance of your machine.
Insufficient Mixing Time
Proper mixing is crucial in the ice cream-making process to ensure a smooth and uniform texture. Insufficient mixing time can contribute to the formation of salt residue on the ice cream maker.
When the ice cream mixture is not mixed thoroughly, the rock salt may not be evenly distributed throughout the mixture. As a result, concentrated pockets of salt can form. During the freezing process, these pockets can release excess salt, which can then adhere to the inner walls of the machine, resulting in salt residue.
To prevent insufficient mixing time, it is important to follow the manufacturer’s guidelines for the recommended duration of mixing. Typically, ice cream makers have specific time recommendations to ensure proper incorporation of the rock salt and even distribution of the ice cream mixture.
During the mixing process, the ice cream maker’s paddle or dasher churns the mixture continuously. This continuous movement helps prevent the formation of large ice crystals and creates a consistent texture. It is important to allow the machine sufficient time to churn the mixture thoroughly.
Take note of the consistency and texture of the ice cream mixture while it is being mixed. If you notice any lumps, pockets of undissolved ingredients, or an uneven distribution of rock salt, continue mixing until these issues are resolved.
It is also beneficial to periodically pause the mixing process and scrape down the sides of the machine with a spatula. This ensures that any ice cream mixture stuck to the walls is incorporated back into the main mixture, preventing pockets of undissolved rock salt from forming.
Remember that each ice cream recipe may have slightly different mixing times, depending on the ingredients and desired outcome. Follow the specific instructions provided in the recipe or refer to the manufacturer’s guidelines for optimal mixing duration.
By giving the ice cream mixture sufficient mixing time, you can achieve a well-blended consistency and minimize the chances of salt residue formation. Ensuring proper mixing is a key step towards creating smooth and delicious homemade ice cream.
Insufficient Freezing Time
Proper freezing is essential for achieving the desired texture and consistency of homemade ice cream. Insufficient freezing time can contribute to the presence of salt residue on the ice cream maker.
When the ice cream mixture is not frozen for a sufficient duration, the rock salt may not have enough time to dissolve completely. As a result, some undissolved salt can remain in the mixture, leading to salt residue formation.
It is important to follow the recommended freezing time provided by the ice cream maker’s manufacturer. This duration allows the ice cream mixture to reach the desired consistency and ensures that the rock salt is fully dissolved.
Factors such as the quantity and temperature of the mixture, as well as the efficiency of the ice cream maker, can influence the freezing time required. It is essential to take these variables into consideration and adjust the freezing time accordingly.
If you find that the ice cream mixture has not achieved the desired consistency after the recommended freezing time, it may need additional time in the machine. Resist the temptation to remove the mixture too early, as this can result in a softer and less creamy texture.
During the freezing process, periodically check the consistency of the ice cream mixture. It should be frozen to a firm yet creamy consistency throughout. If it appears too soft or liquid, allow it to continue freezing until the desired texture is achieved.
Furthermore, it is important to note that freezing times may vary between different ice cream maker models. Factors such as the efficiency of the machine, ambient temperature, and the initial temperature of the ice cream mixture can affect the freezing process.
By ensuring that you allow the ice cream mixture to freeze for the recommended duration, you can minimize the risk of salt residue formation. Patience in the freezing process will reward you with delectable and smooth homemade ice cream.
Using Excessive Rock Salt
While rock salt is essential for achieving the freezing temperature required for making ice cream, using excessive amounts can contribute to the formation of salt residue on the ice cream maker.
When a larger quantity of rock salt is used than necessary, it can lead to an excessive amount of saltwater being created during the freezing process. This concentration of saltwater increases the likelihood of salt residue formation on the inner surfaces of the machine.
To prevent the use of excessive rock salt, it is important to follow the guidelines provided by the ice cream maker’s manufacturer. The recommended amount of rock salt is typically specified based on the machine’s capacity and the optimal freezing conditions.
Using the correct amount of rock salt ensures that the ice cream mixture is frozen at the right temperature without oversaturating it with saltwater. This balanced approach allows for the proper dissolution of salt and prevents excessive residue from forming.
A common mistake is the assumption that using more rock salt will speed up the freezing process. However, using excessive amounts does not significantly affect the freezing time and can result in unnecessary salt residue, compromising the quality of your ice cream.
To ensure accuracy in measuring the rock salt, use a proper measuring tool, such as a measuring cup or a kitchen scale. Refer to the ice cream maker’s instructions to determine the exact amount required for optimal results.
Additionally, avoid adding more rock salt during the freezing process. Once the initial amount has been added, allowing the machine to continue freezing without additional salt helps maintain the right balance in the ice cream mixture and reduces the risk of residue formation.
By using the appropriate amount of rock salt according to the manufacturer’s recommendations, you can minimize the chances of salt residue formation on your ice cream maker. This will result in a cleaner machine and better-tasting homemade ice cream.
Cleaning and Maintenance Tips
Maintaining a clean and well-maintained ice cream maker is crucial for preventing the formation of salt residue and ensuring optimal performance. Here are some cleaning and maintenance tips to keep your ice cream maker in top shape:
1. Read the Manufacturer’s Instructions:
Start by familiarizing yourself with the manufacturer’s cleaning and maintenance guidelines. Different ice cream makers may have specific requirements, so follow these instructions for the best results.
2. Clean After Each Use:
After each use, thoroughly clean the ice cream maker. Start by removing any remaining ice cream or mixture from the machine. Disassemble any removable parts, such as the mixing paddle or container, and wash them with warm, soapy water. Rinse and dry them completely before reassembling.
3. Wipe the Inside Surface:
Use a damp cloth or sponge to wipe down the inside surface of the ice cream maker. Pay attention to any areas where residue or dried ice cream may have accumulated. Ensure that all surfaces are free from any remnants or salt residue.
4. Clean Seals and Gaskets:
Inspect the seals and gaskets of the ice cream maker for any debris or residue. Use a soft brush or toothbrush to gently clean them. Ensure that no salt residue or ice cream remnants are stuck in the crevices. Wipe them dry before reassembling the machine.
5. Store Properly:
When not in use, store your ice cream maker in a clean, dry place. Ensure that it is protected from moisture, dust, and extreme temperatures. Storing it properly will help prevent damage to the machine and maintain its performance over time.
6. Regular Inspection:
Periodically inspect the ice cream maker for any signs of wear and tear, including cracks, leaks, or faulty electrical components. Address any issues promptly by contacting the manufacturer or a professional appliance repair service if needed.
7. Follow Usage Limits:
Respect the recommended usage limits of your ice cream maker. Overusing the machine beyond its capacity or prolonging freezing times excessively can put a strain on its components and increase the risk of salt residue formation.
By following these cleaning and maintenance tips, you can keep your ice cream maker in optimal condition and prevent the formation of salt residue. Enjoy the peace of mind knowing your machine is clean and ready to make delicious homemade ice cream.
Conclusion
The presence of salt residue on your ice cream maker can be a frustrating issue, but understanding the causes and implementing preventive measures can help you avoid it. By taking into account factors such as overfilling the machine, leaking sealing, insufficient mixing and freezing times, and excessive rock salt usage, you can minimize the chances of salt residue formation. Additionally, proper cleaning and maintenance of your ice cream maker are crucial for ensuring its longevity and optimal performance.
Always refer to the manufacturer’s guidelines and recommendations for the specific model of your ice cream maker. This ensures that you follow the correct procedures and use the appropriate amounts of ingredients, including rock salt. Pay attention to mixing thoroughly and allowing sufficient freezing time to achieve the desired texture and consistency of your homemade ice cream.
Regularly inspecting and cleaning your ice cream maker, particularly the seals and gaskets, can help prevent leaks and saltwater seepage that contribute to salt residue formation. By maintaining a clean and well-maintained machine, you can enjoy consistently delicious homemade ice cream without the presence of unwanted residue.
Remember, creating homemade ice cream is not only a culinary delight but also an opportunity to explore the fascinating science behind it. By incorporating these tips and techniques into your ice cream-making process, you can elevate your recipes and enhance the quality of your frozen treats.
Now that you have a better understanding of the common causes of salt residue on ice cream makers and how to address them, we hope you can enjoy making your favorite ice cream flavors with ease and confidence. Let your creativity soar as you indulge in the delightful world of homemade ice cream!