Possible Causes of E Instead of 4G
If you’re experiencing the frustrating issue of seeing the letter ‘E’ instead of the expected ‘4G’ on your phone, there could be a number of reasons causing this display anomaly. It’s important to understand the potential causes so that you can take appropriate actions to resolve the issue and get back to enjoying a fast and reliable internet connection.
Let’s explore some possible causes:
- Weaker Network Signal: One of the most common reasons for your phone displaying ‘E’ instead of ‘4G’ is a weak network signal. This could be due to being in an area with limited coverage or being far away from the nearest cellular tower.
- Network Congestion: Another cause could be network congestion, especially during peak usage times. When too many people are connected to the same network, the available bandwidth gets divided, resulting in slower internet speeds and the display of ‘E’ instead of ‘4G’.
- Misconfiguration or Compatibility Issues: Sometimes, misconfiguration or compatibility issues between your phone and the network can lead to the display of ‘E’ instead of ‘4G’. This could be due to outdated carrier settings or incorrect Access Point Name (APN) settings on your device.
- Software or Firmware Problems: In some cases, software or firmware problems on your phone can cause the display of ‘E’ instead of ‘4G’. Outdated software versions or incompatible operating systems may hinder your device’s ability to connect to the 4G network.
- Temporary Network Outages: Occasionally, temporary network outages or maintenance activities in your area can disrupt the 4G signal, causing your phone to display ‘E’ instead. These issues are usually resolved within a short period of time.
Identifying the specific cause of ‘E’ instead of ‘4G’ on your phone can lead you towards an effective solution. In the following sections, we’ll explore some troubleshooting steps to help you resolve this issue and regain your fast 4G connection.
Checking Network Coverage
When you’re facing the issue of seeing ‘E’ instead of ‘4G’ on your phone, the first step is to determine if it’s due to weak network coverage in your area. Here are some steps to check the network coverage:
- Check Coverage Maps: Most mobile carriers provide coverage maps on their websites. Visit your carrier’s website and navigate to the coverage map section. Enter your location or address to see if there are any reported coverage issues in your area.
- Observe Signal Strength: Check the signal strength indicator on your phone. If it consistently shows a low signal strength, it indicates poor network coverage. Move to a different location and observe if the signal strength improves.
- Ask Others: Talk to people around you who use the same mobile network. Inquire if they are also experiencing similar network connectivity issues. If multiple people are facing the same problem, it could be a sign of poor network coverage in that area.
If you determine that poor network coverage is causing the display of ‘E’ instead of ‘4G’, here are some steps you can take:
- Move to a Better Location: If you’re indoors, try moving near a window or going outside to get a better signal. Sometimes, obstacles like walls or buildings can interfere with the network signal.
- Check Other Network Providers: If multiple network providers are available in your area, consider switching to a different network that offers better coverage.
- Install a Signal Booster: You can purchase a signal booster to amplify the network signal in your home, office, or car. Signal boosters are helpful in areas with weak network coverage.
By checking network coverage and taking appropriate actions, you can improve your chances of resolving the issue of seeing ‘E’ instead of ‘4G’ on your phone. In the next section, we’ll explore steps to restart your phone as a troubleshooting measure.
Restarting Your Phone
Doing a simple restart of your phone can often resolve various software glitches and temporary network connectivity issues. If you’re seeing ‘E’ instead of ‘4G’ on your phone, follow these steps to restart your device:
- Power Off: Press and hold the power button on your phone until the power options appear on the screen.
- Restart: Tap on the option to restart your device. Wait for your phone to power off completely and then turn it back on.
After your phone restarts, check if you’re still seeing ‘E’ instead of ‘4G’. In many cases, a simple restart can help establish a stable connection to the 4G network.
If the problem persists after restarting your device, you can try these additional troubleshooting steps in the upcoming sections.
Next, we’ll explore how resetting network settings might help resolve the issue of ‘E’ instead of ‘4G’ on your phone.
Resetting Network Settings
Resetting network settings on your phone can often fix network-related issues, including the problem of seeing ‘E’ instead of ‘4G’. Here’s how you can reset network settings on your device:
- Access Settings: Open the Settings app on your phone. This can usually be found in the app drawer or by swiping down and accessing the quick settings panel.
- Find Network Settings: Look for the option related to network settings. It might be labeled as ‘Connections’, ‘Network & Internet’, or ‘Wireless & Networks’ depending on your phone’s manufacturer and software version.
- Reset Network Settings: Within the network settings, search for the option to reset or restore network settings. This might be listed as ‘Reset Wi-Fi, mobile & Bluetooth’ or ‘Reset Network Settings’.
- Confirm the Reset: Tap on the reset option and confirm your action when prompted. Keep in mind that resetting network settings will remove saved Wi-Fi networks, Bluetooth connections, and VPN configurations from your device.
- Restart Your Phone: After the network settings reset is complete, restart your phone for the changes to take effect.
Once your phone restarts, observe if the ‘E’ has been replaced with ‘4G’ on your display. Resetting network settings can help resolve any misconfigurations or network-related problems that might have been causing the issue.
If the problem persists after resetting network settings, we’ll explore further steps to troubleshoot the issue in the next sections.
Updating Your Phone’s Software
Keeping your phone’s software up to date is essential for optimal performance and bug fixes, and it may also help resolve any compatibility issues that could be causing the display of ‘E’ instead of ‘4G’. Here’s how you can check for and install software updates on your device:
- Access Settings: Open the Settings app on your phone.
- Software Update: Look for the option related to software updates. It might be labeled as ‘Software Update’, ‘About Phone’, ‘System Updates’, or something similar.
- Check for Updates: Tap on the ‘Check for Updates’ or similar option to see if there are any available updates for your phone’s software.
- Download and Install: If there are updates available, follow the prompts to download and install them. Make sure your phone is connected to a stable Wi-Fi network and has sufficient battery life before initiating the update process.
- Restart Your Phone: After the software update is complete, restart your phone to ensure that the changes take effect.
Updating your phone’s software can often address underlying software-related issues and improve compatibility with network technologies, potentially resolving the issue of seeing ‘E’ instead of ‘4G’ on your phone.
If there are no available updates or updating the software doesn’t fix the problem, we’ll explore another troubleshooting step in the upcoming section.
Checking for Carrier Settings Update
Carrier settings on your phone contain important configurations that ensure compatibility and connectivity with your mobile network. Checking for carrier settings updates can potentially resolve issues like seeing ‘E’ instead of ‘4G’ on your device. Here’s how you can check for carrier settings updates:
- Connect to Wi-Fi or Cellular Data: Ensure that your phone is connected to a stable Wi-Fi network or has an active cellular data connection.
- Access Settings: Open the Settings app on your phone.
- Carrier Settings: Look for the option related to carrier or network settings. It might be labeled as ‘Carrier’, ‘Mobile Network’, ‘Cellular’, or something similar.
- Check for Updates: Within the carrier settings, search for the option to check for updates. It could be listed as ‘Carrier Settings Update’ or ‘Update Carrier Settings’.
- Download and Install: If there are updates available, follow the prompts to download and install them. This process usually requires a stable network connection and may require a restart of your phone.
- Restart Your Phone: After the carrier settings update is complete, restart your phone to ensure the changes take effect.
Checking for carrier settings updates can address any misconfigurations or compatibility issues that might be causing the ‘E’ instead of ‘4G’ problem on your phone. If a carrier settings update is available and successfully installed, it may help restore the expected ‘4G’ display on your device.
If checking for carrier settings updates does not resolve the issue, we’ll explore an additional troubleshooting step in the next section.
Verifying your APN Settings
Access Point Name (APN) settings on your phone determine how it connects to the mobile network. Incorrect or outdated APN settings can lead to connectivity issues, including the display of ‘E’ instead of ‘4G’ on your device. Verifying and updating your APN settings can help resolve this problem. Follow these steps to check your APN settings:
- Access Settings: Open the Settings app on your phone.
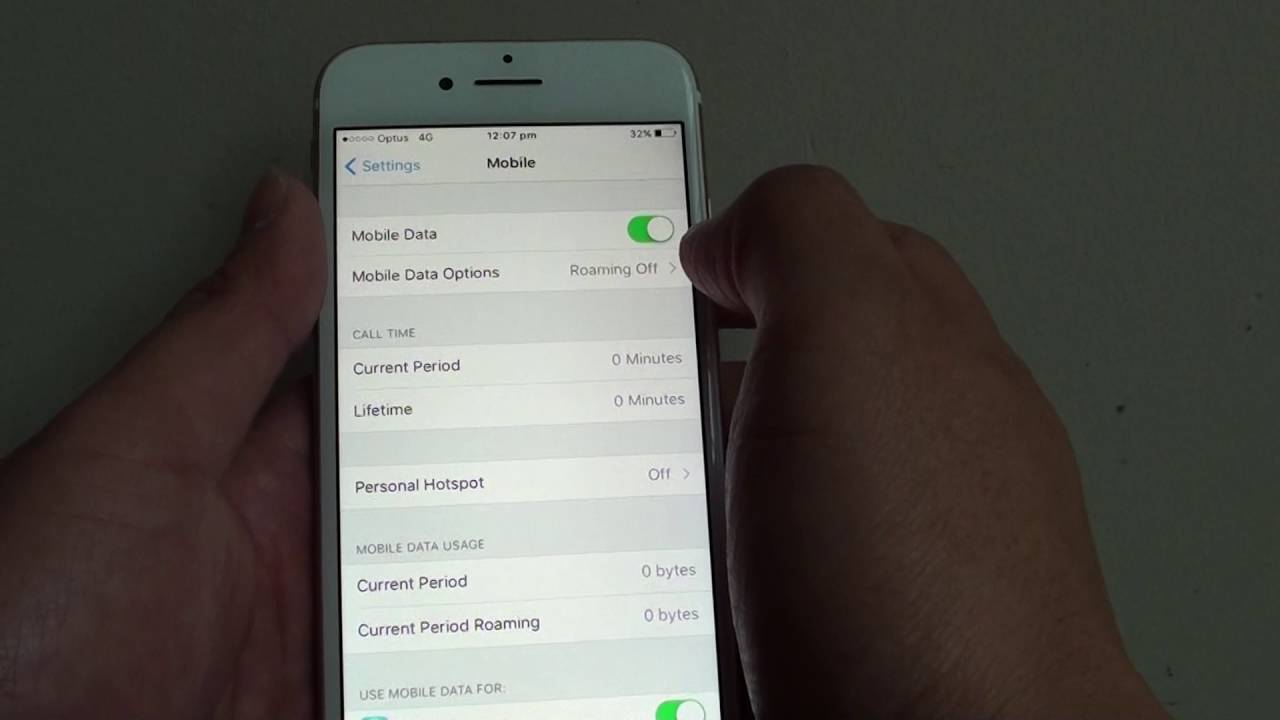
- Network & Internet: Look for the option related to network and internet settings. It might be labeled as ‘Network & Internet’, ‘Mobile Data’, ‘Cellular Data’, or something similar.
- Mobile Network: Within the network settings, find the option for ‘Mobile Network’ or ‘Cellular Network’.
- Access Point Names: Look for an option labeled ‘Access Point Names’, ‘APN’, or ‘Internet Settings’.
- Verify APN Settings: In the APN settings, review the details to ensure they are correct. It should match the APN settings provided by your mobile carrier. Common APN settings include APN name, APN type, proxy, port, username, and password.
- Update APN Settings: If you find any discrepancies or outdated information in your APN settings, you can edit them by tapping on the option to add or edit APN settings. Use the correct information provided by your mobile carrier.
- Save Changes: After updating the APN settings, make sure to save the changes before exiting the settings menu.
Verifying and correcting your APN settings ensures that your phone is correctly configured to connect to the mobile network. This step can potentially resolve the issue of seeing ‘E’ instead of ‘4G’ on your phone.
If verifying your APN settings does not fix the problem, the next troubleshooting step is to contact your mobile carrier for further assistance.
Contacting Your Mobile Carrier
If you have tried the previous troubleshooting steps and are still experiencing the issue of seeing ‘E’ instead of ‘4G’ on your phone, it’s time to reach out to your mobile carrier for support. Here’s what you can do:
- Gather Information: Before contacting your mobile carrier, have the relevant information ready, such as your phone number, account details, and a detailed description of the problem you’re facing.
- Contact Customer Support: Call or chat with your mobile carrier’s customer support team. They will guide you through the troubleshooting process and may be able to identify any known network issues that may be causing the problem.
- Follow Their Guidance: Listen to the instructions provided by the customer support representative and perform any necessary steps they recommend. They might have access to additional tools or resources to diagnose and resolve the issue.
- Ask for Further Assistance: If the initial troubleshooting steps don’t resolve the problem, ask the customer support representative for further assistance. They may escalate the issue to a higher level of support or even schedule a technician visit if required.
- Keep Records: Throughout the process of contacting your mobile carrier, keep a record of the date, time, and details of your conversations. This documentation can be useful if you need to escalate the issue or refer back to it in the future.
Contacting your mobile carrier is often the best course of action when you’ve exhausted all other troubleshooting steps. They have the expertise and resources to investigate network-related issues and provide you with a resolution.
By reaching out to your mobile carrier, you increase the chances of resolving the issue of seeing ‘E’ instead of ‘4G’ on your phone and getting back to enjoying a reliable and fast internet connection.