Introduction
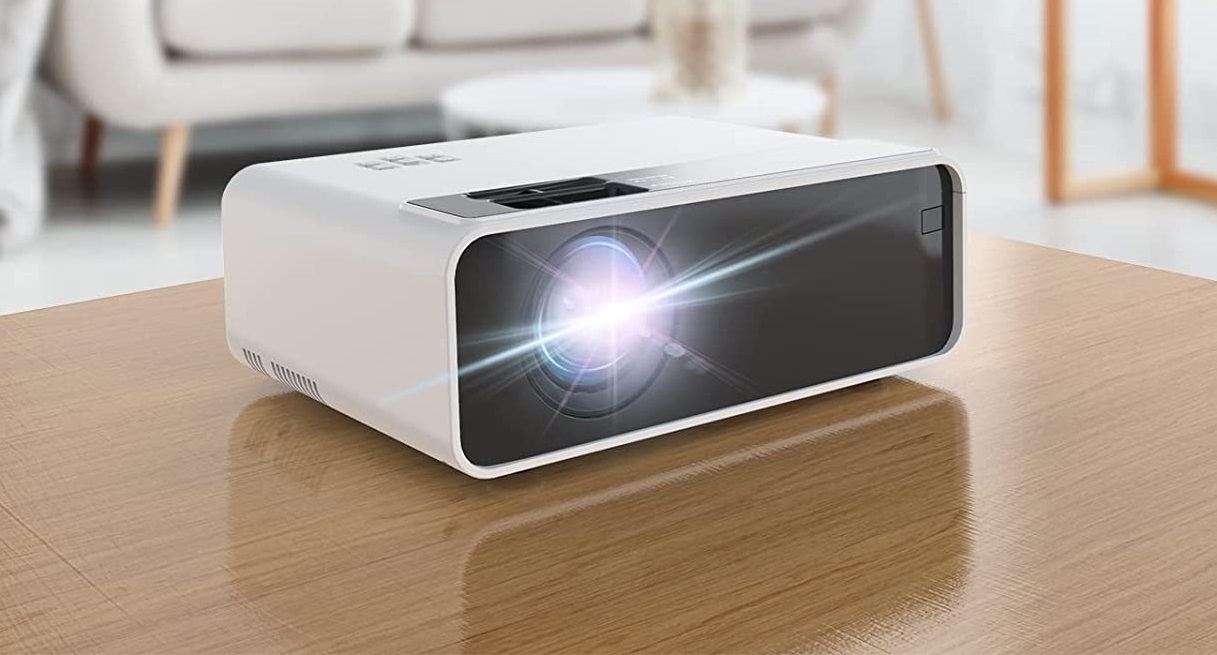
Projectors have become an essential tool for presentations, movie nights, and gaming. However, if your projector is making strange noises, it can be both annoying and worrisome. Understanding why your projector is making noise is crucial for maintaining its functionality and ensuring a smooth viewing experience.
When you invest in a projector, you expect it to deliver stunning visuals and crisp audio. Unfortunately, projector noise can significantly impact the overall viewing experience. It can distract the audience during presentations or disrupt the immersive atmosphere during movie nights. Therefore, it is essential to identify the cause of the noise and explore potential solutions to restore the projector’s quiet operation.
In this article, we will delve into the various factors contributing to projector noise. We will explore the common causes behind these noises and provide troubleshooting tips to help you mitigate them. By the end of this article, you will have a better understanding of why your projector is making noise and how to address the issue.
Understanding Projector Noise
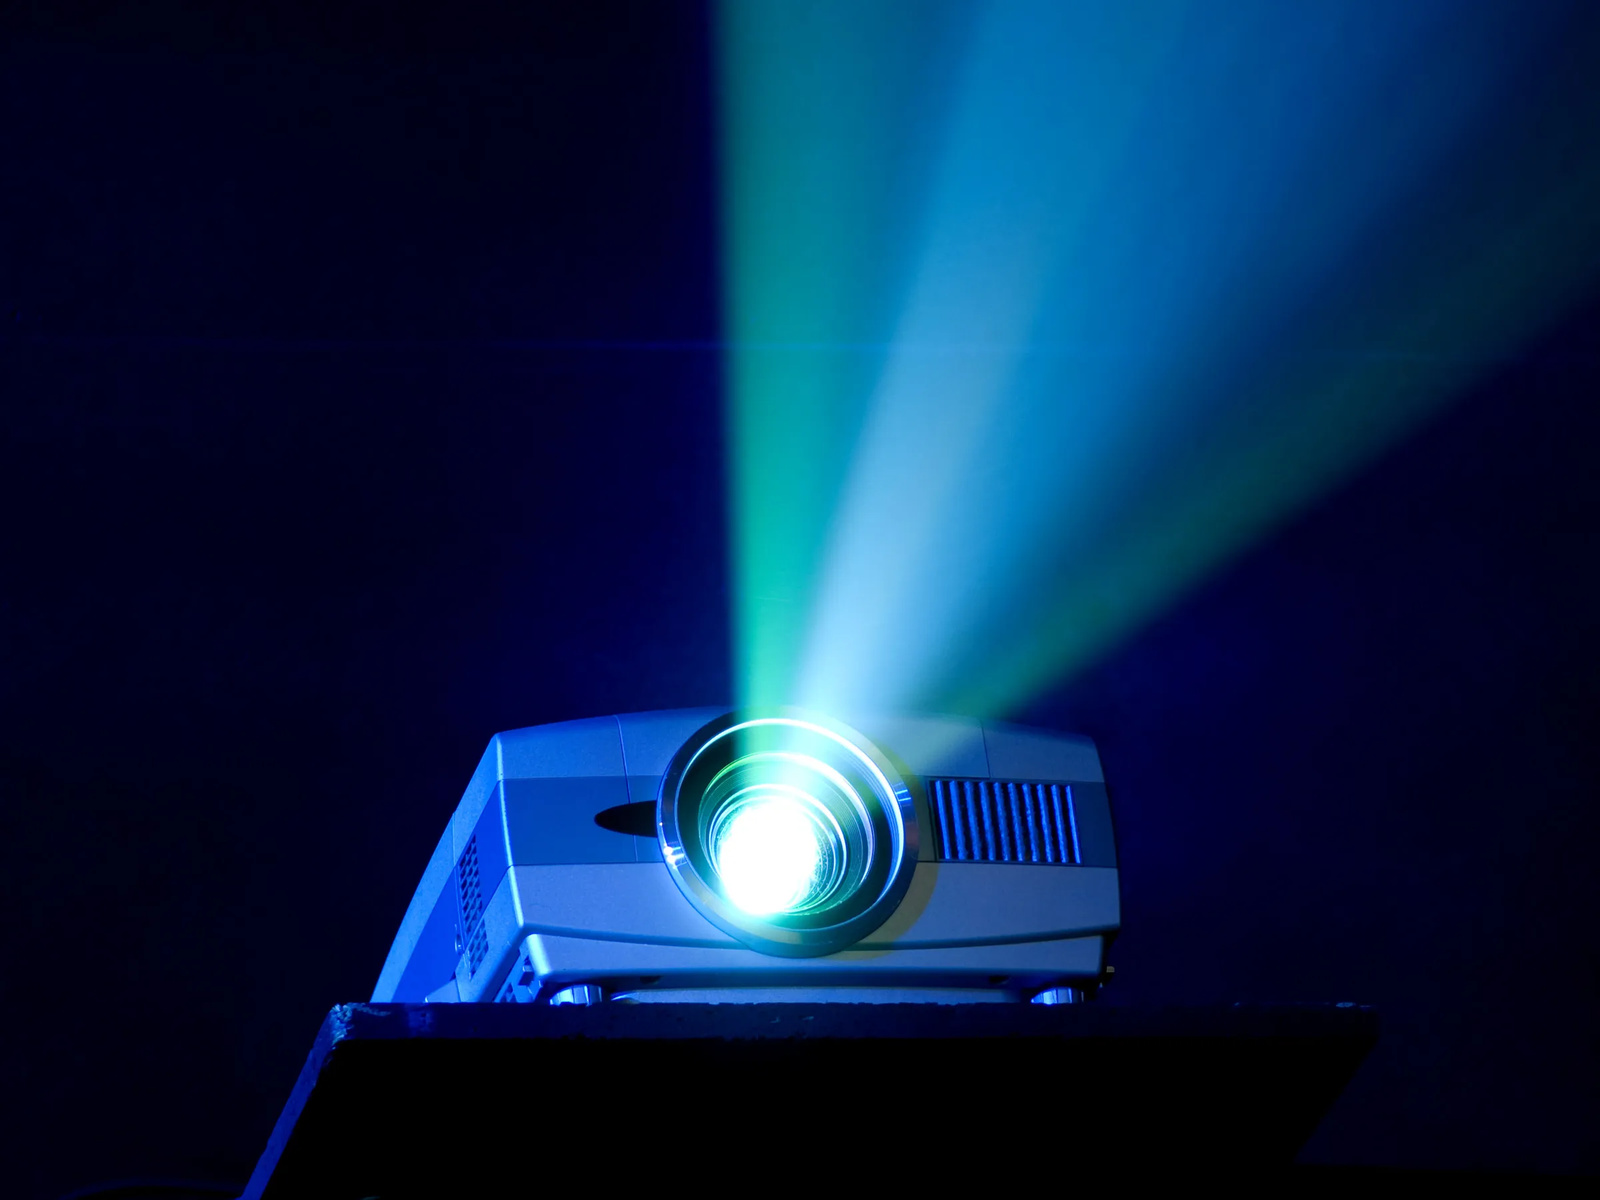
Projector noise is an inevitable aspect of projector operation. It can vary in intensity and type, depending on the model and components used. The noise can range from a gentle hum to a noticeable whir or even a high-pitched squeal. Understanding the causes behind projector noise is the first step toward finding a solution.
Projector noise primarily stems from the internal components that work together to produce the projected image. These components include cooling fans, color wheels, DLP chips, lamps, and various moving parts. Each of these elements plays a crucial role in the projector’s functionality but can generate noise during operation.
The noise can be categorized into different types and can serve as an indicator of a specific problem. For instance, a buzzing noise may indicate an issue with the cooling fan, while a grinding sound might point to a problem with the color wheel. By identifying the type of noise, you can narrow down the potential causes and troubleshoot more effectively.
It is also essential to note that projector noise can vary depending on the environment and usage. For instance, you may notice the noise more prominently when the projector is in a quiet room or when you are sitting close to the device. Additionally, certain usage scenarios, such as high brightness settings, can cause the projector to generate more noise.
While some level of noise is inevitable, excessive noise can indicate a problem that needs attention. It can disrupt the viewing experience and potentially lead to further damage if left unaddressed. Therefore, it is crucial to identify the common causes of projector noise and take appropriate measures to resolve them.
Common Causes of Projector Noise
There are several common causes of projector noise. By understanding these causes, you can pinpoint the source of the noise and take appropriate action to address it. Let’s explore some of the most frequent culprits:
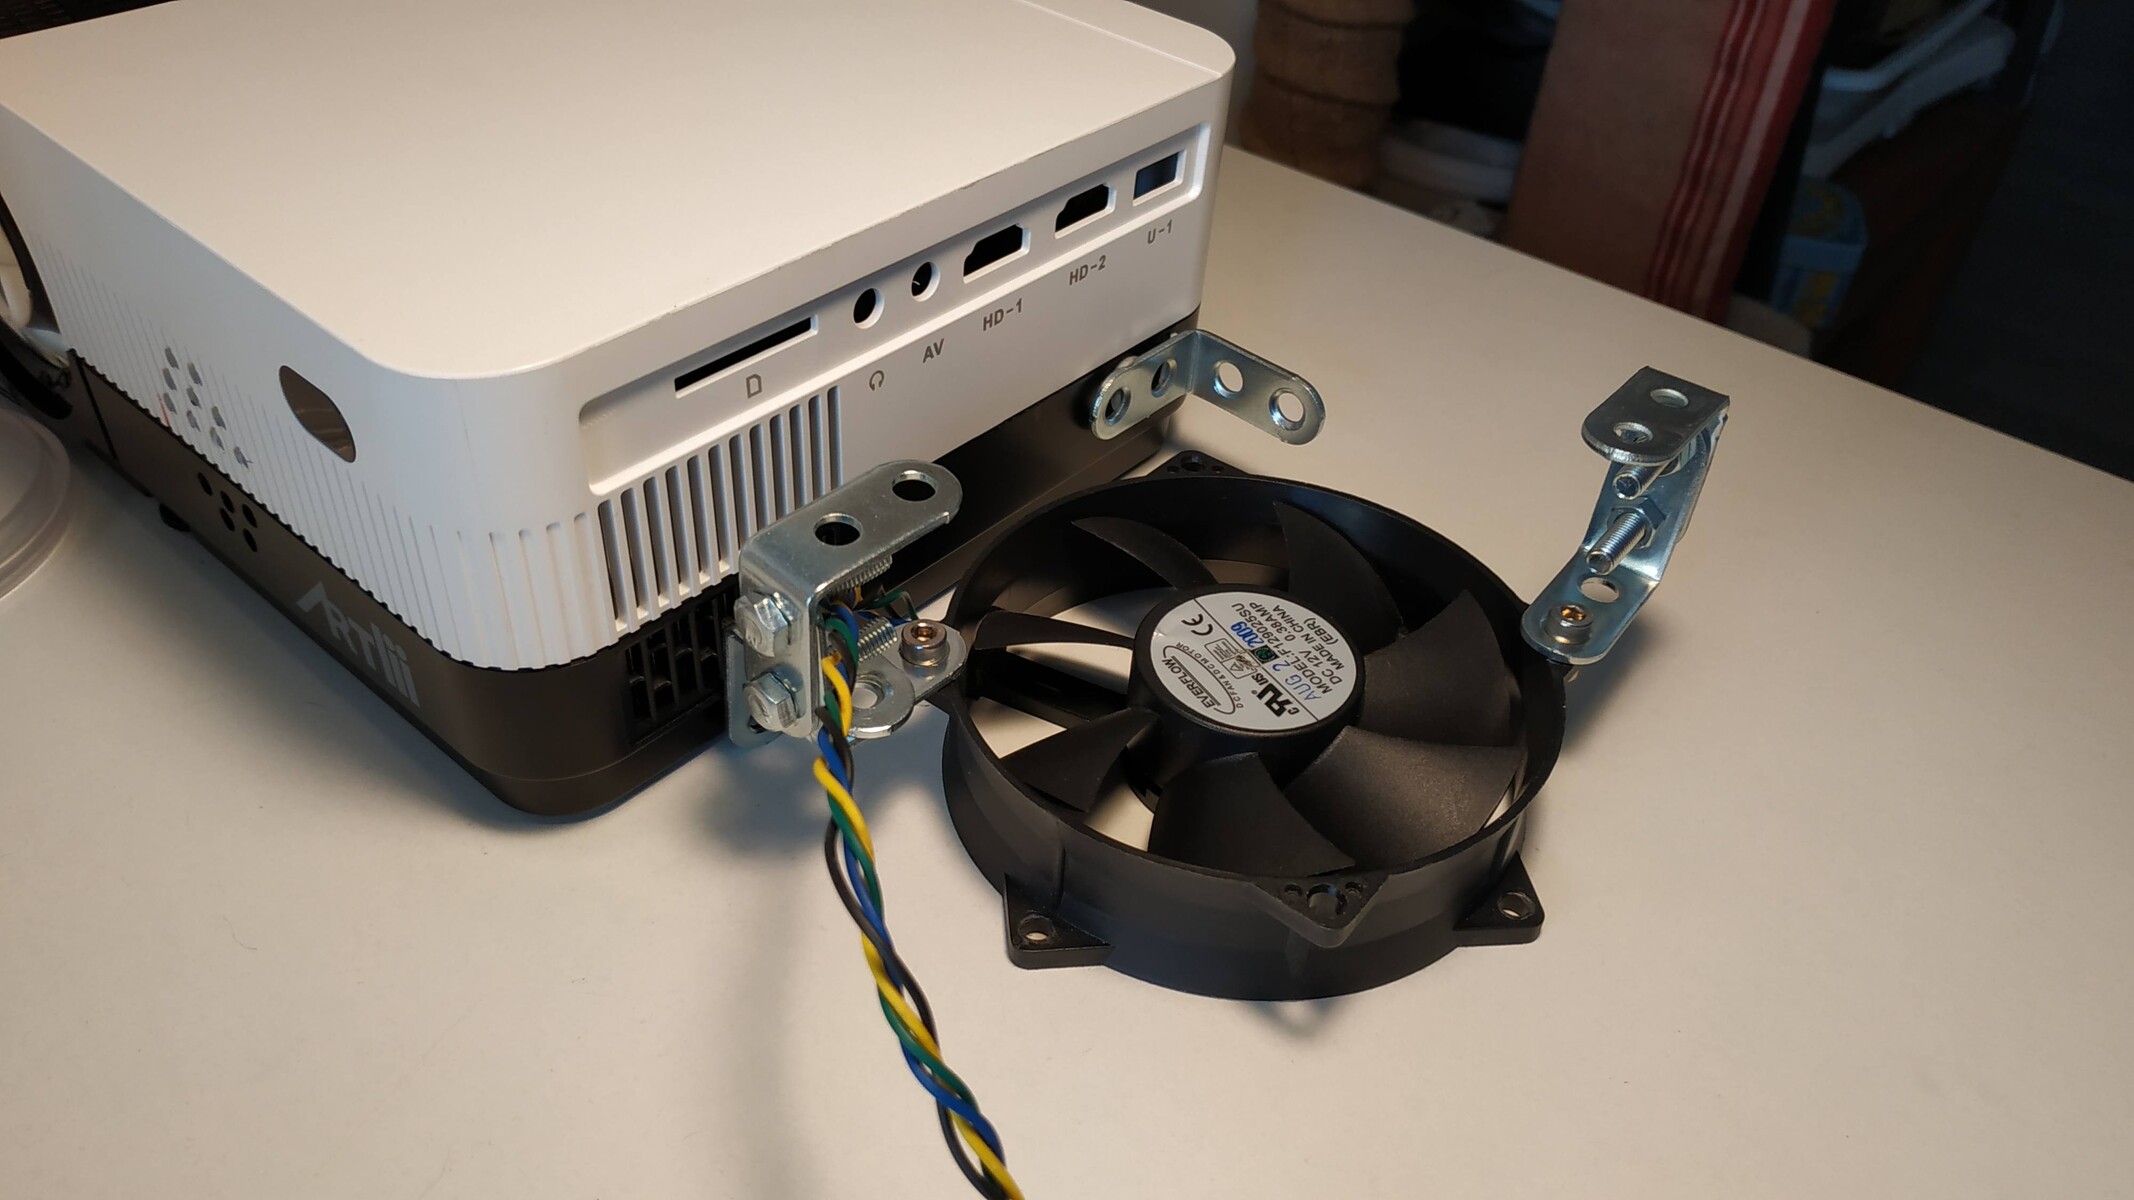
- Cooling fan noise: Projectors have internal cooling fans to prevent overheating. These fans can generate noise, especially if they are clogged with dust or debris. A malfunctioning or worn-out fan can also produce excessive noise.
- Color wheel noise: DLP projectors often have a color wheel that rotates at high speeds to produce different shades and colors. If the color wheel is misaligned or damaged, it can create a humming or rattling noise.
- DLP chip noise: Digital Light Processing (DLP) chips are responsible for projecting the image. Over time, these chips can deteriorate or suffer from manufacturing defects, resulting in noise during operation.
- Lamp noise: Projector lamps can emit buzzing or crackling sounds, especially if they are nearing the end of their lifespan or if there are issues with the lamp assembly or power supply.
- Vibration noise: Vibrations from the internal components or external factors such as an uneven surface or inadequate mounting can cause the projector to produce unwanted noise.
It’s important to note that these causes of projector noise can overlap, and more than one factor may contribute to the overall noise level. Therefore, it may require a step-by-step troubleshooting approach to identify and address each specific issue.
By understanding the common causes of projector noise, you can narrow down the potential sources and take appropriate measures to resolve the problem. In the following section, we will explore how to troubleshoot projector noise and find solutions to minimize or eliminate it.
Cooling Fan Noise
Cooling fan noise is one of the most common causes of projector noise. The cooling fan is responsible for maintaining a safe operating temperature by dissipating heat generated by the projector’s internal components. However, over time, the fan can accumulate dust and debris, leading to increased noise levels.
If you notice excessive noise coming from your projector, the first step should be to check the cooling fan. Here are some troubleshooting steps you can follow:
- Clean the fan: Turn off the projector and unplug it from the power source. Use compressed air or a soft brush to gently clean the fan blades and remove any accumulated dust or debris. Be careful not to damage the fan or other components.
- Check for obstructions: Inspect the area around the fan to ensure there are no cables or objects obstructing the fan’s rotation. Sometimes, cables or other items can get entangled with the fan and cause it to produce noise.
- Replace the fan: If cleaning the fan doesn’t resolve the noise issue, it may be necessary to replace the fan. Contact the manufacturer or a professional technician to obtain a compatible replacement fan and follow their instructions for installation.
Regular maintenance and cleaning of the cooling fan can prevent excessive noise and ensure proper cooling of the projector. It is recommended to clean the fan at least once every few months, depending on the usage and environmental conditions.
Keep in mind that cooling fan noise can also be indicative of a larger problem, such as a faulty temperature sensor or improper ventilation. If the fan continues to create noise even after cleaning or replacement, it’s advisable to consult a professional technician for further inspection and diagnosis.
Color Wheel Noise
Color wheel noise is another common cause of projector noise, especially in DLP projectors. The color wheel is a rotating disc with segments of different colors that create the projected image. When the color wheel becomes misaligned or damaged, it can result in a humming or rattling noise.
If you suspect that the color wheel is causing the noise in your projector, here are some troubleshooting steps you can take:
- Inspect the color wheel: Turn off the projector and visually inspect the color wheel. Look for any visible signs of damage, misalignment, or debris that may be obstructing its rotation.
- Clean the color wheel: If you notice dirt or debris on the color wheel, use a soft cloth or compressed air to gently clean it. Be cautious not to scratch or damage the surface of the color wheel while cleaning.
- Seek professional assistance: If the color wheel appears to be damaged or if cleaning it does not resolve the noise issue, it may be necessary to seek professional assistance. Contact the manufacturer or a qualified technician who can assess the problem and provide appropriate solutions, such as repair or replacement of the color wheel.
Preventing color wheel noise can be achieved through proper handling and maintenance of the projector. Avoid moving or jostling the projector while it is running, as this can potentially misalign or damage the color wheel. Additionally, regular cleaning of the color wheel, along with other maintenance routines recommended by the manufacturer, can help minimize the chances of noise development.
Remember, attempting to repair or replace the color wheel yourself may void the warranty or cause further damage to the projector. It is advisable to consult with a professional technician who has expertise in projector repairs to ensure a proper and safe resolution to the color wheel noise issue.
DLP Chip Noise
DLP (Digital Light Processing) chips are a vital component in projectors, responsible for projecting the image onto the screen. However, over time, these chips can develop problems that result in noise during operation.
If you suspect that the DLP chip is causing the noise in your projector, here are some troubleshooting steps you can take:
- Inspect the DLP chip: Turn off the projector and carefully inspect the DLP chip for any visible signs of damage or defects. Look for irregularities such as cracks or discoloration.
- Update firmware or software: In some cases, noise from the DLP chip can be resolved by updating the firmware or software of the projector. Check the manufacturer’s website for any available updates and follow their instructions for installation.
- Consult a professional technician: If the DLP chip appears to be damaged or if updating the firmware/software does not resolve the noise issue, it is advisable to consult a professional technician. They can provide expert advice and assistance in diagnosing the problem and recommending appropriate solutions, such as chip replacement or repair.
It is important to handle the DLP chip with care and avoid touching the surface, as fingerprints or debris can interfere with its performance. Additionally, following the manufacturer’s recommended maintenance practices and guidelines can help prolong the lifespan of the DLP chip and minimize the chances of noise development.
Remember, attempting to repair or replace the DLP chip yourself may risk further damage to the projector and void the warranty. It is best to seek professional assistance from a qualified technician who has experience in handling projector-related issues, ensuring a proper and safe resolution to the DLP chip noise problem.
Lamp Noise
The lamp in a projector is responsible for emitting the light that creates the projected image. However, as the lamp ages or if there are issues with its assembly or power supply, it can generate noise during operation.
If you suspect that the lamp is causing the noise in your projector, here are some troubleshooting steps you can take:
- Check the lamp assembly: Turn off the projector and inspect the lamp assembly for any visible signs of damage. Look for cracked or discolored components, loose connections, or abnormalities in the lamp’s position.
- Replace the lamp: If the lamp is nearing the end of its lifespan or if there are visible issues with the assembly, it may be necessary to replace the lamp. Refer to the manufacturer’s guidelines or user manual for instructions on how to safely replace the lamp.
- Inspect the power supply: Ensure that the power supply for the lamp is working correctly and providing stable voltage. Loose connections or faulty power supply units can contribute to lamp noise.
Regularly monitoring the lamp’s lifespan and replacing it when necessary is an essential maintenance practice. Most projectors have a lamp hour counter that can help you determine when it’s time to replace the lamp. Following the manufacturer’s recommended guidelines for lamp replacement can help minimize noise and ensure optimal performance.
If the noise persists after replacing the lamp and checking the power supply, it is recommended to consult a professional technician. They can further diagnose the issue and provide appropriate solutions, such as addressing potential internal wiring or circuitry problems that may be causing the noise.
Remember to handle projector lamps with care, avoiding any physical stress or jarring movements. Mishandling the lamp can lead to premature failure and contribute to increased noise levels.
Vibration Noise
Vibration noise in projectors can be caused by internal components or external factors. Excessive vibrations can contribute to a noisy viewing experience and potentially damage the projector. Here are some troubleshooting steps to address vibration noise:
- Check the projector placement: Ensure that the projector is placed on a stable and level surface. Uneven surfaces can cause vibrations, resulting in noise. Consider using vibration isolators or shock-absorbing pads to minimize vibrations.
- Mount the projector securely: If your projector is ceiling mounted, make sure it is properly secured. Loose or unstable mounts can cause vibrations, leading to increased noise. Double-check the mounting screws and brackets to ensure a tight fit.
- Inspect internal components: Open the projector case, following the manufacturer’s instructions, and inspect the internal components. Look for loose screws, brackets, or any objects that may be making contact and causing vibrations.
- Reduce external factors: External factors such as nearby machinery, ventilation systems, or other electronic devices can contribute to vibration noise. Try to minimize the exposure of the projector to these sources of vibration or relocate them if possible.
- Consider using anti-vibration pads: Anti-vibration pads or mounts can help dampen vibrations and reduce the noise level. These pads are usually made of rubber or other vibration-absorbing materials and can be placed between the projector and the mounting surface.
Taking preventive measures to minimize vibrations is key to reducing vibration noise in projectors. Regular maintenance, such as tightening screws and brackets, can help maintain a stable projector setup. Additionally, positioning the projector away from sources of vibration and ensuring proper ventilation can contribute to a quieter viewing experience.
If vibration noise persists despite these troubleshooting steps, it may be necessary to consult a professional technician. They can further inspect the projector, diagnose any underlying issues, and provide appropriate solutions to eliminate vibration noise.
Remember, improper handling or attempts to modify internal components without proper expertise may void the warranty and potentially cause further damage. It is always recommended to seek professional assistance when dealing with vibration noise issues in projectors.
How to Troubleshoot Projector Noise
If your projector is making noise, it’s essential to troubleshoot the issue to identify the root cause and find a solution. Here are some steps you can take to troubleshoot projector noise:
- Identify the type of noise: Pay attention to the characteristics of the noise, such as the pitch, volume, and timing. Different types of noise can indicate specific problems, helping you narrow down the potential causes.
- Inspect the external environment: Assess the surroundings to identify any potential sources of interference or vibration. Remove or isolate any objects that may be in contact with the projector or causing vibrations.
- Clean and maintain the projector: Regularly clean the projector, including the cooling fan, color wheel, and lamp, according to the manufacturer’s instructions. Dust and debris can contribute to noise and hinder proper functioning.
- Check connections and cables: Ensure that all cables are securely connected and free from damage. Loose or faulty connections can cause noise or interference. Consider replacing any damaged cables if necessary.
- Update firmware or software: Check the manufacturer’s website for any available firmware or software updates for your specific projector model. Updating the firmware or software can address compatibility issues and improve overall performance.
- Consult the user manual: Refer to the projector’s user manual for specific troubleshooting steps recommended by the manufacturer. It may provide additional guidance based on the model and type of projector you have.
- Seek professional assistance: If the noise persists despite your troubleshooting efforts or if you are uncomfortable performing further diagnosis and repairs yourself, it is advisable to contact the manufacturer’s customer support or a professional technician. They have the expertise to diagnose complex issues and provide appropriate solutions.
Remember to exercise caution when troubleshooting and handling your projector. Always follow safety guidelines and manufacturer recommendations to avoid accidents or causing further damage.
By following these troubleshooting steps, you will be able to identify the cause of the noise and take appropriate measures to rectify the issue. Ensuring a quiet and optimal viewing experience for your projector.
Check the Cooling Fan
The cooling fan in a projector plays a crucial role in maintaining optimal temperature by dissipating heat generated during operation. If the cooling fan is not functioning properly, it can cause excessive noise and potentially lead to overheating. Here are some steps to check and address cooling fan-related issues:
- Listen for abnormal noise: Turn on the projector and listen carefully for any unusual or excessively loud noise coming from the cooling fan. A buzzing, grinding, or rattling sound could indicate a problem.
- Inspect for dust or debris: Turn off the projector and unplug it from the power source. Open the projector’s casing and visually inspect the cooling fan for any dust or debris accumulation. Use a soft brush or compressed air to gently clean the fan blades, ensuring they rotate smoothly.
- Check fan rotation and stability: While the projector is open, manually spin the cooling fan with your finger. It should rotate freely without any resistance or wobbling. If the fan feels loose or wobbly, it may need to be tightened or replaced.
- Ensure proper ventilation: Make sure the projector is placed in a well-ventilated area with sufficient airflow. Avoid blocking the air vents or positioning the projector too close to walls or other objects that can obstruct the airflow.
- Monitor fan speed: Some projectors allow you to adjust the fan speed settings. Check the user manual or projector settings to ensure the fan speed is set appropriately. Increasing the fan speed can help dissipate heat more effectively, but it may result in slightly louder noise.
- Consult a professional technician: If cleaning the cooling fan and ensuring proper ventilation does not resolve the noise issue, it may be necessary to seek the assistance of a professional technician. They can further diagnose the problem and provide guidance on whether a fan replacement or repair is necessary.
Regular maintenance, such as cleaning the cooling fan and ensuring proper airflow, will not only reduce noise but also prolong the lifespan of your projector. By taking these steps, you can ensure that the cooling fan functions optimally, keeping your projector running quietly and efficiently.
Verify the Color Wheel
The color wheel in a DLP (Digital Light Processing) projector plays a crucial role in producing vibrant and accurate colors on the projected image. However, if the color wheel is misaligned or damaged, it can cause noise and affect the overall image quality. Here are some steps to verify and address color wheel-related issues:
- Listen for abnormal noise: Turn on the projector and listen for any unusual or distinct noise coming from the color wheel. A humming or rattling sound may indicate a problem with the color wheel.
- Visually inspect the color wheel: Turn off the projector and locate the color wheel. Observe the color wheel for any visible signs of misalignment, damage, or debris that might be obstructing its rotation.
- Check for smooth rotation: Manually rotate the color wheel with your finger (if accessible) to ensure that it spins smoothly without any significant resistance or wobbling. A color wheel that doesn’t rotate smoothly may need adjustment or replacement.
- Clean the color wheel: Using a soft cloth or compressed air, gently clean the color wheel to remove any dust or debris that may be causing noise or affecting its performance. Be cautious not to scratch or damage the surface of the color wheel during cleaning.
- Test color accuracy: Display different colors on the screen and observe if they appear vibrant and accurate. If the colors seem distorted or inconsistent, it may be an indication of a misaligned or damaged color wheel.
- Consult a professional technician: If verifying the color wheel and cleaning it does not resolve the noise issue or improve color accuracy, it is advisable to consult a professional technician. They have the expertise to further diagnose the problem and determine if color wheel realignment or replacement is necessary.
Proper maintenance and care of the color wheel can help ensure optimal performance and minimize noise in your projector. Regularly inspecting and cleaning the color wheel, as well as avoiding any rough handling or jarring movements, can go a long way in preserving its functionality and overall image quality.
Remember, attempting to realign or replace the color wheel yourself may void the warranty and potentially cause further damage. It is always recommended to seek professional assistance from a qualified technician when dealing with color wheel-related issues in projectors.
Inspect the DLP Chip
The DLP (Digital Light Processing) chip is a critical component in projectors, responsible for projecting the image onto the screen. If the DLP chip is damaged or experiencing issues, it can result in noise and affect the overall image quality. Here are some steps to inspect and address potential DLP chip-related problems:
- Power off the projector: Turn off the projector and unplug it from the power source to ensure your safety during inspection.
- Locate the DLP chip: The DLP chip is usually located near the lens or behind a small access panel. Refer to the projector’s user manual or manufacturer’s instructions to locate the chip.
- Visually examine the DLP chip: Using a flashlight if necessary, inspect the DLP chip for any visible signs of damage or defects. Look for cracks, discoloration, or abnormalities that may affect its performance.
- Check for dust or debris: Dust or debris on the surface of the DLP chip can impact image quality and potentially create noise. Gently clean the DLP chip with a soft lint-free cloth or compressed air to remove any dirt or particles. Be careful not to apply excessive pressure or scratch the chip.
- Test image quality: Turn on the projector and project different images onto the screen. Pay close attention to the clarity, color accuracy, and any noticeable artifacts or abnormalities in the projected image. If the image quality is significantly compromised or if there are noticeable defects, it may indicate a problem with the DLP chip.
- Consult a professional technician: If you suspect any damage or issues with the DLP chip, it is advisable to seek professional assistance. A qualified technician can perform a detailed inspection and diagnosis, as well as recommend appropriate solutions such as chip replacement or repair.
Proper care and regular inspection of the DLP chip can help maintain optimal image quality and minimize potential noise issues in your projector. Following the manufacturer’s recommended guidelines for cleaning and handling of the DLP chip is essential to avoid causing further damage.
Remember, attempting to repair or replace the DLP chip yourself may void the warranty and can lead to further damage to your projector. It is recommended to consult with a professional technician who has expertise in projector repairs for a proper and safe resolution to any DLP chip-related problems.
Examine the Lamp
The lamp in a projector is a critical component that provides the necessary light to create the projected image. If the lamp is nearing the end of its lifespan or experiencing issues, it can generate noise and affect the overall performance of the projector. Here are steps to examine and address potential lamp-related problems:
- Turn off the projector: Ensure the projector is turned off and disconnected from the power source to prevent any accidents during the examination of the lamp.
- Inspect the lamp assembly: Carefully inspect the lamp assembly for any visible signs of damage or defects. Look for cracks, discoloration, or abnormalities that may indicate a problem with the lamp. Check the connections and make sure they are secure.
- Check lamp hours: Consult the projector’s user manual or menu settings to determine the lamp’s usage time or lamp hours. Most projectors have a lamp hour counter that estimates the lifespan of the lamp. If the lamp has exceeded its recommended hours of usage, it may need to be replaced.
- Observe the lamp’s performance: Turn on the projector and observe the performance of the lamp. Pay attention to the brightness, flickering, or any unusual color shifts in the projected image. Such anomalies may indicate a problem with the lamp’s functionality.
- Replace the lamp: If the lamp is approaching or has exceeded its recommended usage time, or if you observe significant issues with its performance, it is likely time to replace the lamp. Follow the manufacturer’s guidelines or user manual for instructions on how to safely replace the lamp.
- Consult a professional technician: If the lamp appears to be in good condition but is still causing noise or performance issues, it is advisable to seek the assistance of a professional technician. They can further diagnose the problem and determine if there are other underlying issues with the lamp assembly or power supply.
Regularly monitoring the lamp’s usage hours and replacing it at the appropriate time is crucial for ensuring optimal projector performance and minimizing noise. Following the manufacturer’s recommended lamp replacement guidelines and handling instructions will help maintain the projector’s longevity.
Remember, mishandling or improper maintenance of the lamp can lead to premature failure or even damage the projector. If you are unsure or uncomfortable with replacing the lamp yourself, it’s best to consult a professional technician to ensure a safe and effective resolution to any lamp-related problems.
Reduce Vibration
Vibration in projectors can result in unwanted noise and potentially impact the quality of the projected image. By reducing vibration, you can ensure a smoother and quieter viewing experience. Here are some steps to reduce vibration in your projector:
- Stabilize the projector: Ensure that your projector is placed on a stable surface. Use a sturdy table or mount the projector securely to a ceiling or wall bracket designed for its specific model. This will help minimize vibrations caused by external factors or movement.
- Use vibration isolation pads: Consider using vibration isolation pads or shock-absorbing materials under the projector to dampen vibrations. These pads absorb and dissipate vibrations, reducing the overall noise produced by the projector.
- Check the mounting screws: If your projector is ceiling-mounted, periodically check the mounting screws and brackets to ensure they are secure. Loose screws can contribute to vibration and generate noise. Tighten any loose screws or seek professional assistance for proper installation.
- Minimize external vibrations: Position your projector away from sources of external vibration, such as loudspeakers or heavy machinery. Vibrations from nearby objects can travel through surfaces and impact the projector’s performance. Consider relocating or isolating these sources of vibration to reduce their impact.
- Improve ventilation: Proper ventilation is crucial to prevent the buildup of heat, which can contribute to vibration. Ensure that the projector has adequate airflow and is not placed in an enclosed or tight space. Adequate ventilation will keep the internal components cool and minimize vibration caused by overheating.
- Regular maintenance: Perform regular maintenance on your projector, including cleaning the fans, air filters, and other components as recommended by the manufacturer. Accumulated dust and debris can lead to increased vibration and noise. By keeping your projector clean and well-maintained, you can minimize the risk of excessive vibration.
Taking steps to reduce vibration in your projector not only enhances the viewing experience but also helps prolong the lifespan of the device. By ensuring stability, using vibration isolation pads, and maintaining proper ventilation, you can significantly reduce unwanted vibrations and noise in your projector.
If vibration persists despite these measures, it is advisable to consult a professional technician. They can assess the situation more closely, diagnose any underlying issues, and suggest further remedies to mitigate vibration noise in your projector.
Conclusion
Projector noise can be a frustrating issue that hampers the viewing experience during presentations, movie nights, or gaming sessions. Understanding the common causes of projector noise and how to troubleshoot them is crucial in addressing the problem effectively.
In this article, we explored various factors that contribute to projector noise, including cooling fan noise, color wheel issues, DLP chip problems, lamp-related noise, and vibration. By checking the cooling fan, verifying the color wheel, inspecting the DLP chip, examining the lamp, and reducing vibration, you can identify the source of the noise and take appropriate measures to resolve it.
Regular maintenance, such as cleaning internal components, checking connections, and following manufacturer guidelines, is essential for preventing or reducing noise in projectors. Additionally, seeking professional assistance when needed ensures accurate diagnosis and solutions for more complex issues.
To maintain a quiet and optimal viewing experience, it’s important to be proactive in addressing projector noise. By understanding the causes and troubleshooting methods outlined in this article, you can effectively mitigate noise issues, resulting in a more enjoyable and immersive projection experience.
Remember, proper care, maintenance, and timely replacement of components help prolong the lifespan of your projector, ensuring years of noise-free performance. Take the necessary steps to resolve projector noise promptly, and you’ll be able to fully immerse yourself in the stunning visuals and audio that your projector can deliver.