Introduction
Welcome to the world of PC building! If you’re a beginner or even a seasoned enthusiast, you might find yourself facing various cables and connectors that can be quite confusing. One particular component that often raises questions is the PCIe cable and its connection to the PSU (Power Supply Unit).
Understanding the correct way to connect the PCIe cable to the PSU is essential to ensure optimal performance and prevent any potential damage to your system. In this article, we will dive into the specifics of the PCIe cable and guide you through the process of identifying the correct end to connect to the PSU.
Before we get into the details, let’s briefly explain what a PCIe cable is and its role in your PC. PCIe stands for Peripheral Component Interconnect Express, which is a high-speed serial computer expansion bus standard. It is commonly used to connect various components to the motherboard, such as graphics cards, storage devices, and network cards.
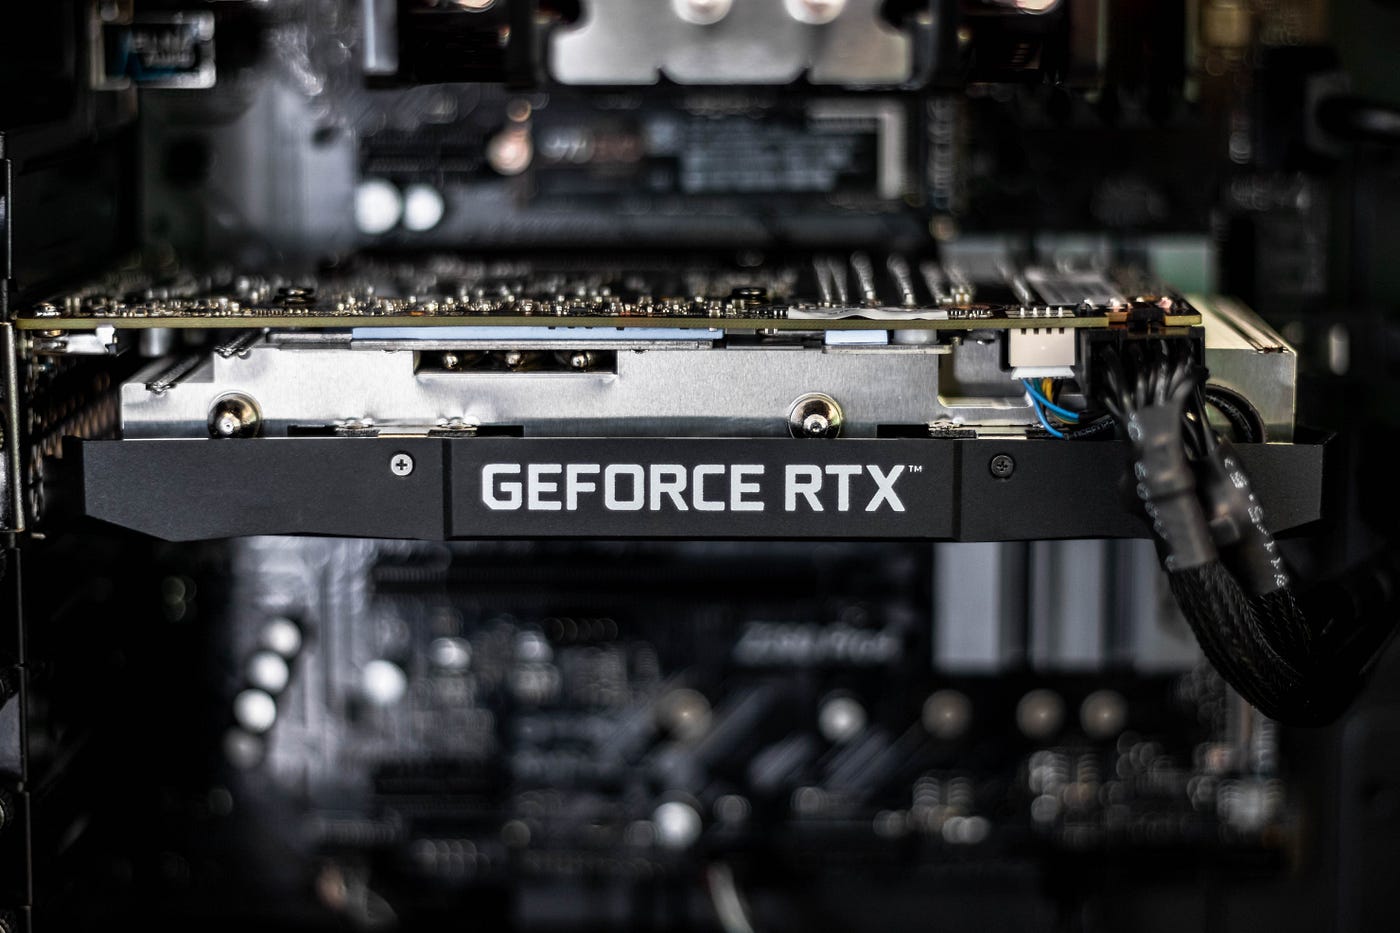
Your PSU plays a crucial role in powering all the components of your PC, and it provides the necessary electrical power to keep everything running smoothly. The PCIe cable is responsible for delivering power to the PCIe devices, particularly high-power components like graphics cards.
Now that we have a basic understanding of the PCIe cable and its importance let’s delve into the connection process. It’s crucial to identify the correct end of the PCIe cable to ensure a secure and successful connection to the PSU. In the next section, we will guide you through the process of identifying the correct end of the PCIe cable.
What is a PCIe Cable?
A PCIe cable, or Peripheral Component Interconnect Express cable, is a type of cable used in computer systems to provide power to PCIe devices. PCIe devices are high-performance components such as graphics cards, network cards, and storage devices that require additional power beyond what the motherboard can provide.
The PCIe cable connects the PSU (Power Supply Unit) to the PCIe device, delivering the necessary electrical power for its operation. It consists of multiple wires bundled together inside a protective sleeve, with connectors on both ends. The connectors are designed to fit securely into the PSU and the PCIe device.
It’s important to note that not all PCIe devices require a dedicated PCIe cable for power delivery. Some lower-power devices can draw power directly from the motherboard’s PCIe slot. However, higher-end components, especially graphics cards, often require more power than the motherboard can provide, hence the need for a dedicated PCIe cable.
PCIe cables come in different versions, typically referred to as 6-pin, 8-pin, and 8+6-pin configurations. The number refers to the number of pins present on the connector. Each pin is responsible for carrying an electrical current to power different components of the PCIe device.
These cables are designed to handle high power loads to ensure stable and reliable power delivery to the connected device. They are typically constructed using high-quality materials to minimize electric resistance and provide efficient power transmission.
It’s worth mentioning that PCIe cables should be used specifically for their intended purpose. Attempting to use them for other connections or devices can lead to compatibility issues or even damage to the components involved. Therefore, it’s essential to ensure you are using the correct PCIe cable for the specific PCIe device and PSU combination.
Now that we have a better understanding of what a PCIe cable is and its role in a computer system, let’s move on to understanding how to correctly identify the end of the PCIe cable that connects to the PSU.
Understanding the PSU and PCIe Cable Connection
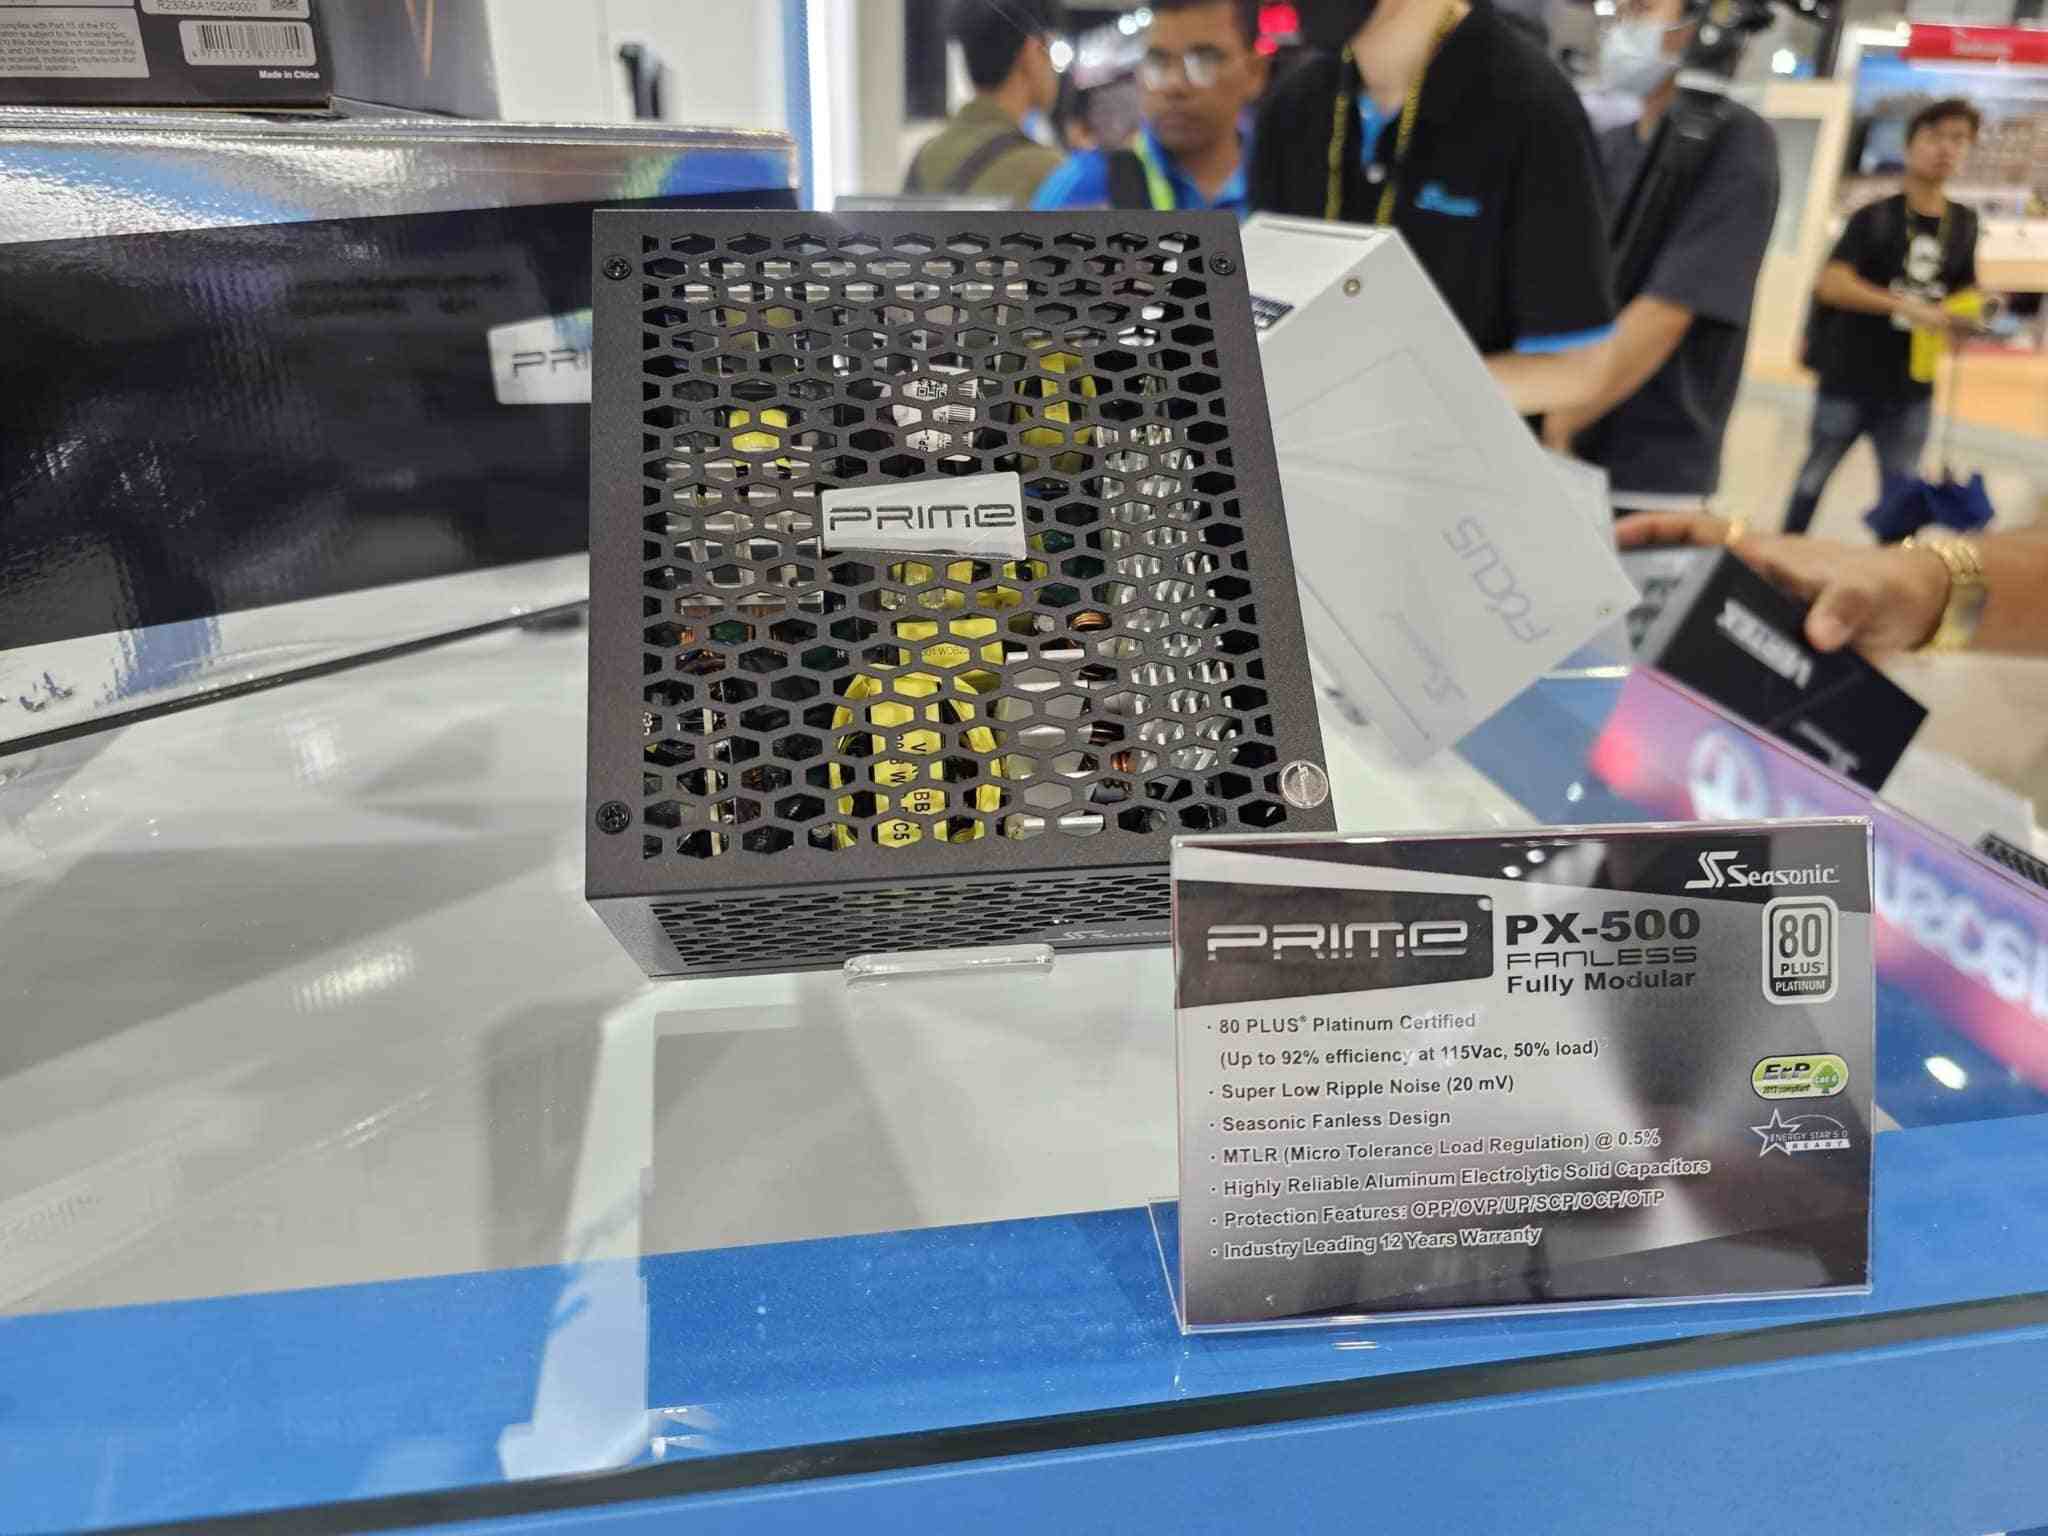
The PSU (Power Supply Unit) is a vital component of every computer system, responsible for providing electrical power to all the components. It converts the alternating current (AC) from your wall outlet into direct current (DC) that your PC components require to function properly. The PSU also includes various cables and connectors to distribute power to different parts of the system.
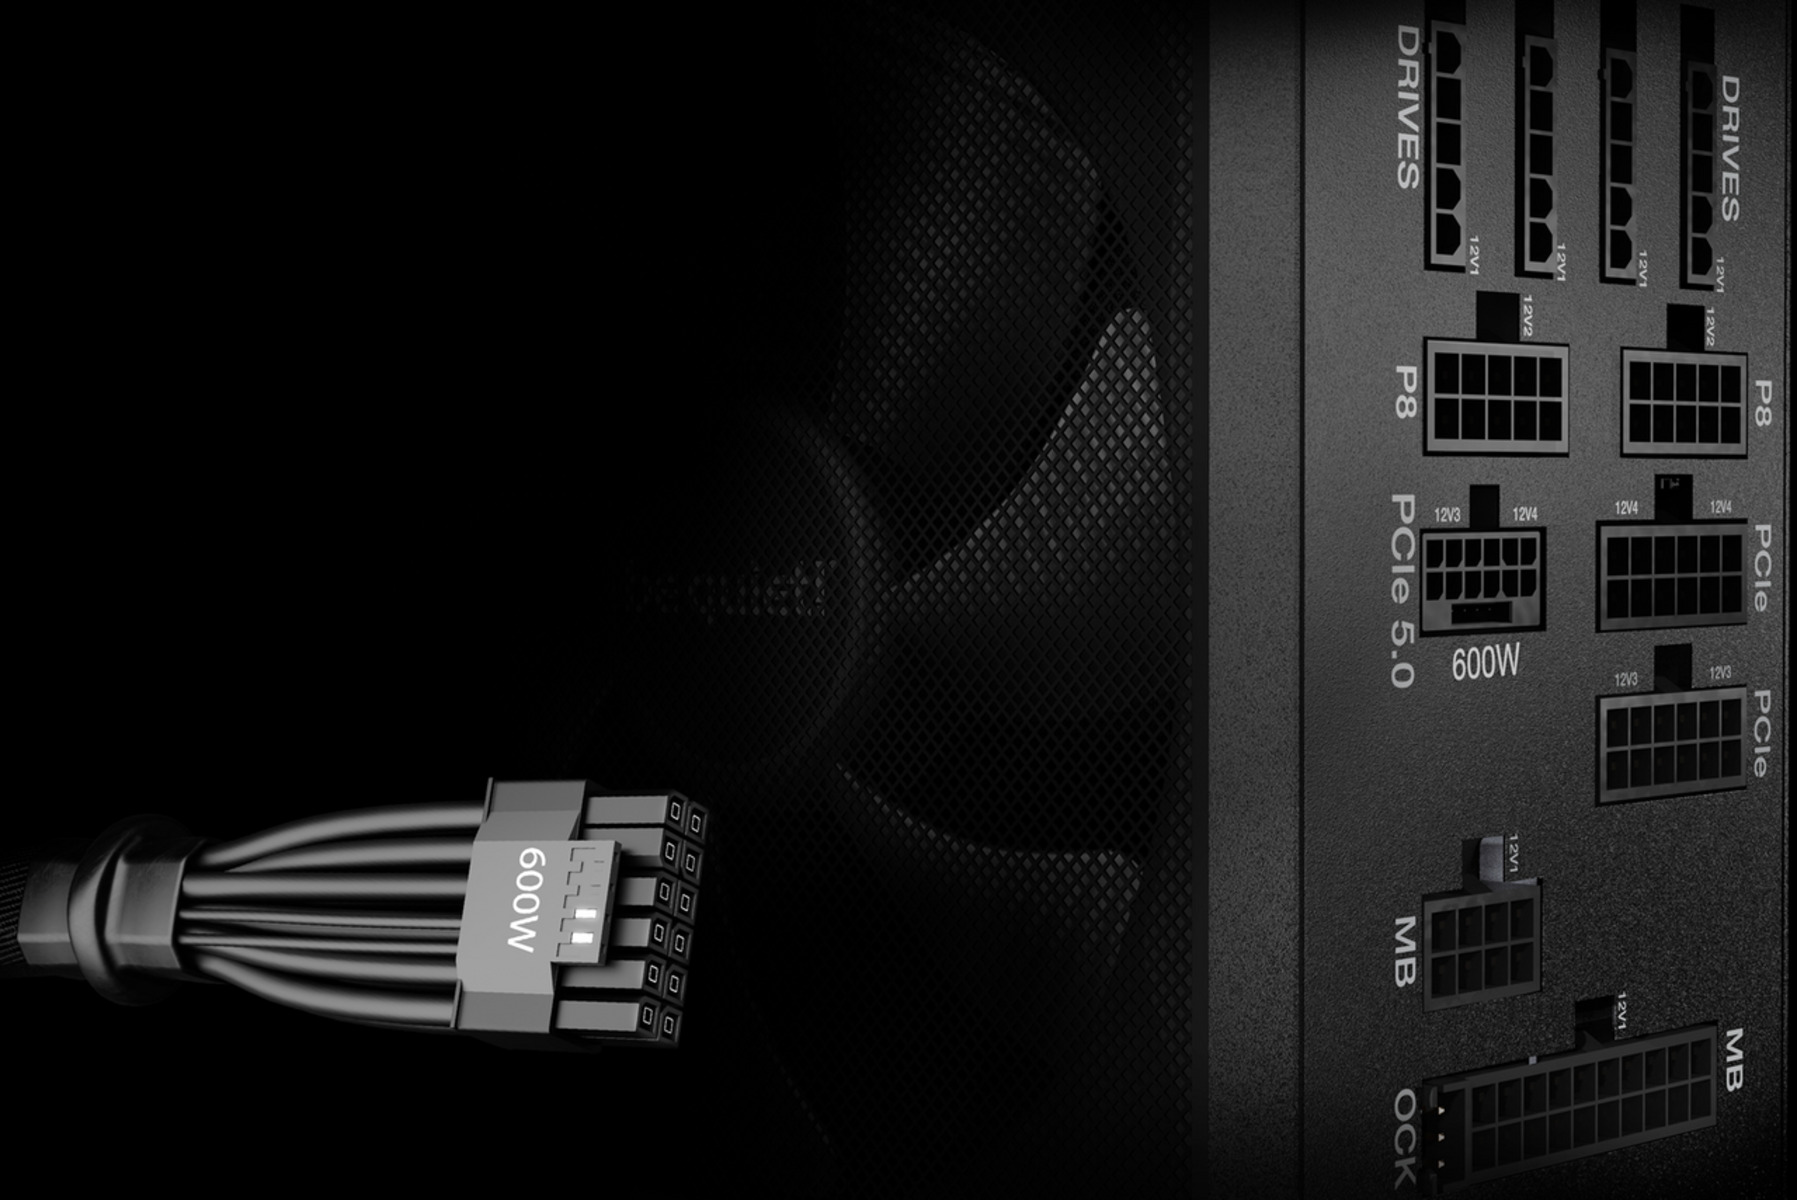
The PCIe cable connection is one of the crucial connections that the PSU provides. It ensures that the PCIe devices receive the necessary power for their operation. The PSU typically offers multiple PCIe power connectors, each designed to provide power to one PCIe device like a graphics card.
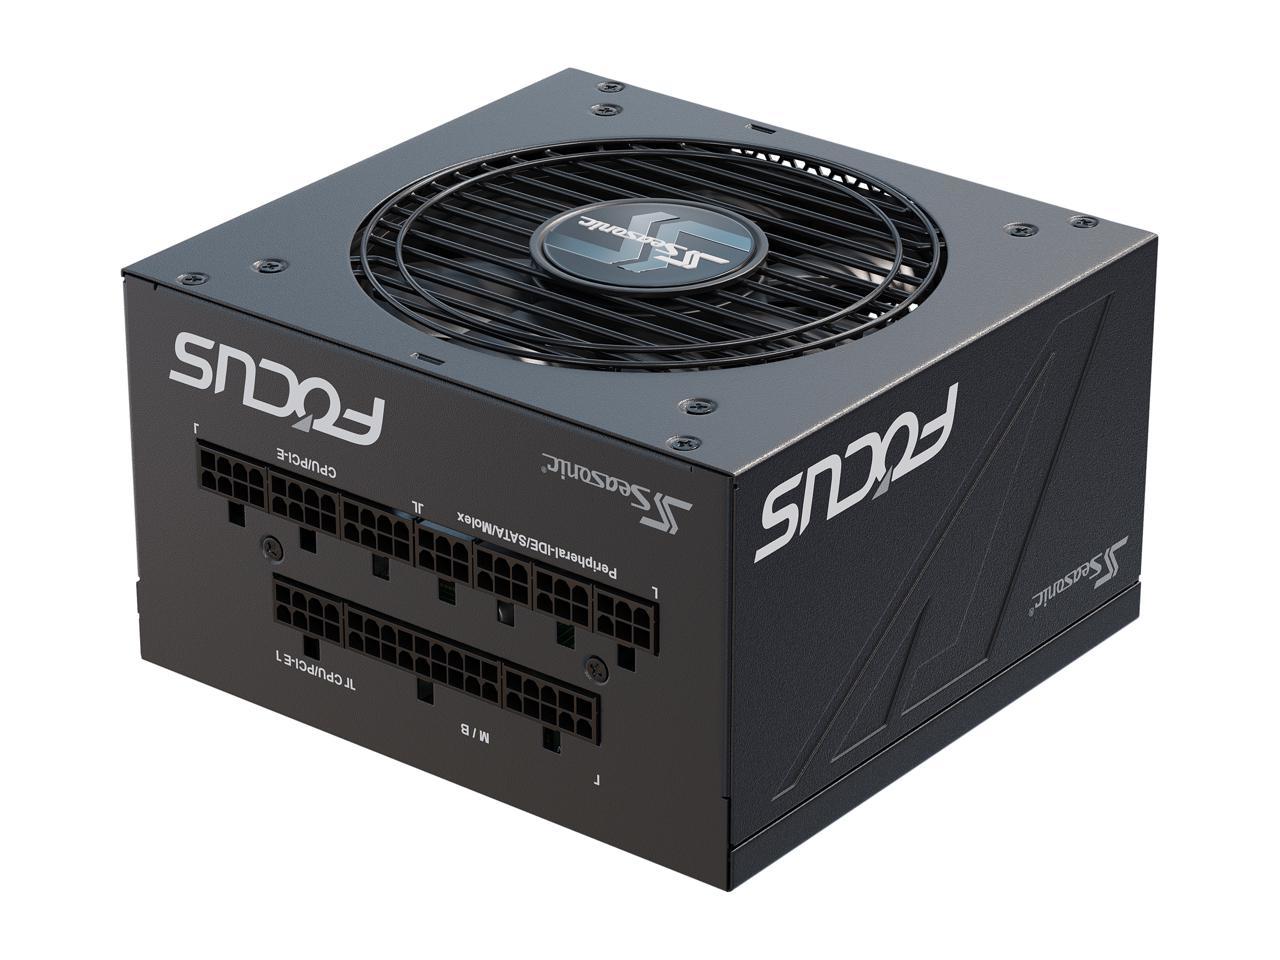
To establish a connection between the PSU and the PCIe device, you will need to locate the PCIe power connectors on your PSU. These connectors are specific to the PSU model and can vary in style, shape, and number. Look for connectors labeled as PCI or PCIe, often indicated by a corresponding symbol or text.
Most PSUs have modular cables, allowing you to connect only the necessary cables for your system. If your PSU is modular, you will need to connect the appropriate PCIe cable to one of the available PCIe connectors on the PSU’s modular panel. Ensure that the connectors’ shapes match and that they align correctly without any excessive force.
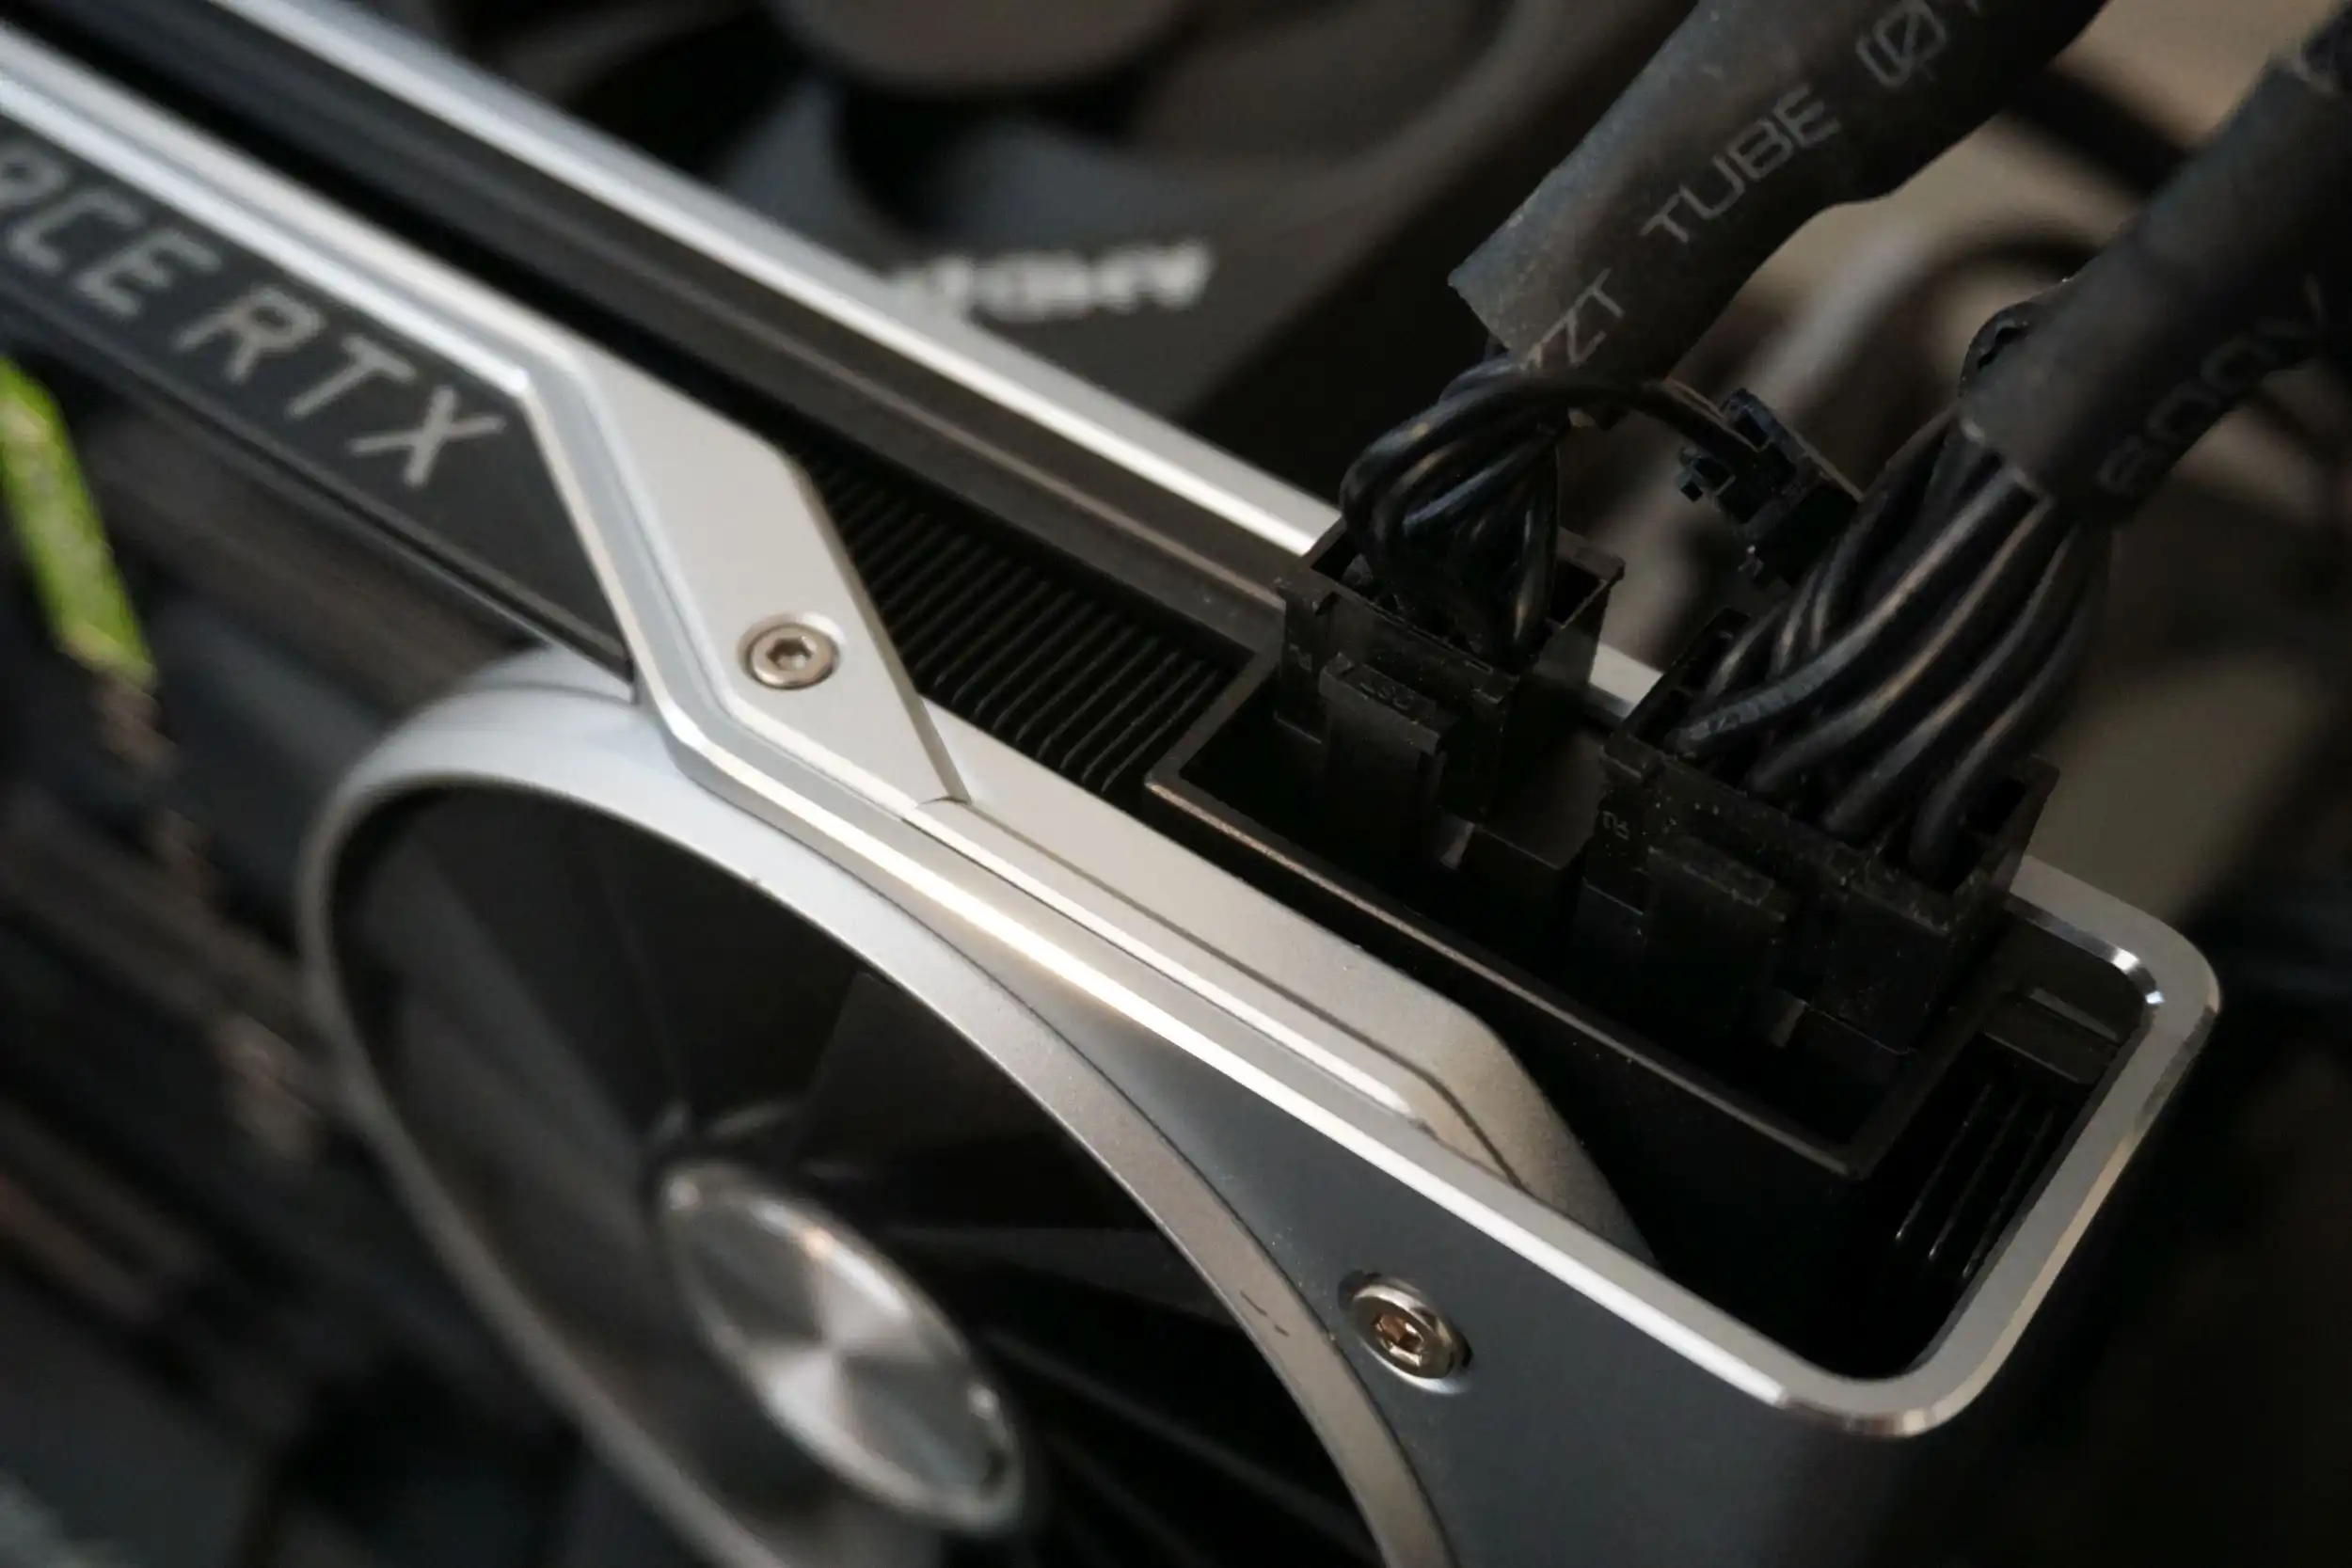
Once you have identified the PCIe connector on the PSU, it’s time to locate the PCIe device that requires power. Graphics cards, for example, often have one or more PCI or PCIe power connectors on their circuit boards. These connectors are typically located on the side, near the back of the card.
Identify the correct PCIe power connector on your device and ensure that it matches the connector on the PCIe cable. Align the two connectors and gently push them together until they click into place. Make sure the connection is secure and there are no loose or wobbly connections.
Once the PCIe cable is securely connected on both ends, you can proceed with powering on your PC. The PSU will distribute power to the PCIe device through the cable, enabling it to function correctly.
Understanding the connection between the PSU and the PCIe cable is crucial to ensure proper power delivery to your PCIe devices. By following these steps, you can establish a secure and reliable connection, preventing any potential power issues or damage to your components.
Identifying the End of the PCIe Cable
When it comes to connecting the PCIe cable to the PSU, it’s important to identify the correct end of the cable. The PCIe cable consists of two ends: one that connects to the PSU and one that connects to the PCIe device. A mix-up in connecting these ends can lead to improper power delivery and potentially damage your components.
To identify the correct end of the PCIe cable, you can follow these steps:
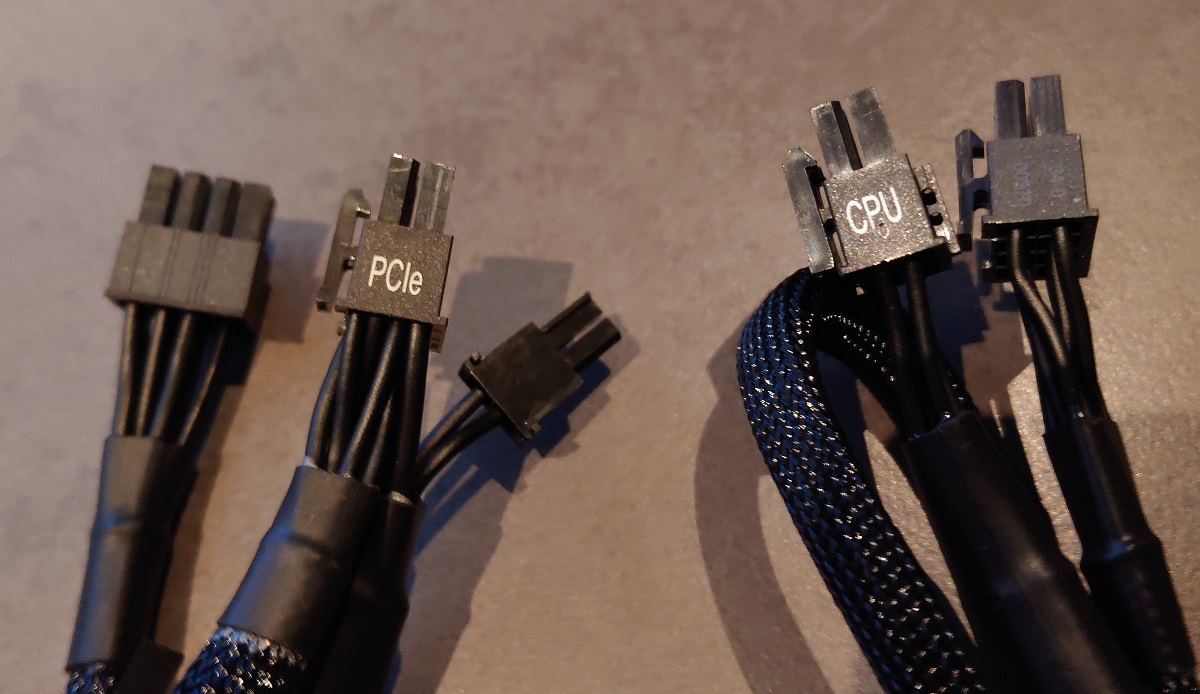
- Look closely at both ends of the cable. One end of the PCIe cable will have a connector that matches the PCIe power connector on your PSU. This end is specifically designed to fit into the PSU seamlessly.
- Examine the connectors on each end of the cable. The end that connects to the PSU will typically have larger and more robust pins or sockets compared to the other end. This is to accommodate the higher power requirements of the PSU.
- Check for any labels or markings on the cable itself. Some manufacturers may include helpful labels or indications on the cable to distinguish the PSU end from the device end. Look for labels such as “PSU” or “Power Supply” to identify the correct end.
- Consider the cable length and orientation. In most cases, the PCIe cable is designed with a longer length between the PSU end and the device end. This allows for easier cable management and routing in your system. Use this length difference as a reference to identify the PSU end.
- If you are still unsure about identifying the correct end of the PCIe cable, consult the product manual or documentation provided by the PSU manufacturer. They will often include specific instructions or illustrations to assist in identifying the PSU end.
By carefully examining the connectors, looking for labels or markings, considering cable length and orientation, and referring to the manufacturer’s documentation, you can confidently identify the correct end of the PCIe cable that connects to the PSU.
Once you have determined the PSU end of the PCIe cable, you can proceed with connecting it securely to the PSU. Refer back to the previous section for proper connection instructions to ensure a safe and reliable power delivery to your PCIe device.
Ensuring Correct Connection to the PSU
Once you have identified the correct end of the PCIe cable that connects to the PSU, it’s essential to ensure a proper and secure connection. This will ensure that the power is efficiently delivered to your PCIe device and prevent any potential issues or damage.
Here are some steps to follow to ensure a correct connection to the PSU:
- Align the connector on the PSU end of the PCIe cable with the corresponding PCIe power connector on the PSU. The shape and design of the connectors should match, allowing for a secure fit.
- Gently push the connector into the PCIe power connector on the PSU. Ensure that it is inserted fully and securely without the use of excessive force. You may need to apply slight pressure to make sure the connector is properly seated.
- Listen for a click or feel for a secure connection as the connector locks into place. This indicates that the connector is properly latched to the PSU. Avoid any loose or wobbly connections as they may result in intermittent power delivery or disconnection.
- Double-check the connection by gently tugging on the PCIe cable where it connects to the PSU. It should be firmly attached and not easily disconnected. Any signs of a loose connection should be addressed before powering on your system.
- Take a moment to organize and manage your cables to ensure optimal airflow and a tidier system. Use cable management techniques such as zip ties or cable clips to secure and route the PCIe cable and any other cables neatly.
By following these steps, you can ensure that the PCIe cable is correctly connected to the PSU, providing a stable and reliable power source to your PCIe device.
It’s worth noting that each PSU and PCIe device may have specific requirements and variations in their connectors. Therefore, always refer to the manufacturer’s documentation, manuals, or online resources for any specific instructions or guidelines for your particular components.
Now that we have covered the correct connection of the PCIe cable to the PSU let’s discuss some common mistakes to avoid during the process in the next section.
Common Mistakes to Avoid
Connecting the PCIe cable to the PSU might seem straightforward, but there are some common mistakes that are important to avoid to ensure a successful and safe installation. By being aware of these mistakes, you can prevent potential issues and ensure the longevity of your components.
Here are some common mistakes to avoid when connecting the PCIe cable to the PSU:
- Using the wrong cable: It’s crucial to use the correct PCIe cable for your specific PSU and PCIe device. Using a cable that is not designed for your components can result in improper power delivery and potential damage. Always double-check the compatibility and use the cables provided by the PSU manufacturer.
- Connecting the wrong end: Identifying the correct end of the PCIe cable is essential. Ensure that you connect the PSU end of the cable to the PSU and the device end to the PCIe device. Mixing up the ends can lead to power issues and potential component damage.
- Forcing the connection: Properly align the connectors and gently push them together until they click into place. Avoid using excessive force as this can damage the connectors or result in a loose connection. The connectors should fit snugly without any wobbling.
- Ignoring cable management: Cable management is not just about aesthetics; it also ensures proper airflow and prevents cable interference. Improperly managed cables can obstruct airflow, leading to higher temperatures and potential performance issues. Take the time to organize and route the cables neatly using cable ties or clips.
- Neglecting to secure the connection: After connecting the PCIe cable to the PSU, ensure that it is securely latched. A loose or unstable connection can lead to power fluctuations or intermittent disconnection. Double-check the connection by gently tugging on the cable to ensure it remains securely attached.
By avoiding these common mistakes, you can ensure a successful connection and maintain the optimal functioning of your PC components.
If you’re uncertain about any step or have any concerns, it’s always recommended to consult the manufacturer’s documentation, user manuals, or online resources for specific instructions and guidelines.
As we wrap up this article, it’s important to take your time, follow the provided guidelines, and prioritize safety when connecting the PCIe cable to the PSU. By doing so, you can enjoy a properly powered PCIe device that contributes to the overall performance of your computer system.
Conclusion
Understanding how to properly connect the PCIe cable to the PSU is crucial for the overall performance and stability of your computer system. By correctly identifying the end of the PCIe cable, ensuring a secure connection to the PSU, and avoiding common mistakes, you can ensure optimal power delivery to your PCIe devices and prevent any potential damage.
Remember to always use the appropriate PCIe cable for your specific components, following the guidelines and instructions provided by the PSU and PCIe device manufacturers. Take the time to carefully align the connectors, ensuring a secure and stable connection without the use of excessive force.
Proper cable management, such as organizing and routing the cables neatly, not only enhances the aesthetics of your system but also promotes optimal airflow and prevents interference. Invest in cable ties or clips to keep the cables well-organized and maximize the cooling efficiency of your computer components.
Lastly, if you encounter any difficulties or uncertainties during the connection process, consult the documentation and resources provided by the manufacturers. They will offer the most accurate and reliable information specific to your components.
By following these guidelines and avoiding common mistakes, you can confidently connect the PCIe cable to the PSU and enjoy the full potential of your PCIe devices in your computer system.
Now that you have a better understanding of how to correctly connect the PCIe cable to the PSU, you can proceed with confidence and ensure a smooth and well-powered PC building experience.