Introduction
Welcome to our comprehensive guide on where to install the motherboard for an internal solid-state drive (SSD). As technology evolves, SSDs have quickly become the go-to choice for users seeking faster storage and improved overall performance. However, installing an SSD requires careful consideration of the motherboard’s positioning, as it plays a crucial role in the compatibility and performance of the drive.
The motherboard, also known as the mainboard, is the central component of any computer system. It serves as the hub for all other hardware components, including the CPU, memory, and storage devices. When it comes to installing an internal SSD, choosing the right location on the motherboard is vital for seamless integration and optimal performance.
In this article, we will explore the factors to consider when selecting where to install the motherboard for an internal SSD. We will also provide detailed instructions for both desktop computers and laptops, to ensure that you can make an informed decision and successfully install your SSD.
Whether you are a gaming enthusiast, a professional content creator, or simply looking to boost your computer’s speed, understanding how and where to install your motherboard for an internal SSD is crucial. So, without further ado, let’s dive into the details and explore the various aspects to consider when making this important decision.
Why is the motherboard important for installing an internal solid-state drive?
The motherboard serves as the foundation of your computer system, connecting all the components together and ensuring they work harmoniously. When it comes to installing an internal solid-state drive (SSD), the motherboard plays a crucial role in ensuring compatibility, performance, and overall functionality. Here are a few reasons why the motherboard is important for installing an SSD:
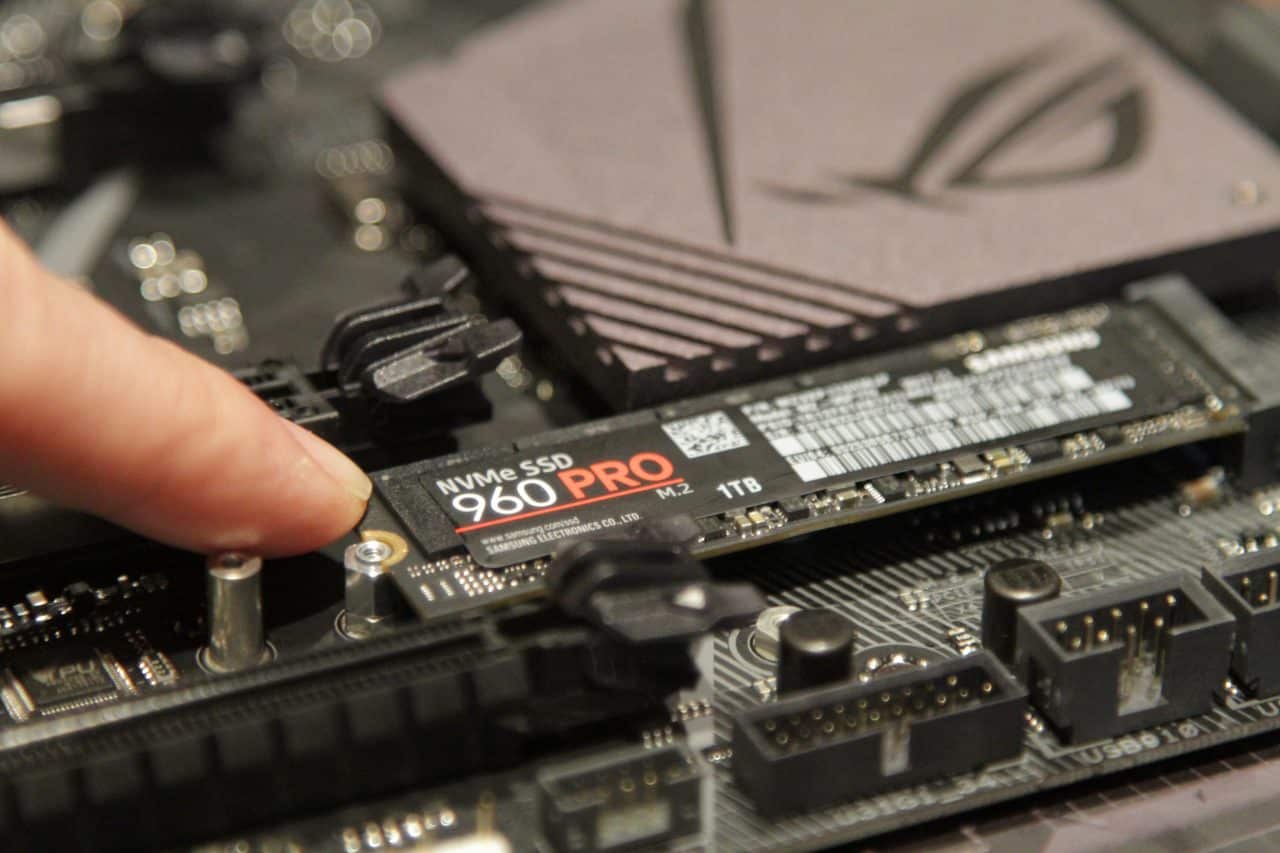
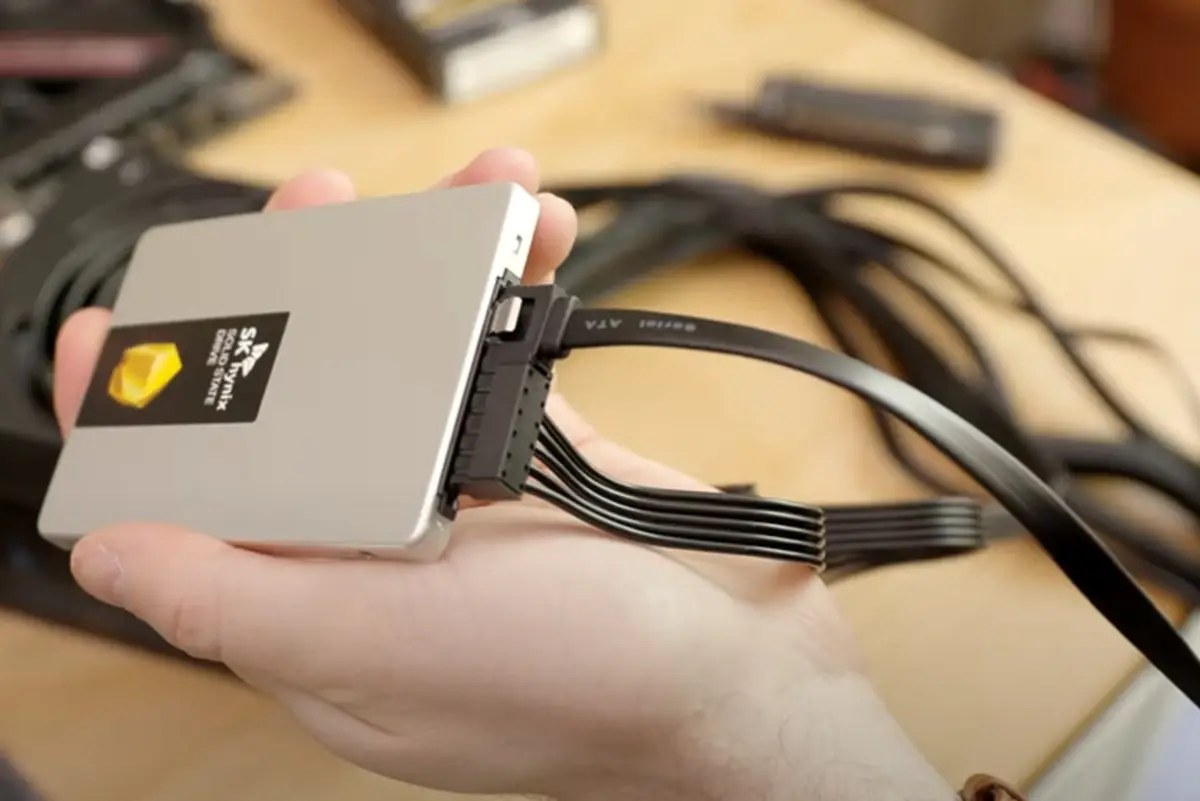
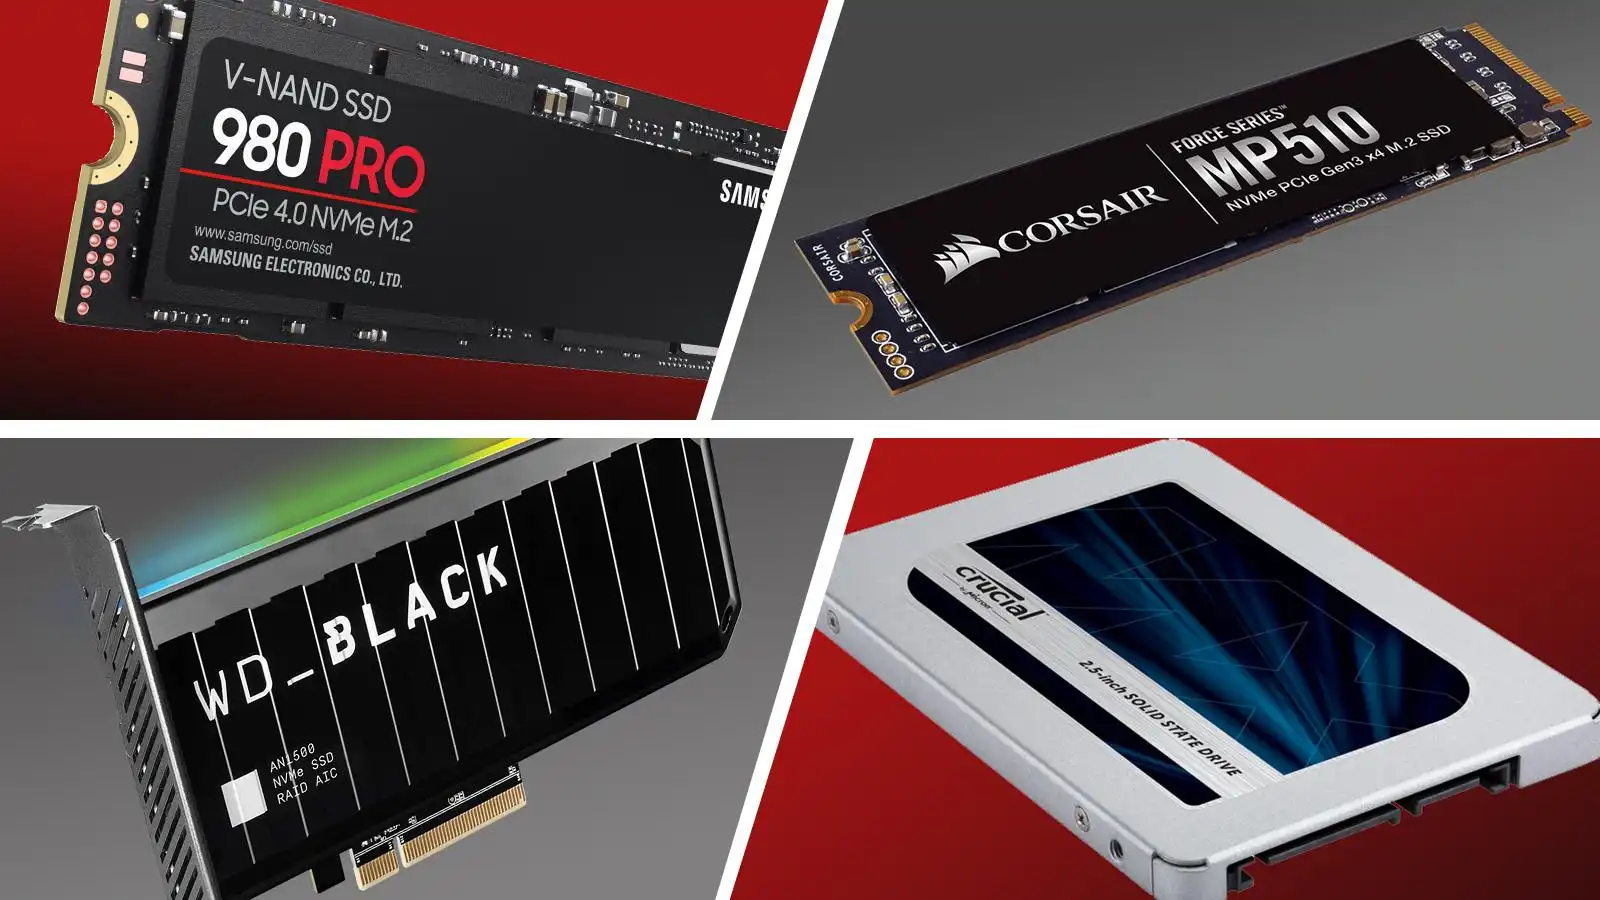
- Connection and Compatibility: The motherboard provides the necessary connectors, such as SATA ports or M.2 slots, to connect your SSD. Different SSDs may require different types of connections, and it is essential to choose a motherboard that supports the specific type of SSD you have or plan to install.
- Bandwidth and Performance: The motherboard determines the available bandwidth for your SSD, which directly impacts its performance. For instance, if your motherboard supports the latest PCIe 4.0 technology, you can take advantage of faster data transfer speeds and significantly enhance your SSD’s performance.
- Power Supply: The motherboard provides power to all the components of your computer, including the SSD. It ensures that the SSD receives a stable power supply, which is vital for its proper functioning and longevity.
- Firmware Updates: Some motherboards allow firmware updates for SSDs through their integrated utility software. These updates can improve the SSD’s performance, fix bugs, and enhance compatibility with newer technologies.
- Expansion and Future Upgrades: By selecting a motherboard with multiple PCIe slots, you can future-proof your system and easily add more SSDs or other storage devices as your needs evolve. This flexibility allows you to expand your storage capacity without the need for additional hardware investments.
Choosing the right motherboard for your SSD installation is essential to ensure compatibility and maximize the SSD’s performance potential. It is crucial to carefully consider the specifications, features, and connectivity options provided by different motherboards to ensure they align with your SSD’s requirements.
Now that we understand the importance of the motherboard in installing an internal solid-state drive, let’s explore the factors you need to consider when selecting where to install the motherboard for your SSD.
Factors to consider when choosing where to install the motherboard for an internal solid-state drive
When it comes to installing a motherboard for an internal solid-state drive (SSD), there are several factors to consider to ensure a seamless and efficient setup. Let’s examine some important considerations:
- Form Factor: The form factor of the motherboard determines its size and layout. The most common form factors are ATX, Micro-ATX, and Mini-ITX. Ensure that your chosen motherboard’s form factor matches the case you are using to house your components.
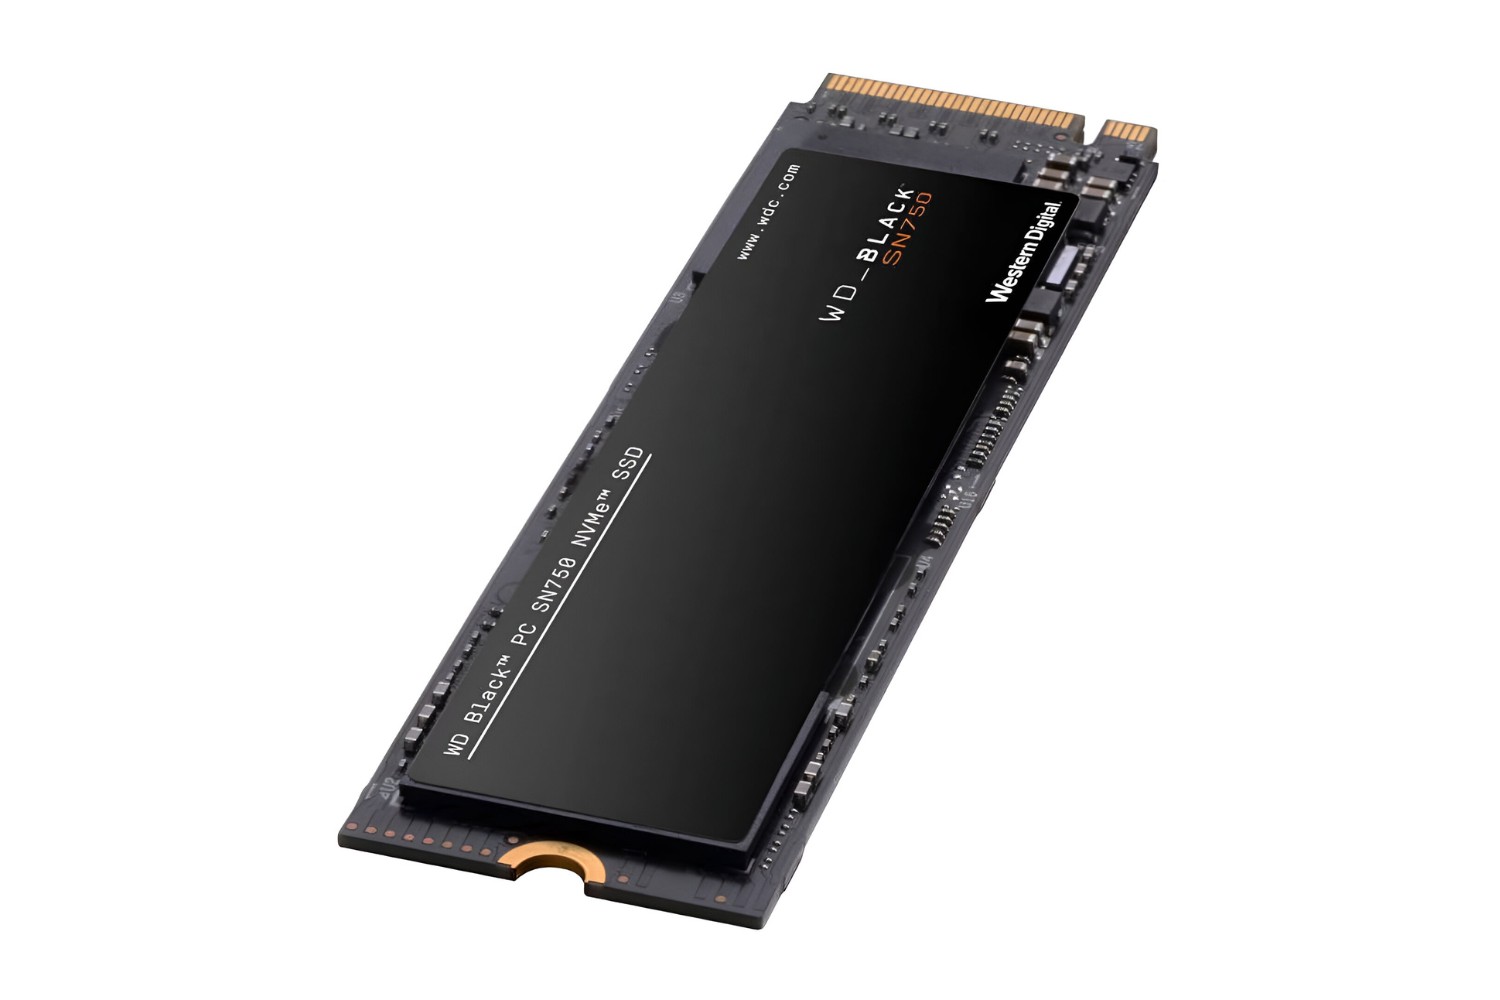
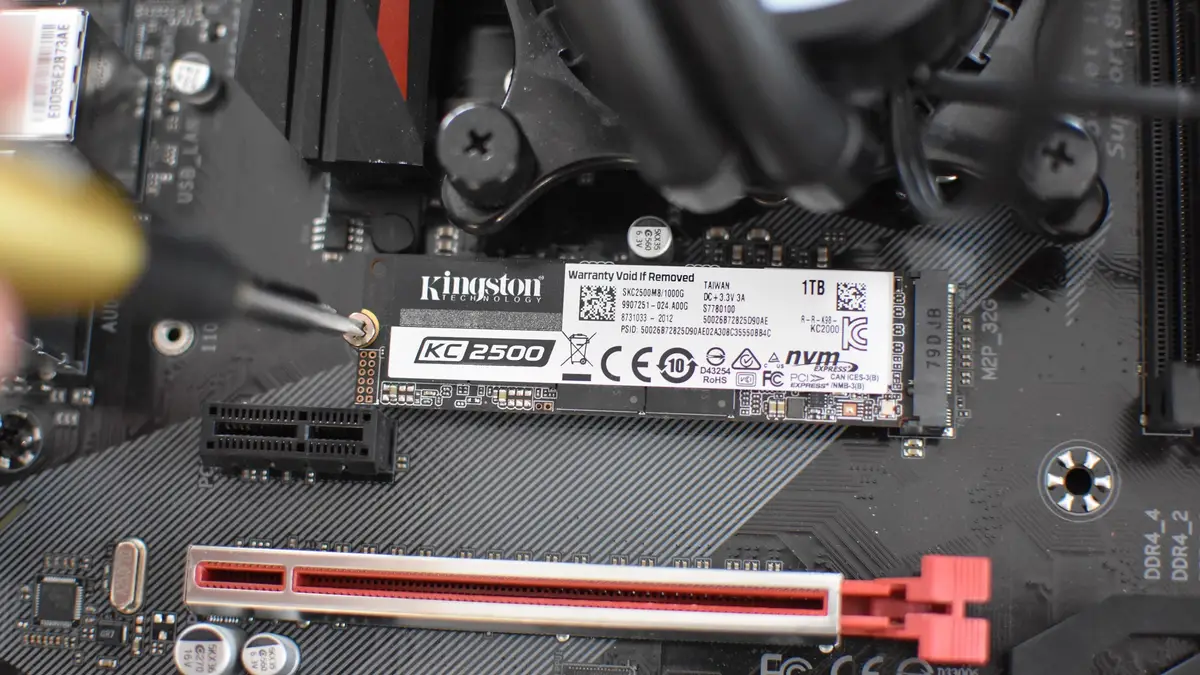
- SATA Ports or M.2 Slots: Determine the number of available SATA ports or M.2 slots on the motherboard. SATA ports are used to connect SSDs using SATA cables, while M.2 slots are used for NVMe SSDs that use a different interface. Ensure the motherboard has enough ports or slots to accommodate your desired number of SSDs.
- Data Transfer Speeds: Consider the supported data transfer speeds of the motherboard’s SATA ports or M.2 slots. SATA 3.0 provides a maximum speed of 6 Gbps, while newer motherboards may offer SATA 3.2 or PCIe 4.0, which provide faster speeds. Choose a motherboard that matches the data transfer speed capabilities of your SSD.
- PCIe Lane Configuration: If you plan to install an NVMe SSD that uses the PCIe interface, check the motherboard’s PCIe lane configuration. Some motherboards may have limited or shared lanes, which can impact overall system performance when multiple PCIe devices are installed simultaneously.
- Available Space: Consider the available space inside your computer case. Ensure that the motherboard can fit comfortably without any physical obstructions, allowing easy installation and cable management. It’s also important to ensure that the motherboard does not interfere with any other components or obstruct ventilation.
- Compatibility with CPU and RAM: Check the motherboard’s compatibility with your CPU and RAM. Ensure that the motherboard’s socket type matches your CPU, and it supports the relevant generation. Additionally, confirm that the motherboard’s RAM slots are compatible with the type and speed of your RAM modules.
By considering these factors, you can select a motherboard that meets your SSD installation requirements and provides optimal performance. Keep in mind that proper placement of the motherboard in your computer case is essential for efficient cable management and airflow, ultimately contributing to better system stability and longevity.
Now that we have discussed the key factors to consider when choosing where to install the motherboard, let’s move on to the recommended locations for installing the motherboard for an internal SSD.
Recommended locations for installing the motherboard
The location where you install the motherboard for an internal solid-state drive (SSD) depends on the form factor of your computer case and the available space within it. The following are the recommended locations for installing the motherboard:
- Desktop Tower Case: In a traditional desktop tower case, the motherboard is usually positioned horizontally and mounted on standoffs or screws inside the case. It is typically located towards the rear of the case, near the input/output (I/O) panel. This placement ensures easy access to the ports and allows for efficient cable management.
- Mini-ITX Case: Mini-ITX cases are compact and designed for smaller form factor motherboards. These cases have limited space, so the motherboard is typically mounted vertically towards the center or backside of the case. Despite the limited space, they usually provide enough clearance for the SSD mounting points.
- Other Small Form Factor Cases: Small form factor cases, such as Micro-ATX or Mini-ATX cases, have varying layouts. The motherboard placement options can differ, but they are usually similar to those found in desktop tower cases. The motherboard is positioned horizontally near the rear of the case, allowing for convenient access to ports and connectors.
- Laptop: In laptops, the motherboard and SSD are integrated into a single unit. The location of the motherboard depends on the laptop’s design. Most often, it is located beneath the keyboard and touchpad area, while the SSD is typically located near the motherboard, either as a separate module or integrated into the motherboard itself.
When installing the motherboard in your computer case, carefully align it with the pre-drilled holes or mounts provided. Ensure that the I/O panel aligns with the case’s rear cutout to allow for easy access to ports and connectors. Secure the motherboard in place using the appropriate screws or standoffs, making sure it is firmly fastened but not overtightened.
It’s worth noting that some cases may have additional brackets or mounts specifically designed for SSDs. These brackets allow you to securely mount the SSD in a dedicated location, further enhancing cable management and minimizing any potential damage or vibration.
Always consult the documentation provided with your computer case and motherboard to determine the recommended installation locations and procedures. Each case and motherboard may have specific guidelines to follow, ensuring a proper fit and secure installation.
Now that we have explored the recommended locations for installing the motherboard, let’s move on to the specific instructions for installing the motherboard in both desktop computers and laptops.
Installing the motherboard in a desktop computer
Installing the motherboard in a desktop computer requires careful handling and attention to detail. Here are the steps to follow:
- Prepare your workstation: Start by ensuring that you have a clean and static-free workspace. Ground yourself by touching a grounded metal object or wearing an anti-static wrist strap to prevent any electrostatic discharge that could damage the motherboard or other components.
- Prepare the case: Open the computer case by removing the side panel. Refer to the case’s manual for specific instructions on accessing the internal components. Make sure all cables and connectors are cleared away to provide ample space for motherboard installation.
- Mount the motherboard: Locate the pre-drilled holes or standoff mounts in the case that align with the screw holes on the motherboard. Place the motherboard onto the mounts, ensuring that the I/O panel aligns with the case’s rear cutout. Secure the motherboard in place using screws, ensuring they are tightened enough to hold the motherboard firmly but not overly tightened.
- Install the CPU: Before installing the CPU, refer to the motherboard’s manual for specific instructions on CPU installation. Open the CPU socket lever, align the notches on the CPU with the socket, and gently lower it into place. Close the lever to secure the CPU in position.
- Install the CPU cooler: Depending on the type of CPU cooler you have, follow the manufacturer’s instructions to install it. This usually involves attaching the cooler to the CPU socket using brackets or screws.
- Install the RAM: Align the notch on the RAM module with the corresponding notch on the memory slot. Gently insert the RAM module into the slot at a slight angle, and then push it down firmly until it clicks into place. Repeat this process for any additional RAM modules.
- Connect power and data cables: Connect the main power cable from the power supply unit to the motherboard’s power connector. Connect the SATA data cables from the SSDs to the appropriate SATA ports on the motherboard. Ensure the cables are securely plugged in.
- Connect front panel connectors: Connect the front panel connectors, including the power switch, reset switch, HDD activity LED, and any other connectors that may vary depending on the case and motherboard model. Consult the motherboard’s manual for specific instructions on the layout and connection of these connectors.
- Double-check everything: Before closing the case, double-check all the connections, ensuring that everything is properly plugged in and securely fastened. Make sure there are no loose screws or cables that could interfere with the motherboard or other components.
Once you have completed these steps, you can close the computer case by reattaching the side panel. Ensure that all cables are neatly organized and secured with cable ties or clips to maintain proper airflow and minimize any potential interference.
It’s worth noting that the installation process can vary slightly depending on the case and motherboard model. Always refer to the documentation provided with your specific components for detailed instructions and illustrations.
With your motherboard successfully installed, let’s move on to the process of installing the motherboard in a laptop.
Installing the motherboard in a laptop
Installing the motherboard in a laptop is a more intricate process compared to desktop computers, as the motherboard and other components are integrated into a single unit. Here are the steps to follow when installing the motherboard in a laptop:
- Prepare your workspace: Start by working on a clean, flat, and static-free surface. Gather the necessary tools, including screwdrivers and any other specialized tools that may be required for your particular laptop model.
- Remove the laptop’s casing: Refer to your laptop’s manual or manufacturer’s instructions to determine the steps required to open the casing. In most cases, you will need to remove screws and carefully detach any clips or connectors that secure the casing.
- Disconnect components: Before accessing the motherboard, take note of the connections and cables that are attached to it. Disconnect all the necessary cables, including the display cable, keyboard ribbon cable, Wi-Fi antenna cables, and any other components that need to be removed to access the motherboard.
- Remove the existing motherboard: Locate the screws or fasteners that secure the motherboard in place. Carefully unscrew or unfasten these screws, taking note of their locations for reassembly. Gently lift the motherboard out of its position, ensuring that you do not damage any other components or connectors.
- Install the new motherboard: Place the new motherboard into the laptop’s chassis, aligning the screw holes and ensuring that all connectors are properly inserted. Reattach the screws or fasteners to secure the motherboard in place, following the same sequence as when you removed the old motherboard.
- Reconnect components: Carefully reconnect all the cables and connectors to their respective ports on the new motherboard. Double-check that everything is securely connected and aligned to avoid any potential damage to the components or instability.
- Reassemble the laptop: Carefully put the laptop casing back together, reattaching any screws and ensuring the clips are properly engaged. Make sure all the edges and corners of the casing are aligned and flush, providing a secure and seamless fit.
- Power on and test: After reassembling the laptop, connect the power adapter and any other necessary peripherals. Power on the laptop to ensure that it boots up properly and all components are functioning correctly.
It’s important to exercise caution and follow the detailed instructions provided by your laptop’s manufacturer. The installation process can vary significantly depending on the specific model and design of the laptop.
If you are unsure about any step or encounter difficulties during the installation process, it is highly recommended to consult a professional or contact the manufacturer’s support for further assistance.
With the motherboard successfully installed in your laptop, you can now enjoy the enhanced performance and capabilities of your new setup.
Tips for ensuring proper installation and compatibility
When installing a motherboard for an internal solid-state drive (SSD), it is crucial to ensure proper installation and compatibility to optimize performance and prevent any potential issues. Here are some helpful tips to consider:
- Read the documentation: Always refer to the motherboard’s manual and the documentation provided with your SSD to understand their installation requirements and compatibility specifications. Familiarize yourself with any specific instructions or chipset limitations that may affect the installation process.
- Check for BIOS updates: Before installing the motherboard and SSD, check the manufacturer’s website for any available BIOS updates. Updating the BIOS to the latest version can improve compatibility, performance, and support for newer technologies.
- Ensure proper grounding: To prevent any damage caused by static electricity, properly ground yourself by touching a grounded metal object or wearing an anti-static wrist strap. Also, ensure that the installation environment is free from static electricity build-up.
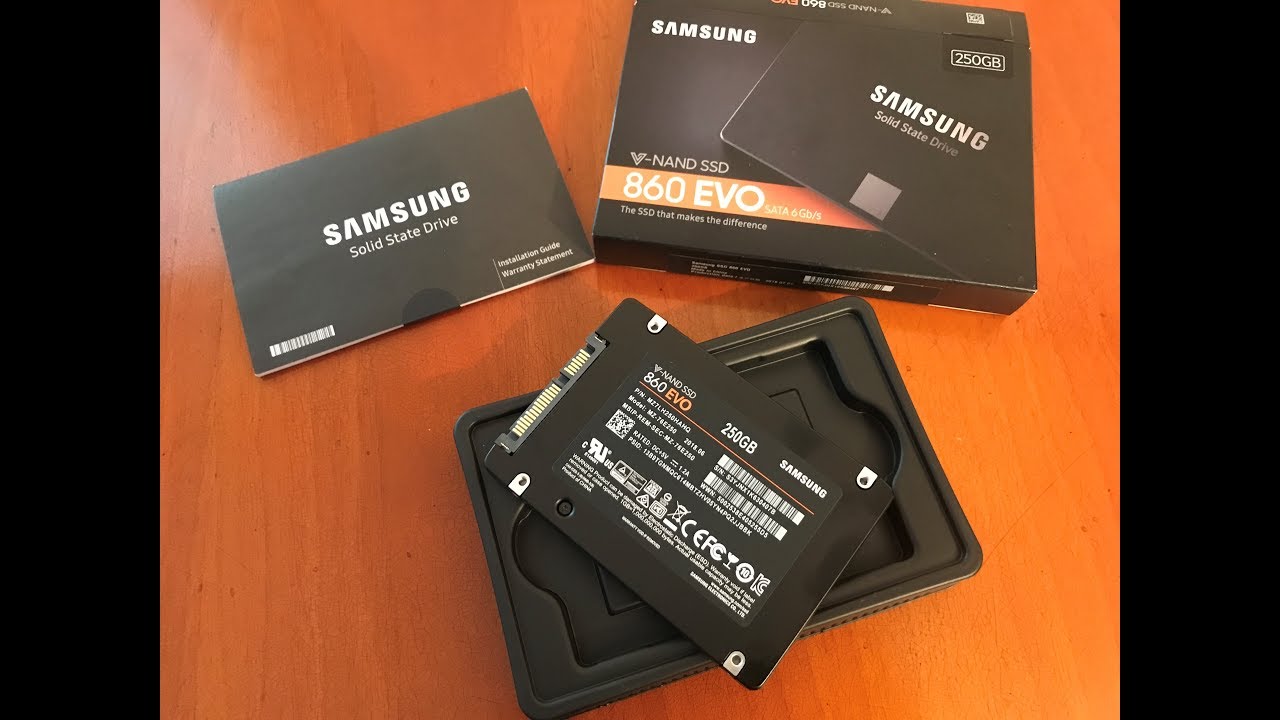
- Verify compatibility: Check the compatibility of the motherboard with the specific model and type of SSD you intend to install. Pay attention to the interface (e.g., SATA or M.2), size (e.g., 2.5-inch or NVMe), and storage capacity limits supported by the motherboard.
- Beware of spacing and clearance: Ensure that the chosen motherboard fits comfortably within the available space in your computer case or laptop. Check for any potential clearance issues with other components, such as the CPU cooler or graphics card, to avoid any interference during installation.
- Properly seat the motherboard: When installing the motherboard, ensure that it is properly seated on the standoffs or mounting points in the case. Be cautious not to overtighten the screws, as this can cause damage to the motherboard or create unnecessary tension.
- Secure cable connections: Double-check that all power and data cables are securely connected to the appropriate ports on the motherboard. Loose connections may result in malfunctions or unreliable performance of the SSD.
- Utilize cable management: Maintain proper cable management within the case to ensure proper airflow and prevent potential cable obstructions. Tidy up cables using cable ties or clips to keep them organized and minimize any strain on the motherboard or other components.
- Consistently update drivers: After installing the motherboard and SSD, ensure that you have the latest drivers installed for both components. Check the manufacturer’s website for the most up-to-date drivers to optimize compatibility and performance.
- Test and monitor: After the installation, run diagnostic and benchmarking tools to verify the SSD’s performance and ensure its stability. Monitor temperatures and system performance to identify any potential issues promptly.
By following these tips, you can ensure a smooth and successful installation of your motherboard for an internal SSD, minimizing compatibility issues and maximizing the performance of your system.
Now that you are armed with these helpful tips, you’re ready to install your motherboard and SSD with confidence!
Conclusion
Installing the motherboard for an internal solid-state drive (SSD) is a critical step in ensuring seamless integration and optimal performance of your computer system. The motherboard plays a crucial role in providing the necessary connections, compatibility, and power supply for the SSD.
Throughout this guide, we have explored various aspects of installing the motherboard for an internal SSD, including the importance of the motherboard, factors to consider when choosing the installation location, recommended locations for different types of computer cases, and step-by-step instructions for both desktop computers and laptops.
We have also highlighted crucial tips for ensuring a proper installation, such as reading the documentation, checking for compatibility, grounding, checking for BIOS updates, verifying clearances, securing cable connections, utilizing cable management, and consistently updating drivers.
Remember, proper installation and compatibility are essential for maximizing the performance and longevity of your SSD. Taking the time to understand these factors and following the recommended procedures will ensure a smooth installation process and a stable and efficient computer system.
If you encounter any difficulties or have specific concerns during the installation process, it is always recommended to consult the documentation provided by the motherboard and SSD manufacturers or seek professional assistance.
With the motherboard successfully installed, you can now enjoy the benefits of your internal SSD, such as faster boot times, increased data transfer speeds, and improved overall system performance. Whether you are a casual computer user or a dedicated gaming enthusiast, the proper installation of the motherboard for your SSD will undoubtedly enhance your computing experience.