Introduction
Welcome to this guide on how to install an internal PCIe 3.0 solid state drive (SSD) into your computer. As technology advances, traditional hard disk drives (HDDs) are being gradually replaced by faster and more efficient SSDs. The PCIe 3.0 interface offers higher data transfer rates, making it an ideal choice for individuals seeking optimal performance and speed.
Whether you’re a tech enthusiast or a professional who needs reliable and fast storage, installing an internal PCIe 3.0 SSD is a great way to boost your computer’s performance. This guide will walk you through the step-by-step process and provide useful tips to ensure a successful installation.
Before we dive into the installation process, let’s take a closer look at what exactly an internal PCIe 3.0 SSD is and why you might want to consider installing one.
Subtitle: What is an Internal PCIe 3.0 Solid State Drive (SSD)?
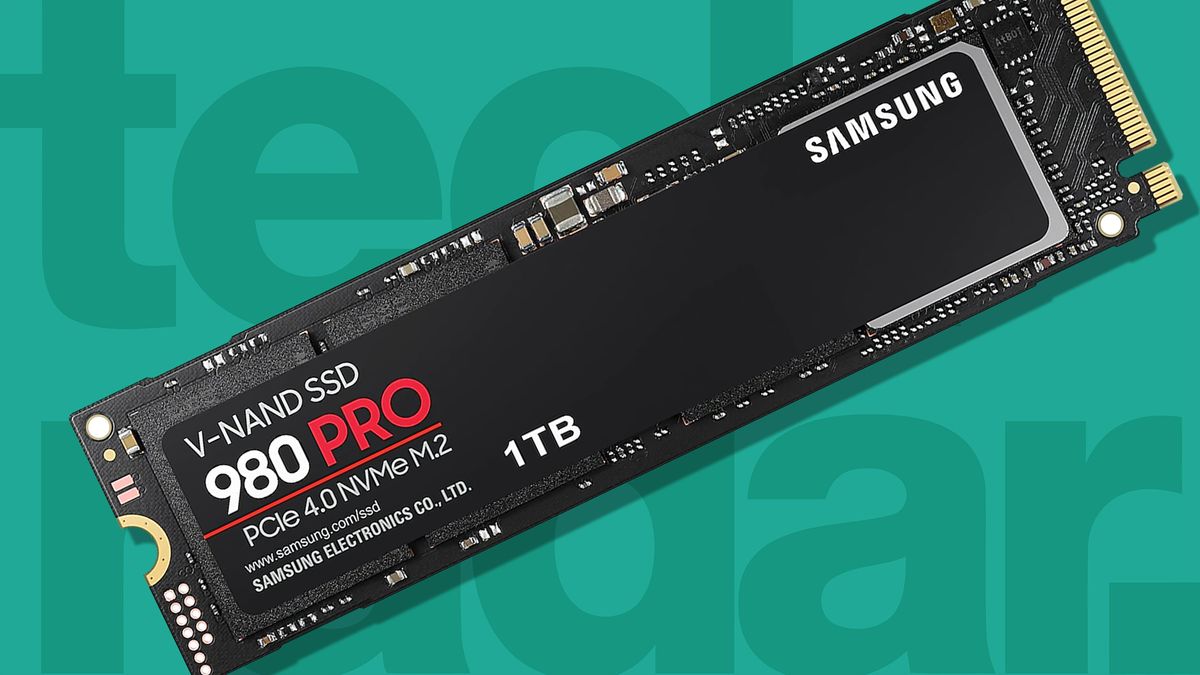
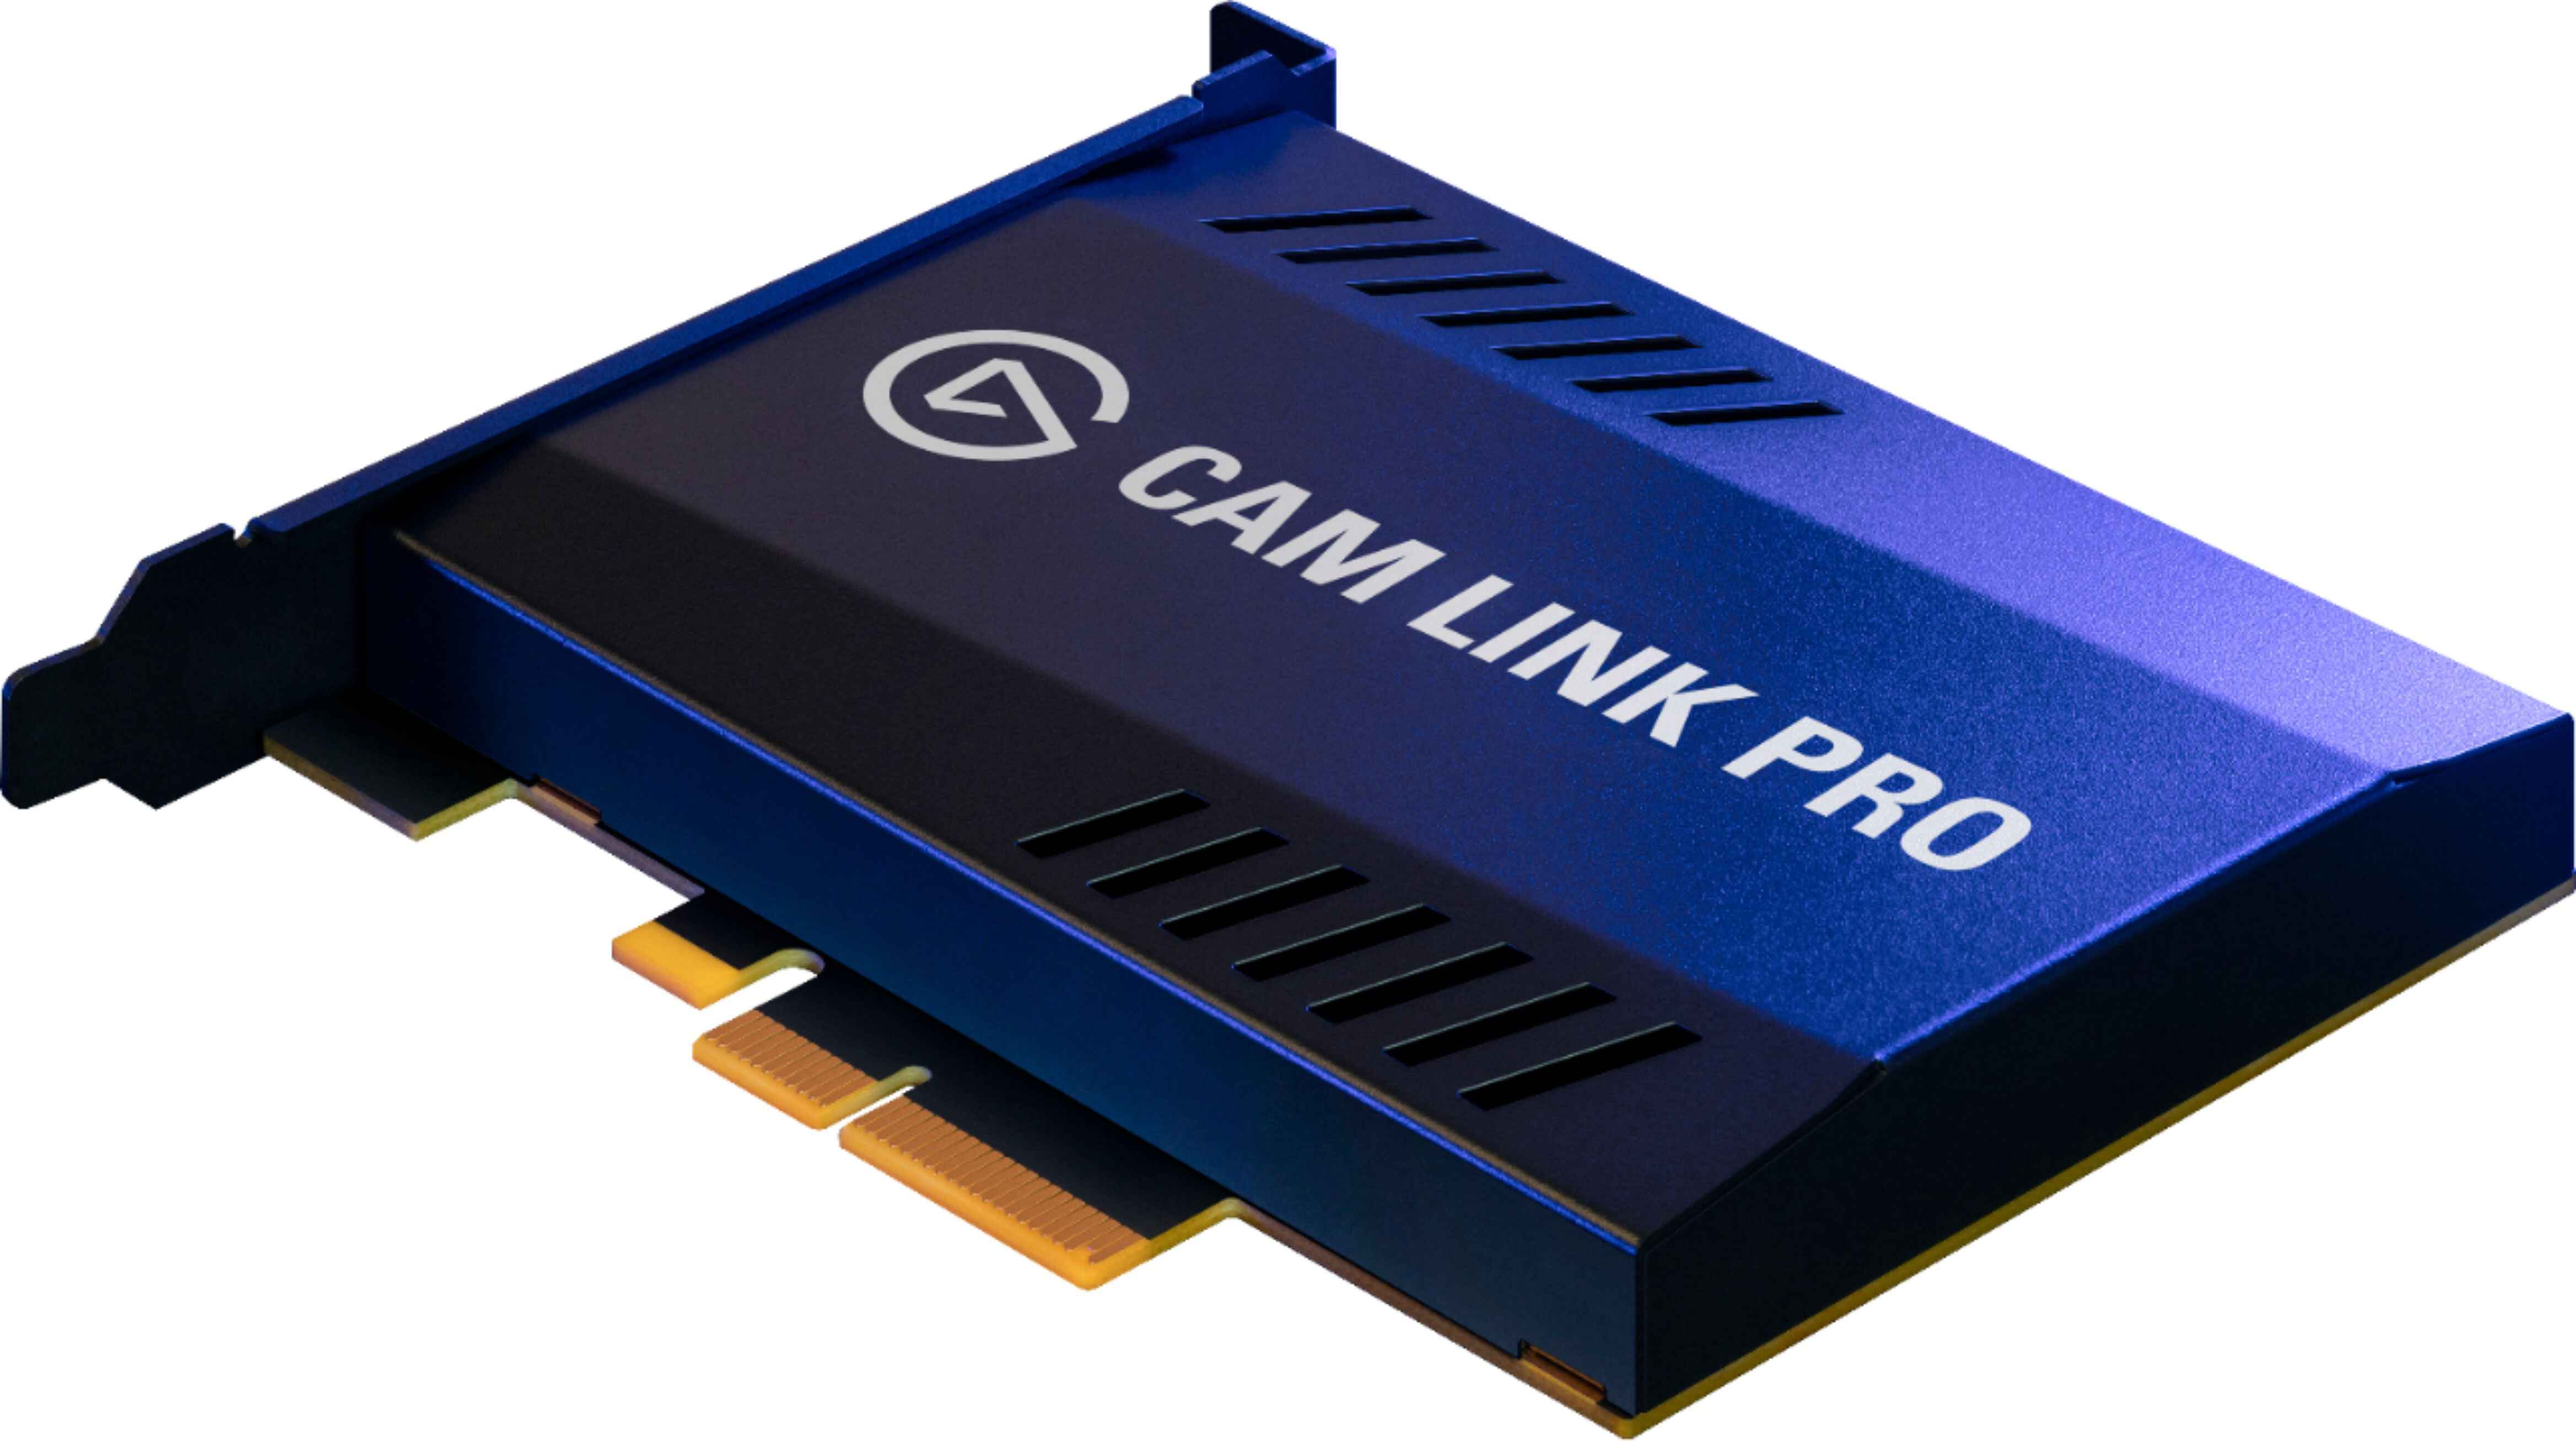
An internal PCIe 3.0 SSD is a high-speed storage device that connects to your computer’s motherboard via a PCIe slot. Unlike traditional HDDs, which use spinning platters and read/write heads to store and retrieve data, an SSD uses NAND flash memory to store data digitally, resulting in dramatically faster read and write speeds.
With the PCIe 3.0 interface, data can be transferred at speeds of up to 1 GB/s, allowing for lightning-fast boot times, quicker application launches, and faster file transfers. The PCIe 3.0 standard is backward compatible with PCIe 2.0 slots, ensuring compatibility with a wide range of motherboards.
Subtitle: Why Install an Internal PCIe 3.0 SSD?
Now that we know what an internal PCIe 3.0 SSD is, let’s explore why you might want to install one in your computer. The main advantage of an SSD over a traditional HDD is its speed. SSDs offer significantly faster data access, resulting in quicker overall system performance.
Applications and files stored on an SSD can be accessed almost instantly, saving you valuable time and improving workflow efficiency. Whether you’re a gamer looking for faster load times, a video editor working with large files, or a professional needing quick access to data, an internal PCIe 3.0 SSD can make a noticeable difference in your daily computing experience.
Moreover, SSDs are more durable and reliable compared to HDDs, as they have no moving parts. This reduces the risk of mechanical failure, ensuring that your data remains safe and accessible. Additionally, SSDs generate less heat and operate silently, making them an excellent choice for both desktop and laptop computers.
What is an Internal PCIe 3.0 Solid State Drive (SSD)?
An internal PCIe 3.0 solid state drive (SSD) is a high-speed storage device that connects directly to your computer’s motherboard via a PCIe slot. Unlike traditional hard disk drives (HDDs), which rely on spinning platters and read/write heads, an SSD utilizes NAND flash memory to store and retrieve data. This results in significantly faster read and write speeds compared to HDDs.
The PCIe 3.0 interface offers even higher data transfer rates compared to previous generations, allowing for lightning-fast performance. With data transfer speeds of up to 1 GB/s, an internal PCIe 3.0 SSD is perfect for individuals seeking optimal performance and speed for their computers.
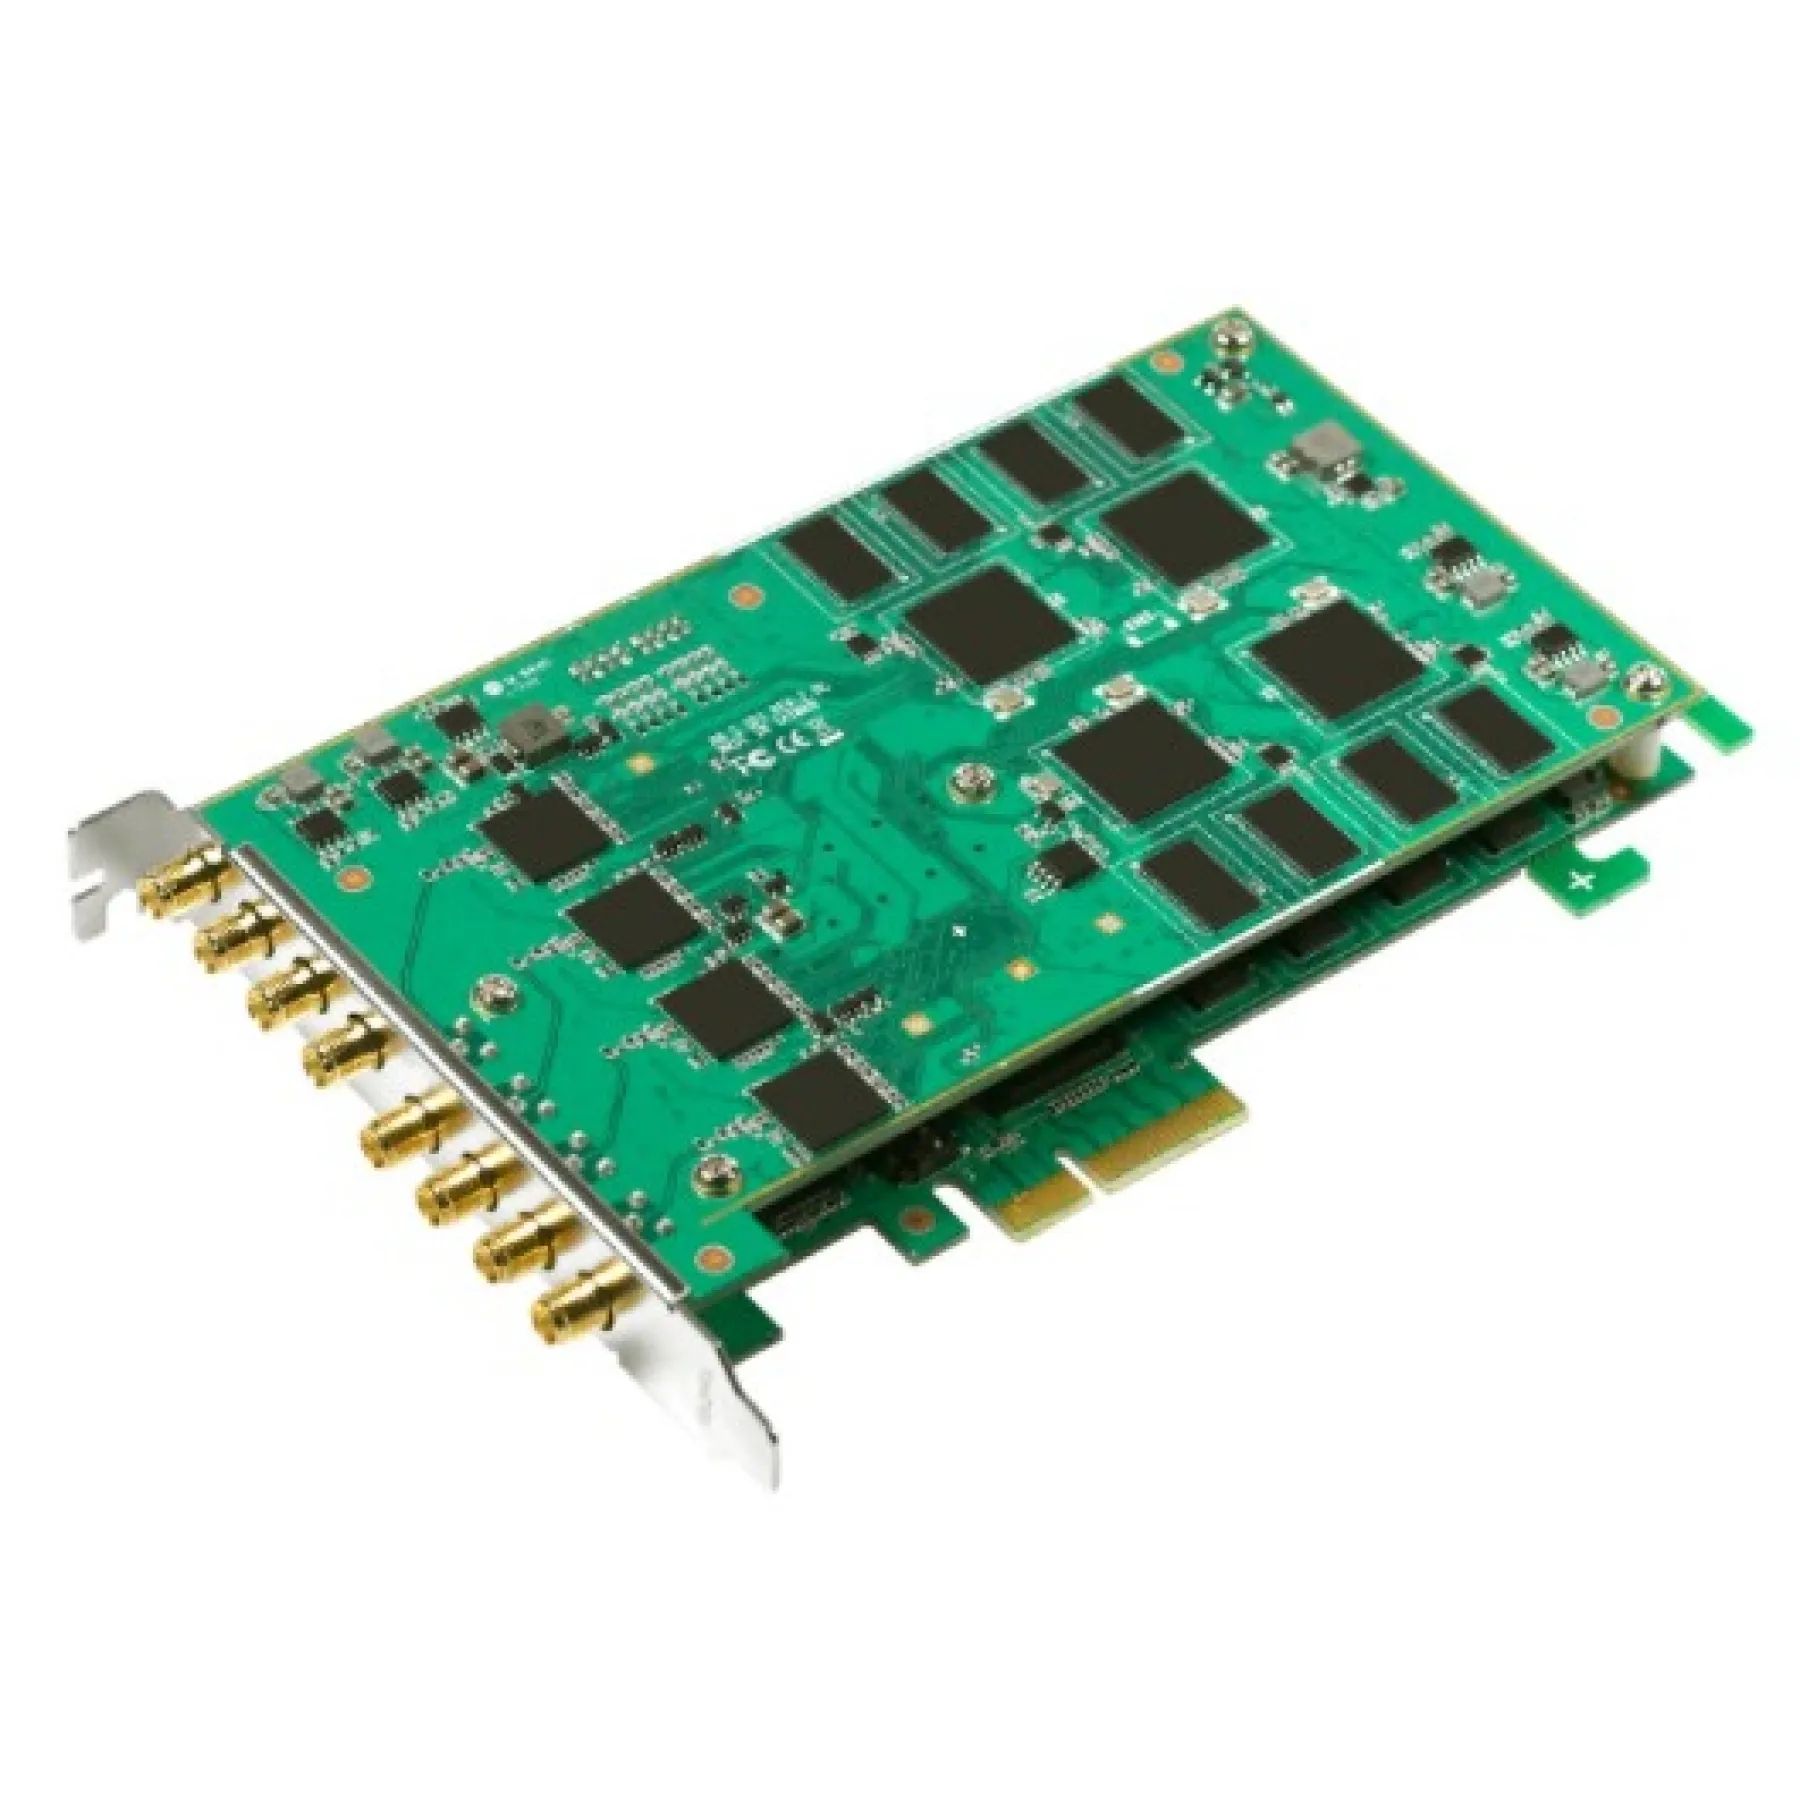
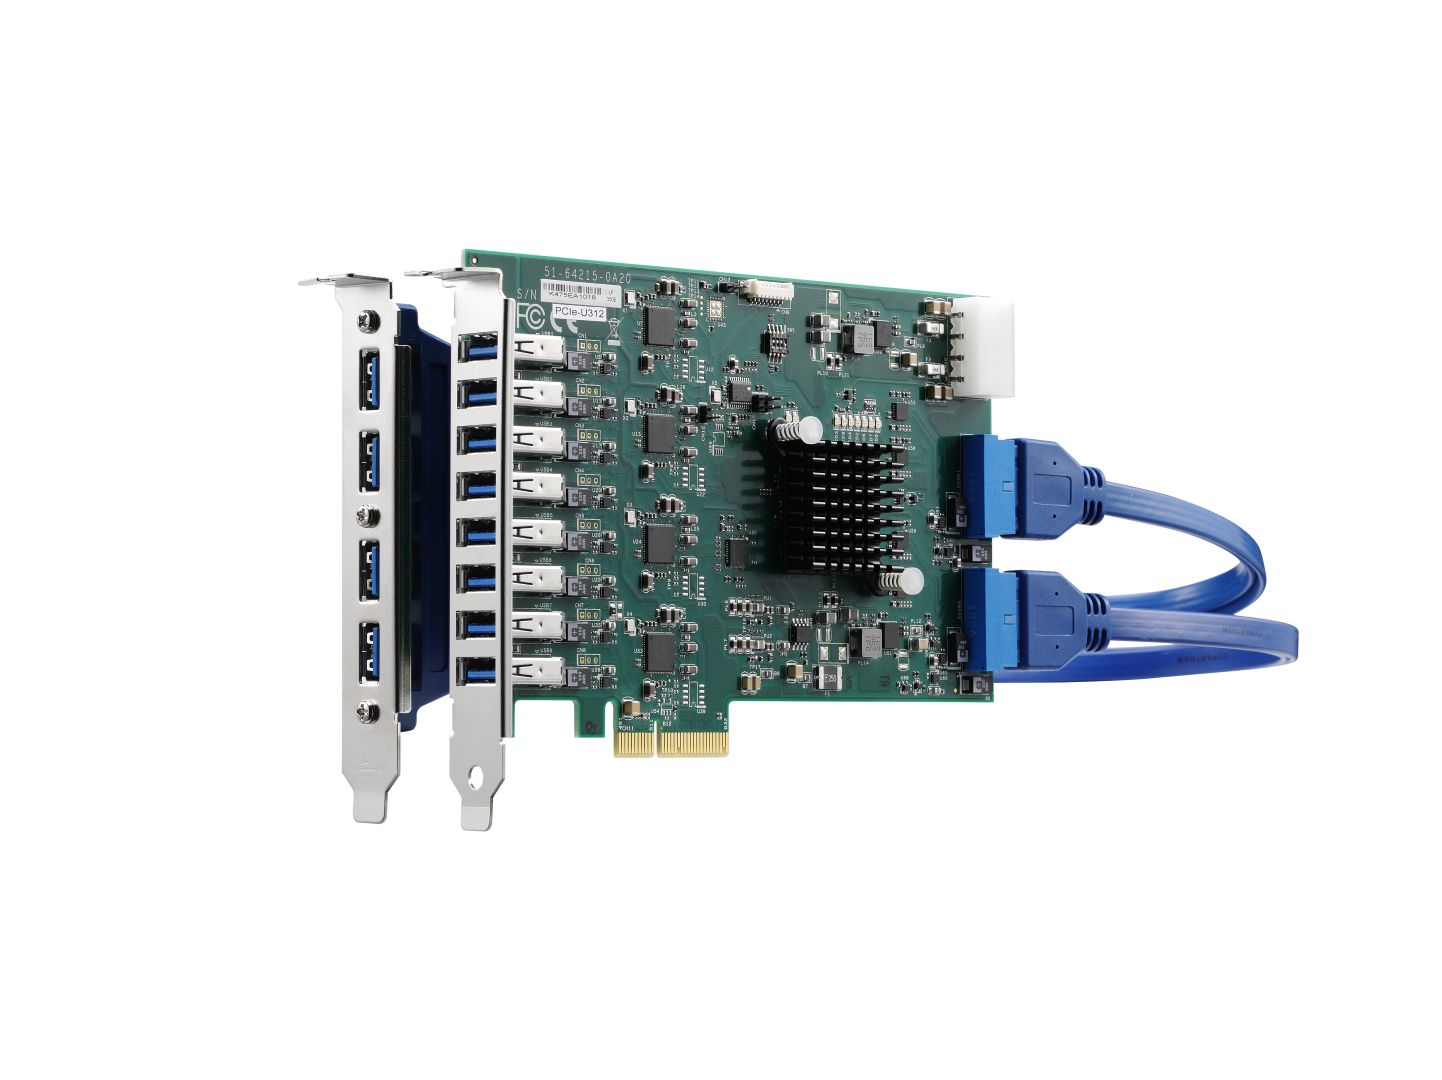
In terms of physical appearance, an internal PCIe 3.0 SSD typically comes in the form factor of a small circuit board with a PCIe connector. The PCIe connector allows for a direct and stable connection to the motherboard, ensuring efficient and reliable data transfer.
One key advantage of an internal PCIe 3.0 SSD is its compatibility with a wide range of motherboards. The PCIe 3.0 standard is backward compatible with PCIe 2.0 slots, meaning that even if your motherboard only supports PCIe 2.0, you can still use a PCIe 3.0 SSD without any issues. This makes it a versatile storage solution for different computer systems.
High-speed data access is one of the primary benefits of utilizing an internal PCIe 3.0 SSD. Compared to HDDs, which have mechanical components that require physical movement to read and write data, SSDs have no moving parts. This allows for near-instantaneous data access, resulting in quicker system boot times, faster application launches, and smoother multitasking.
In addition to speed, internal PCIe 3.0 SSDs offer other advantages over traditional HDDs. SSDs are more durable and resistant to physical shocks, as they don’t rely on spinning disks. This makes them ideal for portable devices such as laptops, where movement can potentially damage a mechanical HDD. SSDs also consume less power and produce less heat compared to HDDs, contributing to overall system efficiency and cooling.
Overall, an internal PCIe 3.0 SSD is an excellent choice for individuals who require fast, reliable, and efficient storage for their computers. By harnessing the power of NAND flash memory and the high-speed capabilities of the PCIe 3.0 interface, an internal PCIe 3.0 SSD can significantly enhance the performance and responsiveness of your system.
Why Install an Internal PCIe 3.0 SSD?
Installing an internal PCIe 3.0 solid state drive (SSD) can provide several benefits that make it a worthwhile investment for computer users. Here are some key reasons why you should consider installing an internal PCIe 3.0 SSD:
1. Speed and Performance: One of the primary advantages of an internal PCIe 3.0 SSD is its exceptional speed. With read and write speeds that far surpass traditional hard disk drives (HDDs), an SSD can significantly improve your overall system performance. Applications launch faster, files open quickly, and data transfer speeds are dramatically enhanced. Whether you’re a gamer, a creative professional working with large files, or simply a user who values a highly responsive system, an internal PCIe 3.0 SSD can deliver unparalleled speed and performance.
2. Reliable and Durable: Unlike HDDs, an internal PCIe 3.0 SSD has no moving parts. This means that it’s less susceptible to physical damage caused by bumps, drops, or vibrations. SSDs can better withstand shocks, making them an ideal choice for portable devices like laptops. Additionally, the absence of moving parts reduces the risk of mechanical failure, resulting in improved reliability and increased data security.
3. Lower Power Consumption: Another advantage of an internal PCIe 3.0 SSD is its energy efficiency. SSDs consume less power compared to HDDs, which helps to extend the battery life of laptops and reduce electricity usage for desktop computers. This energy-saving feature not only benefits the environment but also translates into cost savings over time.
4. Silent Operation: Unlike HDDs, which produce noise due to the spinning platters and moving read/write heads, SSDs operate silently. This can greatly enhance the overall user experience, especially for individuals who prioritize a quiet working environment or those who engage in multimedia tasks that require audio clarity.
5. Compact Form Factor: Internal PCIe 3.0 SSDs come in a compact form factor, taking up very little physical space inside your computer. This makes them an excellent choice for systems with limited internal space, such as small and slim PCs or compact laptops. The small size of an SSD also makes it easier to transport and install in different devices.
6. Future-Proofing: Installing an internal PCIe 3.0 SSD ensures that your system is ready for the future. The PCIe 3.0 standard offers high data transfer rates and is widely supported by modern motherboards. By investing in an SSD now, you’ll be able to take advantage of future advancements in storage technology without needing to upgrade your entire system.
With its remarkable speed, reliability, energy efficiency, and compact design, an internal PCIe 3.0 SSD is a valuable addition to any computer system. By installing one, you can significantly improve the performance and user experience, whether you’re a professional who requires high-speed data access or a casual user looking for a faster and more efficient system.
Things to Consider Before Installing an Internal PCIe 3.0 SSD
Before diving into the installation process, there are several important factors to consider when installing an internal PCIe 3.0 solid state drive (SSD) in your computer. Taking the time to understand these considerations will ensure a smooth installation and optimal performance. Here are some key points to keep in mind:
1. Compatibility: Make sure that your computer’s motherboard has an available PCIe slot and supports the PCIe 3.0 interface. Check the manufacturer’s specifications or consult the user manual of your motherboard to verify compatibility. Additionally, ensure that your operating system supports PCIe 3.0 SSDs and has the necessary drivers for proper functionality.
2. Available Space: Assess the available physical space in your computer to determine if there is enough room to install the internal PCIe 3.0 SSD. SSDs are usually smaller in physical size compared to traditional hard disk drives (HDDs), but it’s still important to ensure that there is adequate space to accommodate the SSD.
3. Storage Capacity: Determine the storage capacity that you require for your needs. Internal PCIe 3.0 SSDs are available in various capacities, ranging from 128GB to several terabytes. Consider the size of your files, applications, and future storage needs when selecting the appropriate storage capacity.
4. Budget: Set a budget for your internal PCIe 3.0 SSD installation. SSDs tend to be more expensive than HDDs, but their performance benefits and durability justify the higher cost. Consider your requirements and allocate a budget accordingly to ensure you get the best value for your money.
5. Data Backup: Before installing the internal PCIe 3.0 SSD, it is crucial to back up all your important data. This will protect your files in case of any unforeseen issues during the installation process. Backup your data to an external storage device or to the cloud to ensure its safety.
6. Transfer or Clone Data: Decide whether you want to transfer your existing data from your current storage drive to the new internal PCIe 3.0 SSD or clone the entire drive. Transferring data involves manually selecting and moving files, while cloning creates an exact copy of your existing drive. Choose the method that suits your needs and ensure you have the appropriate software and cables to complete the process.
7. Operating System Installation: If you install the internal PCIe 3.0 SSD as the primary drive for your operating system, you will need to reinstall the operating system. Ensure that you have a copy of your operating system installation media or the necessary recovery options to reinstall the operating system on the new SSD.
8. Warranty and Support: Review the warranty and support options provided by the SSD manufacturer. SSDs can have different warranty periods, and it is important to understand what is covered and the steps to take in case of any issues. Familiarize yourself with the manufacturer’s support resources and online community forums for troubleshooting and assistance.
By considering these factors before installing an internal PCIe 3.0 SSD, you can ensure a successful installation process and make well-informed decisions regarding compatibility, storage capacity, budget, data backup, and operating system requirements. This will result in an optimized and efficient SSD installation that enhances your computer’s overall performance.
Tools and Equipment Needed
Before you begin installing an internal PCIe 3.0 solid state drive (SSD) into your computer, gather the necessary tools and equipment to ensure a smooth and successful installation. Here are the key items you will need:
1. Screwdriver: You will need a suitable screwdriver to open your computer’s case and secure the SSD in place. The specific type of screwdriver required depends on the screws used in your computer’s case, such as Phillips or Torx.
2. Antistatic Wrist Strap: To prevent damage to your SSD and other components from electrostatic discharge (ESD), it is highly recommended to use an antistatic wrist strap. This wrist strap connects you to a grounding point, such as the metal frame of your computer, and helps to dissipate any built-up static charges.
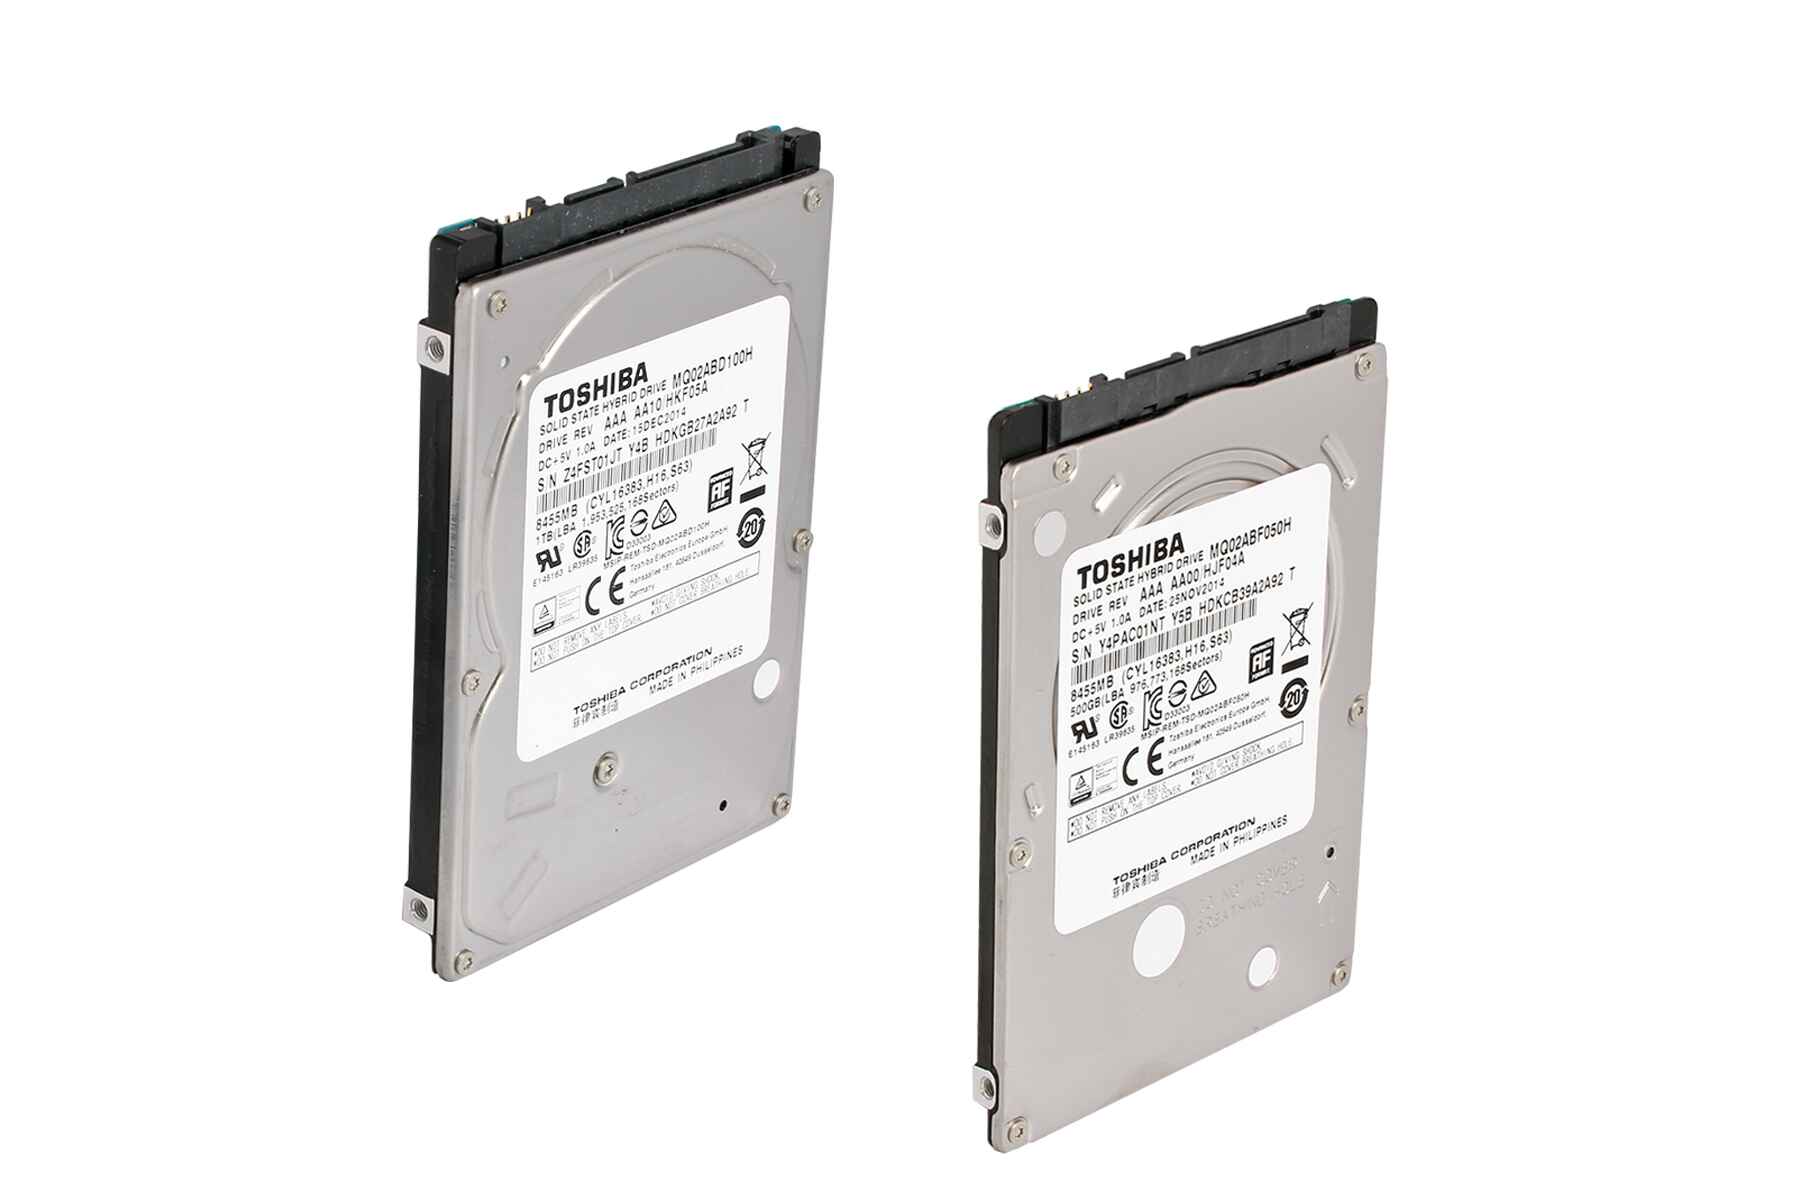
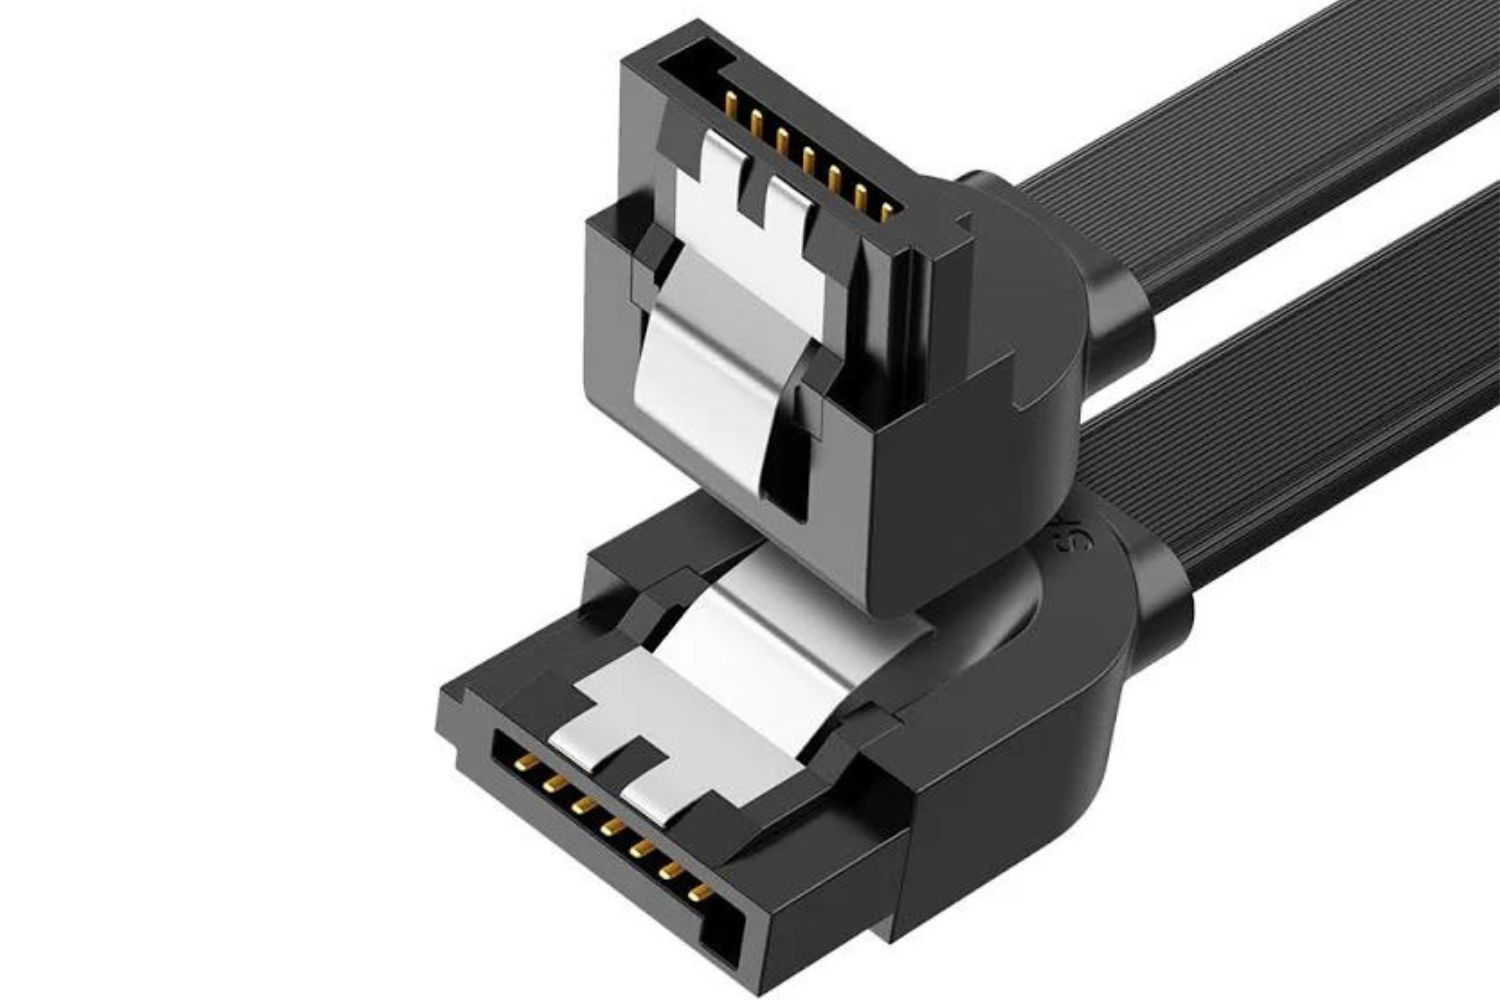
3. SATA or PCIe Cables: Depending on the SSD model and your computer’s motherboard, you may need SATA or PCIe cables to connect the SSD to the motherboard. Check the specifications of your SSD and motherboard to determine the appropriate cables needed.
4. Power Supply Connections: Ensure that your computer’s power supply has the necessary connection options for the SSD. Some SSDs require a direct power connection, while others draw power from the motherboard via the SATA or PCIe connection. Ensure that your power supply can accommodate the power requirements of the SSD.
5. Spare Mounting Screws: It’s a good idea to have spare mounting screws on hand in case any are missing or you encounter compatibility issues. These screws are used to secure the SSD into the appropriate drive bay or slot within your computer’s case.
6. Documentation: Keep the user manuals or installation guides for both your SSD and motherboard handy. These documents provide important information about installation steps, cable connections, BIOS settings, and other specific instructions that may be required during the installation process.
7. External Storage: Before installing the SSD, consider having an external storage device available to back up any important data. This will ensure that your files are safely stored and can be easily recovered in the event of any unforeseen issues during the installation process.
8. Cleaning Materials: It’s a good practice to have cleaning materials, such as compressed air, lint-free cloths, or soft brushes, to clean any dust or debris that may have accumulated inside your computer’s case. Keeping the inside of your computer clean helps to maintain optimal performance and prevents potential issues.
By gathering these essential tools and equipment before starting the installation process, you can save time and ensure that you have everything you need to install the internal PCIe 3.0 SSD properly. Taking the time to gather and prepare these items will ensure a smooth installation process and minimize the risk of encountering any unexpected challenges along the way.
Step-by-Step Guide to Installing an Internal PCIe 3.0 SSD
Installing an internal PCIe 3.0 solid state drive (SSD) is a relatively straightforward process. Follow this step-by-step guide to ensure a successful installation:
Step 1: Preparation
Before starting the installation, make sure to power off your computer and disconnect it from the wall outlet. This will ensure your safety and prevent any damage to the hardware.
Step 2: Open the Computer Case
Use a screwdriver to remove the screws securing the side panel of your computer case. Carefully remove the side panel to access the internal components.
Step 3: Locate an Available PCIe Slot
Identify an available PCIe slot on your computer’s motherboard. PCIe slots are long and narrow, usually found towards the bottom of the motherboard. Refer to your motherboard’s documentation to determine which slot to use for your specific model.
Step 4: Insert the SSD
Gently insert the SSD into the selected PCIe slot. Align the connectors on the SSD with the slot on the motherboard, applying even pressure until the SSD is securely seated in the slot. Be careful not to force the SSD, as this can cause damage.
Step 5: Secure the SSD
Using the appropriate screws, secure the SSD in place by fastening it to the computer case or securing bracket. Ensure that the SSD is firmly fixed and will not move around during operation.
Step 6: Connect Power and Data Cables
Connect the necessary power and data cables to the SSD. Depending on your SSD and motherboard, you may need to connect a SATA or PCIe cable to provide power and data transfer capabilities. Consult your SSD and motherboard documentation for the specific cable connections.
Step 7: Replace the Computer Case Panel
Carefully reattach the side panel of your computer case and secure it with the screws. Make sure that the panel is properly aligned and securely fastened to the case.
Step 8: Power On and Configure BIOS
Power on your computer and access the BIOS settings by pressing the appropriate key during startup (usually Del or F2). Navigate to the BIOS settings related to storage devices and ensure that the newly installed SSD is recognized. Save the changes and exit the BIOS setup.
Step 9: Optimize and Format the SSD
Once your computer has booted into the operating system, access the disk management tools to optimize and format the SSD. This step may involve partitioning the SSD, assigning a drive letter, and formatting it with the desired file system (such as NTFS or exFAT).
Step 10: Test and Enjoy
With the internal PCIe 3.0 SSD successfully installed and configured, test its performance by launching applications or copying files. You should experience faster boot times, improved system responsiveness, and quicker data access. Enjoy the enhanced speed and efficiency that the SSD brings to your computer!
By following this step-by-step guide, you can confidently install an internal PCIe 3.0 SSD into your computer and harness the benefits of faster data transfer speeds and improved performance.
Connecting and Mounting the SSD
Once you have successfully installed the internal PCIe 3.0 solid state drive (SSD) into your computer, the next step is to connect and mount the SSD properly. Follow these steps to ensure a secure and functional connection:
Step 1: Locate the Power and Data Ports
Identify the power and data ports on the SSD. The power port is typically located at one end of the SSD, while the data port, depending on the SSD model, can be either a SATA or PCIe connector.
Step 2: Connect the Power Cable
If your SSD requires a direct power connection, plug one end of the power cable into the power port of the SSD. The other end of the cable should connect to an available power connector from your computer’s power supply. Ensure that the connection is secure.
Step 3: Connect the Data Cable
If you are using a SATA SSD, connect one end of a SATA data cable to the data port on the SSD. The other end should be plugged into an available SATA port on the motherboard. If you are using a PCIe SSD, connect the appropriate PCIe cable to the data port on the SSD and the corresponding PCIe slot on the motherboard.
Step 4: Secure Cable Connections
Make sure both the power and data cables are securely connected. Check that the cables are properly seated, and there are no loose connections. Inspect the cables for any signs of damage or bending, and replace them if necessary.
Step 5: Mount the SSD
If your computer case has designated drive bays for SSDs, gently slide the SSD into the respective bay until it is fully inserted. If there are no dedicated bays, you can use mounting brackets or adapters to securely attach the SSD to an available mounting location within the case. Use screws to fasten the SSD to the brackets or adapter, ensuring that it is firmly mounted.
Step 6: Cable Management
Proper cable management is essential to ensure good airflow and organization within your computer. Arrange the power and data cables neatly, routing them away from any fans or other components that may obstruct the airflow. Use cable ties or clips to secure and organize the cables, minimizing clutter and maximizing airflow.
Step 7: Close the Computer Case
Carefully close your computer’s case by reattaching the side panel. Ensure that all cables and components are properly positioned inside the case and that there are no obstructions or pinched cables. Use screws to secure the side panel in place.
By following these steps, you can successfully connect and mount your internal PCIe 3.0 SSD in your computer. This will ensure a secure and efficient data transfer, allowing you to fully utilize the benefits of the SSD’s fast performance and improved storage capabilities.
Configuring the BIOS for the SSD
Once you have connected and mounted the internal PCIe 3.0 solid state drive (SSD) in your computer, the next step is to configure the BIOS settings to ensure proper functionality and optimal performance. Here’s a step-by-step guide to help you configure the BIOS for your SSD:
Step 1: Accessing the BIOS
Power on your computer and press the designated key (usually Del, F2, or Esc) to access the BIOS setup utility. The key to access the BIOS may vary depending on your computer’s manufacturer, so consult the manufacturer’s documentation or check their website for the specific key combination.
Step 2: Navigating to the Storage Settings
Once you are inside the BIOS setup utility, navigate to the storage or drive configuration settings. The exact location of these settings may vary depending on your BIOS version and motherboard manufacturer. Look for options like “Storage Configuration,” “SATA Configuration,” or similar labels.
Step 3: Enabling PCIe Slot
If your motherboard has multiple PCIe slots, ensure that the one containing the SSD is enabled. Some motherboards may allow you to disable certain slots to prioritize other devices. Select the appropriate PCIe slot that houses your SSD and enable it if necessary.
Step 4: Verifying SSD Detection
In the storage settings, verify if your SSD is detected by the BIOS. The BIOS should display the model name and capacity of the SSD. If the SSD is not detected, ensure that it is properly connected and mounted in the PCIe slot. Double-check the cable and power connections as well.
Step 5: Boot Priority Configuration
To ensure that your computer boots from the SSD as the primary drive, navigate to the boot settings or boot priority configuration in the BIOS. Set the SSD as the first boot device in the boot priority order. This will instruct the computer to load the operating system from the SSD during startup.
Step 6: Save and Exit
Once you have made the necessary configurations, save the changes you made in the BIOS and exit the setup utility. Typically, you can do this by selecting the “Save and Exit” option, or by pressing the designated key (usually F10) to save the changes and exit the BIOS.
Step 7: Operating System Boot
After exiting the BIOS, your computer will restart. Ensure that you have your operating system installation media ready if you have not yet installed the OS on the SSD. If the operating system is already installed, the computer should boot from the SSD, and you’ll be able to experience the enhanced speed and performance of your SSD.
By following these steps to configure the BIOS for your SSD, you can ensure that your computer recognizes and utilizes the SSD as the primary storage device. Correct BIOS settings are crucial for proper functionality and optimal performance of your PCIe 3.0 SSD.
Optimizing and Formatting the SSD
Once you have installed and configured the internal PCIe 3.0 solid-state drive (SSD) in your computer, the next step is to optimize and format the SSD to ensure optimal performance and compatibility. Follow these steps to optimize and format your SSD:
Step 1: Backup your Data
Before proceeding with any optimization or formatting steps, it is crucial to back up any important data on your SSD. This will safeguard your files and provide a recovery option in case of any unforeseen issues.
Step 2: Check the Drive Alignment
Verify if the SSD is correctly aligned for optimal performance. If your operating system is Windows 7 or earlier, you may need to align the SSD’s starting sector to an alignment boundary. Most modern operating systems, including Windows 8 and newer versions, automatically align SSDs during the installation process.
Step 3: Update Firmware
Check if there are any firmware updates available for your SSD from the manufacturer’s website. Firmware updates can enhance performance, resolve compatibility issues, and provide additional features. Follow the manufacturer’s instructions to update the firmware, ensuring that you have a stable power supply and backup your data as a precaution.
Step 4: Trim Support
Verify if your operating system supports TRIM for SSDs. TRIM is a command that helps maintain optimal performance and longevity of SSDs by allowing the operating system to inform the SSD about invalid data blocks. TRIM support ensures that the SSD can efficiently manage and free up unused space.
Step 5: Formatting the SSD
Format the SSD with the desired file system. Most operating systems allow you to format the SSD using either NTFS or exFAT. NTFS is recommended for Windows users, while exFAT is suitable for cross-platform compatibility. Use the built-in disk management tools in your operating system to format the SSD.
Step 6: Partitioning the SSD
If necessary, partition your SSD. Partitioning allows you to divide the SSD into multiple logical drives for better organization and management of your data. You can create different partitions for the operating system, applications, and data storage. Use the disk management tools to create and adjust partitions based on your requirements.
Step 7: Assigning Drive Letters
Assign drive letters to the newly formatted and partitioned SSD. Drive letters allow you to easily identify and access the specific partitions of the SSD. Right-click on each partition in the disk management tools and select “Change Drive Letter and Paths” to assign a drive letter.
Step 8: Disk Optimization
Configure your operating system to perform regular disk optimization on the SSD. Disk optimization, also known as defragmentation, is typically unnecessary for SSDs as they don’t benefit from traditional defragmentation techniques. However, modern operating systems offer optimization tools that specifically cater to the needs of SSDs to maintain peak performance.
Step 9: Enable AHCI Mode
Verify if your SSD is operating in Advanced Host Controller Interface (AHCI) mode. AHCI enables advanced features and optimizations specific to SSDs. You may need to enable AHCI mode in the BIOS or through the operating system’s device manager. Consult your motherboard or system documentation for instructions on enabling AHCI mode.
By following these steps to optimize and format your SSD, you can ensure that it operates at its full potential. Proper formatting, alignment, firmware updates, and optimization settings will maximize the performance and longevity of your internal PCIe 3.0 SSD, resulting in a faster and more efficient computing experience.
Tips and Troubleshooting
Installing an internal PCIe 3.0 solid-state drive (SSD) can greatly enhance your computer’s performance and storage capabilities. To ensure a smooth installation process and optimal functionality, here are some useful tips and troubleshooting steps:
Tips:
1. Read the Documentation: Be sure to read the user manuals and installation guides provided by both the SSD and motherboard manufacturers. These documents contain valuable information specific to your hardware setup and can help address any compatibility issues or installation concerns.
2. Keep Firmware Updated: Check for firmware updates regularly from the SSD manufacturer’s website. Firmware updates can address bugs, improve performance, and introduce new features. Follow the manufacturer’s instructions carefully to ensure a successful update process.
3. Enable TRIM Support: Ensure that TRIM support is enabled in your operating system. TRIM helps maintain the performance and lifespan of the SSD by allowing the operating system to communicate with the drive and efficiently manage unused data blocks. Verify your operating system’s TRIM support and enable it if necessary.
4. Regularly Backup Your Data: Implement a backup strategy to protect your important files and data. Regularly backing up your SSD to an external storage device or a cloud-based backup service ensures that your data is safe in case of hardware failure, user error, or other unforeseen events.
Troubleshooting:
1. SSD Not Detected: If your SSD is not detected by the computer, ensure that it is properly connected and securely mounted in the PCIe slot. Check the cables for any damage or loose connections. If the issue persists, try using a different SATA or PCIe slot if available, or consult your motherboard documentation for possible BIOS configuration settings.
2. Slow Performance: If you notice slower-than-expected performance from your SSD, ensure that your operating system and device drivers are updated to the latest versions. Also, make sure that you have sufficient free space on the SSD to ensure proper functioning. If the problem persists, you might consider running a diagnostic tool provided by the SSD manufacturer to check for any issues or defects.
3. Overheating: SSDs generate significantly less heat compared to HDDs, but it’s still important to ensure proper airflow and cooling within your computer case. Make sure that the SSD is not covered or obstructed by cables or other components. If necessary, consider adding additional case fans or improving overall ventilation to prevent overheating issues.
4. Compatibility Issues: In rare cases, you may encounter compatibility issues between your SSD and other hardware components. Before purchasing an SSD, check the manufacturer’s website for compatibility information and ensure that the SSD is compatible with your motherboard and operating system. If compatibility issues arise, reach out to the SSD manufacturer’s support for guidance or consider consulting a technical expert.
5. Seek Professional Help: If you encounter persistent problems or challenges during the installation or troubleshooting process, do not hesitate to seek professional help. Computer repair technicians or specialists can provide expertise and guidance to resolve complex issues and ensure a successful installation.
By following these tips and troubleshooting steps, you can overcome common challenges, maximize the performance of your internal PCIe 3.0 SSD, and enjoy the benefits of faster data transfer speeds and improved system responsiveness.
Conclusion
Congratulations! You have successfully completed the installation of an internal PCIe 3.0 solid state drive (SSD) in your computer. By following the step-by-step guide and considering important factors such as compatibility and storage capacity, you have taken a significant step towards improving your computer’s performance and storage capabilities.
An internal PCIe 3.0 SSD offers several advantages over traditional hard disk drives (HDDs), including faster data transfer speeds, improved system responsiveness, increased durability, and energy efficiency. By utilizing the PCIe 3.0 interface, you have harnessed the full potential of this advanced technology.
Remember to optimize and format your SSD, ensure TRIM support is enabled, and keep firmware updated to maintain optimal functionality and performance. Regularly back up your data and implement good data management practices to protect your important files and ensure their safety.
If you encounter any challenges along the way, refer to the troubleshooting section and seek professional help if needed. With the right tools, equipment, and knowledge, you can overcome obstacles and make the most out of your SSD installation.
Installing an internal PCIe 3.0 SSD is a significant upgrade that will enhance your computing experience. Whether you’re a gamer seeking faster load times, a creative professional handling large files, or a general user looking for overall system responsiveness, the SSD will greatly benefit you.
Enjoy the lightning-fast performance, quick data access, and improved workflow efficiency that comes with an internal PCIe 3.0 SSD. Embrace the power and reliability of flash memory technology, and unlock new possibilities for your computer.
Don’t forget to stay up to date with the latest firmware updates and continue implementing good maintenance practices to ensure the longevity and efficiency of your SSD.
Now, sit back, relax, and enjoy the enhanced speed and performance that your internal PCIe 3.0 SSD brings to your computer. Experience the difference and revel in the joy of faster boot times, quicker application launches, and seamless multitasking.