“
Introduction
Welcome to the world of computer hardware! As you delve into building or upgrading your own PC, you’ll often come across terms and components that may seem puzzling at first. One such component is RAM, or Random Access Memory. Understanding where RAM goes on a motherboard is crucial for a smooth and efficient computing experience.
RAM plays a vital role in a computer’s performance by providing temporary storage for data that the processor needs to access quickly. It allows for faster multitasking, smoother application operation, and improved overall system responsiveness. Without sufficient RAM, your computer may experience sluggishness or even crashes.
When it comes to installing RAM, knowing the layout of a motherboard is essential. The motherboard is like the central nervous system of your computer, connecting all the components together. It provides the infrastructure for you to connect the various hardware components, including CPU, storage devices, and RAM.
In this article, we will explore where RAM goes on a motherboard, how it is positioned, and other factors you need to consider for optimal performance. We will delve into the function of RAM slots on a motherboard, the importance of proper RAM placement, and even touch on the concept of dual-channel memory. So, let’s dive in and unravel the mysteries of RAM installation on a motherboard!
“
“
What is RAM?
RAM, or Random Access Memory, is a crucial component of a computer’s hardware. It is a type of volatile memory that provides temporary storage for data that the processor needs to access quickly. Unlike long-term storage devices such as hard drives or solid-state drives (SSDs), RAM stores data that the computer needs to access immediately.
RAM allows for faster data retrieval compared to secondary storage devices, which significantly improves the performance and responsiveness of the computer. Whenever you launch an application, open a file, or perform any task on your computer, the necessary data is loaded into RAM to be quickly accessed by the processor.
Think of RAM as a workspace for the CPU. The more RAM available, the more tasks and data the computer can handle simultaneously, without slowing down. It enables smoother multitasking, seamless application operation, and ensures that your computer can handle resource-intensive tasks such as gaming, video editing, or running virtual machines efficiently.
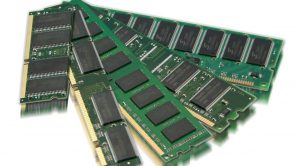
RAM is measured in gigabytes (GB) and is typically installed on the motherboard in the form of one or more modules. These modules, commonly referred to as RAM sticks, are inserted into specific slots on the motherboard called RAM slots.
It’s important to note that RAM is a volatile memory, meaning that it loses its data once the computer is powered off. Therefore, it is crucial to save any unsaved work before shutting down or restarting the system to avoid losing data.
In the next section, we will explore the placement of RAM on a motherboard and the significance of proper RAM installation for optimal performance.
“
“
RAM Slots on a Motherboard
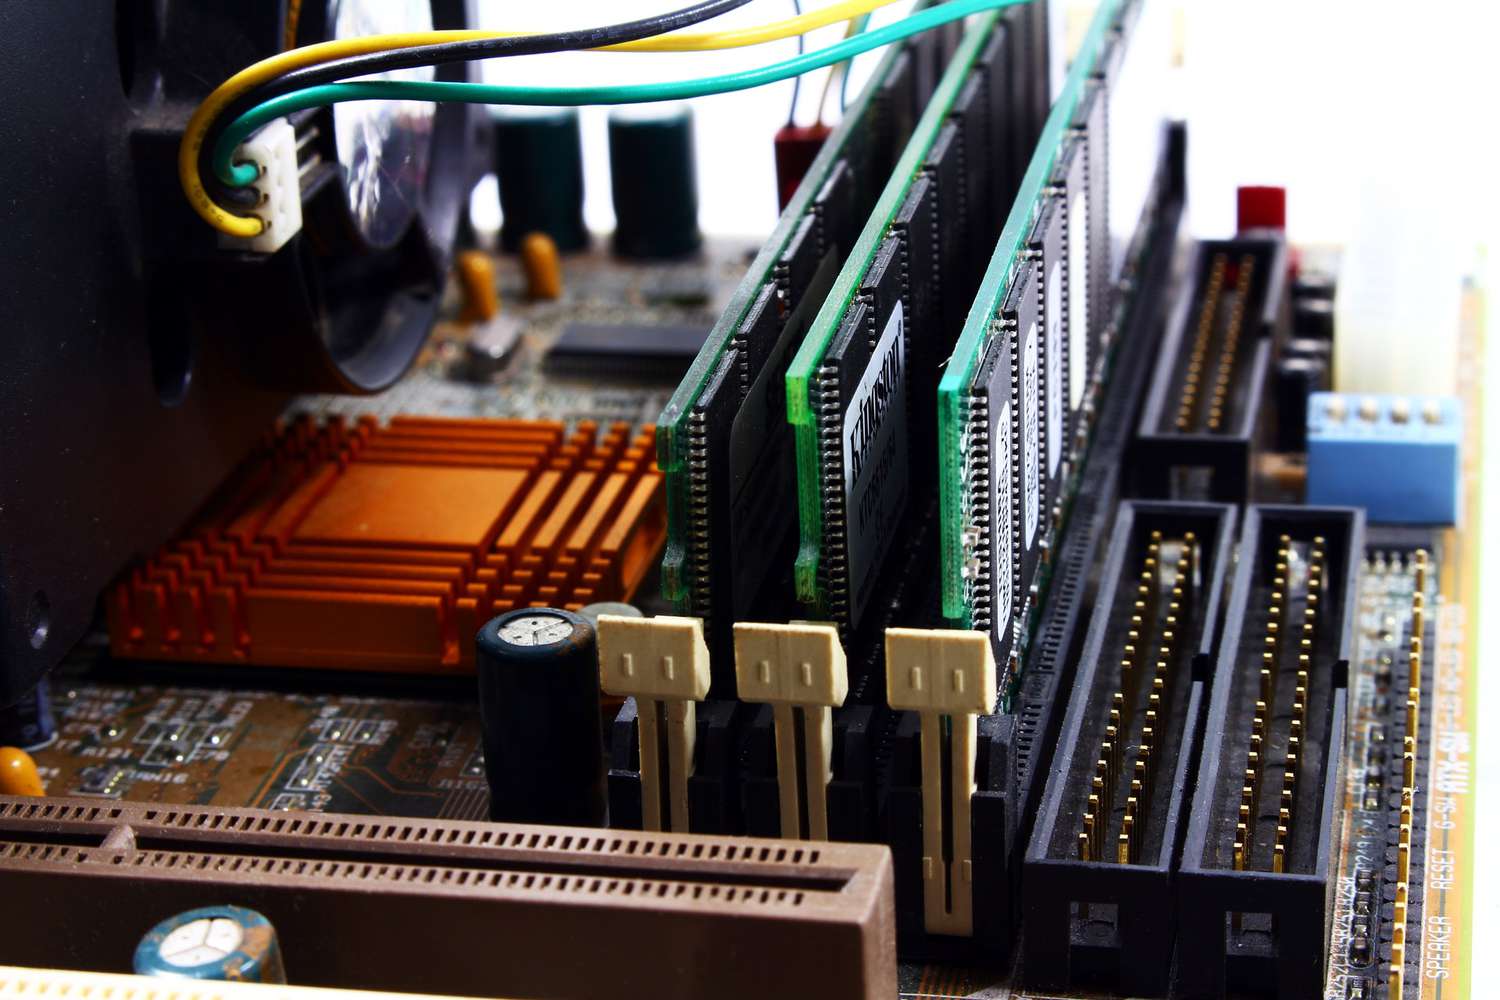
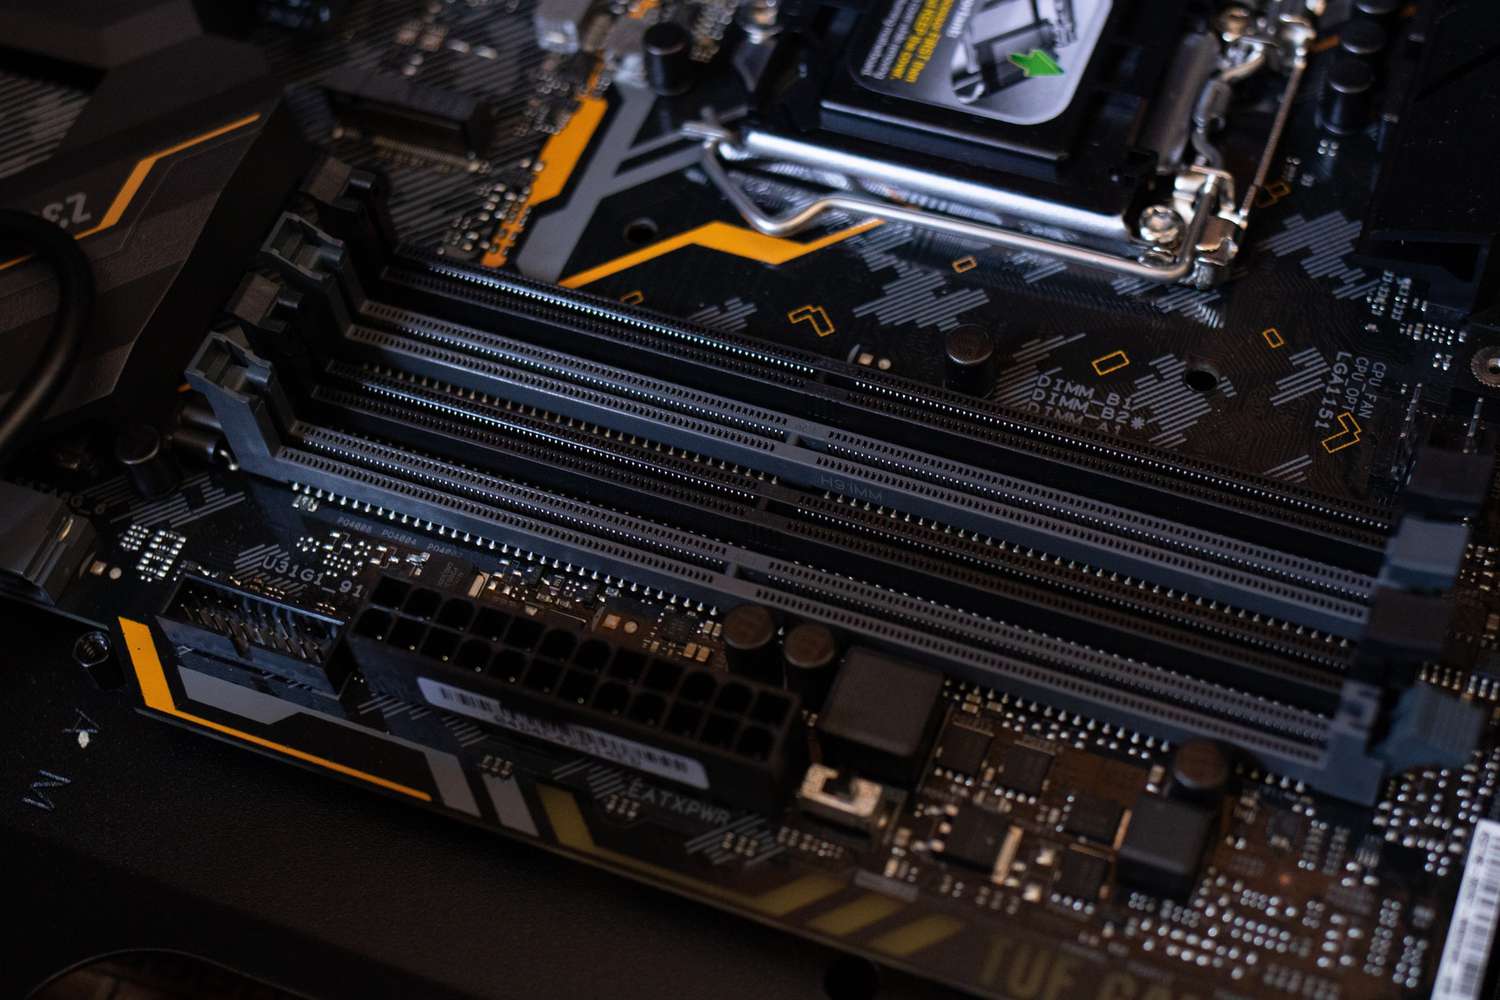
Now that we understand what RAM is, let’s explore the RAM slots on a motherboard. These slots are specifically designed to accommodate the RAM modules and provide a connection between the RAM and the rest of the computer system.
The number and type of RAM slots on a motherboard vary depending on the motherboard’s form factor and chipset. Common motherboard form factors include ATX, Micro-ATX, and Mini-ITX, each with its own layout and number of RAM slots.
Typically, modern desktop motherboards have four RAM slots, while some mini-ITX boards may only have two slots due to space constraints. It’s essential to check your motherboard specifications to determine the number of RAM slots available.
The RAM slots are usually color-coded to indicate how they should be populated for optimal performance. Some motherboards may have two slots of the same color next to each other, followed by another two slots of a different color. This color scheme is often used to denote the dual-channel memory configuration, which we will discuss in detail later.
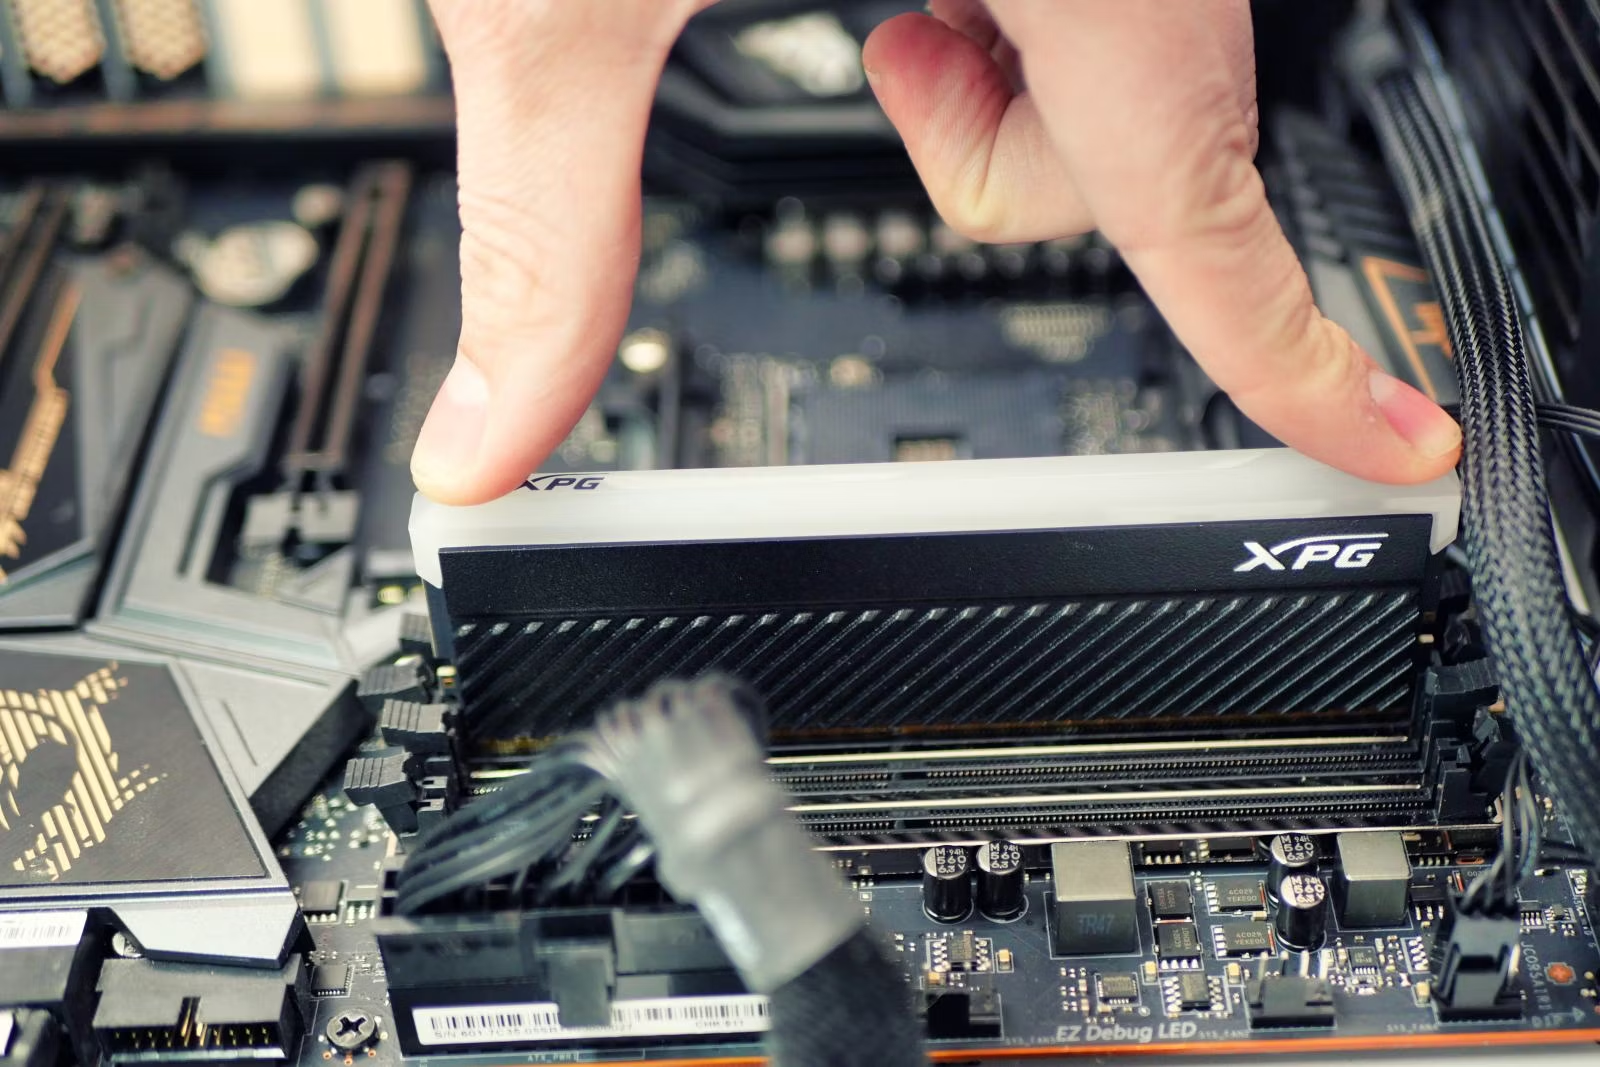
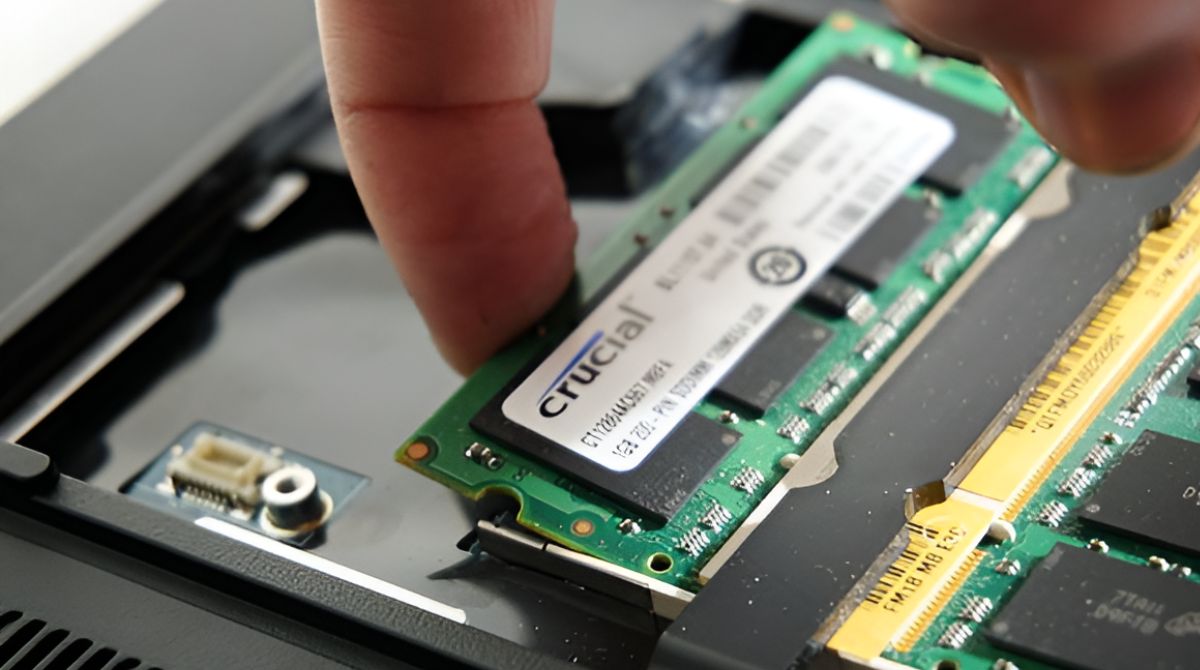
When installing RAM, you need to ensure that you align the notches on the module with the keys in the slot. This ensures that the RAM module is properly oriented and can be securely inserted into the slot. Applying gentle pressure evenly on both sides of the module will allow it to snap into place.
It’s important to note that not all RAM slots may be populated. Depending on your needs and budget, you can choose to install one or more RAM modules. However, for the best performance, it is generally recommended to have matching pairs of RAM modules in the appropriate slots.
In the next section, we will discuss the placement of RAM on a motherboard and the importance of proper installation for optimal performance.
“
Placement of RAM on a Motherboard
Now that we know the number and location of the RAM slots on a motherboard, let’s discuss the proper placement of RAM modules. Correct installation is crucial for optimal performance and compatibility with your computer system.
The first step in placing RAM on a motherboard is to ensure that the motherboard is powered off and disconnected from any power source. This will prevent any electrical damage that could occur during the installation process.
Once you have identified the RAM slots, take note of the slot configuration based on the motherboard’s color-coding or numbering system. Most motherboards follow a sequential numbering pattern, starting from slot 1 closest to the CPU socket.
If you’re installing a single RAM module, refer to your motherboard’s manual to determine the optimal slot. This is usually indicated as slot 1 or a specific color-coded slot. Placing the RAM module in any other slot may result in suboptimal performance or even failure to boot.
If you’re installing two RAM modules, the most common configuration is to populate slots 1 and 3 or slots 2 and 4, depending on the motherboard. This takes advantage of the dual-channel memory architecture and allows for increased memory bandwidth and improved system performance.
Be sure to refer to your motherboard’s manual to confirm the recommended slot configuration for dual-channel operation. Placing the modules in incorrect slots may disable the dual-channel functionality or cause compatibility issues.
When aligning the RAM module with the slot, ensure that the notches on the module align with the keys in the slot. Apply gentle pressure on both sides of the module and push it evenly until it clicks into place. Double-check that the module is fully seated and secure in the slot.
Once the RAM module is installed, you can proceed to install any additional modules in the designated slots, following the same guidelines for alignment and seating.
It’s important to note that some motherboards may require certain slots to be populated first, especially when using different RAM capacities or speeds. Again, consult your motherboard’s manual for any specific guidelines related to RAM placement.
In the next section, we will explore dual-channel memory and its impact on system performance.
Understanding Dual-Channel Memory
When it comes to RAM installation, you may have come across the term “dual-channel memory.” Dual-channel memory is a memory configuration that takes advantage of two memory channels to enhance memory performance.
In a dual-channel memory configuration, the RAM modules are installed in pairs, typically in slots 1 and 3 or slots 2 and 4 on the motherboard. This configuration allows for simultaneous data access and improves memory bandwidth, resulting in increased system performance.
When data is processed, the memory controller in the CPU can fetch data from both memory channels simultaneously, effectively doubling the memory bandwidth compared to a single-channel configuration. This leads to faster data transfer rates, better multitasking capabilities, and improved overall system responsiveness.
It’s essential to follow the motherboard’s manual guidelines for dual-channel memory configuration. Placing the RAM modules in incorrect slots may disable the dual-channel functionality or result in suboptimal performance.
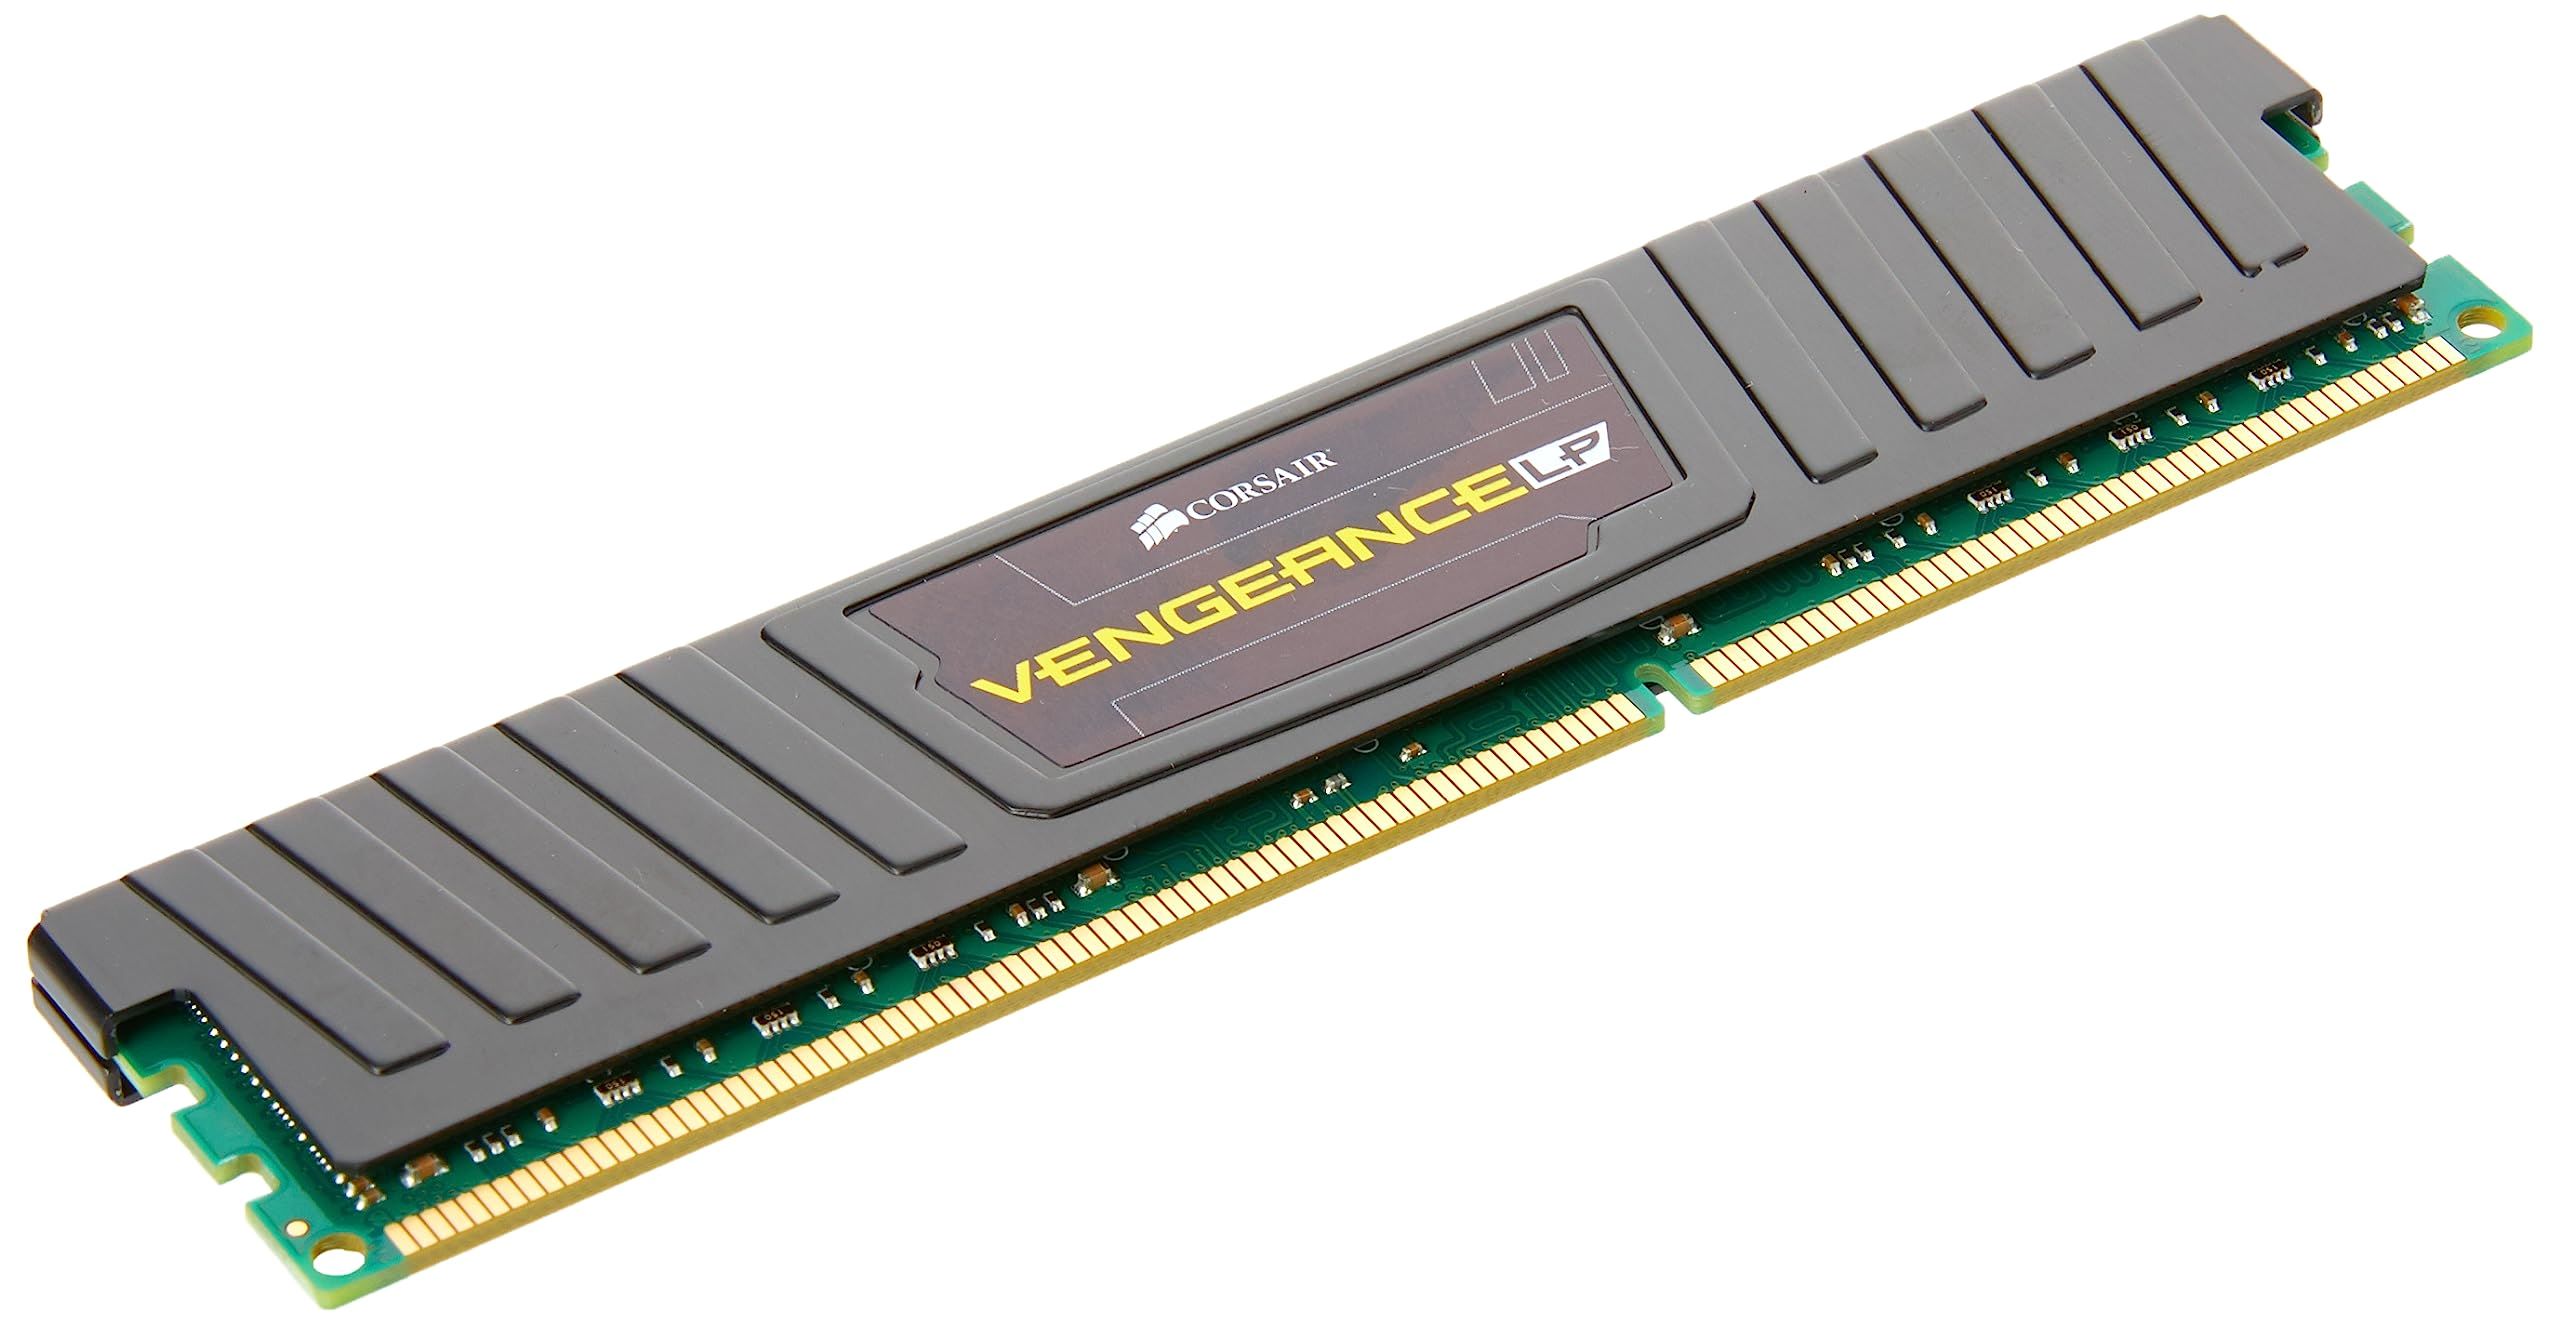
It’s worth noting that to take advantage of the dual-channel memory configuration, the RAM modules must have the same capacity, speed, and timings. Mixing different RAM modules may result in the system defaulting to single-channel mode or encountering compatibility issues. Therefore, it’s recommended to use identical RAM modules when possible.
It’s important to mention that the benefits of dual-channel memory are most noticeable in certain applications that rely heavily on memory bandwidth, such as gaming, video editing, and 3D rendering. In general day-to-day computing tasks, the performance difference between dual-channel and single-channel memory may not be as significant.
Before installing RAM in a dual-channel configuration, it’s crucial to check the motherboard’s manual and verify the recommended slots for dual-channel operation. By following these guidelines and utilizing dual-channel memory, you can maximize your system’s performance and ensure an efficient computing experience.
In the next section, we will discuss troubleshooting tips for RAM installation to help you overcome common issues.
Troubleshooting RAM Installation
RAM installation is usually a straightforward process, but sometimes issues can arise. If you’re experiencing problems after installing RAM, here are a few troubleshooting tips to help you identify and resolve the issue:
1. Check compatibility: Ensure that the RAM modules are compatible with your motherboard. Check the specifications of both the RAM and the motherboard to ensure they are a match. Incorrectly matched components can lead to compatibility issues and system instability.
2. Verify proper seating: Make sure the RAM modules are securely seated in the slots. Sometimes, improper installation can cause connection problems. Gently push down on the modules to ensure they are fully inserted and latched into place.
3. Test individual modules: If you’ve installed multiple RAM modules, try testing each module individually. This can help identify if a specific module is causing the issue. Remove all but one module and power on your computer to see if it boots successfully. Repeat this process for each module.
4. Check for bent pins: Inspect the RAM slots on the motherboard for any bent or damaged pins. Bent pins can prevent proper contact between the RAM module and the slot, resulting in errors or failed boot attempts. If you notice any bent pins, try gently straightening them with a small, non-conductive tool.
5. Update BIOS: In some cases, updating the motherboard’s BIOS can resolve compatibility issues. Visit the manufacturer’s website and download the latest BIOS version for your specific motherboard model. Follow the provided instructions for updating the BIOS carefully.
6. Clear CMOS: Resetting the CMOS (Complementary Metal-Oxide-Semiconductor) can also help resolve RAM-related issues. Consult your motherboard’s manual to locate the CMOS reset jumper or button. Follow the instructions to clear the CMOS, and then try booting your computer again.
7. Seek professional help: If you’ve followed all the troubleshooting steps and are still experiencing issues, it may be best to consult a professional technician. They can provide in-depth diagnostics and assistance to resolve the problem.
Remember, proper installation and matching components are crucial for successful RAM installation. By following these troubleshooting tips, you’ll be well-equipped to identify and resolve common issues related to RAM installation.
In the next section, we will summarize the key points discussed in this article.
Conclusion
Understanding where RAM goes on a motherboard is essential for anyone building or upgrading a computer. RAM plays a vital role in system performance by providing temporary storage for data that the processor needs to access quickly. By installing RAM correctly and taking advantage of dual-channel memory, you can enhance your computer’s multitasking capabilities and overall responsiveness.
We explored the different RAM slots on a motherboard and discussed the importance of proper placement for optimal performance. Color-coding or numbering schemes help identify the recommended slots for RAM installation. Dual-channel memory, achieved through installing RAM modules in pairs, improves memory bandwidth and system performance.
If you encounter issues during RAM installation, troubleshooting steps such as checking compatibility, verifying proper seating, and testing individual modules can help identify and resolve the problem. Updating the motherboard’s BIOS and clearing the CMOS may also be necessary in certain situations.
As you continue your journey into the world of computer hardware, remember to consult your motherboard’s manual and follow the manufacturer’s guidelines for RAM installation. Additionally, ensure that your RAM modules are compatible with your motherboard to avoid any compatibility issues.
By understanding the placement of RAM on a motherboard and following proper installation procedures, you can optimize your computer’s performance and enjoy a smoother and more efficient computing experience.