Introduction
Welcome to the world of 3D printing, where the possibilities are endless and innovation knows no bounds. As the technology continues to advance, new techniques and processes are constantly being developed to improve the quality and aesthetics of 3D printed objects. One such technique that has gained attention in recent times is surface ironing.
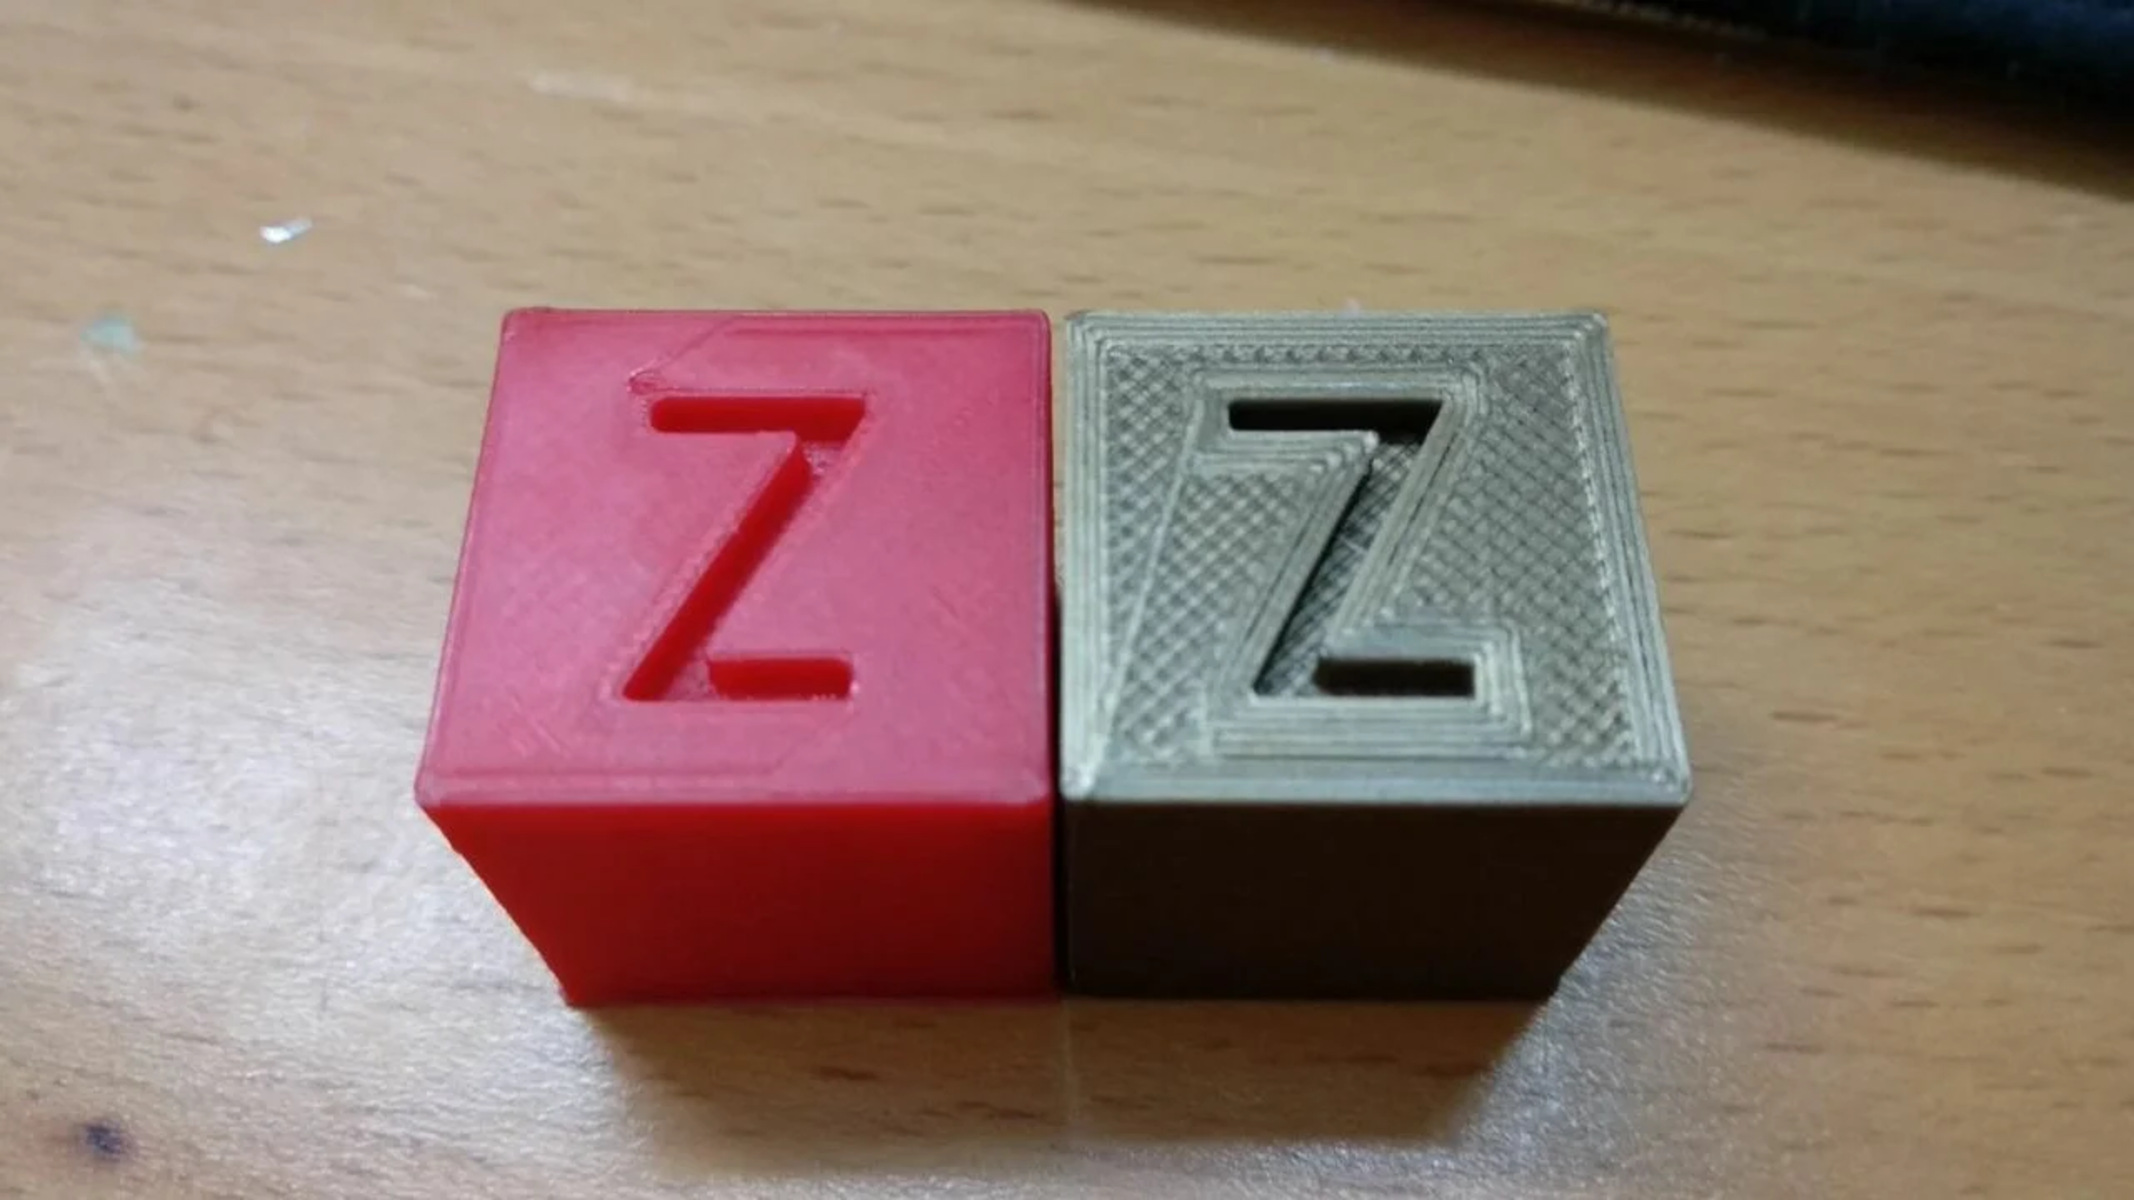
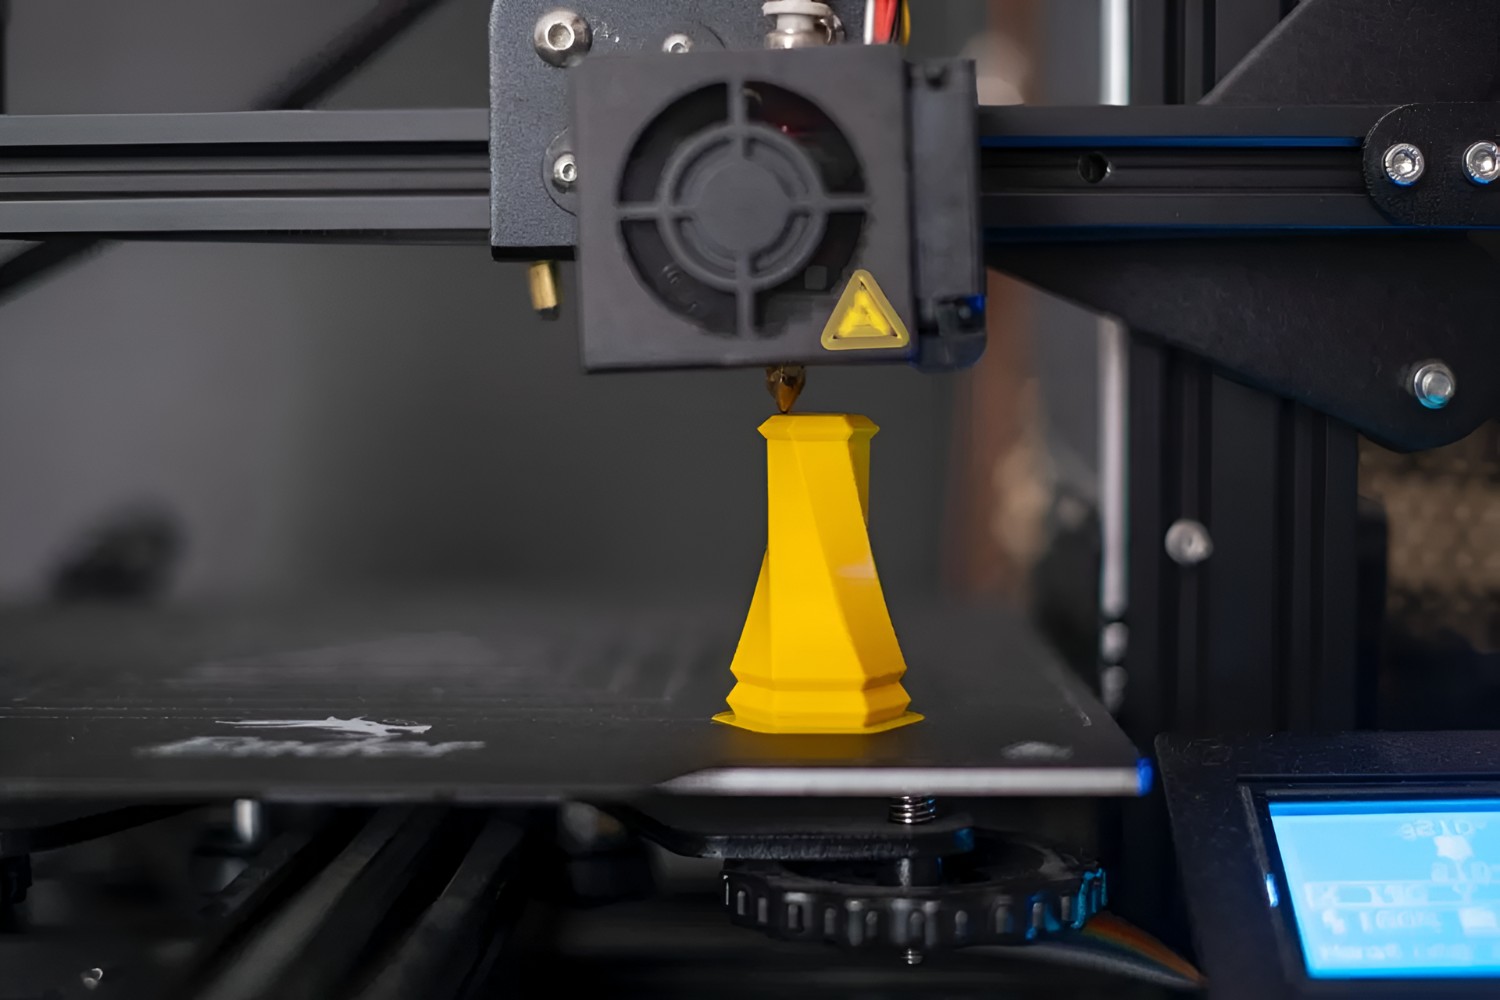
Surface ironing is a post-processing technique that aims to enhance the surface finish of 3D printed objects. It involves applying heat and pressure to the outer layers of the printed part, resulting in a smoother and more polished appearance. This technique is especially useful for removing the layer lines that are typically visible on 3D printed objects, giving them a more refined and professional look.
With surface ironing, the possibilities for creating high-quality, detailed prints are greatly enhanced. Whether you’re printing functional objects or artistic designs, surface ironing can add that extra touch of perfection that sets your creations apart.
In this article, we will delve deeper into the world of surface ironing, exploring how it works, its benefits, challenges, and tips for successful implementation. So, let’s jump right in and discover the art of surface ironing in 3D printing!
What Is Surface Ironing?
Surface ironing is a technique used in 3D printing to improve the surface quality of printed objects. It is a post-processing step that involves applying heat and pressure to the outer layers of the printed part, resulting in a smoother and more refined appearance. The process essentially melts and fuses the outer layers, obliterating the visible layer lines that are common in 3D printed objects.
Unlike traditional smoothing techniques such as sanding or chemical treatments, surface ironing is a non-abrasive method that preserves the intricate details and fine features of the 3D printed object. This makes it particularly suitable for objects with complex geometries or delicate designs.
The process of surface ironing typically involves using a heated object, such as a soldering iron or a heat gun, to carefully and evenly heat the surface of the 3D printed object. The heat softens the outer layers, allowing them to be smoothed out with light pressure. As the heat is applied and the material cools down, the surface solidifies and becomes smoother, resulting in a refined finish.
It is important to note that surface ironing is not a one-size-fits-all solution and may not be suitable for all types of materials or prints. It is primarily effective on materials like PLA and ABS, which are widely used in FDM (Fused Deposition Modeling) 3D printers. The success of surface ironing also depends on various factors such as the layer height, print speed, and initial print quality.
Now that we have a clear understanding of what surface ironing is, let’s explore how it works and the benefits it offers in the realm of 3D printing.
How Does Surface Ironing Work?
The process of surface ironing in 3D printing involves two main components: heat and pressure. By applying heat to the outer layers of a 3D printed object and applying light pressure, the layers are essentially fused together, resulting in a smoother surface finish.
To begin the surface ironing process, a heated object, such as a soldering iron or a heat gun, is used to carefully and evenly heat the surface of the 3D printed object. The temperature at which the heat is applied may vary depending on the material and the specific printer settings used for the initial print. It is crucial to monitor the temperature to avoid damaging the object or causing it to deform.
As heat is applied to the outer layers, the material starts to soften and becomes malleable. This allows for the removal of visible layer lines and imperfections. It is essential to apply light and consistent pressure during this process to ensure an even and smooth surface finish. The pressure helps to spread the softened material, ensuring that any gaps or inconsistencies are filled in, resulting in a more polished appearance.
It’s important to note that while surface ironing can improve the surface finish of a 3D printed object, it does not alter the internal structure or strength of the object. The process only affects the outer layers and helps to smoothen their appearance.
The success of surface ironing relies on various factors, including the material being used, the quality of the initial print, and the specific settings during the ironing process. Different materials may require different temperatures and pressures to achieve optimal results. Experimentation and testing may be necessary to find the right combination that works best for a particular material and desired surface finish.
Overall, surface ironing is a technique that adds an extra level of refinement to 3D printed objects. By applying heat and pressure, the layer lines and imperfections that are often visible on the surface of the print can be smoothed out, resulting in a more professional and aesthetically pleasing finish.
Now that we understand how surface ironing works, let’s explore the benefits it offers in the realm of 3D printing.
Benefits of Surface Ironing in 3D Printing
Surface ironing in 3D printing offers several key benefits that enhance the overall quality and aesthetics of printed objects. Let’s explore some of these benefits:
1. Improved Surface Finish: The primary advantage of surface ironing is the significant improvement in the surface finish of 3D printed objects. By removing layer lines and imperfections, surface ironing creates a polished and professional appearance, giving the object a higher quality look.
2. Enhanced Detail and Clarity: Surface ironing allows for the preservation of intricate details and fine features in a 3D printed object. It smooths out any rough surfaces and ensures that the details are visible and well-defined, making the object visually appealing.
3. Reduction of Post-Processing Efforts: With surface ironing, the need for additional post-processing, such as sanding or chemical treatments, is minimized. The process effectively smooths the surface of the print, reducing the amount of time and effort required for post-processing procedures.
4. Shortened Printing Time: Surface ironing can help to improve print time by reducing the number of layers required to achieve a desired level of surface quality. By smoothing out the existing layers, the need for additional layers to cover imperfections is minimized, resulting in shorter overall print time.
5. Increased Print Versatility: With surface ironing, 3D printed objects can be produced with a wider range of materials and in more complex designs. The smoothing effect of surface ironing helps maintain the integrity of the object, allowing for greater flexibility in the selection of materials and design options.
6. Professional and Aesthetically Pleasing Results: Surface ironing provides a polished and refined finish to 3D printed objects, giving them a professional look. Whether it’s functional prototypes, artistic designs, or consumer products, surface ironing elevates the overall aesthetics of the print and enhances its appeal.
It is important to note that while surface ironing offers many benefits, it may not be suitable for all types of objects or materials. The level of success achieved with surface ironing may vary depending on factors such as the print settings, material properties, and desired finish.
In the next section, we will explore some of the challenges associated with surface ironing in 3D printing and provide tips for successful implementation.
Challenges of Surface Ironing in 3D Printing
While surface ironing in 3D printing offers significant benefits in improving the surface quality of printed objects, there are a few challenges that need to be considered. Let’s explore some of the challenges associated with surface ironing:
1. Material Compatibility: Surface ironing is most effective on certain materials like PLA and ABS, which are commonly used in FDM (Fused Deposition Modeling) printers. Different materials may react differently to heat, requiring adjustments to the temperature and pressure used during the ironing process. It is essential to test the compatibility of the material with surface ironing before applying it to a large-scale project.
2. Print Quality Dependencies: The success of surface ironing relies on the quality of the initial 3D printed object. If the object has significant flaws, such as warping or poor layer adhesion, surface ironing may not be able to completely eliminate those imperfections. It is crucial to ensure a high-quality print before attempting surface ironing for optimal results.
3. Temperature Control: Controlling the temperature during the surface ironing process is essential to avoid damaging the object or causing it to deform. Different materials have different heat tolerances, so it is important to monitor and maintain the appropriate temperature throughout the ironing process to achieve the desired effect without compromising the integrity of the object.
4. Surface Consistency: Achieving a consistent surface finish across the entire object can be challenging. Uneven pressure or inconsistent heating may result in variations in the smoothness of different areas. Careful attention should be given to ensure even pressure distribution and consistent heat application to achieve a uniform surface finish.
5. Time and Effort: Surface ironing can be a time-consuming process, especially for larger or complex objects. The amount of time and effort required to achieve a desired surface quality can vary depending on the size and complexity of the print. It is important to consider the trade-off between the time invested in surface ironing and the desired level of finish.
Despite these challenges, with careful consideration and experimentation, surface ironing can be a valuable technique for enhancing the surface quality of 3D printed objects. In the next section, we will provide some tips for successful implementation of surface ironing in 3D printing.
Tips for Successful Surface Ironing
Surface ironing in 3D printing can yield exceptional results when done properly. Here are some tips to ensure successful implementation of surface ironing:
1. Temperature Control: Pay close attention to the temperature at which the surface ironing is performed. Different materials have different heat tolerances, so it is crucial to find the optimal temperature for the material being used. Start with a lower temperature and gradually increase it as needed, while ensuring that the material does not melt or deform.
2. Test on Small Areas: Before applying surface ironing to the entire printed object, it is recommended to test the technique on a small, inconspicuous area. This will help determine the best temperature and pressure settings for achieving the desired surface finish without risking damage to the entire object.
3. Consistent Pressure: Apply even and consistent pressure during the surface ironing process to achieve a uniform surface finish. Uneven pressure can result in inconsistencies in the smoothness of the surface. Make sure to maintain a steady and controlled pressure throughout the ironing process.
4. Start with a High-Quality Print: Surface ironing works best on prints that have been executed with a high level of precision. Prioritize achieving a high-quality print before implementing surface ironing to ensure optimal results. Address any issues, such as layer adhesion or warping, before proceeding with the ironing process.
5. Post-Process if Necessary: Surface ironing can significantly improve the appearance of a 3D printed object, but it may not completely eliminate imperfections. If needed, consider additional post-processing techniques, such as sanding or painting, to further enhance the surface finish and achieve the desired result.
6. Experiment and Iterate: Surface ironing may require some trial and error to find the optimal settings for different materials, print settings, and desired surface finishes. Experiment with different temperature and pressure settings, and iterate to achieve the best possible results. Keep notes of the successful settings for future reference.
7. Practice Patience: Surface ironing can be a time-consuming process, especially for larger or complex objects. It requires patience and attention to detail to achieve the desired surface finish. Take your time and be mindful of the process to ensure the best results.
By following these tips, you can maximize the effectiveness of surface ironing and achieve a smooth and polished surface finish for your 3D printed objects.
In the next section, we will explore some real-world examples of surface ironing in 3D printing.
Examples of Surface Ironing in 3D Printing
Surface ironing has been widely adopted in the world of 3D printing, and its potential for enhancing the surface finish of printed objects is evident. Let’s explore a few examples of how surface ironing has been used in various applications:
1. Functional Prototypes: Surface ironing is commonly used to improve the appearance and functionality of functional prototypes. By smoothing out the surface of a prototype, surface ironing helps to create a polished and professional look, making it easier to evaluate the design and functionality of the printed object.
2. Artistic Designs: Artists and designers have embraced surface ironing to enhance the visual appeal of their 3D printed creations. It allows for the creation of sleek and smooth surfaces that showcase intricate details and fine features of artistic designs, resulting in visually stunning and aesthetically pleasing objects.
3. Consumer Products: Surface ironing is employed in the production of consumer products to achieve a high-quality finish. By eliminating layer lines and imperfections, it enhances the overall look and feel of the product, making it more appealing and marketable to consumers.
4. Jewelry and Accessories: Surface ironing is particularly well-suited for producing intricate and detailed jewelry and accessories. It helps to smooth out the surface of these small objects, ensuring that the fine details and textures are accurately represented, resulting in beautiful and refined finished pieces.
5. Architectural Models: Surface ironing finds its application in the production of architectural models, allowing for a clean and polished representation of intricate building designs. It helps to achieve a high level of detail and accuracy in the surface finish, making the models more visually appealing and realistic.
6. Educational Tools: Surface ironing can be utilized in educational settings to enhance the visual quality of 3D printed objects used for teaching purposes. Whether it’s anatomical models or historical artifacts, surface ironing ensures a smooth surface finish that aids in the understanding and appreciation of these educational tools.
These examples demonstrate the versatility and effectiveness of surface ironing in various applications within the realm of 3D printing. By implementing this technique, creators and manufacturers can elevate the quality and appearance of their printed objects, opening up new possibilities for innovative designs and improved user experiences.
Now that we have explored some examples, let’s conclude our exploration of surface ironing in 3D printing in the next section.
Conclusion
Surface ironing is a valuable post-processing technique in the world of 3D printing that offers numerous benefits. Through the application of heat and pressure, surface ironing can significantly improve the surface finish of 3D printed objects, resulting in a polished and professional appearance. By removing layer lines and imperfections, surface ironing enables the creation of high-quality prints with enhanced detail and clarity.
While surface ironing presents its challenges, such as material compatibility and temperature control, these can be overcome with careful consideration and experimentation. By following tips for successful implementation, such as maintaining consistent pressure and starting with a high-quality print, the desired surface finish can be achieved.
Surface ironing finds applications in various areas, from functional prototypes and artistic designs to consumer products and architectural models. It enhances the visual appeal of 3D printed objects, making them more marketable and aesthetically pleasing. Moreover, it reduces the need for additional post-processing techniques, thereby saving time and effort.
As technology continues to advance, surface ironing will likely evolve to become even more efficient and versatile. New materials and improved techniques will further enhance the quality and range of objects that can benefit from surface ironing.
Overall, surface ironing is a powerful tool in the hands of 3D printing enthusiasts and professionals. It offers the opportunity to elevate the quality of prints, unlock new design possibilities, and produce visually stunning objects. By understanding the process, addressing the challenges, and implementing best practices, creators can leverage the benefits of surface ironing to create exceptional 3D printed objects.


