Introduction
Are you a gaming enthusiast looking to elevate your gaming experience to the next level? Perhaps you've been searching for a gaming mouse that perfectly fits your hand and gaming style, but haven't found the ideal match. What if you could create your own custom gaming mouse, tailored to your unique preferences and specifications? In this comprehensive guide, we'll walk you through the step-by-step process of crafting your very own gaming mouse from scratch.
Designing and assembling your own gaming mouse not only allows you to unleash your creativity, but also enables you to customize the ergonomics, button layout, and aesthetic features to suit your individual needs. Whether you're a casual gamer or a competitive esports player, having a mouse that feels like a natural extension of your hand can significantly enhance your performance and overall gaming experience.
By following the detailed instructions in this guide, you'll learn how to gather the necessary materials, disassemble an existing mouse, design a custom shell using 3D modeling software, 3D print the shell, and assemble your personalized gaming mouse. Additionally, we'll explore how to customize the mouse buttons and LEDs to add a personalized touch to your creation.
Embark on this exciting DIY journey and unlock the potential to create a gaming mouse that not only meets your functional requirements but also reflects your unique style and personality. Let's dive into the step-by-step process of bringing your custom gaming mouse to life.
Step 1: Gather Your Materials
Before diving into the process of creating your custom gaming mouse, it’s essential to gather all the necessary materials and tools. Here’s a comprehensive list of items you’ll need to embark on this exciting DIY project:
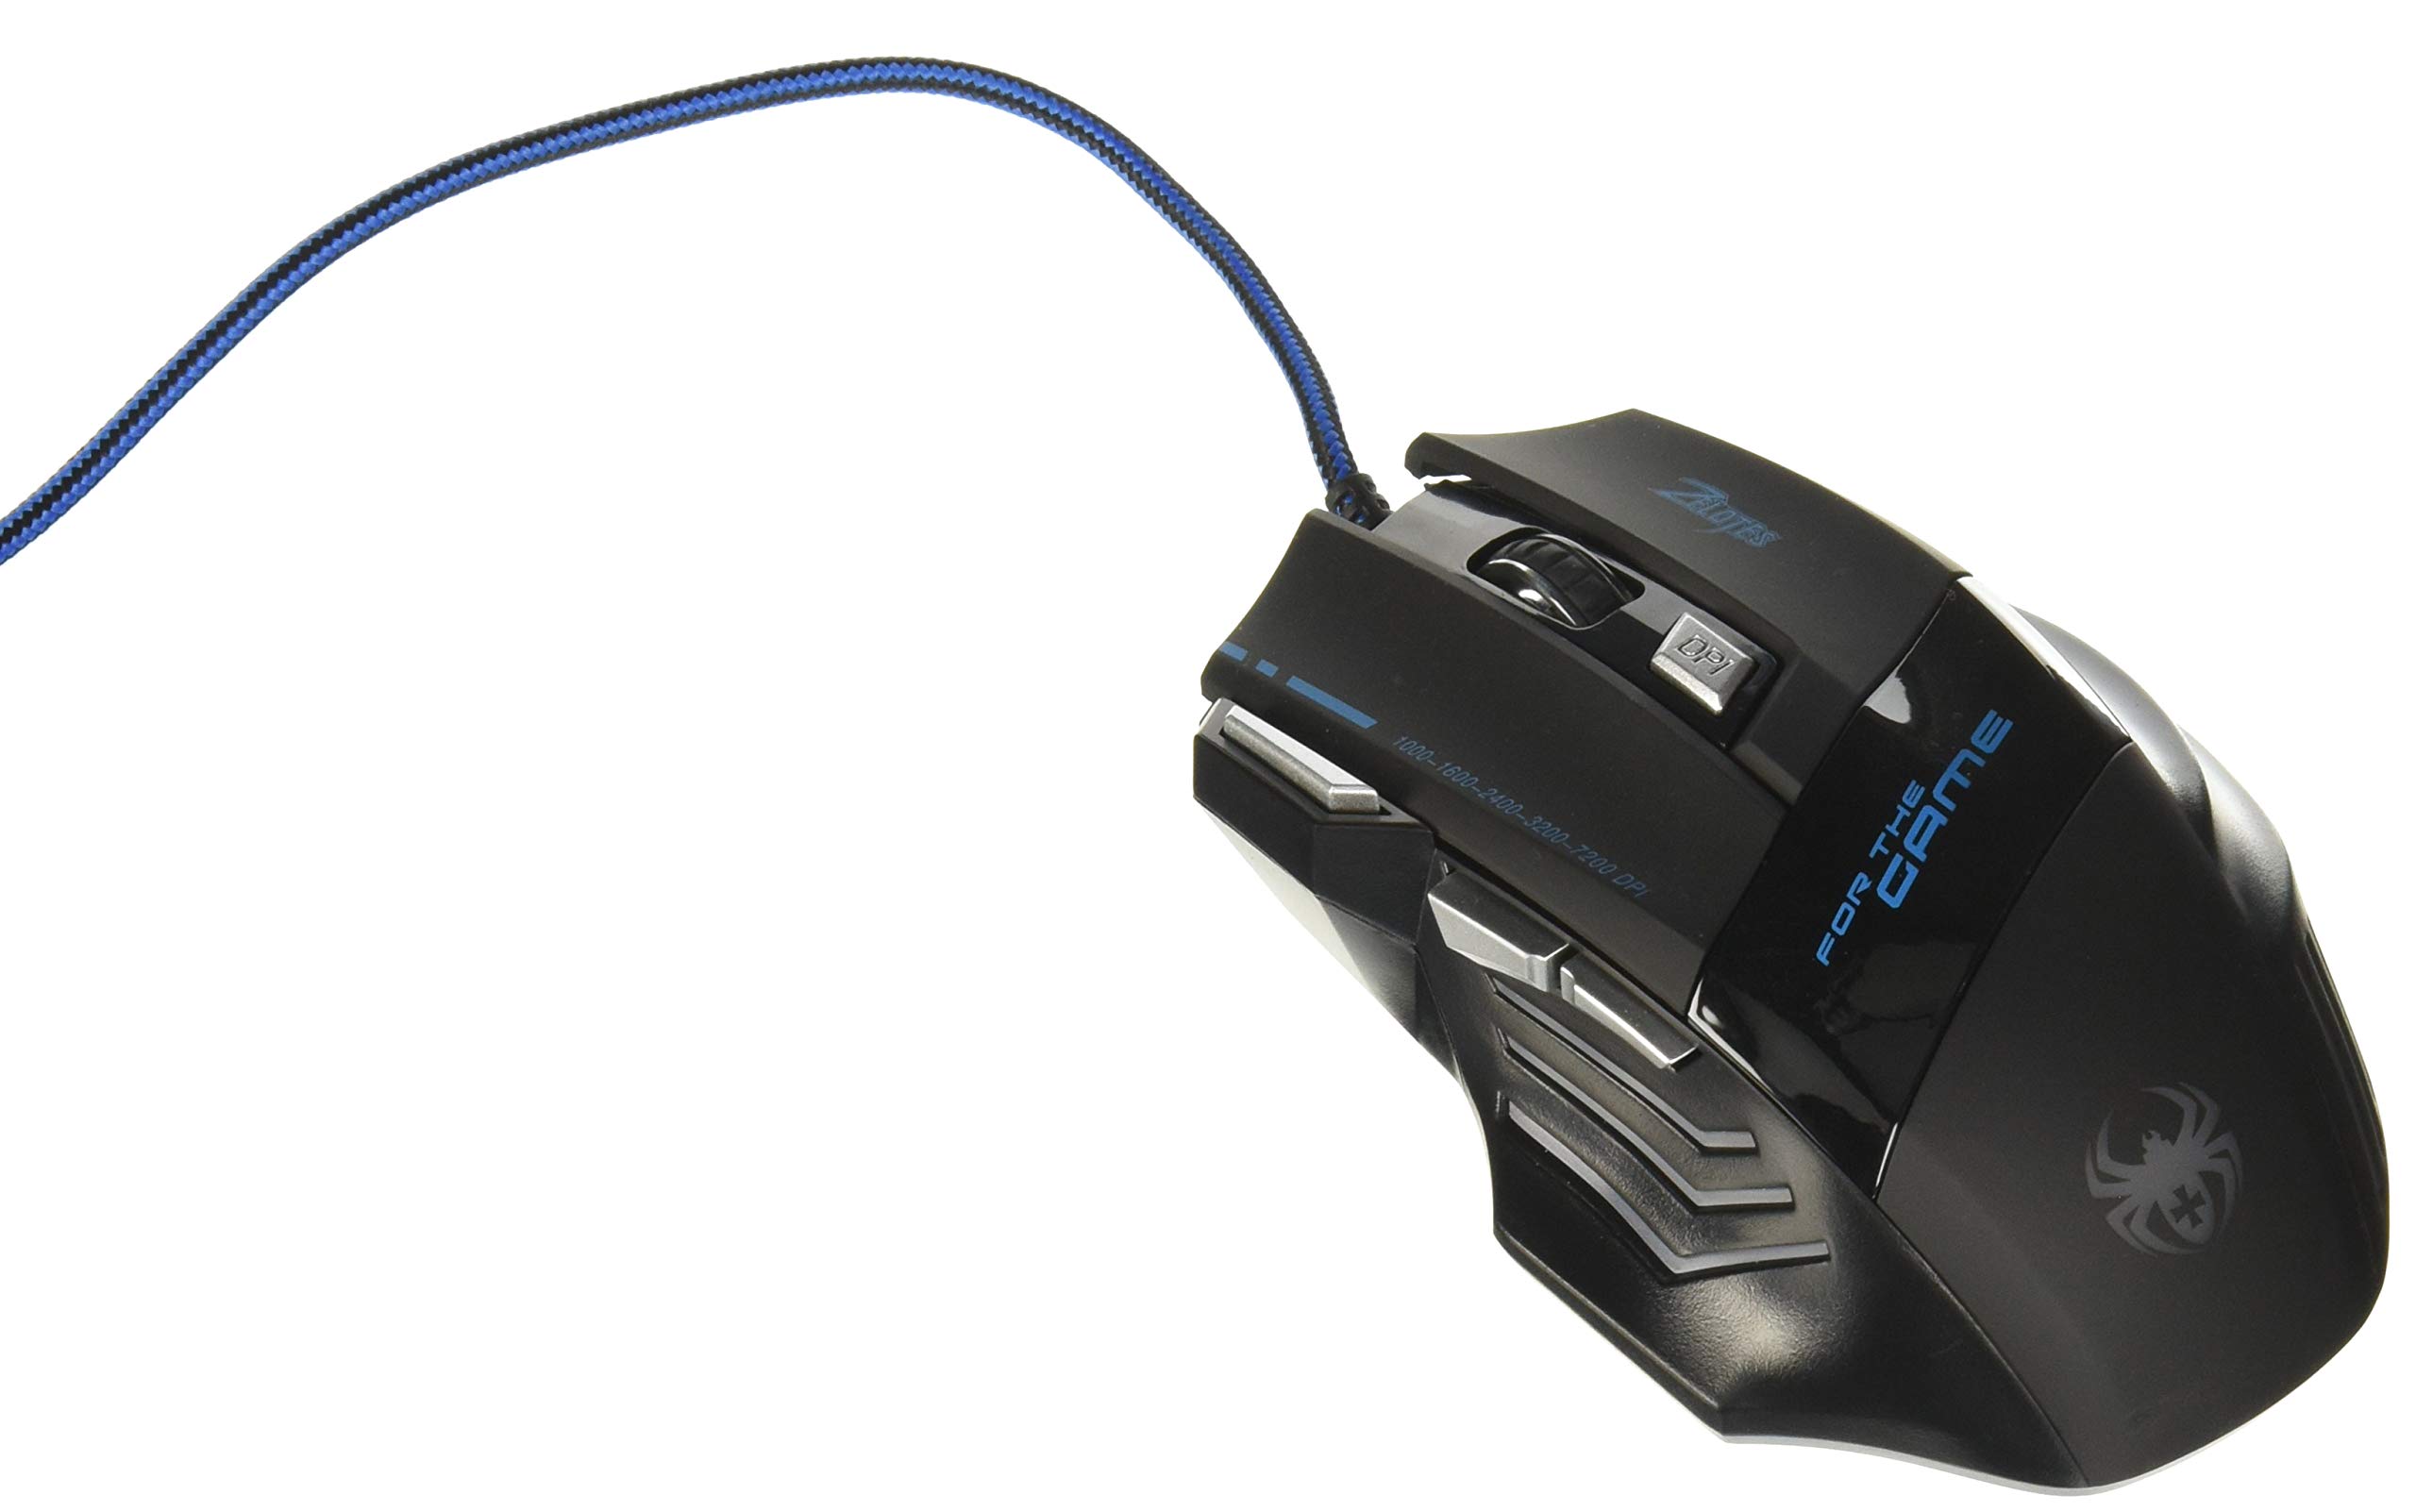
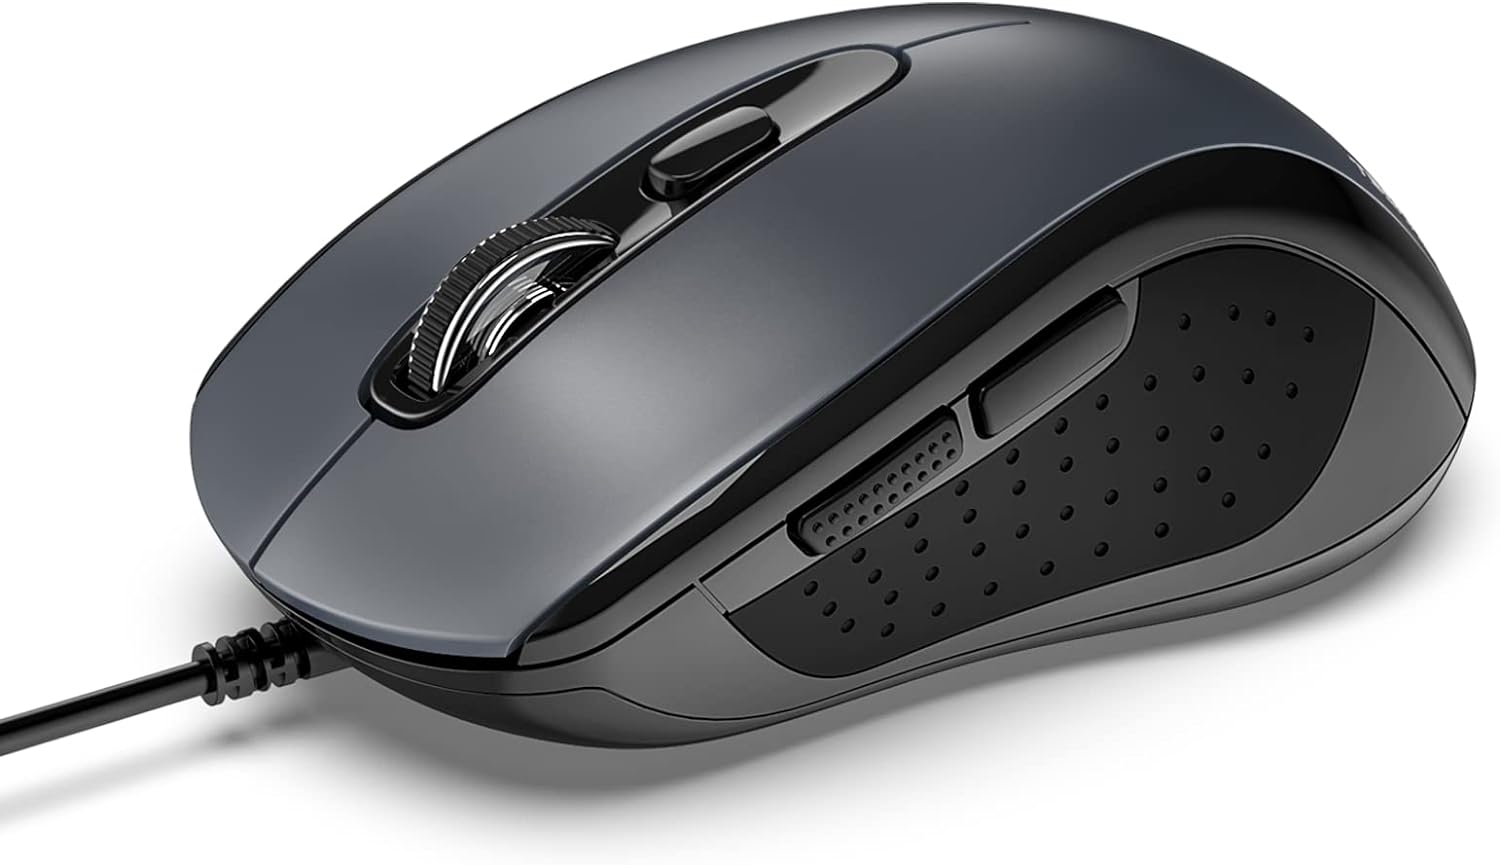
- Existing Mouse: Start with a basic wired or wireless mouse that you’re comfortable disassembling. This will serve as the foundation for your custom gaming mouse.
- 3D Modeling Software: Utilize software such as Blender, AutoCAD, or SolidWorks to design the custom shell for your gaming mouse.
- 3D Printer: Access to a 3D printer is crucial for transforming your digital design into a physical shell. If you don’t own a 3D printer, consider using a local makerspace or 3D printing service.
- Filament: If you’re using a 3D printer, you’ll need the appropriate filament, such as PLA or ABS, to print the custom shell.
- Screwdriver Set: A precision screwdriver set will be essential for disassembling the existing mouse and assembling the custom components.
- Soldering Iron and Solder: If you plan to customize the mouse buttons or LEDs, a soldering iron and solder will be necessary for the electrical modifications.
- Microcontroller (Optional): Depending on the extent of customization, you may require a microcontroller, such as an Arduino, for advanced button and LED customization.
- LEDs and Resistors: If you’re adding LED lighting to your custom mouse, gather the appropriate LEDs and resistors to integrate them seamlessly.
- Additional Buttons (Optional): For those interested in modifying the button layout, obtaining additional buttons compatible with the existing mouse is recommended.
By ensuring you have all the necessary materials at your disposal, you’ll be well-prepared to progress through the subsequent steps with confidence. Now that you’ve gathered your materials, let’s move on to the exciting process of disassembling an existing mouse to lay the foundation for your custom creation.
Step 2: Disassemble an Existing Mouse
Now that you’ve gathered all the essential materials, it’s time to begin the hands-on phase of creating your custom gaming mouse. The first step involves disassembling an existing mouse to access its internal components and prepare the foundation for your customization efforts.
Begin by carefully examining the existing mouse and identifying the screws and clips that hold it together. Using the appropriate screwdriver from your set, carefully remove the screws and gently pry open the mouse shell, taking care not to damage any internal components.
Once the mouse is disassembled, you’ll be able to access the circuit board, switches, scroll wheel, and other internal components. Take note of the layout and positioning of these elements, as this will inform the design of your custom shell and the placement of the components within it.
As you disassemble the mouse, pay close attention to the following components:
- Circuit Board: The central component that houses the mouse’s electronic circuitry and sensors.
- Switches: These are the click buttons and side buttons that register your input when pressed.
- Scroll Wheel: The mechanism responsible for scrolling and often includes a button function when pressed.
- LEDs (if applicable): Some mice feature LEDs for illumination or aesthetic purposes. Take note of their placement if you plan to incorporate LEDs into your custom design.
By familiarizing yourself with the internal components of the mouse, you’ll gain valuable insights that will guide the design and customization of your custom shell. Take this opportunity to envision how you want your custom gaming mouse to look and feel, as this will influence the next steps in the creation process.
With the existing mouse disassembled and its components laid bare, you’re now ready to move on to the exciting phase of designing your custom shell using 3D modeling software. This pivotal step will set the stage for the transformation of your digital design into a physical reality through 3D printing.
Step 3: Design Your Custom Shell
With the existing mouse disassembled and its internal components at your disposal, it’s time to unleash your creativity by designing a custom shell that will encapsulate the functionality and aesthetics of your personalized gaming mouse. This step involves utilizing 3D modeling software to craft a digital representation of the shell, taking into account the placement of internal components, ergonomics, and visual appeal.
Start by launching your preferred 3D modeling software, such as Blender, AutoCAD, or SolidWorks. Familiarize yourself with the basic tools and functions of the software if you’re new to 3D modeling. Begin the design process by importing the dimensions of the existing mouse and using them as a reference for creating the initial shape of the custom shell.
Consider the following aspects as you design your custom shell:
- Ergonomics: Ensure that the shape and contours of the shell provide a comfortable and natural grip, taking into account the size of your hand and your preferred grip style (palm, claw, fingertip).
- Component Placement: Strategically position areas for the circuit board, switches, scroll wheel, and any additional components you plan to incorporate, aligning them with the design for optimal functionality and aesthetics.
- Aesthetic Features: Explore the creative potential of the shell by adding unique design elements, textures, and contours that reflect your personal style and enhance the visual appeal of the gaming mouse.
- Customization Options: If you intend to include additional buttons or LED lighting, design the shell to accommodate these features seamlessly, ensuring they integrate harmoniously with the overall design.
As you immerse yourself in the design process, leverage the software’s tools to refine the shape, add details, and visualize the shell from different angles. Take the time to iterate on the design, incorporating feedback from your own ergonomic preferences and aesthetic vision.
Once you’re satisfied with the digital representation of your custom shell, you’re ready to proceed to the next step: transforming your design into a physical reality through the power of 3D printing. The transition from digital design to a tangible, functional shell marks a significant milestone in the creation of your custom gaming mouse.
Step 4: 3D Print Your Shell
Having meticulously designed your custom shell using 3D modeling software, it’s time to embark on the transformative process of bringing your digital design to life through 3D printing. This step marks the transition from the virtual realm to the physical realm, where your personalized gaming mouse begins to take shape as a tangible object.
Before initiating the 3D printing process, ensure that you have access to a 3D printer capable of producing the shell with the desired material and level of precision. If you don’t own a 3D printer, consider utilizing a local makerspace or 3D printing service to bring your design to fruition.
When preparing your design for 3D printing, consider the following key factors:
- Material Selection: Choose a suitable filament material, such as PLA or ABS, based on your preferences for durability, flexibility, and surface finish.
- Layer Height and Infill: Adjust the layer height and infill settings to achieve the desired level of detail and structural integrity in the printed shell.
- Support Structures: If your design includes overhangs or intricate features, ensure that support structures are generated to maintain the integrity of the print during the printing process.
- Print Quality: Prioritize print quality settings to achieve a smooth surface finish and precise dimensional accuracy, enhancing the overall aesthetics and functionality of the shell.
Once your design is optimized for 3D printing, proceed to initiate the printing process, closely monitoring the initial layers to ensure proper adhesion and structural integrity. The 3D printer will meticulously layer the filament, gradually materializing your custom shell with each pass of the printing nozzle.
Upon completion of the 3D printing process, carefully remove the printed shell from the build platform and inspect it for any imperfections or artifacts. Depending on the complexity of your design, post-processing techniques such as sanding, smoothing, or painting may be employed to refine the surface finish and achieve the desired aesthetic qualities.
With the 3D printed shell in hand, you’ve achieved a significant milestone in the creation of your custom gaming mouse. The next step involves the assembly of the internal components within the custom shell, culminating in the realization of your personalized gaming peripheral.
Step 5: Assemble Your Custom Gaming Mouse
With the 3D printed shell in hand, you’re now ready to embark on the exciting phase of assembling your personalized gaming mouse. This pivotal step involves integrating the internal components from the disassembled existing mouse into the custom shell, culminating in the transformation of your digital design into a fully functional and ergonomic gaming peripheral.
Begin the assembly process by carefully placing the circuit board, switches, and scroll wheel into their designated positions within the 3D printed shell. Ensure that the components fit snugly and align with the openings and mounting points designed into the shell. Take your time to position each element with precision, maintaining a clear understanding of how the components interact within the shell.
As you progress through the assembly, consider the following key considerations:
- Secure Fastening: Use the appropriate screws and fasteners to secure the circuit board and other components within the shell, ensuring a stable and reliable assembly.
- Cable Management: Organize the internal wiring and cables to minimize clutter and ensure that they do not interfere with the functionality or ergonomics of the mouse.
- Button Actuation: Verify that the switches for the mouse buttons align accurately with the corresponding areas on the shell, allowing for smooth and responsive button actuation.
- Scroll Wheel Alignment: Position the scroll wheel assembly to ensure proper functionality and ergonomic accessibility within the custom shell.
As the internal components seamlessly integrate into the custom shell, you’ll witness the culmination of your design and 3D printing efforts, resulting in a tangible and functional gaming mouse tailored to your unique specifications. This assembly process marks the convergence of digital design, 3D printing, and hands-on craftsmanship, bringing your personalized gaming peripheral to fruition.
Upon completing the assembly, conduct thorough functional tests to ensure that all buttons, the scroll wheel, and any additional features are operating as intended within the custom shell. Make any necessary adjustments or refinements to guarantee optimal performance and user experience.
With the internal components successfully integrated into the custom shell, you’ve achieved a significant milestone in the creation of your custom gaming mouse. The next step involves adding personalized touches and enhancements to further elevate the functionality and visual appeal of your one-of-a-kind gaming peripheral.
Step 6: Customize Your Mouse Buttons and LEDs
Having assembled the core components of your custom gaming mouse, it’s time to explore the exciting realm of button and LED customization, adding a personalized touch to enhance the functionality and aesthetics of your creation. This step allows you to tailor the button layout and lighting effects to align with your gaming preferences and style, further elevating the uniqueness of your personalized peripheral.
Customizing the Mouse Buttons:
If you opted to incorporate additional buttons into your custom design, this is the stage to integrate them into the shell and configure their functionality. Whether it’s extra side buttons for quick access in gaming or programmable buttons for versatile functionality, carefully position and install the additional buttons within the shell, ensuring seamless integration and ergonomic accessibility. Depending on the complexity of the customization, you may need to modify the circuitry and switch connections to accommodate the new buttons, requiring precision and attention to detail.
Furthermore, if you desire a specific button actuation force or click feel, this is an opportune time to fine-tune the tactile experience by adjusting the switches and button mechanisms to suit your preferences. The ability to customize the button layout empowers you to tailor the mouse to your unique gaming needs, providing a competitive edge and a more immersive gaming experience.
Customizing the Mouse LEDs:
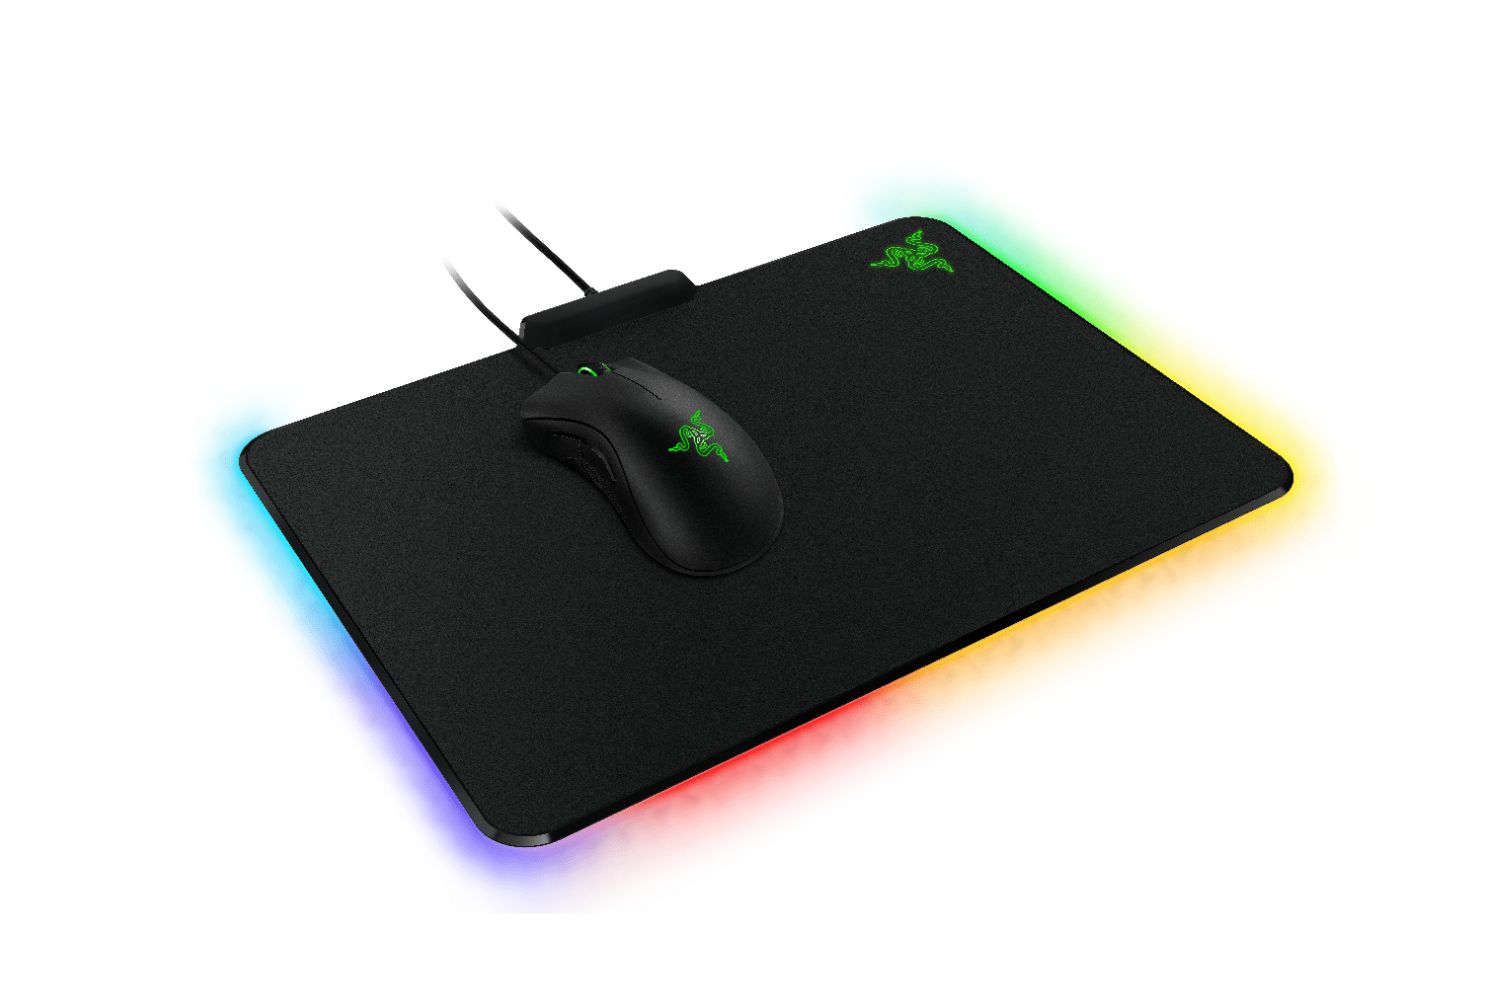
For those seeking to infuse their gaming mouse with vibrant illumination, LED customization offers a captivating way to add visual flair and personalization. Whether it’s dynamic RGB lighting effects or a subtle glow to complement your setup, integrating LEDs into your custom mouse allows for creative expression and visual impact.
Begin by carefully placing the LEDs within the shell, strategically positioning them to achieve the desired lighting effects and aesthetic appeal. Depending on your design, you may incorporate LEDs to illuminate the scroll wheel, side panels, or logo area, enhancing the overall visual presence of the gaming mouse.
Explore the potential of customizable LED controllers or software to fine-tune the color, brightness, and dynamic lighting patterns, empowering you to create a truly unique visual signature for your gaming mouse. Whether it’s synchronizing the lighting with in-game events or personalizing it to match your gaming setup, LED customization adds a captivating dimension to your custom gaming peripheral.
By customizing the mouse buttons and LEDs, you’re adding a layer of personalization and functionality that transcends the conventional off-the-shelf gaming peripherals. This step allows you to imprint your gaming mouse with your individual style and preferences, creating a truly bespoke gaming accessory that reflects your identity as a gamer.
Conclusion
Congratulations on completing the exhilarating journey of creating your own custom gaming mouse! Through the meticulous process of gathering materials, disassembling an existing mouse, designing a custom shell, 3D printing the shell, assembling the internal components, and customizing the buttons and LEDs, you’ve ventured into the realm of DIY innovation and personalization.
By crafting your own gaming mouse, you’ve unlocked the potential to tailor every aspect of this essential gaming peripheral to your unique preferences and gaming style. The fusion of digital design, hands-on craftsmanship, and technical expertise has culminated in a personalized gaming mouse that not only meets your functional requirements but also embodies your individuality as a gamer.
Embrace the ergonomic contours and intuitive button layout of your custom shell, designed to seamlessly align with your hand size and grip style. The precision and care invested in the assembly process have yielded a gaming mouse that feels like a natural extension of your hand, empowering you to unleash your full gaming potential with enhanced comfort and control.
Furthermore, the addition of customized buttons and LED lighting allows you to imprint your gaming mouse with a personalized signature, elevating its functionality and visual appeal to new heights. Whether it’s the convenience of additional programmable buttons or the mesmerizing glow of dynamic LEDs, your custom gaming mouse embodies your unique gaming identity.
As you embark on your gaming adventures with your custom creation in hand, revel in the satisfaction of knowing that every click, scroll, and illuminated effect reflects your ingenuity and passion for gaming. Your custom gaming mouse stands as a testament to the boundless creativity and innovation that thrives within the gaming community.
With your newfound expertise in DIY gaming peripherals, you possess the knowledge and skills to further innovate and customize other aspects of your gaming setup, from keyboards to headset stands, infusing every element with your personal touch.
Embrace the endless possibilities that DIY customization offers, and let your custom gaming mouse serve as a symbol of your dedication to crafting a gaming experience that is uniquely yours. As you venture into the digital realms of gaming, may your custom creation be a constant reminder of the power of innovation and personalization in enhancing the gaming journey.