Introduction
When it comes to portable charging solutions, Anker Power Banks are a popular choice among tech-savvy individuals. These innovative devices allow us to charge our smartphones, tablets, and other gadgets on the go, ensuring that we never run out of power when we need it the most. But have you ever wondered what those different color indicators on the power bank mean? In this article, we will dive into the details of the Anker Power Bank and specifically focus on the green light indicator, deciphering its meaning and importance.
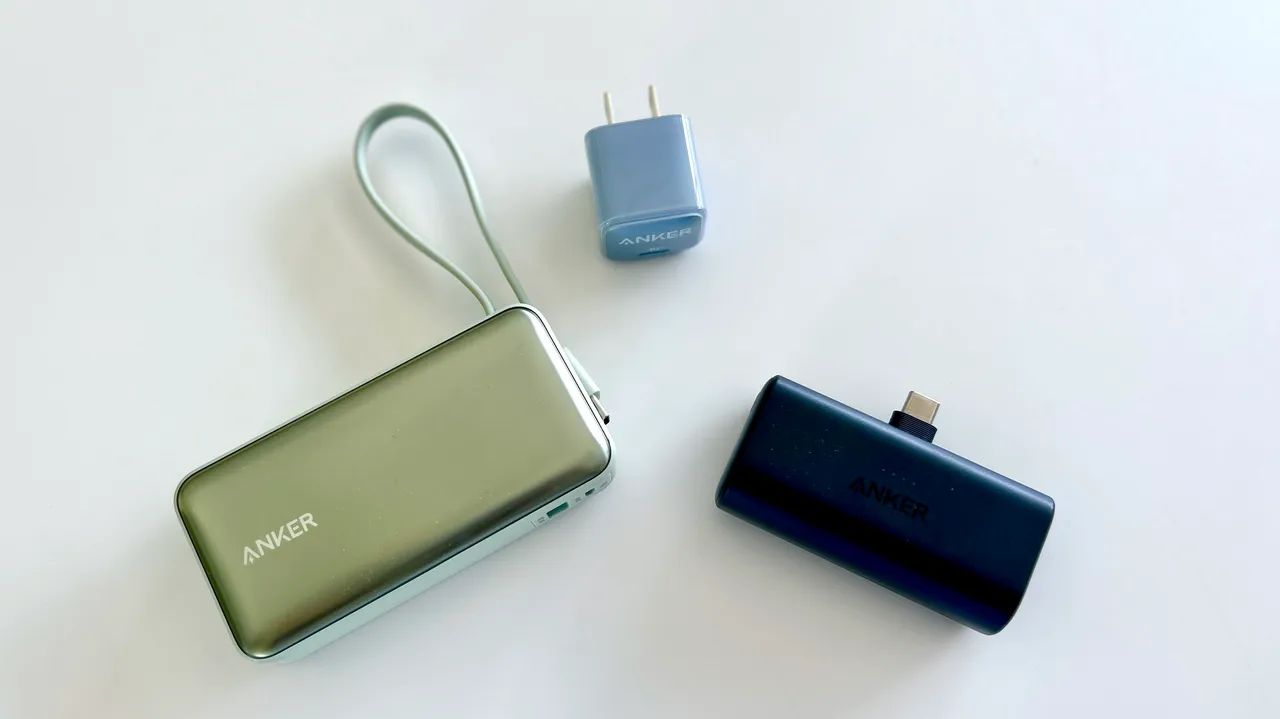
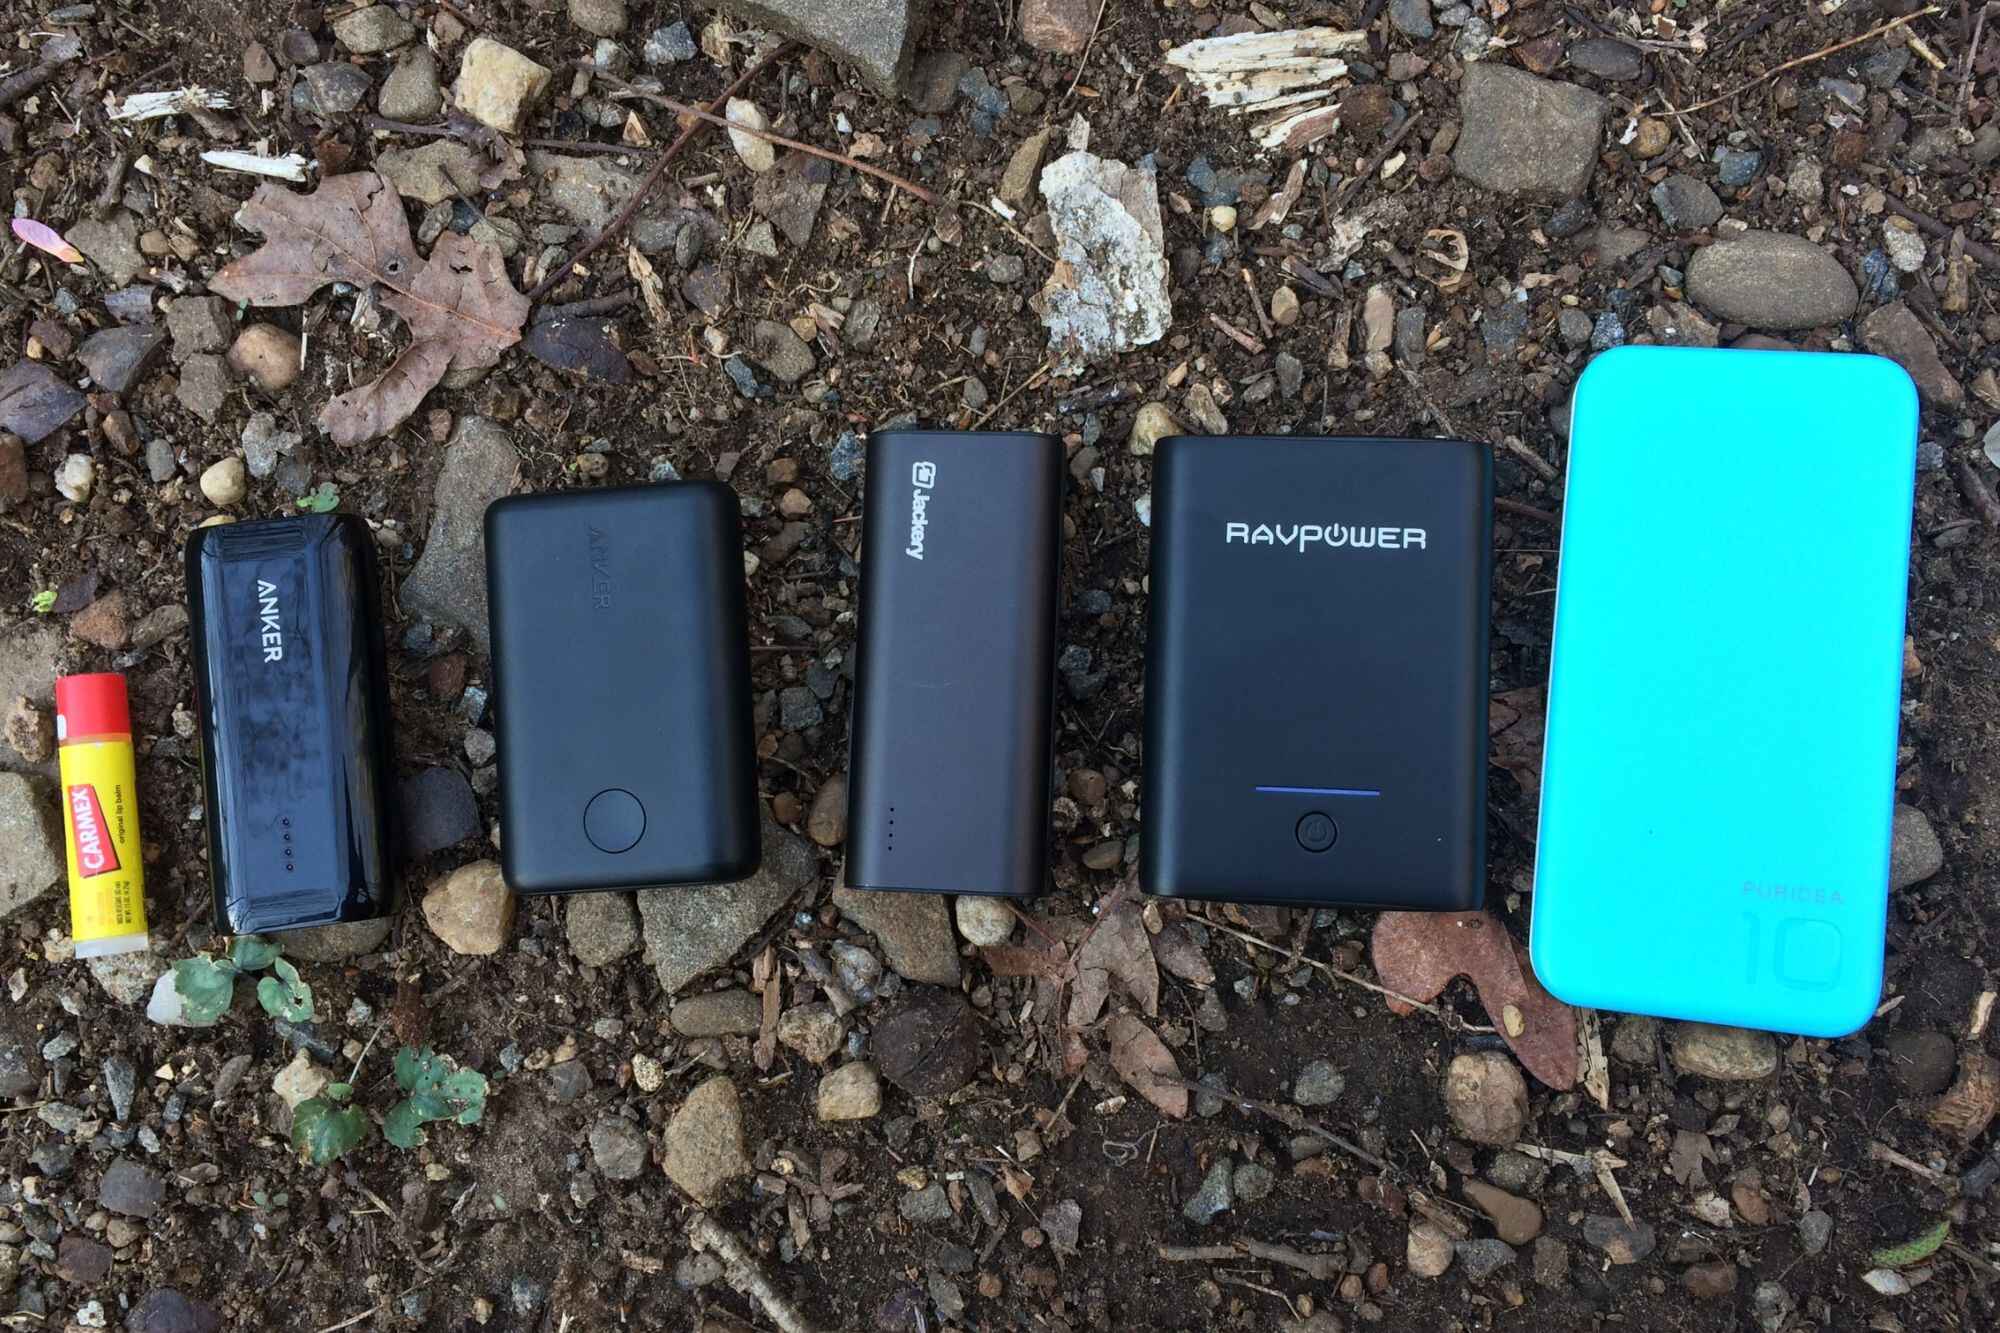
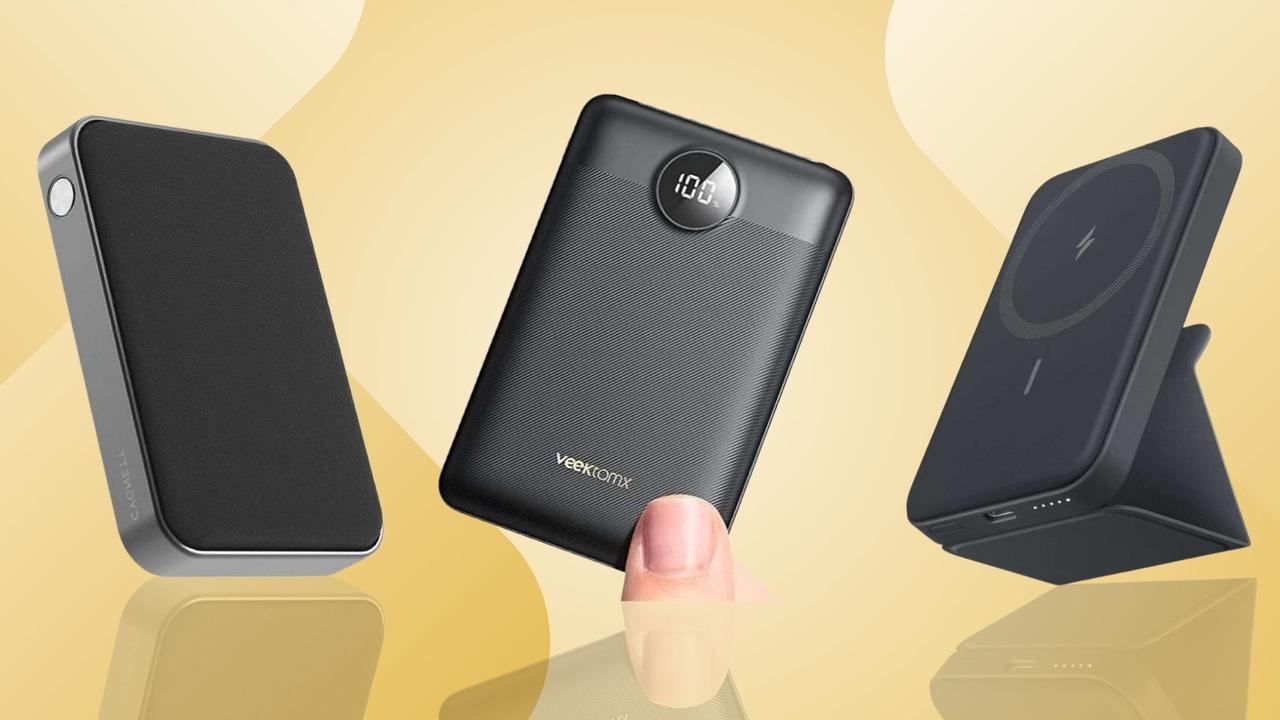
Anker Power Banks are known for their reliability, durability, and efficient charging capabilities. With a wide range of models available, these power banks offer varying features, capacities, and compatibility options to suit different needs. Whether you’re a frequent traveler, a busy professional, or an outdoor enthusiast, having a reliable power bank by your side can be a game-changer.
Understanding how the different indicators on your Anker Power Bank work is essential for maximizing its functionality and ensuring a seamless charging experience. The green light indicator, in particular, serves as a valuable guide to keep you informed about the status of your power bank and the devices connected to it.
In the following sections, we will explore what the green light indicator on an Anker Power Bank means and how it can help you in various charging scenarios. So, let’s dive in and unravel the mysteries behind the green light!
Understanding the Anker Power Bank
Before we delve into the specifics of the green light indicator, let’s first have a basic understanding of what an Anker Power Bank is and how it works. Anker Power Banks are portable devices that store electrical energy so that you can charge your electronic devices when you are away from a power source. They come equipped with lithium-ion batteries, which can be charged using a power adapter or USB connection.
One of the key features of Anker Power Banks is their capacity, which refers to the amount of energy they can store. The capacity is measured in milliampere-hours (mAh) and usually ranges from a few thousand to tens of thousands of mAh. The higher the capacity, the more charging cycles it can provide for your devices.
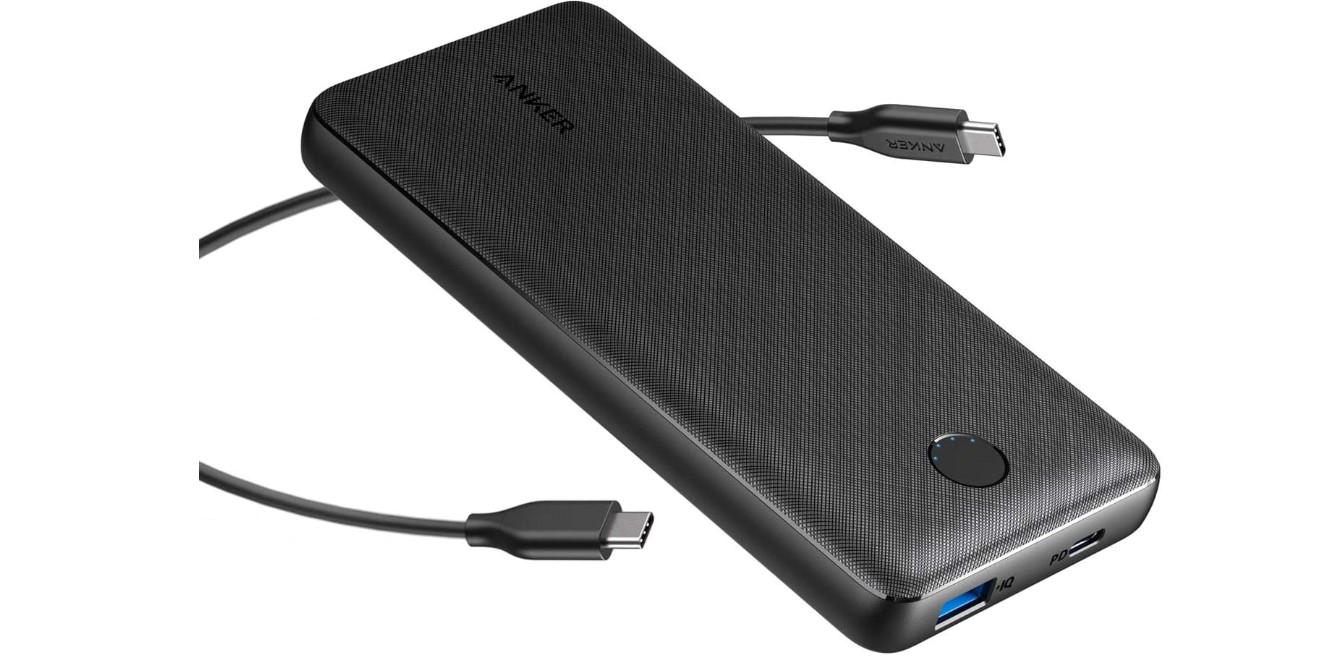
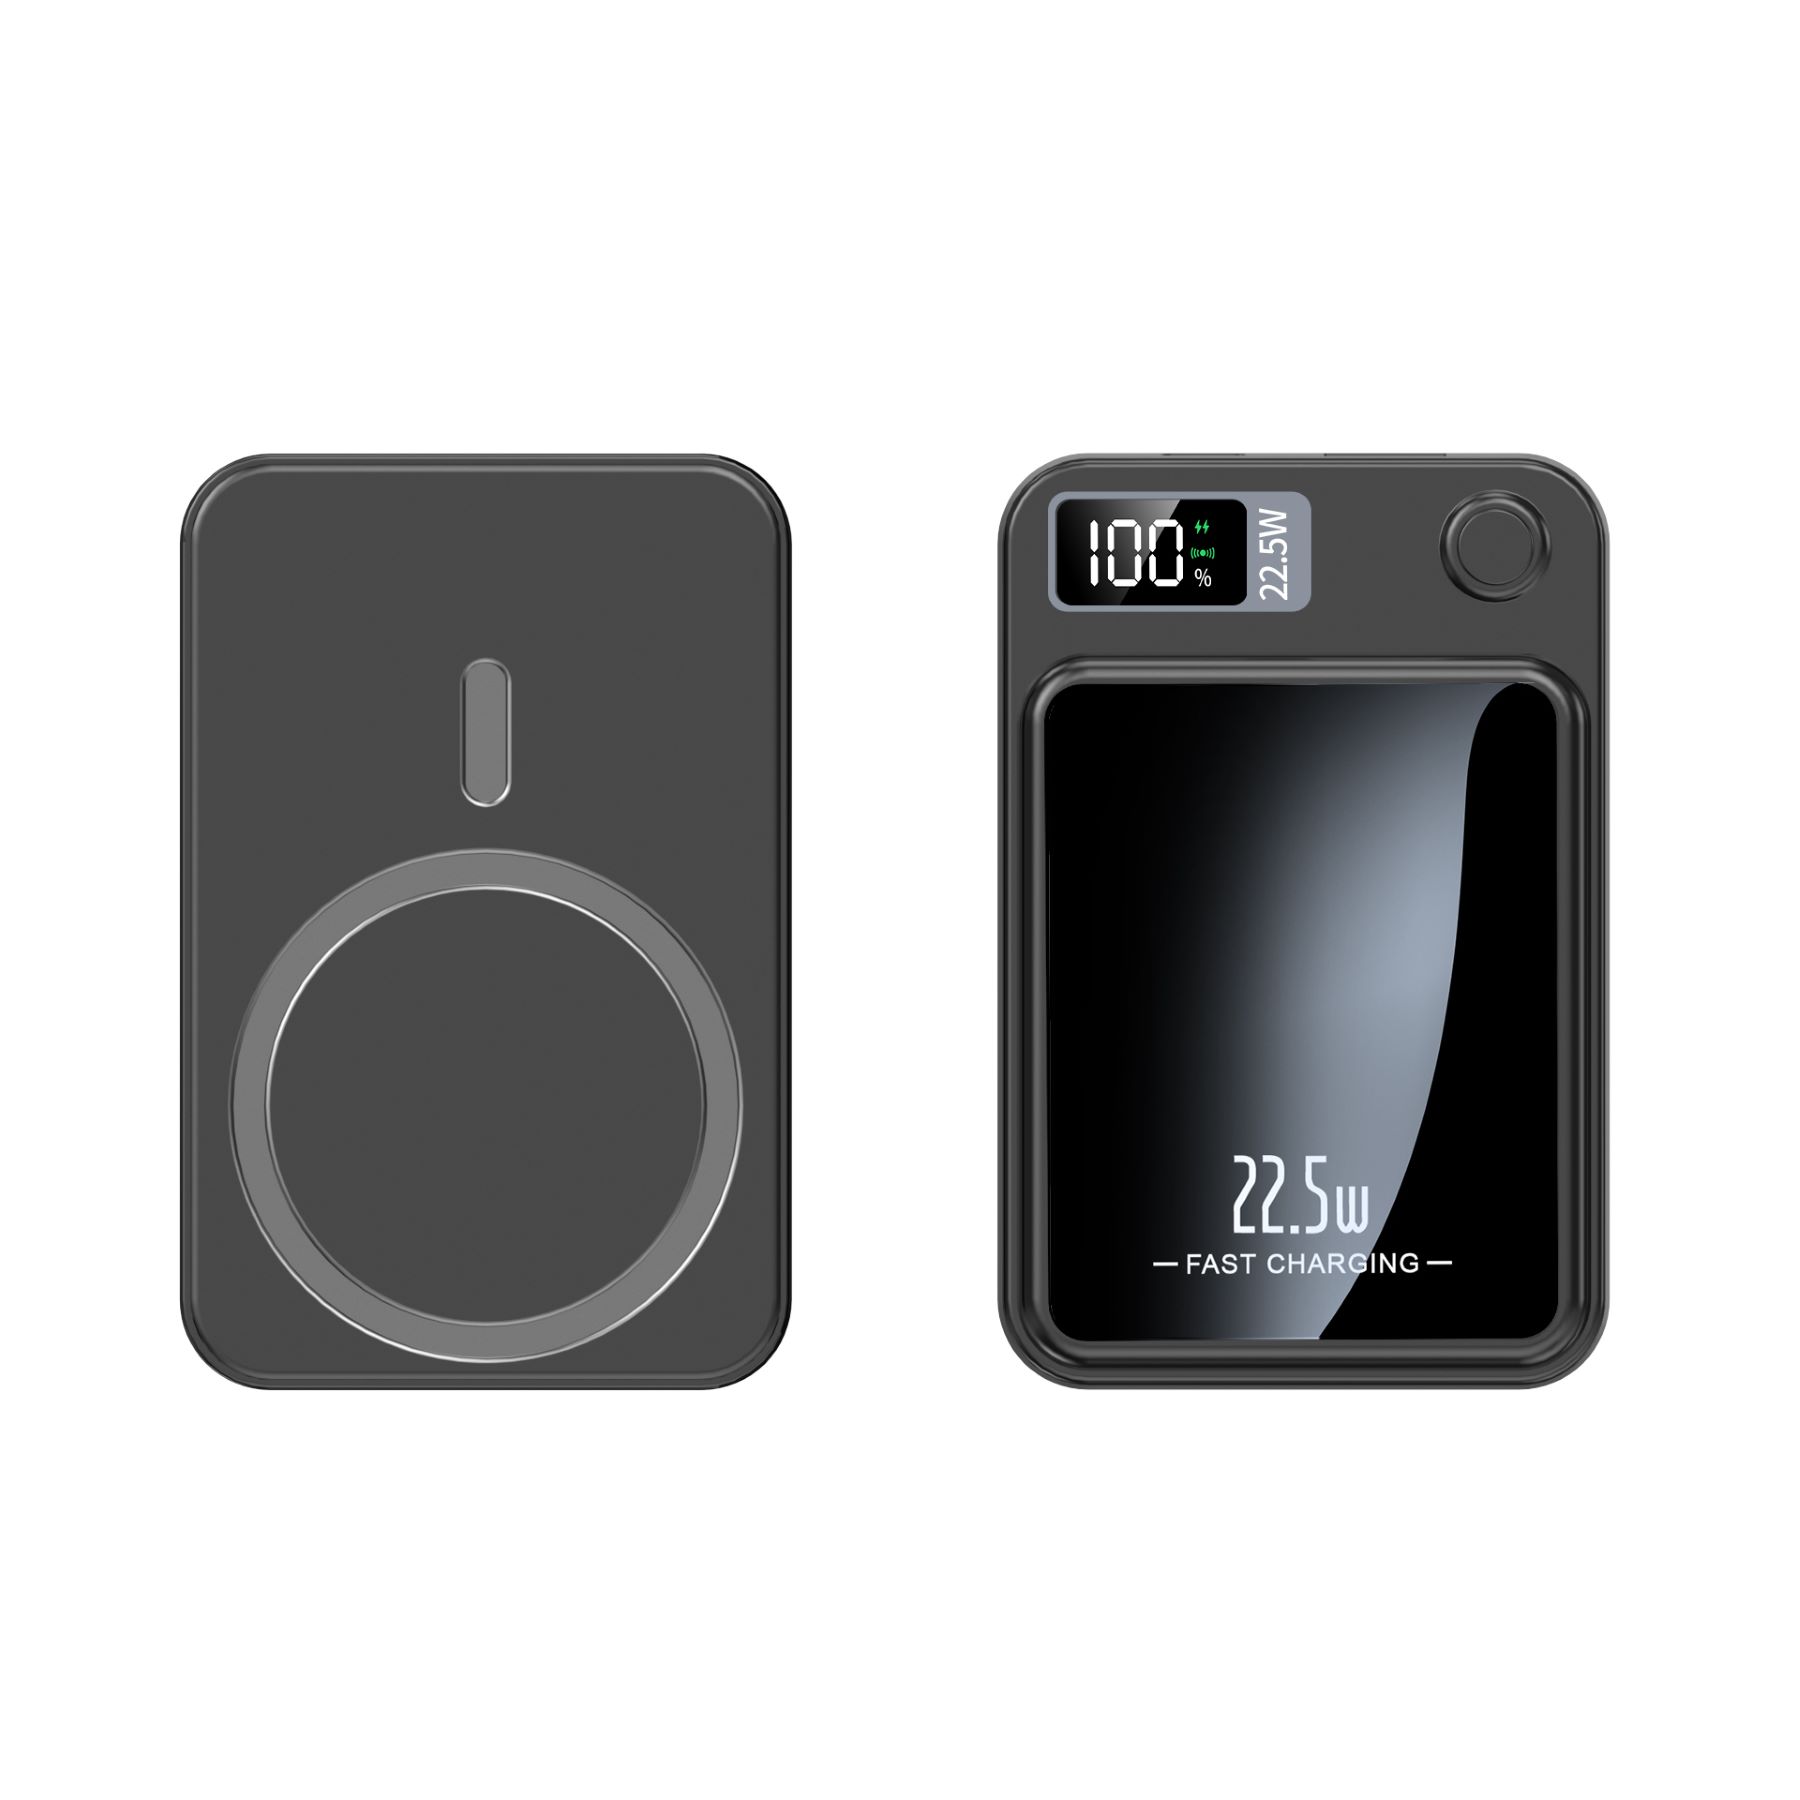
Anker Power Banks also come with multiple ports, allowing you to charge multiple devices simultaneously. These ports can vary from one model to another, with some power banks even offering fast-charging capabilities for compatible devices.
To operate an Anker Power Bank, all you need to do is connect your device to the power bank using a USB cable. The power bank will start charging your device automatically, making it a convenient and reliable source of power while you’re on the move.
It’s worth mentioning that Anker Power Banks are designed with safety features such as protection against overcharging, short circuits, and excessive heat. This ensures that your devices are charged safely without any risk of damage.
Now that we have a basic understanding of the Anker Power Bank, let’s move on to discussing the significance of the green light indicator and what it signifies during various charging scenarios.
The Green Light Indicator
The green light indicator on an Anker Power Bank is an important visual cue that provides valuable information about the status of the device. It serves as a guide to help you understand the charging process and ensure that your devices are receiving the necessary power.
When you connect your Anker Power Bank to a power source or a device, you may notice that the green light comes on. This indicates that the power bank is functioning correctly and is ready to charge your devices.
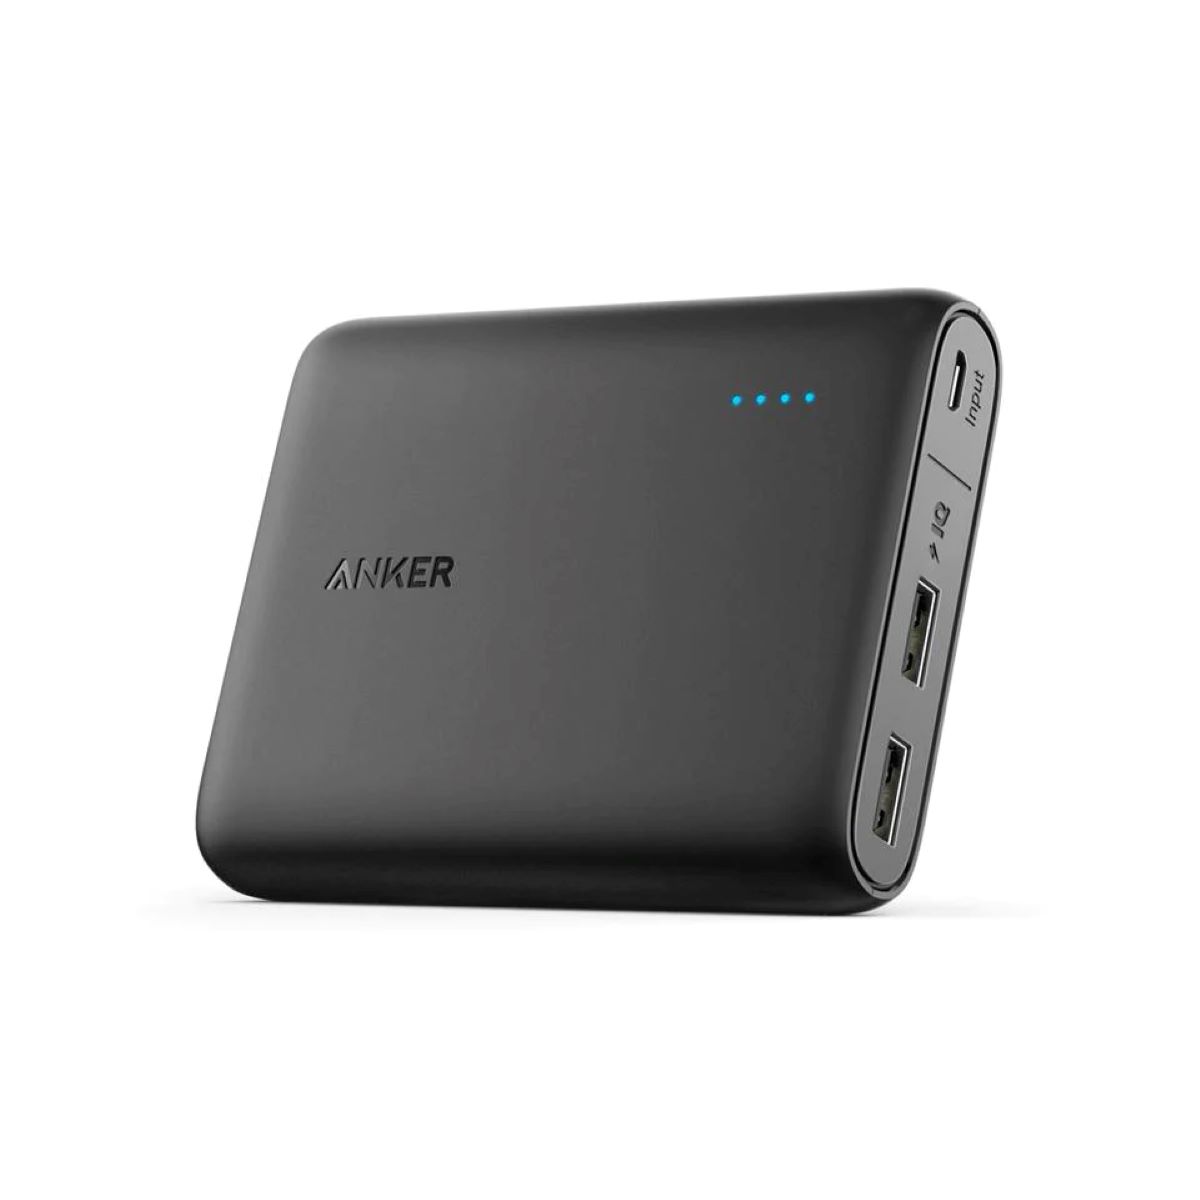
The green light indicator on the Anker Power Bank can vary in terms of its location and appearance. Some models have a single green light, while others may have multiple lights or a light ring. Regardless of the design, the green light remains consistent in terms of its purpose – to provide you with information about the charging status.
Understanding what the green light means in different charging scenarios can help you make the most of your Anker Power Bank. Let’s explore the different meanings associated with the green light indicator.
One of the common scenarios where you may encounter the green light is when the power bank is in charging mode. This means that the power bank itself is connected to a power source and is actively charging its internal battery. In this case, the green light indicates that the charging process is in progress.
Another situation where the green light may come on is when the power bank is fully charged. Once the power bank reaches its maximum capacity, the green light will remain steady or stop blinking, indicating that it’s ready to provide power to your devices.
Furthermore, the green light can also be an indicator of the connected devices’ charging status. For example, if you connect your smartphone to the power bank, the green light may blink or remain steady, depending on whether the device is actively charging or fully charged.
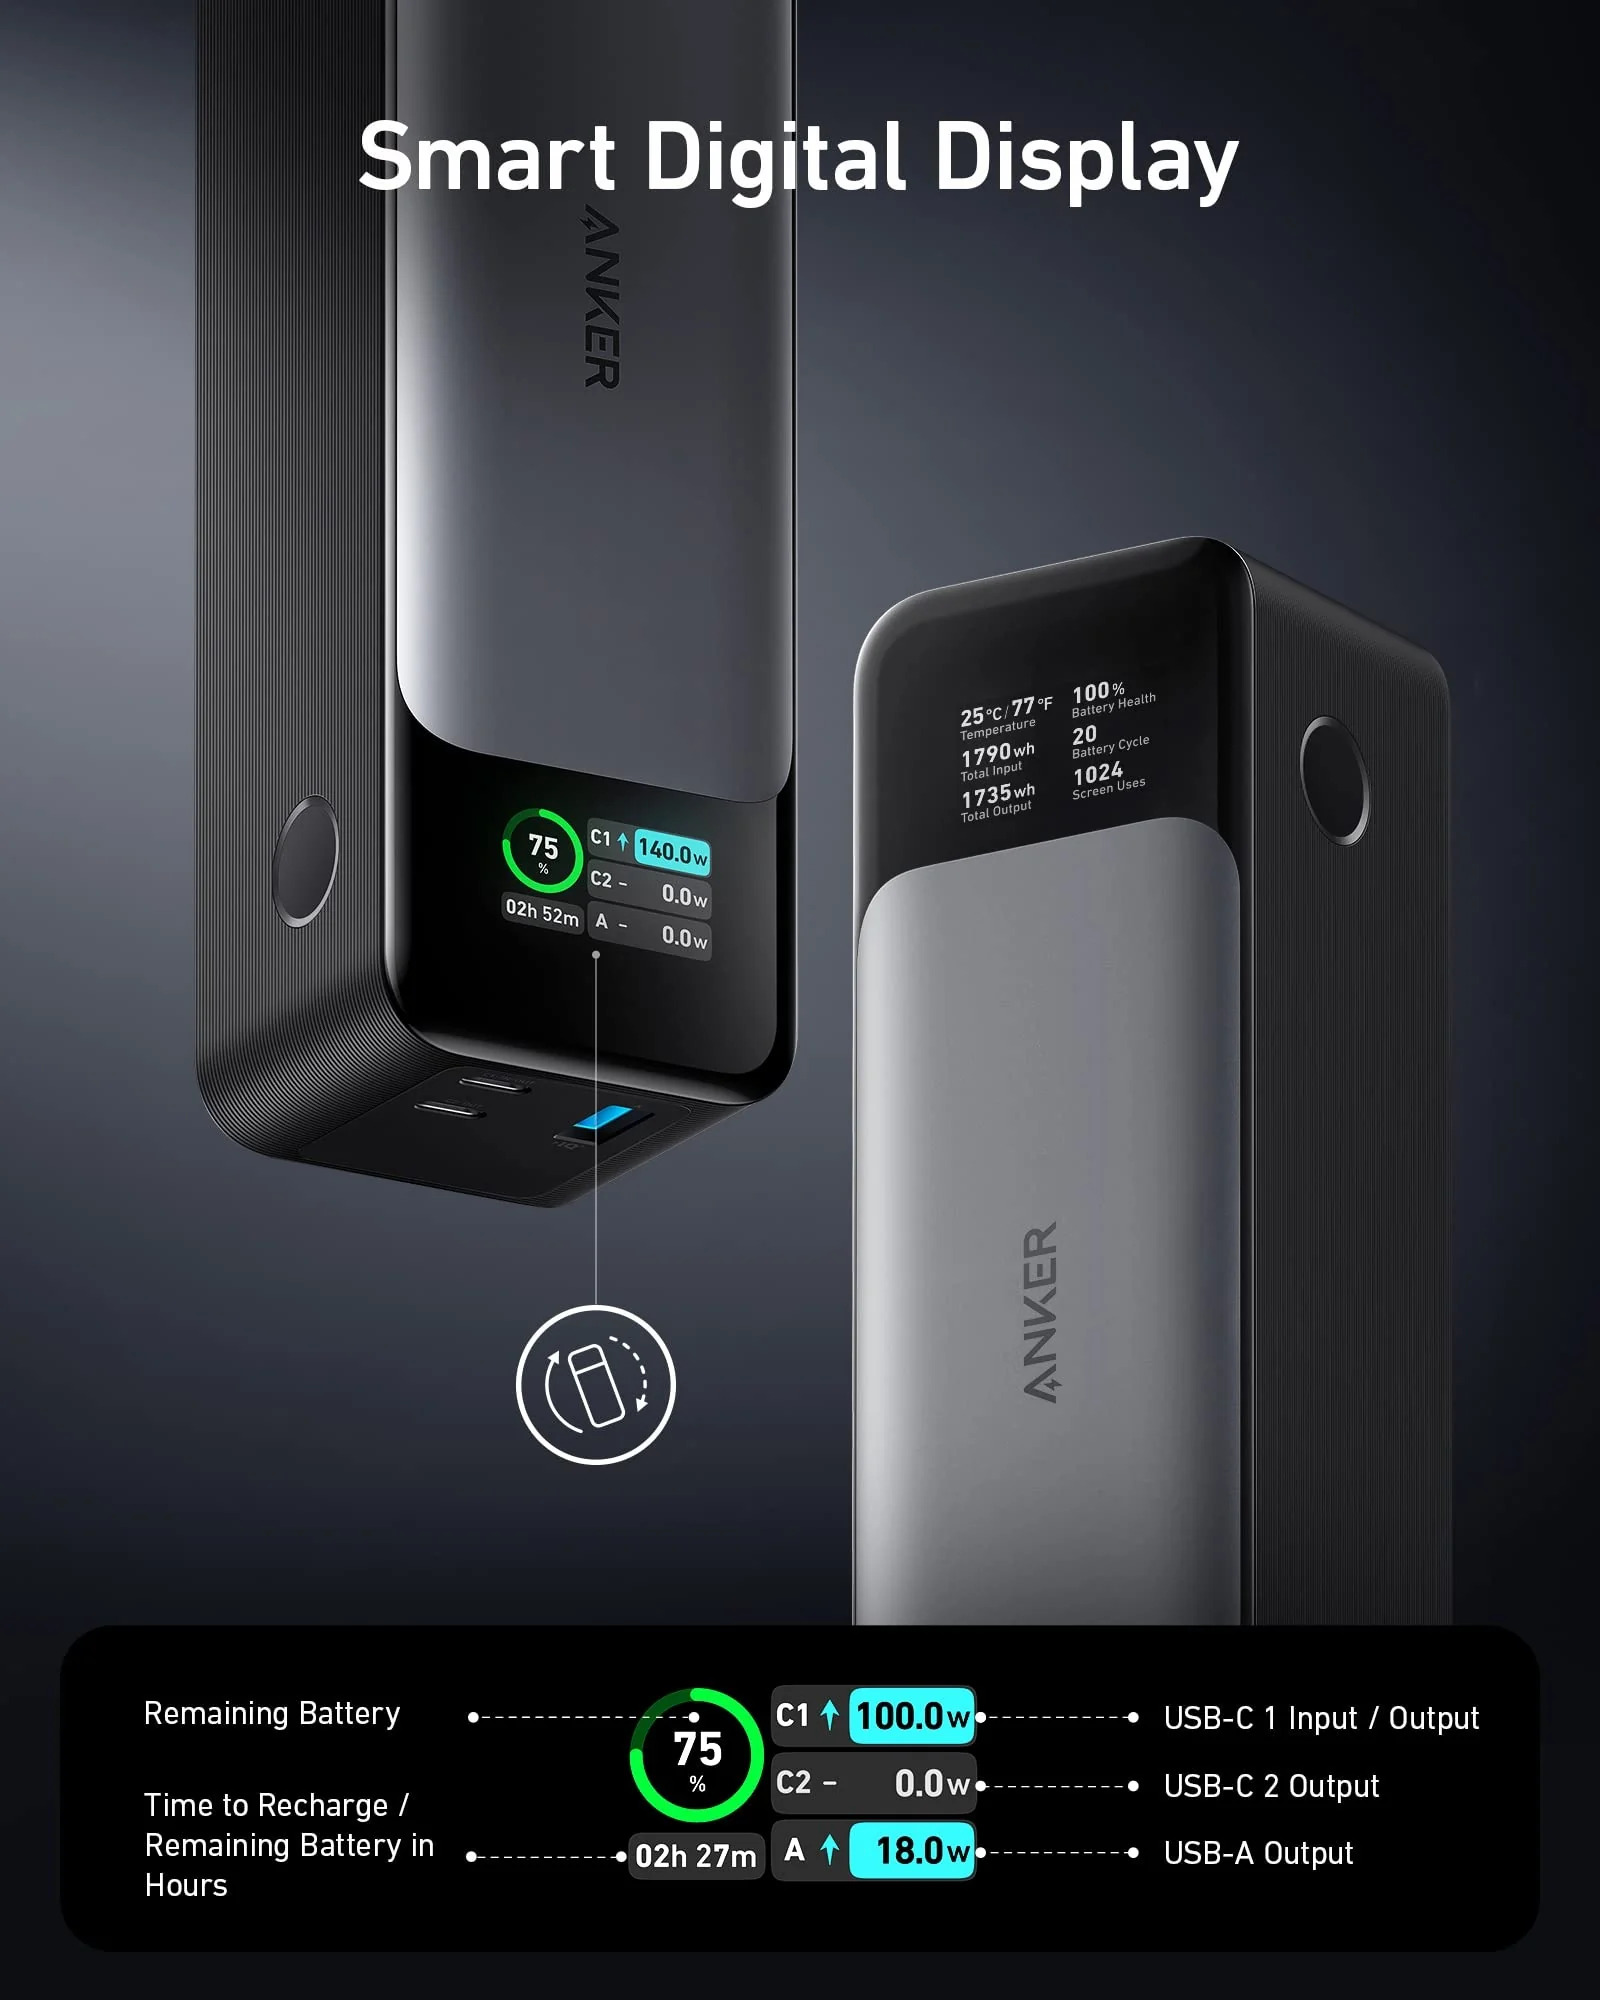
In addition to the charging status, the green light indicator can also provide information about the remaining battery level of the power bank itself. Some models use a combination of green and other color lights to indicate the battery level, with green indicating a high charge.
By paying attention to the green light indicator, you can ensure that your Anker Power Bank is functioning properly and that your devices are being charged efficiently. However, if you encounter any issues or unexpected behavior with the green light, it’s important to troubleshoot the problem to ensure uninterrupted charging.
Now that we have a better understanding of the green light indicator and its significance, let’s explore some troubleshooting tips and common issues related to Anker Power Banks in the next section.
What Does the Green Light Mean?
The green light on an Anker Power Bank can have different meanings depending on the charging scenario and the model of the power bank. Understanding these meanings can help you make better use of your power bank and ensure efficient charging for your devices.
One common meaning of the green light is that the power bank is in the charging mode. When you connect the power bank to a power source, the green light may come on, indicating that the power bank is actively charging its internal battery. This means that you need to keep the power bank connected to the power source until it reaches its full capacity.
Another meaning of the green light is that the power bank is fully charged. Once the power bank reaches its maximum capacity, the green light will usually remain steady or stop blinking, indicating that it’s ready to provide power to your devices. This is a useful indicator to know when your power bank is fully charged and can be disconnected from the power source.
In some cases, the green light may also indicate the charging status of the connected devices. When you connect a device to the power bank, such as a smartphone or tablet, the green light may blink or remain steady, depending on whether the device is actively charging or already fully charged.
Additionally, the green light can signify the remaining battery level of the power bank itself. Some power bank models use a combination of green lights and other colors to indicate the battery level, with green typically indicating a high charge. This allows you to easily gauge the remaining power in your Anker Power Bank and plan your charging needs accordingly.
It’s important to note that while the green light generally signifies positive charging status, it’s crucial to refer to the user manual or product specifications of your specific Anker Power Bank model for accurate information. Different models may have slightly different interpretations of the green light, and the manual can provide you with detailed insights into the meaning of each indicator.
Understanding what the green light means on your Anker Power Bank can help you optimize your charging experience and ensure that your devices receive the power they need. If you have any doubts or notice any unusual behavior with the green light or your power bank, it’s recommended to consult the product documentation or reach out to Anker support for assistance.
Now that we have explored the meanings of the green light on an Anker Power Bank, let’s move on to discuss the various charging modes and their significance in the next section.
Charging Mode
Understanding the different charging modes of an Anker Power Bank can give you better control over your charging experience and help you maximize the efficiency of your power bank. The charging mode refers to the state in which the power bank and connected devices operate during the charging process.
When you connect your Anker Power Bank to a power source, it enters the charging mode. In this mode, the power bank draws power from the power source and uses it to charge its internal battery. The green light indicator on the power bank may come on, signaling that it is in the charging mode.
During the charging mode, the power bank prioritizes charging its internal battery over charging connected devices. This ensures that the power bank itself is fully charged before it starts providing power to your devices. Therefore, it’s important to keep the power bank connected to the power source until it reaches its maximum capacity.
Once the power bank is fully charged, it transitions from the charging mode to the power delivery mode. In this mode, the power bank stops drawing power from the power source and starts delivering power to the connected devices. The green light indicator may change or remain steady, indicating that the power bank is ready to provide power.
When you connect a device to the fully charged power bank, it enters the charging mode. The power bank detects the connected device and adjusts its power output accordingly to charge the device efficiently. The green light may blink or remain steady during this mode, indicating that the device is either actively charging or already fully charged.
It’s important to note that the charging mode can vary depending on the power bank model and the specifications of the connected devices. Some power bank models may have additional modes, such as fast charging or trickle charging, that optimize the charging process for specific devices.
Understanding the charging mode of your Anker Power Bank can help you plan and optimize your charging routine. If you need to charge multiple devices simultaneously, it’s advisable to connect them to the power bank after it has reached its full capacity. This allows the power bank to deliver power efficiently and ensures that all connected devices are charged successfully.
By familiarizing yourself with the charging mode and the associated indicators, such as the green light, you can make the most of your Anker Power Bank and ensure that your devices are charged effectively while on the go.
Now that we have covered the charging mode, let’s move on to discussing what happens when your Anker Power Bank is fully charged in the next section.
Fully Charged
When your Anker Power Bank reaches its full capacity and all its batteries are completely charged, it enters the fully charged state. This is an important milestone as it signifies that your power bank is ready to provide power to your devices and ensures that you have a reliable source of portable energy when you need it the most.
One of the indicators of a fully charged Anker Power Bank is the steady or stopped blinking of the green light. Depending on the model, the green light may remain on or turn off completely when the power bank is fully charged. This provides a visual indication to let you know that the power bank is ready for use.
When your Anker Power Bank is fully charged, it is essential to disconnect it from the power source to avoid overcharging the internal batteries. Overcharging can reduce the overall lifespan and performance of your power bank. Therefore, being aware of the fully charged indicator, typically denoted by the green light, helps you manage your power bank more effectively.
Once your power bank is fully charged, it is ready to provide power to your devices. You can connect your smartphones, tablets, cameras, or any other USB-charged devices to the power bank using the appropriate charging cable. The power bank will automatically detect the connected device and adjust its power output accordingly to provide an optimal charging experience.
During the charging process, the green light on the power bank may blink or remain steady, depending on the charging status of the connected device. If the device is actively charging, the green light may blink, indicating that power is flowing from the power bank to the device. Once the device reaches a full charge, the green light may remain steady or turn off completely, signaling that the charging process is complete.
It’s important to note that the time it takes for an Anker Power Bank to fully charge depends on its capacity and the power source used for charging. Generally, it’s recommended to use a high-quality charging cable and a compatible power source, such as a wall adapter or a USB port with sufficient power output, to ensure efficient and timely charging.
By being aware of the fully charged indicator, typically denoted by the green light, you can effectively manage your Anker Power Bank’s charging routine and ensure that your devices are powered up whenever you need them.
Now that we have explored the significance of a fully charged Anker Power Bank, let’s move on to discussing the importance of connected devices in the charging process.
Connected Devices
When using an Anker Power Bank, the devices you connect to it play a crucial role in the overall charging process. Whether it’s a smartphone, tablet, or any other USB-compatible gadget, understanding how these devices interact with your power bank can enhance your charging experience.
When you connect a device to your Anker Power Bank, the power bank detects the connected device’s power requirements and adjusts its power output accordingly. This ensures that the device receives the optimal level of power for charging, preventing undercharging or overcharging.
The green light indicator on the power bank can provide valuable insight into the charging status of the connected devices. If the green light blinks, it indicates that the device is actively charging and receiving power from the power bank. Once the device reaches a full charge, the green light may remain steady or turn off, indicating that the charging process is complete.
It’s important to note that the charging speed and compatibility may vary based on the device you connect. Some devices may support fast charging, allowing them to charge at a quicker rate when connected to a compatible Anker Power Bank. In such cases, the green light may blink rapidly during the fast charging process.
Additionally, the power bank’s capacity also plays a role in determining the number of devices you can charge simultaneously. Higher capacity power banks often offer more ports, allowing you to charge multiple devices at the same time. However, it’s essential to consider the total power output of the power bank to ensure that all connected devices receive sufficient power.
When connecting devices to your Anker Power Bank, it’s recommended to use high-quality charging cables that are compatible with both the power bank and the devices. Faulty or low-quality cables can lead to slower charging speeds or even prevent charging altogether, resulting in a frustrating charging experience.
Understanding how connected devices interact with your Anker Power Bank and paying attention to the green light indicator can help you gauge the charging status and progress of each device. By efficiently managing the charging process of multiple devices, you can ensure that all your gadgets stay powered up on the go.
Now that we have explored the significance of connected devices in the charging process, let’s move on to discussing how the power bank’s battery level affects its performance and how to troubleshoot common issues.
Battery Level
The battery level of your Anker Power Bank plays a crucial role in determining its performance and how long it can provide power to your devices. Understanding the battery level and its indicators can help you make the most of your power bank and plan your charging needs accordingly.
Some Anker Power Banks feature a combination of LED lights or a light ring to indicate the battery level. The use of different colors, including green, can provide an instant visual representation of the remaining power in the power bank.
Typically, when the power bank is fully charged or has a high battery level, the LED lights or the light ring will show a solid green color. This indicates that the power bank has a significant amount of charge and is ready to supply power to your devices for an extended period.
As the power bank’s battery level starts to decrease, the green LED lights or the light ring may gradually turn off or change to other colors, such as yellow or red. This transition serves as a visual cue to let you know that the power bank’s battery is depleting, and its capacity to provide power is decreasing.
It’s important to note that the exact battery levels represented by different colors may vary depending on the specific Anker Power Bank model. Therefore, referring to the user manual or product documentation for the accurate color-to-battery level mapping is recommended.
Monitoring the battery level of your Anker Power Bank is essential to ensure that you know when to recharge it and avoid running out of power when you need it the most. Charging your power bank before it reaches a critically low battery level is ideal for maintaining its performance and longevity.
If you’re planning to go on an extended trip or need to charge multiple devices over an extended period, it’s advisable to fully charge your power bank in advance. This way, you can take advantage of the maximum capacity and ensure that you don’t run out of power unexpectedly.
By being aware of the battery level indicators and making it a habit to check the remaining power, you can ensure that your Anker Power Bank is always ready to provide reliable and efficient charging to your devices.
Now that we have explored the significance of the power bank’s battery level, let’s move on to discussing common troubleshooting tips to address any issues you may encounter during the charging process.
Troubleshooting
While Anker Power Banks are known for their reliability, occasional issues or unexpected behavior during the charging process can occur. Here are some common troubleshooting tips to help you address these issues and ensure uninterrupted charging:
1. Check the connections: Ensure that the power bank is securely connected to the power source and that the charging cable is firmly connected to both the power bank and the device. Loose connections can result in slow or inconsistent charging.
2. Try a different charging cable and power source: Faulty or low-quality charging cables can affect the charging speed and efficiency. Similarly, using a different power source, such as a wall adapter or a computer USB port, can help identify if the issue lies with the original power source.
3. Clean the charging port: Over time, dust or debris may accumulate in the charging port of your Anker Power Bank. Use a soft brush or a compressed air duster to clean the charging port, ensuring proper contact and efficient charging.
4. Disconnect unnecessary devices: If you are charging multiple devices simultaneously and notice slow charging speed, consider disconnecting any devices that are already fully charged or not in immediate use. This allows the power bank to allocate more power to the devices that require charging.
5. Reset the power bank: In some cases, resetting the power bank can help resolve charging issues. Refer to the user manual for instructions on how to reset your specific Anker Power Bank model.
6. Update firmware (if applicable): Some Anker Power Banks have firmware that can be updated to improve performance and address any known issues. Visit the Anker website or contact customer support to check if there are any available firmware updates for your power bank.
7. Contact customer support: If you have tried these troubleshooting tips and are still experiencing issues with your Anker Power Bank, don’t hesitate to reach out to Anker customer support. They have knowledgeable representatives who can assist you in resolving any technical issues you may encounter.
Remember, troubleshooting steps may vary depending on the specific model of your Anker Power Bank. Refer to the product documentation or customer support for model-specific guidance.
By following these troubleshooting tips, you can overcome common charging issues and ensure a seamless and efficient charging experience with your Anker Power Bank.
Now that we have explored troubleshooting tips, let’s wrap up our discussion about Anker Power Banks in the next section.
Conclusion
In conclusion,
Anker Power Banks are reliable and efficient portable charging solutions that can keep your electronic devices powered up on the go. Understanding the green light indicator and its significance is crucial for maximizing the functionality of your power bank.
The green light on an Anker Power Bank represents different meanings depending on the charging mode, device connections, and battery level. It can indicate whether the power bank is in the charging mode, fully charged, actively charging a connected device, or even provide information about the remaining power in the power bank itself.
By paying attention to the green light indicator, you can ensure that your power bank is functioning properly and that your devices are receiving the necessary power for efficient charging.
Additionally, understanding the charging mode, fully charged state, and how connected devices interact with your power bank can help you optimize your charging experience and ensure reliable power delivery to your devices.
If you encounter any issues during the charging process, following troubleshooting tips such as checking connections, trying different charging cables and power sources, and cleaning the charging port can help address common issues and ensure uninterrupted charging.
Anker Power Banks are designed to provide reliable portable energy, and by utilizing the green light indicator and troubleshooting techniques, you can make the most of your power bank and stay powered up wherever you go.
So, whether you’re a frequent traveler, a busy professional, or an outdoor enthusiast, having an Anker Power Bank with its green light indicator as your reliable companion ensures that you never run out of power when you need it the most.
Remember to refer to your specific power bank model’s user manual or contact customer support for detailed information and guidance on maximizing the performance of your Anker Power Bank.


