Introduction
Welcome to the comprehensive guide on how to charge your Anker Power Bank. In today’s fast-paced world, where staying connected is essential, power banks have become a necessity. Anker Power Banks are known for their reliability and high-quality performance. Whether you are on a business trip, traveling, or just going about your daily routine, having a fully charged power bank ensures that you never run out of battery power for your devices.
In this guide, we will explore various methods of charging your Anker Power Bank, including using the included USB cable, charging via a wall outlet, charging via a USB port, and even charging with solar panels. We will also cover how to check the charging status and provide some essential safety tips to ensure the longevity and safe use of your Anker Power Bank.
So if you are ready to find out how to keep your Anker Power Bank charged and ready to go, let’s dive right in.
Understanding Your Anker Power Bank
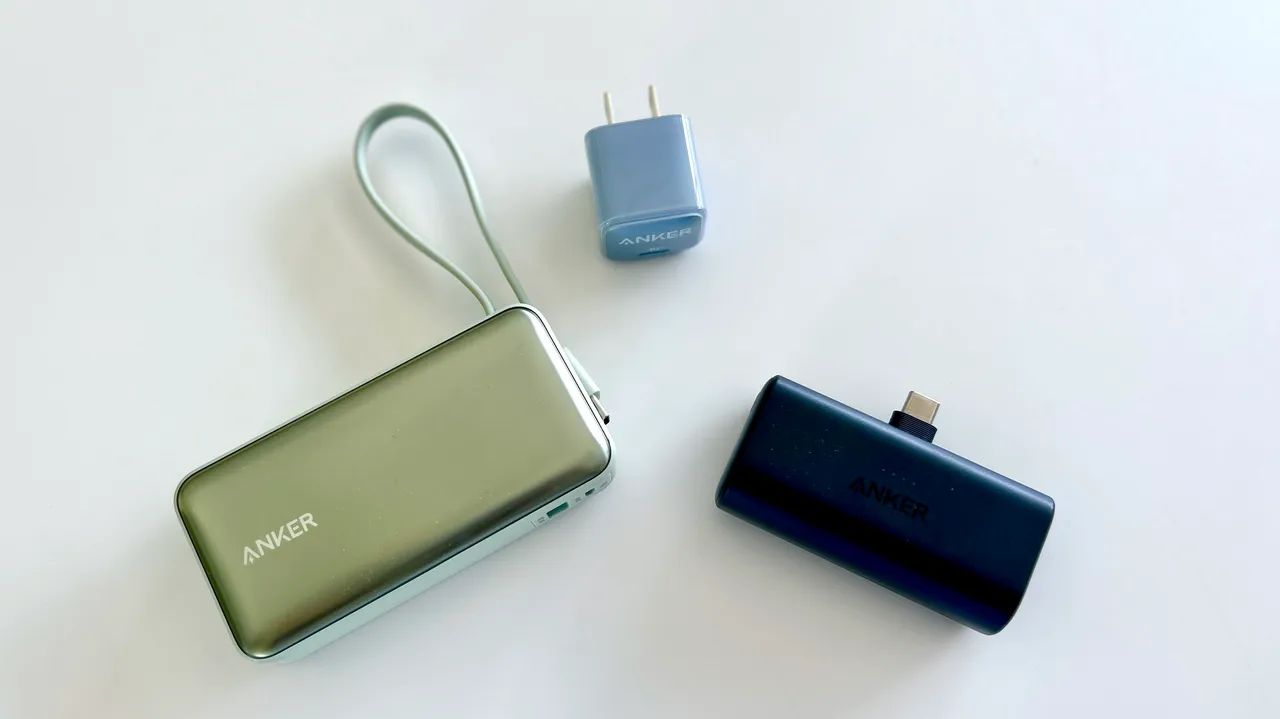
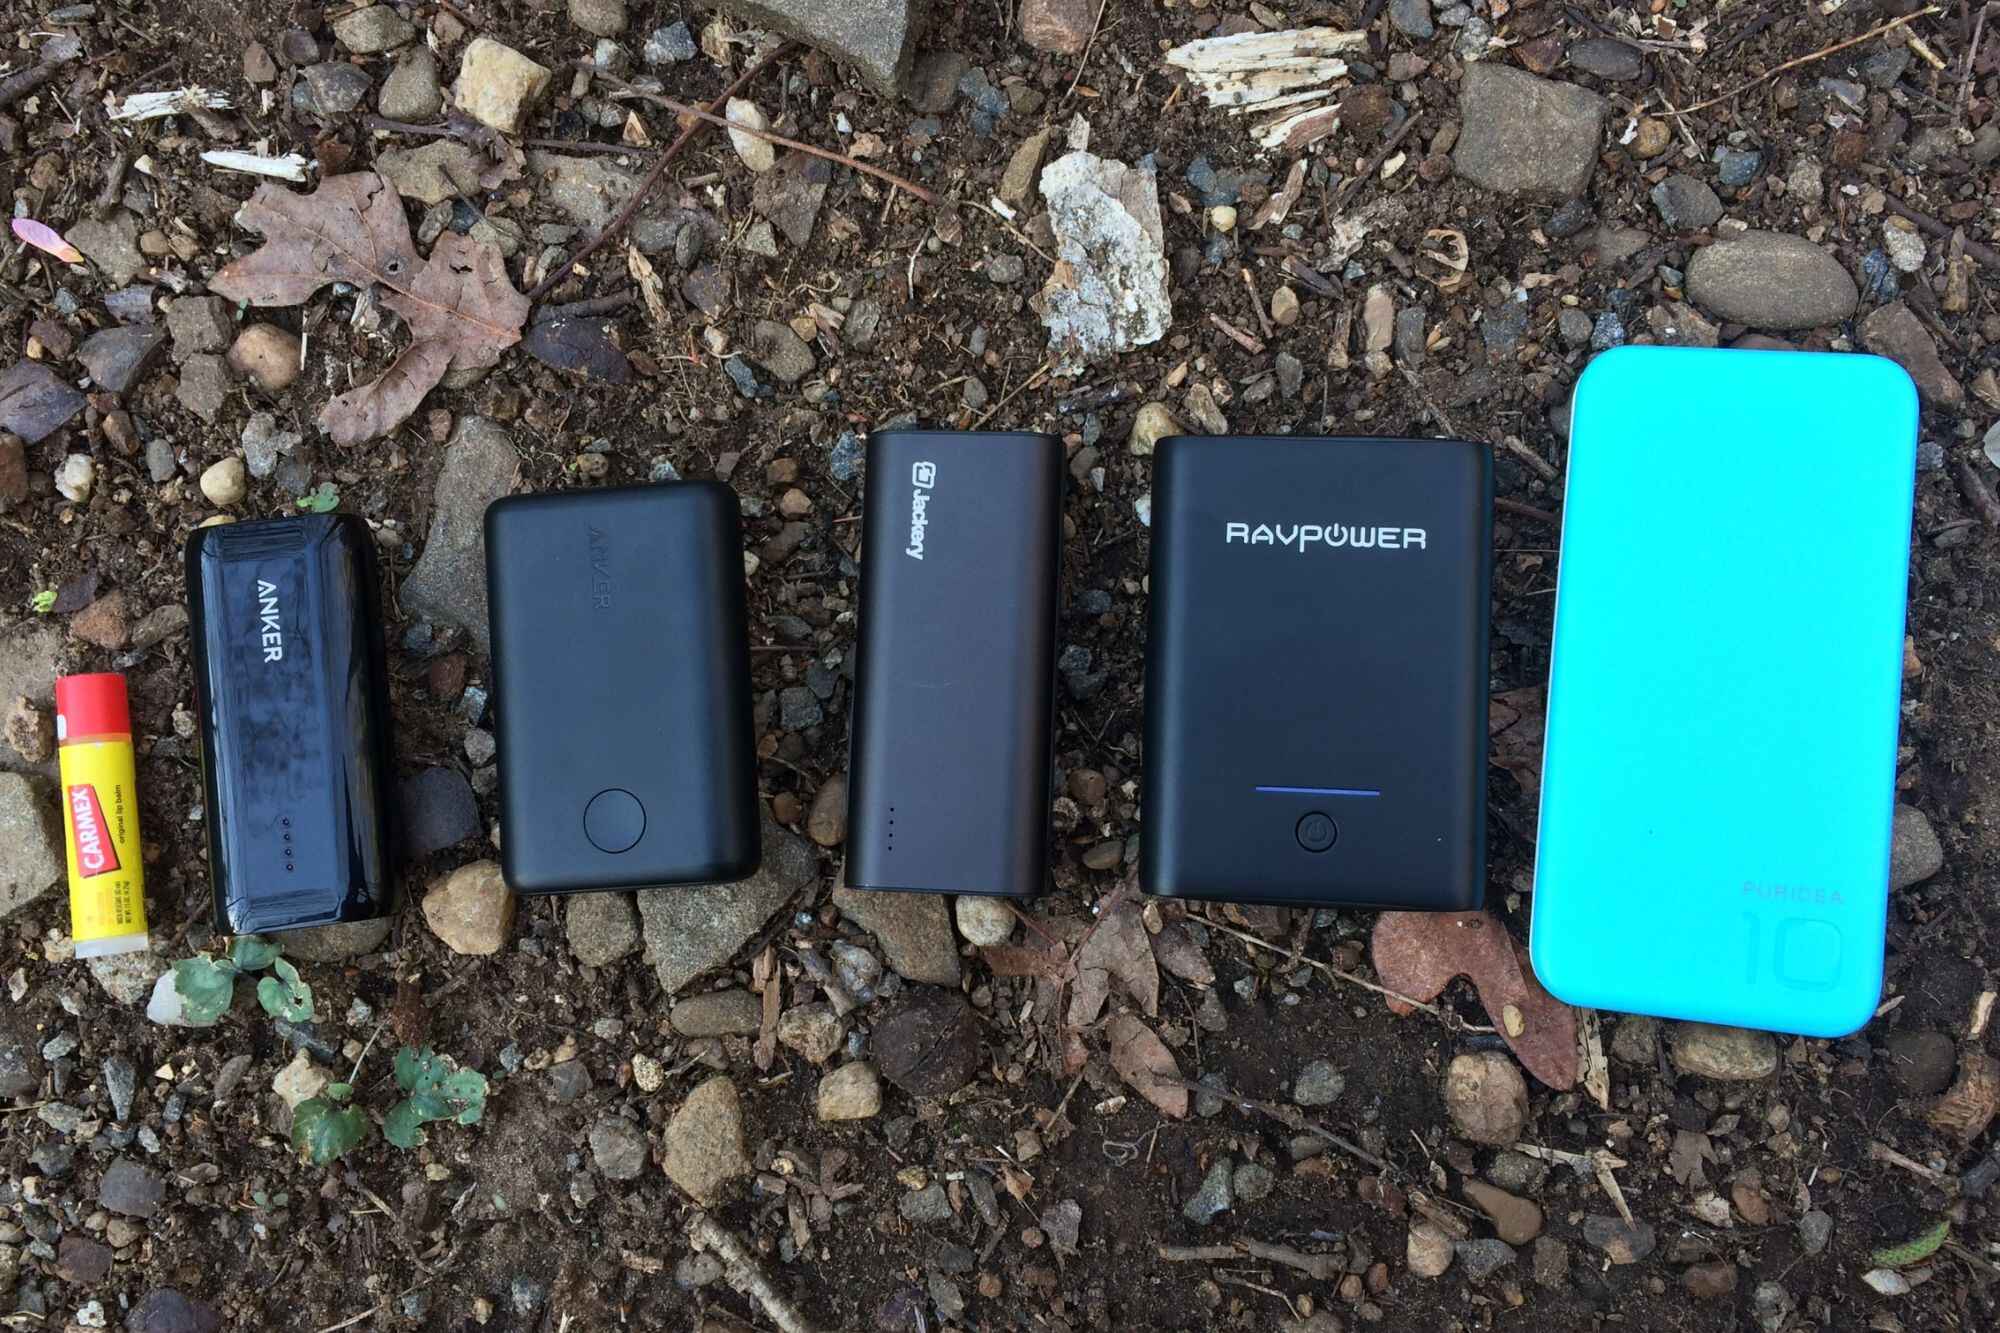
Before we get into the various charging methods, it’s important to have a good understanding of your Anker Power Bank and its features. Anker Power Banks are portable external batteries that allow you to charge your electronic devices on the go. They come in various capacities, ranging from small pocket-sized power banks to larger ones that can provide multiple charges for your devices.
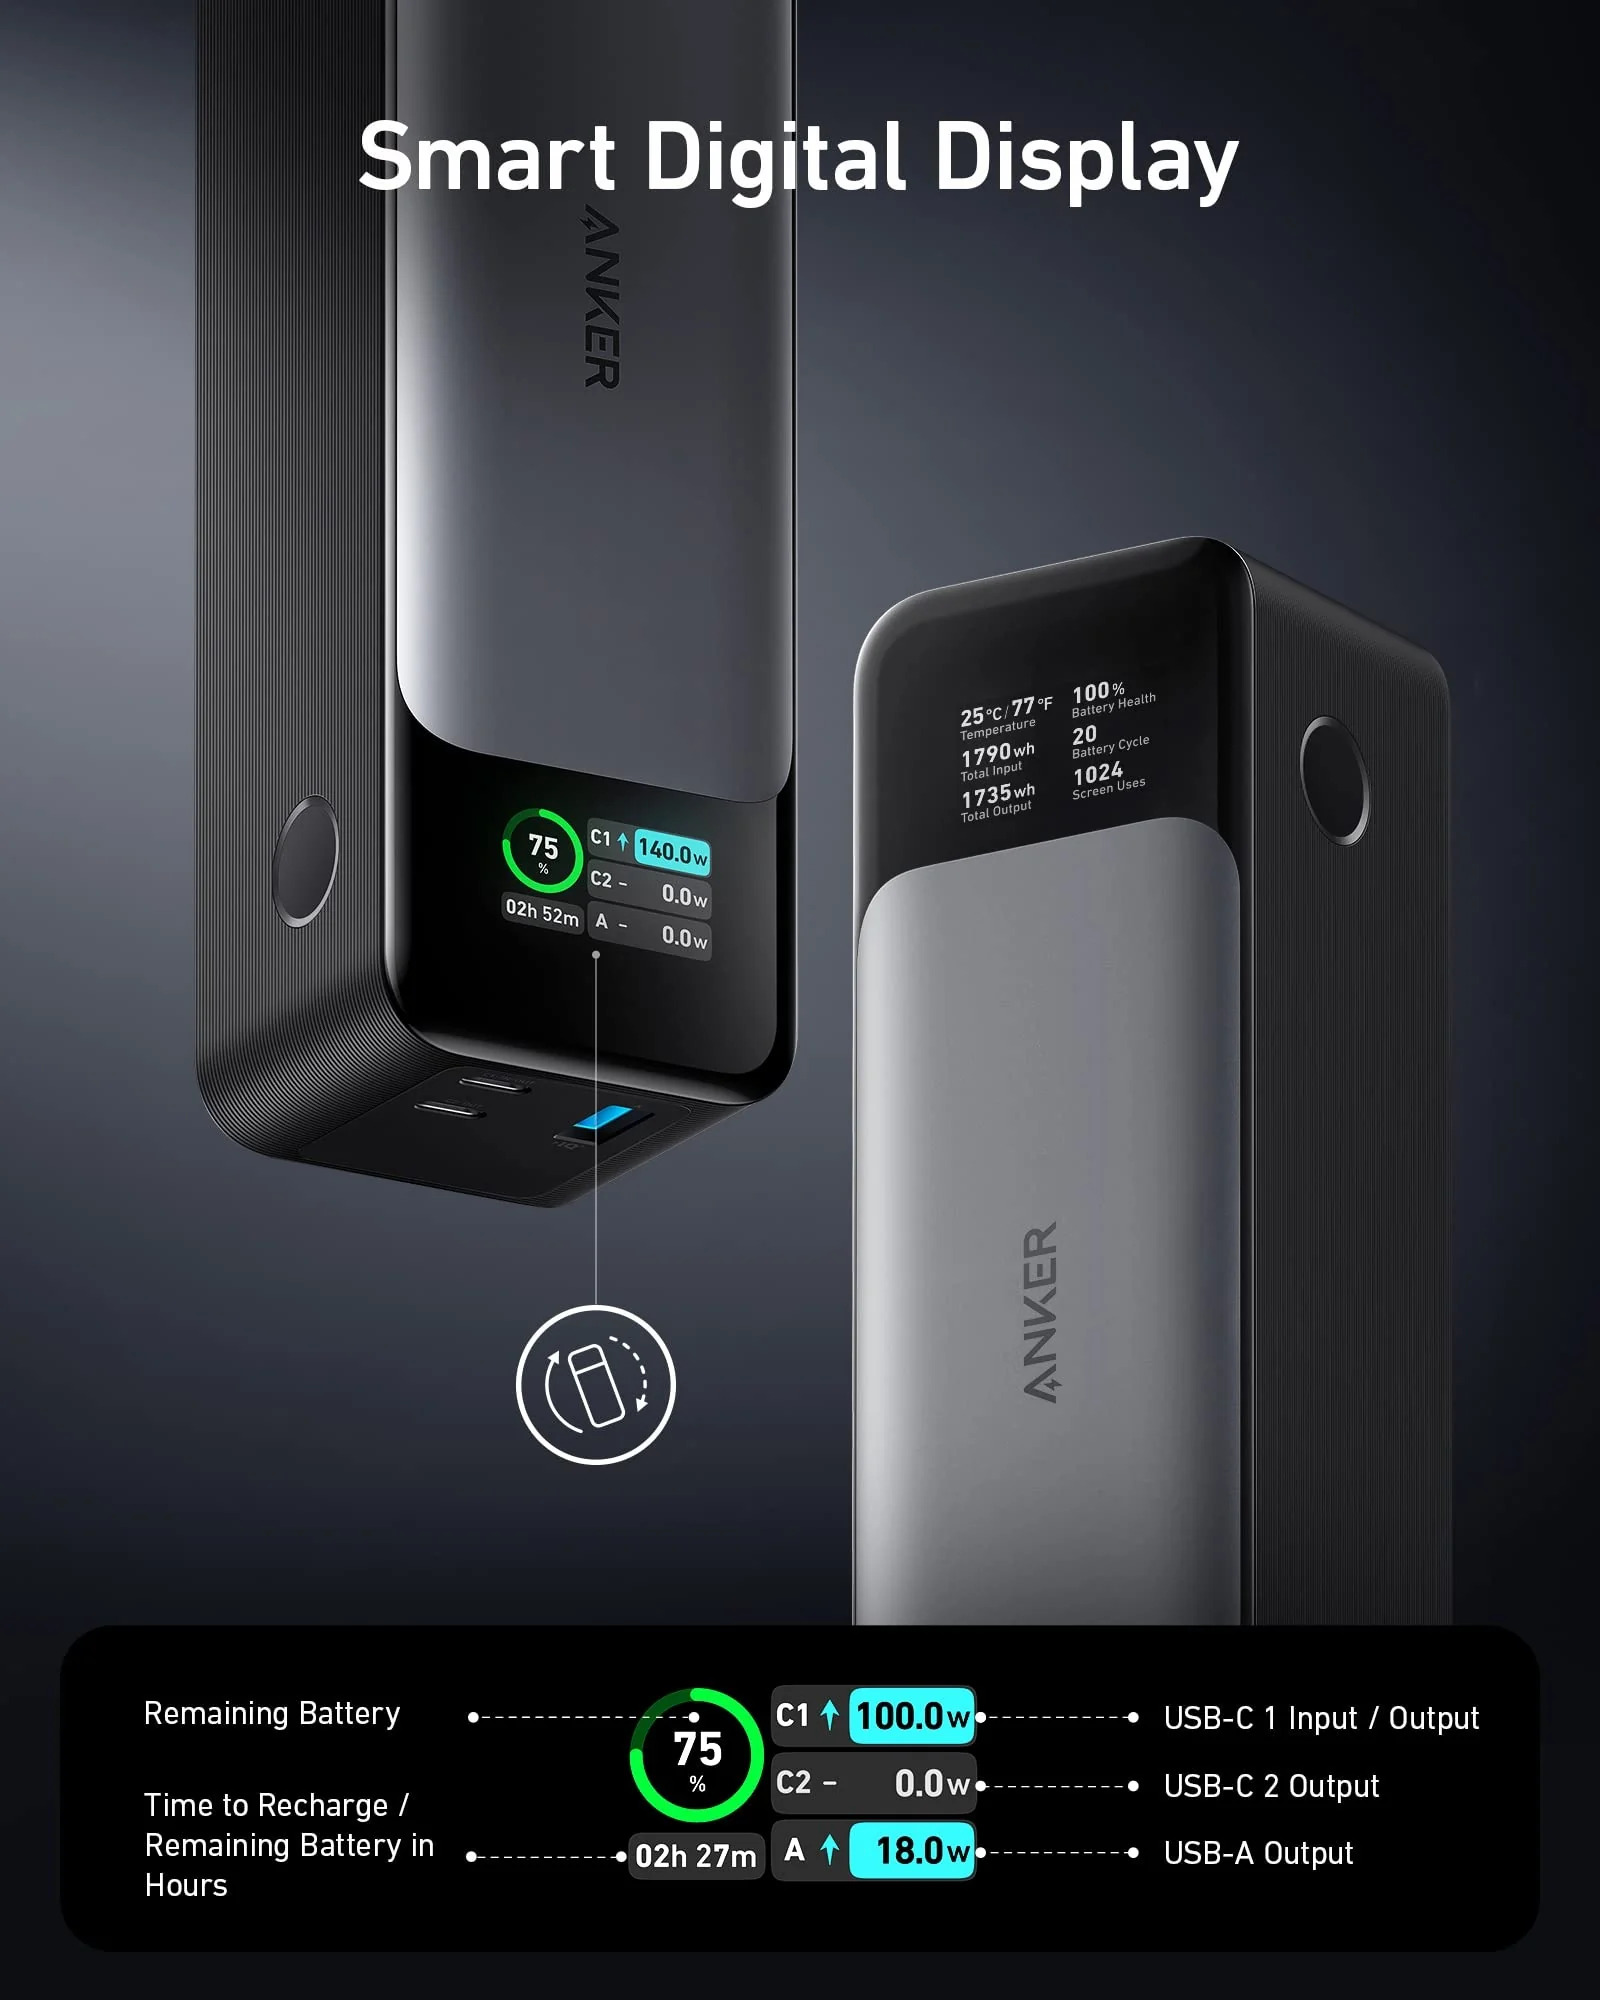
One of the key features of Anker Power Banks is their built-in power management system. This system helps to protect your devices from overcharging, over-discharging, and short-circuiting. It also includes efficient heat dissipation technology to prevent overheating during prolonged use.
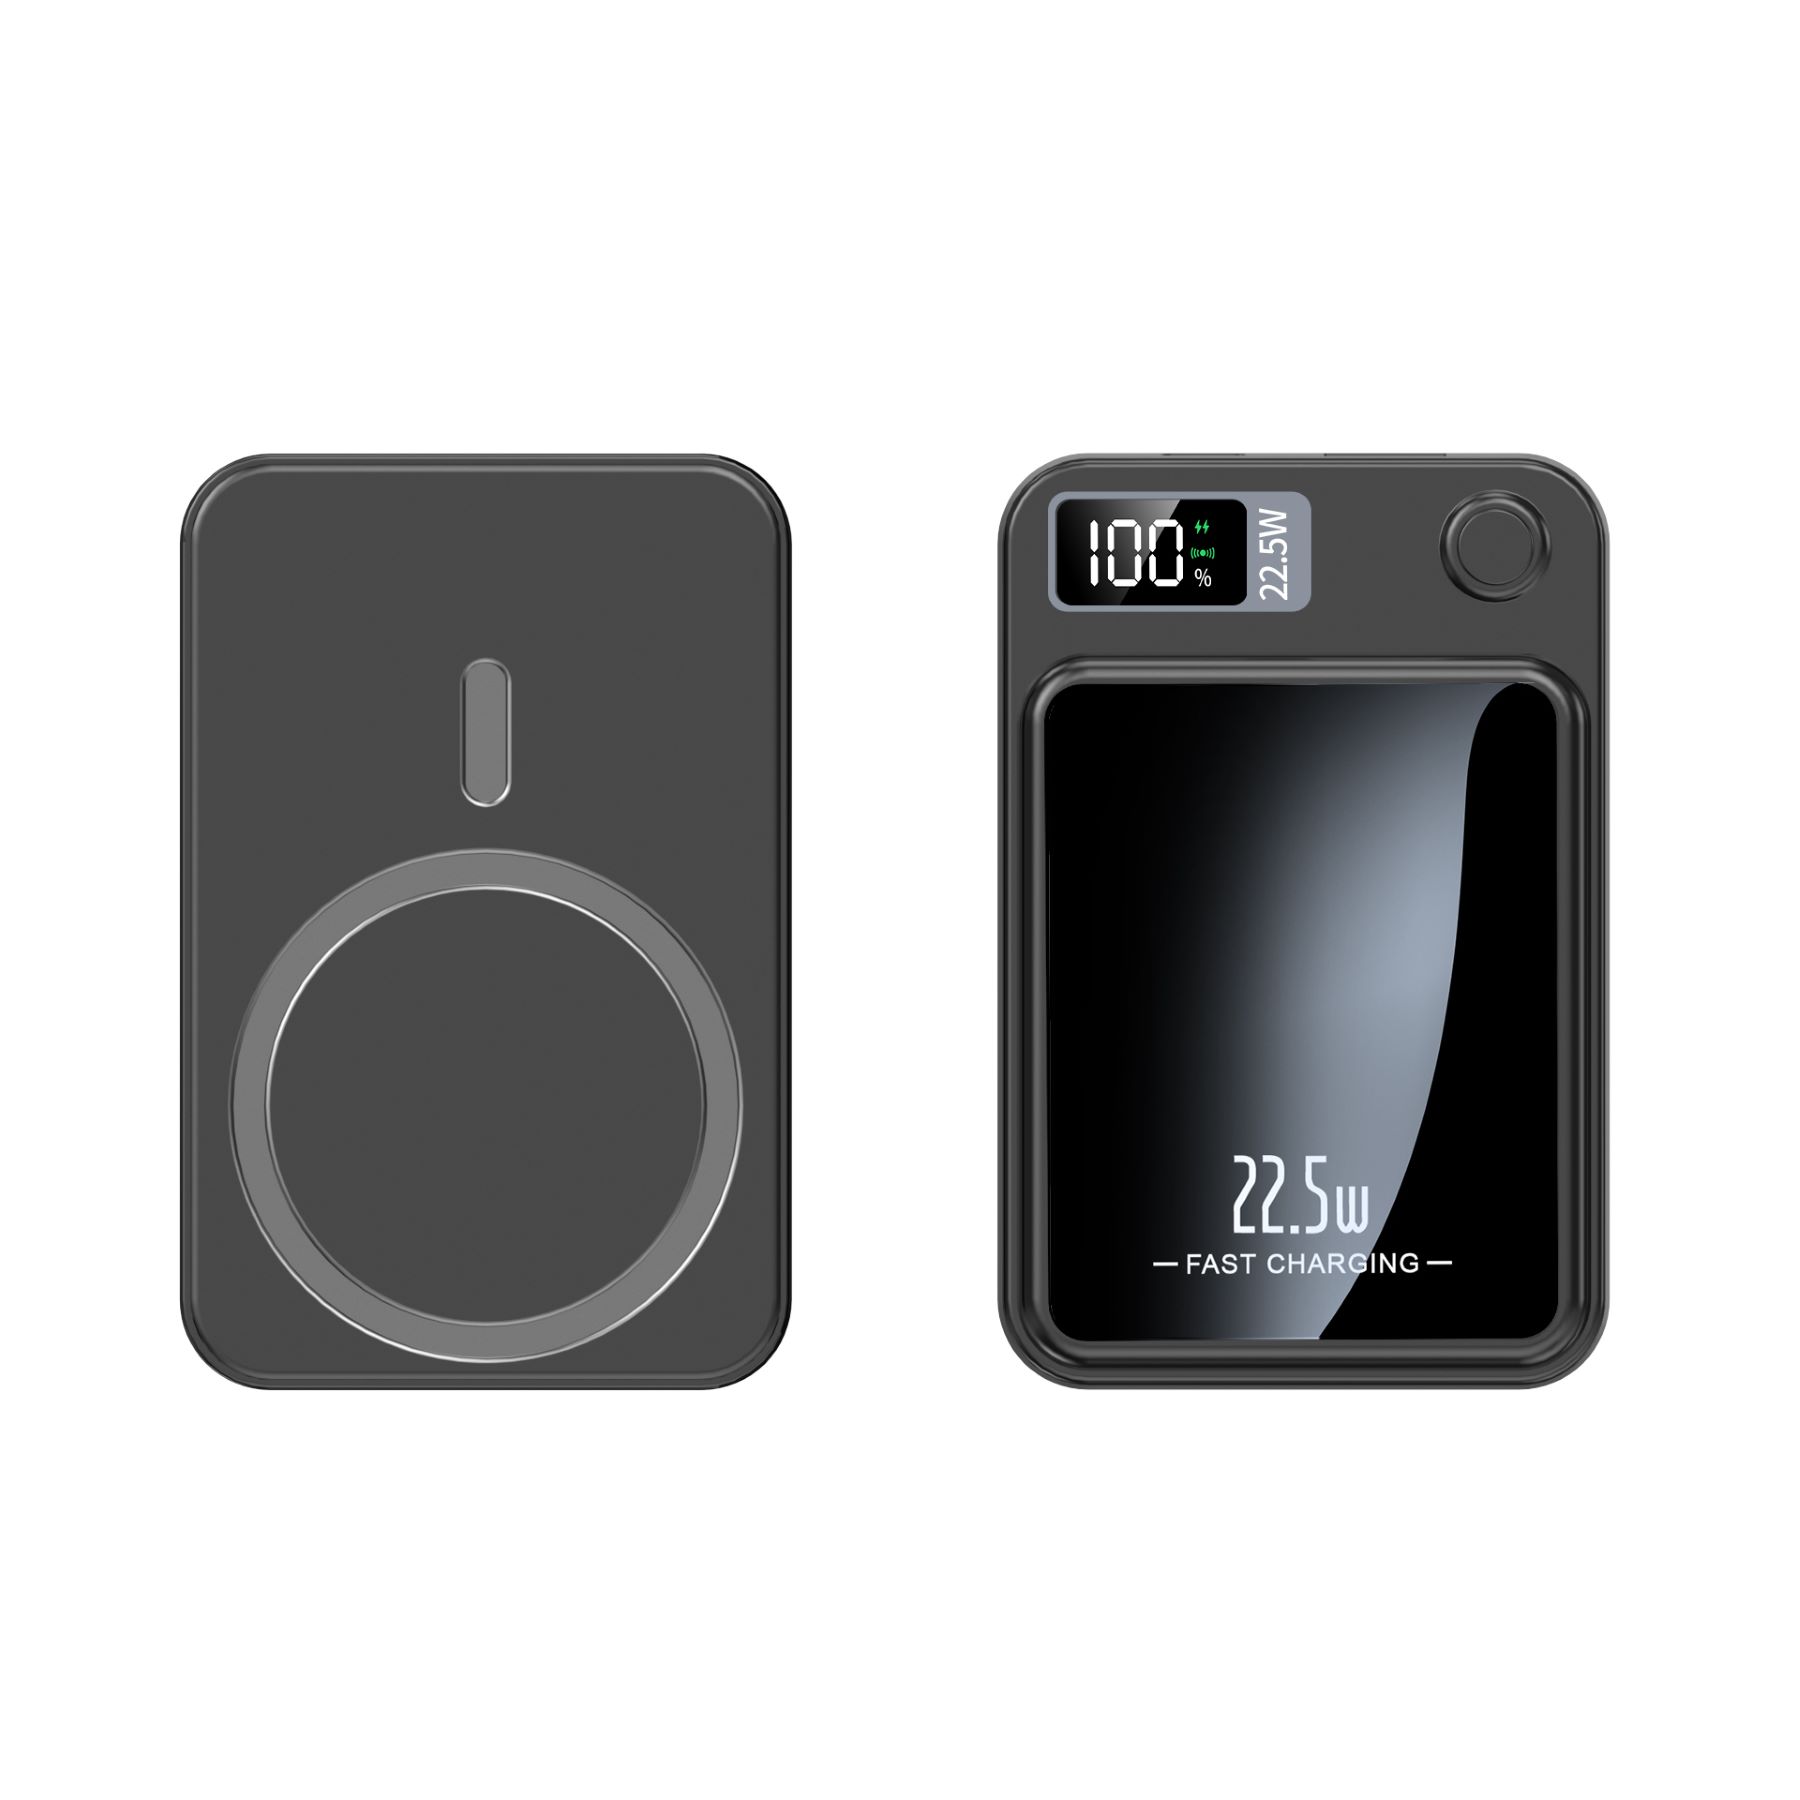
Most Anker Power Banks feature LED indicator lights that display the remaining battery capacity. These indicators are usually located near the power button or on the top or side of the power bank. The number of lights that are lit up corresponds to the amount of charge left in the power bank, giving you a clear indication of when it’s time to recharge.
Some Anker Power Banks also come with additional features, such as Quick Charge technology, which allows for faster charging of compatible devices. They may also have multiple USB ports, enabling you to charge multiple devices simultaneously.
It’s essential to familiarize yourself with the specific features of your Anker Power Bank, as this will help you make the most out of its capabilities and ensure optimal charging performance. Now that you have a better understanding of your Anker Power Bank, let’s explore the different charging methods available to you.
Using the Included USB Cable
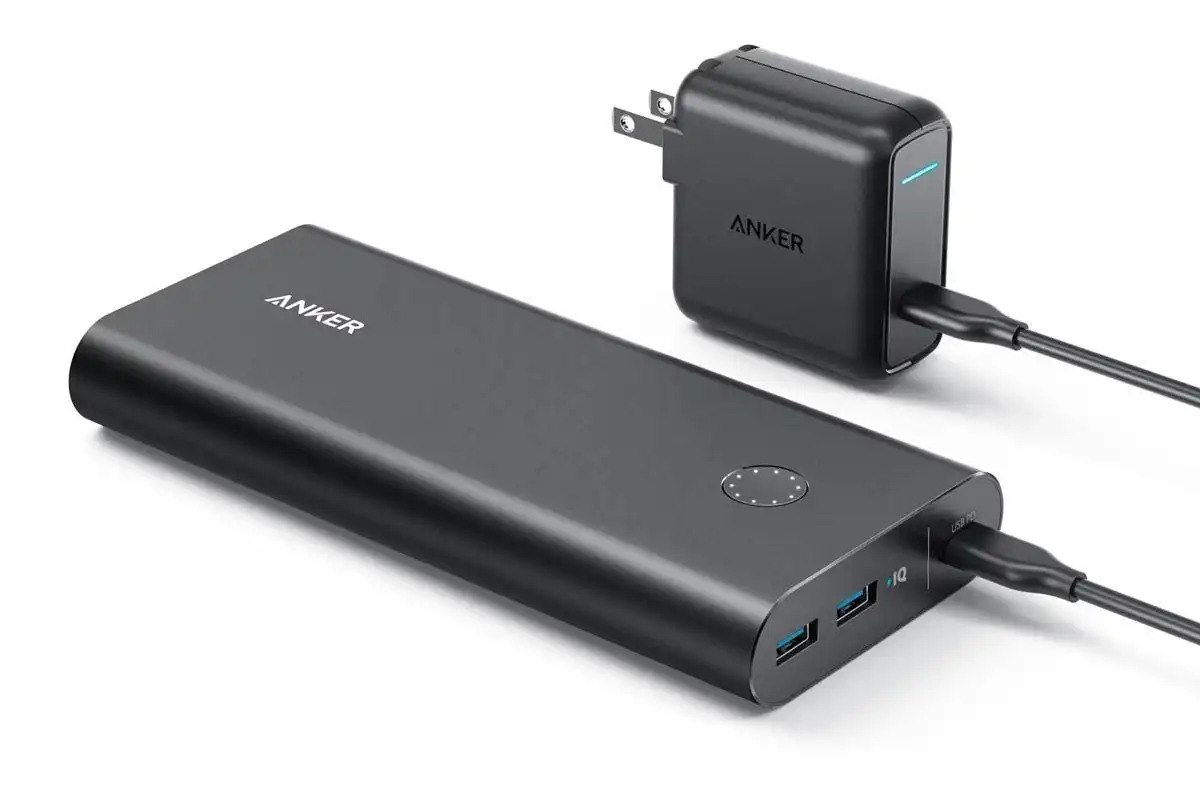
Charging your Anker Power Bank with the included USB cable is one of the simplest and most common methods. Start by connecting one end of the USB cable to the input port on the power bank. The input port is usually marked with a lightning bolt symbol. Then, plug the other end of the USB cable into a USB power source, such as a wall charger or a computer’s USB port.
It’s important to note that using a high-quality USB cable is crucial for efficient charging. The cable provided by Anker is designed to withstand high charging currents and ensure a stable connection. If you misplaced the original cable, make sure to use a certified USB cable that supports the required charging capabilities.
Once the USB cable is properly connected, the LED indicator lights on the power bank will usually start flashing or stay lit, indicating that the charging process has begun. Leave the power bank connected to the USB power source until it is fully charged. The charging time may vary depending on the capacity of your power bank and the power source’s output.
It’s worth mentioning that some newer Anker Power Banks feature a USB-C input port. In this case, you will need a USB-C to USB-A cable to connect the power bank to the USB power source. Again, ensure that the cable is of high quality and supports the required charging capabilities.
Using the included USB cable is a convenient and straightforward method to charge your Anker Power Bank. However, there are other charging options available depending on your needs and circumstances. Let’s explore these alternatives in the following sections.
Charging via a Wall Outlet
Charging your Anker Power Bank via a wall outlet is a popular and efficient method. To do this, you will need a wall charger with a USB port that matches the input of your power bank. Start by plugging the wall charger into the electrical outlet.
Next, connect one end of the USB cable to the input port of your Anker Power Bank and the other end to the USB port on the wall charger. Ensure that the connection is secure and stable.
Once connected, the LED indicator lights on the power bank will typically start flashing or stay lit, indicating that the charging process has commenced. Leave the power bank connected to the wall charger until it is fully charged. The charging time will depend on the capacity of your power bank and the power output of the wall charger.
Anker Power Banks are designed with safety measures to protect your devices from damage while charging. They employ advanced voltage detection and regulation to prevent overcharging and overheating, ensuring a safe and reliable charging experience.
When charging your Anker Power Bank via a wall outlet, make sure to use a high-quality wall charger that is compatible with the power bank’s input requirements. Using a certified charger will not only optimize the charging speed but also ensure the safety and longevity of your power bank.
Charging your Anker Power Bank via a wall outlet is a convenient method that allows for quick and efficient charging. However, there are alternative options available when a wall outlet is not readily accessible. Let’s explore another popular method – charging via a USB port – in the next section.
Charging via a USB Port
Charging your Anker Power Bank via a USB port provides flexibility and convenience, as most devices today are equipped with USB ports. Whether you’re using a computer, laptop, or a USB power adapter, this method allows you to charge your power bank without the need for a dedicated charger.
To start, connect one end of the USB cable to the input port of your Anker Power Bank. The input port is usually marked with a lightning bolt symbol. Next, plug the other end of the USB cable into a USB port on your computer, laptop, or a USB power adapter.
It’s important to note that when charging your power bank via a USB port, the charging speed may vary depending on the power output of the USB port. USB 3.0 ports generally provide faster charging rates compared to USB 2.0 ports. Nonetheless, your Anker Power Bank is designed to efficiently charge even with lower power outputs.
Once the USB cable is properly connected, the LED indicator lights on your power bank will usually start flashing or stay lit, indicating that the charging process has begun. Leave the power bank connected until it reaches full charge. The charging time will depend on the capacity of your power bank and the power output of the USB port.
Charging your Anker Power Bank via a USB port is an ideal method when you’re on the go or don’t have immediate access to a wall outlet. It allows you to charge your power bank using devices that are commonly available, ensuring that you can stay powered up wherever you are.
Now that we’ve covered charging via a USB port, let’s explore another unique and eco-friendly charging option – charging your Anker Power Bank with solar panels.
Charging with Solar Panels
Charging your Anker Power Bank with solar panels offers a sustainable and environmentally friendly option, especially when you’re in outdoor settings or off the grid. Anker Power Banks are compatible with various solar panels, allowing you to harness the power of the sun to charge your devices.
When using solar panels to charge your power bank, you’ll need a solar panel with a USB output. These panels are typically equipped with ports that allow you to connect your power bank directly, without the need for any additional cables.
Start by positioning the solar panel in direct sunlight. Ensure that the panel is placed at a suitable angle to maximize sunlight exposure. Connect your Anker Power Bank to the USB output of the solar panel. The LED indicator lights on the power bank may start flashing or remain lit, indicating that it’s charging.
It’s essential to note that the charging speed may vary depending on factors such as sunlight intensity and the capacity of the solar panel. Charging with solar panels may take longer compared to traditional power sources. However, it provides a sustainable and reliable option for keeping your Anker Power Bank charged when conventional charging methods are not available.
When utilizing solar panels, it’s crucial to choose high-quality panels that are designed for efficient energy conversion. Additionally, keep in mind that weather conditions, such as cloudy or overcast skies, may affect the charging performance. Therefore, it’s advisable to plan accordingly and make the most of sunny days for optimal charging with solar panels.
Charging your Anker Power Bank with solar panels not only allows you to harness renewable energy but also provides a sense of independence, making it an excellent choice for outdoor enthusiasts and environmentally conscious individuals.
Now that we’ve explored the various charging methods for your Anker Power Bank, let’s move on to the next section, where we’ll discuss how to check the charging status.
Checking the Charging Status
Checking the charging status of your Anker Power Bank is essential to monitor the progress and ensure that it is being charged properly. Most Anker Power Banks are equipped with LED indicator lights that provide information about the battery level and charging status.
Typically, these LED indicator lights are located near the power button or on the top or side of the power bank. The number of lights that are lit up or their flashing patterns indicate the remaining battery capacity or the charging status.
When you connect your power bank to a power source, whether it’s a wall charger, USB port, or solar panel, the LED lights will usually start flashing or stay lit to indicate that the charging process has begun.
As the power bank charges, the LED lights will progressively light up or change their blinking patterns to demonstrate the increase in the battery capacity. This allows you to estimate how much charge is left in the power bank or how close it is to being fully charged.
If all the LED lights are lit up or if the lights stop flashing and remain steady, it indicates that the power bank is fully charged and ready to use. At this point, you can disconnect it from the power source and safely use it to charge your devices on the go.
It’s essential to periodically check the charging status of your Anker Power Bank to ensure that it is being charged correctly. This helps you plan your charging times accordingly and ensures that you have a fully charged power bank when you need it the most.
Now that you’re familiar with how to check the charging status, it’s crucial to keep in mind some safety tips to ensure the longevity and safe use of your Anker Power Bank. Let’s dive into the next section for more details.
Charging Safety Tips
While charging your Anker Power Bank, it’s important to follow some safety tips to ensure the longevity of your power bank and the safety of your devices. Here are some essential guidelines to keep in mind:
- Use the provided or certified cables: Always use the original USB cable provided by Anker or certified cables that support the required charging capabilities. Using low-quality or incompatible cables can result in inefficient charging or even cause damage to your power bank.
- Avoid extreme temperatures: Do not expose your Anker Power Bank to extreme temperatures, such as direct sunlight, excessive heat, or freezing conditions. High temperatures can damage the battery, while low temperatures can reduce its efficiency.
- Disconnect after fully charged: Once your power bank is fully charged, disconnect it from the power source. Overcharging can shorten the lifespan of the battery and may even lead to safety risks.
- Avoid charging overnight: While it may be tempting to leave your power bank charging overnight, it is advisable to avoid doing so. This helps prevent overcharging and minimizes the risk of any unforeseen incidents during your sleep.
- Keep away from flammable materials: During the charging process, power banks may generate heat. To minimize the risk of fire or damage, always place your power bank on a flat, stable surface away from flammable materials.
- Store in a cool and dry place: When not in use, store your Anker Power Bank in a cool and dry place. Avoid exposing it to moisture or high humidity, as these conditions may damage the internal components of the power bank.
Following these safety tips will help you maintain the optimal performance and safety of your Anker Power Bank. Incorporating these practices into your routine charging habits ensures a longer lifespan for your power bank and gives you peace of mind while using it.
Now that we have covered the charging methods, how to check the charging status, and important safety tips, let’s wrap up this comprehensive guide to charging your Anker Power Bank.
Conclusion
In conclusion, keeping your Anker Power Bank charged and ready to go is essential for ensuring that your devices never run out of battery power, no matter where you are. Whether you choose to use the included USB cable, charge via a wall outlet, a USB port, or harness the power of solar panels, Anker Power Banks offer versatility and convenience.
Understanding the features of your Anker Power Bank, such as its power management system and LED indicator lights, allows you to make the most out of its capabilities. Checking the charging status periodically ensures you have a clear idea of the remaining battery capacity and can plan your charging times accordingly.
As you engage in charging your Anker Power Bank, it’s important to follow the provided safety tips. Using high-quality cables, avoiding extreme temperatures, disconnecting the power bank after it’s fully charged, and storing it in a cool and dry place all contribute to maintaining its performance and safety.
By employing these best practices and utilizing the various charging methods available, you can maximize the convenience and longevity of your Anker Power Bank. Whether you’re on a business trip, exploring the great outdoors, or simply going about your daily routine, a fully charged Anker Power Bank ensures that you stay connected without interruptions.
Make sure to refer back to this guide whenever you need a quick refresher on how to charge your Anker Power Bank. With the right knowledge and careful consideration, you can enjoy the benefits of reliable power backup for your devices whenever and wherever you need it.
Now, go ahead and confidently charge your Anker Power Bank, knowing that you have the expertise to do it effectively and safely!