Introduction
Welcome to our guide on how to wire power to a 3D printer switch. If you’re new to operating a 3D printer, you might be wondering how to properly connect the power supply and switch to ensure safe and efficient power management. Fortunately, with our step-by-step instructions and a few tools, you’ll be able to wire the power supply to the switch like a pro.
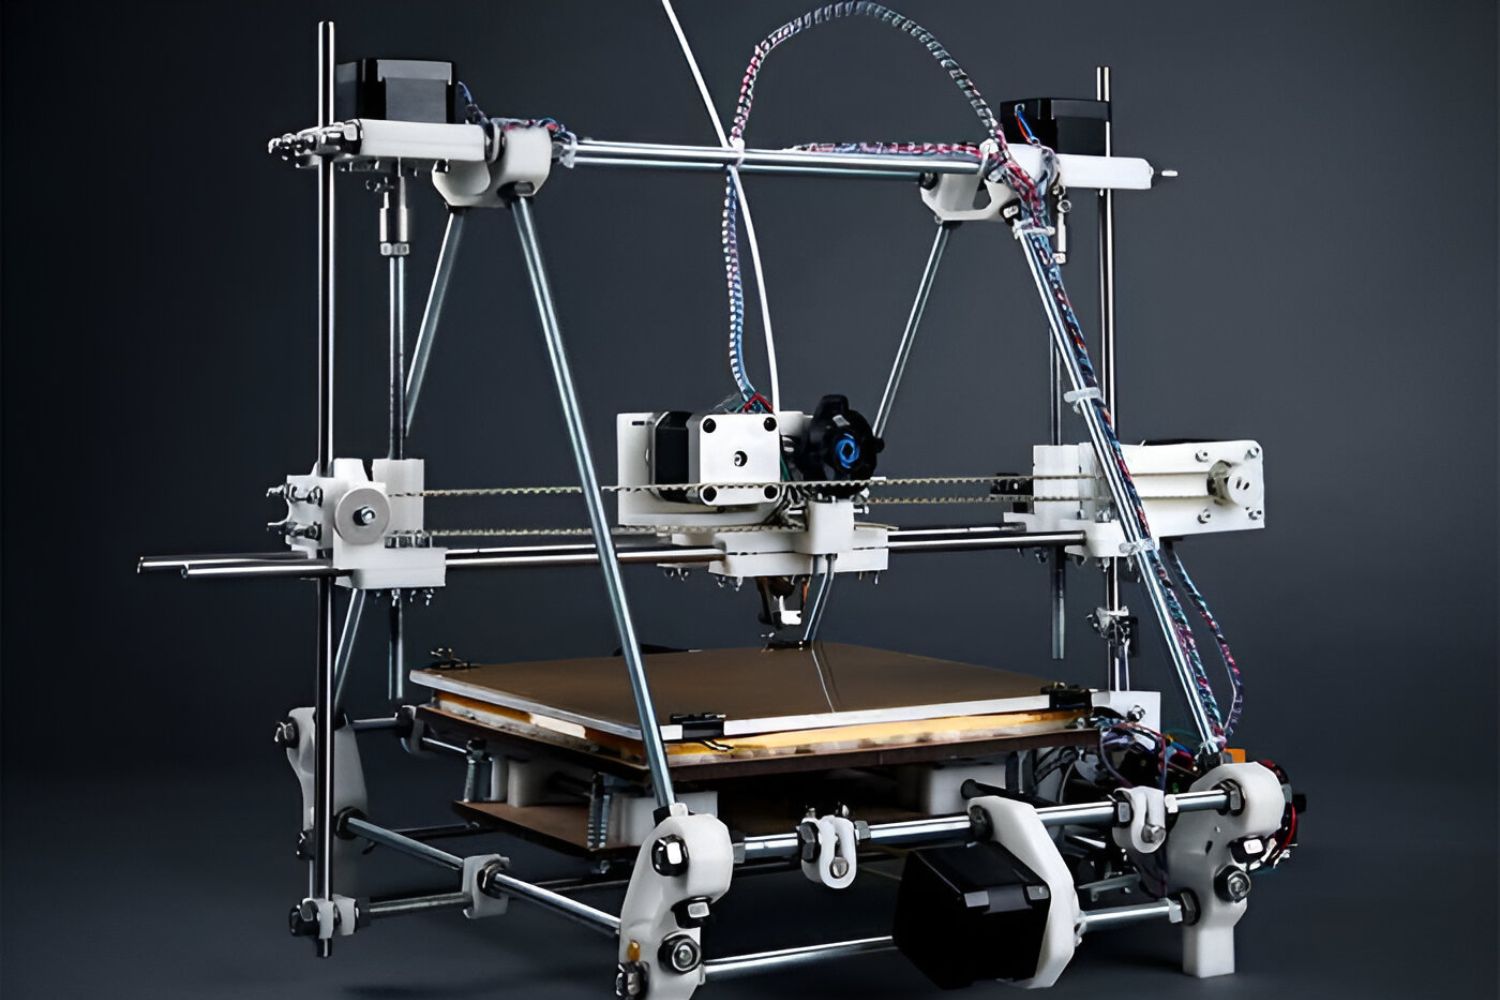
A 3D printer switch is an essential component that allows you to control the flow of power to your printer. It acts as a safety feature, allowing you to easily turn the printer on and off, ensuring that the power supply is safely disconnected when not in use. By properly wiring power to the switch, you’ll have better control over the power supply, reducing the risk of electrical accidents and damage to your printer.
In this guide, we’ll walk you through the process of wiring power to a 3D printer switch step by step. We’ll start by explaining the different tools and materials you’ll need for the project. Then, we’ll guide you through the planning and safety precautions to ensure a smooth installation. Following that, we’ll show you how to wire the power supply and connect the switch. Finally, we’ll go over testing the connection and common troubleshooting issues.
It’s important to note that while we provide general instructions, it’s always advisable to consult your 3D printer’s manual and follow any specific guidelines provided by the manufacturer. Additionally, if you’re not comfortable working with electrical components, it’s best to seek assistance from a qualified professional to ensure the job is done safely and correctly.
So, let’s get started with the tools and materials you’ll need for wiring power to a 3D printer switch!
Tools and Materials Needed
Before you begin wiring power to a 3D printer switch, it’s important to gather all the necessary tools and materials to ensure a successful installation. Here’s a list of what you’ll need:
- Screwdriver set (Phillips and flathead)
- Wire cutters/strippers
- Electrical tape
- Wire connectors
- Crimping tool
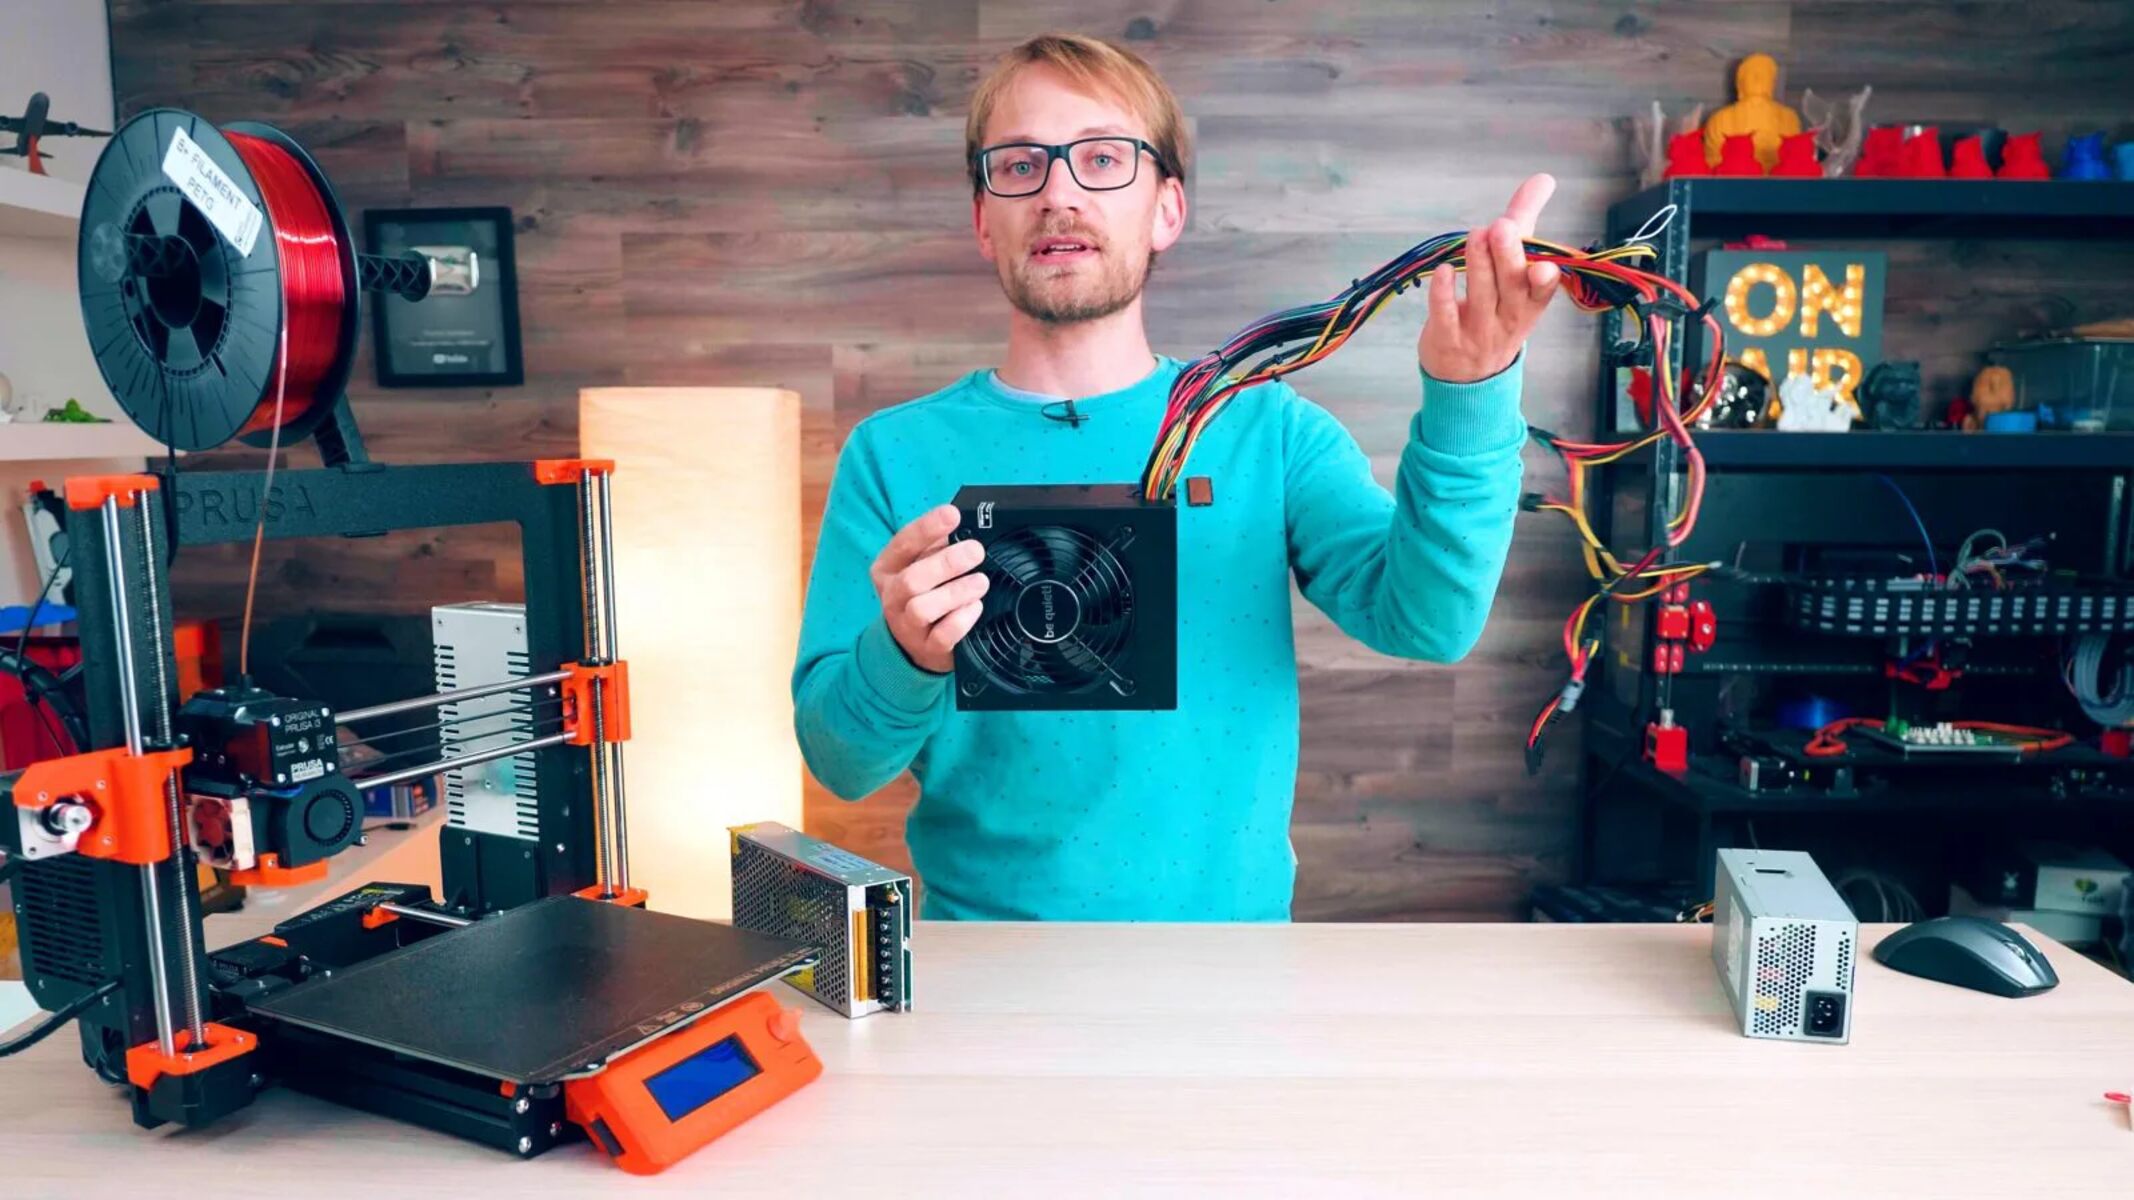
- Power supply unit
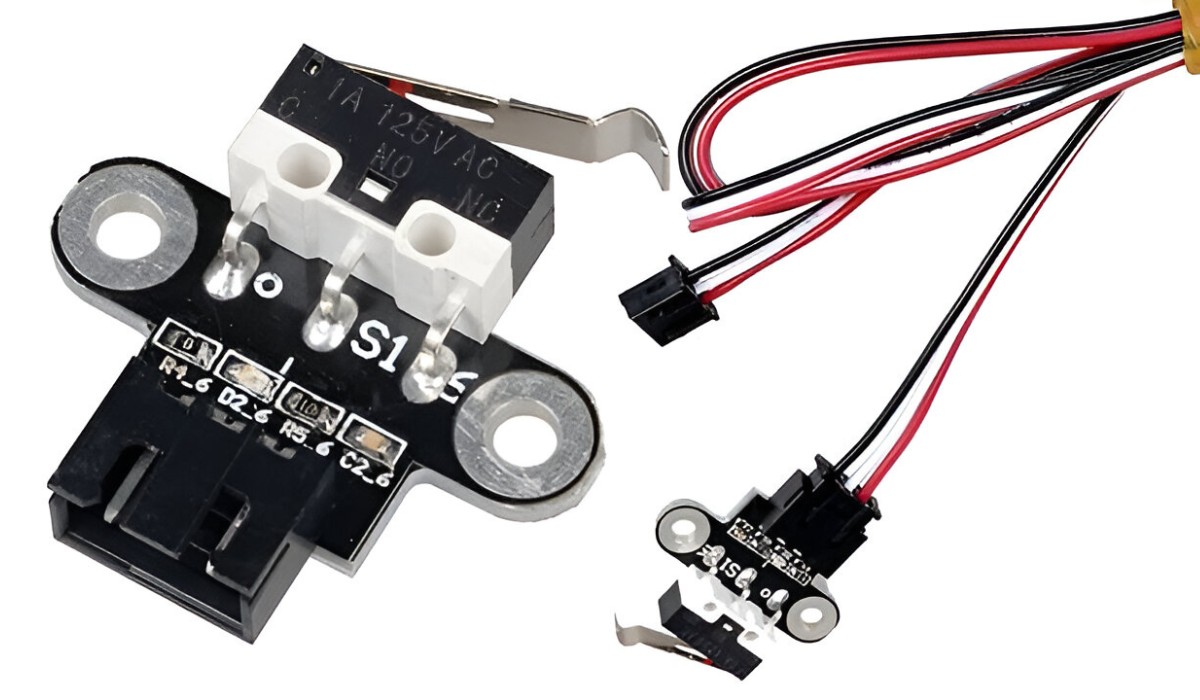
- 3D printer switch
- Electrical wires (red and black)
- Wire nuts
- Wire clamps
The screwdriver set will be used for securing wires and components, while the wire cutters/strippers will help you prepare the wires for connecting. Electrical tape is crucial for insulating exposed wires and providing an extra layer of protection. Wire connectors are necessary for joining wires together securely, and a crimping tool will assist you in properly attaching the connectors.
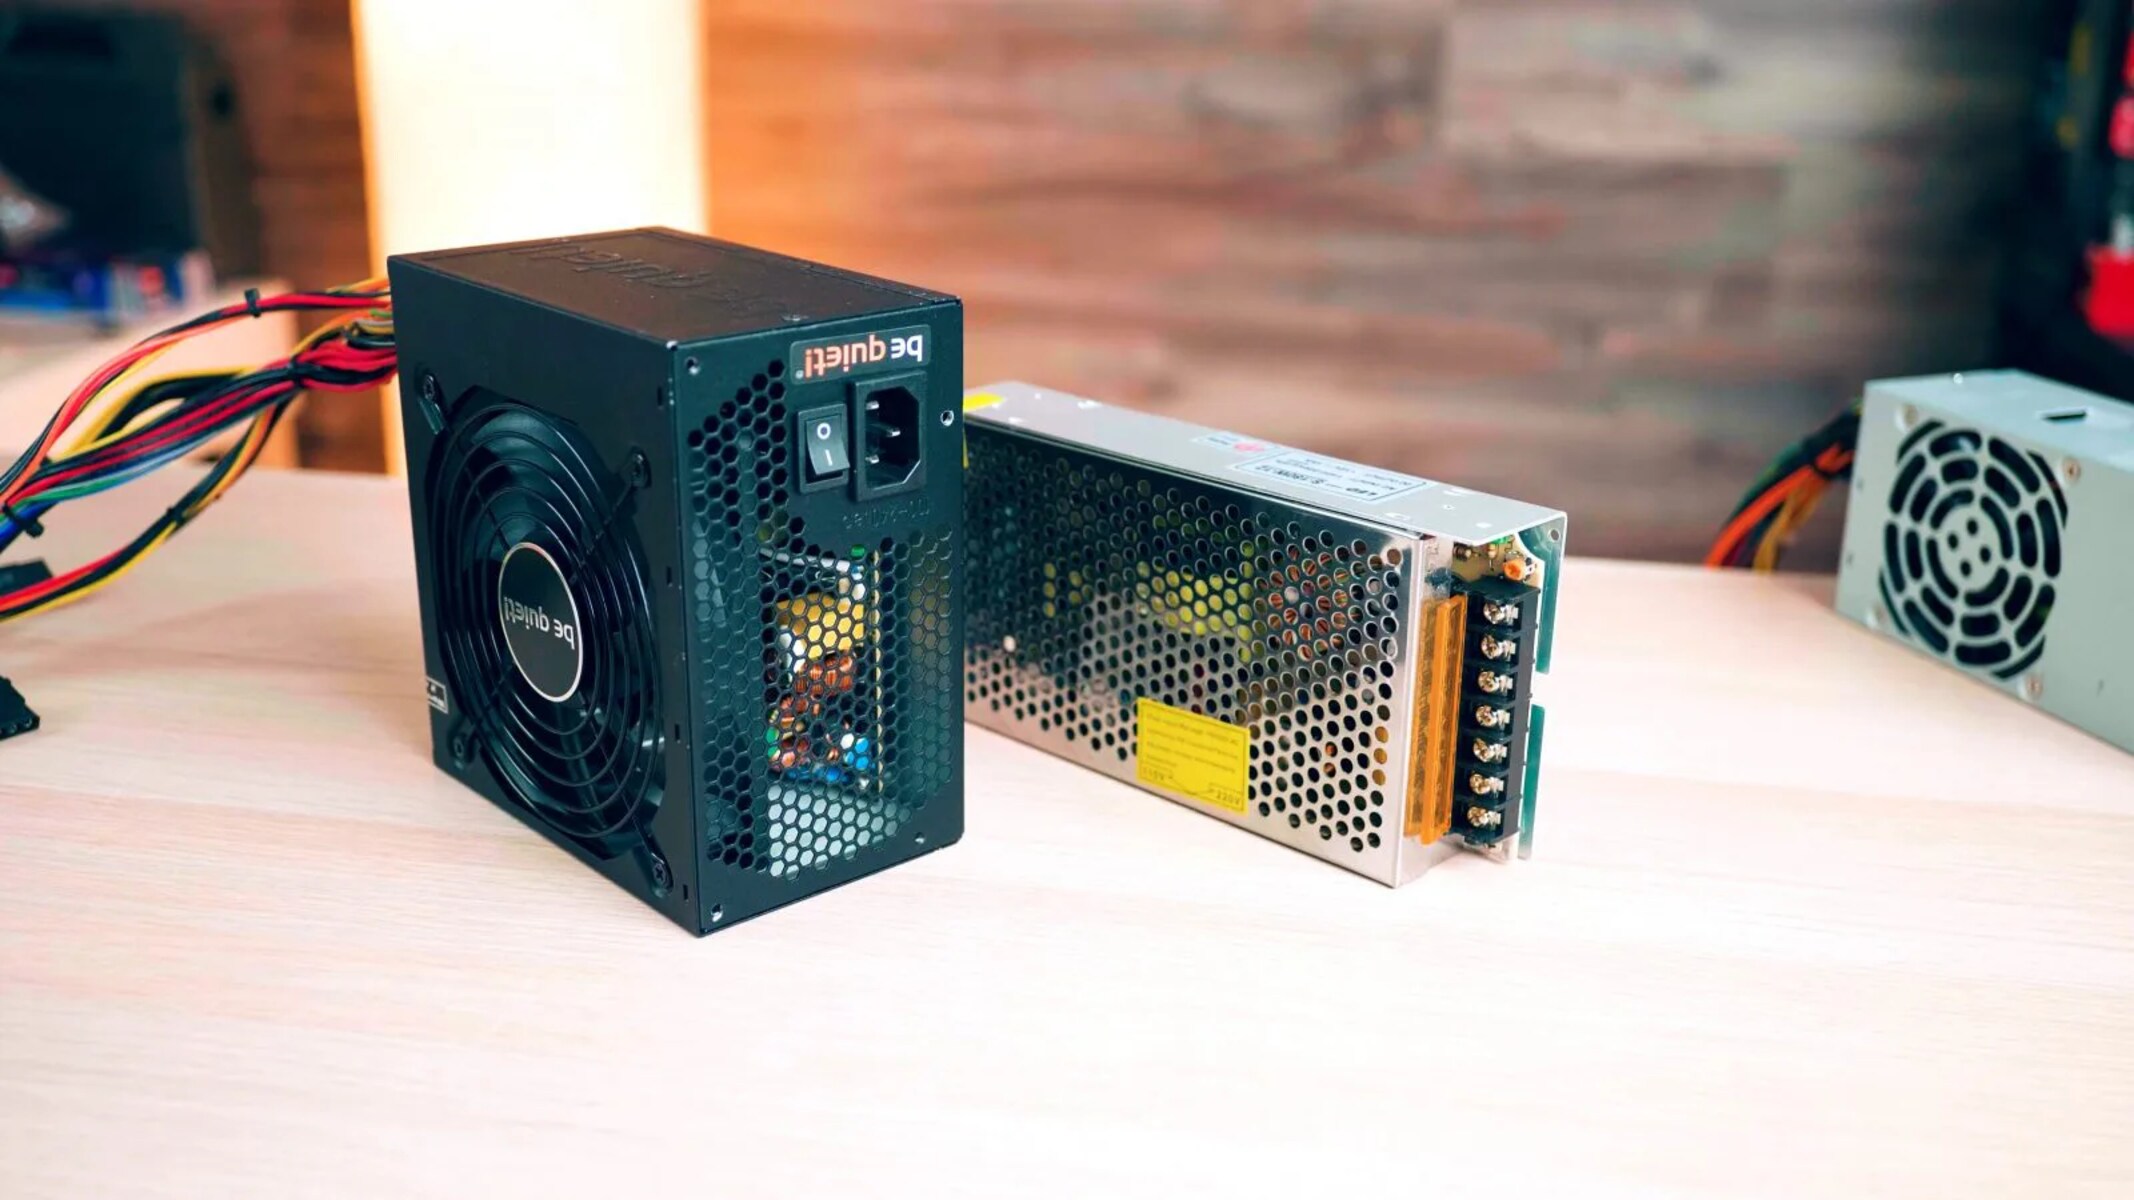
The power supply unit is a vital component that provides the necessary voltage and current for your 3D printer to operate. Ensure you have a compatible power supply unit for your specific printer model. The 3D printer switch will serve as the control point for turning the power on and off.
When it comes to electrical wires, it’s recommended to use red and black wires for power connections. The red wire typically represents positive (+) polarity, while the black wire signifies negative (-) polarity. Wire nuts enable you to securely connect multiple wires, and wire clamps help to organize and secure the wiring in place.
Having these tools and materials ready before you start the wiring process will make the installation smoother and more efficient. Make sure to double-check the compatibility of the materials with your 3D printer model for optimal performance and safety.
Step 1: Understanding the 3D Printer Switch
Before you dive into wiring power to a 3D printer switch, it’s essential to have a clear understanding of how the switch works and its role in the overall power management system of your printer. This knowledge will help you properly connect the switch and ensure its functionality. Let’s delve into the details:
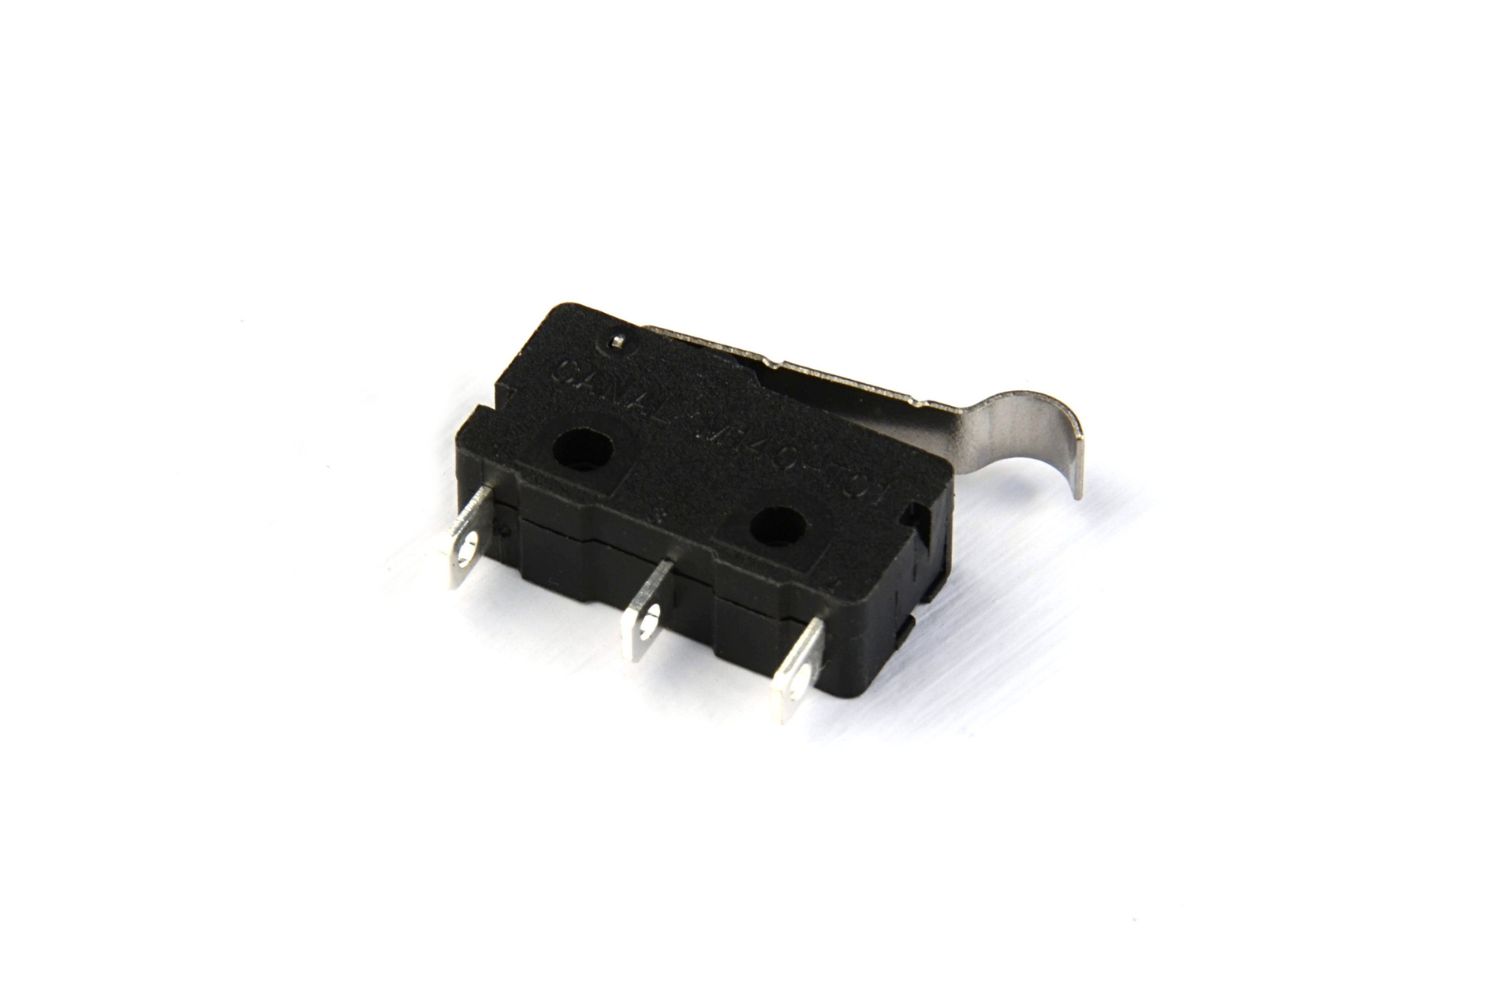
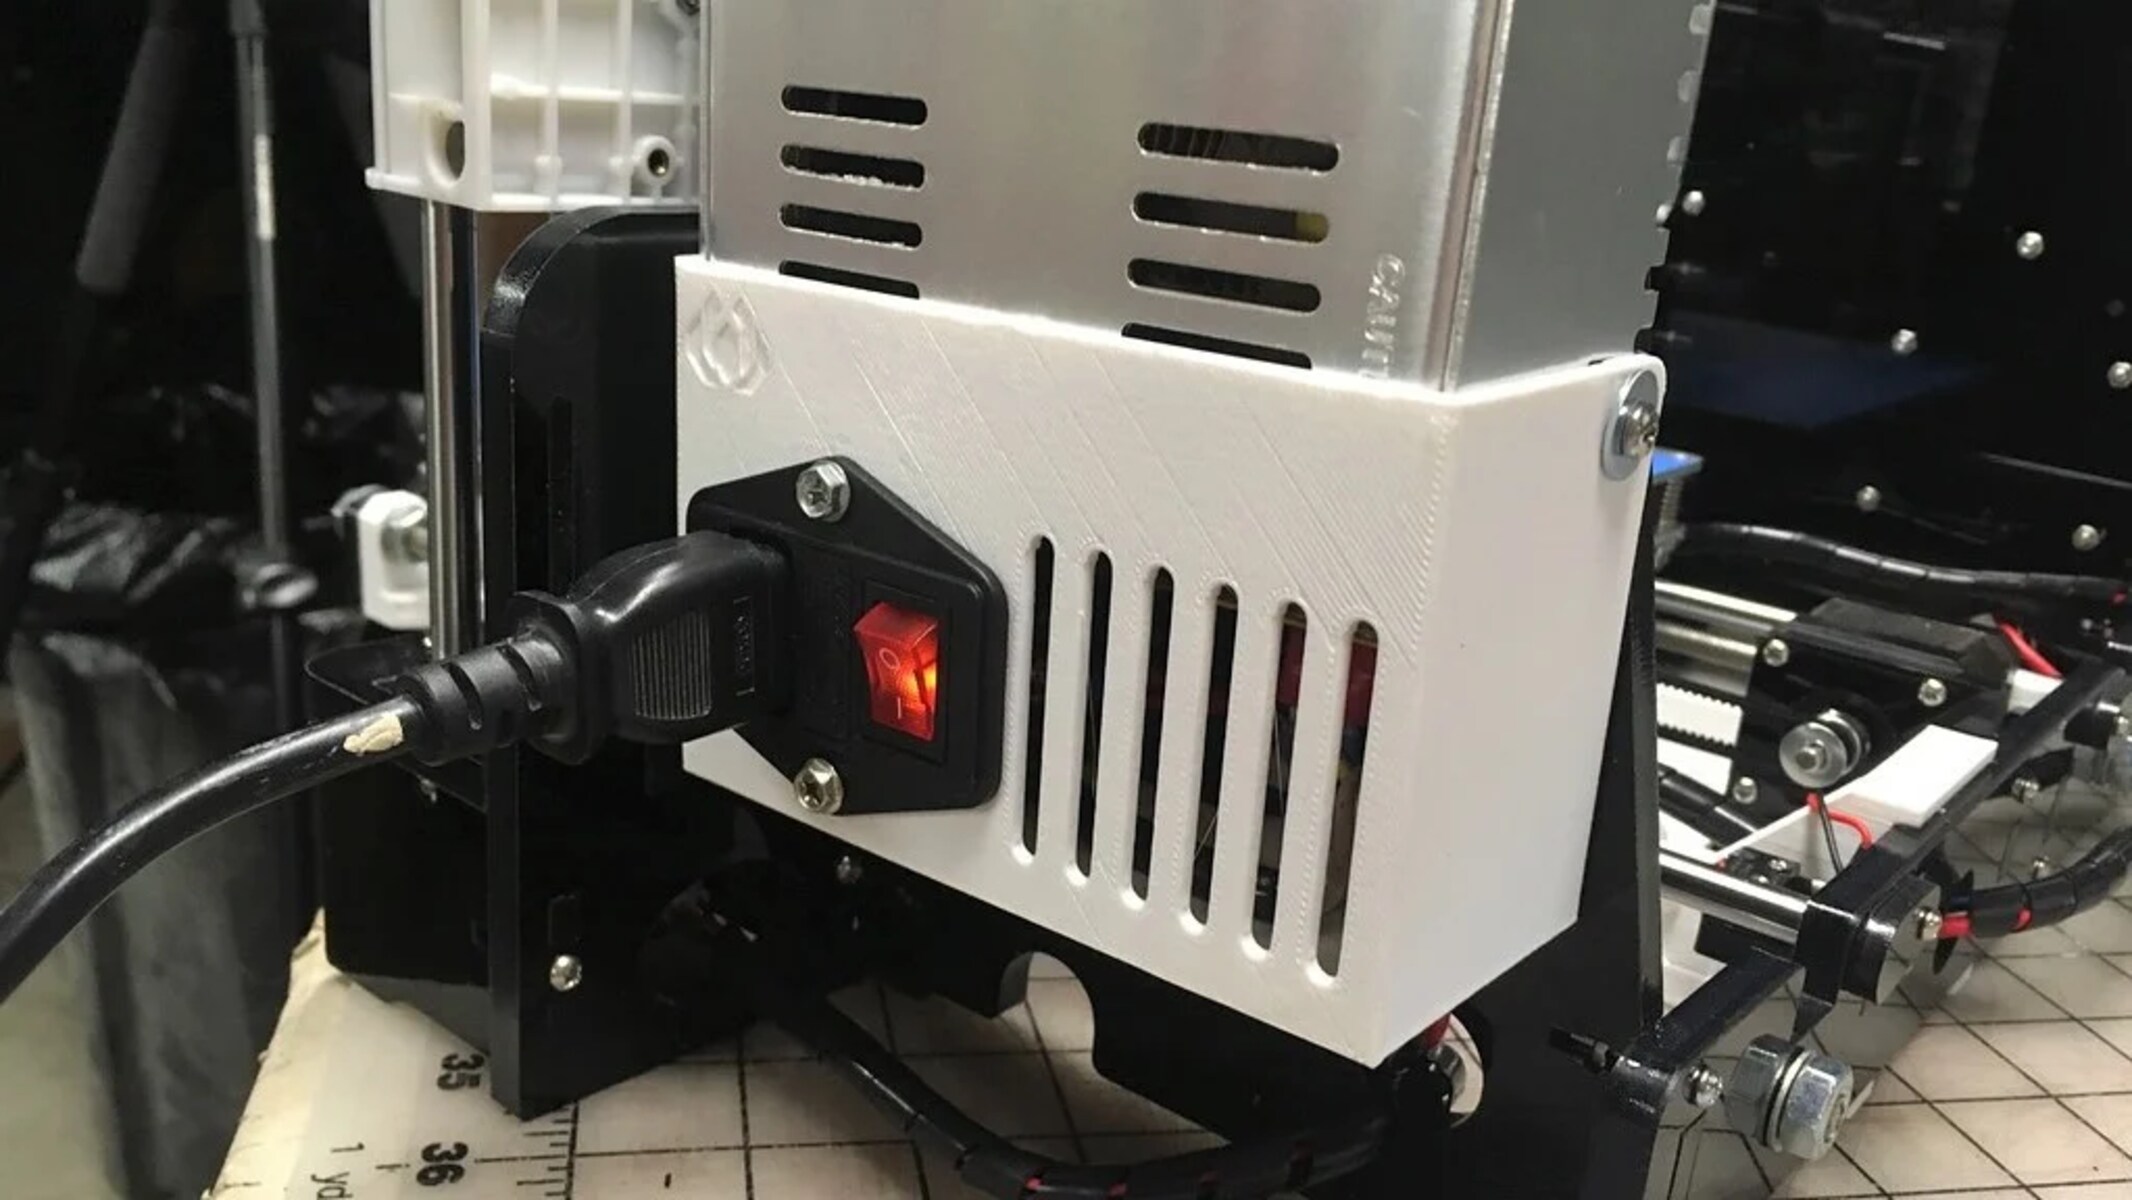
The 3D printer switch typically consists of two main components: the switch itself and the switch housing. The switch is the physical button or toggle that you press or flip to turn the power on and off. The switch housing, on the other hand, is the protective cover that houses the switch and ensures its stability.
When the switch is in the “off” position, it breaks the electrical connection between the power supply and the 3D printer. This prevents power from reaching the printer, ensuring it remains safely powered down. Conversely, when the switch is toggled to the “on” position, it completes the electrical circuit and allows power to flow from the power supply to the printer, enabling its operation.
Understanding the 3D printer switch’s function is crucial for proper installation and operation. It enables you to easily control the power supply and avoid any potential electrical hazards or damage to your printer. Additionally, being familiar with the switch’s components will help you identify any irregularities or issues that may arise during the wiring process.
It’s important to note that 3D printer switches can vary in design and functionality depending on the model and manufacturer. Therefore, it’s always recommended to refer to your specific printer’s manual for detailed instructions on how to properly install and connect the switch.
Now that you understand the basic principles of the 3D printer switch, you’re ready to move on to the next step: planning the power wiring. So let’s proceed and ensure a smooth and efficient installation of the power supply and switch!
Step 2: Planning the Power Wiring
When it comes to wiring power to a 3D printer switch, proper planning is crucial to ensure an organized and efficient installation. Taking the time to plan out your power wiring will help you avoid potential issues and make the connection process much smoother. Here are the key considerations for planning your power wiring:
1. Location of the power supply: Determine where the power supply unit will be positioned in relation to your 3D printer. Ideally, it should be placed in close proximity to the printer for convenience and accessibility.
2. Length of the electrical wires: Measure the distance between the power supply unit and the printer to determine the length of the electrical wires needed for the connection. It’s always better to have slightly longer wires to allow for flexibility during installation.
3. Cable management: Plan how you will manage and route the wires to maintain a neat and organized setup. Consider using cable clips or wire clamps to secure the wiring and prevent it from tangling or interfering with the printer’s operation.
4. Safety precautions: Identify any potential hazards or safety concerns in the vicinity of the power supply unit and the printer. Ensure that the wiring is not exposed to sharp edges or objects that could cause damage to the wires or pose a risk of electrical shock.
5. Wire connectors and color coding: Decide on the type of wire connectors you will use to join the wires together. Additionally, consider using red wires for positive connections and black wires for negative connections to follow a standardized color coding convention.
6. Accessibility: Ensure that the switch is easily accessible and within reach so that you can conveniently turn the printer on and off as needed.
By taking these factors into account during the planning phase, you’ll have a clear roadmap for the power wiring process, resulting in a well-organized and safe installation. Once you have a solid plan in place, you’re ready to move on to the next step: taking safety precautions. Let’s make sure we prioritize safety throughout the wiring process!
Step 3: Safety Precautions
Before you begin the process of wiring power to a 3D printer switch, it’s crucial to prioritize safety. Working with electrical components carries inherent risks, and taking the necessary precautions will help protect you and your equipment. Follow these safety guidelines to ensure a safe and successful power connection:
1. Power off and unplug: Before starting any wiring work, make sure to power off your 3D printer and unplug it from the electrical outlet. This ensures that there is no live electricity flowing through the system, reducing the risk of electrical shock.
2. Wear protective gear: It’s essential to wear appropriate protective gear, including safety glasses and insulated gloves, to protect yourself from any potential electrical hazards. This is especially important when working with exposed wires or electrical connections.
3. Work in a well-ventilated area: Ensure that you are working in a well-ventilated area to minimize the risk of inhaling any fumes or odors that may be emitted during the installation process. If necessary, use a fan or open windows to improve airflow.
4. Insulate exposed wires: Insulate any exposed wires or connections with electrical tape to prevent accidental contact and minimize the risk of short circuits. Ensure that the tape is securely wrapped around the exposed area, leaving no bare wires exposed.
5. Follow the manufacturer’s instructions: Always refer to the manufacturer’s instructions and guidelines for your specific 3D printer model. This ensures that you are following the proper procedures and adhering to any specific safety precautions outlined by the manufacturer.
6. Double-check connections: Before powering on your 3D printer after the installation, double-check all the connections to ensure they are secure and properly insulated. This includes the connections between the power supply, switch, and printer. Any loose or improperly connected wires should be addressed before proceeding.
7. Use proper tools: Make sure to use the correct tools, such as wire cutters, strippers, and screwdrivers, for the job. Using improper tools can lead to accidents and damage to the equipment. Additionally, ensure that the tools you use are in good condition and free from any defects.
By following these safety precautions, you can minimize the risk of accidents or damage during the power wiring process. Safety should always be the top priority when working with electrical components. Once you have taken all the necessary safety measures, you’re ready to proceed with wiring the power supply. Let’s move on to the next step and get your 3D printer powered up!
Step 4: Wiring the Power Supply
Now that you’ve taken the necessary safety precautions, it’s time to wire the power supply to your 3D printer switch. Properly connecting the power supply is crucial for the safe and efficient operation of your printer. Follow these steps to wire the power supply:
1. Disconnect the power supply: Ensure that the power supply is disconnected from the electrical outlet and that all power sources are turned off.
2. Identify the positive and negative terminals: Locate the positive (+) and negative (-) terminals on the power supply unit. These terminals are usually labeled or color-coded for easy identification. The positive terminal is often marked with a red symbol or a plus sign (+), while the negative terminal is marked with a black symbol or a minus sign (-).
3. Prepare the wires: Strip the plastic insulation from the ends of the red and black wires, exposing approximately half an inch of bare wire. Use wire cutters or strippers to perform this task carefully.
4. Connect the wires: Attach the stripped end of the red wire to the positive terminal of the power supply and tighten the connection. Similarly, attach the stripped end of the black wire to the negative terminal and tighten the connection. Ensure that the connections are secure and that there is no exposed wire showing.
5. Insulate the connections: Wrap each connection point with electrical tape to insulate and protect the exposed wires. This provides an extra layer of safety and prevents accidental short circuits.
6. Secure the power supply: Mount the power supply unit in a suitable location near the back or bottom of your 3D printer. Use screws or mounting brackets provided by the manufacturer to secure it in place. Ensure that the power supply is stable and will not move during operation.
7. Route the wires: Carefully route the red and black wires towards the 3D printer switch, following your pre-planned wiring path. Use wire clips or clamps to secure the wires to prevent them from coming loose or tangling with other components.
8. Leave slack in the wires: Ensure that you leave a bit of slack in the wires to allow for any necessary adjustments or movements. This will prevent unnecessary strain on the connections and protect against accidental disconnections.
By following these steps, you can successfully wire the power supply to your 3D printer switch. Once the power supply is securely connected, you’re ready to move on to the next step of connecting the switch. Let’s proceed and get one step closer to powering up your 3D printer effectively!
Step 5: Connecting the Switch
With the power supply wired, the next step in the process is to connect the 3D printer switch. Connecting the switch will enable you to control the power flow to your printer easily. Follow these steps to connect the switch:
1. Position the switch: Determine the ideal location for the switch. It should be easily accessible and within reach while you operate the 3D printer. Consider mounting the switch on the printer’s frame or another convenient location.
2. Identify the switch terminals: Examine the 3D printer switch and locate the terminals. The terminals are typically labeled to indicate their function. Look for “+” or “POS” to identify the positive terminal and “-” or “NEG” to identify the negative terminal.
3. Strip the wire ends: Strip the plastic insulation from the ends of the red and black wires, exposing approximately half an inch of bare wire. Use wire cutters or strippers to carefully remove the insulation.
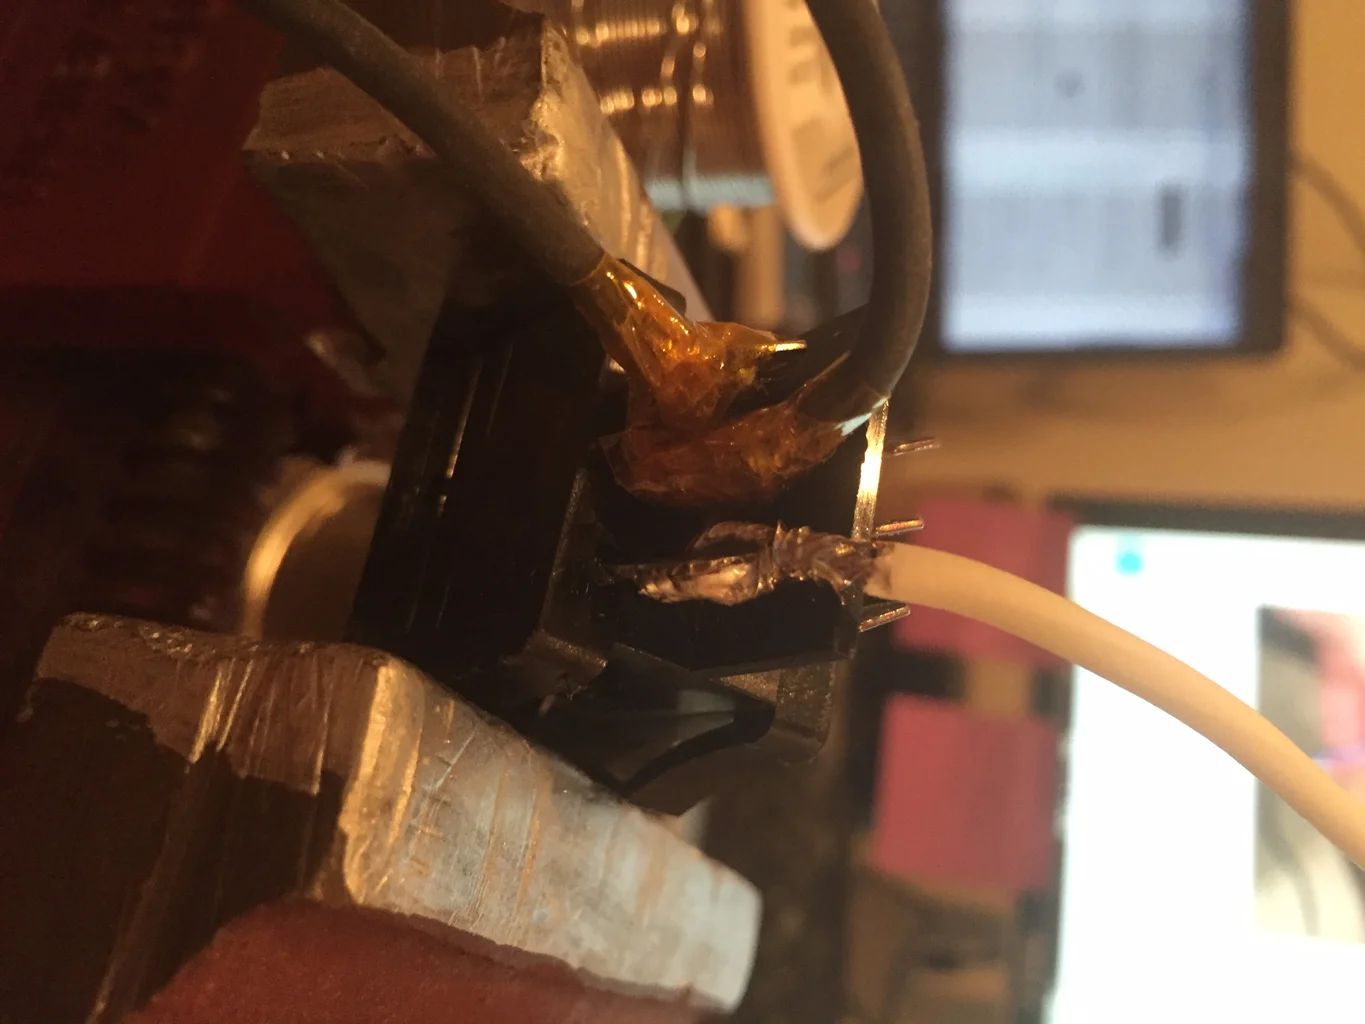
4. Connect the wires to the switch: Attach the stripped end of the red wire to the positive terminal of the switch, and tighten the connection. Similarly, attach the stripped end of the black wire to the negative terminal of the switch and tighten the connection. Ensure that the connections are secure, with no exposed wires.
5. Insulate the connections: Wrap each connection point with electrical tape to insulate and protect the exposed wires. This additional layer of insulation ensures safety and reduces the risk of accidental short circuits.
6. Test the switch: Before proceeding further, conduct a quick test to verify the functionality of the switch. Power on the 3D printer and ensure that the switch can turn the power supply on and off effectively. If the switch is not functioning correctly, double-check the connections and troubleshoot any issues.
7. Secure the switch: Once you confirm that the switch is working as intended, secure it in place using screws or adhesive. Ensure that the switch is firmly attached to prevent any accidental movement or disconnection.
By following these steps, you will successfully connect the 3D printer switch to the power supply, allowing for easy and convenient control over the power flow to your printer. With the switch in place, we’re now ready to move on to the next step: testing the connection. Let’s proceed and ensure that everything is working smoothly!
Step 6: Testing the Connection
After wiring the power supply and connecting the switch, it’s crucial to test the connection to ensure that everything is functioning properly. Testing the connection will help you identify any potential issues and verify that the power flow to the 3D printer is controlled effectively. Follow these steps to test the connection:
1. Power on the 3D printer: Ensure that the power supply unit is plugged into an electrical outlet, and turn on the power switch on the power supply. The printer should power on, indicating that there is a proper power connection.
2. Test the switch: Toggle the switch to the “on” position and observe whether the printer turns on. If the printer powers up, it confirms that the switch is correctly connected, and the power flow is controlled as intended. Toggle the switch back to the “off” position and ensure that the printer powers off.
3. Check for any issues: During testing, closely observe the printer and the switch for any signs of flickering lights, unusual noises, or other abnormalities. Additionally, verify that the switch has a firm and consistent operation, easily turning the power on and off without hesitation or resistance.
4. Check the power supply: Monitor the power supply unit during the testing process. Ensure that it remains stable and does not get excessively hot. If you notice any abnormal behavior, such as overheating or buzzing sounds, immediately power off the printer and disconnect the power supply for further inspection.
5. Repeat the test: Perform the on/off switch test multiple times to ensure consistent results. This will provide more assurance that the connection is secure and that the switch is functioning consistently.
6. Troubleshooting: If you encounter any issues during the testing phase, refer to the manufacturer’s instructions and troubleshooting guide for your specific 3D printer model. This will help you address and resolve any connectivity or functionality issues.
By thoroughly testing the connection, you can ensure that the power supply, switch, and wiring are functioning properly. Identifying and addressing any issues early on will prevent potential problems down the line and help you achieve a safe and reliable power management system for your 3D printer.
If everything is working correctly during the testing phase, congratulations! You have successfully wired and tested the power connection to your 3D printer switch. However, if you encounter any issues, don’t worry. The next section will guide you through troubleshooting common problems that may arise during the process. Let’s proceed and troubleshoot any potential issues to get your printer up and running smoothly!
Step 7: Troubleshooting and Common Issues
Even with careful planning and execution, issues can sometimes arise when wiring power to a 3D printer switch. Troubleshooting these common problems will help you identify and resolve any issues that may occur. Here are some common issues and their possible solutions:
1. No power to the printer: If the printer does not power on when the switch is in the “on” position, check the connections between the power supply, switch, and printer. Ensure that the wires are securely connected and that there are no loose or damaged connections. Also, verify that the power supply is functioning correctly and providing the necessary voltage and current.
2. Flickering lights or intermittent power: If the printer’s lights flicker or the power supply seems to turn on and off intermittently, it may indicate a loose connection. Double-check all the connections, making sure they are tight and secure. Inspect the switch for any signs of damage or irregular operation, and consider replacing it if necessary.
3. Overheating or buzzing sounds: If you notice that the power supply unit is getting excessively hot or emitting buzzing sounds during operation, it could indicate a faulty power supply. Disconnect the power supply, allow it to cool down, and inspect it for any visible damage or loose components. Consult the manufacturer or consider replacing the power supply if the issue persists.
4. Inconsistent switch operation: If the switch does not consistently turn the power on or off, check the switch itself for any mechanical issues. Ensure that the switch is securely mounted and that all its components are functioning properly. If necessary, replace the switch with a new one that is compatible with your 3D printer model.
5. Wiring or insulation damage: Inspect the wiring and insulation for any visible damage, such as exposed wires, frayed insulation, or signs of wear and tear. If you notice any damage, replace the affected wires or insulation immediately to prevent any potential electrical hazards.
6. Compatibility issues: In some cases, compatibility issues between the power supply unit, switch, and printer can arise. Ensure that all components are compatible with each other based on the manufacturer’s specifications and guidelines. If in doubt, consult the manufacturer or seek assistance from a qualified professional.
If you encounter any other issues or are unsure of how to troubleshoot a specific problem, consult the user manual for your 3D printer or reach out to the manufacturer’s customer support for guidance and assistance. They will have valuable insights and resources to help you address any unique issues you may face during the power wiring process.
By following these troubleshooting steps, you can overcome common issues and ensure a smooth and functional power connection to your 3D printer switch. Remember, patience and careful problem-solving will help you achieve a successful outcome!
Conclusion
Wiring power to a 3D printer switch is an important step in ensuring the safe and efficient operation of your printer. By following the step-by-step guide outlined in this article, you have learned how to successfully connect the power supply to the switch, route the wires, and test the connection. Taking the time to plan, prioritize safety, and troubleshoot common issues will help you achieve a reliable and functional power management system for your 3D printer.
Throughout the process, it is crucial to prioritize safety. Always power off and unplug your printer before working on any electrical connections. Wear appropriate protective gear, insulate exposed wires, and follow the guidelines provided by the manufacturer.
Remember to carefully plan the power wiring, considering the location of the power supply, the length of the wires, cable management, safety precautions, wire connectors, and accessibility of the switch. Each of these factors contributes to a well-organized and efficient setup.
Ensure that you test the connection thoroughly, checking that the switch can effectively control the power supply and that all components are functioning as expected. Troubleshoot any issues that may arise during testing, such as power interruptions, flickering lights, or inconsistent switch operation, following the steps outlined in the troubleshooting section.
By completing these steps successfully, you can confidently power on and off your 3D printer, knowing that the power supply and switch are properly connected and functioning. However, always refer to the manufacturer’s instructions and guidelines for your specific printer model to ensure compliance and optimize performance.
With the knowledge and skills gained from this guide, you are now equipped to wire power to a 3D printer switch like a pro. Enjoy a seamless printing experience knowing that you have implemented a safe and reliable power management system for your 3D printer!


