Introduction
Welcome to our guide on how to use a TV antenna on a Samsung TV! With an antenna, you can access free over-the-air channels and enjoy high-definition programming without the need for a cable or satellite subscription. Whether you’re a cord-cutter looking to save money or simply want to expand your viewing options, using a TV antenna on your Samsung TV is a great choice.
Using a TV antenna is a straightforward process, and in this guide, we will walk you through the steps to get started. From checking your TV antenna compatibility to fine-tuning the channel list, we’ll cover everything you need to know to maximize your antenna experience on your Samsung TV.
Please note that your Samsung TV must have a built-in TV tuner to use a TV antenna. Most newer Samsung TVs have this feature, but it’s always a good idea to check your TV’s specifications to ensure compatibility.
So, if you’re ready to cut the cord and enjoy free over-the-air channels on your Samsung TV, let’s get started with the step-by-step instructions.
Step 1: Check the TV Antenna
Before you start using a TV antenna on your Samsung TV, it’s essential to ensure that you have a compatible antenna. Here are a few things you need to check:
1. Antenna Type: There are different types of TV antennas available, such as indoor antennas, outdoor antennas, and attic antennas. Determine which type is suitable for your needs and location. Indoor antennas are convenient for urban areas with strong signal strength, while outdoor or attic antennas are preferable for rural areas with weaker signals.
2. Antenna Placement: Consider where you plan to place the antenna. If using an indoor antenna, make sure it has a clear line of sight to the broadcast towers and is positioned near a window for optimal signal reception.
3. Signal Strength: Find out the strength of the TV signals in your area. You can use online tools or smartphone apps that provide signal strength information based on your location. This will help you choose the appropriate antenna with the required range.
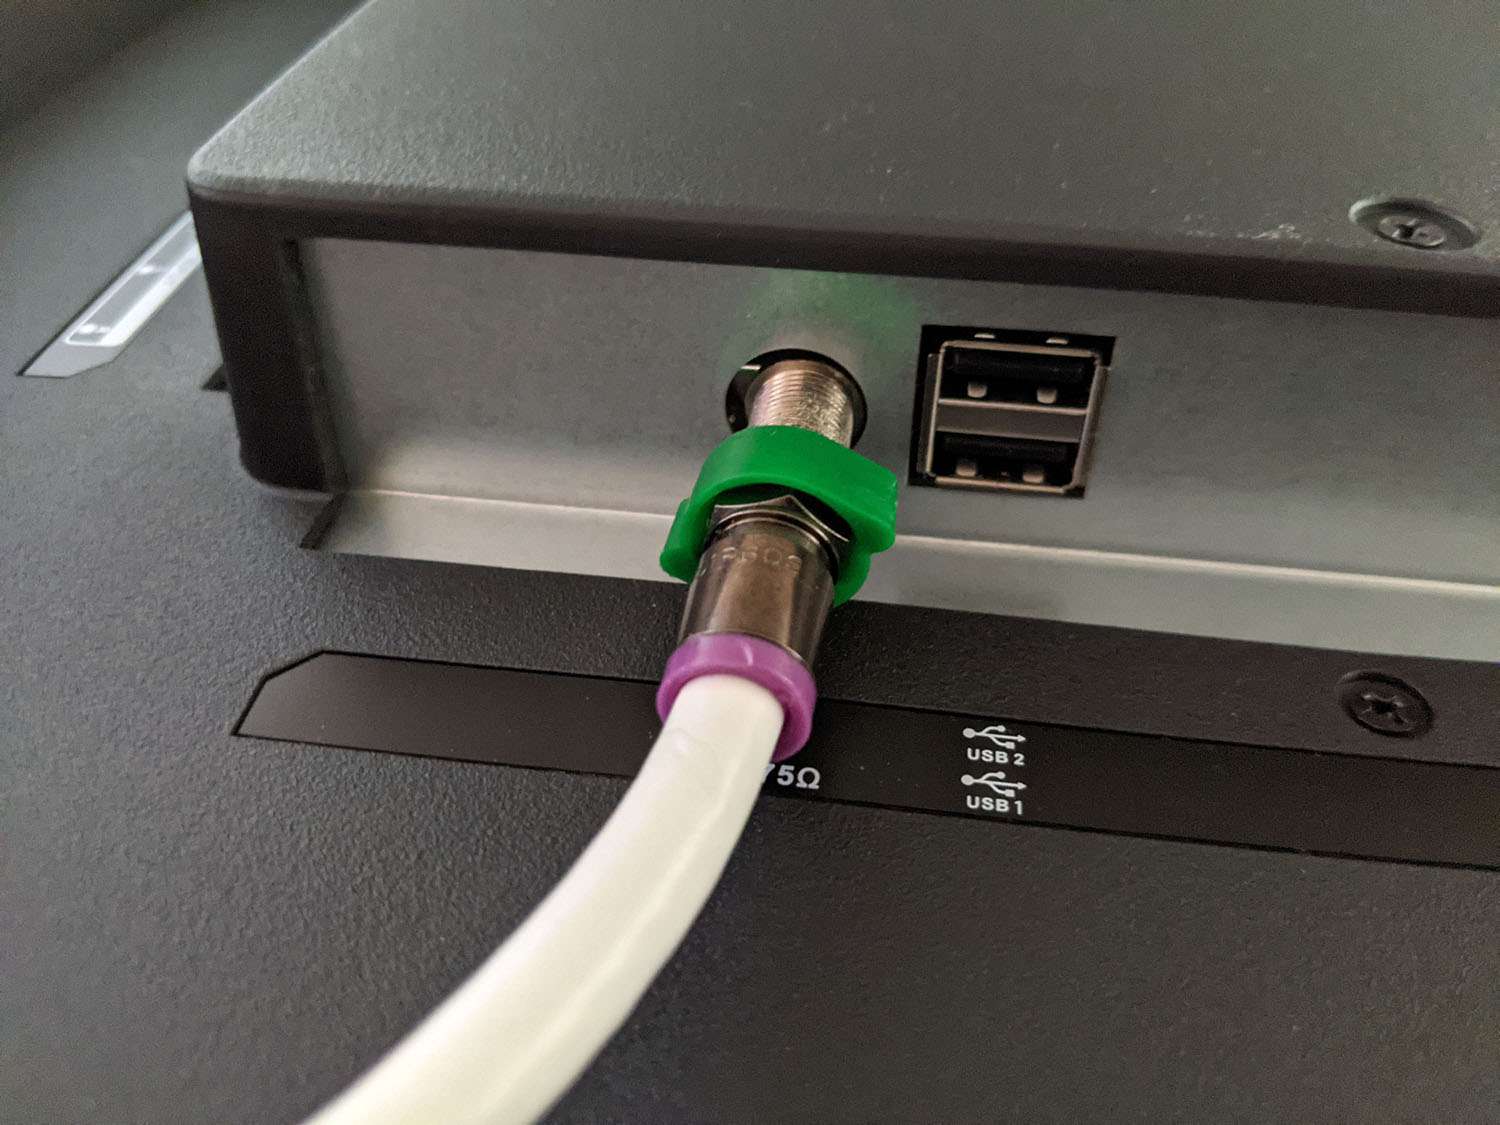
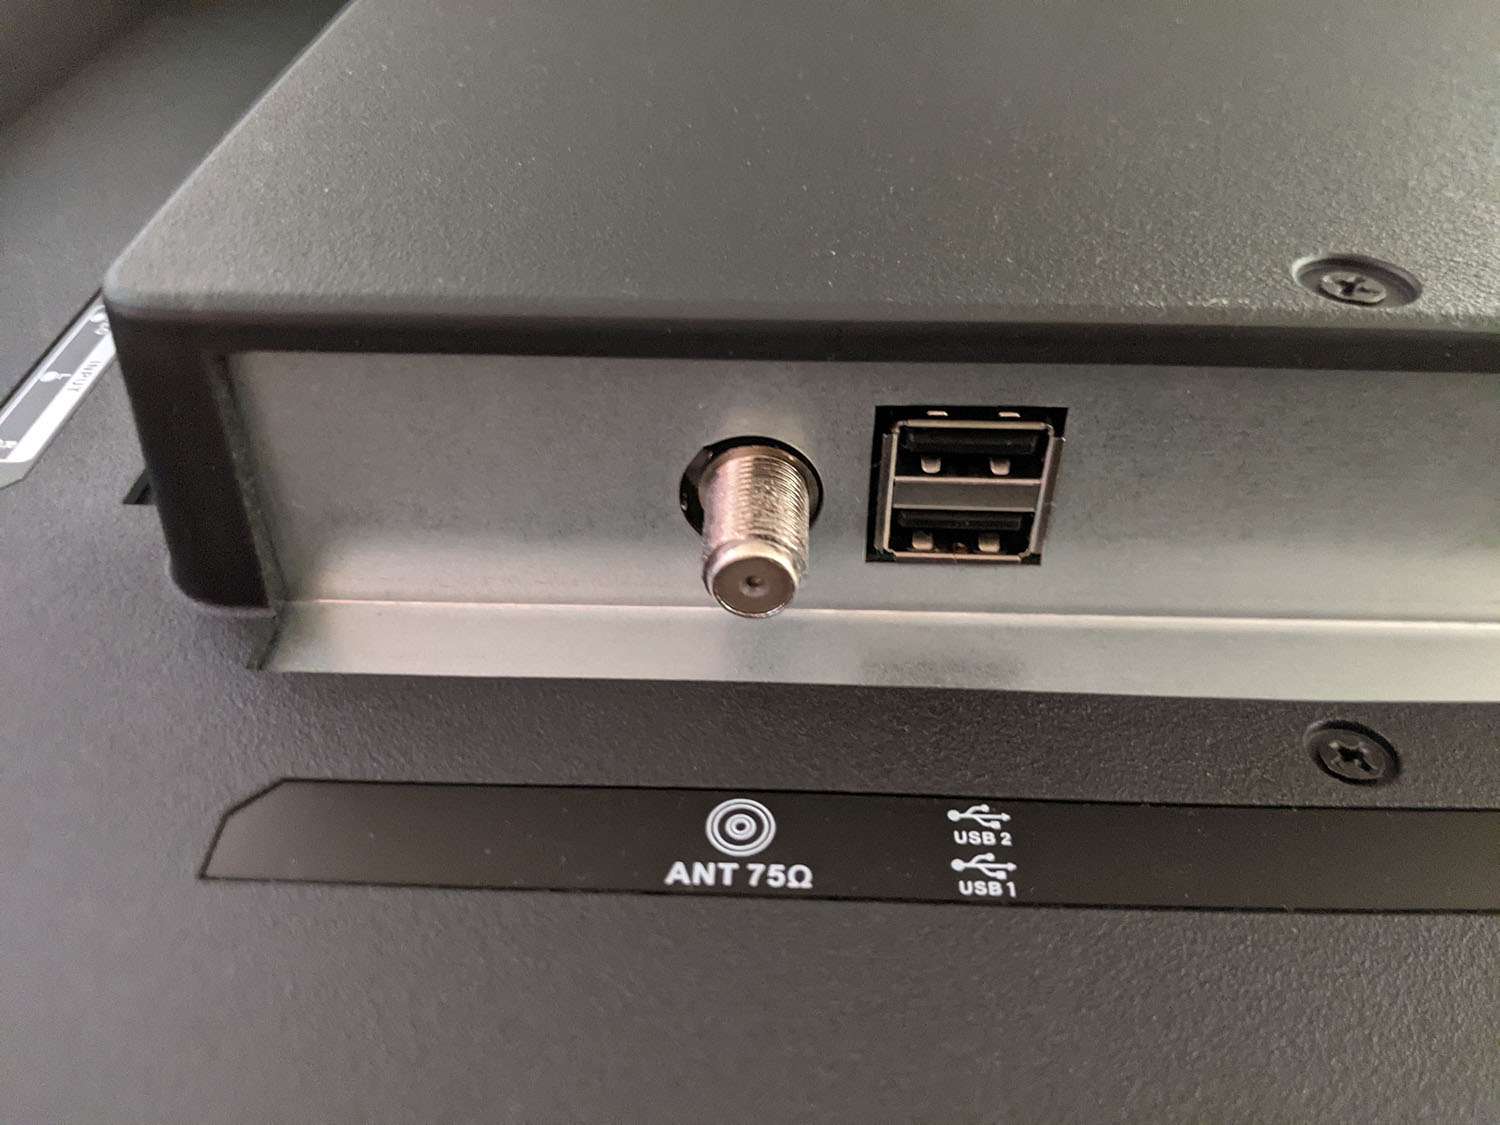
4. Antenna Connectors: Check the connectors on your antenna and the corresponding ports on your Samsung TV. Most TV antennas use the coaxial cable, which has a cylindrical connector with a pin in the center. Ensure that your TV has a compatible antenna input port.
Once you have verified these factors, you can proceed to the next step of connecting the antenna to your Samsung TV.
Step 2: Connect the Antenna to the Samsung TV
Now that you have selected a suitable TV antenna, it’s time to connect it to your Samsung TV. Here’s how you can do it:
1. Locate the Antenna Input: Look for the antenna input port on the back of your Samsung TV. It is usually labeled as “RF IN” or “ANT IN”. Make sure your TV is turned off before proceeding.
2. Connect the Antenna: Take the coaxial cable from your TV antenna and insert it into the antenna input port on your Samsung TV. Ensure that the connector is firmly inserted and secured in place.
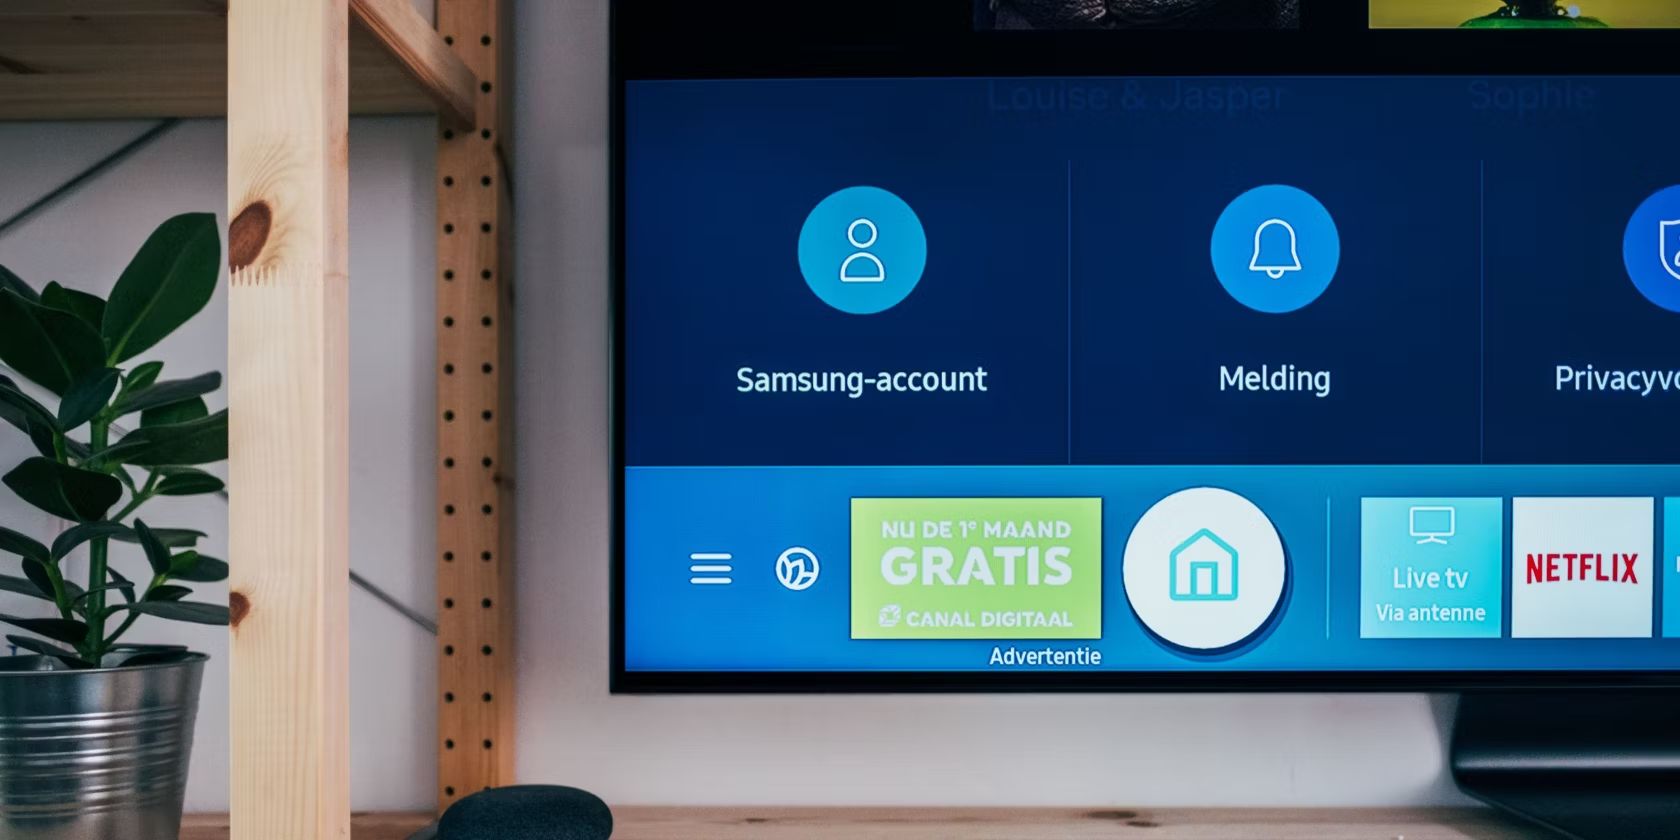
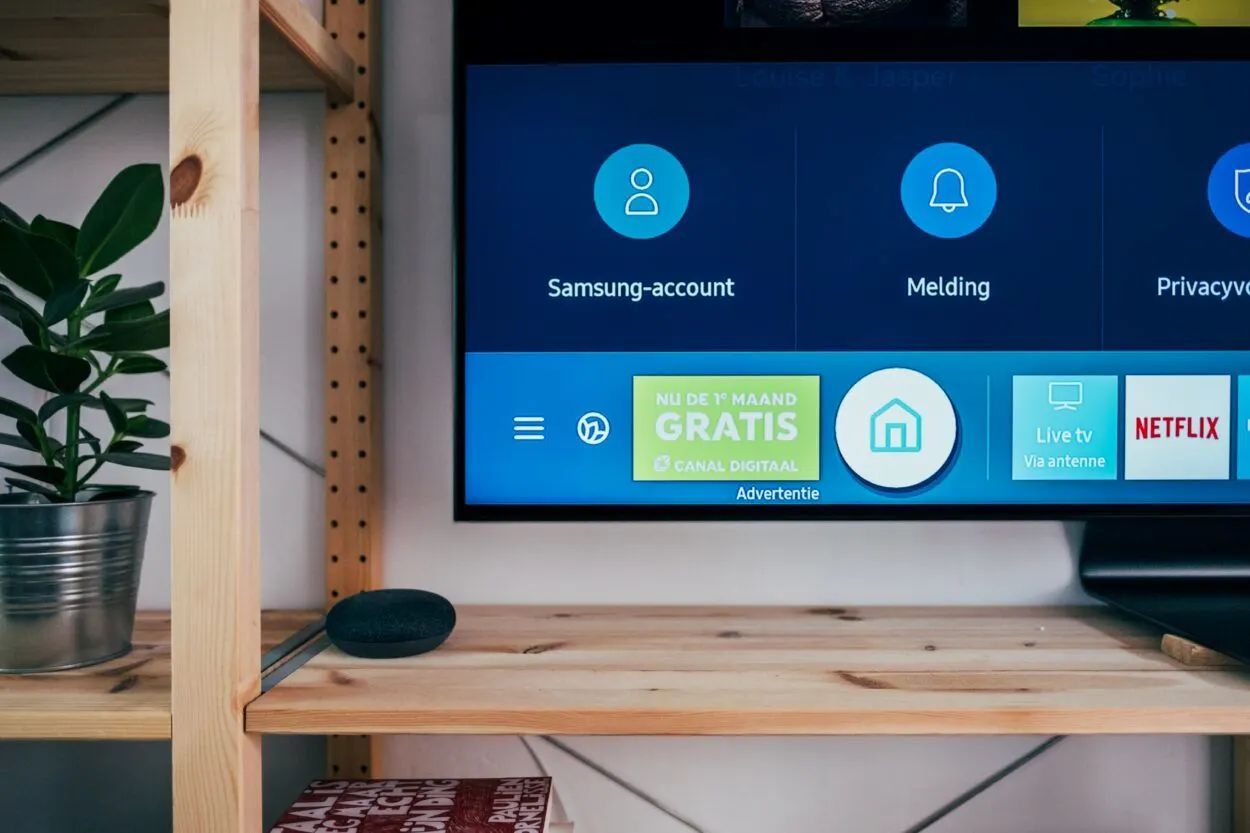
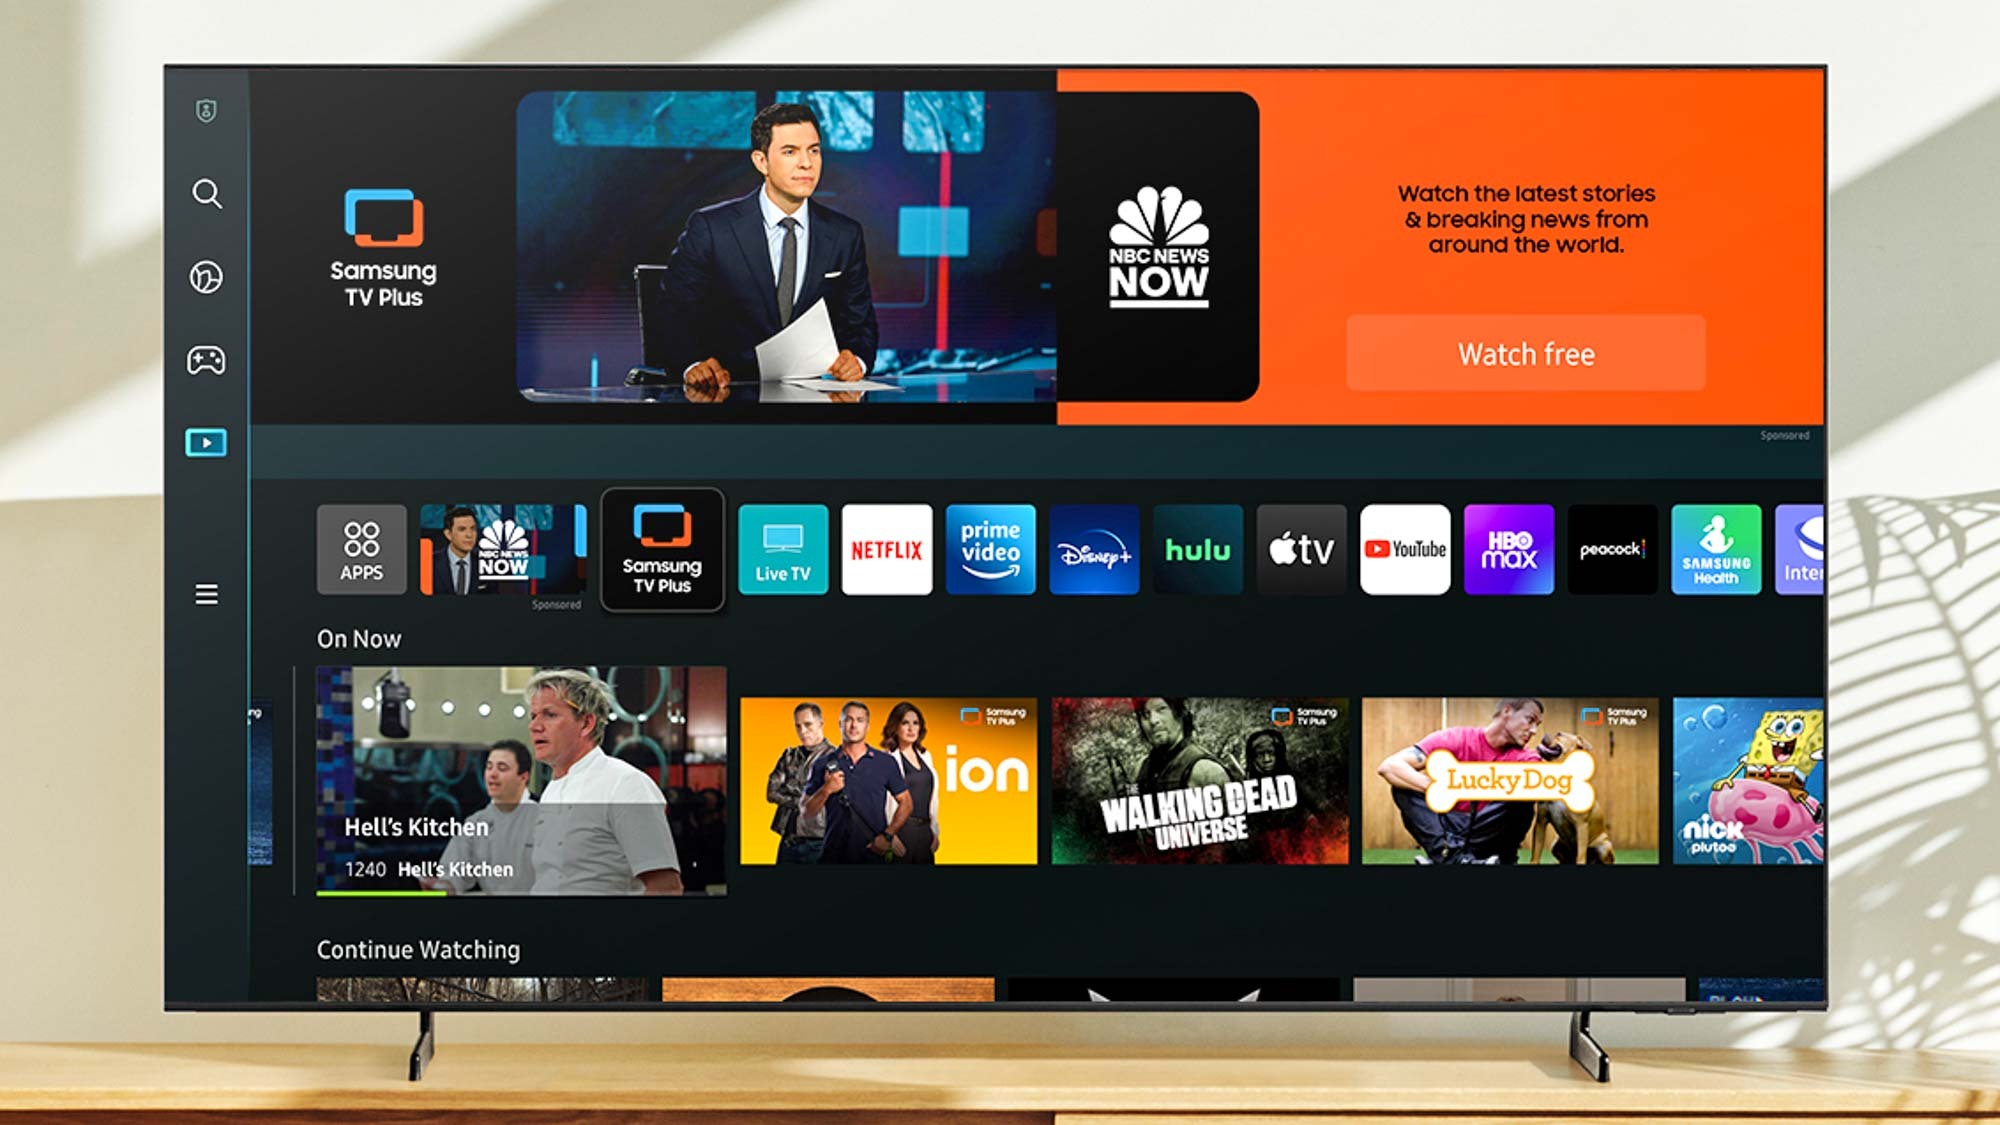
3. Power on the TV: Switch on your Samsung TV and grab the TV remote. Navigate to the “Source” or “Input” button on the remote and select “Antenna” or “TV” as the input source. This will ensure that the TV is tuned to the antenna input.
4. Check for Signal: Once you have selected the antenna input, your Samsung TV will start scanning for available channels. This process may take a few minutes, so be patient. If the signal reception is strong, your TV will detect the channels automatically.
5. Verify Signal Quality: After the channel scan is complete, you can check the signal quality of the detected channels. Go to the TV menu or settings and look for the “Signal Strength” or “Signal Quality” option. This will display the strength of the signal for each channel. Adjust the antenna position if needed for better signal reception.
By following these steps, you have successfully connected the TV antenna to your Samsung TV. In the next step, we will run the auto program or channel scan to finalize the setup and get access to all available channels.
Step 3: Run the Auto Program (Channel Scan)
Once you have connected the TV antenna to your Samsung TV, it’s time to run the auto program or channel scan. This process will allow your TV to detect and save all available channels. Here’s how you can do it:
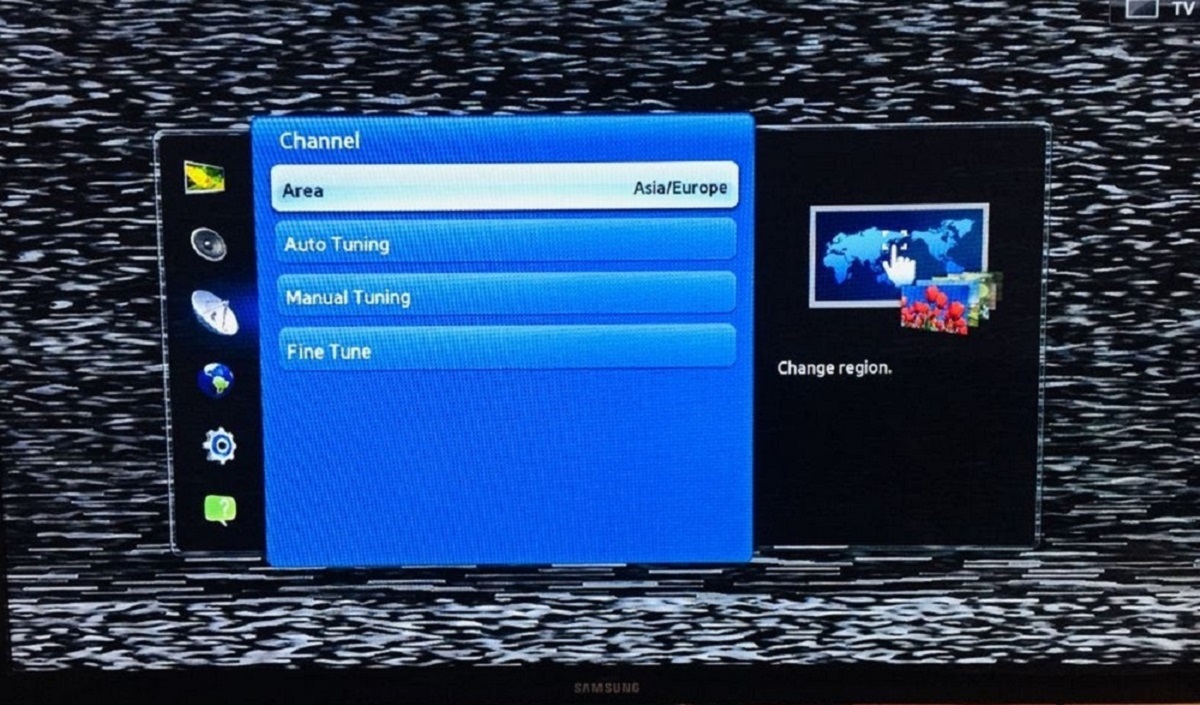
1. Access the Menu: Grab your Samsung TV remote and press the “Menu” button. This will open the TV menu on your screen.
2. Navigate to the Channel Setup: Using the arrow keys on your remote, navigate to the “Channel” or “Broadcast” section in the TV menu. This is where you will find the channel setup options.
3. Start Auto Program: In the channel setup menu, look for the “Auto Program” or “Channel Scan” option. Select it, and your Samsung TV will start scanning for available channels. This process may take a few minutes as the TV searches for signals and saves the detected channels.
4. Wait for the Scan to Complete: During the channel scan, you will see a progress bar on your screen indicating the status of the scan. Let the scan complete without interrupting it.
5. Save the Channels: Once the scan is complete, your Samsung TV will display a list of detected channels. Press the “Save” or “OK” button on your remote to save the channels.
6. Organize the Channel List: After saving the channels, you can organize the channel list based on your preferences. You can rename the channels, delete unwanted channels, or rearrange the channel order.
By running the auto program or channel scan, you have successfully tuned your Samsung TV to receive all available channels through your TV antenna. In the next step, we will discuss how to adjust the antenna position for optimal signal reception.
Step 4: Adjust the Antenna Position
To ensure optimal signal reception on your Samsung TV, it’s crucial to adjust the antenna position. Here’s how you can do it:
1. Check Signal Strength: Start by checking the signal strength of the detected channels on your Samsung TV. Go to the TV menu or settings and look for the “Signal Strength” or “Signal Quality” option. This will give you an idea of the strength of the signal for each channel.
2. Fine-tune the Antenna Position: Based on the signal strength information, you may need to adjust the antenna position to improve reception. Start by moving the antenna to different locations in the room. If you’re using an indoor antenna, try placing it near a window or higher up on a shelf. If you’re using an outdoor antenna, adjust its direction by rotating it slightly.
3. Scan for Channels: After adjusting the antenna, run the channel scan again. This will help you determine if the new antenna position has improved the signal reception. If you notice a significant increase in the signal strength, you have found an optimal position for your antenna.
4. Fine-tune the Position: If necessary, fine-tune the antenna position further. Make small adjustments and run the channel scan after each adjustment to check for signal improvements. It may take a few tries to find the best position that offers the strongest and most reliable signal for all channels.
5. Consider Signal Amplification: In some cases, you may need to boost the signal strength using a signal amplifier. This is particularly useful if you’re located far from the broadcast towers or if there are obstacles blocking the signal. Signal amplifiers can be purchased separately and can significantly enhance the reception quality.
Continuously monitor the signal strength and adjust the antenna position until you achieve the best possible reception. Remember, finding the optimal position may require some trial and error, so be patient during the process.
In the next step, we will discuss how to fine-tune the channel list on your Samsung TV to personalize your viewing experience.
Step 5: Fine-tune the Channel List
After running the channel scan and adjusting the antenna position, it’s time to fine-tune the channel list on your Samsung TV. This step allows you to personalize your viewing experience by organizing and customizing the channels. Here’s how you can do it:
1. Access the Channel List: Press the “Menu” button on your Samsung TV remote to access the TV menu. Navigate to the “Channel” or “Broadcast” section, similar to what you did during the channel scan.
2. Edit or Manage Channels: Look for options like “Edit Channels,” “Manage Channels,” or “Channel List.” Select that option to access the channel list settings.
3. Rename Channels: In the channel list, you can rename the channels to make them more easily recognizable. For example, if Channel 3 is the local news station, you can rename it as “Local News” for easy navigation.
4. Delete Unwanted Channels: If there are channels that you don’t want or never watch, you can delete them from the channel list. This helps declutter your TV menu and makes it easier to navigate through the channels you actually use.
5. Rearrange Channel Order: You can also rearrange the order of the channels in the list. Move frequently watched channels to the top for quicker access. Use the remote’s arrow keys to select a channel and then move it up or down the list.
6. Lock or Hide Channels: If you want to restrict access to certain channels, you can use the parental control settings to lock or hide them. This feature comes in handy if you have young children at home and want to control their viewing options.
By fine-tuning the channel list, you can customize your Samsung TV’s lineup to suit your preferences. It helps to simplify navigation, making it easier and more convenient to find and enjoy the channels you love.
In the next step, we will provide some troubleshooting tips to help you resolve common issues you may encounter while using a TV antenna on your Samsung TV.
Step 6: Troubleshooting Tips
While using a TV antenna on your Samsung TV, you may encounter some common issues. Here are a few troubleshooting tips to help you resolve these problems:
1. Poor Signal Reception: If you’re experiencing weak or pixelated signal reception, try repositioning the antenna for better line-of-sight with the broadcast towers. A higher placement or adjusting the antenna angle can improve the signal strength. Additionally, consider using a signal amplifier or installing a higher-gain antenna for enhanced reception.
2. Missing Channels: If certain channels are missing from the channel list even after running the channel scan, it indicates a weak signal or incompatible antenna. Check the signal strength in your area and ensure that your antenna is suitable for the broadcast frequencies available. You may need to upgrade to a more powerful antenna or reposition the existing one.
3. Interference from Electronics: Nearby electronic devices such as routers, cordless phones, or microwave ovens can interfere with the TV signal. Move these devices away from the antenna and TV to minimize the interference.
4. Adjusting the Antenna Too Much: While it’s essential to find the optimal antenna position, excessive adjustments can lead to signal disruptions. Once you have found a good position, avoid unnecessary changes to maintain a stable signal.
5. Check Connections: Ensure that all the connections between the antenna, TV, and coaxial cable are secure. Loose or damaged connections can impact signal strength.
6. Update TV Firmware: Periodically check for firmware updates for your Samsung TV. Updating the firmware can resolve bugs or performance issues that may affect the antenna reception.
7. Seek Professional Help: If you’ve tried troubleshooting steps but still experience persistent issues, it might be beneficial to consult a professional antenna installer or contact Samsung’s customer support for assistance.
Remember, troubleshooting steps may vary depending on your specific situation and equipment. It’s important to assess the problem and determine the appropriate solution accordingly.
By following these troubleshooting tips, you can overcome common challenges and enjoy a smooth TV viewing experience with your antenna on your Samsung TV.
Now that you’re equipped with the knowledge to set up and troubleshoot your TV antenna, you can enjoy free over-the-air channels on your Samsung TV. Happy watching!
Conclusion
Congratulations! You have successfully learned how to use a TV antenna on your Samsung TV. By following the step-by-step instructions, you can now enjoy free over-the-air channels without the need for a cable or satellite subscription.
In this guide, we covered the essential steps to getting started. You learned how to check the TV antenna compatibility, connect the antenna to your Samsung TV, run the auto program or channel scan, adjust the antenna position for optimal signal reception, and fine-tune the channel list to personalize your viewing experience.
Remember, finding the right antenna and positioning it correctly plays a crucial role in obtaining high-quality reception. Experiment with different antenna types and positions to achieve the best results in your specific location.
By using a TV antenna, you can access a wide range of free, high-definition channels, including local news, sports, dramas, and more. Plus, you get to save money by cutting the cord and eliminating the need for a cable or satellite subscription.
If you encounter any issues along the way, refer to the troubleshooting tips provided to help troubleshoot common problems such as poor signal reception or missing channels. Remember to check for firmware updates for your Samsung TV as well, as these updates can often resolve issues and improve performance.
Now that you have all the necessary knowledge and tools, it’s time to sit back, relax, and enjoy your favorite shows and channels using your TV antenna and Samsung TV.
In case you have any further questions or need additional assistance, don’t hesitate to reach out to a professional antenna installer or contact Samsung’s customer support.
Happy watching!