Introduction
Using a laptop as a monitor can be a practical solution in various situations. Whether you want to extend your desktop workspace, play games on a larger screen, or simply have a second display for multitasking, utilizing your laptop as a monitor can provide you with flexibility and convenience. Fortunately, with the help of an HDMI cable and the right settings, you can easily connect your laptop to another device and start using it as a secondary display.
Before you begin, it is important to ensure that your laptop and the device you want to connect it to are compatible. Some laptops may not have the necessary ports or capabilities to serve as a monitor. Additionally, different laptops may have varying methods for connecting to external devices, so it is essential to be aware of the specific requirements for your laptop model.
In this guide, we will walk you through the step-by-step process of using your laptop as a monitor via HDMI. We will cover everything from checking compatibility to adjusting display settings. By following these instructions, you will be able to make the most of your laptop’s capabilities and enjoy the benefits of an extended workspace or larger display.
Step 1: Check Compatibility
Before you proceed with using your laptop as a monitor, it is crucial to ensure that your laptop is compatible with this functionality. Not all laptops have the necessary hardware or capabilities to act as a secondary display. Here are some key factors to consider when checking compatibility:
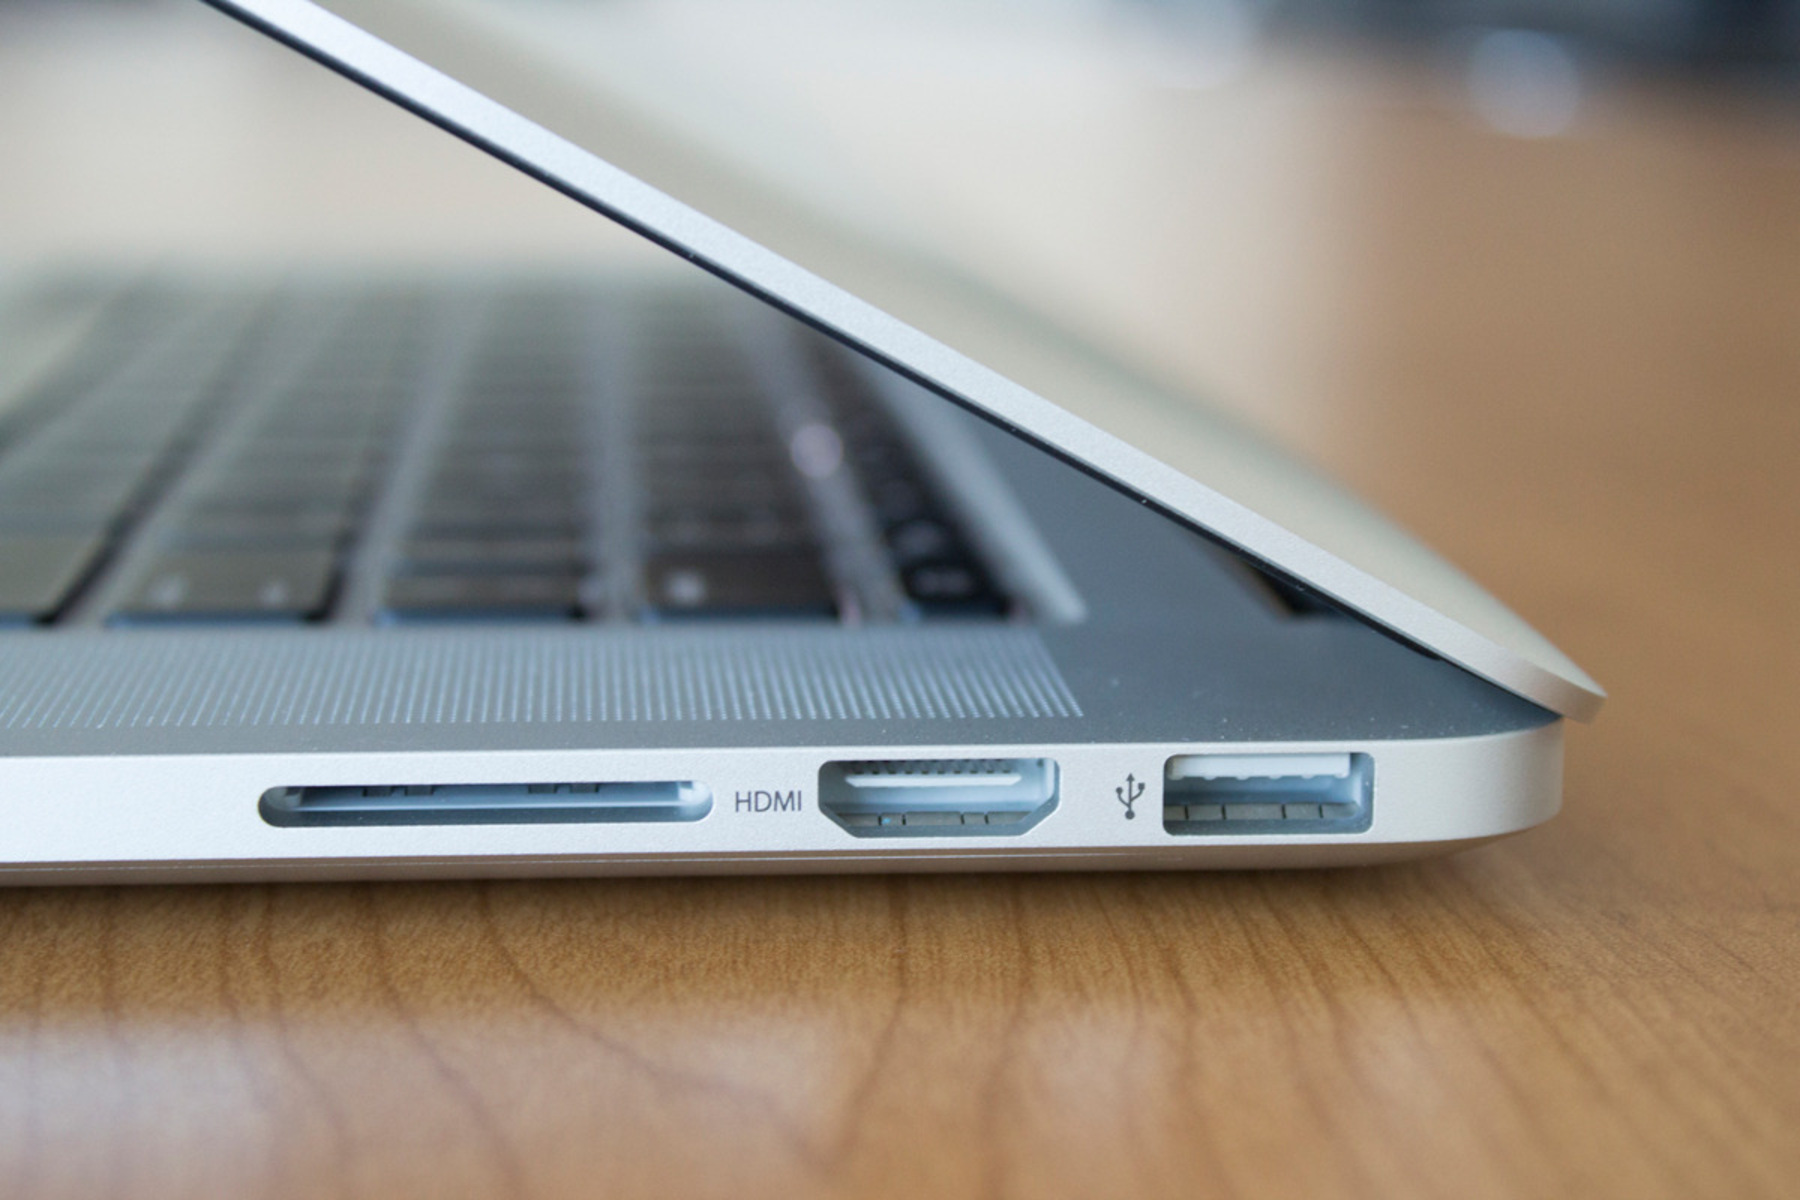
- Available port: The first thing to verify is whether your laptop has an HDMI port. HDMI ports are commonly used for connecting external devices, including monitors, TVs, and projectors. Look for a rectangular port with the label “HDMI” or the HDMI symbol next to it.
- Operating system: Ensure that your laptop’s operating system supports dual-monitor functionality. Most modern operating systems, such as Windows 10, macOS, and Linux, have built-in support for extending displays. However, older or specialized operating systems may not provide this capability.
- Graphics card: Check if your laptop has a dedicated graphics card or integrated graphics that are capable of driving multiple displays. While integrated graphics can handle basic tasks, a dedicated graphics card is generally recommended for smooth performance, especially when running demanding applications or games on an extended display.
To determine the specifications of your laptop, consult the user manual or visit the manufacturer’s website. Alternatively, you can check the laptop’s system settings or use a system information tool to gather detailed information about your device’s hardware and capabilities.
If your laptop meets the compatibility requirements, you can proceed to the next step of gathering the necessary equipment to connect your laptop to an external device.
Step 2: Gather the Necessary Equipment
Now that you have confirmed the compatibility of your laptop, it’s time to gather the necessary equipment to connect it to an external device. To use your laptop as a monitor, you will need the following items:
- HDMI cable: The most crucial component for connecting your laptop to another device is an HDMI cable. Ensure that you have a high-quality HDMI cable that is long enough to reach from your laptop to the external device. HDMI cables are widely available in electronics stores or online marketplaces.
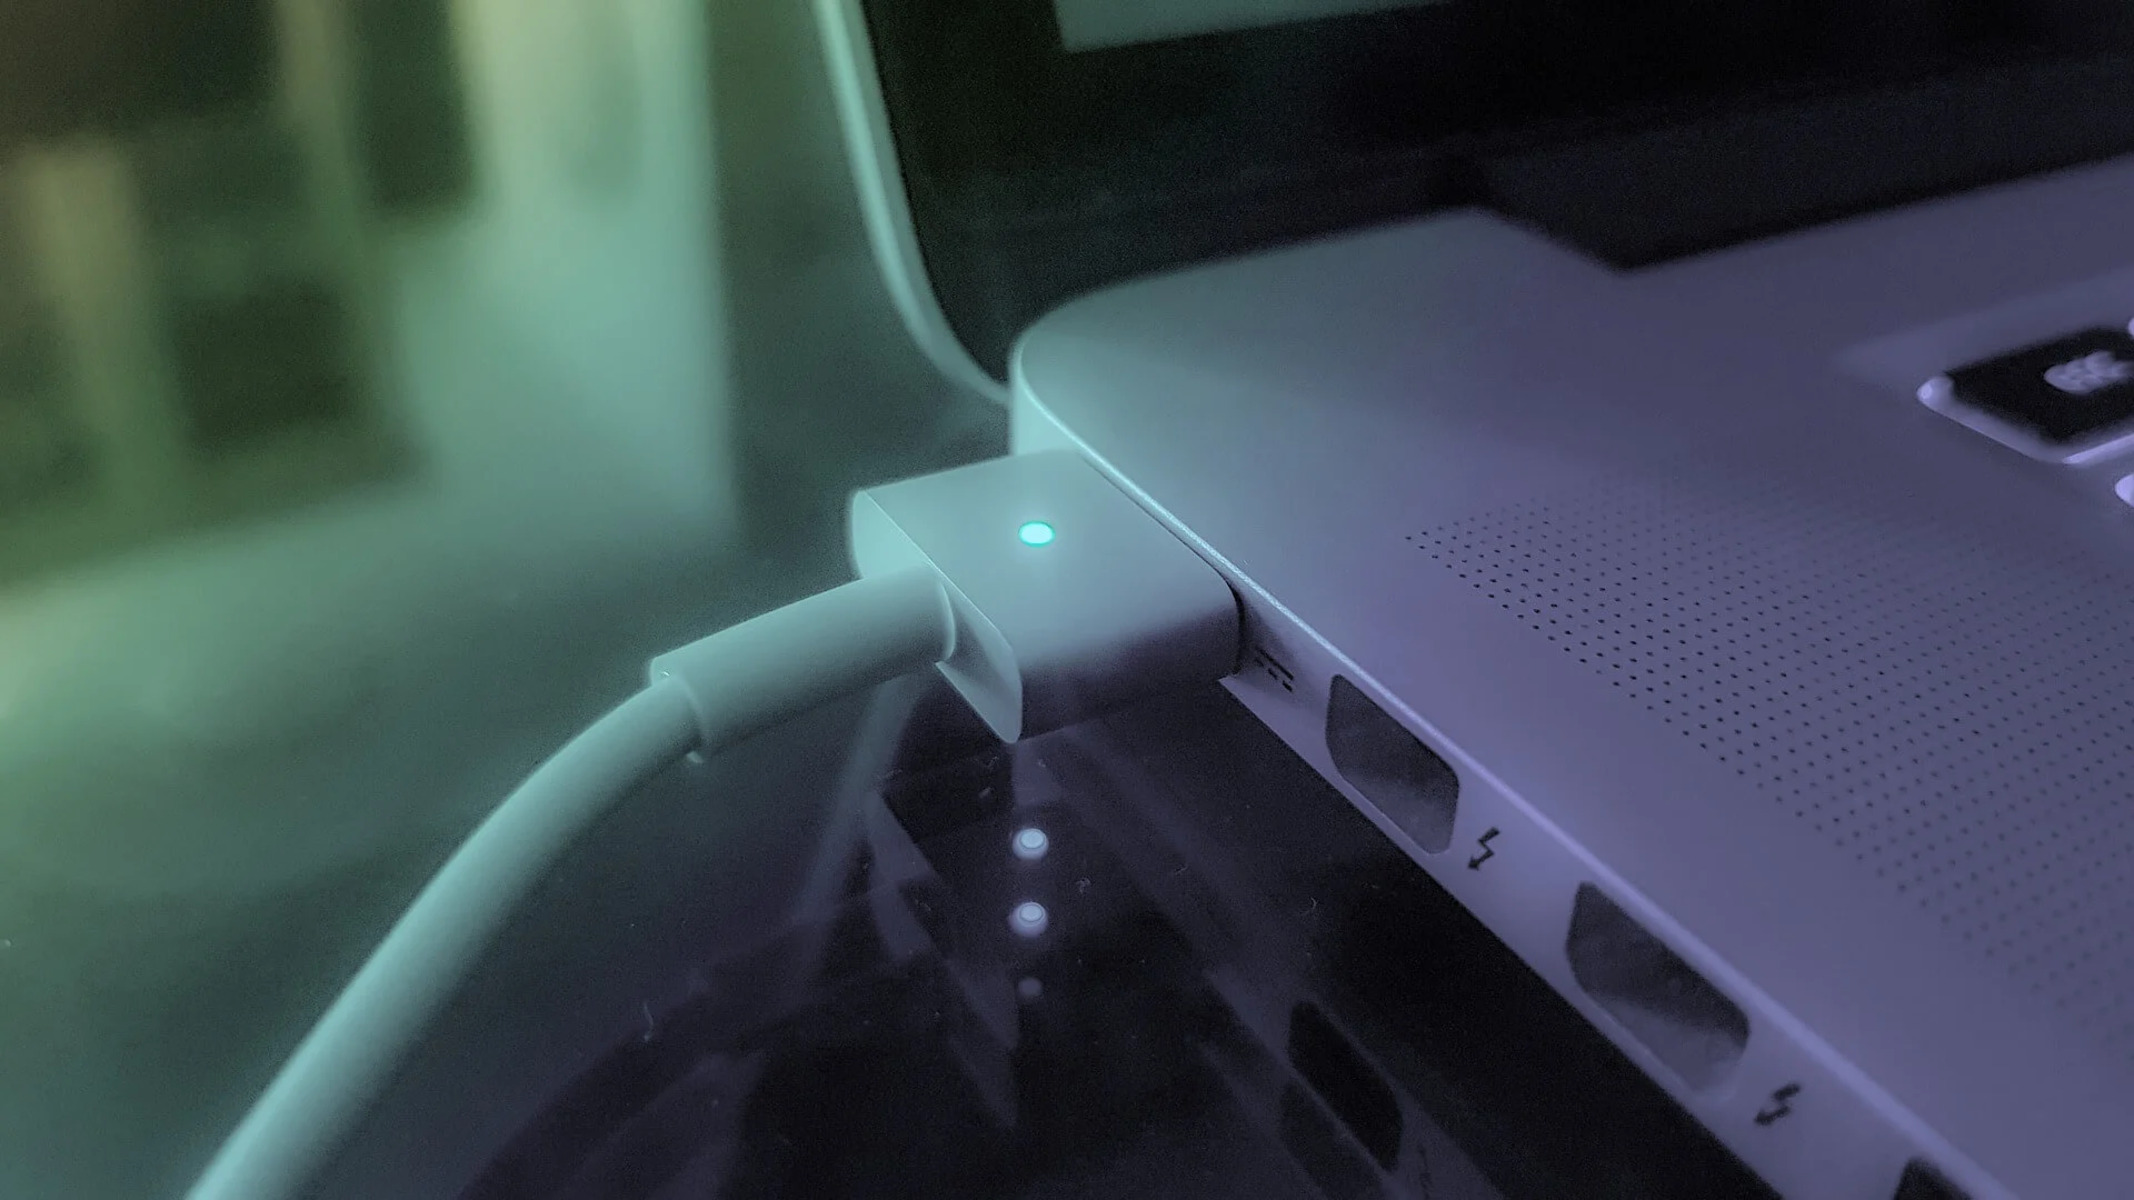
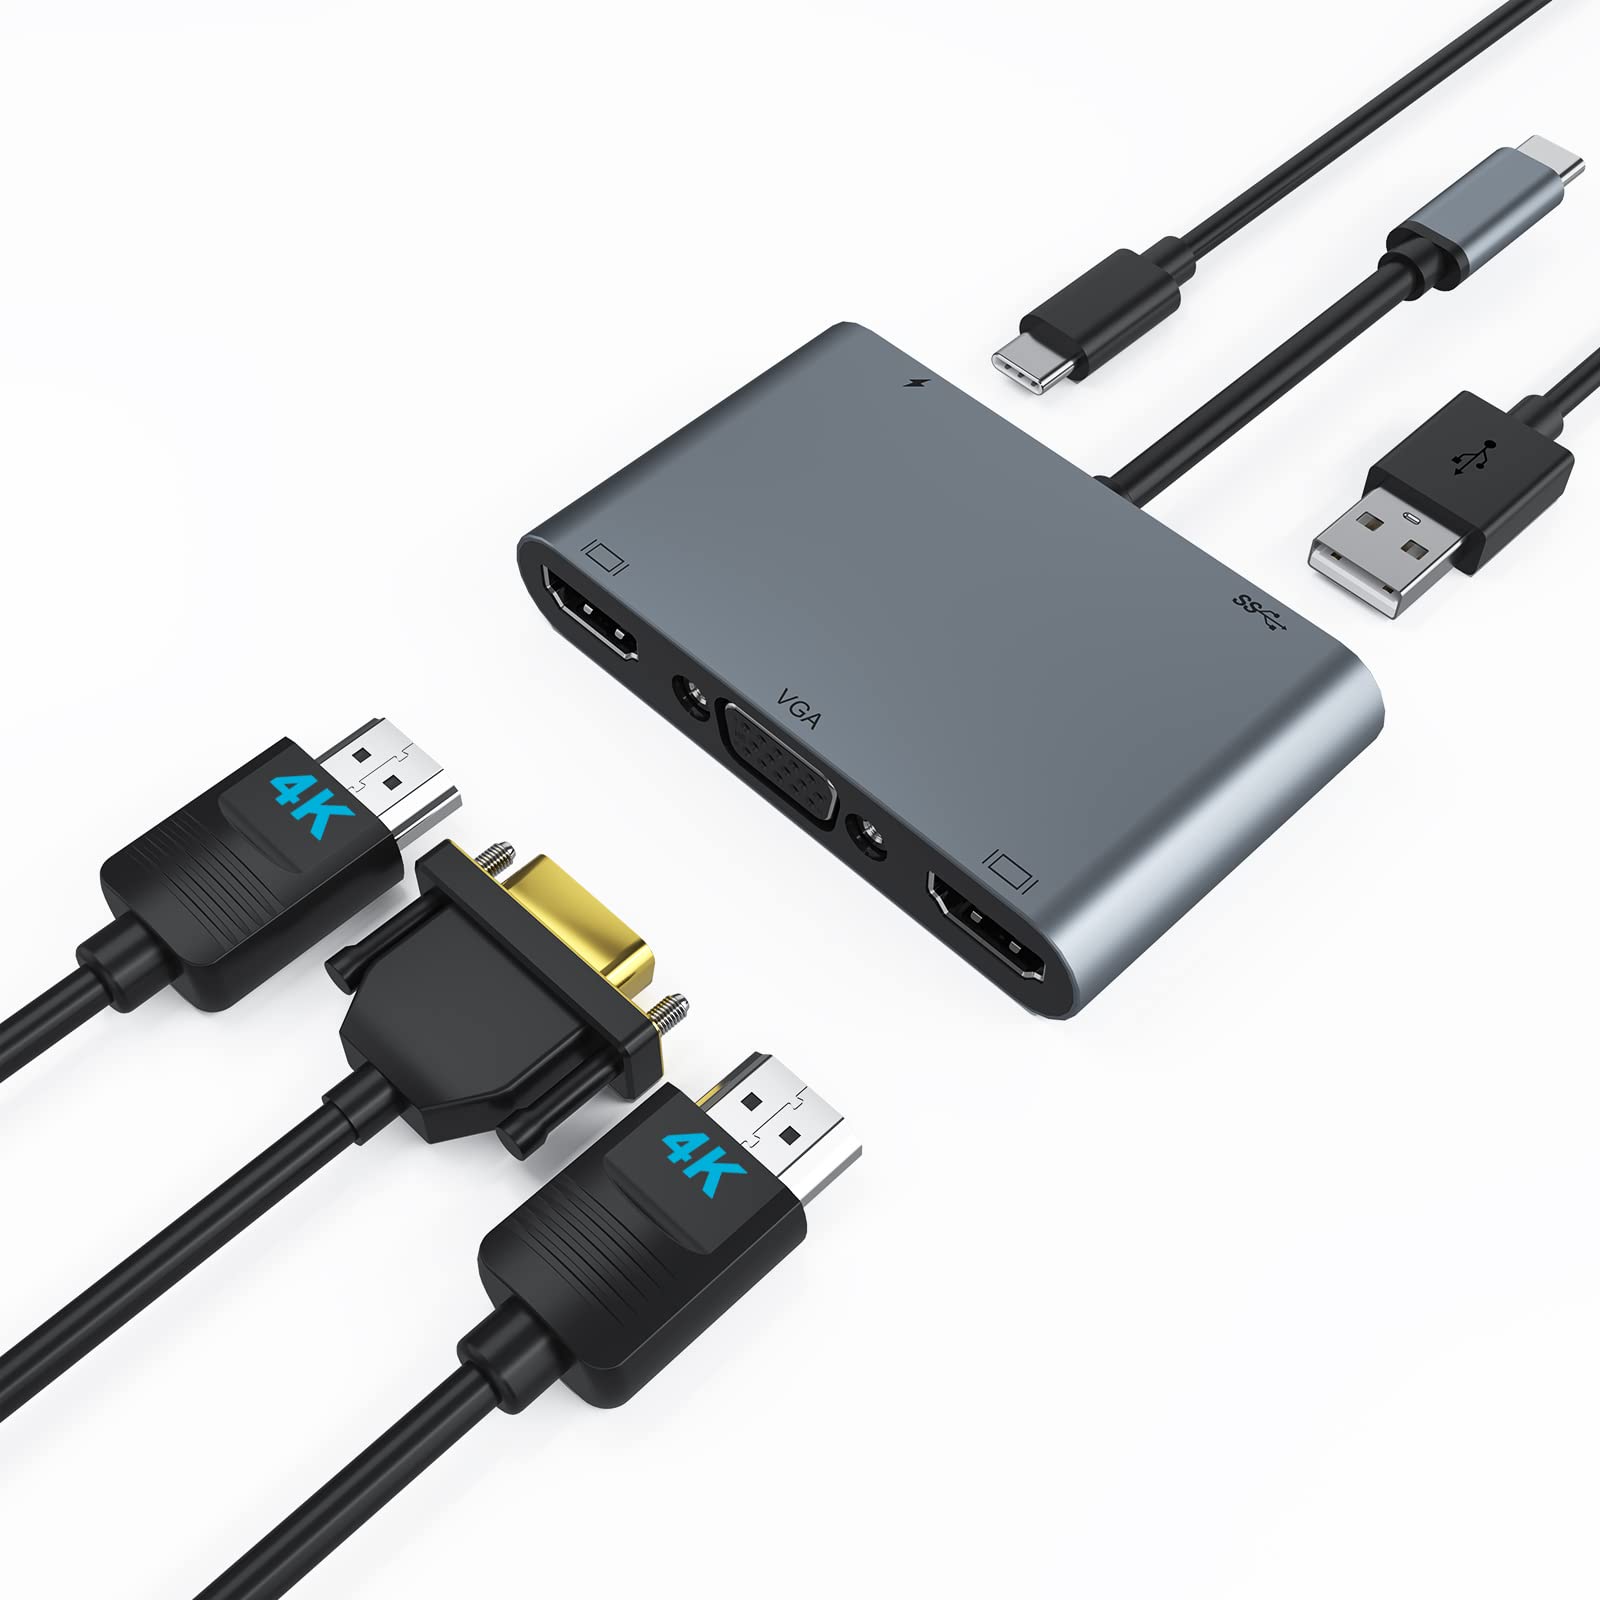
- Adapter (if needed): Depending on the ports available on your laptop and the device you want to connect to, you may require an adapter. For example, if your laptop has a USB-C or Thunderbolt 3 port and the external device has an HDMI or DisplayPort, you will need a USB-C to HDMI or Thunderbolt 3 to HDMI adapter. Make sure to choose the appropriate adapter based on your laptop’s ports.
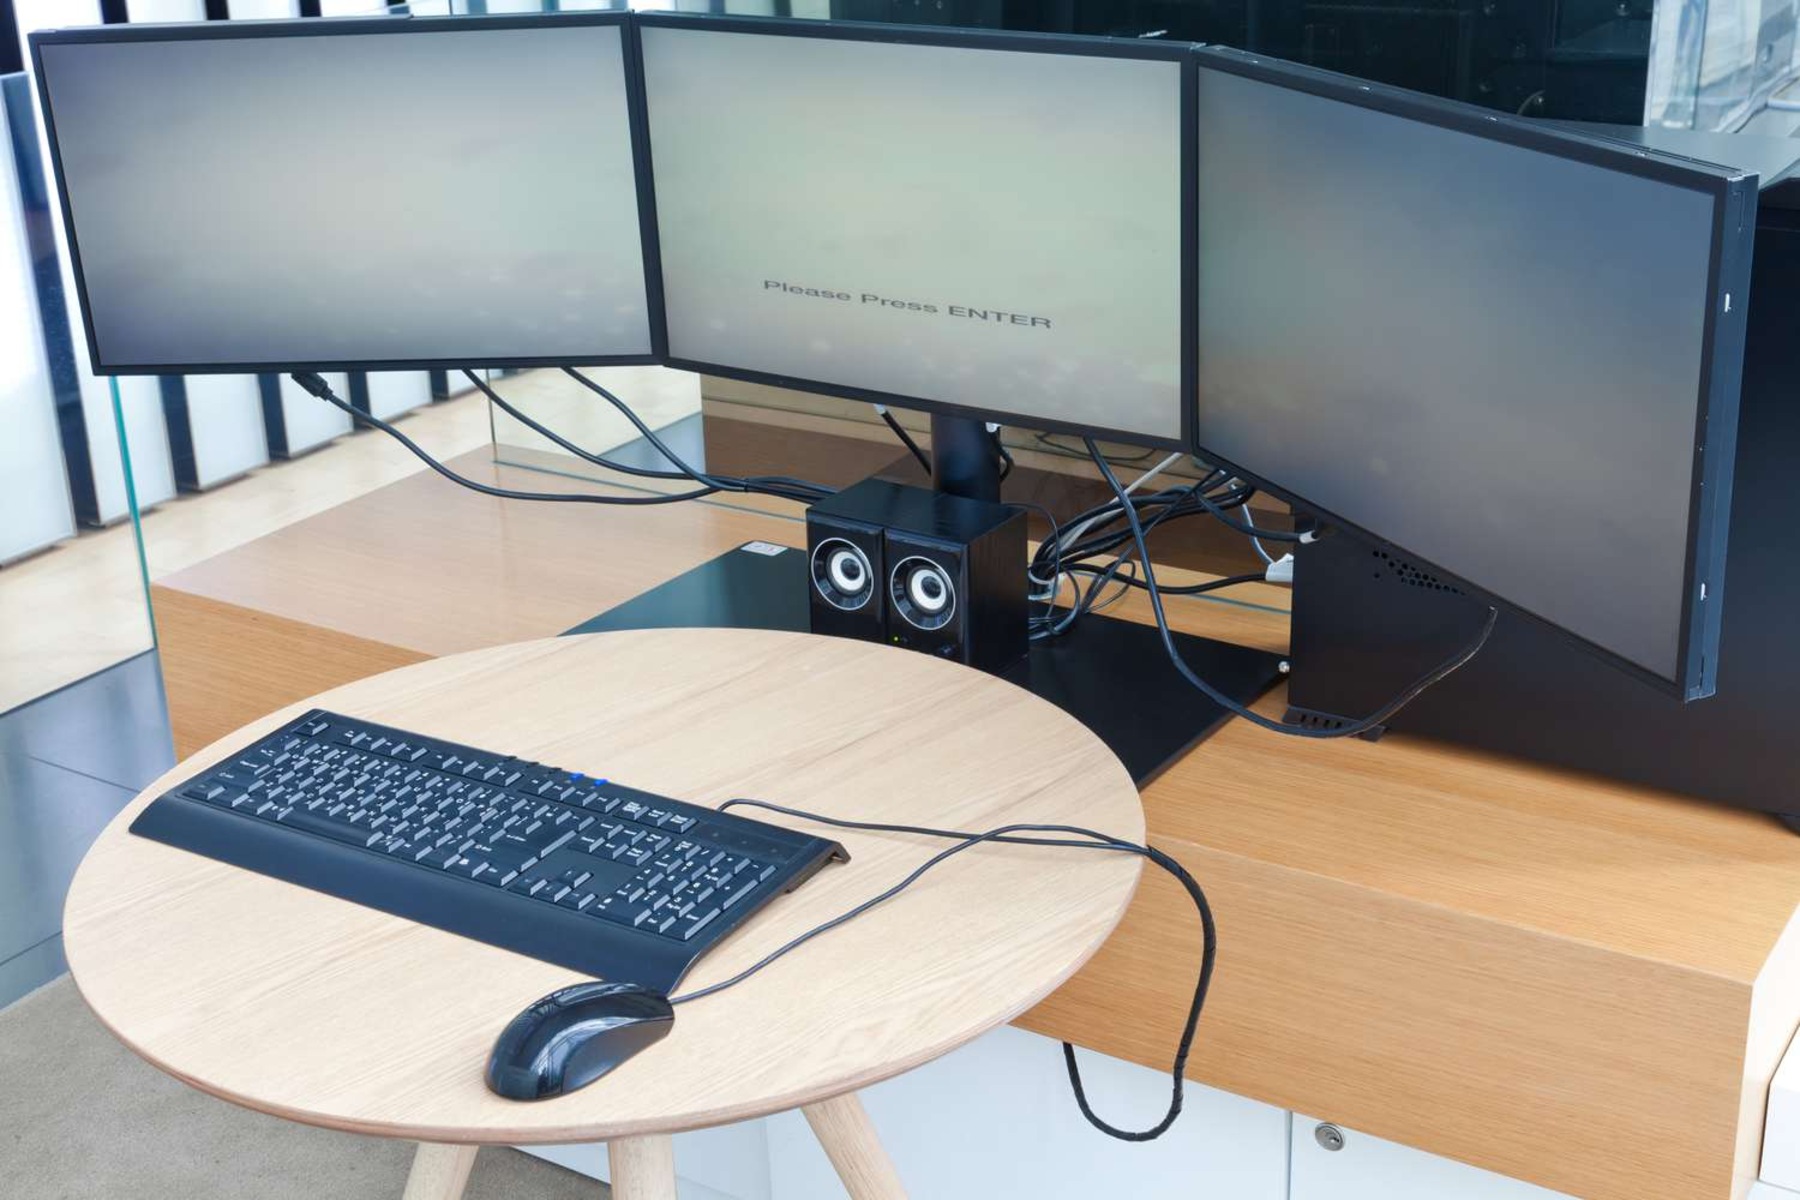
- External device: Decide on the device you want to use as the extended display. It can be a monitor, TV, projector, or any other device with an HDMI input. Ensure that the device is in good working condition and has an HDMI port available.
Once you have gathered all the necessary equipment, you are ready to move on to the next step of connecting your laptop and the external device.
Step 3: Connect the Laptop and the Device
Now that you have the required equipment, it’s time to connect your laptop and the device you want to use as a monitor. Follow these steps to establish the connection:
- Make sure that both your laptop and the external device are powered off.
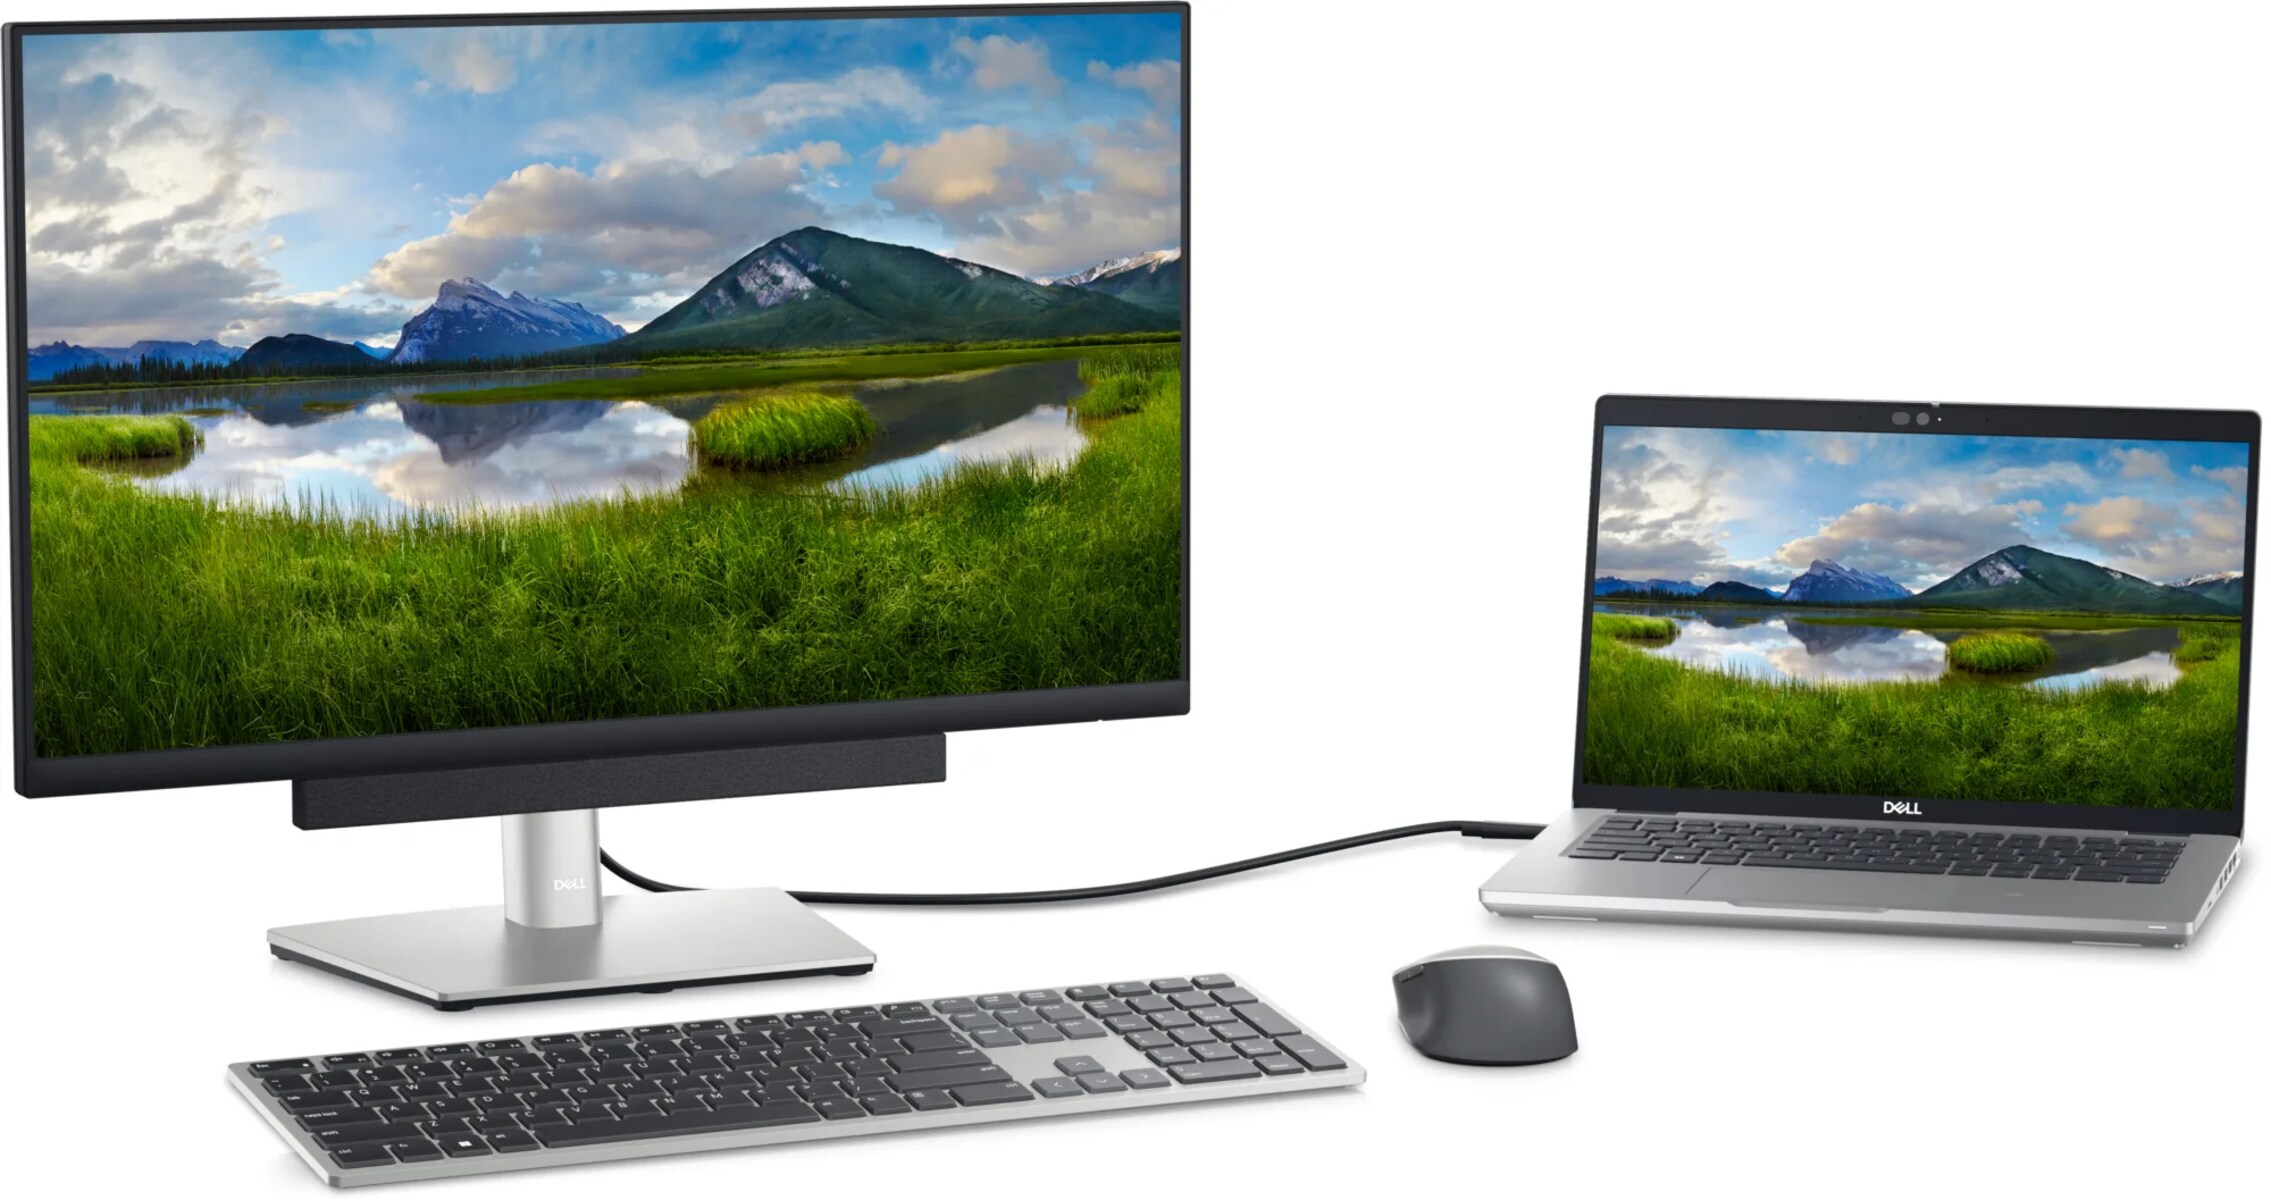
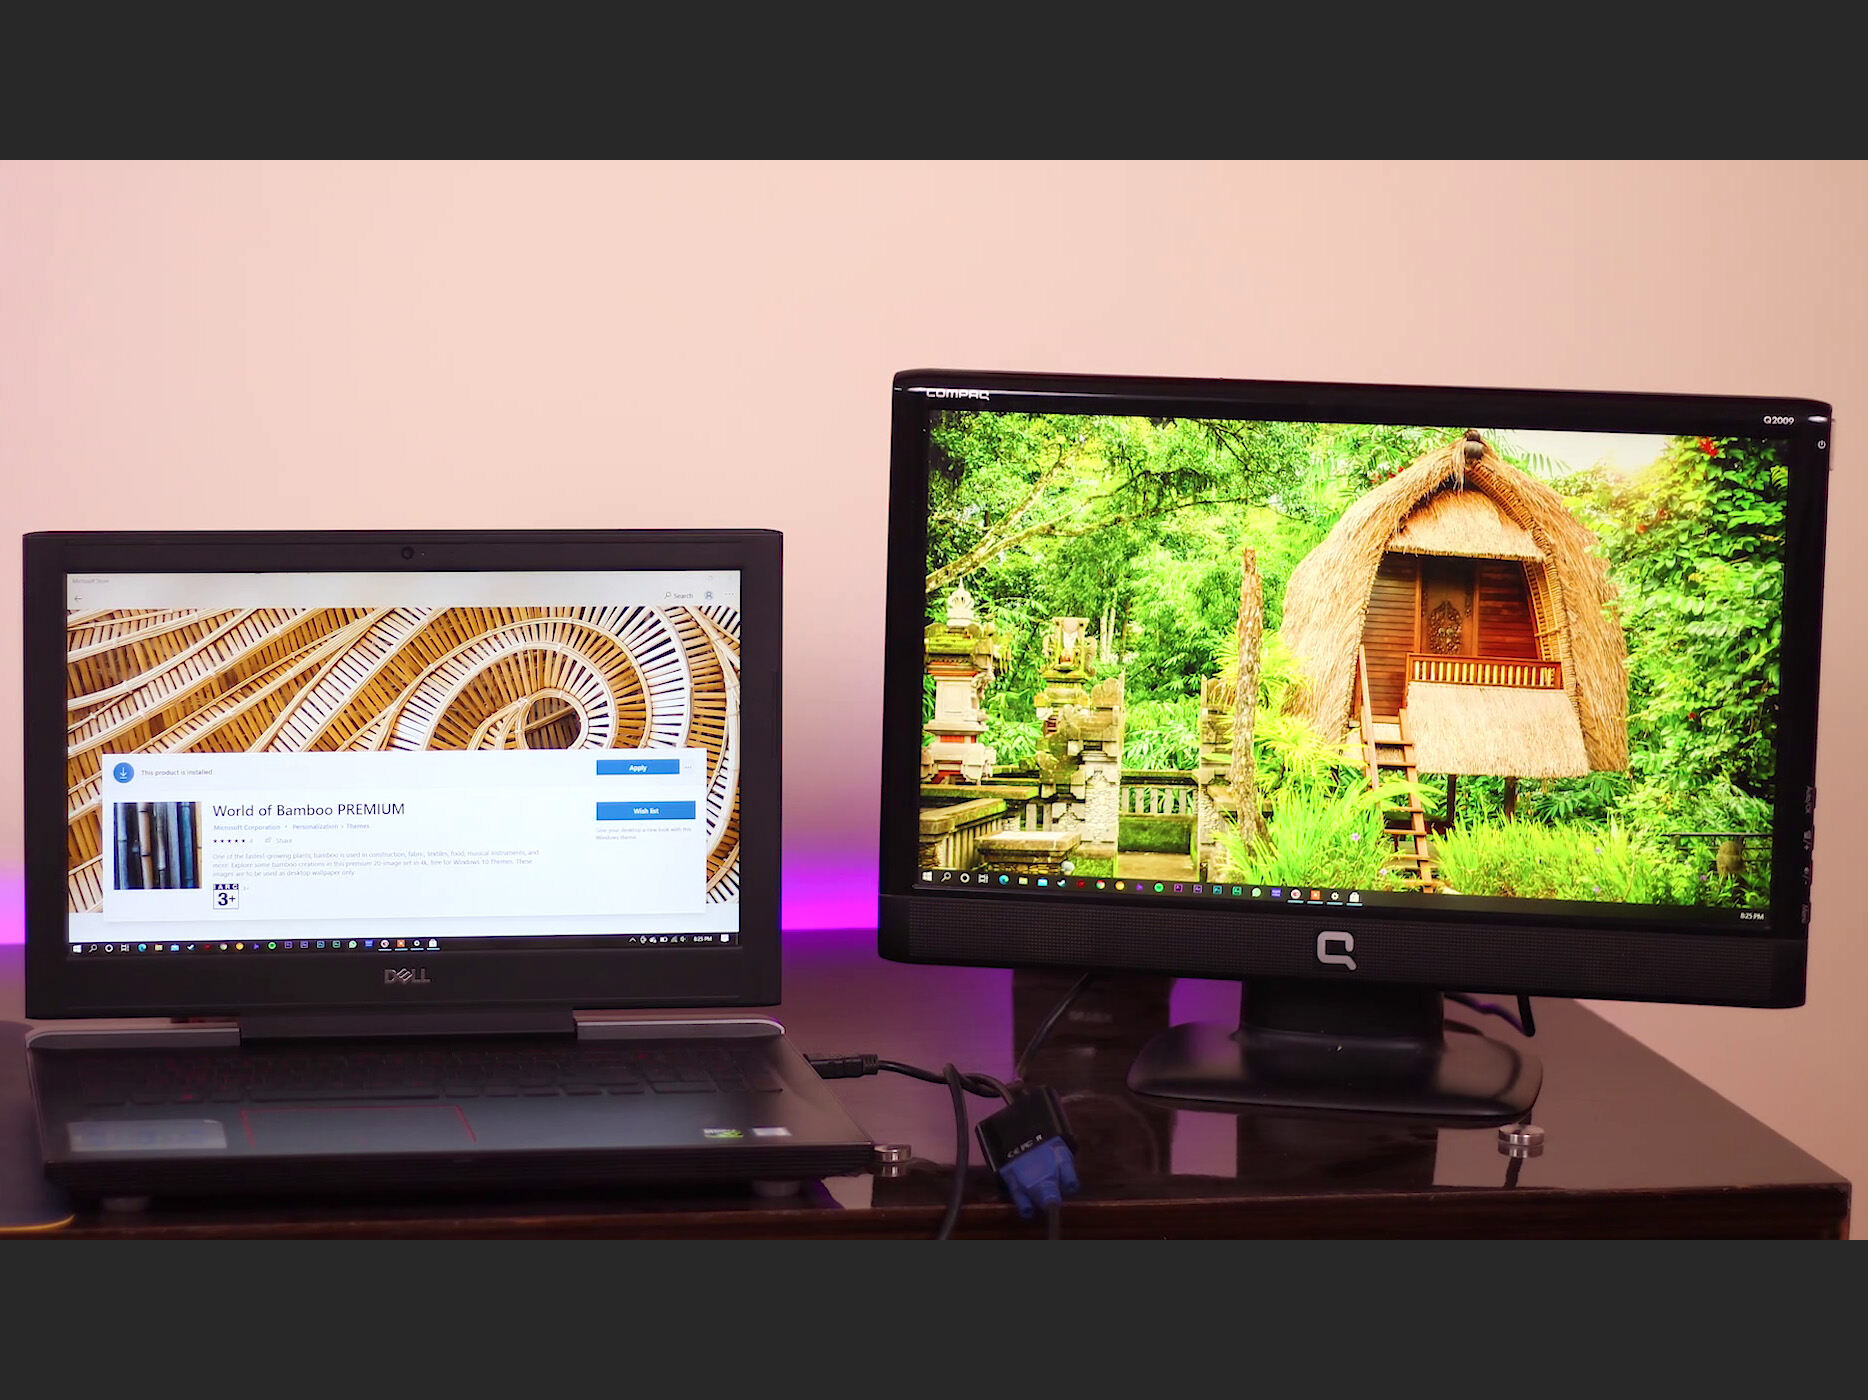
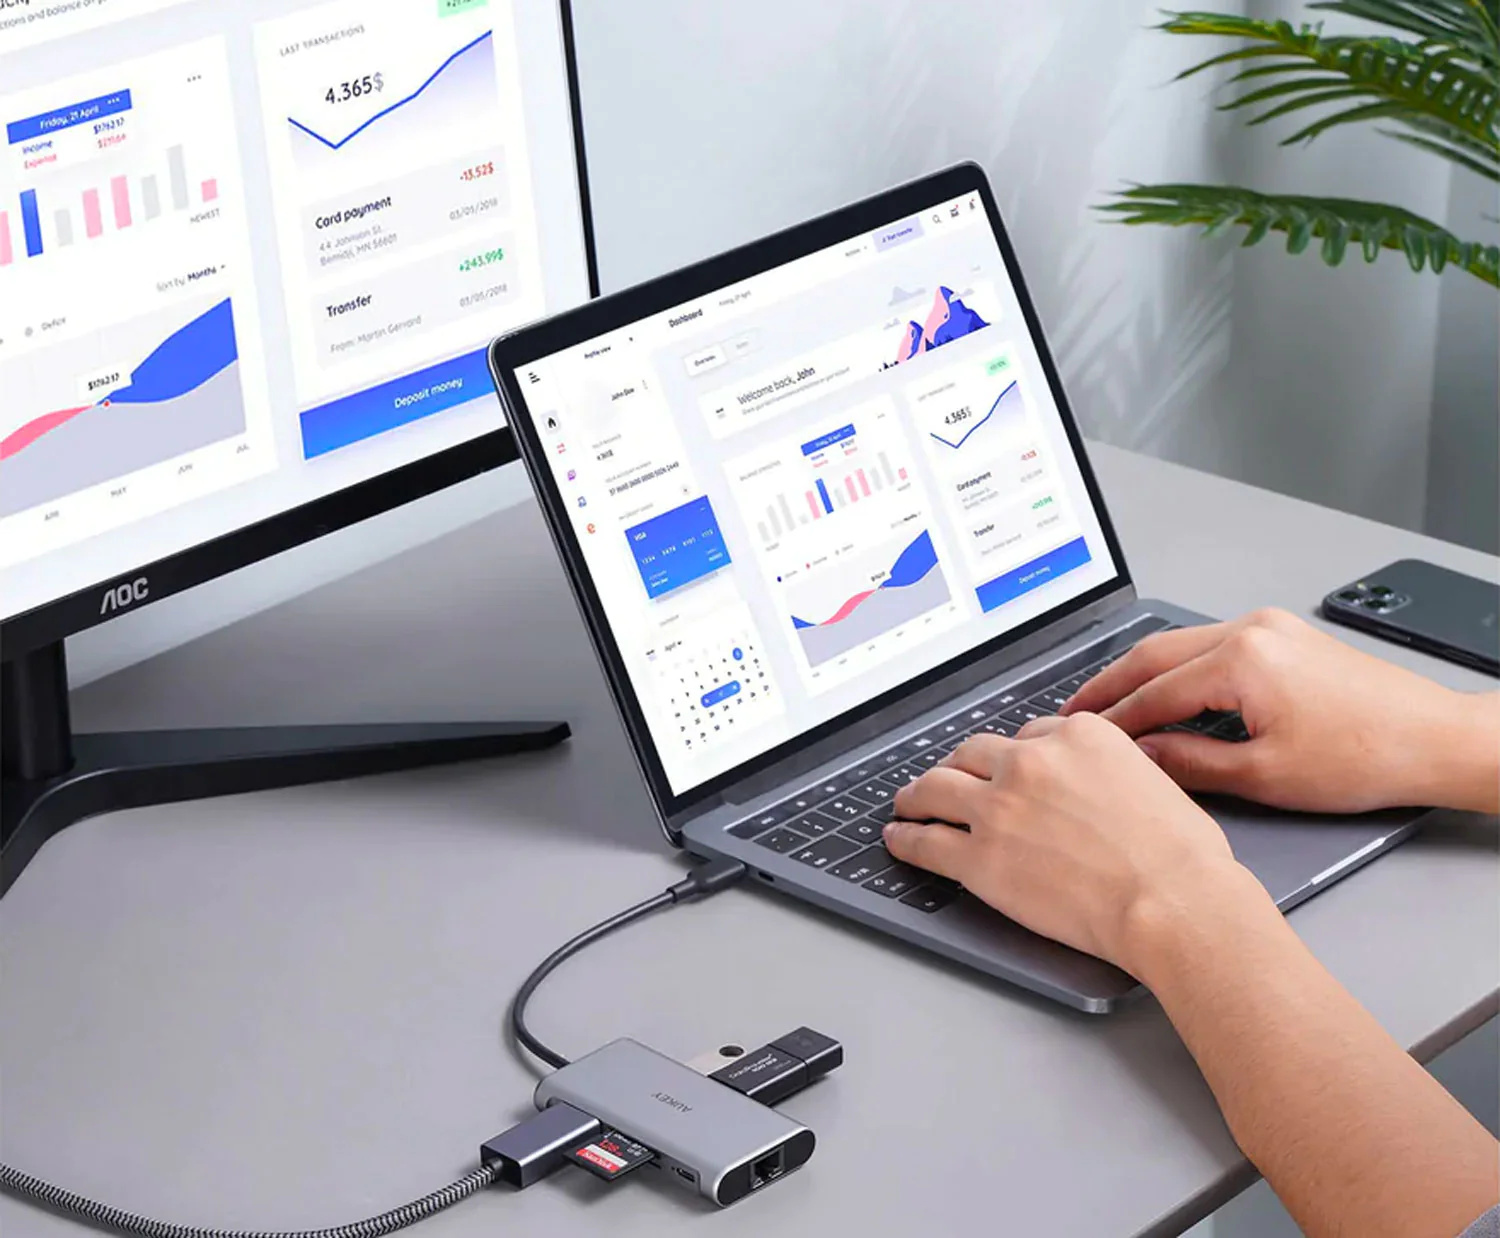
- Connect one end of the HDMI cable to the HDMI output port on your laptop. This port is usually located on the side or back of the laptop and is labeled “HDMI” or shows the HDMI symbol.
- Connect the other end of the HDMI cable to the HDMI input port on the external device. The HDMI input port is typically located at the back or side of the device and is also labeled “HDMI” or shows the HDMI symbol.
- If you are using an adapter, connect the adapter to the corresponding ports on both the laptop and the external device before connecting the HDMI cable.
- Once the HDMI cable is securely connected, turn on your laptop and the external device.
- Depending on the operating system, your laptop may automatically detect the external device and configure the display settings. If the display does not appear or is not set up correctly, continue to the next step.
It’s important to note that some laptops may require additional steps to enable the external display. For example, on Windows laptops, you may need to press the Windows key + P to bring up the display options and select the desired display mode (e.g., “Extend” or “Duplicate”). On macOS, you can go to System Preferences > Displays and adjust the arrangement and settings for the external display.
By following these steps, you should have successfully connected your laptop to the external device using an HDMI cable. In the next step, we will delve into adjusting the display settings to ensure optimal performance and functionality.
Step 4: Adjust Display Settings
After successfully connecting your laptop to the external device, it’s crucial to adjust the display settings to ensure optimal performance and functionality. Here’s how you can do it:
- On your laptop, go to the display settings. The method for accessing these settings may vary depending on the operating system. For most Windows laptops, you can right-click on the desktop and select “Display settings” from the context menu. On macOS, navigate to System Preferences > Displays.
- In the display settings, you should see both your laptop’s built-in display and the connected external device’s display. Select the external display to make adjustments specific to that display.
- Adjust the resolution: Choose the appropriate resolution for the external display. Higher resolutions provide sharper images but may require more computing power. Select a resolution that suits your preferences and the capabilities of your laptop and the external device.
- Set the orientation: Determine the desired orientation of the external display. You can choose between landscape and portrait mode, depending on your needs.
- Arrange the displays: If you want to extend your desktop workspace across both the laptop’s display and the external display, arrange them according to your preferred layout. You can drag and drop the displays in the settings to match their physical placement.
- Other display settings: Explore additional display settings such as brightness, contrast, color calibration, and scaling to customize the display experience according to your preferences.
By adjusting the display settings, you can ensure that the external device functions seamlessly as an extended display for your laptop. Take your time to fine-tune these settings until you achieve the desired display configuration.
In the next step, we will discuss how to use your laptop as a monitor effectively and take advantage of its extended capabilities.
Step 5: Using the Laptop as a Monitor
Now that you have successfully connected your laptop to the external device and adjusted the display settings, you can start using your laptop as a monitor. Here are some tips on utilizing its extended capabilities effectively:
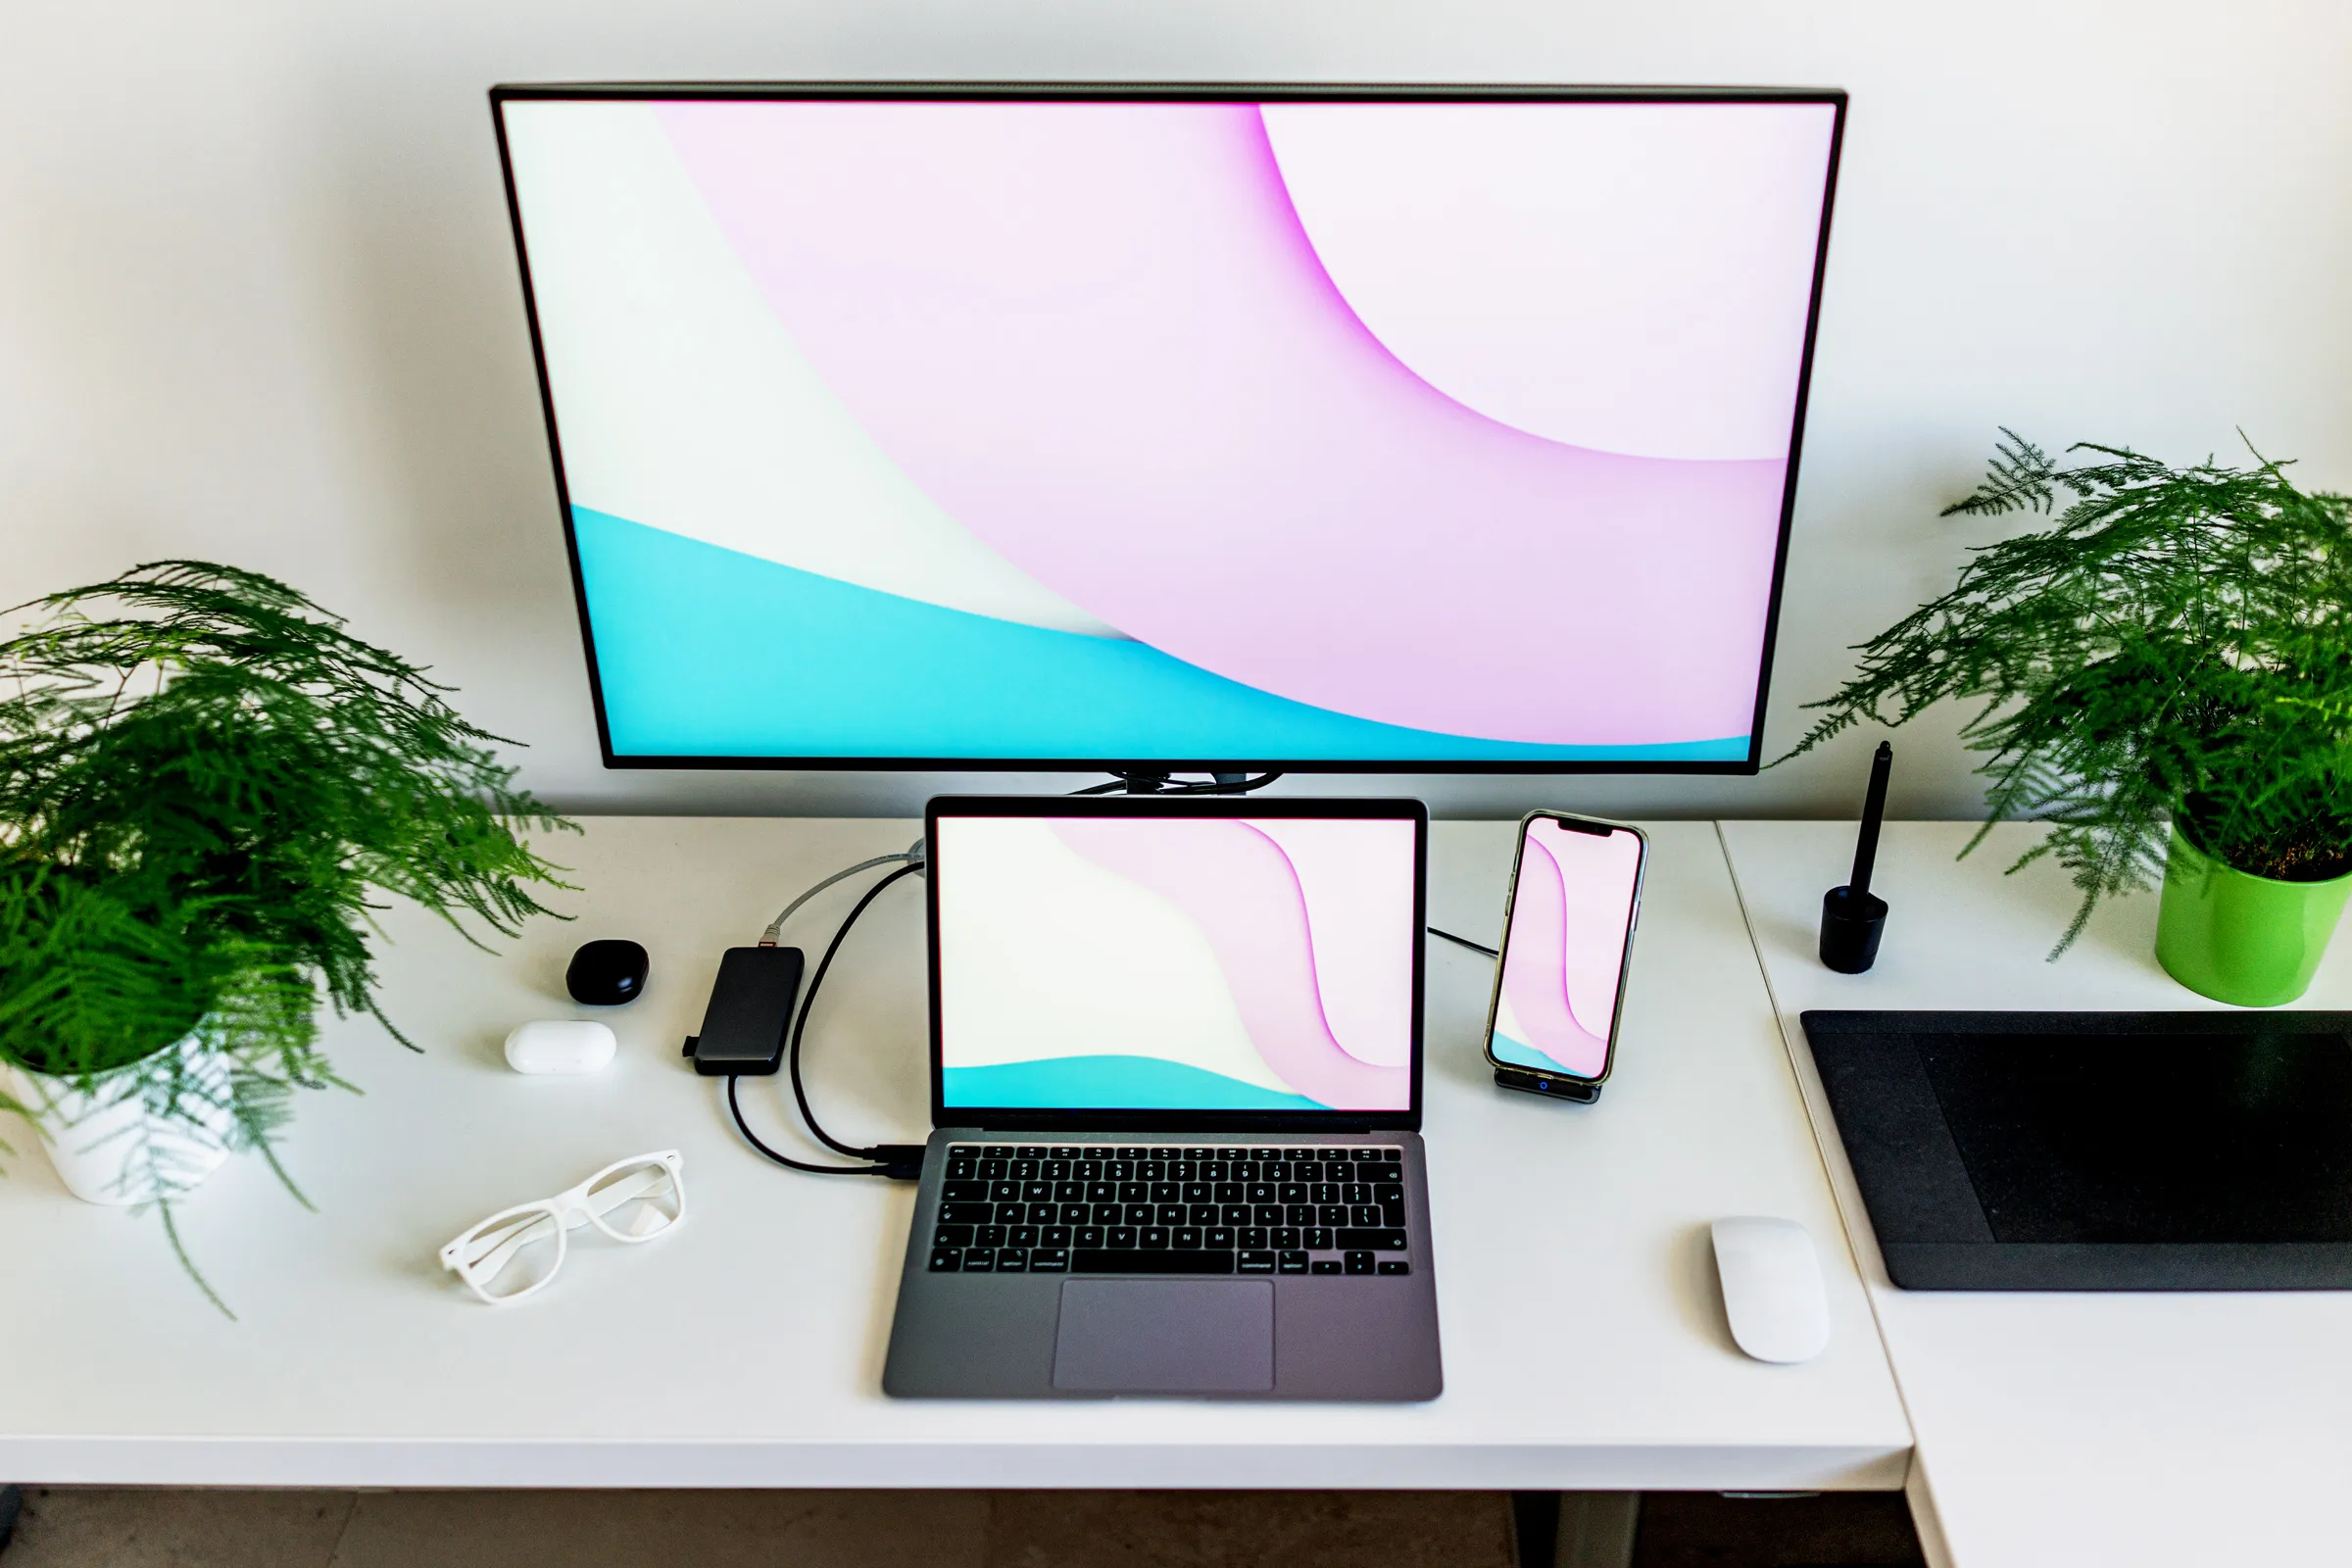
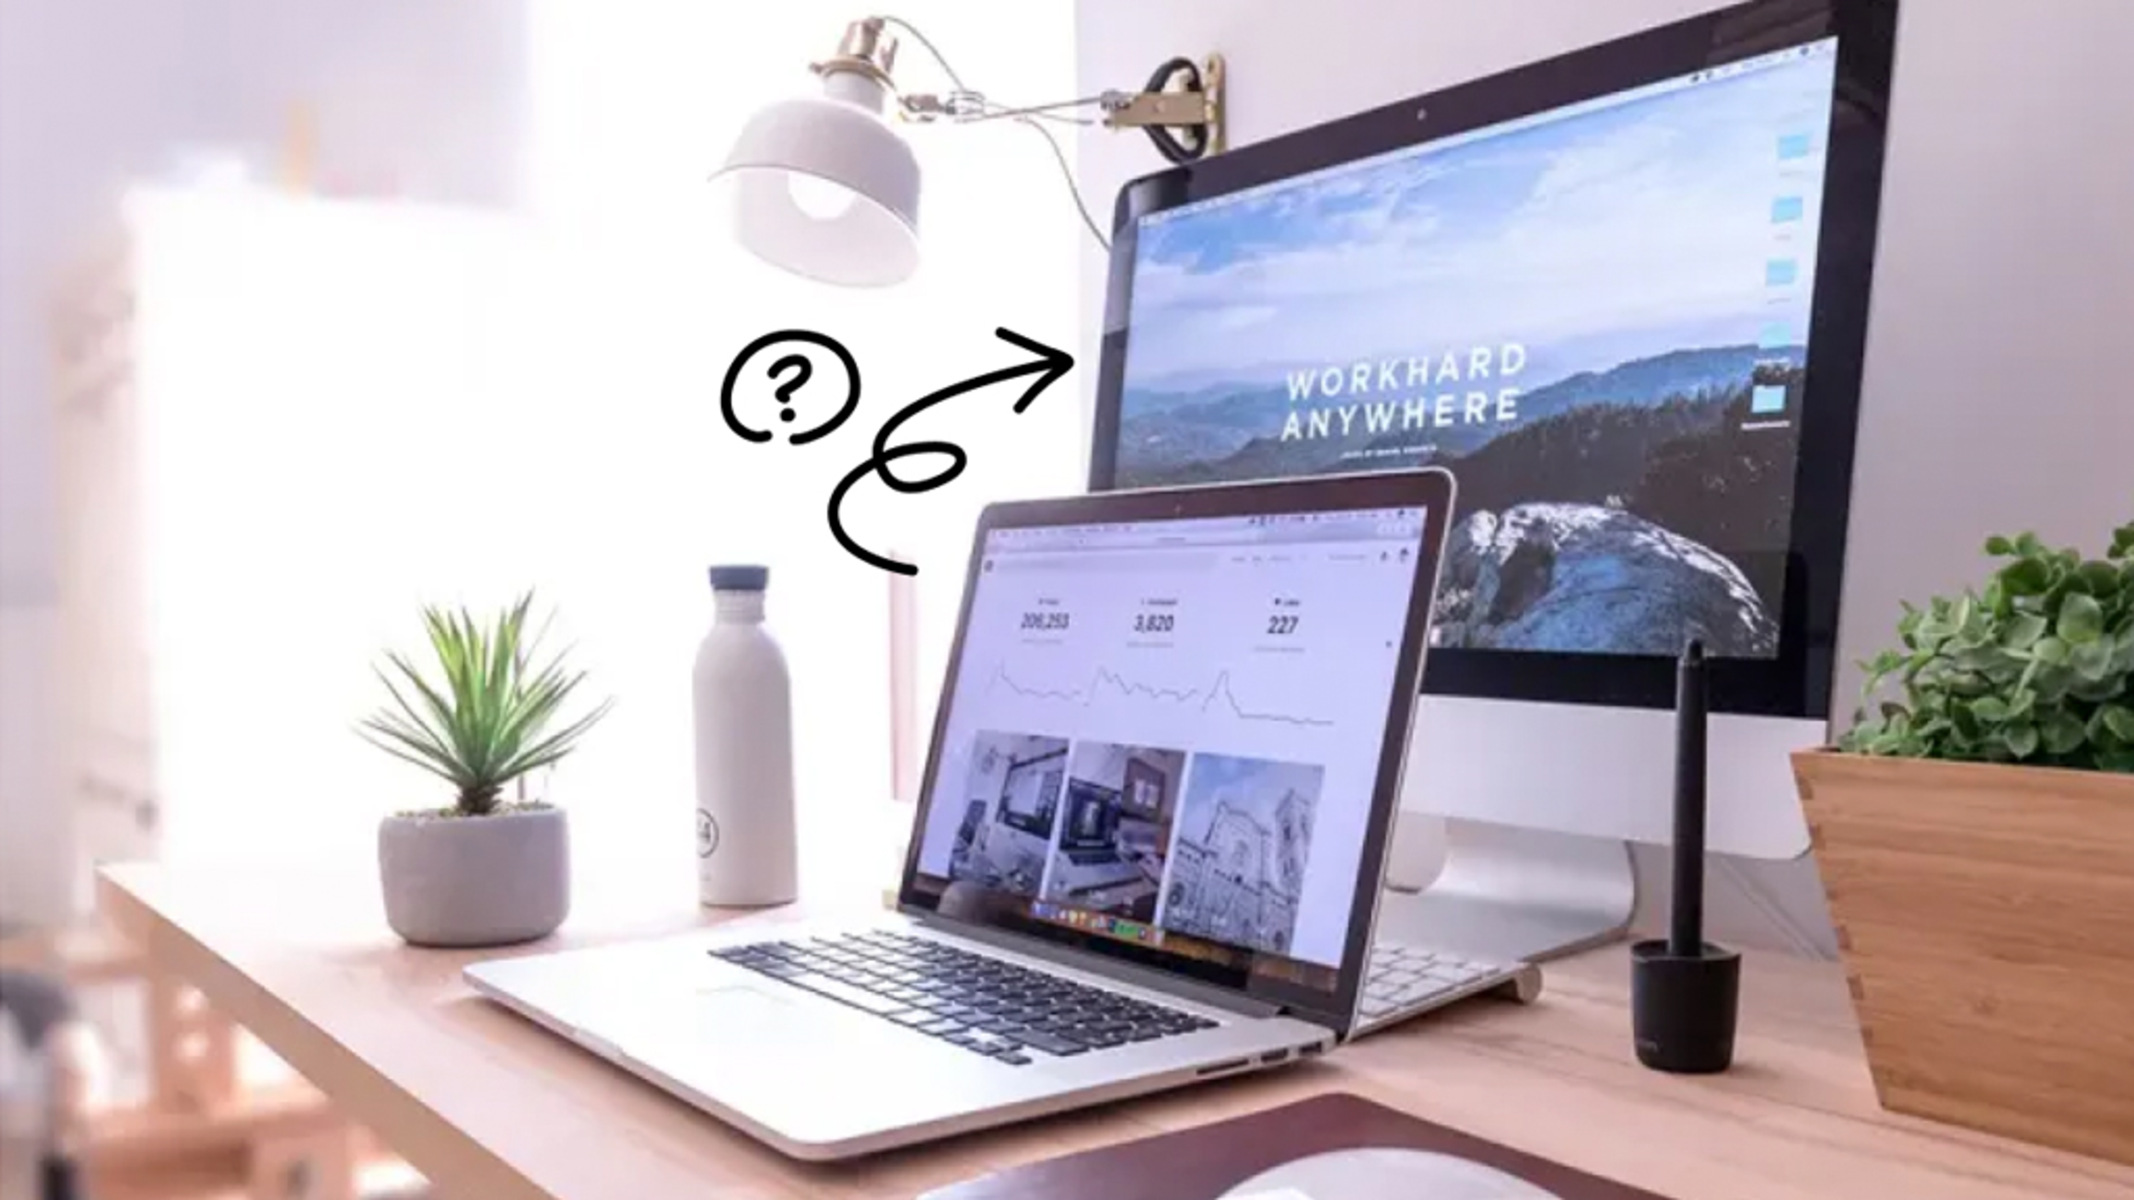
- Extended workspace: With the external display connected, you now have a larger desktop workspace. You can drag windows and applications from your laptop’s screen to the external display, giving you more room to work, multitask, or enjoy media.
- Multi-monitor setup: If you have connected multiple external displays to your laptop, you can create a multi-monitor setup. This allows you to spread your workspace across multiple displays, enabling you to work on different tasks simultaneously or have different applications open on each display.
- Enhanced gaming experience: If you are a gamer, using your laptop as a monitor can enhance your gaming experience. Connect your gaming console or another HDMI-enabled device to your laptop and enjoy playing games on a larger screen.
- Presentation mode: When giving presentations, you can use your laptop as a monitor to display your slides or content on a bigger screen. This can make your presentation more impactful and engaging for your audience.
- Mirror mode: If you prefer to duplicate your laptop’s screen onto the external display, you can enable mirror mode. This duplicates your laptop’s screen onto the external display, allowing everyone to see the same content simultaneously.
- Disconnecting: When you have finished using your laptop as a monitor, it’s important to properly disconnect the external device. Safely remove the HDMI cable and power off the external device before disconnecting it from your laptop.
Remember to adjust the display settings accordingly if you want to switch back to using only your laptop’s built-in screen or disconnect the external device.
By making the most of your laptop as a monitor, you can enjoy an expanded workspace, improved productivity, and an enhanced visual experience whether for work, gaming, or presentations.
Conclusion
In conclusion, using your laptop as a monitor can significantly enhance your productivity, provide a larger display for entertainment purposes, or support your presentation needs. By following the step-by-step guide outlined in this article, you can seamlessly connect your laptop to an external device and enjoy the benefits of an extended display.
Before proceeding, it is essential to verify the compatibility of your laptop by checking for an HDMI port, assessing the operating system’s capability to support dual monitors, and ensuring the presence of a capable graphics card. Once you have confirmed the compatibility, gather the necessary equipment, including an HDMI cable and any required adapters.
Next, connect your laptop to the external device by firmly attaching the HDMI cable to both the laptop’s HDMI output port and the device’s HDMI input port. Ensure that both devices are powered off before making the connection and then turn them on.
After the physical connection is established, adjust the display settings on your laptop to optimize the performance of the external device. Customize the resolution, orientation, and arrangement of the displays according to your preferences and needs.
Finally, take full advantage of using your laptop as a monitor by utilizing the extended workspace, creating a multi-monitor setup, enhancing your gaming experience, leveraging presentation mode, or even enabling mirror mode for simultaneous display. When you are finished, safely disconnect the external device and make sure to adjust the display settings as desired.
Using your laptop as a monitor adds flexibility and versatility to your computing experience. Whether you need to expand your workspace, enjoy multimedia content on a larger screen, or deliver impactful presentations, this feature can prove to be invaluable. So, go ahead and explore the possibilities of using your laptop as a monitor to enhance your productivity and entertainment endeavors.