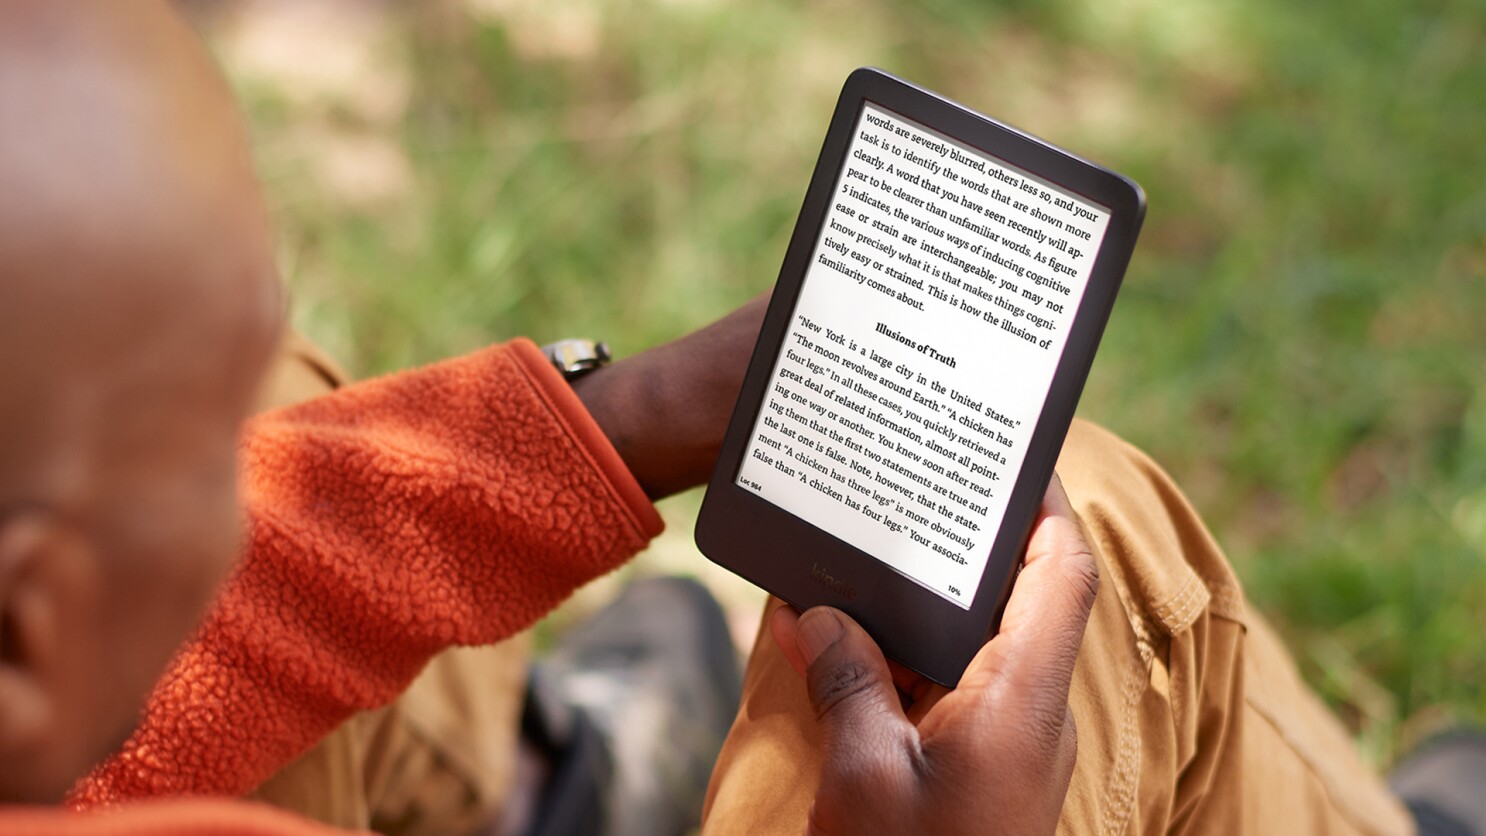
Introduction
Welcome to the world of digital reading with Kindle! With the Kindle app installed on your Android tablet, you can access a vast library of books right at your fingertips. Whether you’re a passionate bookworm or just enjoy the occasional read, the Kindle app offers a convenient and portable way to indulge in your favorite books.
In this guide, we will walk you through the step-by-step process of using the Kindle app on your Android tablet. We’ll show you how to install the app, sign in to your Amazon account, browse and search for books, purchase and download them, manage your Kindle library, customize your reading experience, and utilize various Kindle features and tools.
Reading on a tablet offers a range of benefits. You can carry thousands of books with you wherever you go, effortlessly switch between titles, and enjoy features like adjustable font sizes, night mode for reading in low light, and highlighting and note-taking capabilities. Plus, with the Kindle app, you can sync your progress across devices, so you can seamlessly continue reading on your Android tablet, smartphone, or even your Kindle e-reader.
Reading has never been more convenient or accessible, and the Kindle app ensures that you have a comprehensive reading experience on your Android tablet. So, let’s dive in and explore how to make the most of Kindle on your device!
Step 1: Installing the Kindle App
Before you can start enjoying the world of eBooks on your Android tablet, you’ll need to install the Kindle app. Follow these simple steps to get started:
- Open the Google Play Store on your Android tablet. This is where you can download and install apps for your device.
- In the search bar at the top of the screen, type “Kindle” and press Enter or tap the magnifying glass icon.
- Locate the Kindle app from the list of search results and tap on it.
- On the app page, tap the “Install” button to begin the installation process. If prompted, review the app permissions and tap “Accept” to continue.
- Wait for the app to download and install on your device. The progress will be indicated by a progress bar or a percentage.
- Once the app is installed, tap “Open” to launch the Kindle app.
That’s it! You have successfully installed the Kindle app on your Android tablet. Now, let’s move on to the next step – signing in to your Amazon account.
Step 2: Signing in to your Amazon Account
After installing the Kindle app on your Android tablet, you’ll need to sign in to your Amazon account to access your Kindle library and purchase new books. Follow these steps to get started:
- Open the Kindle app on your Android tablet by tapping on the app icon.
- On the app’s home screen, you will be prompted to sign in. If you already have an Amazon account, tap on the “Sign in” button to proceed. If you don’t have an account yet, you can create one by tapping on “Create a New Amazon Account” and following the on-screen instructions.
- Enter your email address or phone number associated with your Amazon account in the provided field.
- Tap on the “Next” button.
- On the next screen, enter your password and tap “Sign in” to continue.
- If you have enabled Two-Step Verification for your Amazon account, you may be prompted to enter a verification code sent to your registered email or phone. Enter the code and tap “Verify“.
- Once you’ve successfully signed in, you’ll be taken to your Kindle library where you can start exploring and reading your eBooks.
Remember, signing in to your Amazon account ensures that your purchased books, bookmarks, and reading progress are synced across all of your devices. This means you can seamlessly switch between your Android tablet, smartphone, or Kindle e-reader without losing your place in a book.
Now that you’re signed in, let’s move on to the next step – browsing and searching for books in the Kindle app.
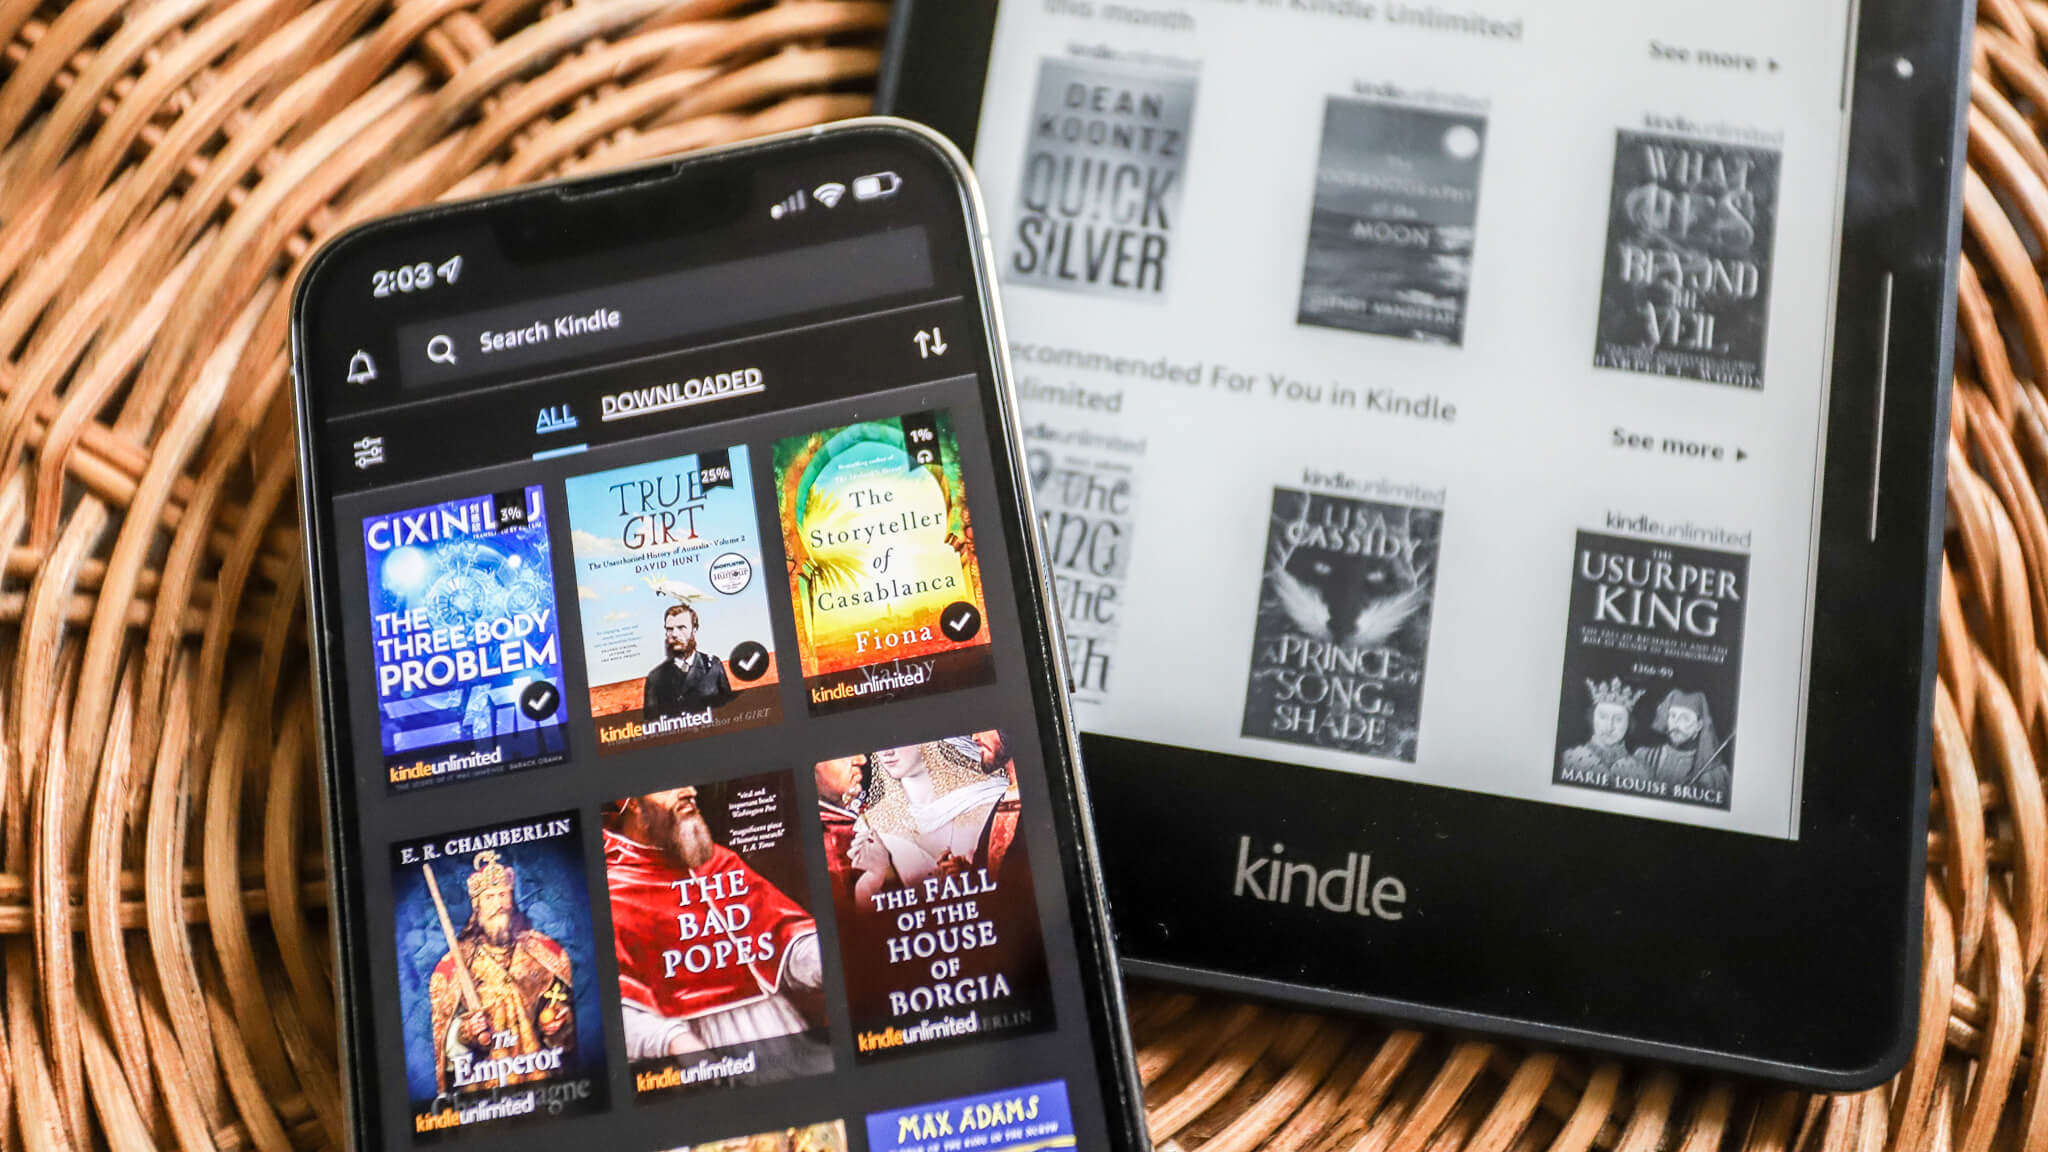
Step 3: Browsing and Searching for Books
Now that you’re signed in to your Amazon account through the Kindle app on your Android tablet, it’s time to start exploring the vast collection of books available. Here’s how you can browse and search for books within the Kindle app:
Browsing:
- On the Kindle app’s home screen, you’ll find various options to explore, such as Recommended, Genres, Top Charts, and more.
- To view books in a specific genre, tap on the Genres option and select the genre you’re interested in.
- Scroll through the list of books and tap on a book cover to view more details about it.
- To see more books within a genre or category, tap on the “See All” option.
- You can also swipe left or right on the book covers to browse through different book suggestions.
Searching:
- If you have a specific book in mind or want to search for books based on keywords or author names, tap on the Search icon usually located on the app’s navigation bar.
- Enter the title, author, or any relevant keyword in the search bar.
- As you type, the app will start suggesting matching book titles or authors. Tap on a suggestion to view related results.
- Scroll through the search results to find the book you’re looking for.
- Tap on a book cover to view detailed information about the book and its price.
Browsing and searching for books in the Kindle app allows you to discover new titles, explore different genres, and find your favorite authors. Whether you’re looking for bestsellers, classics, or niche topics, the Kindle app has a vast selection to cater to your reading preferences.
Now that you know how to find books, let’s move on to the next step – purchasing and downloading books on your Android tablet.
Step 4: Purchasing and Downloading Books
Once you’ve found a book you’d like to read in the Kindle app on your Android tablet, it’s time to purchase and download it. Follow these steps to add books to your Kindle library:
- From the detailed book page, tap on the Buy or Price button to initiate the purchase process.
- If the book is available for Kindle Unlimited or Prime Reading, you may see options to Borrow for Free or Read for Free. Tap on the respective option to access the book without purchase.
- If you haven’t already, you may be prompted to enter your payment details associated with your Amazon account. Follow the on-screen instructions to complete the purchase.
- Once the purchase is complete, the book will automatically start downloading and appear in your Kindle library.
- To access your downloaded books, tap on the Library tab usually located at the bottom of the app’s interface.
- In the library, you’ll find all your purchased and downloaded books. Scroll through the list to locate the book you just purchased.
- To start reading, simply tap on the book’s cover, and it will open in the reading interface.
Purchasing and downloading books in the Kindle app is a straightforward process, allowing you to quickly add new books to your reading collection. With a seamless integration with your Amazon account, you can easily manage your purchases and access your books anywhere you go.
Now that you know how to purchase and download books, let’s move on to the next step – managing your Kindle library on your Android tablet.
Step 5: Managing Your Kindle Library
As you continue to build your collection of books in the Kindle app on your Android tablet, it’s important to know how to effectively manage your library. Here are some key features and tools that will help you organize and navigate your Kindle library:
- Viewing Your Library: To access your Kindle library, tap on the Library tab located at the bottom of the app’s interface. Here, you’ll find all the books you have purchased and downloaded.
- Sorting Options: Tap on the Sort By or Filter options to arrange your books based on criteria like Title, Author, Recent, or Series. This allows you to easily find specific books or organize them based on your preferences.
- Managing Collections: You can create custom collections to organize your books into categories like Fiction, Non-Fiction, or Favorite Authors. To create a collection, tap on the + New Collection button and give it a name. To add books to a collection, tap on a book cover, select Add to Collection, and choose the desired collection.
- Removing Books: If you want to remove a book from your Kindle library, press and hold on the book cover until a options menu appears. Select Remove from Device to delete the book from your tablet, but keep it in your cloud library for future re-downloading.
- Archiving Books: Archiving allows you to remove books from your device and cloud library. To archive a book, press and hold on the book cover and select Remove from Device and Cloud. The book will be permanently removed from your Kindle app, but you can re-download it in the future.
- Syncing Across Devices: The Kindle app syncs your reading progress, bookmarks, and highlights across all your devices. This means you can seamlessly switch between devices and continue reading where you left off.
These features make it easy for you to organize and manage your Kindle library, ensuring a personalized and streamlined reading experience. Take advantage of them to keep your collection in order and easily access your favorite books.
Now that you know how to manage your Kindle library, let’s move on to the next step – customizing your reading experience on your Android tablet.
Step 6: Customizing Your Reading Experience
With the Kindle app on your Android tablet, you have the flexibility to customize your reading experience according to your preferences. Here are some ways you can personalize your reading experience:
- Adjusting Font Sizes: To make the text more readable, you can change the font size by tapping on the Aa icon in the reading interface. Select the desired font size from the options provided.
- Switching Reading Themes: The Kindle app offers different reading themes, such as Day and Night modes. To switch between themes, tap on the Aa icon, and select the preferred theme.
- Customizing Page Layout: You can choose between Single Page and Two-Page layouts for a more immersive reading experience. Access this option by tapping on the Aa icon and selecting the desired layout.
- Enabling Continuous Scrolling: If you prefer a seamless scrolling experience instead of page turning, you can enable Continuous Scrolling. To do this, tap on the Aa icon and toggle the switch for Continuous Scrolling.
- Highlighting and Note-taking: The Kindle app allows you to highlight text and make notes within books. Simply press and hold a word or phrase to highlight. To add a note, tap on the highlighted text and select Add Note.
- Dictionary and Translation: To look up the meaning of a word or translate it to another language, simply press and hold the word. A pop-up menu will appear, offering options for dictionary and translation tools.
- Adjusting Screen Brightness: If you’re reading in low light or prefer a specific screen brightness, you can adjust it by swiping down from the top of your Android tablet’s screen to access the quick settings menu. From there, adjust the brightness slider to your desired level.
By customizing your reading experience, you can make reading more comfortable, enjoyable, and tailored to your preferences. Experiment with these options to find the settings that work best for you.
Now that you know how to customize your reading experience, let’s move on to the next step – organizing and sorting your eBooks in the Kindle app on your Android tablet.
Step 7: Organizing and Sorting Your eBooks
Keeping your eBook library organized is essential for easy navigation and quick access to your favorite titles. In the Kindle app on your Android tablet, you can organize and sort your eBooks using various features and tools. Here’s how:
- Creating Collections: Collections are a great way to categorize and group your eBooks. To create a collection, tap on the Library tab and then the + New Collection button. Give your collection a name and tap Save. You can then add books to the collection by selecting them and tapping on Add to Collection.
- Managing Your Collections: To view and manage your collections, tap on the Library tab, and then tap on Collections. From here, you can edit, delete, or reorder your collections by pressing and holding on a collection.
- Sorting Options: The Kindle app offers various sorting options to help you find your eBooks quickly. Tap on the Sort By menu, usually located at the top-right corner of the library screen, and select from options like Title, Author, or Recent to sort your eBooks accordingly.
- Filtering Options: Use the Filter option, usually displayed as a funnel icon, to narrow down your library’s display. You can filter by Downloaded to show only the eBooks stored on your device, or by Recent to display your recently read books.
By utilizing collections, sorting, and filtering options, you can easily manage and organize your eBook library. You can create collections based on genres, authors, or any other criteria that suit your reading preferences. This way, you’ll always have a well-organized library at your fingertips.
Now that you know how to organize and sort your eBooks, let’s move on to the next step – exploring and utilizing additional features and tools in the Kindle app.
Step 8: Using Kindle Features and Tools
The Kindle app offers a range of features and tools that enhance your reading experience and provide additional functionality. These features allow you to customize your settings, interact with your eBooks, and make reading even more enjoyable. Let’s explore some of the Kindle app’s key features:
- Bookmarking and Syncing: Use the Bookmark feature to mark specific pages or sections in your eBooks. You can access your bookmarks by tapping on the top-right corner of the reading interface. Your bookmarks are synced across devices, so you can easily pick up where you left off.
- Dictionary and Wikipedia: Tap and hold on a word to bring up the quick access toolbar. From here, select Dictionary to view the definition of the word. You can also choose Wikipedia to access related information.
- Highlighting and Note-taking: Use the highlight and note-taking tools to mark important passages or jot down your thoughts. Simply press and hold on a word or phrase, select Highlight or Add Note, and choose the desired options.
- Search Within Book: To locate specific content within an eBook, tap on the top-right corner of the reading interface to access the search icon. Enter your search term, and the app will display relevant results within the book.
- Sharing Quotes: Kindle allows you to share your favorite quotes with friends and social media. Simply highlight the desired text, tap on Share, and choose the platform or app you want to share it on.
- Adjusting Reading Progress Bars: Tap on the bottom of the reading interface to bring up the progress bars. This allows you to easily navigate between chapters or jump to another part of the ebook.
- Reading Stats: For those who enjoy tracking their reading habits, Kindle provides reading stats. Access them by tapping on the top-right corner of the reading interface, and select ReadingStats to view information such as reading speed, time spent, and more.
These are just a few examples of the many features and tools available in the Kindle app. Take the time to explore and experiment with these features to enhance your reading experience and make the most out of your eBooks.
Now that you’re familiar with the Kindle app’s features and tools, you’re ready to delve into the world of digital reading on your Android tablet. Enjoy the convenience, versatility, and endless possibilities offered by the Kindle app!
Conclusion
Congratulations! You have now mastered the art of using the Kindle app on your Android tablet. With the ability to install the app, sign in to your Amazon account, browse and search for books, purchase and download them, manage your Kindle library, customize your reading experience, organize your eBooks, and utilize various features and tools, you have all the knowledge needed to embark on a fantastic digital reading journey.
The Kindle app provides an extensive library of eBooks right at your fingertips, allowing you to carry a vast collection wherever you go. Whether you’re a dedicated bookworm or simply enjoy reading during your downtime, the Kindle app offers a convenient and enjoyable reading experience on your Android tablet.
Remember to take advantage of the customization options available within the app, such as adjusting font sizes, switching reading themes, and enabling features like dictionary and translation tools. These features allow you to personalize your reading experience and make it comfortable and engaging.
Utilize the organizational features such as creating collections, sorting options, and filtering to keep your eBook library organized and easily accessible. This will ensure that you can quickly find and enjoy your favorite books.
Lastly, don’t forget to explore additional features and tools like bookmarking, highlight and note-taking, searching within books, and sharing quotes with friends. These features enhance your interaction with the eBooks and add a new level of enjoyment to your reading experience.
Now that you have all the necessary knowledge, it’s time to dive into the fascinating world of eBooks and immerse yourself in captivating stories, informative non-fiction, and everything in between. Enjoy the convenience, versatility, and pleasure that comes with reading on your Android tablet through the Kindle app!