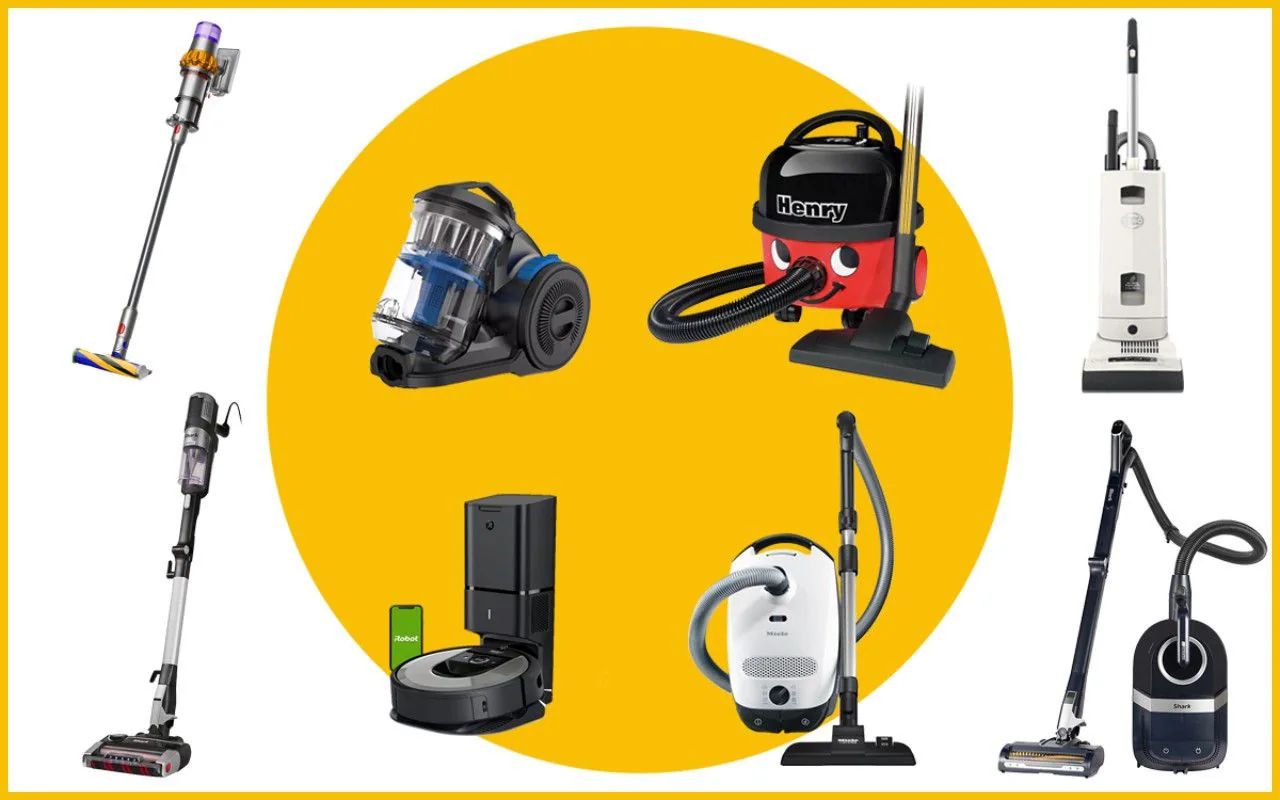
Introduction
Welcome to the world of home automation! With advancements in technology, tasks that were once time-consuming and tedious can now be easily automated, allowing you to focus on more important things. One such innovative device is the iLife Robot Vacuum, designed to take the hassle out of keeping your floors clean.
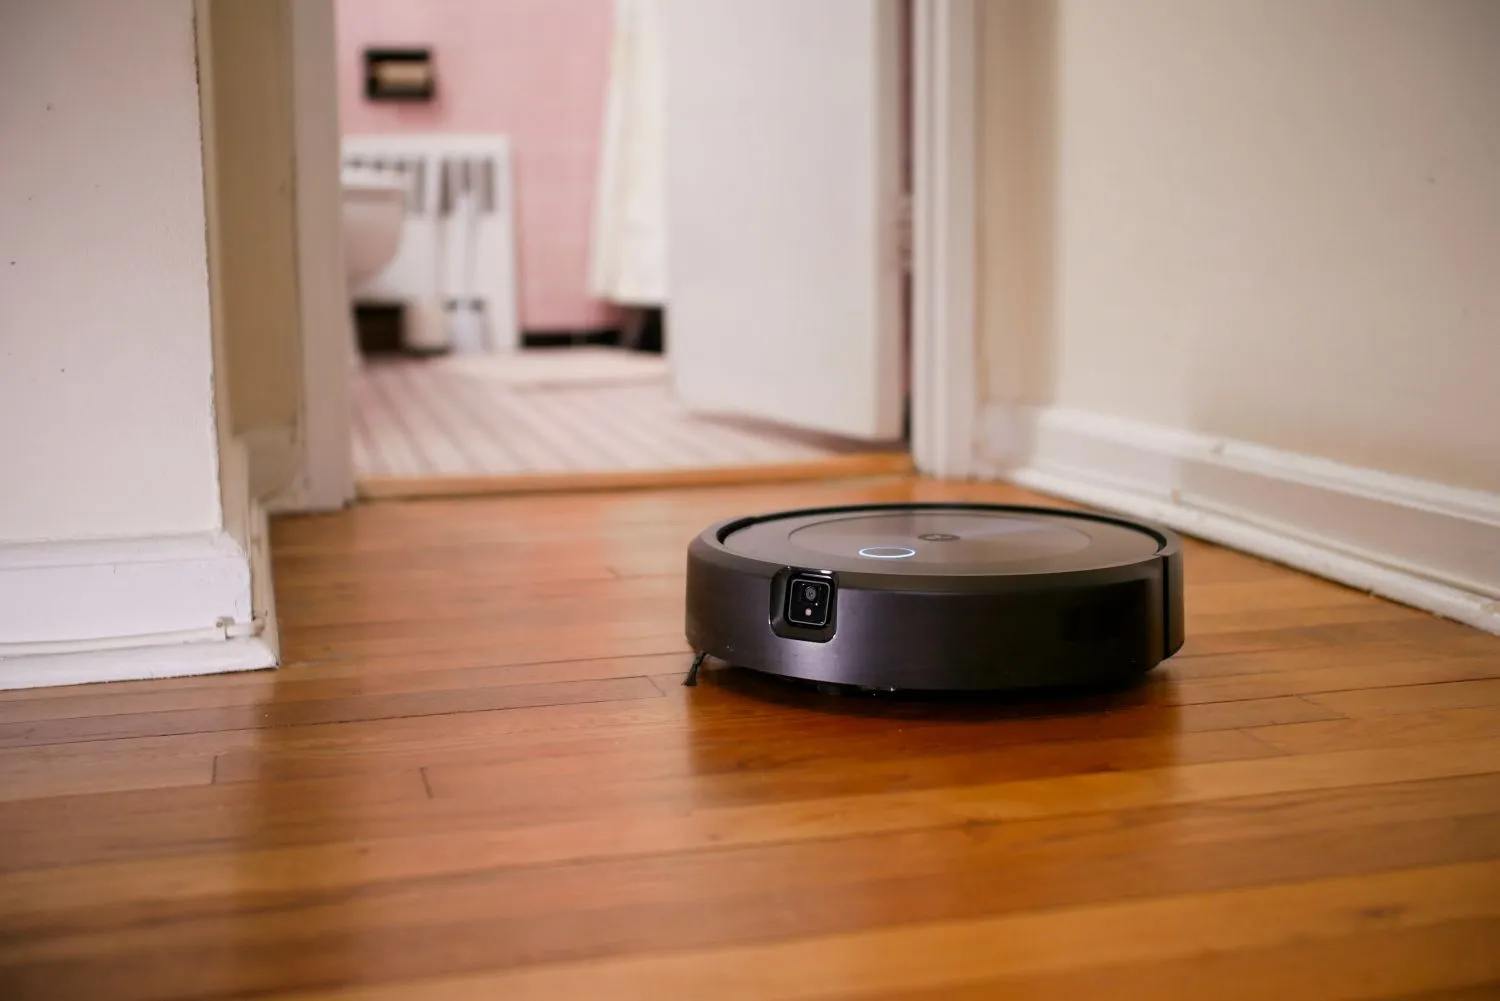
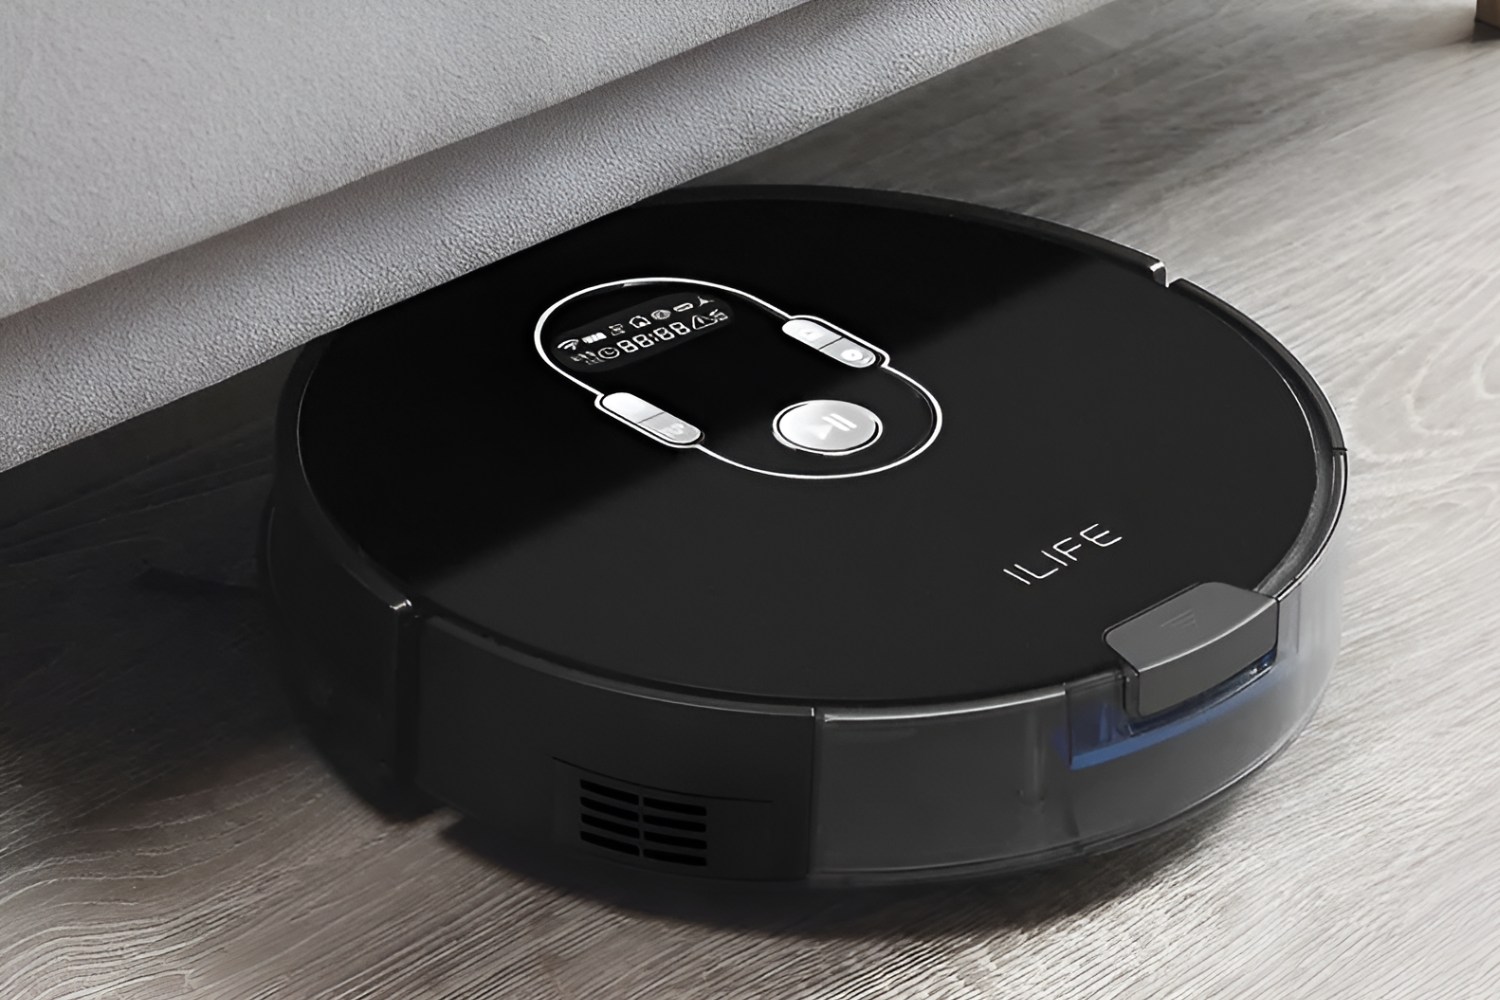
The iLife Robot Vacuum is a state-of-the-art cleaning appliance that navigates your home, sucking up dirt, dust, and debris with ease. Designed with smart sensors and intelligent algorithms, this robotic vacuum can adapt to different surfaces and efficiently clean your floors, leaving them spotless and looking their best.
Not only does the iLife Robot Vacuum save you time and effort, but it also eliminates the need for manual vacuuming, giving you more free time to do the things you love. Whether you have carpeted floors, hardwood, or tiles, this intelligent cleaning device can tackle them all.
In this guide, we will walk you through the basics of using the iLife Robot Vacuum, from setup to maintenance. You will learn how to prepare your home for optimal cleaning, understand the various cleaning modes, and troubleshoot common issues that may arise.
Before we dive into the details, it’s important to note that the iLife Robot Vacuum is a powerful tool, but it’s not a substitute for regular cleaning. While it can significantly reduce your cleaning efforts, occasional manual cleaning may still be necessary for hard-to-reach areas or stubborn stains.
Now, let’s get started and discover how the iLife Robot Vacuum can revolutionize your cleaning routine, making your life easier and your floors cleaner than ever before!
Getting to know the iLife Robot Vacuum
Before you begin using the iLife Robot Vacuum, it’s important to familiarize yourself with its features and functionalities. This will ensure that you can make the most out of this intelligent cleaning device. Let’s take a closer look at what the iLife Robot Vacuum has to offer:
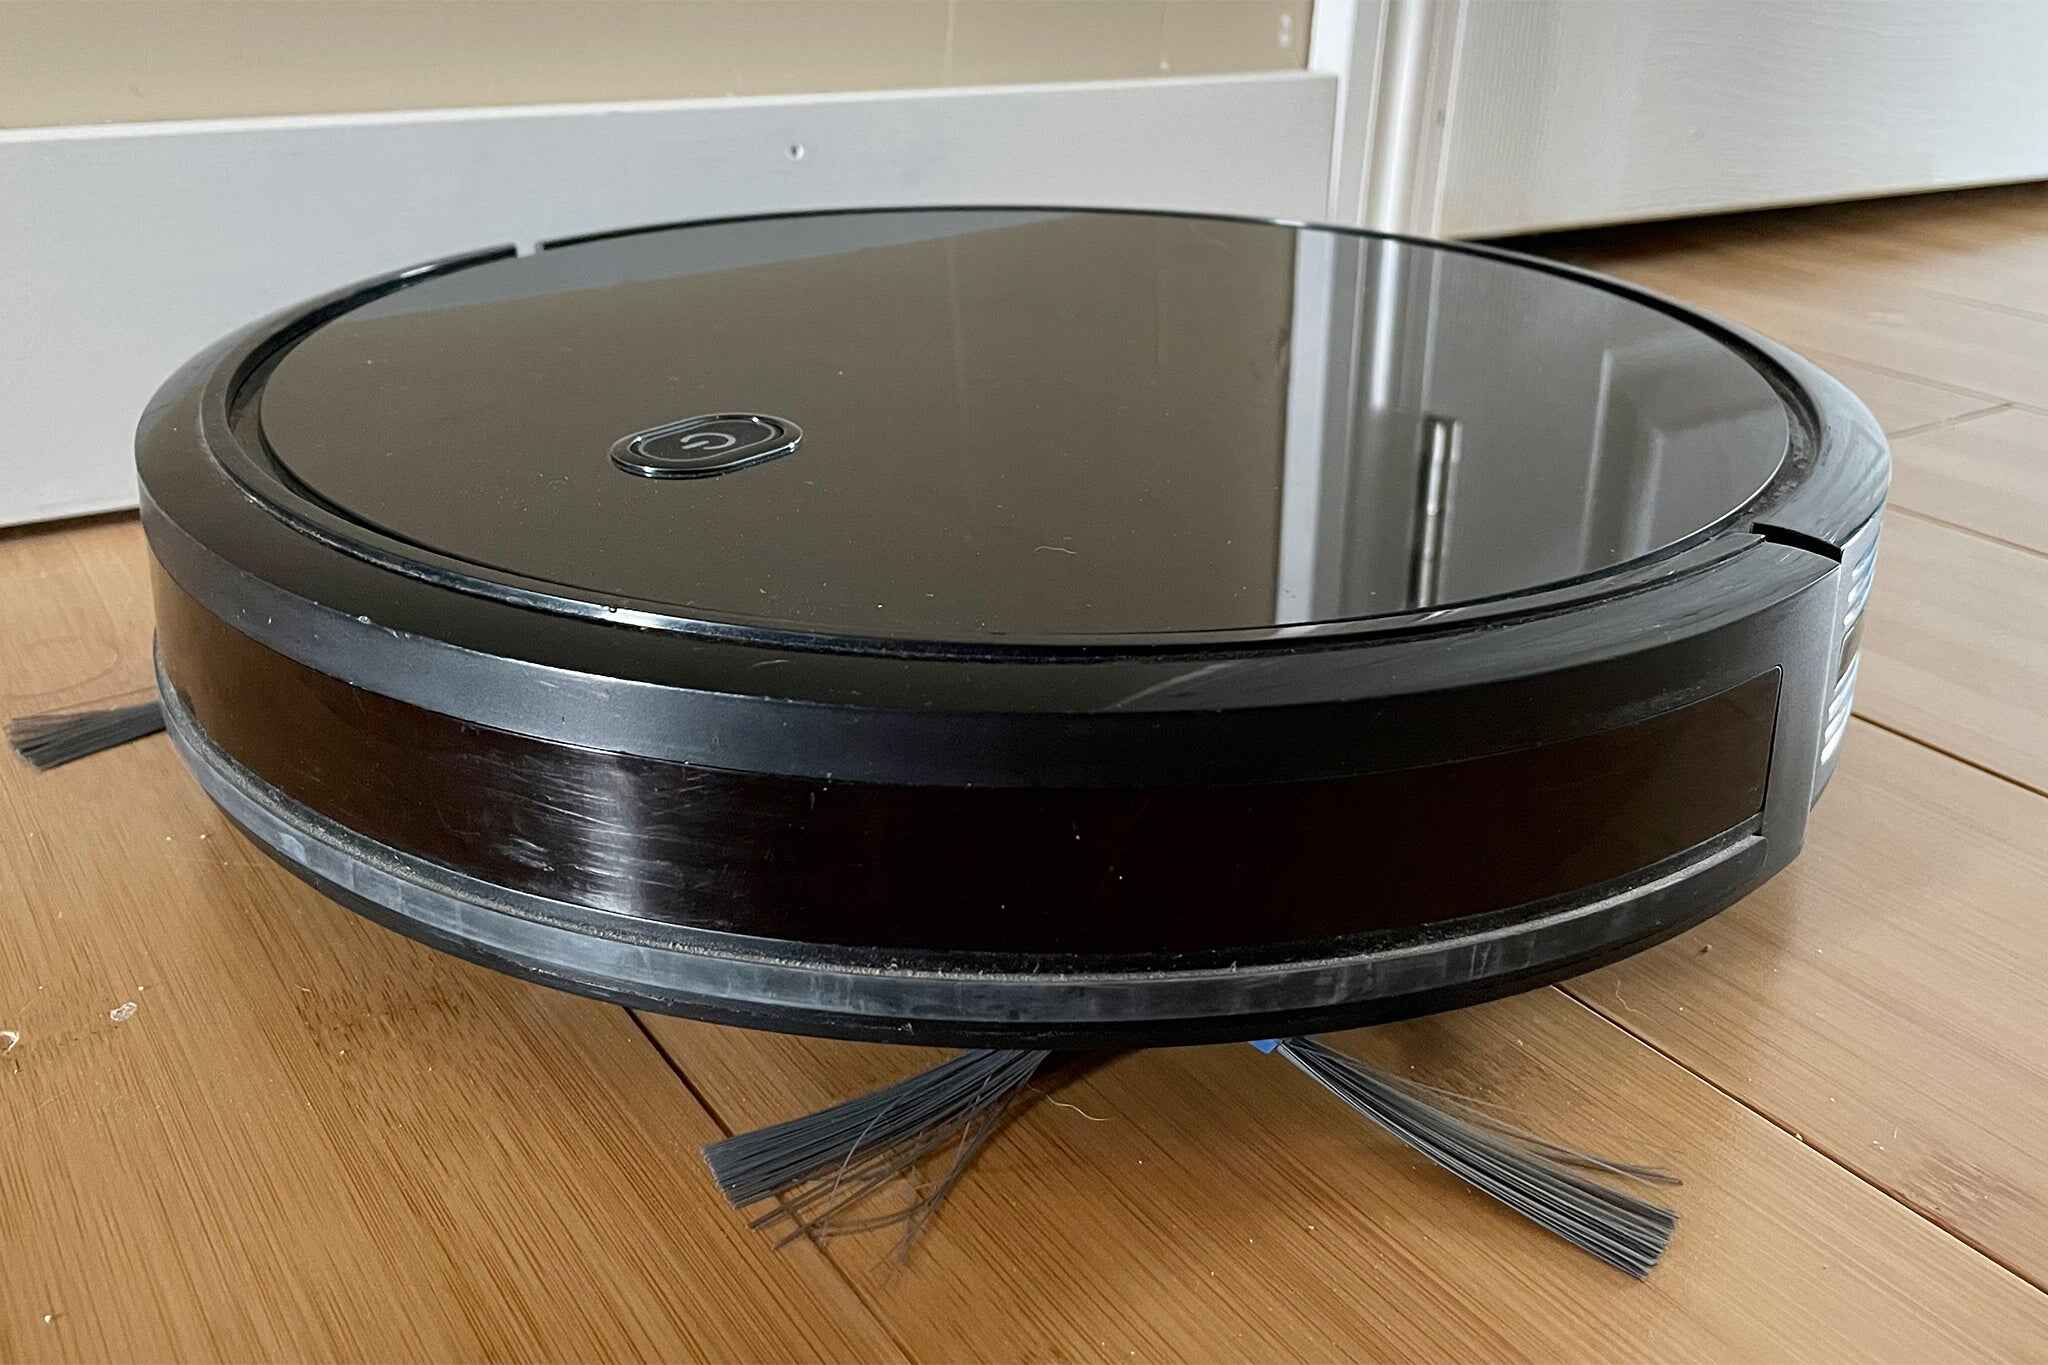
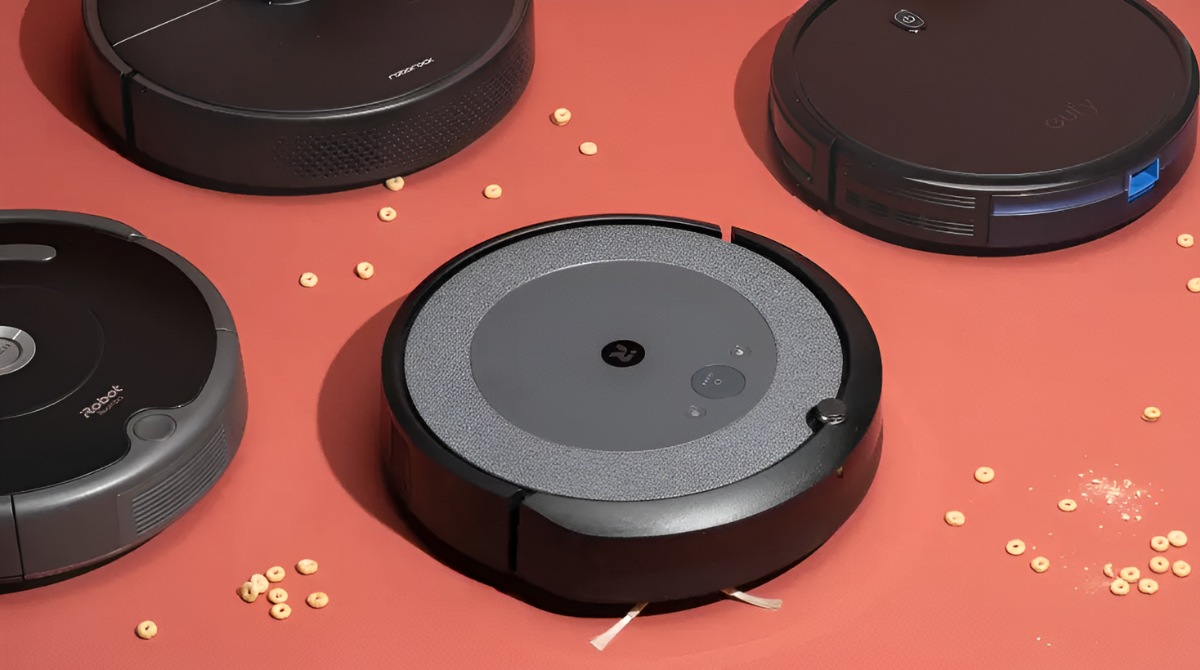
- Navigation System: The iLife Robot Vacuum boasts advanced navigation capabilities. Equipped with smart sensors, it can detect obstacles and navigate around furniture, walls, and other objects, ensuring a thorough and efficient cleaning process.
- Cleaning Modes: The iLife Robot Vacuum offers different cleaning modes to tailor the cleaning process to your specific needs. These modes include Auto mode for general cleaning, Spot mode for targeted cleaning of specific areas, Edge mode for cleaning along edges and corners, and Schedule mode for setting up a cleaning schedule.
- Battery Life: The iLife Robot Vacuum is powered by a rechargeable battery. The battery life can vary depending on the model and usage conditions. It’s important to ensure that the battery is fully charged before each cleaning session to maximize cleaning efficiency.
- Dustbin and Filter: The iLife Robot Vacuum features a dustbin and filter system to collect and trap dirt, dust, and allergens. It’s recommended to empty the dustbin and clean or replace the filter regularly to maintain optimal cleaning performance.
- Virtual Wall or Barrier Tape: Some models of the iLife Robot Vacuum may come with additional accessories like a virtual wall or barrier tape. These tools allow you to designate areas that you want the robot to avoid, preventing it from entering rooms or specific zones.
- Remote Control or Mobile App: The iLife Robot Vacuum can be controlled using a remote control or a mobile app, depending on the model. This allows you to start, stop, or schedule cleaning sessions from the comfort of your couch or even when you’re away from home.
By exploring and understanding the features of the iLife Robot Vacuum, you will be better equipped to optimize its performance and achieve a cleaner home. In the next sections, we will guide you through the process of setting up the iLife Robot Vacuum and using it effectively for the first time.
Preparing your home for the iLife Robot Vacuum
Before you unleash the iLife Robot Vacuum on your floors, it’s important to make a few preparations to ensure a smooth and effective cleaning experience. By following these steps, you can optimize the performance of the robot and achieve the best possible cleaning results:
- Declutter the area: Remove any objects, toys, wires, or other obstacles from the floor. This will prevent the iLife Robot Vacuum from getting stuck or damaging any items during the cleaning process.
- Secure loose carpet edges and cords: If you have loose carpet edges or cords that are not properly secured, the iLife Robot Vacuum may get tangled or cause damage. Use carpet tacks or adhesive tape to secure the edges and neatly organize any loose cords.
- Clear the floor of small objects: Pick up small objects such as socks, small toys, or loose papers that could obstruct the robot’s path. These items can interfere with the navigation system and affect the cleaning performance.
- Remove any potential hazards: Take note of any potential hazards that could be harmful to the iLife Robot Vacuum. This includes fragile items, valuable decorations, or any objects that may cause the robot to get stuck or tip over. Safely store or remove these items from the cleaning area.
- Close doors or use virtual walls: If there are specific rooms or areas that you don’t want the iLife Robot Vacuum to enter, make sure to close the doors or use the virtual wall feature if your model supports it. This will prevent the robot from accessing unauthorized areas.
- Clear the floor of large obstacles: If you have larger furniture pieces or items that cannot be easily moved, consider placing physical barriers or obstacles to prevent the robot from coming into contact with them. This will help protect both the robot and your furniture from potential damage.
By taking the time to prepare your home for the iLife Robot Vacuum, you can ensure that it navigates smoothly and efficiently, leaving no area untouched. Once you have completed these preparations, you are ready to move on to the next step: setting up the iLife Robot Vacuum.
Setting up the iLife Robot Vacuum
Setting up the iLife Robot Vacuum is a straightforward process that can be completed in just a few simple steps. By following these instructions, you’ll have your cleaning robot up and running in no time:
- Unboxing the iLife Robot Vacuum: Start by carefully unboxing the iLife Robot Vacuum and removing all packaging materials. Take a moment to inspect the contents and ensure that everything is included.
- Charging the battery: Next, locate the charging dock provided with the iLife Robot Vacuum. Connect the charging dock to a power source and place it in an easily accessible area of your home. Regularly check that the dock is connected to power to keep the battery fully charged.
- Powering on the iLife Robot Vacuum: Look for the power button on the robot or remote control and press it to turn on the iLife Robot Vacuum. You may need to hold the button for a few seconds until you see the power indicator light up.
- Connecting the robot to the charging dock: Position the iLife Robot Vacuum in front of the charging dock and make sure the charging pins on the robot align with the corresponding connectors on the dock. The robot should automatically detect the dock and start the charging process. Ensure that there are no objects obstructing the robot from docking successfully.
- Syncing the remote control or mobile app (if applicable): If your iLife Robot Vacuum comes with a remote control or supports a mobile app, follow the instructions provided to pair it with the robot. This will enable you to control the robot remotely and access additional features and settings.
- Assessing the cleaning area: Before you start cleaning, take a moment to evaluate the cleaning area. Look out for any obstacles, loose cords, or valuable items that may require special attention or removal before the robot begins its cleaning cycle.
Once you have completed these steps, your iLife Robot Vacuum will be ready for action. Before you begin your first cleaning session, it’s recommended to consult the user manual and familiarize yourself with the various cleaning modes and settings available on your specific model.
In the next section, we will guide you through using the iLife Robot Vacuum for the first time, ensuring a successful and efficient cleaning experience.
Using the iLife Robot Vacuum for the first time
Now that you have set up your iLife Robot Vacuum, it’s time to put it to work and experience the convenience of automated cleaning. Here are the steps to follow for using the iLife Robot Vacuum for the first time:
- Select the cleaning mode: Depending on your cleaning needs, choose the appropriate cleaning mode on the remote control or mobile app. Options may include Auto mode for general cleaning, Spot mode for targeted cleaning of a specific area, Edge mode for cleaning along walls and edges, or Schedule mode for setting up a cleaning schedule.
- Start the cleaning cycle: Press the start button on the remote control or mobile app to initiate the cleaning cycle. The iLife Robot Vacuum will begin navigating your home, intelligently avoiding obstacles and effectively cleaning different floor surfaces.
- Monitor and supervise: During the first few cleaning sessions, closely monitor the iLife Robot Vacuum’s performance. Pay attention to any areas it may struggle to reach or obstacles it may encounter. This will allow you to make necessary adjustments and optimize the cleaning process.
- Set boundaries: If there are specific areas within a room that you want to prevent the iLife Robot Vacuum from entering, consider using physical barriers or the virtual wall feature, if available. This will help you create designated cleaning zones and avoid unnecessary cleaning in certain areas.
- Inspect and empty the dustbin: Periodically, check the dustbin of the iLife Robot Vacuum and empty it when it gets full. This will maintain its cleaning efficiency and prevent debris from accumulating, which may affect performance.
- Review the cleaning results: Once the iLife Robot Vacuum has completed its cleaning cycle, take a moment to inspect the cleaned areas. Evaluate its performance and note any areas that may require additional manual cleaning or adjustment of obstacles for future cleaning sessions.
Using the iLife Robot Vacuum for the first time may require some trial and error as you become familiar with its capabilities. Don’t be discouraged if it doesn’t cover every corner perfectly at first; it will learn and improve with each cleaning cycle.
By following these steps and incorporating the iLife Robot Vacuum into your regular cleaning routine, you’ll enjoy the benefits of a cleaner home with minimal effort. In the next section, we will delve into the different cleaning modes available on the iLife Robot Vacuum, allowing you to tailor the cleaning process to your specific needs.
Understanding the cleaning modes of the iLife Robot Vacuum
The iLife Robot Vacuum offers several cleaning modes that allow you to customize the cleaning process according to your specific needs. Understanding these modes will help you make the most out of your iLife Robot Vacuum. Let’s take a closer look at each cleaning mode:
- Auto mode: This is the default cleaning mode of the iLife Robot Vacuum. In Auto mode, the robot navigates your home independently, cleaning your floors in an efficient and systematic manner. This mode is suitable for general cleaning of the entire area.
- Spot mode: Spot mode is useful for targeted cleaning of a specific area. When activated, the iLife Robot Vacuum concentrates its cleaning efforts on a small, concentrated spot, ensuring thorough cleaning. It’s ideal for cleaning up spills or areas with high foot traffic.
- Edge mode: In Edge mode, the iLife Robot Vacuum focuses on cleaning along the edges and corners of your rooms. This mode is designed to tackle dirt and dust that tends to accumulate in hard-to-reach spots, ensuring a comprehensive clean along the edges of your walls and furniture.
- Schedule mode: The iLife Robot Vacuum offers a convenient scheduling feature that allows you to set up specific times for it to begin cleaning automatically. This mode is perfect for those who want their robot vacuum to clean their home while they are away or during specific hours of the day.
To access these cleaning modes, refer to your user manual or consult the remote control or mobile app that accompanies your iLife Robot Vacuum. Different models may offer additional cleaning modes or variations of the ones mentioned above.
By utilizing the various cleaning modes offered by the iLife Robot Vacuum, you can optimize its performance based on different cleaning requirements and the specific layout of your home.
In the next section, we will provide you with valuable tips on maintaining and caring for your iLife Robot Vacuum, ensuring its longevity and continued performance.
Maintaining and caring for your iLife Robot Vacuum
Proper maintenance and care are crucial for ensuring the long-term performance and durability of your iLife Robot Vacuum. By following these maintenance tips, you can keep your device in optimal condition and enjoy continued cleaning effectiveness:
- Regularly empty the dustbin: After each cleaning session, make a habit of emptying the dustbin to prevent it from becoming overloaded. Removing the collected dirt, dust, and debris will maintain the suction power and prevent clogs.
- Clean or replace the filter: Check the user manual to determine if your iLife Robot Vacuum has a washable or replaceable filter. Clean or replace the filter as instructed to ensure efficient filtration and maintain the air quality in your home.
- Inspect and clean the brushes: Over time, hair and debris can get tangled around the brushes of your robot vacuum. Regularly inspect and remove any hair or debris that may accumulate to prevent the brushes from getting clogged and hindering performance.
- Check and clean the sensors: The intelligent sensors on the iLife Robot Vacuum are essential for navigation and obstacle detection. Periodically, clean the sensors with a soft, lint-free cloth to ensure accurate readings and prevent any potential navigation issues.
- Keep the charging dock clear: Ensure that the area around the charging dock is free from obstacles. This will allow the iLife Robot Vacuum to easily dock and charge after each cleaning session, ensuring it’s ready for the next cleaning cycle.
- Regularly check the battery: Keep an eye on the battery life of your iLife Robot Vacuum. If you notice a significant decrease in cleaning time or performance, it may indicate a need to replace the battery. Refer to the user manual for instructions on battery replacement.
- Perform routine maintenance: Occasionally, perform a thorough cleaning of the iLife Robot Vacuum. This includes cleaning the wheels, sensors, and other components to remove any built-up dirt or debris that may affect performance. Again, consult the user manual for detailed instructions on cleaning and maintenance.
By following these maintenance guidelines, you can ensure that your iLife Robot Vacuum operates at its best for years to come. Regular maintenance not only prolongs the lifespan of the device but also improves cleaning efficiency and performance.
In case you encounter any issues with your iLife Robot Vacuum, the next section will provide troubleshooting tips to help you resolve common problems.
Troubleshooting common issues with the iLife Robot Vacuum
While the iLife Robot Vacuum is designed to provide hassle-free cleaning, occasional issues may arise. Here are some common problems you may encounter and steps you can take to troubleshoot them:
- Limited cleaning coverage: If your iLife Robot Vacuum is not covering all areas of your home, ensure that there are no physical barriers blocking its path. Clear any objects, wires, or furniture that may be hindering its navigation. Alternatively, use boundary markers or virtual walls to create designated cleaning zones.
- Poor battery life: If you notice a decrease in your iLife Robot Vacuum’s battery life, check if the charging contacts on the robot and dock are clean and free from debris. If the issue persists, it may be time to replace the battery. Contact the manufacturer or refer to the user manual for battery replacement instructions.
- Stuck or tangled brushes: If the brushes of your iLife Robot Vacuum frequently get stuck or tangled with hair and debris, remove the brushes and clean them thoroughly. Ensure that there are no obstructions preventing the brushes from rotating freely. Regularly inspect and clean the brushes to maintain optimal performance.
- Navigation issues: If your iLife Robot Vacuum is struggling to navigate or getting stuck frequently, check that the sensors and cliff sensors are clean and free from dirt or smudges. Also, ensure that there is adequate lighting in the area as poor lighting can affect the robot’s navigation. Cleaning the sensors and providing sufficient lighting should help resolve navigation problems.
- Poor suction power: If you notice a decline in the suction power of your iLife Robot Vacuum, start by emptying the dustbin and cleaning or replacing the filter. Clogged filters and full dustbins can obstruct suction and reduce cleaning effectiveness. Additionally, check the brushes for any obstructions that might affect suction performance.
- Error messages: If your iLife Robot Vacuum displays an error message, consult the user manual to identify the specific issue. Common error messages may indicate problems with the charging dock, sensors, or other components. Follow the troubleshooting steps outlined in the manual or contact customer support for further assistance.
Remember, if you encounter any persistent issues with your iLife Robot Vacuum that cannot be resolved through troubleshooting, it’s advisable to reach out to the manufacturer’s customer support for expert assistance. They will be able to provide specific guidance based on your model and the issues you are facing.
By addressing common problems and diligently troubleshooting issues, you can ensure a smooth and efficient cleaning experience with your iLife Robot Vacuum.
Conclusion
The iLife Robot Vacuum is an innovative and intelligent cleaning device that can revolutionize your home cleaning routine. With its advanced navigation, multiple cleaning modes, and convenient scheduling features, it offers a convenient and effective solution for maintaining clean floors with minimal effort.
In this guide, we have explored the essential aspects of using the iLife Robot Vacuum. We started by introducing you to the device and its benefits, highlighting how it can save time and bring convenience to your daily life. We then covered the important steps for getting to know and setting up the iLife Robot Vacuum, ensuring a smooth and hassle-free experience from the start.
Understanding the different cleaning modes of the iLife Robot Vacuum allows you to tailor the cleaning process to your specific needs, ensuring efficient and effective results. We also provided valuable tips for maintaining and caring for your iLife Robot Vacuum, which will help prolong its lifespan and maintain optimal cleaning performance.
Should you encounter any issues, we offered troubleshooting advice to help you resolve common problems and ensure your iLife Robot Vacuum continues to function at its best.
By incorporating the iLife Robot Vacuum into your cleaning routine and following the guidelines provided in this guide, you can enjoy the benefits of a tidy home without the hassle of manual vacuuming. Sit back, relax, and let the iLife Robot Vacuum take care of your floors, so you can focus on the more important things in life.