Introduction
For aspiring digital artists and seasoned professionals alike, a drawing tablet without a screen can be an affordable and efficient tool for unleashing your artistic creativity. While drawing on a screen-less tablet may initially seem daunting, with the right techniques and practice, you can achieve incredible results. In this guide, we will take you through the necessary steps and considerations to make the most out of your drawing tablet without a screen.
One of the key advantages of using a drawing tablet without a screen is its portability. These tablets are lightweight and compact, allowing you to bring your artistic endeavors with you wherever you go. Additionally, they are typically more affordable compared to their screen-equipped counterparts, making them an excellent choice for artists on a budget.
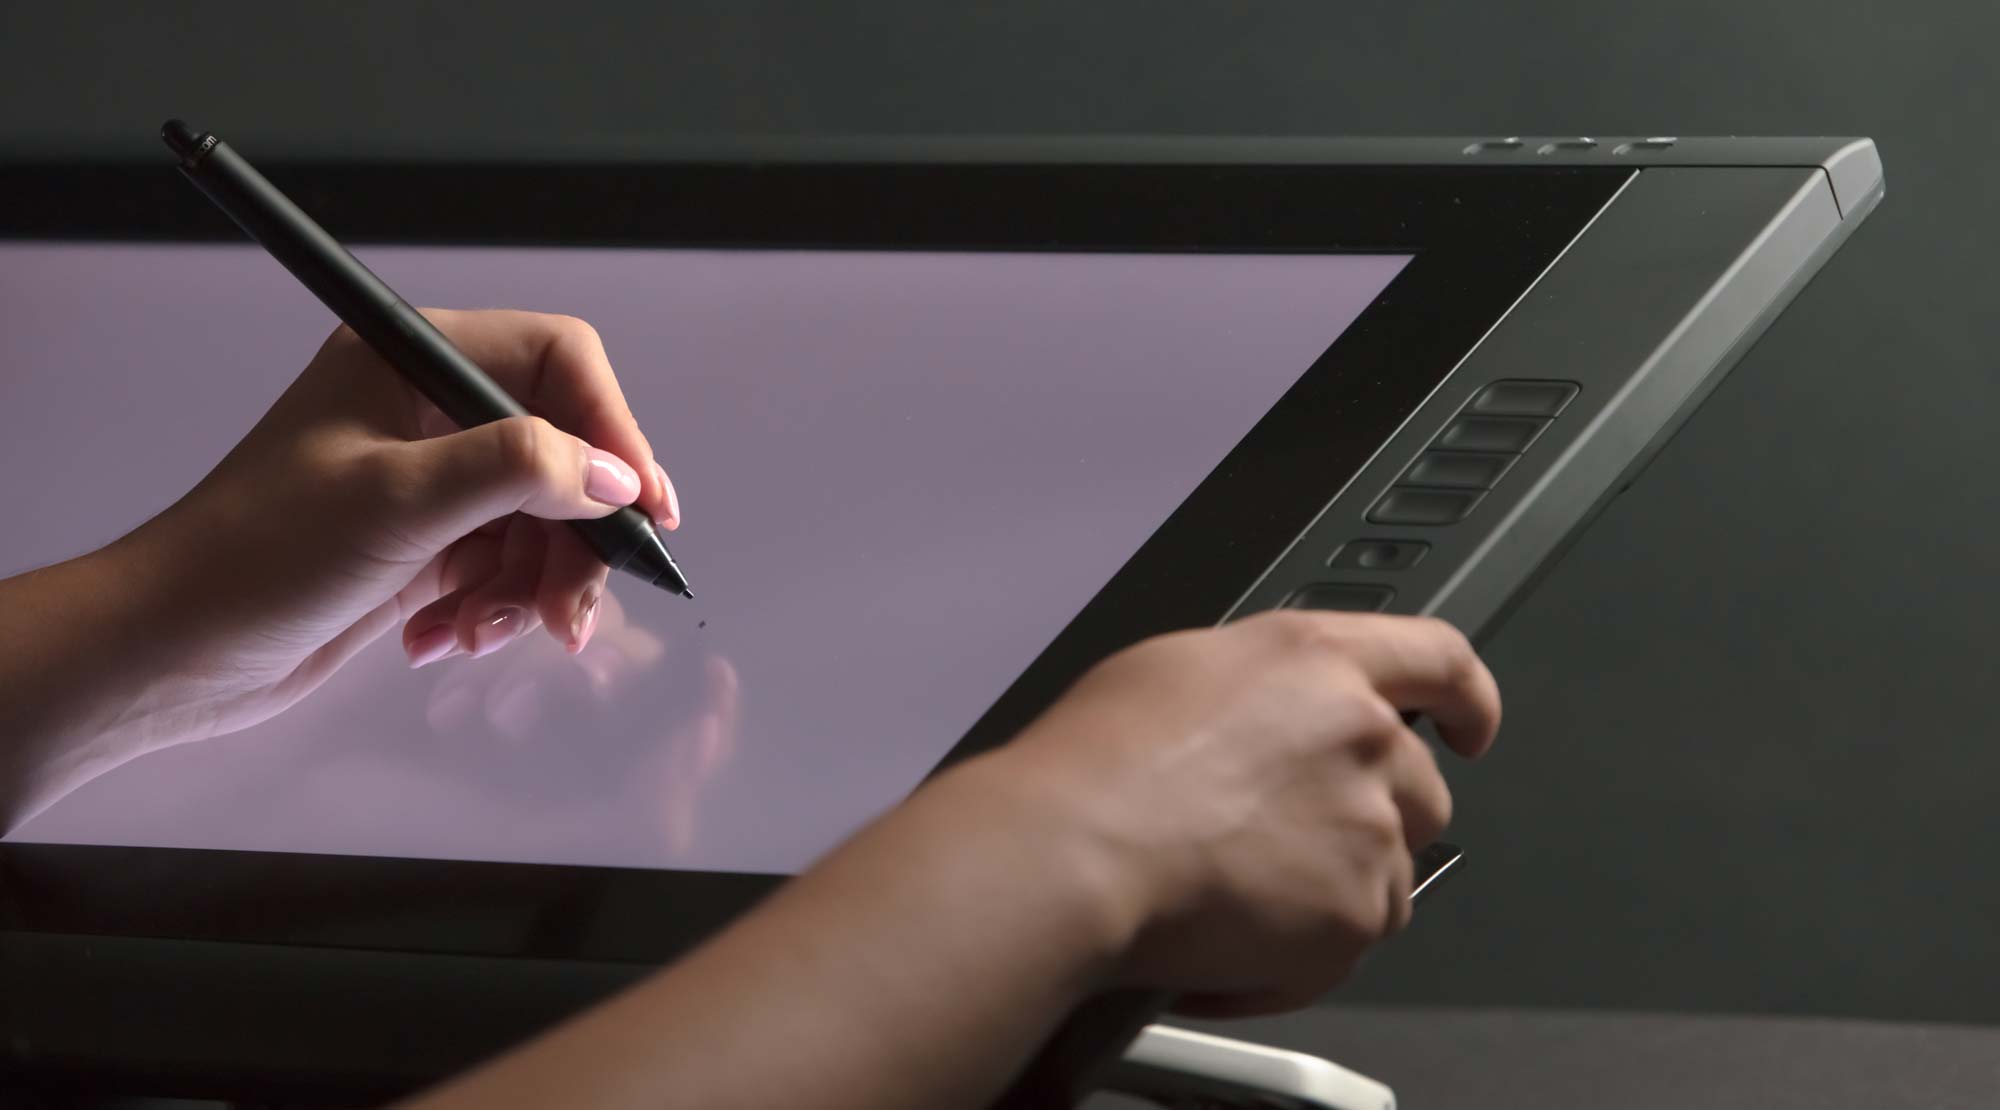
When using a drawing tablet without a screen, you will rely on hand-eye coordination to translate your movements from the tablet to the screen of your computer. While it may take some time to get used to this disconnected experience, with practice, you will be able to achieve precise and accurate strokes.
Throughout this guide, we will cover important topics such as choosing the right drawing tablet without a screen, setting it up, installing drivers, and customizing settings to suit your needs. We will also delve into selecting the correct drawing software, mastering hand-eye coordination, understanding pen pressure sensitivity, learning essential drawing techniques, and troubleshooting common issues that may arise.
By the end of this guide, you will have the knowledge and skills to confidently use your drawing tablet without a screen and create stunning digital artwork. So, let’s dive in and discover the wonderful world of drawing tablets without screens!
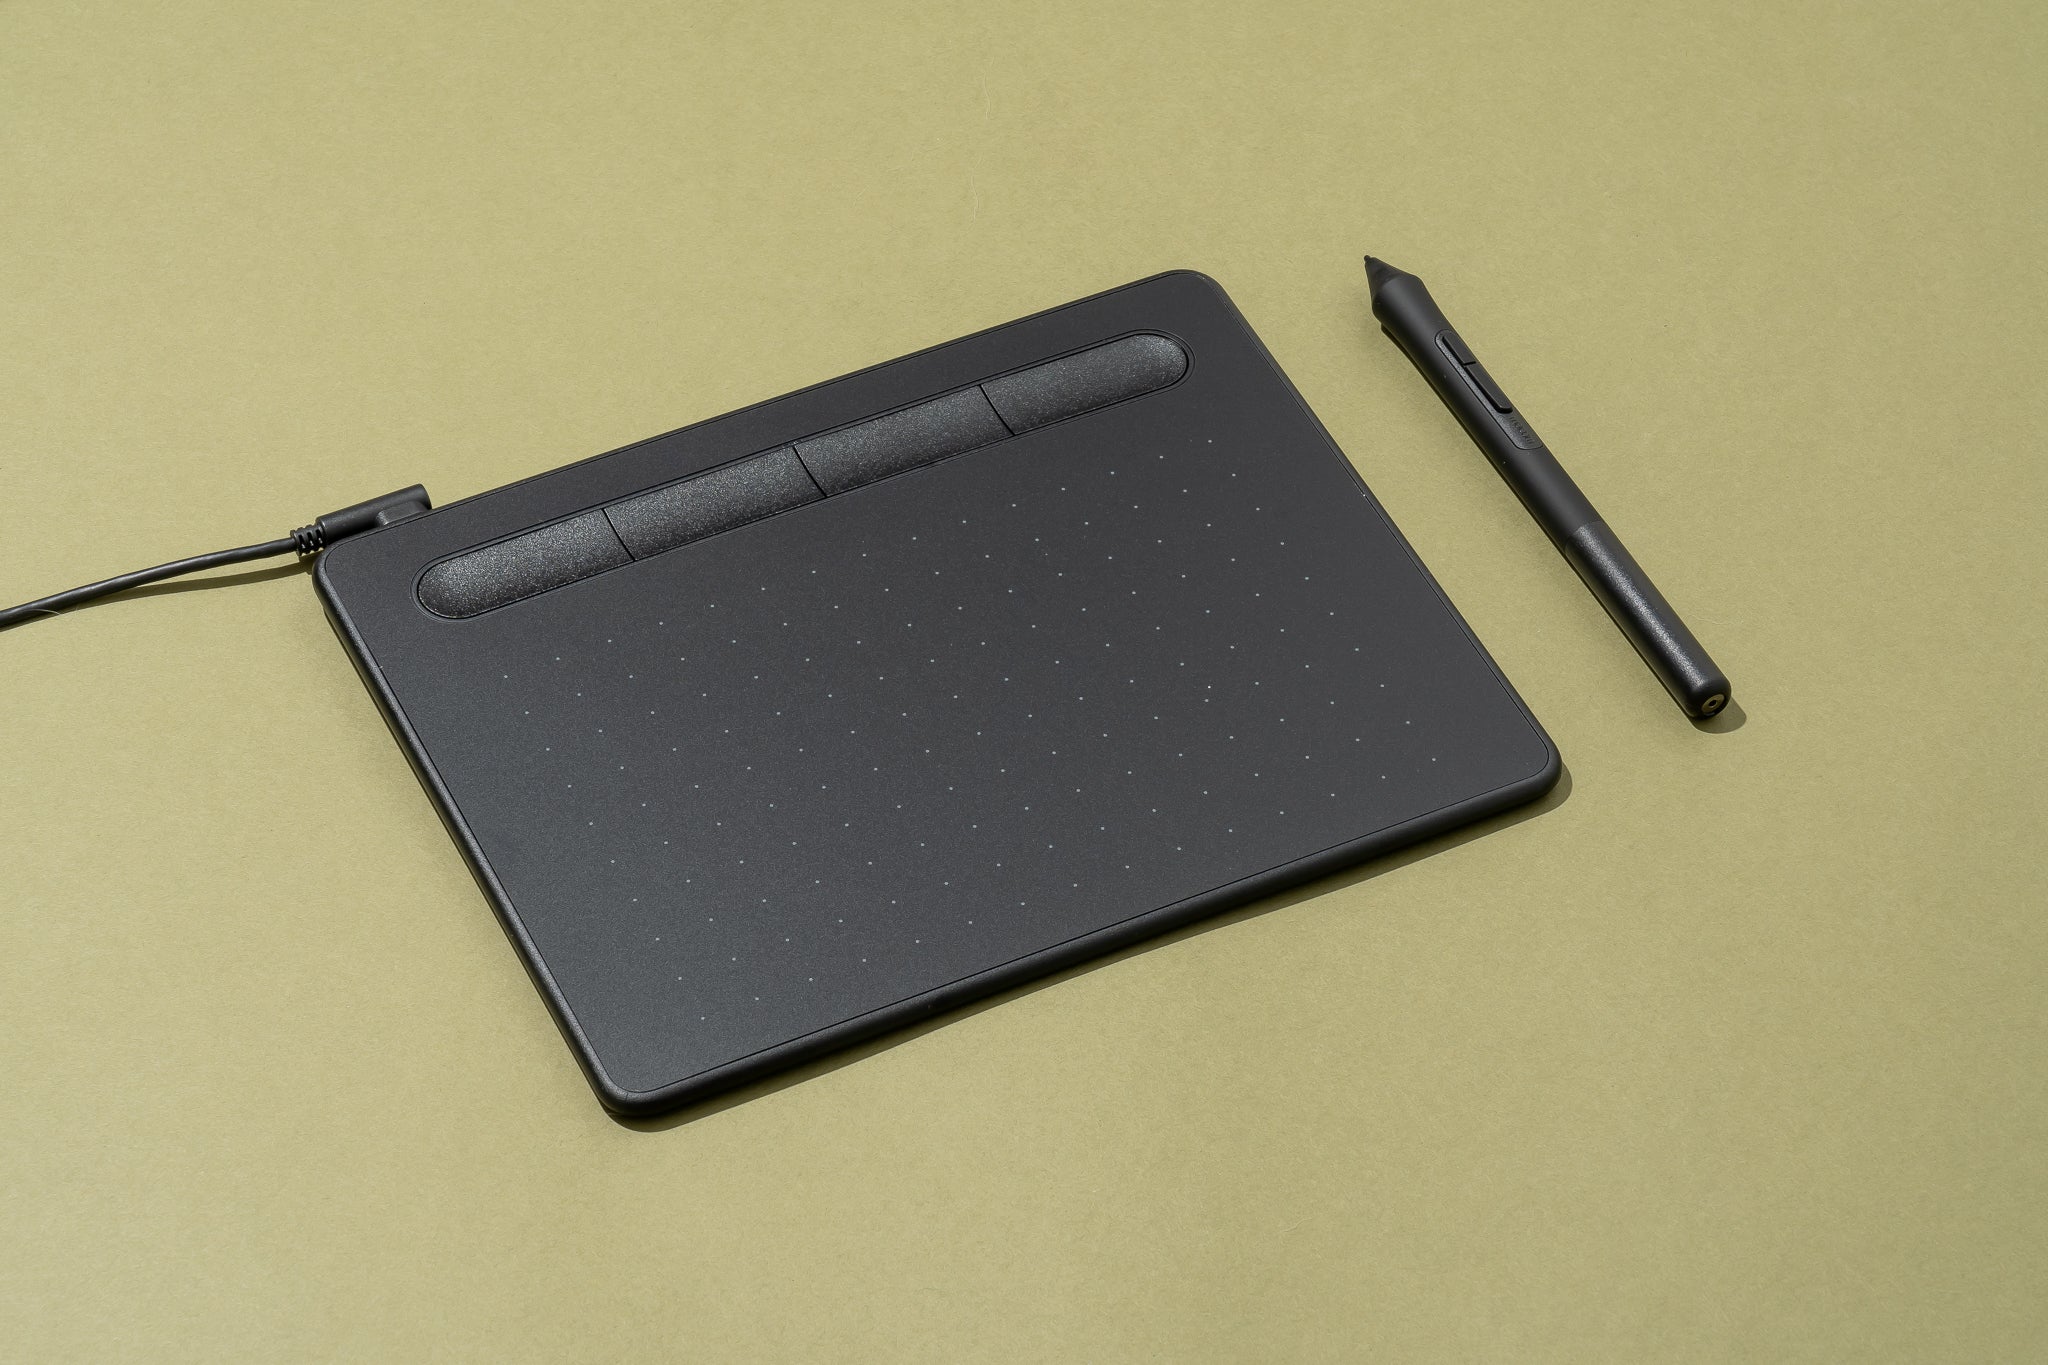
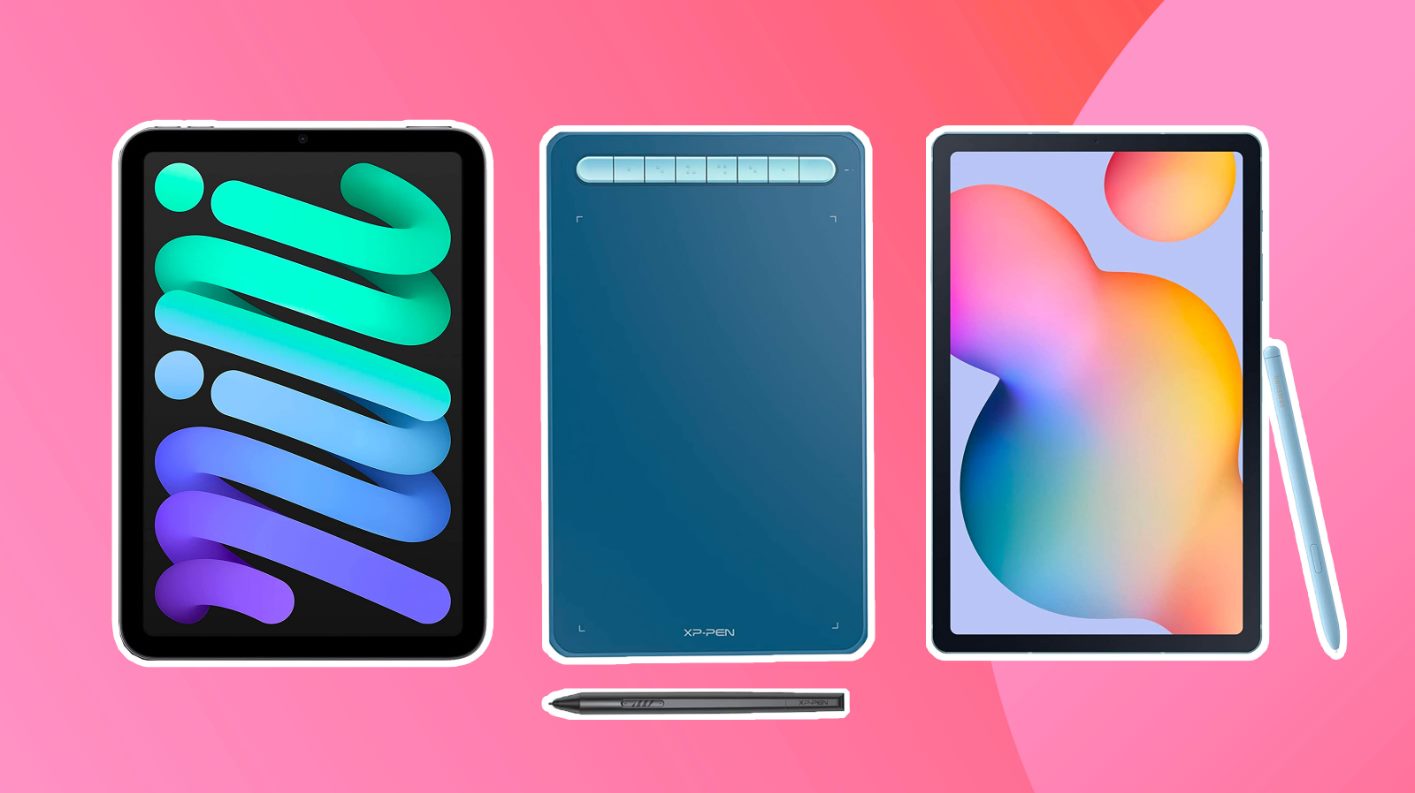
Choosing the Right Drawing Tablet without Screen
When it comes to choosing a drawing tablet without a screen, there are several factors to consider to ensure you find the perfect fit for your artistic needs. Here are some key considerations to keep in mind:
- Size and Portability: Determine the size that suits your style and preferences. Smaller tablets are more portable, while larger tablets provide a greater drawing area.
- Pressure Sensitivity: Look for a tablet that offers a high level of pressure sensitivity, preferably with at least 2048 levels. This allows for more precise control over strokes and shading.
- Compatibility: Ensure that the tablet you choose is compatible with your operating system, whether it’s Windows, Mac, or Linux.
- Connectivity: Decide whether you prefer a wired or wireless connection. Wired connections provide a stable and consistent experience, while wireless tablets offer more freedom of movement.
- Additional Features: Consider any additional features that may enhance your workflow, such as shortcut buttons, touch controls, or a tilt function for more natural drawing angles.
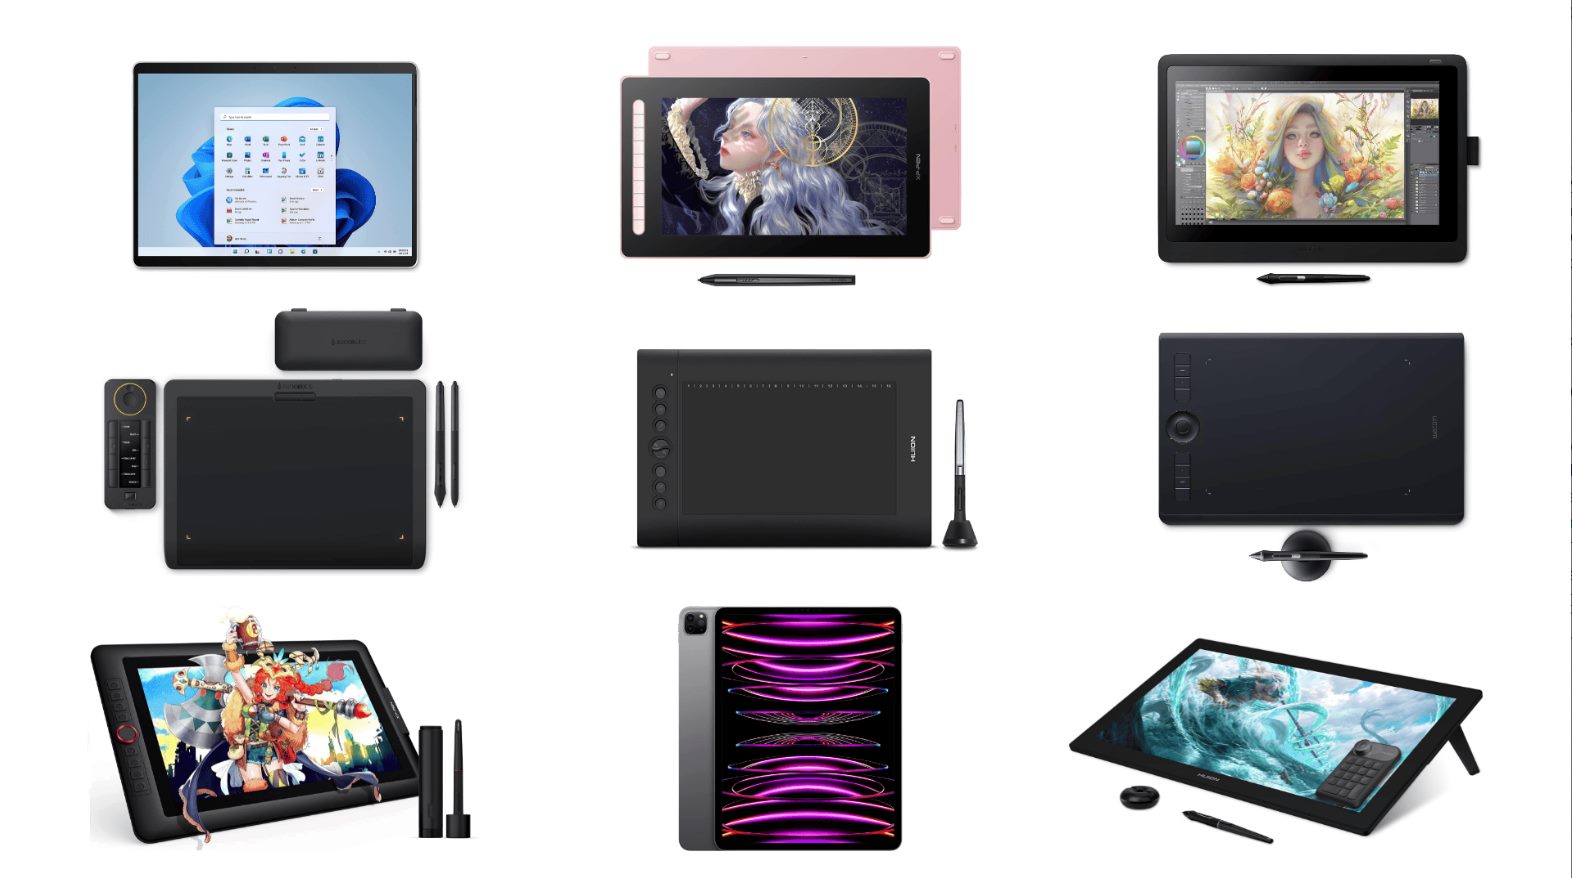
Research different brands and models, read reviews and compare specifications to make an informed decision. Some popular drawing tablet brands to consider include Wacom, Huion, XP-Pen, and Gaomon. These brands offer a range of tablets tailored to suit different budgets and skill levels.
Remember, the right drawing tablet without a screen is ultimately a personal choice. What works for one artist may not work for another. Take the time to experiment with different tablets and consider borrowing or renting one before making a purchase if possible. This will help you determine which tablet feels most comfortable and intuitive to use.
Once you have chosen the perfect drawing tablet without a screen, you can move on to the next steps of setting it up, installing drivers, and customizing the tablet settings to make it truly your own.
Setting Up Your Drawing Tablet without Screen
Setting up your drawing tablet without a screen is a straightforward process that requires a few key steps to ensure optimal performance. Let’s walk through the process together:
- Connect the Tablet: Begin by connecting your drawing tablet to your computer using the provided USB cable. Make sure to use a USB port that is compatible with your tablet’s specifications. If your tablet supports wireless connectivity, follow the manufacturer’s instructions to establish a stable connection.
- Install the Drivers: Most drawing tablets require specific drivers to function correctly. Visit the manufacturer’s website and locate the drivers section. Download and install the appropriate drivers for your operating system. Restart your computer for the changes to take effect.
- Calibrate Your Tablet: Calibration is essential to ensure accurate pen tracking. Look for the calibration utility in your tablet’s settings or driver software. Follow the instructions provided to perform the calibration process. This typically involves tapping or drawing on specific areas of the tablet’s surface.
- Adjust Pen Settings: Access the tablet settings or driver software to customize pen-related options. This includes adjusting pen pressure sensitivity, pen button functions, and eraser settings. Experiment with different settings to find the configuration that feels most comfortable and responsive to your artistic style.
- Test Your Tablet: Open your preferred drawing software and test your tablet’s functionality. Check if the pen pressure sensitivity is working properly and if the cursor accurately follows your movements. If you encounter any issues, refer to the troubleshooting section or consult the manufacturer’s support resources for assistance.
It’s worth noting that different tablets may have slightly different setup procedures and software interfaces. Refer to the user manual or online documentation provided by the manufacturer for specific instructions tailored to your tablet model.
Once your drawing tablet is set up successfully, you can start exploring various drawing software options that are compatible with your tablet. In the next section, we will discuss how to select the right drawing software to suit your artistic needs and preferences.
Installing the Drivers for Your Drawing Tablet without Screen
To ensure that your drawing tablet without a screen functions properly, it is crucial to install the necessary drivers on your computer. These drivers establish a communication link between your tablet and the operating system, enabling you to make full use of its features and capabilities. Here’s a step-by-step guide on how to install the drivers for your drawing tablet without a screen:
- Visit the Manufacturer’s Website: Go to the official website of the drawing tablet manufacturer and navigate to the support or downloads section. Find the drivers specifically designed for your tablet model.
- Select Your Operating System: Choose the appropriate driver that matches your operating system (e.g., Windows, Mac, or Linux). Make sure to select the correct version, such as Windows 10 or macOS Big Sur, to ensure compatibility.
- Download the Driver: Click on the download link provided for the driver file. Save the file to a location on your computer where you can easily locate it.
- Run the Installer: Locate the downloaded driver file on your computer and double-click it to begin the installation process. Follow the on-screen instructions to proceed with the installation.
- Restart Your Computer: Once the driver installation is complete, it is recommended to restart your computer. This helps to ensure that the operating system recognizes the newly installed driver and properly initializes the drawing tablet.
- Test the Tablet: After restarting your computer, connect your drawing tablet without a screen and launch your preferred drawing software. Check if the tablet is recognized and if the pen responds to your movements correctly. Try adjusting the settings, such as pen pressure sensitivity, to suit your preferences.
If you encounter any issues during the installation process or if your tablet is not functioning as expected after installing the drivers, refer to the troubleshooting section in the user manual or visit the manufacturer’s support website for assistance. They may provide additional troubleshooting steps or updated driver versions to address any compatibility or performance issues.
Installing the drivers is an essential step to ensure that your drawing tablet without a screen works seamlessly with your computer. Once the drivers are installed successfully, you can move on to customizing the tablet settings according to your preferences, as we will discuss in the next section.
Customizing the Tablet Settings for Your Needs
Customizing the settings of your drawing tablet without a screen allows you to tailor its functionality to suit your specific artistic needs and preferences. By taking the time to configure these settings, you can enhance your drawing experience and achieve greater control over your digital artwork. Here are some key aspects to consider when customizing your tablet settings:
- Pen Pressure Sensitivity: Adjusting the pen pressure sensitivity is crucial for achieving varying line weights and shading effects. Most drawing tablet software or driver settings provide options to calibrate and fine-tune the sensitivity to your liking. Experiment with different levels until you find the right balance for your drawing style.
- Customizing Pen Buttons: Many drawing tablets come equipped with programmable buttons on the pen itself. These buttons can be assigned various functions, such as right-click, undo, or switching between brush tools. Customize these pen buttons to streamline your workflow and access commonly used functions with ease.
- Tilt Functionality: If your drawing tablet supports tilt functionality, take advantage of it to add more natural and intuitive shading to your artwork. Adjust the tilt sensitivity in the settings to achieve the desired effect and simulate the way traditional art tools like pencils or brushes respond to different angles.
- Shortcut Buttons: Some drawing tablets come with shortcut buttons on the tablet itself. These buttons can be programmed to perform specific tasks, such as zooming in or out, changing brush size, or activating brush presets. Customize these shortcut buttons based on your most frequently used commands to improve workflow efficiency.
- Screen Mapping: Screen mapping allows you to define the active area on the tablet surface that corresponds to your computer screen. Adjust the screen mapping settings to ensure that the cursor movement on the tablet accurately matches the screen’s dimensions, preventing any discrepancies or cursor drift.
Explore the software or driver settings provided by the tablet manufacturer to access these customization options. Furthermore, check if there are any firmware updates available for your tablet to ensure you have the latest features and bug fixes.
Remember, customization is subjective, and what works for one artist may not work for another. Take the time to fine-tune the tablet settings, experiment with different configurations, and find what feels most comfortable and intuitive for your artistic workflow. Through customization, you can optimize the performance of your drawing tablet without a screen, unlocking its full potential for your artistic endeavors.
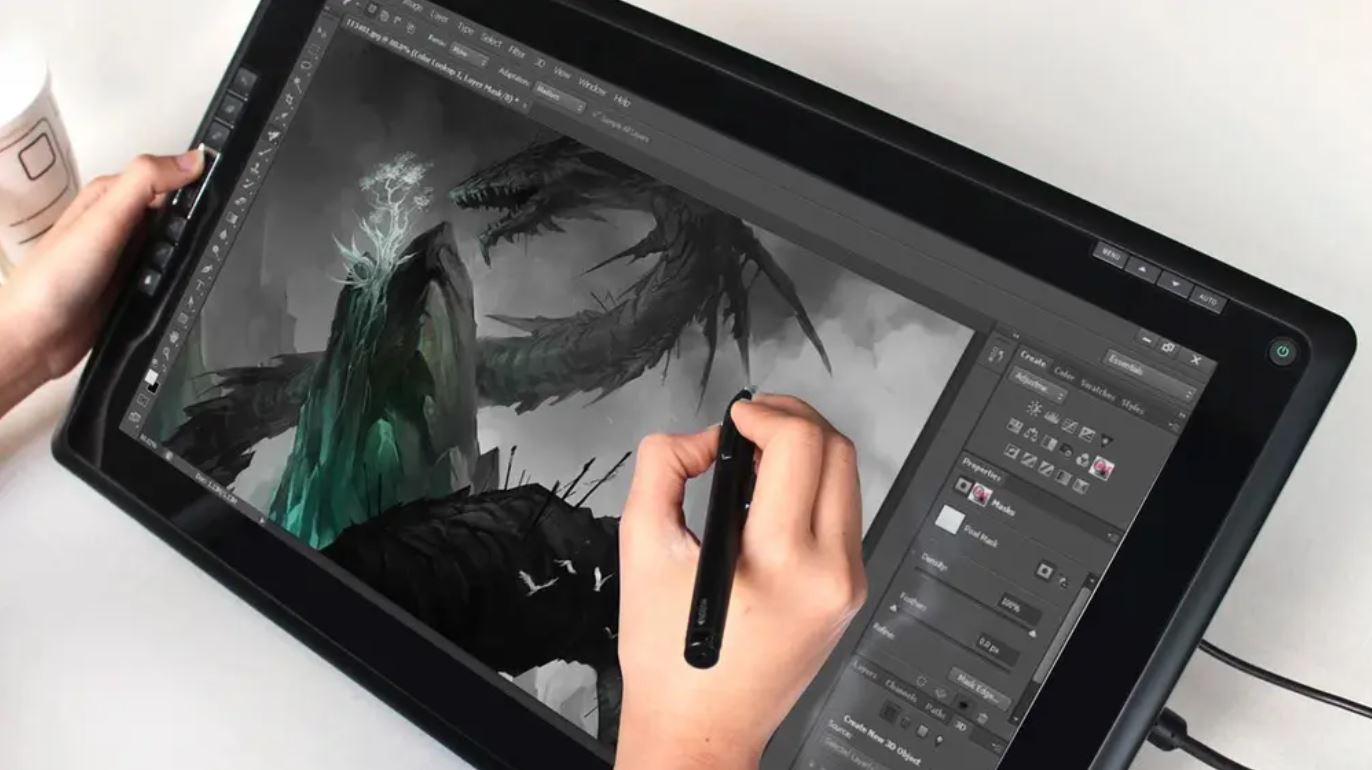
Selecting the Correct Drawing Software
Choosing the right drawing software is essential for unleashing the full potential of your drawing tablet without a screen. The software you select should be compatible with your tablet and provide the necessary tools and features to support your artistic style and goals. Here are some key factors to consider when selecting drawing software:
- Compatibility: Ensure that the software you choose is compatible with your operating system (e.g., Windows, Mac, or Linux). Check if the drawing tablet manufacturer recommends specific software or provides compatibility information on their website.
- Interface and User Experience: Evaluate the user interface of the drawing software. Look for a clean and intuitive layout that allows for easy navigation and efficient access to tools and features. Consider the workflow and customization options that the software offers.
- Drawing Tools and Features: Assess the drawing tools and features provided by the software. Look for a wide range of brushes, pens, and erasers to cater to different artistic techniques. Consider additional features such as layers, blending modes, and selection tools that can enhance your creative process.
- Compatibility with File Formats: Check if the software supports common file formats such as JPEG, PNG, and PSD, allowing you to easily share and export your artwork. Compatibility with industry-standard formats ensures smooth collaboration with other artists or clients.
- Community and Support: Research the software’s user community and the availability of support resources. Look for active online forums, tutorials, and documentation. A strong community presence indicates ongoing development and support for the software, which can be invaluable for troubleshooting and expanding your skills.
There are several popular drawing software options available, each with its unique strengths and features. Adobe Photoshop, Corel Painter, Clip Studio Paint, and Krita are just a few examples of widely used software among digital artists. Experiment with different software applications to find the one that aligns best with your artistic style and workflow preferences.
Remember that the software you choose is not set in stone. As your skills and requirements evolve, you may find the need to explore new software options. It is also worth noting that many drawing tablets come bundled with software or offer discounts on specific drawing software, which can be a cost-effective option for beginners.
Take your time to research and try out different drawing software options. You can often find trial versions or free alternatives to test their functionality and determine if they meet your needs. With the right drawing software at your disposal, you’ll have a powerful tool to complement your drawing tablet without a screen and unlock endless possibilities for your digital artwork.
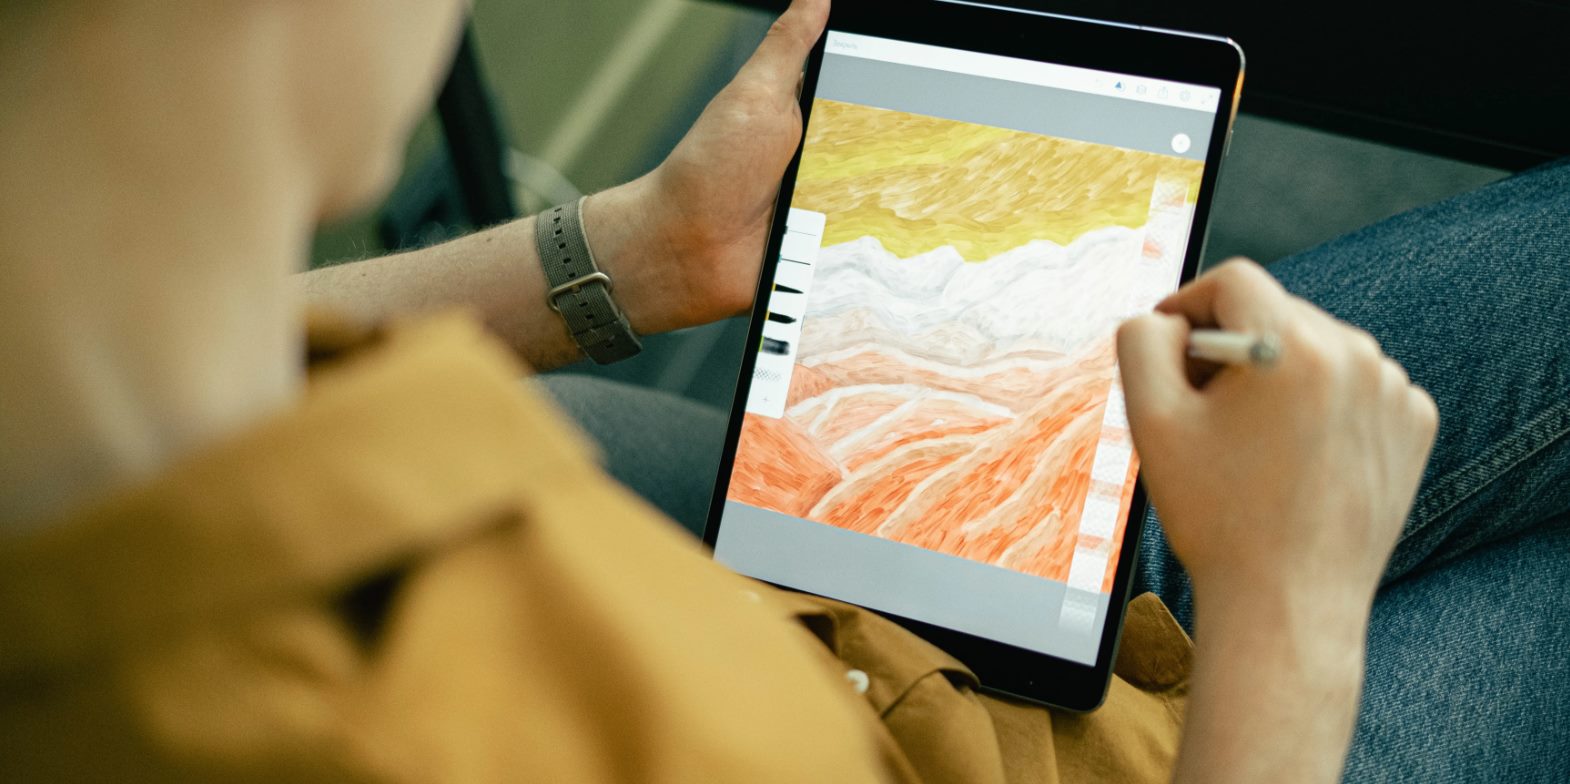
Getting Comfortable with Using the Drawing Tablet without Screen
Using a drawing tablet without a screen can initially feel different compared to traditional drawing techniques. However, with practice and familiarization, you will gradually become more comfortable and proficient in using this unique tool. Here are some tips to help you get comfortable with using a drawing tablet without a screen:
- Practice Hand-Eye Coordination: Since the drawing tablet and the computer screen are not directly connected, developing hand-eye coordination is crucial. Spend time practicing and getting used to the disconnect between your hand movements and the cursor on the screen. With practice, your muscle memory will improve, and you’ll be able to draw with precision.
- Experiment with Different Grip Styles: Try out various pen grip styles to find what feels most comfortable for you. Whether you prefer an overhand grip or an underhand grip, find a grip that allows you to maintain control and dexterity while drawing on the tablet.
- Adjust Tablet and Workspace Ergonomics: Ensure that your drawing tablet is positioned at a comfortable angle that minimizes strain on your wrist and arm. Consider using a tablet stand or an adjustable arm to find the optimal positioning. Additionally, maintain good posture and set up an ergonomic workspace with a suitable chair and desk height.
- Start with Simple Exercises: Begin your journey with simple exercises to get accustomed to the tablet. Practice drawing basic shapes, lines of varying thickness, and gradually progress to more complex forms and textures. This will help you build confidence and adapt to the different feel of drawing digitally.
- Use Drawing Aids: Take advantage of drawing aids and assistive features offered by drawing software. Features like stabilization, stroke correction, or rulers can help you achieve smoother lines and more precise shapes, especially as you are getting comfortable with the tablet.
- Seek Inspiration and Learn from Others: Engage with the digital art community, whether through online forums, social media, or art communities. Seek inspiration and learn from other digital artists who use drawing tablets without screens. Connect with artists who have similar experiences and ask for advice or techniques that can help you refine your skills.
Remember that becoming comfortable with a drawing tablet without a screen is a process that takes time and practice. Embrace the learning curve, be patient, and don’t be discouraged by initial challenges. With persistence and dedication, you will gradually develop your skills and abilities, eventually feeling at ease and confident in utilizing the drawing tablet to create stunning digital artwork.
Understanding Pen Pressure Sensitivity
Pen pressure sensitivity is a key feature of drawing tablets without screens that allows for greater control and versatility in digital art creation. It refers to the ability of the tablet and pen to detect the amount of pressure being applied to the surface and translate it into strokes of varying thickness and opacity. Understanding pen pressure sensitivity is essential for harnessing the full creative potential of your drawing tablet. Here’s a closer look at this feature:
How It Works: Pen pressure sensitivity works through the use of sensors in the tablet and pen. These sensors detect and measure the pressure applied by the pen on the tablet surface. When you press lightly, the resulting stroke is thin and faint. Conversely, when you apply more pressure, the stroke becomes thicker and more opaque. This sensitivity to pressure allows for greater control in creating lines, shading, and varying the density of colors in your artwork.
The Benefits: Pen pressure sensitivity provides several benefits for digital artists. It allows for a more natural and intuitive drawing experience, allowing you to mimic the effects of traditional drawing tools like pencils or brushes. With different levels of pressure, you can create subtle variations in line width and opacity, resulting in more realistic and expressive artwork. It also promotes efficiency in digital workflows by eliminating the need to manually adjust brush sizes or opacity settings.
Customization: Most drawing software and tablet drivers provide options to adjust and customize the sensitivity of pen pressure. You can typically fine-tune the range of pressure and its impact on stroke thickness, allowing you to tailor it to your preferences and drawing style. Experimenting with these settings can help you achieve the desired level of control and responsiveness.
Practice and Skill Development: Developing mastery over pen pressure sensitivity requires practice and experimentation. Spend time exploring different levels of pressure and observing their effects on your strokes. Pay attention to how changes in pressure can convey depth, texture, and emotions in your artwork. Through practice, you’ll become more adept at utilizing pen pressure sensitivity as a tool for artistic expression.
Compatibility: It is important to note that not all drawing software may fully support pen pressure sensitivity. Before purchasing or using a particular software, verify its compatibility with your drawing tablet and its ability to recognize and respond to pen pressure information. Ensure that the software has the necessary settings and options to adjust and customize pen pressure sensitivity to suit your needs.
Understanding and harnessing the power of pen pressure sensitivity will take your digital artwork to new levels. With practice and experimentation, you’ll be able to create stunning pieces that showcase your artistic vision and proficiency in using a drawing tablet without a screen. With this knowledge, let’s continue exploring essential drawing techniques in the next section.
Learning Essential Drawing Techniques
Mastering essential drawing techniques is crucial for maximizing the potential of your drawing tablet without a screen. While the digital realm offers unique possibilities, the fundamentals of drawing remain the same. Developing these techniques will enhance your artistic skills and enable you to create compelling and expressive digital artwork. Here are some essential drawing techniques to focus on:
- Line Work: Practice creating smooth and confident lines using different pressures and stroke lengths. Experiment with varying line weights to add depth and dimension to your artwork. Mastering line work will allow you to create clean outlines, define shapes, and add structure to your drawings.
- Shading and Lighting: Explore different shading techniques, such as hatching, cross-hatching, and stippling. Learn how to use light and shadow to create depth and volume in your artwork. Experiment with different brush strokes and opacity levels to achieve the desired shading effects.
- Color Theory: Understand the principles of color theory and how colors interact with one another. Practice creating harmonious color schemes that evoke specific moods and emotions. Learn how to use shades, tints, and complementary colors to add vibrancy and visual interest to your artwork.
- Perspective and Proportions: Study perspective and proportion to accurately render objects and scenes in a three-dimensional space. Practice creating depth and foreshortening by using techniques like one-point and two-point perspective. Develop an understanding of human anatomy to draw characters with correct proportions.
- Composition: Learn the principles of composition to create well-balanced and visually appealing artwork. Experiment with different compositions, such as the rule of thirds or leading lines, to guide the viewer’s eye and create a dynamic composition. Consider the placement and arrangement of elements within the frame to create a visually engaging piece.
- Gesture and Fluidity: Capture the essence and movement of your subjects through gesture drawing. Practice drawing quick and loose sketches to convey energy and motion. Focus on capturing the basic forms and fluidity of the subject rather than getting caught up in details.
Dedicate time to regularly practice these essential drawing techniques, both digitally and on traditional mediums. Constant practice will help you refine your skills, develop your unique artistic style, and broaden your creative capabilities. Consider taking online courses, watching tutorials, and seeking feedback from fellow artists to further enhance your understanding and application of these techniques.
Remember, learning and mastering essential drawing techniques is an ongoing process. Embrace experimentation, push your boundaries, and continue to expand your artistic horizons. Developing a strong foundation in these techniques will provide you with a solid framework to create captivating digital artwork on your drawing tablet without a screen.
Mastering Hand-Eye Coordination
Mastering hand-eye coordination is essential when using a drawing tablet without a screen. Unlike traditional drawing methods where you directly see your hand movements and the art being created, using a tablet requires you to rely on your hand-eye coordination to accurately translate your movements onto the screen. Developing this coordination will greatly enhance your drawing skills and allow you to create precise and expressive digital artwork. Here are some tips to help you master hand-eye coordination with your drawing tablet:
- Practice Regularly: Consistent practice is key to improving your hand-eye coordination. Set aside dedicated time every day to practice using your drawing tablet. Through regular practice, your brain will become more accustomed to the disconnect between your hand movements and the marks appearing on the screen.
- Focus on Observation: Observe the cursor on the screen and how it corresponds to your hand movements on the tablet. Pay attention to the correlation between the position of your pen and the positioning of the cursor. This visual feedback will gradually build a stronger connection between your hand and what is appearing on the screen.
- Start with Simple Exercises: Begin with simple exercises to train your hand-eye coordination. Practice drawing basic shapes, straight lines, and curves. Gradually progress to more complex forms and intricate details. The repetition of these exercises will help to refine your coordination and accuracy.
- Use Guided Tracing: As you practice, consider utilizing guided tracing exercises. Find reference images or overlay templates on your screen and trace them with your pen. This helps in training your hand-eye coordination by following existing lines and shapes while getting used to the disconnect between your hand and the screen.
- Utilize Zoom and Navigation Tools: Take advantage of zoom and navigation tools available in your drawing software. Zooming in on specific areas of your artwork allows for more precise control over details, making it easier to maintain accuracy. Navigating around the canvas with panning and scrolling tools also assists in maintaining a focus on specific areas while drawing.
- Embrace Mistakes and Iteration: Mistakes are part of the learning process. Embrace them and use them as an opportunity to iterate and improve. Instead of aiming for perfection from the start, focus on continuous improvement and refinement of your hand-eye coordination. With each stroke, you will become more adept at translating your intentions onto the digital canvas.
- Experiment and Develop Muscle Memory: Explore different drawing techniques, strokes, and pen pressures to develop muscle memory. By repeatedly practicing various motions, your hand and brain will start to develop a sense of familiarity and accuracy. Over time, this muscle memory will enable you to create smoother and more confident strokes.
Through consistent practice and a patient approach, you can master hand-eye coordination and feel comfortable using your drawing tablet without a screen. As you continue to refine your skills, you will notice a significant improvement in precision, control, and artistic expression. So keep practicing and embrace the unique artistic possibilities that a drawing tablet offers!
Troubleshooting Common Issues with Drawing Tablets without Screen
While drawing tablets without screens are generally reliable and user-friendly, you may encounter some common issues along the way. Understanding how to troubleshoot these problems will help you quickly resolve any technical difficulties and get back to creating your digital artwork. Here are some common issues you may face and the corresponding troubleshooting steps:
- Driver Installation Problems: If you experience issues during driver installation, ensure that you have downloaded the correct drivers for your operating system. Try uninstalling any previously installed drivers, restarting your computer, and reinstalling the latest drivers from the manufacturer’s website.
- Inconsistent Pen Sensitivity: If you notice inconsistent pen sensitivity or the pressure not registering correctly, recalibrate your tablet. Look for the calibration utility in the tablet settings or driver software and follow the instructions to perform the calibration process. Additionally, ensure that you are using a compatible drawing software that supports pen pressure sensitivity.
- Lag or Delay: If you experience lag or delay between your pen strokes and their appearance on the screen, check your computer’s system requirements and ensure that your hardware meets the recommended specifications. Close any unnecessary programs or applications running in the background that may be consuming system resources. You can also adjust the tablet’s settings or driver software to optimize performance.
- Disconnected or Unresponsive Tablet: If your tablet is not connecting or being recognized by your computer, try reconnecting the USB cable or using a different USB port. If you are using a wireless tablet, ensure that it is paired correctly with your computer. Restarting your computer and reinstalling drivers may also help resolve this issue.
- Cursor Drift: If you notice cursor drift, where the cursor moves on its own without your input, check if there are any magnetic or electrical interferences near the tablet. Remove any objects that could cause interference, such as magnets or other electronic devices. Also, ensure that your tablet is placed on a stable surface and not subject to vibrations or excessive movement.
- Software Compatibility Issues: If you experience compatibility issues between your drawing software and the tablet, ensure that both the software and drivers are up to date. Check for any software updates or patches released by the drawing tablet manufacturer. If the issue persists, try using a different drawing software that is known to be compatible with your tablet model.
If you have followed the troubleshooting steps and the issue still persists, consult the manufacturer’s support resources. Visit their website for troubleshooting guides, FAQs, or community forums where you can seek assistance from other users facing similar issues. Contacting customer support directly may also be helpful in resolving persistent problems or obtaining further guidance.
Remember, troubleshooting can sometimes be a trial-and-error process. Stay patient and persistent, and take the opportunity to learn from the experience. With a little troubleshooting know-how, you can overcome common issues and continue to enjoy the full capabilities of your drawing tablet without a screen.
Conclusion
Congratulations! You have now reached the end of this guide on using a drawing tablet without a screen. Throughout this journey, we explored various aspects, from choosing the right tablet to troubleshooting common issues that may arise. By following the steps outlined in this guide and practicing regularly, you can unlock the full potential of your drawing tablet and create stunning digital artwork.
Remember that getting comfortable with using a drawing tablet without a screen takes time and practice. Be patient with yourself and embrace the learning process. Develop your hand-eye coordination, experiment with different drawing techniques, and master the use of pen pressure sensitivity. These skills, combined with essential drawing techniques, will elevate your digital artwork to new heights.
Additionally, pay attention to customizing your tablet settings and selecting the correct drawing software that aligns with your artistic needs. Investing time in researching and selecting the right tools will enhance your digital drawing experience and make your workflow more efficient.
If you encounter any issues or challenges along the way, don’t be discouraged. Troubleshooting common problems with your drawing tablet is part of the journey. Take advantage of the helpful tips and resources provided in this guide, and don’t hesitate to reach out to the manufacturer’s support team or online communities for assistance.
Now, armed with the knowledge and skills gained from this guide, it’s time for you to unleash your creativity and create breathtaking digital artwork using your drawing tablet without a screen. Whether you’re a beginner or a seasoned artist, the possibilities are endless. Enjoy the freedom and flexibility that digital art offers and continue to explore and refine your skills. Happy drawing!