Introduction
Welcome to the world of capture cards and the exciting possibilities they offer for capturing and sharing your Nintendo Switch gameplay. Whether you’re a budding content creator or a seasoned gamer looking to showcase your skills, a capture card can be a valuable tool in your arsenal. In this guide, we’ll take you through everything you need to know about using a capture card for your Switch.
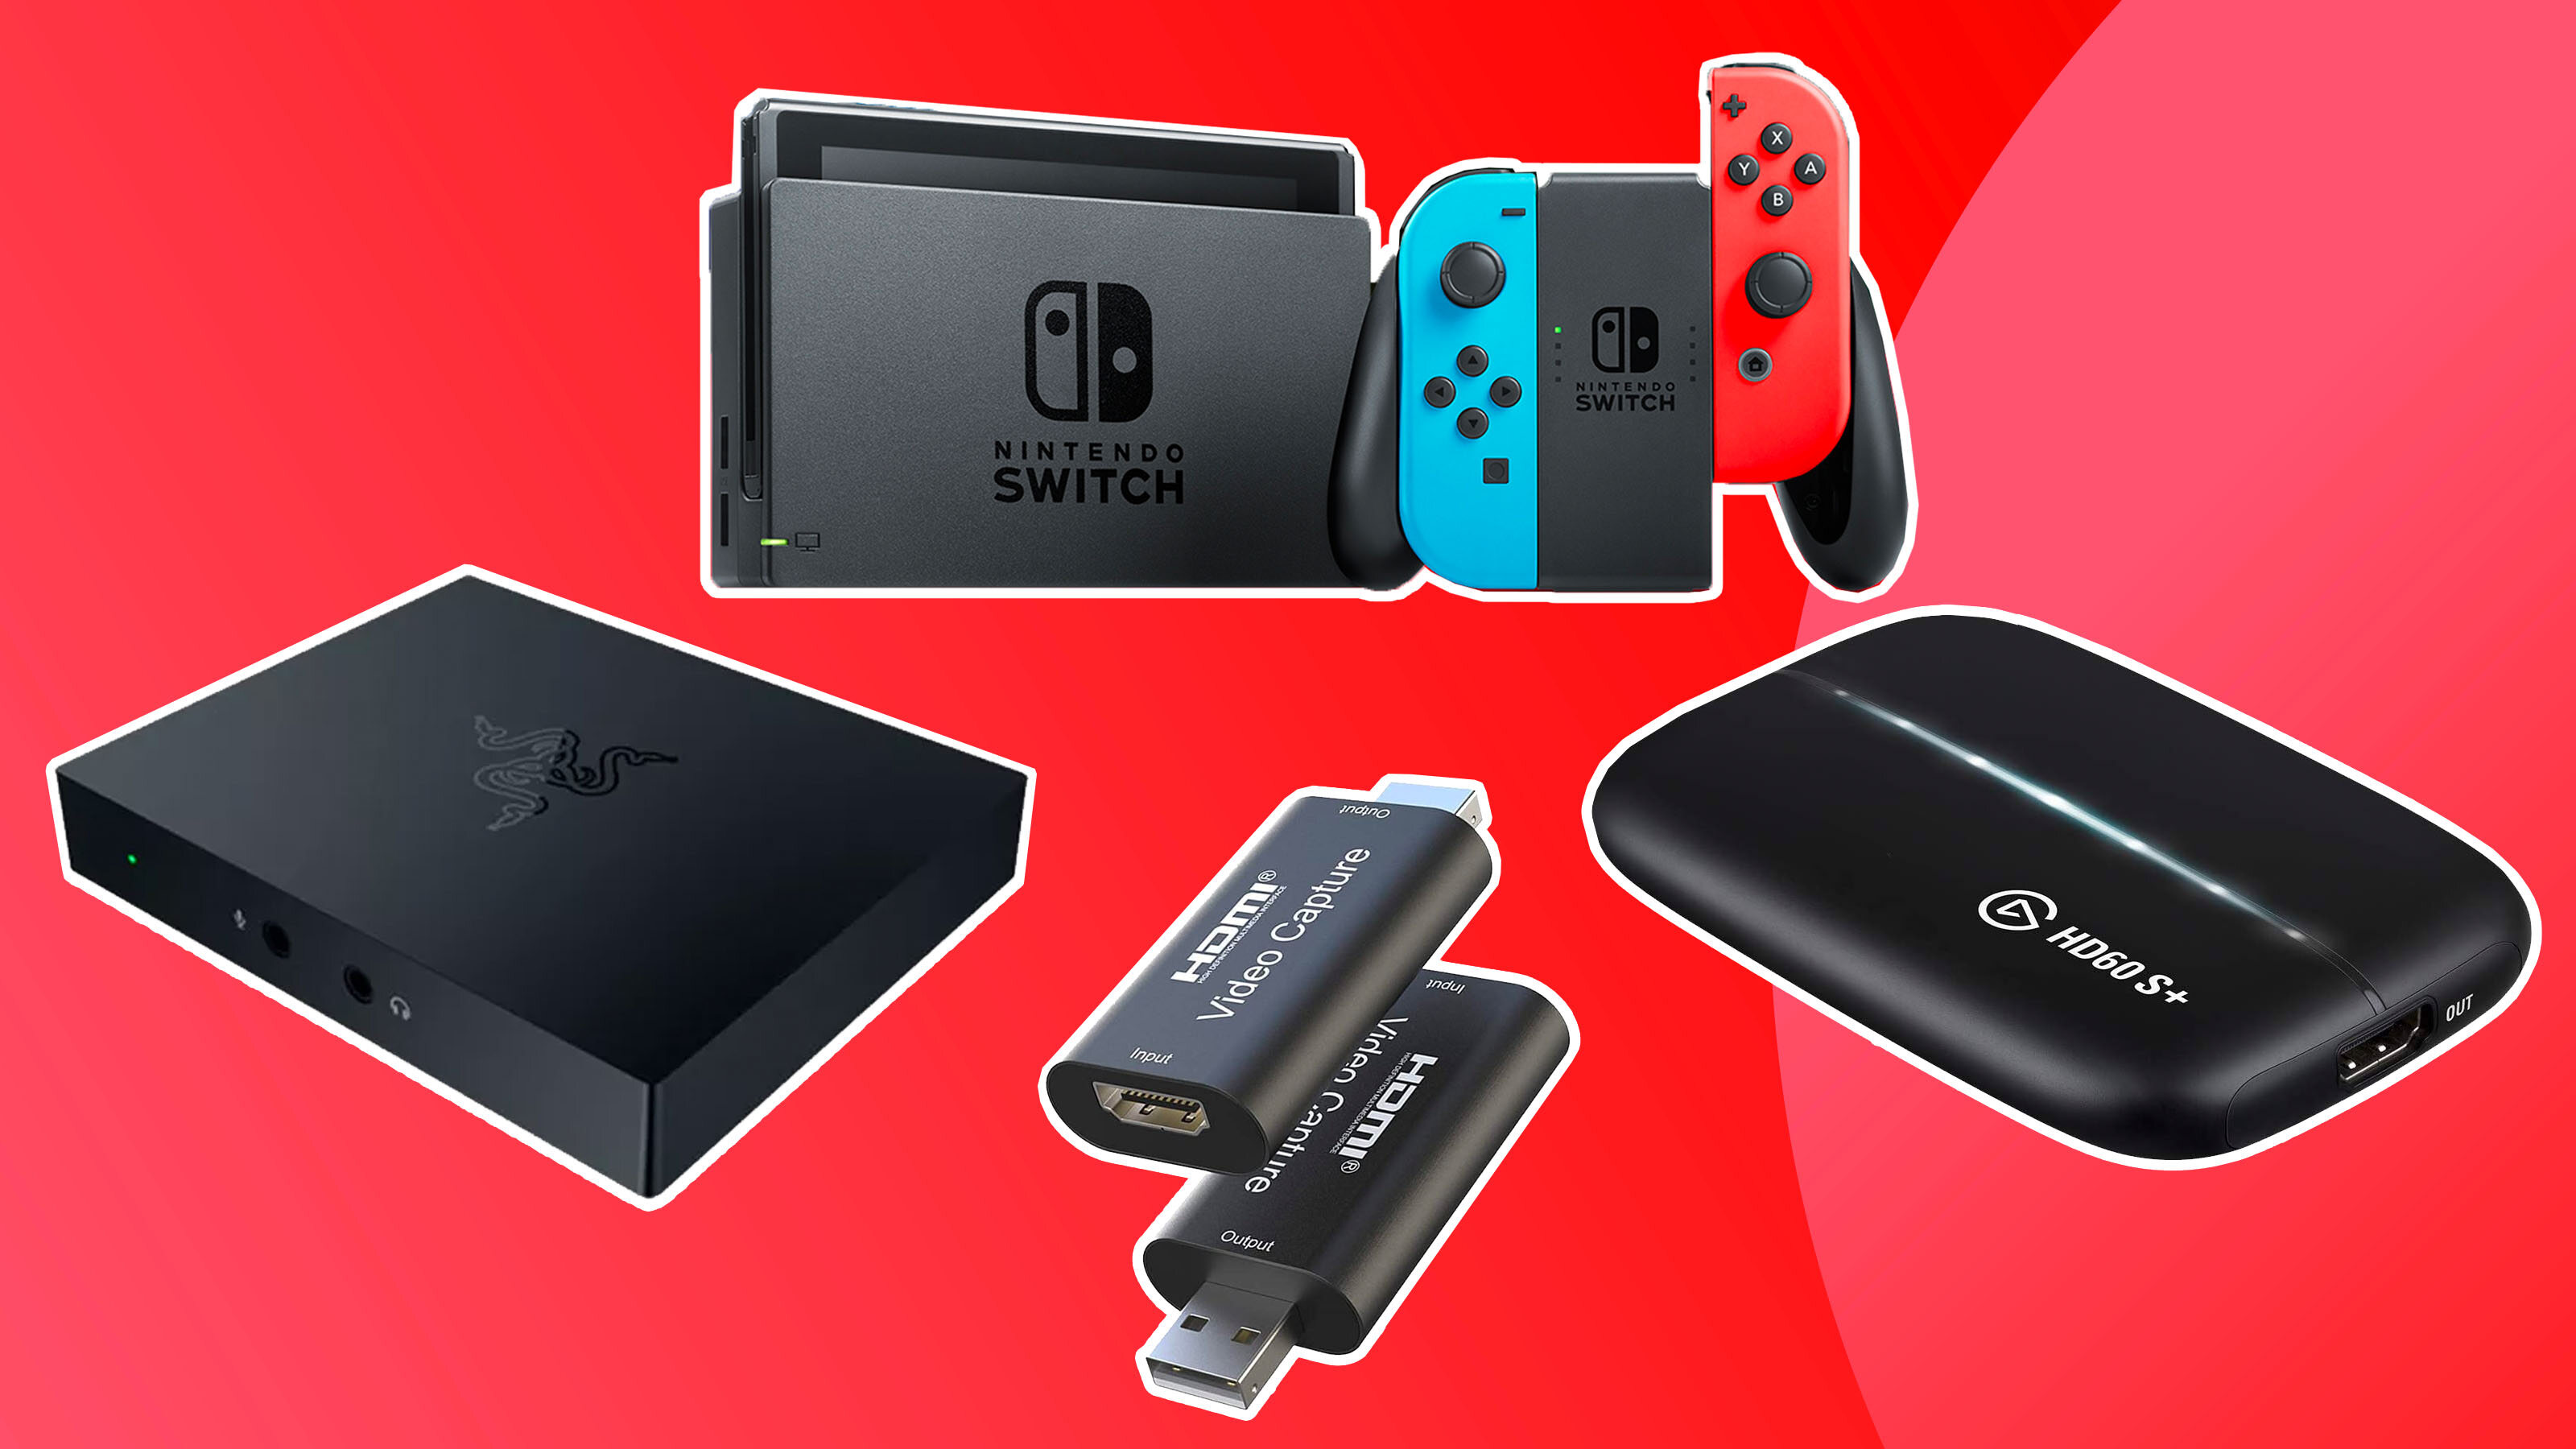
So, what exactly is a capture card? Put simply, it’s an external device that allows you to record or stream gameplay from your Nintendo Switch to your computer. It connects to your Switch and captures the video and audio output, which you can then manipulate and share as you please. With a capture card, you can create high-quality videos, stream live gameplay to platforms like Twitch or YouTube, or even just capture those epic gaming moments to relive later.
There are various capture cards available in the market, each with its own features and capabilities. Depending on your needs and budget, you can choose a capture card that suits you best. In this guide, we’ll walk you through the process of setting up your capture card, connecting it to your Switch, installing the necessary software, and adjusting the settings to optimize your recording or streaming experience.
Before we dive into the technical details, it’s important to note that using a capture card does require some basic knowledge of computer hardware and software. However, don’t worry if you’re not a tech expert – we’ll do our best to explain everything in a clear and beginner-friendly manner.
So, if you’re ready to take your Nintendo Switch gaming to the next level and share your adventures with the world, let’s get started on your journey to becoming a capture card pro!
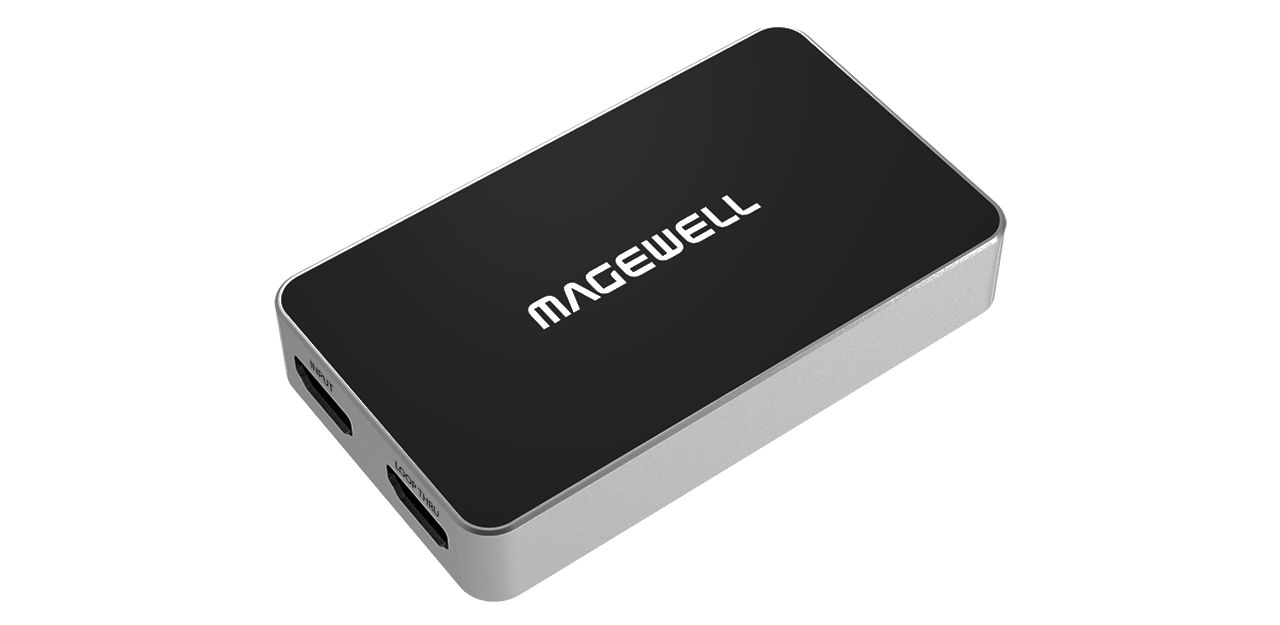
What is a Capture Card?
Before we delve into the specifics of using a capture card for your Nintendo Switch, let’s first understand what a capture card actually is. In simple terms, a capture card is an external device that connects to your gaming console, such as the Nintendo Switch, and allows you to record or stream gameplay on your computer.
When you play a game on your Switch, the capture card captures the audio and video output from the console, diverting it to your computer for further processing. This enables you to record your gameplay, create high-quality videos, or stream live to platforms like Twitch or YouTube.
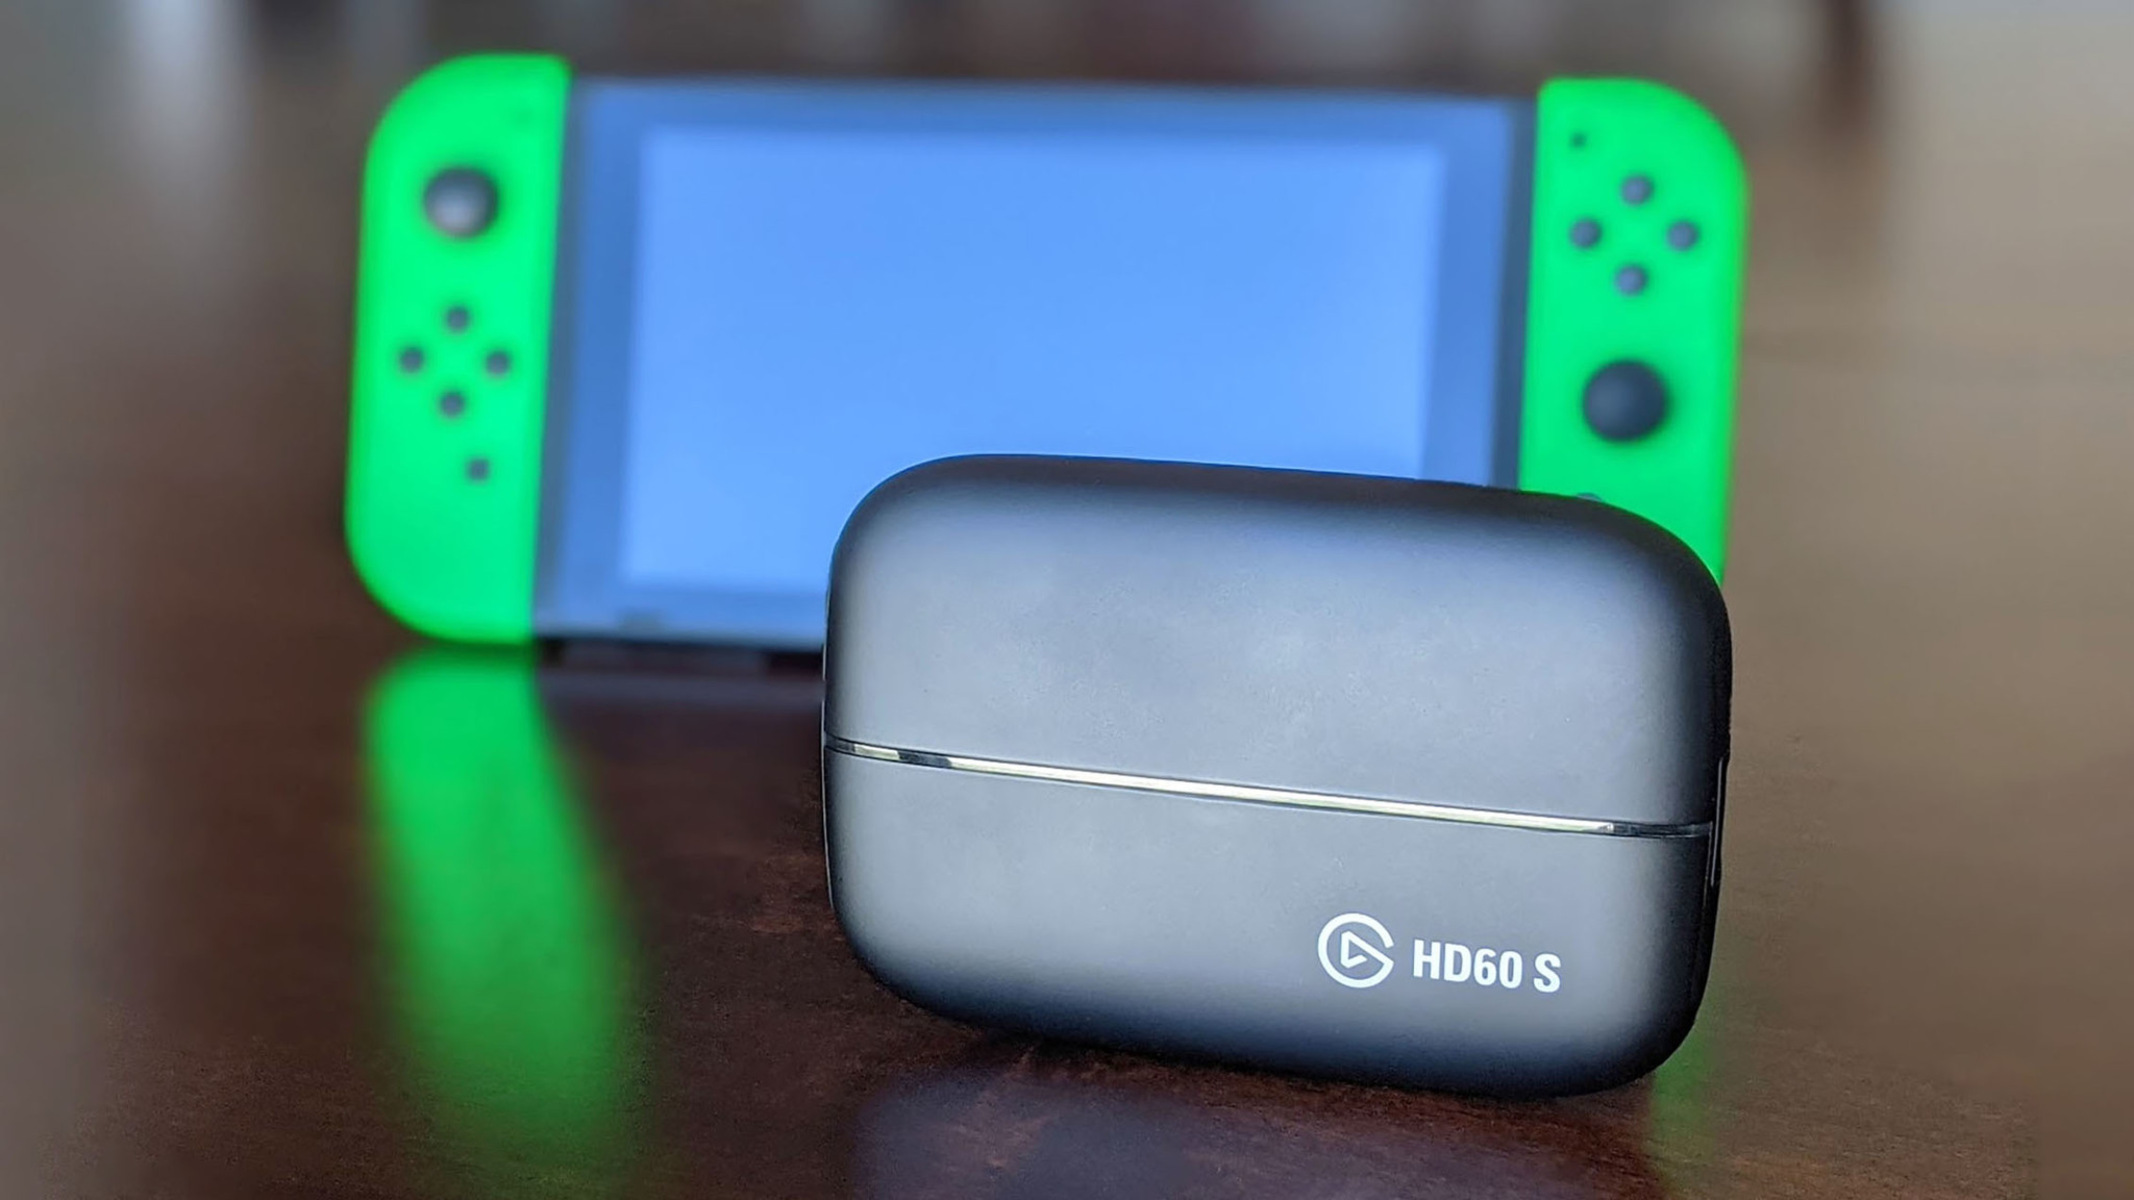
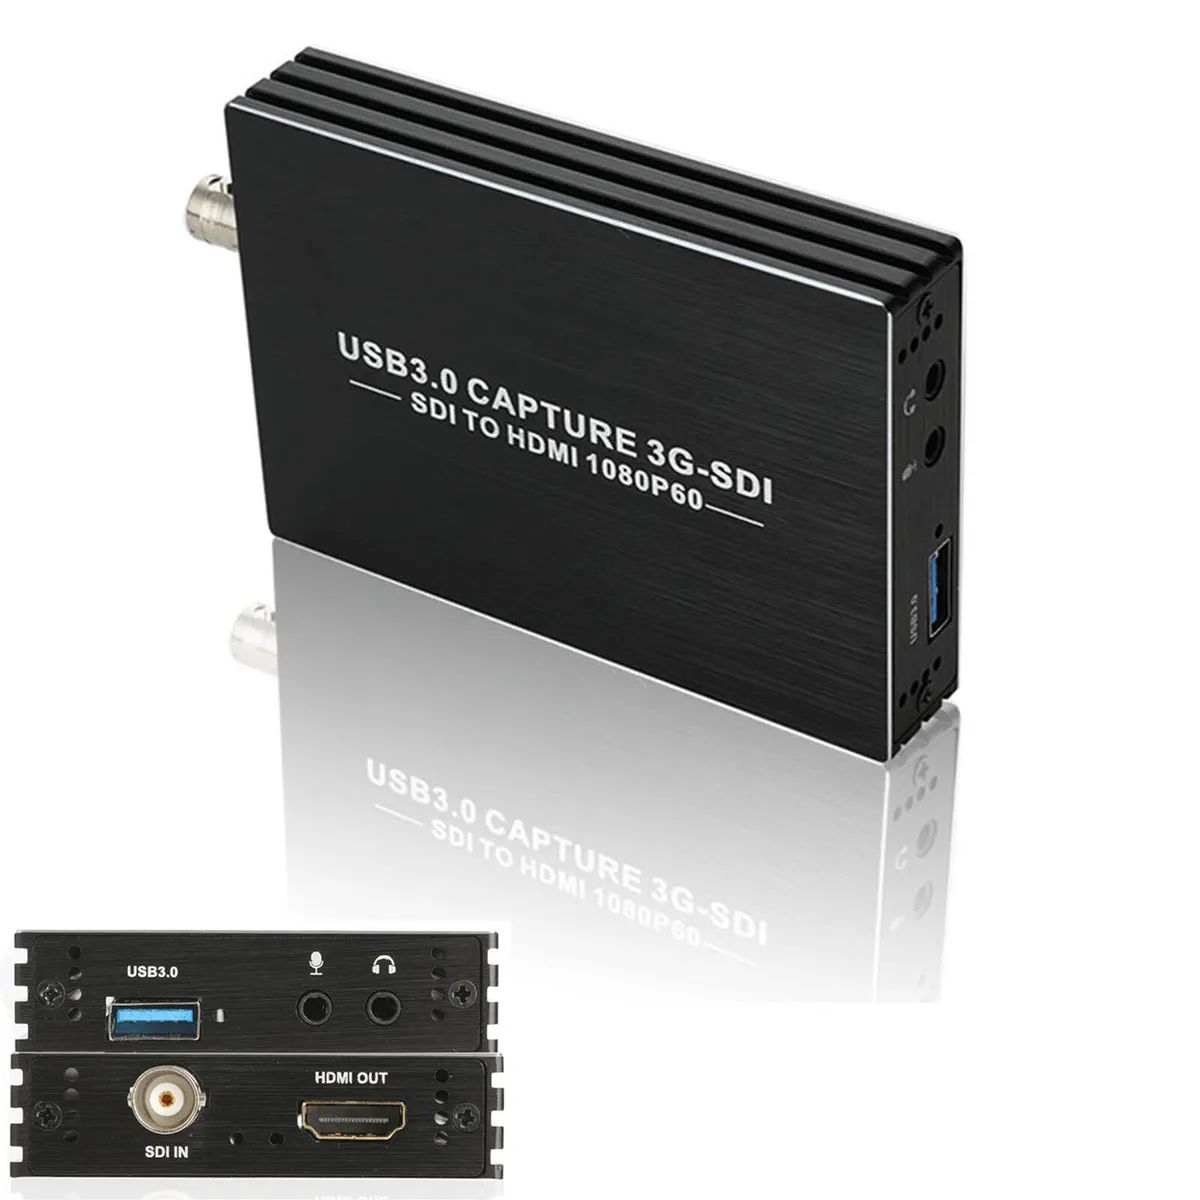
Capture cards come in different shapes and sizes, with various features and capabilities. They typically connect to your computer via USB or PCIe, depending on the model. While older models required a desktop computer with a PCIe slot, many modern capture cards can be easily connected to a laptop or PC using a USB cable.
One of the key features of a capture card is its ability to handle high-quality video and audio capture. It can record in resolutions up to 4K and output at different frame rates, ensuring your recordings or streams are smooth and visually appealing. Some capture cards even come with built-in hardware encoding, reducing the strain on your computer’s CPU during recording or streaming.
Not only do capture cards allow you to showcase your gaming skills, but they also open up exciting possibilities for content creation. With a capture card, you can create walkthroughs, tutorials, game reviews, and even montages of your best gaming moments. Whether you’re a casual gamer looking to document your adventures or a dedicated streamer seeking an audience, a capture card is an essential tool.
Furthermore, capture cards often offer additional features to enrich your gameplay experience. These can include features like live commentary overlay, green screen support, and customizable overlays and alerts for streaming. Some capture cards also provide software suites that offer advanced editing and customization options, allowing you to refine your recordings before sharing them with the world.
Now that you have a basic understanding of what a capture card is and what it can do, let’s move on to the next section, where we’ll explore the various ways in which you can utilize a capture card with your Nintendo Switch.
What Can You Do With a Capture Card?
A capture card opens up a world of possibilities for what you can do with your Nintendo Switch gameplay. Let’s explore some of the key functionalities and creative opportunities that a capture card brings to the table.
Record and Share Gameplay: One of the primary uses of a capture card is to record your gameplay sessions. Whether you’re trying to document your progress, create a highlight reel of your best moments, or showcase your gaming skills, a capture card allows you to capture high-quality video footage and audio directly from your Switch. Once recorded, you can then edit and share your gameplay videos on platforms like YouTube or social media to engage with your audience.
Create Walkthroughs and Tutorials: Are you an expert at a particular game and want to share your knowledge with others? With a capture card, you can create detailed walkthroughs and tutorials. Record your gameplay while providing insightful commentary to guide viewers through challenging levels, explain game mechanics, or share helpful tips and strategies. By creating informative and engaging content, you can build a dedicated audience of gamers seeking guidance or entertainment.
Stream Live Gameplay: Streaming your gameplay live has become immensely popular in the gaming community, and a capture card is essential for a high-quality streaming experience. By connecting your Switch to your computer via a capture card, you can broadcast your gameplay in real-time to platforms like Twitch, YouTube Gaming, or Facebook Gaming. Interact with your viewers, build a community, and even monetize your streams if you choose to pursue a career as a content creator.
Engage with your Audience: Capture cards often come with additional features to enhance the viewer experience. These can include live commentary overlays, facecam support, and customizable overlays and alerts. By incorporating these elements into your streams or videos, you can engage your audience on a deeper level, create a unique brand, and make your content more visually appealing and interactive.
Review and Analyze Gameplay: Another valuable use of a capture card is to review and analyze your own gameplay or that of others. By studying your recordings, you can identify areas for improvement, learn new strategies, or simply relive your most epic gaming moments. Capture cards with advanced editing software allow you to slow down or rewind the footage, add annotations, draw on the screen, and analyze your gameplay meticulously.
Create Montages and Highlights: Capture cards provide you with the tools to create stunning montages and highlight reels of your best gaming moments. Capture that jaw-dropping kill streak, incredible comebacks, or those unforgettable in-game achievements. Edit your recordings to add music, special effects, and smooth transitions, transforming your gameplay into a captivating cinematic experience.
As you can see, a capture card is much more than just a device for recording gameplay. It offers a wide range of functionalities and creative opportunities for gamers and content creators alike. Now that you’re aware of what you can do with a capture card, let’s dive into the process of choosing the right capture card for your Nintendo Switch.
Choosing the Right Capture Card for Your Switch
When it comes to choosing a capture card for your Nintendo Switch, there are several factors to consider to ensure you pick the right one that meets your needs. Let’s explore some key considerations that will help you make an informed decision.
Compatibility: The first thing to check is the compatibility of the capture card with your Nintendo Switch. Most capture cards on the market are compatible with the Switch, but it’s always a good idea to double-check and ensure that the one you choose explicitly supports the Switch. Look for capture cards that have specific compatibility with consoles, including the Nintendo Switch.
Connectivity and Interface: Consider the type of connectivity and interface options offered by the capture card. USB capture cards are the most common and user-friendly, as they can be easily connected to your computer via a USB cable. Some capture cards use PCIe interfaces that require installation into a desktop computer with an available PCIe slot. Choose the option that best suits your setup and convenience.
Resolution and Frame Rate: The resolution and frame rate capabilities of the capture card are crucial factors to consider, particularly if you want to capture high-quality videos or stream at optimal settings. Look for a capture card that supports your desired resolution, whether it’s 1080p, 4K, or higher. Additionally, ensure that the capture card can handle the frame rate you prefer, such as 30fps or 60fps, to ensure smooth and crisp video output.
Hardware Encoding: Some capture cards come with built-in hardware encoding. This feature offloads the encoding process from your computer’s CPU, resulting in better performance and lower system resource usage. If you plan on doing intensive recording or streaming sessions, a capture card with hardware encoding can be a valuable asset.
Software Support: Consider the software support offered by the capture card. Look for a capture card that provides robust and user-friendly software for recording, streaming, and editing your gameplay footage. The software should offer customization options, capture settings adjustments, and additional features like overlays, alerts, and scene transitions for streaming purposes.
Budget: Last but not least, consider your budget for a capture card. Capture cards range in price, with higher-end models offering more advanced features and better performance. Determine your budget and find a capture card that strikes the right balance between capabilities and affordability.
Research different capture card models, read reviews, and compare specifications to find the one that best fits your requirements. Don’t forget to consider the specific features you need and how they align with your intended usage, whether it’s recording gameplay, streaming, or a combination of both.
By considering factors like compatibility, connectivity, resolution and frame rate capabilities, hardware encoding, software support, and budget, you can make an informed decision and choose the perfect capture card that will greatly enhance your Nintendo Switch gaming experience.
Setting Up Your Capture Card
Once you have chosen the perfect capture card for your Nintendo Switch, it’s time to set it up and prepare it for recording or streaming your gameplay. Here are the steps to follow to get your capture card up and running:
Step 1: Install the Necessary Software: Begin by installing the software that comes with your capture card. This software allows you to control the capture card’s settings, record gameplay, and stream to different platforms. Follow the instructions provided with your capture card to download and install the software onto your computer.
Step 2: Connect Your Capture Card to Your Computer: Depending on the type of capture card you have, connect it to your computer using either a USB cable or by installing it into an available PCIe slot. Make sure the connection is secure, and the capture card is properly recognized by your computer’s operating system.
Step 3: Connect Your Nintendo Switch to the Capture Card: Use an HDMI cable to connect your Nintendo Switch to the HDMI input port on the capture card. Ensure you are using a high-quality HDMI cable to maintain the best possible video and audio signal. The HDMI output port of the capture card is then connected to your display device, such as a monitor or TV.
Step 4: Configure Audio Settings: Depending on your setup and preferences, you have a few options for audio configuration. You can connect headphones or speakers directly to your Nintendo Switch for audio output, or you can configure the capture card software to route the audio through your computer. Experiment with these settings to find the configuration that works best for you.
Step 5: Test Your Setup: Once everything is connected, open the capture card software on your computer and test the setup. Check for any video or audio issues and make any necessary adjustments through the software’s settings. Ensure that your gameplay is properly displayed on your computer screen or monitor.
Step 6: Adjust Capture Card Settings (Optional): Explore the settings in your capture card software to adjust various parameters according to your preferences. You can customize the video resolution, frame rate, bitrate, and other options to optimize your recording or streaming quality. It’s recommended to refer to the user manual or online tutorials for your specific capture card model to understand the available settings and their impact.
Once you have completed these steps, your capture card setup will be ready to go. The capture card software will act as the intermediary between your Nintendo Switch and your computer, allowing you to record gameplay, stream to platforms like Twitch or YouTube, or perform any other desired activities.
Remember to regularly check for firmware updates for your capture card, as these updates often include bug fixes, feature enhancements, and improvements to the overall performance of the device.
Now that your capture card is set up and functioning, you’re ready to start capturing and sharing your Nintendo Switch gameplay. In the next section, we’ll discuss how to connect your Nintendo Switch to the capture card and ensure a seamless gaming experience.
Connecting Your Switch to the Capture Card
Connecting your Nintendo Switch to the capture card is a vital step in utilizing the full potential of your capture card. Here’s a step-by-step guide on how to establish a seamless connection between your Switch and the capture card:
Step 1: Gather the Required Equipment: Ensure you have the necessary equipment ready. You’ll need an HDMI cable to connect your Switch to the capture card, as well as an HDMI output cable to connect the capture card to your display device, such as a monitor or TV.
Step 2: Locate the HDMI Port on Your Switch: Locate the HDMI port on your Nintendo Switch. It is usually located at the back of the dock or on the side of the Switch itself if you’re using it handheld.
Step 3: Connect the HDMI Cable: Take one end of the HDMI cable and plug it into the HDMI port of your Nintendo Switch. Make sure it is secured tightly to ensure a stable connection.
Step 4: Connect the Other End of the HDMI Cable: Take the other end of the HDMI cable and plug it into the HDMI input port on your capture card. This port is usually labeled as “HDMI In” or something similar.
Step 5: Connect the HDMI Output Cable: Use another HDMI cable to connect the HDMI output port of your capture card to the HDMI input port of your display device, such as a monitor or TV. This allows you to see the gameplay on your display while the capture card captures the footage.
Step 6: Power On Your Switch and Display Device: Power on your Nintendo Switch and the display device to ensure that both are functioning correctly.
Step 7: Configure Display Settings: If you’re using a separate display device, such as a monitor, you may need to adjust the display settings to ensure proper resolution and aspect ratio. Check your display device’s user manual for guidance on how to adjust these settings.
Step 8: Launch the Capture Card Software: Open the capture card software on your computer. The software interface will vary depending on the brand and model of your capture card. You should now see the gameplay from your Nintendo Switch on your computer screen.
Step 9: Check for Video and Audio Output: Verify that the video and audio from your Nintendo Switch are properly being displayed on your computer or chosen display device. Ensure that the video resolution and frame rate are as desired, and the audio is playing correctly.
Once you’ve successfully connected your Nintendo Switch to the capture card, you are ready to start capturing or streaming your gameplay. Ensure that all cables are securely connected and that your capture card software is properly configured to achieve the best possible recording or streaming quality.
Remember to refer to the user manual or online tutorials for your specific capture card model if you encounter any difficulties during the connection process. Additionally, familiarize yourself with the capture card software’s settings and features to optimize your gaming experience.
In the next section, we’ll delve into the process of installing capture card software and adjusting the necessary settings for capturing and streaming your Nintendo Switch gameplay.
Installing Capture Card Software
To maximize the capabilities of your capture card and unlock its full potential, you need to install the accompanying software onto your computer. Here’s a step-by-step guide on how to install capture card software:
Step 1: Check for Software Compatibility: Before proceeding, ensure that the capture card software is compatible with your operating system. Most capture cards are compatible with Windows and macOS, but it’s always best to verify this information on the manufacturer’s website.
Step 2: Locate the Software: The capture card software should come with the device, either on a CD/DVD or available for download from the manufacturer’s website. If it’s available for download, visit the website and navigate to the support or download section to find the appropriate software for your capture card model.
Step 3: Download the Software: If the software is available for download, click on the designated link provided on the manufacturer’s website. Follow the on-screen instructions to download the software onto your computer. Make sure to save it in a location that is easy to access, such as the desktop or a dedicated folder.
Step 4: Install the Software: Once the software is downloaded, locate the file and double-click on it to initiate the installation process. Follow the prompts provided by the installation wizard to complete the installation. Ensure that you carefully read and accept any license agreements or terms of use that are presented during the installation.
Step 5: Launch the Capture Card Software: After the installation is complete, locate the capture card software on your computer. It may have created a shortcut on your desktop or be accessible through the Start Menu (Windows) or Applications folder (macOS).
Step 6: Connect Your Capture Card: Ensure that your capture card is properly connected to your computer via USB or PCIe, as per the manufacturer’s instructions. Make sure the device is recognized by your operating system before launching the capture card software.
Step 7: Configure Capture Card Settings (Optional): Depending on your preferences and intended usage, you may need to configure the settings within the capture card software. Adjust video resolution, frame rate, audio settings, and any other parameters that will optimize your recording or streaming experience. Familiarize yourself with the software’s interface and explore the available options for customization.
Step 8: Test Your Setup: Once the software is installed and configured, it’s essential to test your setup to ensure that your capture card is working as intended. Connect your Nintendo Switch to the capture card and launch a game. Start the capture card software and verify that the gameplay is being captured and displayed correctly on your computer screen.
If you encounter any difficulties during the installation process or while using the capture card software, consult the user manual provided with your capture card or visit the manufacturer’s website for troubleshooting guides and support.
With the capture card software successfully installed, you are now equipped with the necessary tools to begin recording, streaming, and enhancing your Nintendo Switch gameplay. In the next section, we’ll explore the process of adjusting capture card settings to optimize the recording or streaming experience.
Adjusting Capture Card Settings
After installing the capture card software, it’s important to adjust the settings to optimize your recording or streaming experience with your Nintendo Switch. Here are the key settings to consider:
Video Resolution: In the capture card software, locate the video resolution settings. Choose the resolution that best fits your needs and hardware capabilities. Higher resolutions, such as 1080p or 4K, provide better visual quality but may require a more powerful computer setup.
Frame Rate: Adjust the frame rate to your desired value, typically 30fps or 60fps. A higher frame rate results in smoother motion, but it can also put more strain on your computer’s resources. Ensure that both the capture card and your computer can handle the chosen frame rate.
Bitrate: The bitrate determines the level of video compression during recording or streaming. Higher bitrates result in better video quality but require more bandwidth and storage space. Experiment with different bitrate settings to find the right balance between video quality and file size.
Audio Settings: Check the audio settings in the capture card software to ensure that the audio from your Nintendo Switch is properly captured and mixed with your gameplay footage. Adjust volume levels, enable or disable microphone input, and specify the audio output device for monitoring purposes.
Streaming Platform Integration: If you plan to stream your Nintendo Switch gameplay, explore the streaming settings within the capture card software. Enter your streaming platform credentials, customize your streaming settings, set up overlays or alerts, and configure other features specific to the streaming platform you’ll be using.
Hotkeys and Shortcut Controls: Familiarize yourself with the hotkeys and shortcut controls available in the capture card software. These can be used to start/stop recording, switch between scenes or sources, adjust volume levels, and perform other actions without needing to switch to the capture card software window.
Scene Customization: Many capture card software suites offer the ability to create and switch between different scenes, which allow you to customize the layout of your recording or streaming. Explore the scene customization options to add overlays, webcam feed, chat, or other elements to enhance the viewer experience.
Encoder Options: Depending on your capture card model and software, you may have options to choose between software or hardware encoding. Software encoding utilizes your computer’s CPU, while hardware encoding offloads the encoding process to the capture card itself. Experiment with different encoding options to find the one that provides the best performance and quality for your setup.
Recording and Storage Settings: Customize the recording settings in the capture card software, such as the file format, storage location, and naming conventions. Adjust these settings to ensure that your gameplay footage is stored in a convenient and organized manner.
Take your time to familiarize yourself with the various settings available in the capture card software. Don’t hesitate to experiment with different configurations to find what works best for your preferences and hardware capabilities. Additionally, refer to the user manual or online resources provided by the capture card manufacturer for more detailed instructions on adjusting the settings.
With the capture card settings properly configured, you are now ready to record or stream your Nintendo Switch gameplay with optimal visual and audio quality. In the next section, we’ll explore the process of recording gameplay using your capture card.
Recording Gameplay
Now that you have your capture card and software properly set up, it’s time to start recording your Nintendo Switch gameplay. Recording gameplay allows you to capture your most epic gaming moments, create content for sharing, or analyze and improve your skills. Here’s how to get started:
Step 1: Open the Capture Card Software: Launch the capture card software on your computer. Ensure that your Nintendo Switch is properly connected to the capture card and that the software recognizes your device.
Step 2: Adjust Recording Settings: Review the recording settings in the capture card software. Customize the video resolution, frame rate, and bitrate to suit your preferences and hardware capabilities. Ensure that the audio settings are properly configured to capture the gameplay audio and any additional audio sources, such as your microphone.
Step 3: Start Recording: In the capture card software, find the appropriate button or menu option to start recording. Depending on the software, it may be labelled as “Record,” “Start Capture,” or a similar variation. Click the button to begin recording your gameplay.
Step 4: Play the Game: Once you’ve started recording, begin playing your chosen game on your Nintendo Switch. The capture card will capture both the video and audio output from your console, ensuring that your gameplay footage is recorded in real-time.
Step 5: End the Recording: When you’re finished recording, locate the recording button in the capture card software. Stop the recording by clicking the designated button or selecting the appropriate menu option. The software will save the recorded gameplay footage to your specified storage location.
Step 6: Review and Edit the Recorded Gameplay: After you’ve ended the recording, take some time to review the footage. Open the recording in a video editing software program or the capture card software’s editing functionality to trim, enhance, or add effects to the gameplay footage as desired. This allows you to refine the content before sharing it with others.
Step 7: Save and Export the Final Video: Once you’ve made any necessary edits, save the final video file in the desired format and quality. Ensure that you select an appropriate file format and compression settings to balance file size and video quality. This step may vary depending on the editing software or the capture card software’s editing capabilities.
Recording gameplay with a capture card provides you with the opportunity to capture your gaming achievements, create engaging content, and share your gaming experiences with others. Experiment with different recording settings, techniques, and editing approaches to find your unique style and create captivating gameplay videos.
Keep in mind that recording gameplay may require ample storage space, especially if you plan on recording longer sessions or in high-resolution formats. It’s always recommended to have sufficient space available on your computer’s hard drive or an external storage device.
In the next section, we’ll explore how you can utilize your capture card to stream your Nintendo Switch gameplay and engage with your audience in real-time.
Streaming Your Gameplay
Streaming your Nintendo Switch gameplay allows you to connect with an audience in real-time and share your gaming experiences as they happen. With your capture card and software set up, streaming your gameplay is easier than ever. Here’s how to get started:
Step 1: Configure Streaming Settings: Open the capture card software on your computer and navigate to the streaming settings. Specify the streaming platform you’d like to use, such as Twitch, YouTube Gaming, or Facebook Gaming. Enter your streaming platform credentials to establish the connection between your capture card software and the streaming platform.
Step 2: Customize Stream Settings: Explore the stream settings in the capture card software to customize your streaming experience. Adjust the video resolution, frame rate, and bitrate to ensure smooth and high-quality streaming. Configure additional settings like chat integration, overlays, alerts, and webcam placement to personalize your stream further.
Step 3: Set Up Your Streaming Scene: Create a scene or scenes in the capture card software to design the layout of your stream. Add your capture card’s video feed, overlays, webcam, and any other elements you’d like to include. Arrange and customize these components to create an attractive and engaging stream layout.
Step 4: Connect with Your Streaming Platform: Once you’ve customized your stream settings and scene, connect to your streaming platform within the capture card software. Start the stream by clicking the designated button or selecting the appropriate menu option in the software. This connects your capture card to the streaming platform and begins broadcasting your gameplay.
Step 5: Interact with Your Audience: While streaming, take the opportunity to interact with your audience through live chat. Respond to comments, answer questions, and engage with viewers who are watching and enjoying your stream. This interaction helps build a community of fans and establishes a personal connection with your audience.
Step 6: Monitor and Manage Your Stream: Keep an eye on the stream health indicators provided by the capture card software. Ensure that your stream is stable, without significant dropped frames or connection issues. Monitor audio levels, your stream’s performance, and any additional elements you’ve included to maintain a high-quality and engaging streaming experience.
Step 7: End the Stream: When you’re ready to finish your streaming session, use the capture card software to end the stream. This disconnects the capture card from the streaming platform and concludes your live broadcast. Take a moment to acknowledge and thank your audience for watching and supporting your stream.
Streaming your Nintendo Switch gameplay allows you to showcase your skills, entertain your audience, and build a community of followers. Experiment with stream settings, interact with your viewers, and continually improve your content to grow and engage your audience further.
Remember that streaming gameplay requires a stable internet connection and proper bandwidth for seamless broadcasting. Ensure that you have sufficient upload speed and a robust network connection to support a high-quality stream.
In the next section, we’ll address some common troubleshooting issues that you may encounter when using a capture card for your Nintendo Switch.
Troubleshooting Common Issues
While using a capture card for your Nintendo Switch can greatly enhance your gaming experience, you may encounter some common issues along the way. Here are a few troubleshooting tips to help you resolve common problems:
No Video or Audio Output: If you’re not getting any video or audio output on your computer or display device, double-check the HDMI connections between your Nintendo Switch, capture card, and display. Ensure that all connections are secure and that the correct input and output sources are selected on your capture card and display device.
Poor Video Quality: If you’re experiencing poor video quality, ensure that you have selected the appropriate video resolution and bitrate in the capture card software. Also, check that your computer’s hardware meets the requirements for capturing and streaming at the desired resolutions. Adjusting the settings or lowering the resolution may improve the quality if your hardware is struggling to handle higher settings.
Audio Issues: If you’re having problems with audio, make sure that the audio input source is correctly selected in the capture card software. Ensure that the audio cables are properly connected, and the audio settings in the capture card software are configured to capture the gameplay audio. Also, verify that your computer’s audio settings are correctly configured to output sound through the desired playback device.
Lag or Delay: If you’re experiencing lag or delay in your gameplay or stream, check your computer’s performance and network connection. Make sure your computer meets the minimum system requirements to handle the capture card and software. Ensure you have sufficient internet upload speed for smooth streaming. Close any unnecessary applications or processes running in the background that might consume system resources.
Compatibility Issues: If you’re encountering compatibility issues between your capture card, software, and operating system, visit the manufacturer’s website for any available software updates or driver downloads. Sometimes, compatibility issues can arise due to outdated software or drivers, and updating to the latest versions can resolve the problem.
Software Crashes: If the capture card software crashes or freezes during use, try closing and relaunching the software. Ensure that you have the latest version of the software installed and that your computer’s operating system is up to date. If the issue persists, contact the capture card manufacturer’s support team for further troubleshooting assistance.
Insufficient Storage Space: If you’re running out of storage space due to large video files, consider transferring completed recordings to an external hard drive or freeing up space on your computer’s hard drive. You can also adjust the recording settings to lower the video resolution or bitrate to reduce file sizes, or designate a different storage location with more available space.
If you encounter other issues that aren’t addressed here, consult the user manual of your capture card, visit the manufacturer’s support website, or search online forums and communities dedicated to capture cards and gaming. Often, other users have encountered similar problems and may provide solutions or troubleshooting tips.
Remember that troubleshooting can sometimes be a trial-and-error process. Be patient, and don’t hesitate to seek assistance if you’re unable to resolve an issue on your own. With persistence and the right guidance, you’ll overcome any hurdles and enjoy a smooth capture card experience with your Nintendo Switch.
Tips and Tricks for Using a Capture Card
Using a capture card for your Nintendo Switch can take your gaming experience to new heights. To help you make the most out of your capture card setup, here are some tips and tricks:
1. Optimize Your Lighting: Good lighting can greatly enhance the visual quality of your gameplay footage. Ensure that you have sufficient lighting in your gaming area to avoid dark or poorly lit scenes during recording or streaming.
2. Use a Stable Internet Connection: A stable and reliable internet connection is crucial for a smooth streaming experience. Connect your streaming device to your router via an Ethernet cable to minimize wireless interference and reduce the chances of dropped frames or lag during your stream.
3. Organize Your Files: Develop a file management system for your recorded gameplay footage. Create folders to organize your recordings based on the game, date, or any other method that makes it easier for you to find specific footage later on.
4. Experiment with Different Games and Genres: Don’t limit yourself to just one type of game or genre. Experiment with playing a variety of games to cater to different audiences and attract new viewers to your content.
5. Engage with Your Viewers: Building a strong and loyal audience requires interaction. Engage with your viewers in the live chat during streams, respond to comments on your recorded videos, and create a sense of community by recognizing and appreciating your viewers’ support.
6. Create a Schedule: Consistency is key when building an audience. Establish a streaming schedule that works for you and communicate it with your viewers. This allows them to anticipate your streams and make time to watch and engage with your content.
7. Learn from Others: Explore other content creators who use capture cards and study their techniques. Take inspiration from their setups, overlays, editing styles, and how they engage with their audience. Adapt and refine those strategies to make them your own.
8. Update Firmware and Software: To ensure optimal performance, check for firmware updates for your capture card and update the software to the latest version. These updates often include bug fixes, feature enhancements, and improvements to overall stability.
9. Promote Your Content: Don’t be afraid to promote your recorded videos and streams on social media platforms, gaming forums, and online communities. Building an audience takes time, but sharing your content with relevant communities can help increase your visibility and reach.
10. Have Fun and Be Yourself: Above all, enjoy the process of using a capture card and sharing your gaming experiences. Be genuine, be yourself, and let your personality shine through in your content. Viewers appreciate authenticity and are more likely to connect with creators who are passionate and true to themselves.
Remember, using a capture card is all about showcasing your gaming skills and sharing your experiences with others. Implement these tips and tricks, but also experiment, learn from your experiences, and adapt your approach based on feedback and the interests of your audience.
With dedication, creativity, and a willingness to learn and improve, your capture card setup can provide you with endless possibilities for creating engaging and entertaining content with your Nintendo Switch.
Conclusion
Congratulations! You’ve reached the end of our comprehensive guide on using a capture card for your Nintendo Switch. We hope that this guide has provided you with valuable insights and practical tips to enhance your gaming experience and create compelling content.
A capture card unlocks a world of possibilities, allowing you to record, stream, and share your Nintendo Switch gameplay with the world. Whether you’re an aspiring content creator seeking to build an audience or a passionate gamer looking to immortalize your gaming moments, a capture card is an invaluable tool.
We covered various aspects of using a capture card, including understanding what a capture card is, choosing the right one for your Switch, setting it up, connecting it to your Switch, installing capture card software, adjusting settings, recording gameplay, streaming, and troubleshooting common issues that may arise.
Remember that practice makes perfect. Take the time to experiment, refine your techniques, and discover your own unique style. Engage with your audience, embrace feedback, and continuously challenge yourself to improve your content creation skills.
Additionally, stay informed about the latest updates and advancements in capture card technology. Regularly check for firmware updates, explore new features of your capture card software, and stay connected with the capture card community to learn from others and stay ahead of the curve.
Lastly, have fun! Enjoy the process of using a capture card and sharing your gaming adventures. Embrace the sense of community that comes with content creation and connect with fellow gamers who share your passion.
Thank you for joining us on this journey to explore the world of capture cards for your Nintendo Switch. We wish you all the best in your endeavors, and may your recordings and streams bring joy and entertainment to gaming enthusiasts around the globe!