Introduction
Upgrading the board in your 3D printer is a great way to unlock new features and improve its performance. Whether you’re a beginner or an experienced 3D printing enthusiast, replacing the stock board with a more advanced one can bring a whole new level of functionality to your machine.
Choosing the right board for your 3D printer is crucial, as it can determine the quality and reliability of your prints. In this article, we will guide you through the process of upgrading your 3D printer board, from selecting the right board to installing and configuring it.
Before we delve into the details, it’s important to note that upgrading the 3D printer board requires some technical knowledge. Be sure to take proper safety precautions, such as disconnecting the printer from the power source, and follow the instructions provided by the manufacturer of the board.
In this article, we will cover the essential steps that will help you successfully upgrade the board in your 3D printer. We will discuss the factors to consider when choosing the right board, the tools and materials you will need, and provide step-by-step instructions for disconnecting the old board and installing the new one.
Additionally, we will explain how to configure the firmware to ensure compatibility with the new board and offer troubleshooting tips for common issues you may encounter during the upgrade process.
Ready to take your 3D printer to the next level? Let’s dive in and explore how to upgrade the board in your 3D printer!
Choosing the Right Board
When it comes to upgrading the board in your 3D printer, selecting the right one is essential. The board you choose will determine the functionality, compatibility, and overall performance of your printer. Here are a few factors to consider when choosing a new board:
1. Compatibility: Ensure that the board you choose is compatible with your 3D printer model. Different printers may require specific boards, so it’s important to check the compatibility before making a purchase.
2. Features: Consider the features you want in a board. Do you want built-in Wi-Fi for wireless control? Are you looking for advanced motor control options? Make a list of the features that are important to you and find a board that matches your requirements.
3. Upgradability: Consider the potential for future upgrades. Some boards allow for expansion and additional features through add-on modules. If you plan to enhance your printer’s capabilities in the future, choose a board with room for future growth.
4. User Community: Research the board’s user community and support. Having a community of users can be invaluable when it comes to troubleshooting and learning new techniques. Forums, online groups, and documentation can provide valuable resources and guidance.
5. Budget: Set a budget for your board upgrade. Boards range in price depending on their features and capabilities. Evaluate your needs and find a board that fits your budget while still offering the desired functionality.
Remember, choosing the right board is crucial for a successful upgrade. Take your time to research and compare different options before making a decision. Once you have found the perfect board, you can move on to the next steps of the upgrade process.
Tools and Materials Needed
Before you begin the board upgrade process, you’ll need to gather the necessary tools and materials. Here’s a list of items you’ll typically need:
1. Screwdriver Set: A set of screwdrivers with different sizes and types will be essential for disassembling and reassembling your 3D printer.
2. Pliers: Pliers can come in handy for gripping and holding small parts during the upgrade process.
3. Wire Cutters/Strippers: You may need wire cutters or strippers to trim or strip wires during the installation of the new board.
4. Anti-Static Wrist Strap: An anti-static wrist strap can help protect your sensitive electronic components from static electricity.
5. Thermal Paste: Some board upgrades require the use of thermal paste to improve heat transfer between the board and the heatsink. Check the instructions for your specific board to see if thermal paste is needed.
6. USB Cable: You’ll need a USB cable to connect the new board to your computer for firmware configuration.
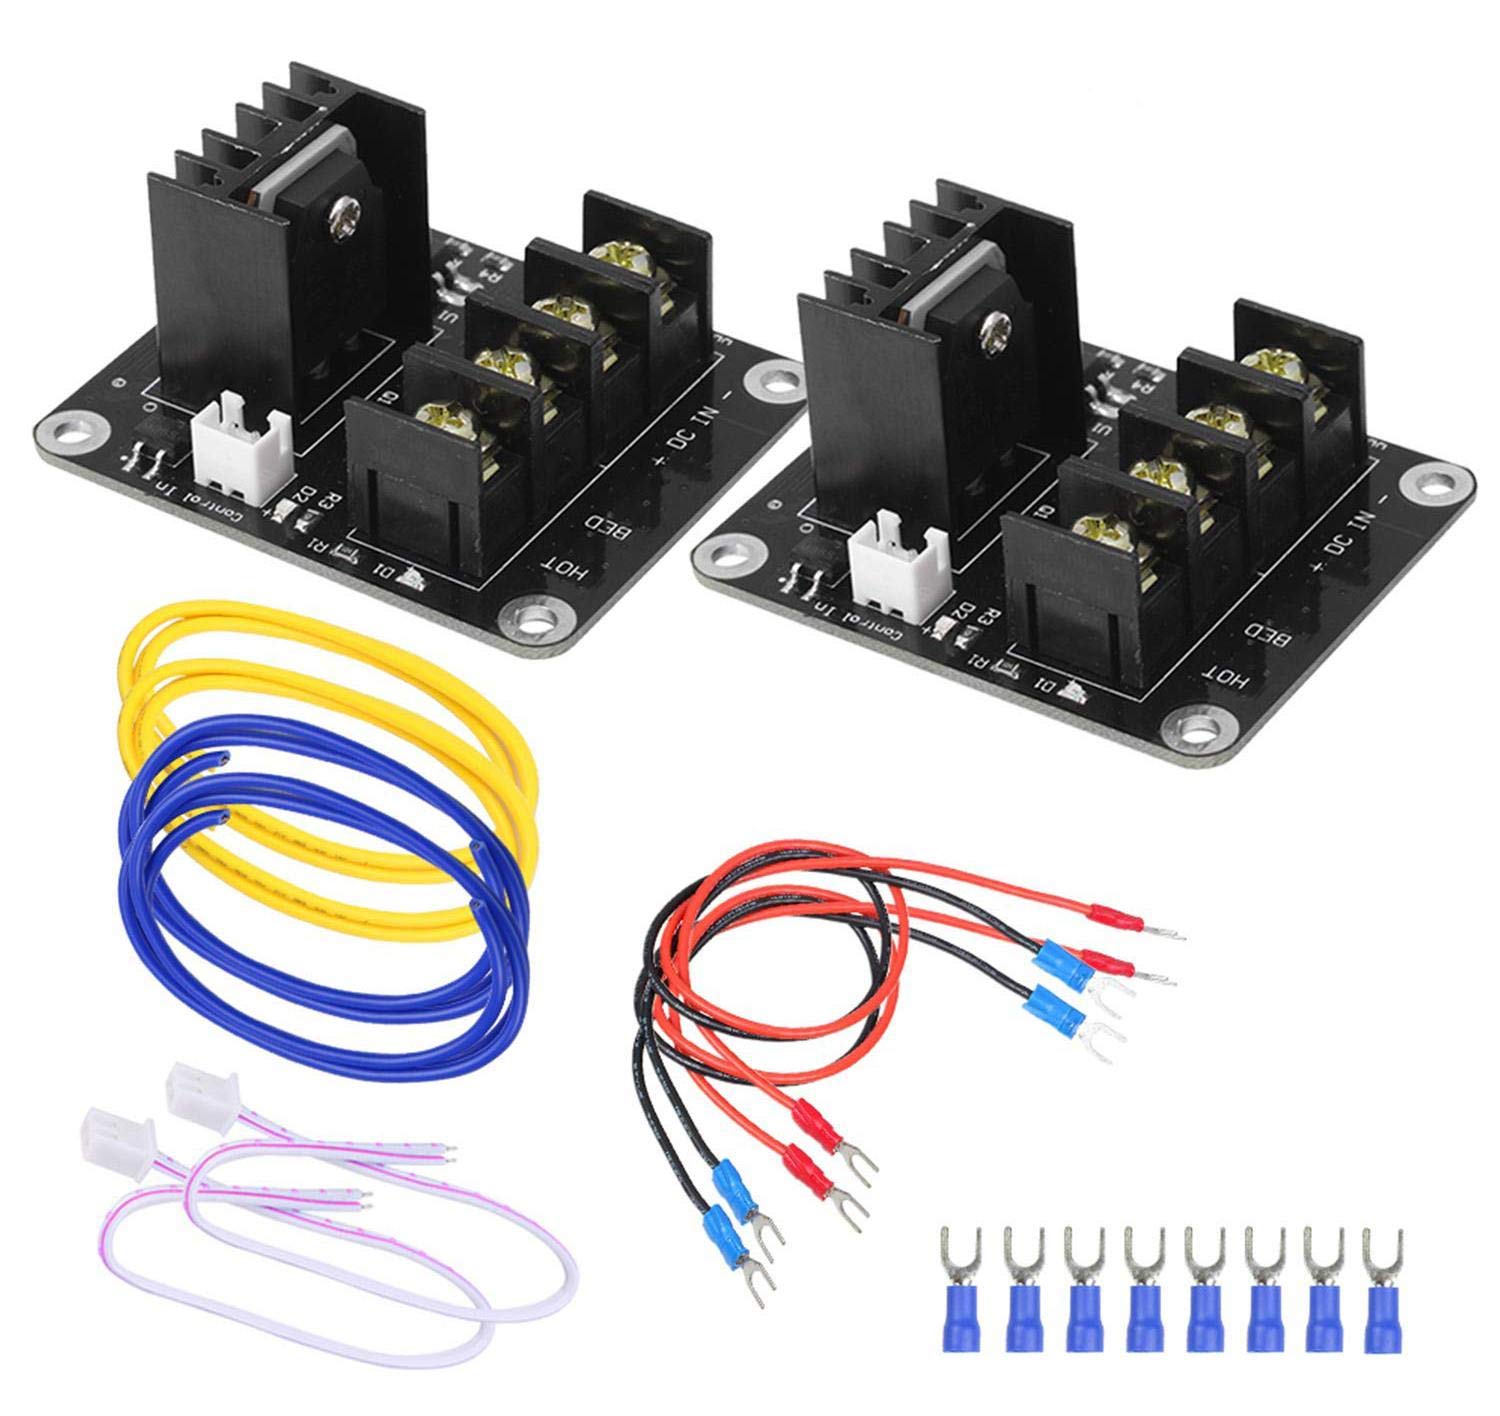
7. Replacement Board and Accessories: Of course, you’ll need the new board you’ve chosen for the upgrade. Make sure to also check if any additional accessories or cables are required for the installation.
8. Documentation and Manuals: Be sure to keep any provided documentation or manuals handy throughout the process. They can provide crucial information specific to your 3D printer model and the board you’re upgrading to.
It’s important to note that the tools and materials needed may vary depending on the specific 3D printer model and board you’re using. Always refer to the manufacturer’s instructions and guidelines for the most accurate list of required tools and materials.
By gathering all the necessary tools and materials before you begin, you’ll be well-prepared to carry out the board upgrade smoothly and avoid any unnecessary delays or complications.
Disconnecting the Old Board
Before you can install the new board in your 3D printer, you’ll need to disconnect the old board. Follow these steps to ensure a safe and successful disconnection process:
1. Power Off and Unplug: Begin by powering off your 3D printer and unplugging it from the power source. This step is crucial for your safety and to prevent any damage to the printer or yourself during the disconnection process.
2. Remove the Printer Cover: If your printer has a cover or enclosure, remove it to gain access to the internal components. Use the appropriate tools, such as a screwdriver, to remove any screws holding the cover in place.
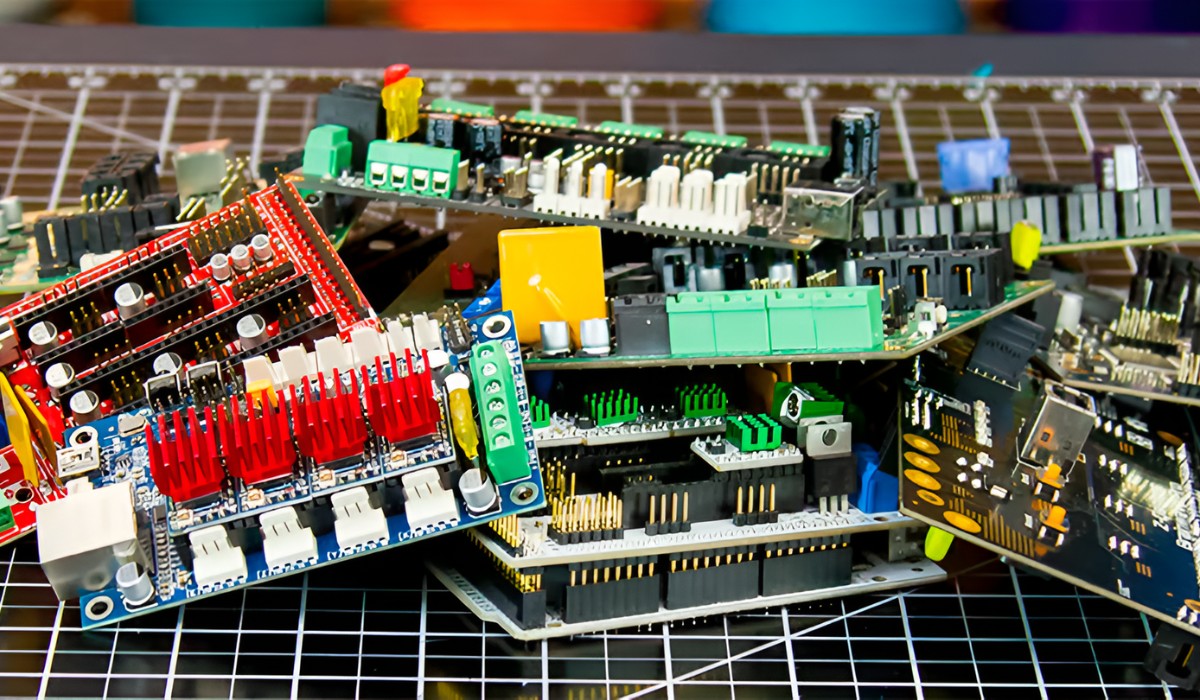
3. Identify the Old Board: Locate the old board inside your printer. It’s usually positioned near the power supply or control panel. Take note of the connections and cables attached to the board for reference during reinstallation.
4. Disconnect Cables: Carefully disconnect all cables connected to the old board. These may include cables for power, motors, sensors, endstops, and any other peripheral devices. Take your time and ensure that you remember where each cable was connected for the next step.
5. Remove the Board: Once all the cables are detached, gently remove the old board from its mounting position. Be cautious not to damage any other components or cables in the process.
6. Inspect for Damage: Take a moment to inspect the old board for any signs of damage or wear. This can help you identify any underlying issues and determine if a replacement board is necessary.
Remember, every 3D printer model is unique, so the steps involved in disconnecting the old board may vary. Always consult the manufacturer’s instructions or online resources specific to your printer model for accurate guidance.
By following these steps and taking your time to disconnect the old board properly, you’ll be one step closer to upgrading your 3D printer with a brand new board.
Installing the New Board
Now that you have successfully disconnected the old board from your 3D printer, it’s time to install the new board. Follow these steps to ensure a smooth and proper installation process:
1. Review the Manual: Before you begin, read the manual or installation guide provided by the manufacturer of the new board. Familiarize yourself with any specific instructions, diagrams, or precautions mentioned in the manual.
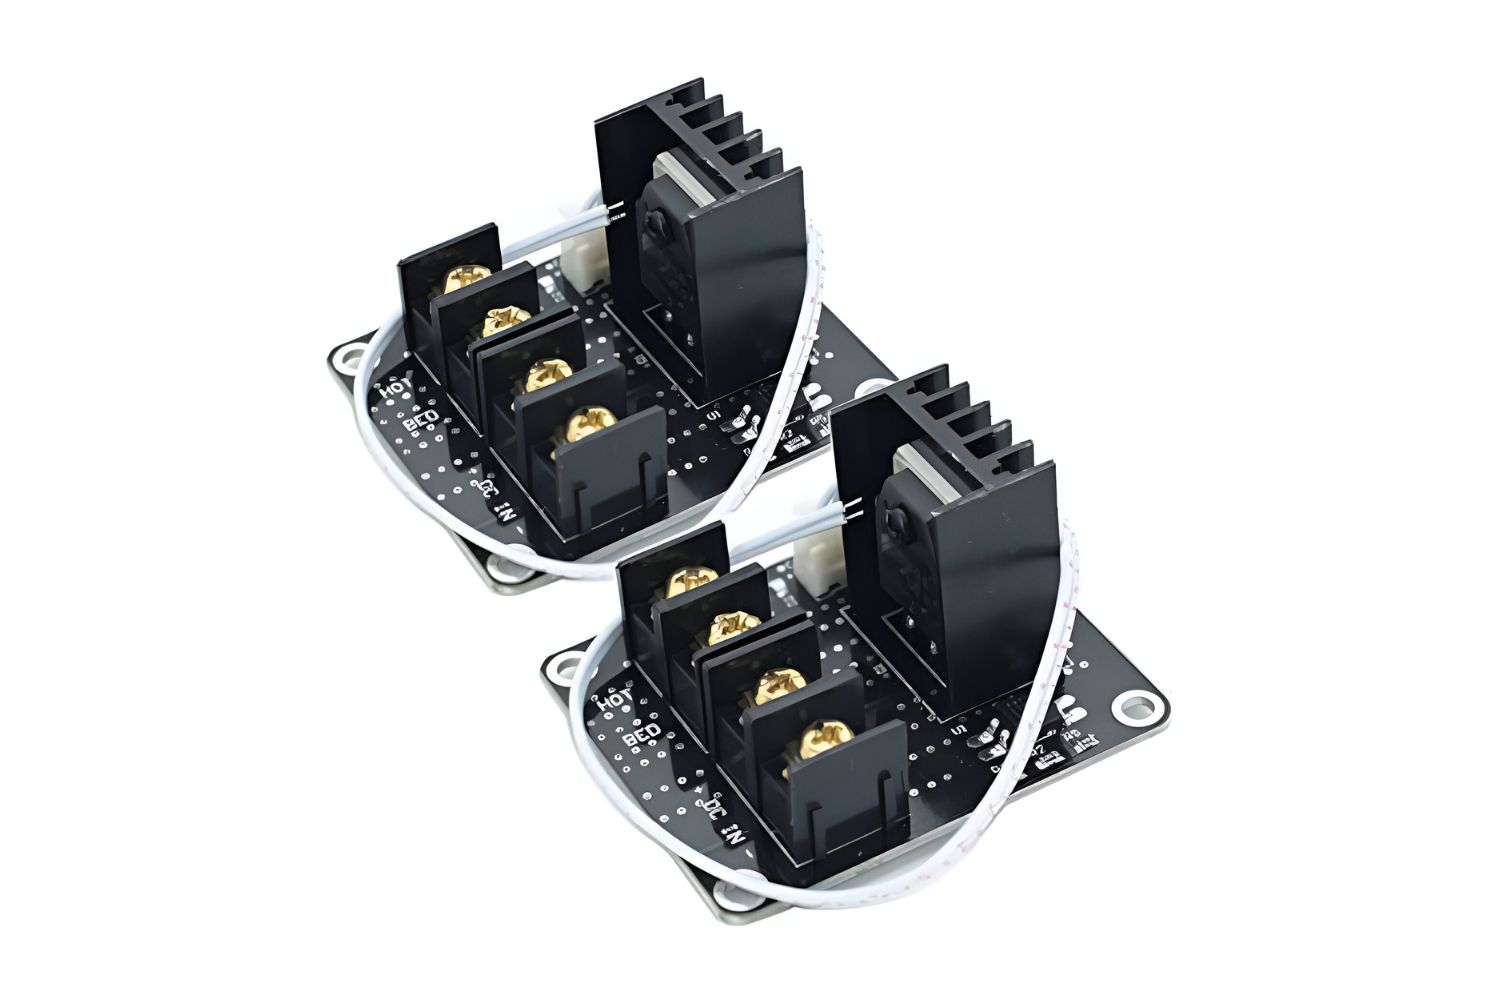
2. Position the New Board: Identify the mounting position for the new board inside your printer. Ensure that it aligns correctly with the screw holes and any necessary connectors or ports. Carefully place the new board in its designated position.
3. Connect Cables: Begin reconnecting all the cables and connectors that were disconnected from the old board. Take care to match each cable with the appropriate port or connector on the new board. Double-check that all connections are secure and properly seated.
4. Secure the Board: Once all the cables are connected, use the appropriate screws or mounting brackets to secure the new board in place. Make sure it is tightly secured and properly aligned.
5. Reinstall the Printer Cover: If you removed the printer cover earlier, reinstall it now. Secure it with the screws you removed initially, ensuring a snug fit. The cover helps protect the internal components and maintain a clean and organized appearance.
6. Perform a Visual Check: Before powering on the printer, perform a visual check of all the connections. Ensure that no cables are pinched or obstructed and that all components and connectors are properly seated.
Once you have completed these steps, you are ready to move on to the next phase of the upgrade process. In the following section, we will discuss how to configure the firmware to ensure compatibility with the new board.
Configuring the Firmware
After installing the new board in your 3D printer, it’s essential to configure the firmware to ensure compatibility and optimal performance. Here are the steps to follow:
1. Download the Firmware: Visit the manufacturer’s website or the open-source community for your printer model and download the appropriate firmware. Ensure that the firmware is compatible with the new board you installed.
2. Connect the Printer to your Computer: Use a USB cable to connect your 3D printer to your computer. Ensure that the correct drivers are installed, allowing your computer to communicate with the printer.
3. Flash the Firmware: Open the firmware file using a compatible firmware flashing software or integrated development environment (IDE). Follow the instructions provided by the manufacturer or the open-source community to upload, or “flash,” the new firmware onto the board.
4. Configure the Firmware: After flashing the firmware, you’ll need to make specific configuration changes to match the new board. Open the firmware configuration file using a text editor and locate the relevant settings, such as motor steps, thermistor type, and bed leveling options. Refer to the manufacturer’s instructions or online resources for guidance on the appropriate settings for your printer model and board.
5. Save and Upload the Configuration: Save the changes you made to the firmware configuration file and upload it back onto the board. This step ensures that the new settings take effect.
6. Test the Printer: Disconnect the printer from your computer and power it on. Test the printer’s movement, extrusion, and other functions to ensure that the firmware configuration is correct. Make any necessary adjustments to the settings and repeat the testing process until everything is functioning as intended.
By properly configuring the firmware, you’ll maximize the potential of your 3D printer with the new board installed. It’s crucial to use caution and double-check the settings, as incorrect firmware configuration can lead to issues or even damage to your printer.
In the event that you encounter any difficulties during the firmware configuration, consult the manufacturer’s documentation, online forums, or seek assistance from the open-source community for your printer model.
With the firmware successfully configured, you’re now ready to test your newly upgraded 3D printer and unleash its enhanced capabilities.
Testing the New Board
After installing and configuring the new board in your 3D printer, it’s crucial to conduct thorough testing to ensure that everything is functioning correctly. Follow these steps to test the new board:
1. Power On the Printer: Connect your 3D printer to the power source and turn it on. Allow the printer to initialize and reach its idle state.
2. Check Motor Movement: Test the movement of each motor axis, including X, Y, and Z, to ensure they are functioning smoothly and accurately. Use the printer’s control interface or software to move the axes in different directions and check for any irregularities or abnormal sounds.
3. Test Extrusion: If your printer has a filament extruder, perform a test extrusion to check the new board’s control over the extruder motor. Start by preheating the nozzle to the appropriate temperature, then command the printer to extrude a small amount of filament. Observe the extruder motor’s performance and ensure that the filament is being extruded smoothly and consistently.
4. Heat Bed and Hot End: Test the functionality of the heat bed and hot end by setting and maintaining the desired temperatures. Ensure that the temperature readings are accurate and that the heating elements respond appropriately to the commands.
5. Print Calibration Object: Once you have verified the basic functionality of the printer, print a calibration object or a known test model. Pay attention to details such as layer adhesion, dimensional accuracy, and overall print quality. If any issues arise, consider adjusting the printer settings or revisiting the firmware configuration.
6. Monitor Print Progress: During the printing process, monitor the print progress closely and watch for any irregularities, such as skipped steps, layer shifting, or extrusion problems. Make note of any issues and address them accordingly.
7. Document and Evaluate: Keep a record of your testing observations, including any problems encountered and the corresponding troubleshooting steps you took. This documentation will be valuable for future reference and if you need to seek assistance from the manufacturer or community.
By thoroughly testing the new board, you can ensure the successful integration and performance of your upgraded 3D printer. Take your time, carefully observe the printer’s behavior, and address any issues that arise promptly.
Remember, each printer model and board combination may have unique testing requirements, so consult the manufacturer’s documentation or user community for specific guidance relevant to your setup.
Troubleshooting Tips
During the board upgrade process in your 3D printer, you may encounter some issues or challenges that require troubleshooting. Here are a few tips to help you overcome common problems:
1. Check Connections: Ensure that all cables and connectors are securely and properly connected to the new board. Loose or incorrectly connected cables can cause issues such as erratic movements or malfunctioning components.
2. Verify Firmware Configuration: Double-check the firmware configuration settings to ensure they are correctly set for your specific printer model and board. Incorrect settings can lead to unexpected behavior or functionality issues.
3. Update Firmware: If you are experiencing compatibility issues, check for firmware updates for both the printer and the new board. Updated firmware can address known issues and improve overall performance.
4. Inspect Wiring: Thoroughly inspect the wiring, especially near the board connections and moving parts. Look for any signs of damage, frayed wires, or loose connections. If you identify any issues, repair or replace the affected wiring as necessary.
5. Calibrate Steps per Unit: Proper calibration of the steps per unit is crucial for accurate and reliable movement. Use specific calibration procedures provided by the manufacturer or online resources to fine-tune this setting for each axis.
6. Temperature Calibration: If you experience temperature-related issues, such as improper heating or incorrect temperature readings, calibrate the temperature sensors and adjust the firmware settings accordingly. Consult the manufacturer’s documentation or user community for guidance on proper calibration procedures.
7. Seek Community Support: If you encounter more complex issues or cannot find solutions on your own, seek support from the manufacturer’s technical support team or online user communities. These resources often provide valuable insights and guidance from experienced users who have encountered similar challenges.
Remember, troubleshooting can require patience and persistence. Take the time to thoroughly investigate the issue, document any symptoms or error messages, and try different solutions systematically.
It’s important to note that each 3D printer model and board combination may have unique troubleshooting requirements. Always refer to the manufacturer’s documentation and resources specific to your setup for the most accurate guidance.
By following these troubleshooting tips and leveraging community support, you can overcome common challenges and ensure the smooth operation of your upgraded 3D printer.
Conclusion
Upgrading the board in your 3D printer can greatly enhance its performance, functionality, and overall printing experience. By following the steps outlined in this article, you can successfully upgrade your 3D printer board and unlock a whole new world of possibilities.
We started by discussing the importance of choosing the right board, considering factors such as compatibility, features, upgradability, user community, and budget. Next, we highlighted the tools and materials needed for the board upgrade process, ensuring that you are well-prepared with the necessary equipment.
We then walked you through the steps of disconnecting the old board, installing the new board, configuring the firmware, and testing the printer to ensure everything is functioning correctly. Troubleshooting tips were also provided to assist you in overcoming common challenges that may arise during the upgrade process.
Remember, safety is of utmost importance throughout the entire board upgrade process. Always take necessary precautions, such as disconnecting the printer from the power source and ensuring you have a clear understanding of the manufacturer’s instructions and guidelines.
With the new board installed and properly configured, you have elevated your 3D printer to a whole new level. Enjoy the improved performance, advanced features, and enhanced print quality that the upgraded board has to offer.
Keep in mind that continuous learning and exploration will further enhance your 3D printing journey. Stay engaged with the community, learn from experienced users, and be open to experimenting with new techniques and settings.
With your newly upgraded 3D printer, the possibilities are endless. Happy printing!