Introduction
Welcome to the world of wireless music, where convenience and freedom meet. If you own a pair of Skullcandy wireless earbuds and have been enjoying the seamless audio experience they provide, you may find yourself wanting to unpair them from your device at some point. Whether you’re upgrading to a new pair of earbuds or simply need to disconnect them temporarily, unpairing your Skullcandy wireless earbuds is a simple process that can be done in a matter of minutes.
In this article, we will guide you through the steps to unpair your Skullcandy wireless earbuds from your device. We will also provide some additional tips on how to reset the earbuds if you encounter any difficulties. So, if you’re ready to regain control over your Bluetooth devices, let’s dive in!
Please note that the exact steps may vary slightly depending on the device you are using, but the general process remains the same. Whether you have an iPhone, Android phone, or any other Bluetooth-enabled device, we’ve got you covered.
Step 1: Turn off the wireless earbuds
The first step in unpairing your Skullcandy wireless earbuds is to turn them off. This is important because if the earbuds are still on, they may continue to connect with your device even after you unpair them. To ensure a clean unpairing process, it is best to have the earbuds turned off.
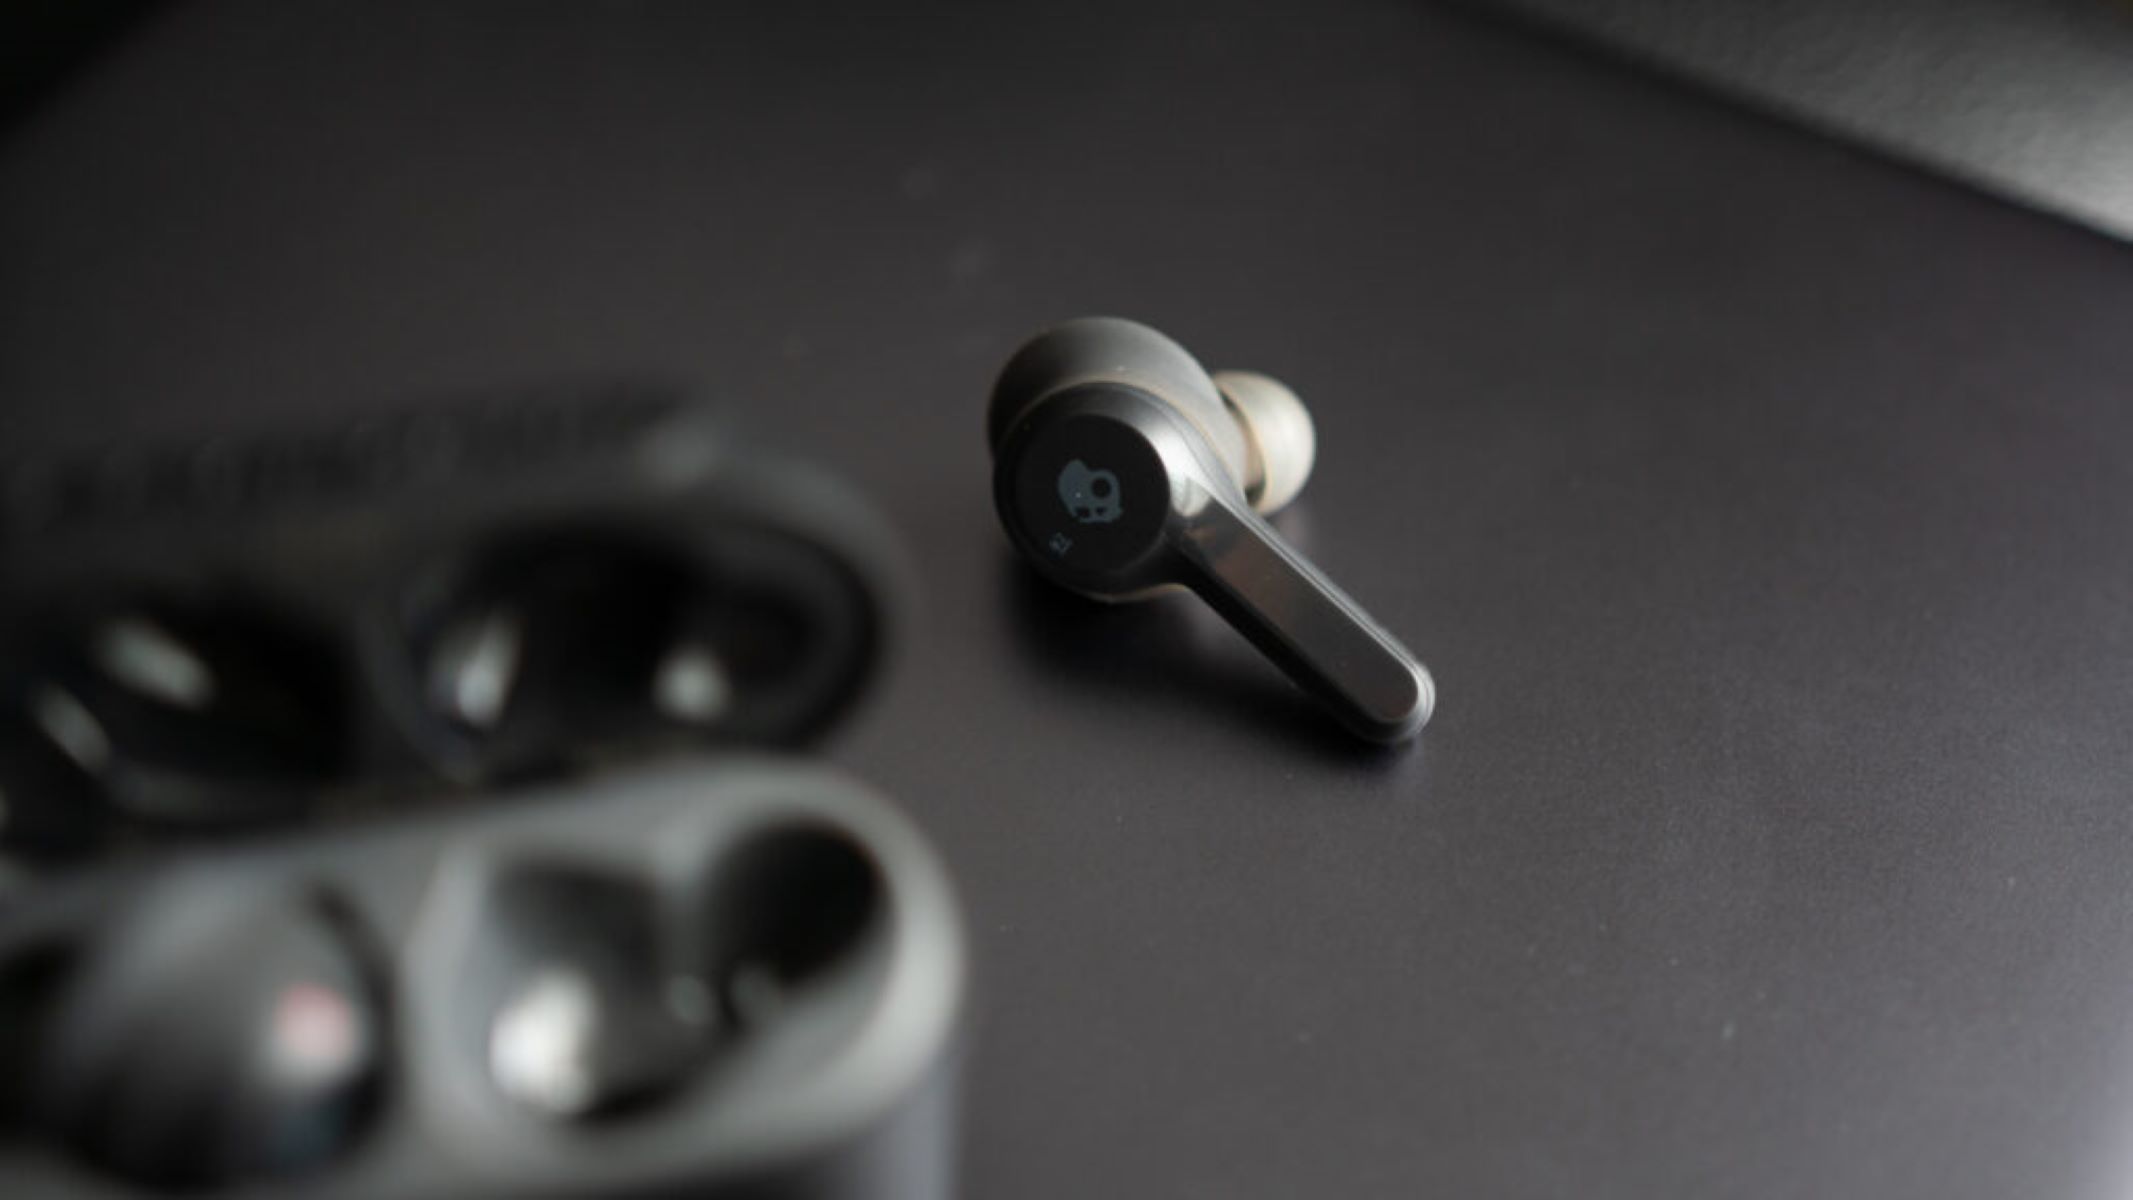
To turn off your Skullcandy wireless earbuds, locate the power button on the earbud itself. This button is typically located on the side or bottom of the earbud and may be marked with a power symbol or a multifunctional icon. Press and hold the power button for a few seconds until you see the LED indicator light turn off. This indicates that the earbuds have been successfully powered off.
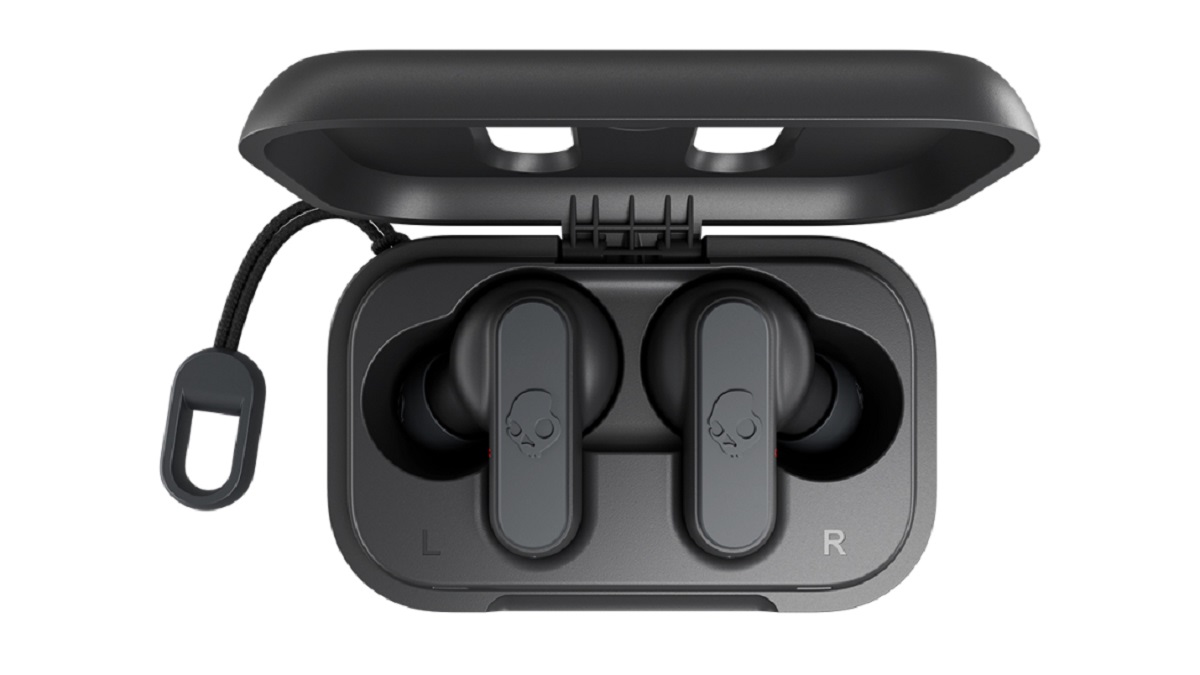
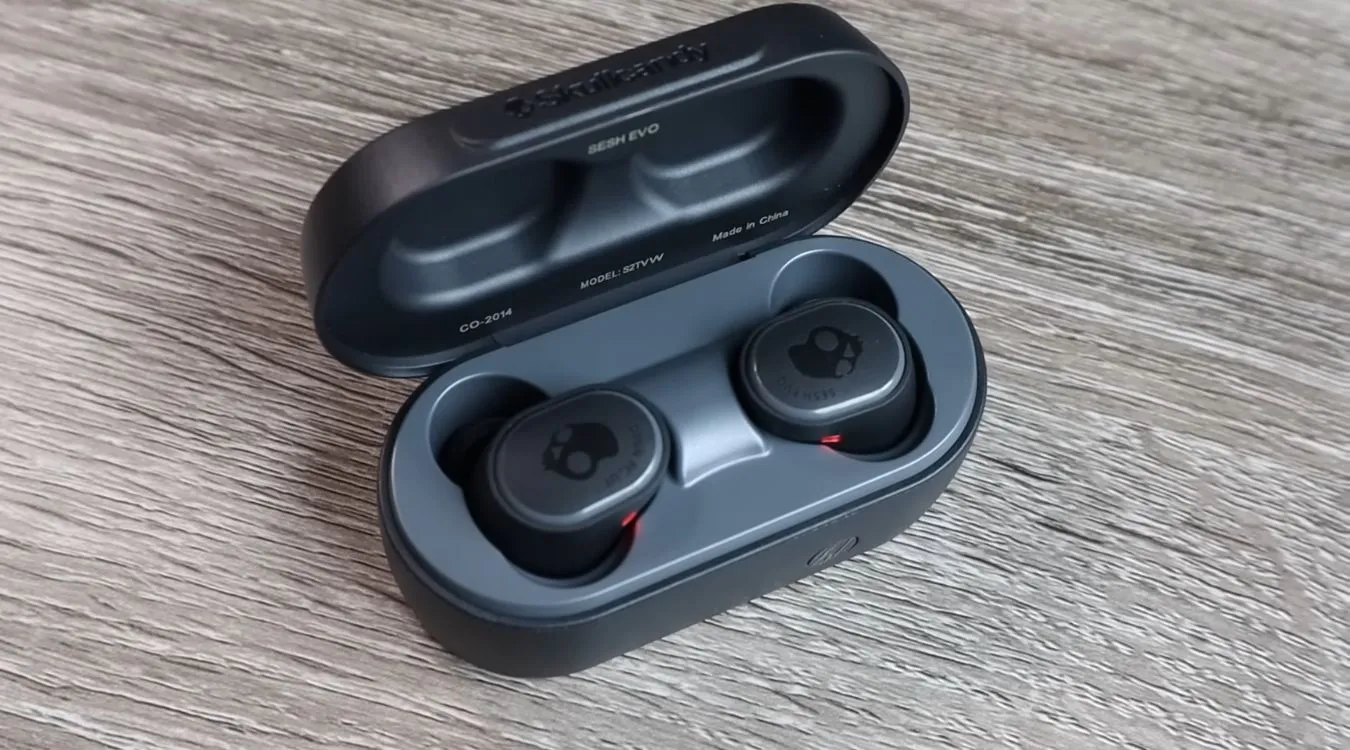
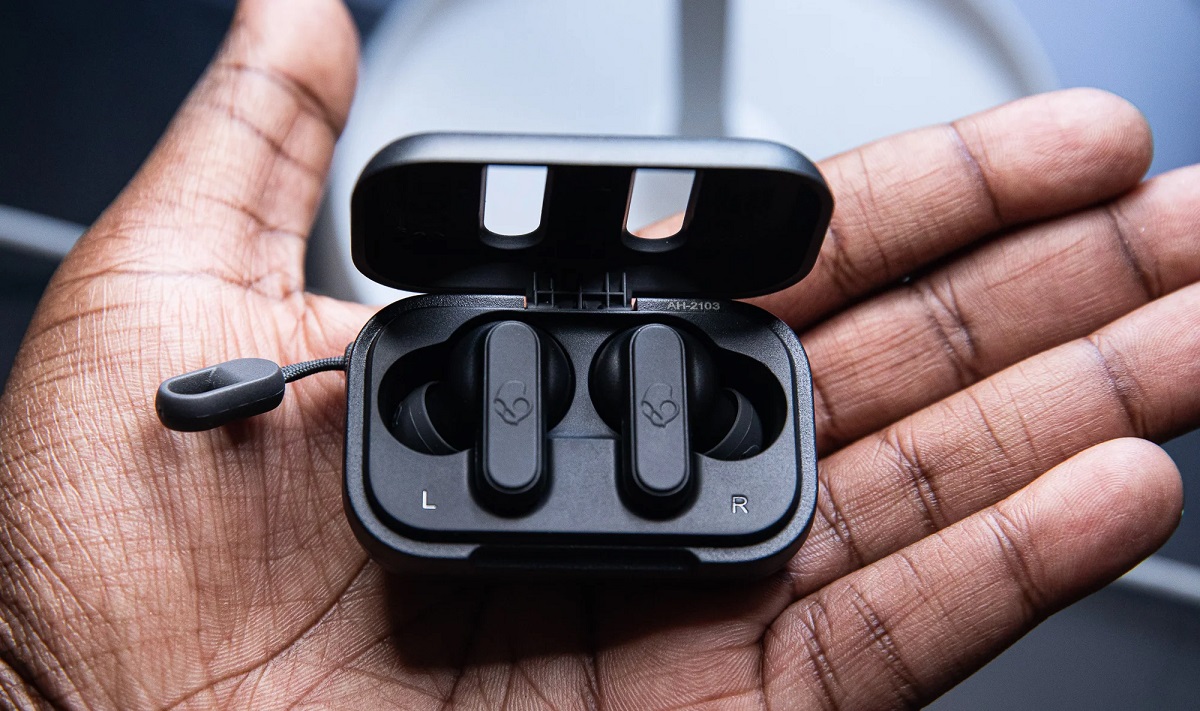
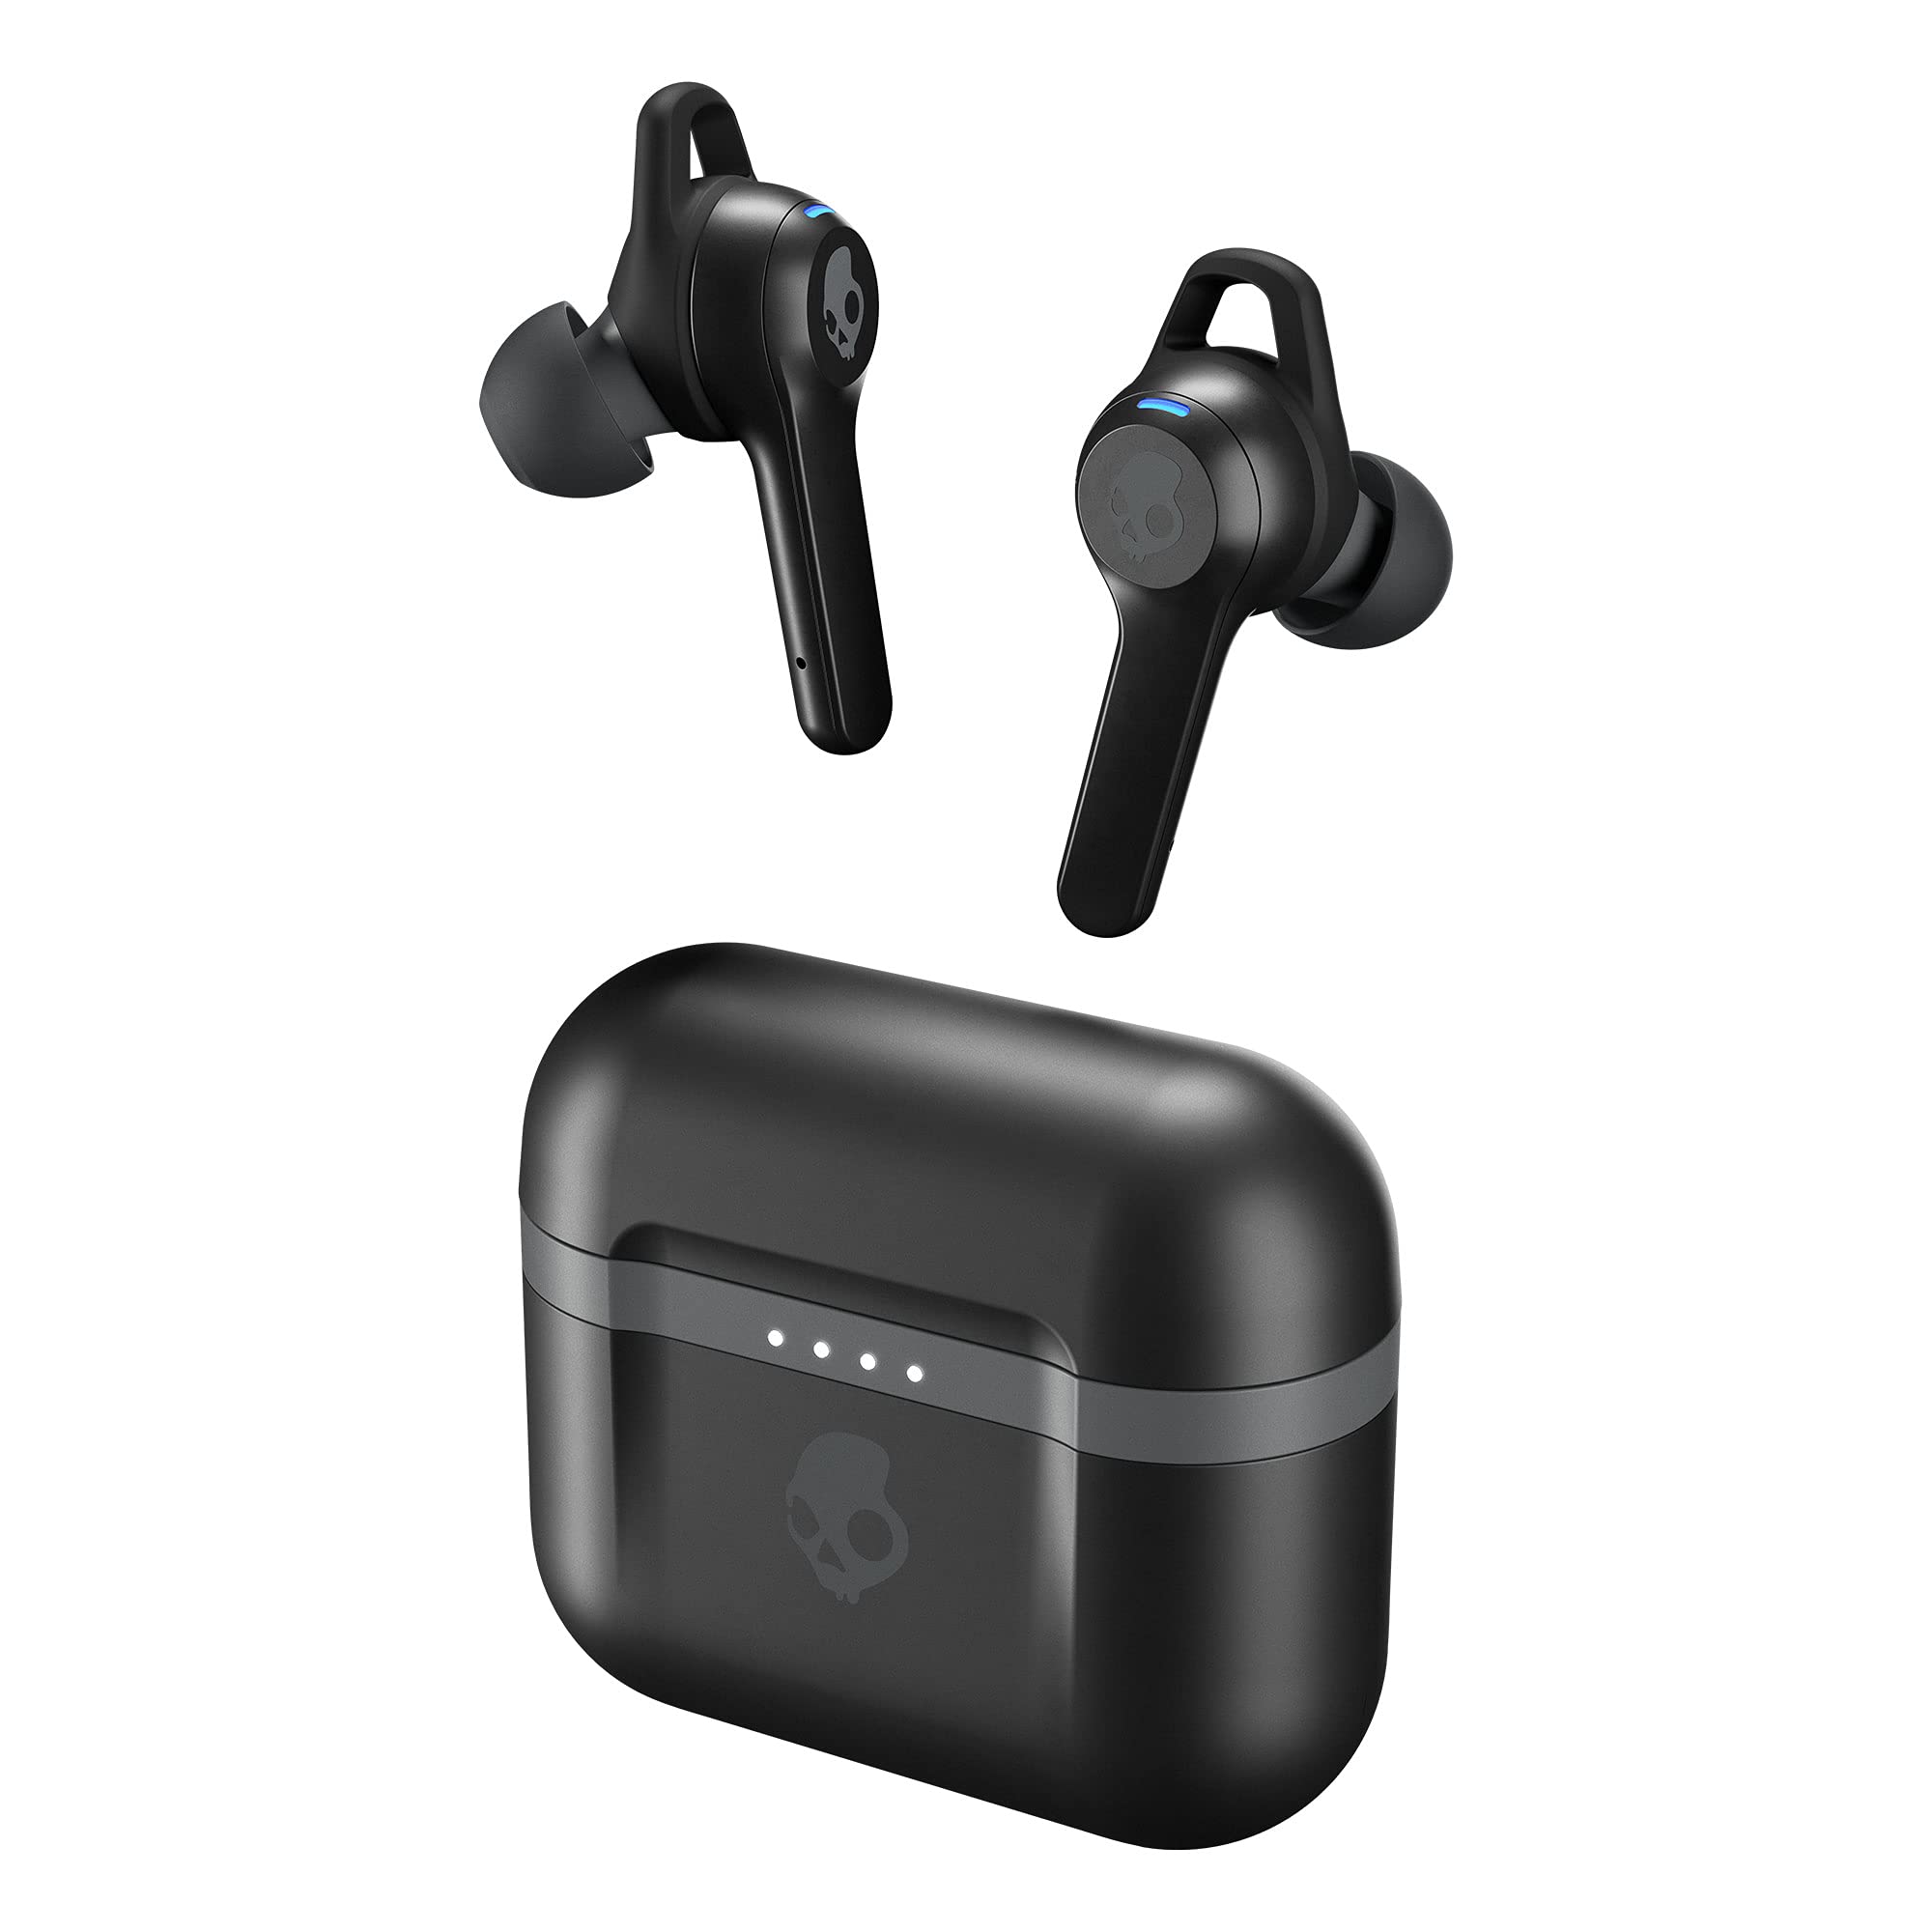
If your Skullcandy earbuds have a charging case, make sure to remove the earbuds from the case and power them off individually. Some models may automatically turn off when placed back in the case, but it’s always a good idea to manually power them off to be sure.
By turning off your Skullcandy wireless earbuds, you are ready to proceed to the next step of the unpairing process. Keep in mind that this step is crucial to ensure a clean and successful unpairing, so double-check that the earbuds are indeed turned off before moving on.
Step 2: Access your device’s Bluetooth settings
Now that your Skullcandy wireless earbuds are turned off, it’s time to access your device’s Bluetooth settings. These settings allow you to manage and control the devices connected to your smartphone, tablet, or computer.
Start by unlocking your device and navigating to the home screen. Depending on the device you are using, the method to access Bluetooth settings may vary slightly. However, the most common way is to swipe down from the top of the screen to open the notification panel and then tap on the Bluetooth icon. Alternatively, you can go to the device’s settings menu and look for the Bluetooth option.
Once you’ve accessed the Bluetooth settings, you should see a list of all the devices currently paired or connected to your device. This list may include not only your Skullcandy earbuds but also other Bluetooth devices you have previously connected.
If you’re having trouble finding the Bluetooth settings, you can use the search function on your device and type in “Bluetooth.” This should direct you to the appropriate settings menu.
It’s worth mentioning that the location and appearance of the Bluetooth settings may differ depending on the operating system of your device. For example, on an iPhone, the Bluetooth settings are usually found under the “Settings” app, whereas on an Android device, they may be located under the “Connections” or “Wireless & networks” section.
Now that you’ve successfully accessed your device’s Bluetooth settings, you’re ready for the next step, which involves locating your Skullcandy earbuds in the paired devices list.
Step 3: Locate the Skullcandy earbuds in the list of paired devices
Once you’re in your device’s Bluetooth settings, it’s time to locate your Skullcandy earbuds in the list of paired devices. This list displays all the Bluetooth devices that have been previously connected or paired with your device.
Scroll through the list and look for the name or model of your Skullcandy earbuds. The name may vary depending on the specific model you own, but it typically includes the brand name “Skullcandy” followed by a model name or number.
If you have paired multiple devices with your Skullcandy earbuds, you may see multiple entries for the earbuds in the list. In this case, look for the entry that corresponds to the device you want to unpair from.
Once you have located your Skullcandy earbuds in the list, it’s time to move on to the next step and initiate the unpairing process.
Keep in mind that if you can’t find your Skullcandy earbuds in the list of paired devices, it’s possible that they are not currently connected or paired with your device. In this case, you can skip to the next step without any further action.
Step 4: Tap on the “Forget” or “Unpair” option
With your Skullcandy earbuds located in the list of paired devices, it’s time to proceed with unpairing them from your device. The next step involves tapping on the “Forget” or “Unpair” option, depending on the operating system of your device.
In most cases, you can unpair your Skullcandy earbuds by tapping on the (i) or gear icon next to their name in the paired devices list. This will take you to a detailed settings page for the earbuds.
On an iPhone or iPad, look for the “Forget This Device” option on the settings page. Tap on it to initiate the unpairing process. You may need to confirm your action by tapping “Forget Device” again in a pop-up confirmation dialog.
For Android devices, the option to unpair may be labeled as “Unpair” or “Remove” instead of “Forget.” Tap on this option to proceed with unpairing your Skullcandy earbuds. Similar to iOS, you may need to confirm the action by accepting a prompt or pop-up message.
It’s important to note that the wording and appearance of the unpairing option may vary depending on the device’s operating system version and manufacturer. However, the concept remains the same – selecting the option that indicates the removal or unpairing of the Skullcandy earbuds from your device.
After tapping on the appropriate “Forget” or “Unpair” option, your device will disconnect from the Skullcandy earbuds, and they will no longer be paired or connected.
Now that you have successfully unpaired your Skullcandy earbuds, it’s time to move on to the next step, where you confirm the unpairing process.
Step 5: Confirm the unpairing process
Once you have tapped on the “Forget” or “Unpair” option to initiate the unpairing process, your device may prompt you to confirm the action. This step ensures that you intentionally want to disconnect and unpair your Skullcandy earbuds from your device.
On some devices, a popup message or confirmation dialog box will appear after selecting the unpairing option. The message typically asks for your confirmation to remove the earbuds from the list of paired devices.
To confirm the unpairing process, simply tap on the “OK” or “Confirm” button in the dialog box. This finalizes the unpairing and completes the disconnection between your device and the Skullcandy earbuds.
After confirming the unpairing, your device will remove the Skullcandy earbuds from the list of paired devices. You will no longer be able to connect to or use the earbuds with that particular device until you pair them again.
It’s important to note that confirming the unpairing process is crucial to ensure that you do not accidentally remove a device that you still want to use with your Skullcandy earbuds. Take a moment to double-check the confirmation message before confirming the unpairing.
Now that you have successfully confirmed the unpairing process, you are almost done! Proceed to the next step, which involves an optional reset of the Skullcandy earbuds.
Step 6: Reset the Skullcandy earbuds (optional)
Resetting your Skullcandy earbuds is an optional step that can be done after unpairing them from your device. This process can be useful if you are experiencing connectivity issues, audio problems, or if you simply want to start fresh with the earbuds.
The method to reset your Skullcandy earbuds may vary depending on the specific model you own. However, the most common way to reset them is by following these general steps:
1. Make sure the earbuds are turned off by pressing and holding the power button until the LED indicator light turns off.
2. Press and hold the power button or the multifunction button (if available) for about 10-15 seconds. The LED indicator light may start flashing or change color during this process.
3. Release the button once you see the LED indicator light flash or the earbuds vibrate, indicating that the reset process is complete.
4. Turn on the earbuds and follow the initial pairing instructions specific to your Skullcandy model to reconnect them with your device.
If your Skullcandy earbuds have a charging case, you may also need to reset the case by following specific instructions provided by the manufacturer. Refer to the user manual or the Skullcandy website for detailed information on how to reset your specific model.
Keep in mind that resetting your Skullcandy earbuds will remove any customized settings or configurations you had previously set up. They will essentially be restored to their default factory settings, so you may need to reconfigure any preferences or settings after the reset.
Resetting your Skullcandy earbuds can often resolve various issues and provide a clean slate for future use. However, if you do not encounter any problems, you can skip this step and continue enjoying your newly unpaired earbuds.
With the optional reset completed (if necessary), you have successfully unpaired and optionally reset your Skullcandy earbuds. Congratulations! You can now explore new pairing options or connect the earbuds to another device as desired.
Conclusion
Unpairing your Skullcandy wireless earbuds is a straightforward process that allows you to disconnect them from your device. By following the steps outlined in this guide, you can easily unpair your earbuds and regain control over your device’s Bluetooth connections.
We began by turning off the wireless earbuds to ensure a clean unpairing process. Then, we accessed our device’s Bluetooth settings to locate the Skullcandy earbuds in the list of paired devices. Tapping on the “Forget” or “Unpair” option initiated the unpairing process, and we confirmed the action to finalize the disconnection.
If you encountered any issues or want to start fresh, we also discussed the optional step of resetting the Skullcandy earbuds. This process can help resolve connectivity or audio problems and bring the earbuds back to their default factory settings.
Remember, the specific steps and options may vary depending on your device and Skullcandy earbud model. It’s always a good idea to consult the user manual or check the Skullcandy website for more detailed instructions tailored to your specific earbuds.
With the unpairing process complete and the possibility of a reset explored, you now have the freedom to pair your Skullcandy earbuds with a new device, connect them to a different device, or simply enjoy the wireless listening experience without any connections.
Thank you for reading this guide on how to unpair Skullcandy wireless earbuds. We hope it has been helpful, and we wish you the best in your audio journey!


