Introduction
Welcome to this detailed guide on how to work Skullcandy wireless earbuds. If you’re the proud owner of a pair of Skullcandy wireless earbuds, you’re in for a treat! These sleek and stylish earbuds offer a truly immersive audio experience without the hassle of tangled wires.
Skullcandy is renowned for its high-quality sound and innovative designs, making their wireless earbuds a popular choice among music lovers and audio enthusiasts. Whether you’re using them for workouts, commuting, or just enjoying your favorite tunes at home, understanding how to navigate and control these earbuds will enhance your overall listening experience.
In this guide, we’ll walk you through the process of working Skullcandy wireless earbuds step by step, covering everything from pairing your earbuds with a device to controlling music playback and answering calls. We’ll also discuss how to adjust the volume and properly charge your earbuds. Additionally, we’ll troubleshoot some common issues you may encounter along the way.
By the end of this guide, you’ll be a pro at using your Skullcandy wireless earbuds and ready to enjoy your favorite music and podcasts with ease and convenience.
So, let’s get started and unlock the full potential of your Skullcandy wireless earbuds!
Getting Started
Before we dive into the various features and functionalities of Skullcandy wireless earbuds, let’s start by ensuring that you have everything you need to begin.
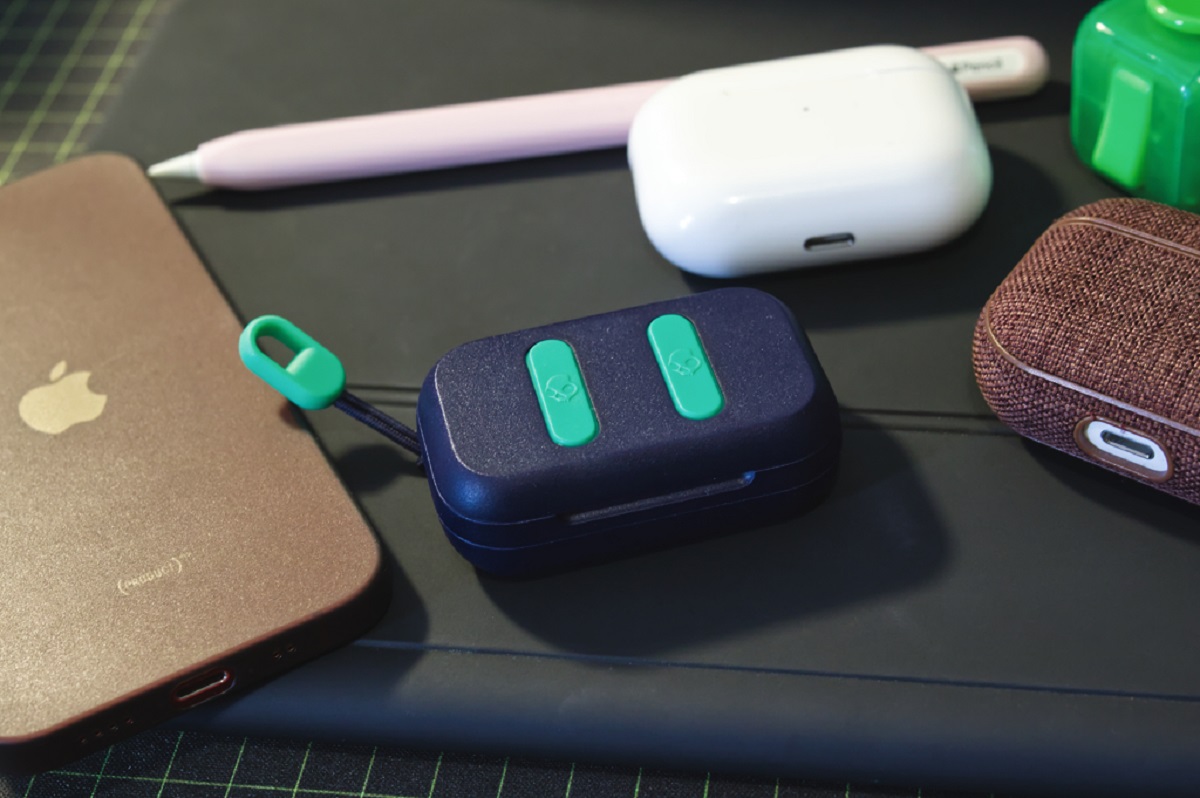
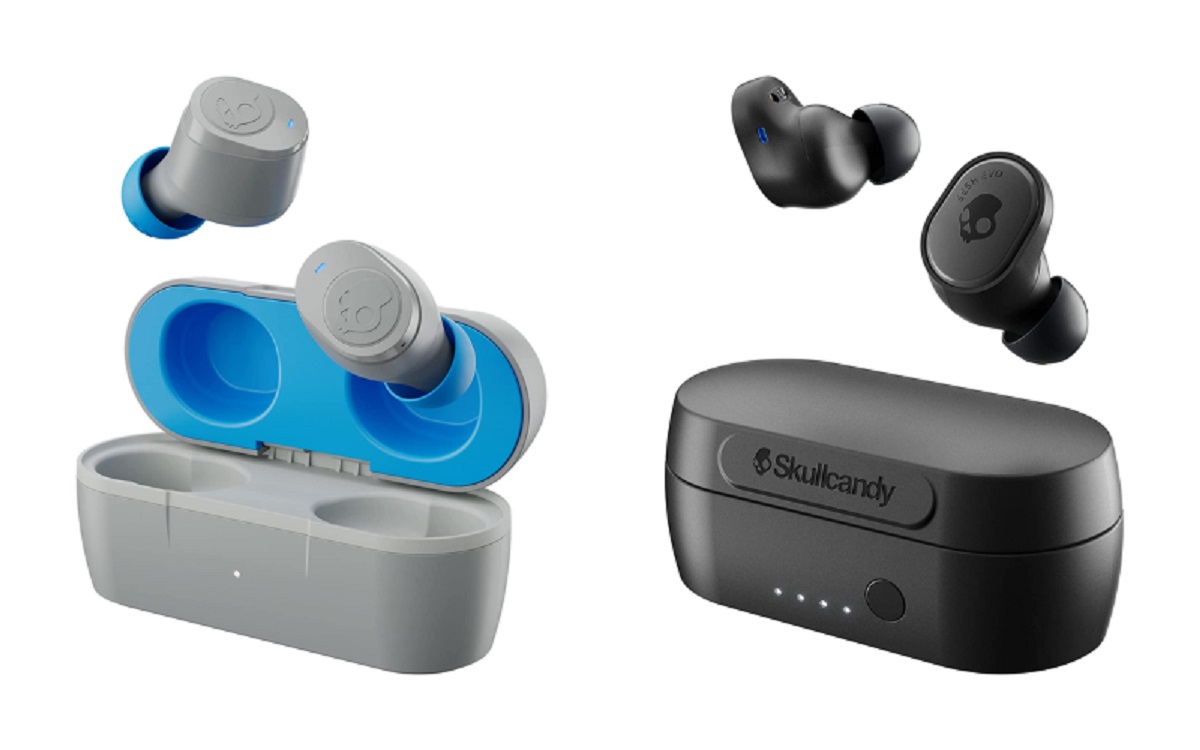
The first step is to unbox your Skullcandy wireless earbuds. Inside the box, you should find the earbuds themselves, along with a charging case, a USB charging cable, and a user manual. Familiarize yourself with the contents to make sure you have everything in order.
Next, it’s important to ensure that your earbuds are fully charged before use. Connect the USB charging cable to the charging case and plug it into a power source. Allow the earbuds to charge for a couple of hours until the indicator lights on the case show that they are fully charged.
Once your Skullcandy wireless earbuds are charged, it’s time to pair them with your device. Make sure that Bluetooth is enabled on your smartphone, tablet, or computer. Open the Bluetooth settings on your device and search for available devices. Select your Skullcandy earbuds from the list of available devices to pair them. Once connected, you’re ready to start using your earbuds.
It’s worth noting that different Skullcandy earbud models may have unique pairing methods. Therefore, it’s always a good idea to consult the user manual that came with your specific earbuds for detailed instructions on the pairing process.
With your Skullcandy wireless earbuds paired and ready to go, you’re now ready to explore the various functions and controls available to you. In the following sections, we’ll cover everything you need to know to maximize your listening experience.
Now that you’re all set up, let’s move on to the exciting part – how to control music playback using your Skullcandy wireless earbuds!
Step 1: Pairing the Earbuds with a Device
One of the first things you’ll need to do after unboxing your Skullcandy wireless earbuds is to pair them with your device. This process allows your earbuds to connect and communicate with your smartphone, tablet, or computer via Bluetooth.
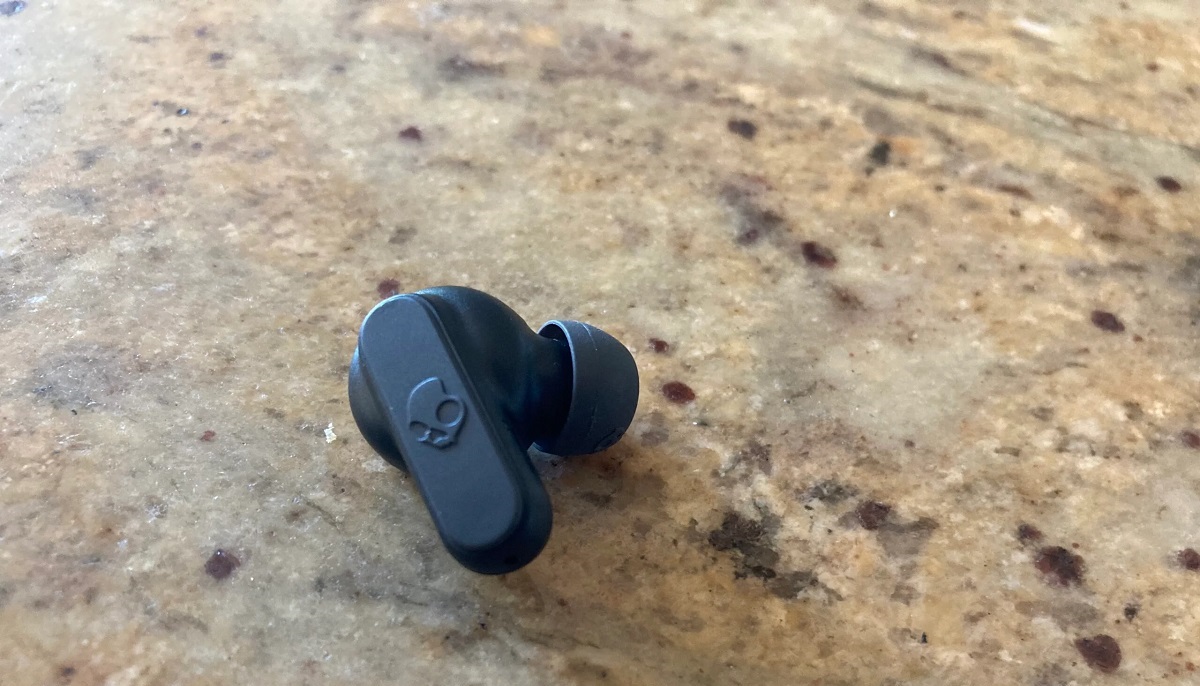
To start, make sure that your earbuds are removed from the charging case and are turned on. Most Skullcandy earbuds automatically turn on when taken out of the case. If not, there may be a power button or touch control on the earbuds that you need to press and hold to activate them.
Next, go to the Bluetooth settings on your device. This can typically be found in the settings menu or the quick access toolbar. Enable Bluetooth if it’s not already on, and your device will start scanning for nearby Bluetooth devices.
On your Skullcandy earbuds, there will be a button or touch control that you need to press and hold to put them into pairing mode. Refer to the user manual for your specific earbud model if you’re unsure which button to press. Once in pairing mode, the LED indicator lights on the earbuds should start flashing, indicating that they are ready to connect.
In the list of available devices on your device’s Bluetooth settings, you should see your Skullcandy earbuds. Tap or select them to initiate the pairing process. Wait for a few seconds while your device establishes a connection with the earbuds.
Once the pairing is complete, you should see a confirmation message on your device, indicating that your Skullcandy earbuds are successfully connected. You can now enjoy your favorite audio content wirelessly through your earbuds.
It’s worth noting that some Skullcandy earbuds also offer the option to connect to multiple devices simultaneously. This allows you to seamlessly switch between devices and listen to audio from different sources. Refer to the user manual for your specific earbud model to learn how to enable and use this feature.
With your Skullcandy earbuds successfully paired with your device, you’re now ready to dive into the world of wireless audio. In the next step, we’ll explore how to control music playback using your Skullcandy wireless earbuds.
Step 2: Controlling Music Playback
Controlling music playback on your Skullcandy wireless earbuds is incredibly convenient and straightforward. Whether you’re playing your favorite song, pausing a podcast, or skipping tracks, you can easily manage your audio playback directly from the earbuds themselves.
Each Skullcandy earbud model may have slight variations in controls and functionalities, so it’s essential to refer to the user manual specific to your earbuds for detailed instructions. However, here are some common controls you’ll likely encounter:
1. Play/Pause: To pause or resume your music, podcast, or audio, you typically need to press the multi-function button on one of the earbuds. This button is often located on the side or surface of the earbud and might have a play/pause symbol or a musical note icon.
2. Skip/Previous Track: To skip to the next track or go back to the previous one, you can typically use the volume up/down buttons on the earbuds. Pressing and holding the volume up button usually skips to the next track, while doing the same with the volume down button will go back to the previous track.
3. Volume Control: Adjusting the volume on your Skullcandy earbuds is usually achieved by using the volume up and volume down buttons on the earbuds. Pressing the volume up button increases the volume, while pressing the volume down button decreases it.
4. Voice Assistant: Many Skullcandy earbuds have the ability to activate your device’s voice assistant, such as Siri or Google Assistant. Typically, you can do this by pressing and holding the multi-function button on your earbuds until you hear the voice assistant prompt.
Remember, the specific controls and functionalities may differ depending on your Skullcandy earbud model. Take some time to familiarize yourself with the controls by referring to the user manual and experimenting with different button combinations.
With the ability to control music playback directly from your Skullcandy wireless earbuds, you can enjoy a seamless and hands-free listening experience. In the next step, we’ll explore how to answer calls using your earbuds.
Step 3: Answering Calls
One of the great features of Skullcandy wireless earbuds is the ability to answer calls without having to reach for your phone. Whether you’re out for a run or busy working, you can seamlessly switch from your audio playback to taking calls using your earbuds.
Answering calls with your Skullcandy earbuds is typically a straightforward process. Here’s a general guide to help you:
1. Incoming Call Notification: When you receive an incoming call on your paired device, your Skullcandy earbuds will typically emit a sound notification and possibly display a visual cue, such as an LED light. This notification will alert you to an incoming call.
2. Answering the Call: To answer the call, you usually need to press the multi-function button on one of the earbuds once. This button is usually located on the side or surface of the earbud and may have a phone symbol or a call icon. When you press the button, it functions as an answer/end button for calls.
3. Ending the Call: Once you’ve finished your conversation, you can end the call by pressing the same multi-function button on your Skullcandy earbuds that you used to answer the call. This action will hang up the call, allowing you to easily transition back to your audio playback.
4. Declining Calls: If you want to decline an incoming call and let it go to voicemail, you can usually press and hold the multi-function button for a few seconds until you hear a beep or a specific indication that the call has been declined. This action will reject the call.
Some Skullcandy earbuds may have additional call control features, such as call transfer between the earbuds or the ability to mute calls. Consult the user manual specific to your earbud model for detailed instructions on these functionalities.
With the convenience of being able to answer calls directly from your Skullcandy wireless earbuds, you can stay connected without having to reach for your phone. In the following step, we’ll explore how to adjust the volume levels on your earbuds.
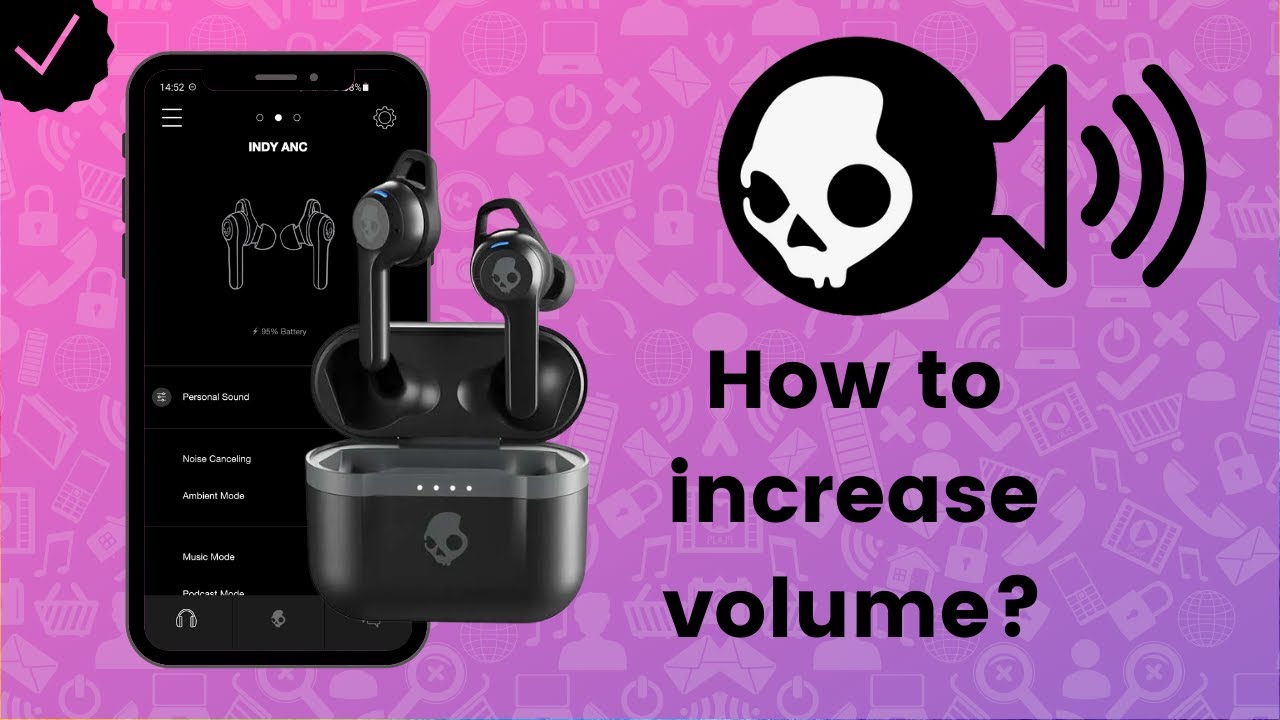
Step 4: Adjusting Volume
Controlling the volume levels of your audio playback is an important aspect of the listening experience. With Skullcandy wireless earbuds, adjusting the volume is a breeze and can be done directly from the earbuds themselves.
To adjust the volume on your Skullcandy earbuds, follow these general steps:
1. Locate the Volume Controls: Most Skullcandy earbuds have dedicated volume up and volume down buttons. These buttons are typically located on the side or surface of the earbuds and may have plus (+) and minus (-) symbols or raised bumps to indicate volume control.
2. Increase Volume: To increase the volume, press the volume up button. Depending on your earbud model, this may involve pressing the button once or holding it down for a few seconds until you reach the desired volume level. You may hear a beep or an auditory cue to indicate the volume increase.
3. Decrease Volume: Conversely, to decrease the volume, press the volume down button. Similar to increasing the volume, you may need to press the button once or hold it down until the desired volume level is achieved. An auditory cue or beep may accompany the volume decrease.
4. Gradual Volume Control: In some Skullcandy earbuds, pressing and holding the volume up or volume down button allows for gradual volume adjustment. This feature enables you to fine-tune the volume to your preference by incrementally increasing or decreasing it as needed.
It’s important to note that the volume controls on your Skullcandy earbuds may also interact with the volume settings on your connected device. For example, if you’ve set the maximum volume limit on your device, the earbuds may not be able to exceed that limit.
Remember, the exact volume control functionality can vary depending on your specific Skullcandy earbud model. Reading the user manual for your earbuds will provide detailed instructions on how to adjust the volume and take advantage of any additional volume control features.
With the ability to easily adjust the volume levels of your audio playback, your Skullcandy wireless earbuds provide a personalized listening experience. In the next step, we’ll discuss how to keep your earbuds powered up and ready to go with proper charging.
Step 5: Charging the Earbuds
Keeping your Skullcandy wireless earbuds properly charged is essential for uninterrupted listening pleasure. The good news is that charging your earbuds is a simple process that ensures they’re always ready to go when you are.
Here are the general steps to follow when charging your Skullcandy earbuds:
1. Connect the Charging Cable: Begin by locating the USB charging cable that came with your earbuds. Insert one end of the cable into a USB port on your computer, wall adapter, or power bank. The other end of the cable should be inserted into the charging case of your earbuds. Ensure a secure connection is made.
2. Charging Indicator: Once the earbuds are connected to a power source, the charging case should display an indicator light to signal that charging is in progress. Depending on the model, this light may be a solid color or flash intermittently. You can refer to the user manual for your specific earbud model to understand the different charging indicators.
3. Charging Time: Allow your Skullcandy earbuds to charge for the recommended amount of time mentioned in the user manual. Typically, a couple of hours are sufficient to fully charge the earbuds. It’s important to avoid disconnecting the charging cable prematurely, as it may result in incomplete charging.
4. Charging Case Capacity: The charging case for your Skullcandy earbuds also functions as a power bank. It usually has its own battery capacity to provide additional charges for your earbuds on the go. It’s a good practice to periodically charge the case itself, ensuring it’s ready to recharge your earbuds when needed.
5. Checking the Battery Status: Some Skullcandy earbuds have built-in battery level indicators. These indicators may be found on the charging case or accessible through a companion mobile app. Checking the battery status before using your earbuds can help ensure they are adequately charged for your listening session.
Remember, it’s important to follow the manufacturer’s guidelines and instructions specific to your Skullcandy earbud model when it comes to charging. Different models may have slight differences in charging methods and battery capacity.
By taking the time to charge your Skullcandy earbuds properly, you can enjoy uninterrupted listening pleasure for extended periods. In the next section, we’ll go over troubleshooting common issues that you might encounter while using your earbuds.
Troubleshooting Common Issues
While Skullcandy wireless earbuds are designed to provide a seamless and hassle-free listening experience, there may be times when you encounter common issues. Don’t worry! Here are some troubleshooting steps for addressing these common problems:
1. Connectivity Issues: If you’re experiencing trouble connecting your Skullcandy earbuds to your device, try the following steps:
- Ensure that Bluetooth is enabled on your device and that it is within range of the earbuds.
- Disconnect and reconnect your earbuds by unpairing them from your device’s Bluetooth settings, then re-pairing them following the instructions in the user manual.
- If you have multiple devices paired with the earbuds, make sure only the desired device is actively connected.
2. Poor Sound Quality: If you notice a decrease in sound quality or issues with audio playback, try the following troubleshooting suggestions:
- Make sure the earbuds have a secure and snug fit in your ears. Adjust the ear tips or ear wings if necessary.
- Clean the earbuds and charging case to remove any debris or dirt that may be affecting the audio quality.
- Check your device’s audio settings to ensure they are optimized for the best sound output.
3. Battery Drain Issues: If you find that your Skullcandy earbuds are not holding a charge or experiencing faster battery drain than usual, try these steps:
- Ensure that you are fully charging the earbuds according to the recommended charging time mentioned in the user manual.
- Check for any background apps or processes on your connected device that may be consuming battery power unnecessarily.
- If the issue persists, try resetting your earbuds following the instructions provided in the user manual.
4. Earbud Controls Not Working: If the controls on your earbuds are not functioning as expected, try the following troubleshooting steps:
- Make sure you are pressing the buttons or touch controls firmly and directly on the earbuds.
- Check if there are any firmware updates available for your earbuds. Updating the firmware may resolve any control-related issues.
- If the problem persists, try resetting your earbuds to their factory settings and set them up again.
If you encounter persistent issues with your Skullcandy wireless earbuds that you can’t resolve through troubleshooting, it’s advisable to contact Skullcandy’s customer support for further assistance. They have a dedicated team that can provide guidance and help you with any technical difficulties you may be facing.
By following these troubleshooting steps, you can address common issues and ensure that your Skullcandy earbuds deliver the optimal listening experience. With that said, let’s wrap up this guide on how to work Skullcandy wireless earbuds!
Conclusion
Congratulations! You have now learned how to work your Skullcandy wireless earbuds like a pro. By following the steps in this guide, you can easily pair your earbuds with a device, control music playback, answer calls, adjust the volume, and properly charge your earbuds.
Skullcandy wireless earbuds provide a convenient and immersive audio experience, allowing you to enjoy your favorite music, podcasts, and calls wirelessly and on the go. With their sleek designs, comfortable fit, and advanced features, these earbuds are designed to enhance your overall listening experience.
Remember to consult the user manual that comes with your specific Skullcandy earbud model for detailed instructions tailored to your device. Every model may have slight variations in controls and functionalities, so it’s important to refer to the manual for accurate information.
If you encounter any issues, don’t panic! The troubleshooting steps provided in this guide can help you overcome common problems. Additionally, contacting Skullycandy’s customer support can provide further assistance and guidance.
Now that you have a firm grasp of how to work your Skullcandy wireless earbuds, it’s time to put your knowledge into practice and enjoy the freedom and convenience they offer. So, grab your earbuds, connect them to your device, and immerse yourself in a world of high-quality sound.
Happy listening!