Introduction
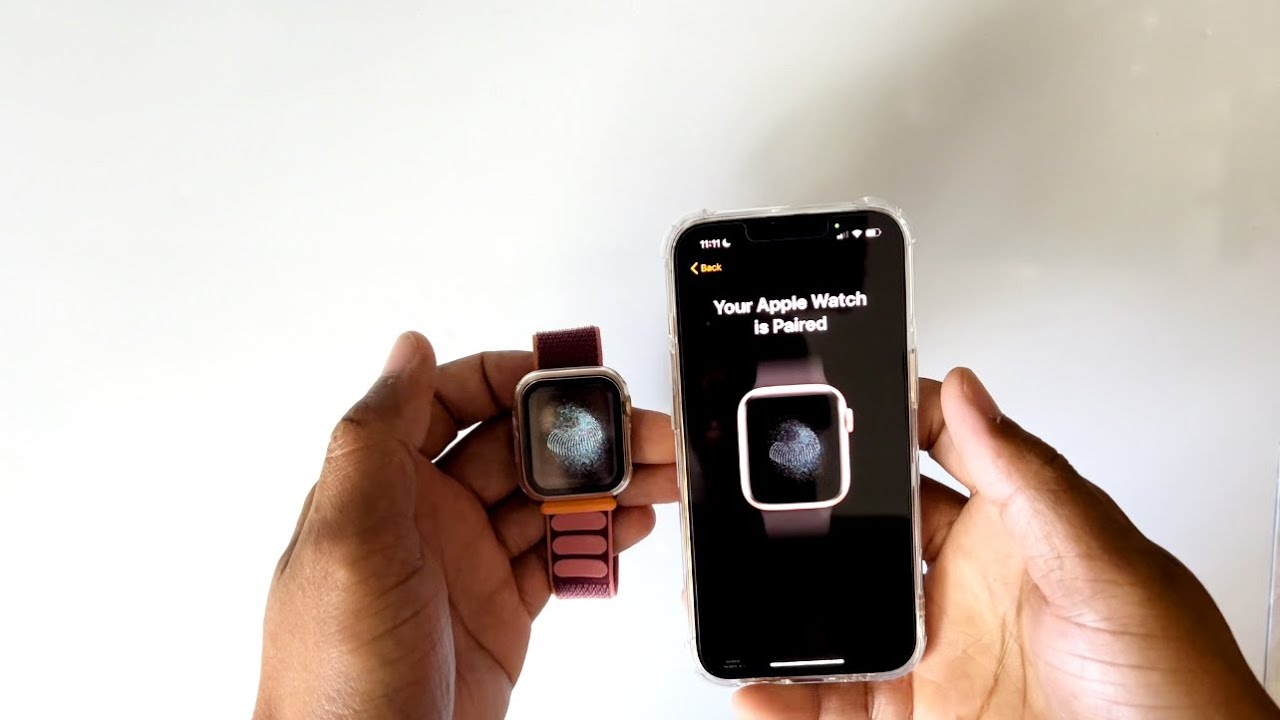
Welcome to the world of Apple Watch – a stylish and versatile wearable device that seamlessly integrates with your iPhone. Whether you’re upgrading to a new iPhone or simply passing your Apple Watch on to someone else, it’s important to know how to unpair your Apple Watch from your old phone. This ensures that your personal data, preferences, and settings are securely transferred or erased, ready for the next user.
In this guide, we’ll take you through the step-by-step process of unpairing your Apple Watch from your old phone. Don’t worry, it’s a straightforward process that won’t take long. So, let’s dive in and get started!
Before we begin, it’s important to note that unpairing your Apple Watch will reset it to factory settings. This means that all data, including messages, health and fitness data, and settings, will be erased from the Watch. It’s recommended that you create a backup of your Apple Watch before proceeding with the unpairing process.
To unpair your Apple Watch, you’ll need your iPhone and ensure that it is connected to a stable internet connection. Once you’re ready, follow the steps outlined in the subsequent sections to successfully complete the unpairing process.
Ready to unpair your Apple Watch and set it free from your old phone? Let’s get started with step one: opening the Apple Watch app on your iPhone.
Step 1: Open the Apple Watch app on your iPhone
The first step to unpairing your Apple Watch from your old phone is to open the Apple Watch app on your iPhone. This app allows you to manage and configure various settings for your Apple Watch.
To locate and open the Apple Watch app, simply navigate to your iPhone’s home screen and look for the icon that resembles a watch with a circle around it. Tap on the icon to launch the app.
If you can’t find the Apple Watch app on your home screen, you can use the search function. Swipe down on your home screen to reveal the search bar and type in “Apple Watch”. The app should appear in the search results. Tap on it to open it.
Once the Apple Watch app is open, you’ll be taken to the main screen, which gives you an overview of your Apple Watch and its settings. From here, you’ll be able to access all the necessary options to unpair your Apple Watch.
Now that you’ve successfully opened the Apple Watch app on your iPhone, it’s time to move on to the next step: tapping on the “My Watch” tab.
Step 2: Tap on the “My Watch” tab
After opening the Apple Watch app on your iPhone, the next step is to tap on the “My Watch” tab. This tab is located at the bottom of the app’s interface and serves as the central hub for managing your Apple Watch’s settings and configurations.
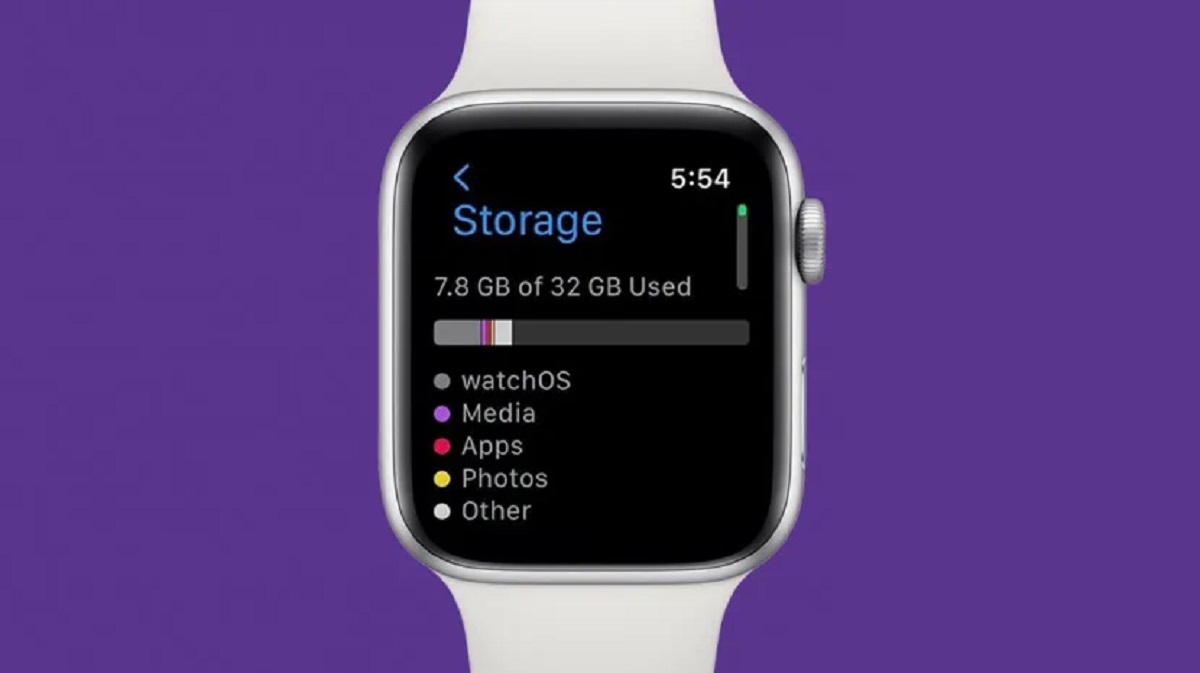
When you tap on the “My Watch” tab, you’ll be taken to a screen that provides a comprehensive view of your Apple Watch and its associated settings. This screen displays information such as the watch’s name, model, software version, and storage capacity.
Additionally, the “My Watch” tab offers various options to customize your Apple Watch experience. You can adjust settings for notifications, app layout, brightness, power reserve, and more. This tab serves as a control center for fine-tuning your watch to your preferences.
Once you’re on the “My Watch” tab, you’re one step closer to unpairing your Apple Watch from your old phone. The next step is to tap on your Apple Watch from the list of connected devices.
Now that you’ve successfully accessed the “My Watch” tab, let’s move on to the next step: tapping on your Apple Watch to proceed with the unpairing process.
Step 3: Tap on your Apple Watch
Now that you’re on the “My Watch” tab within the Apple Watch app on your iPhone, it’s time to select your Apple Watch from the list of connected devices. Tapping on your Apple Watch will take you to a new screen with detailed information and settings specific to your device.
On this screen, you’ll find a variety of options to manage your Apple Watch, including customization settings, app installation, and more. This is where you can personalize your watch face, adjust complications, and install or rearrange apps to suit your preferences.
By tapping on your Apple Watch, you’re indicating to the app that this is the device you wish to unpair from your old phone. This step is crucial in initiating the unpairing process and ensuring that the correct Apple Watch is disconnected from the iPhone.
Once you’ve tapped on your Apple Watch, you’ll be directed to a new screen where you can access detailed information and settings for your device. Now that you’ve successfully selected your Apple Watch, it’s time to move on to the next step: tapping on the “i” icon next to your Apple Watch.
Step 4: Tap on the “i” icon next to your Apple Watch
After selecting your Apple Watch from the list of connected devices, the next step is to tap on the “i” icon located next to the name of your Apple Watch. This icon represents the information and settings specific to your individual watch.
When you tap on the “i” icon, it will take you to a screen that provides a detailed overview of your Apple Watch. This screen contains vital information such as the serial number, model, software version, and various other details about your device.
Furthermore, this screen allows you to access and modify additional settings for your Apple Watch. You can adjust settings related to general preferences, notifications, accessibility, privacy, and more. Take a moment to explore the different options available and customize your watch to your liking.
At this stage, tapping on the “i” icon confirms that you’re ready to proceed with the unpairing process. It’s important to ensure that you have selected the correct Apple Watch and have reviewed all pertinent information before moving forward.
Now that you’ve successfully tapped on the “i” icon next to your Apple Watch, it’s time to move on to the next step: tapping on “Unpair Apple Watch.
Step 5: Tap on “Unpair Apple Watch”
Now that you’ve accessed the detailed information and settings for your Apple Watch, it’s time to initiate the unpairing process. To do this, locate and tap on the “Unpair Apple Watch” option on your iPhone screen.
When you tap on “Unpair Apple Watch”, a confirmation prompt will appear to ensure that you want to proceed with the unpairing process. This step is crucial as it permanently disconnects your Apple Watch from your old phone.
It’s important to note that unpairing your Apple Watch will erase all data and settings from the device. If you’re planning to pair your Apple Watch with a new iPhone, you’ll have the option to restore from a backup later in the setup process.
By tapping on “Unpair Apple Watch”, you are confirming your decision to disconnect the watch from your old phone and resetting it for a new user or future pairing. Make sure you have considered and backed up any important data before proceeding.
Now that you’ve successfully tapped on “Unpair Apple Watch”, it’s time to move on to the final step: confirming the unpairing process.
Step 6: Confirm the unpairing process
After tapping on “Unpair Apple Watch”, a prompt will appear on your iPhone asking you to confirm the unpairing process. This step is crucial to ensure that you intentionally want to disconnect your Apple Watch from your old phone.
Take a moment to review the information presented on the confirmation prompt. It will inform you that the unpairing process will erase all data from your Apple Watch, including messages, health and fitness data, and settings. If you have backed up your Apple Watch data, you can restore it later when pairing with a new phone.
Once you have carefully read the prompt and understand the consequences of unpairing, confirm your decision by tapping on the “Unpair [Apple Watch Name]” button. This will start the unpairing process and disconnect your Apple Watch from your old phone.
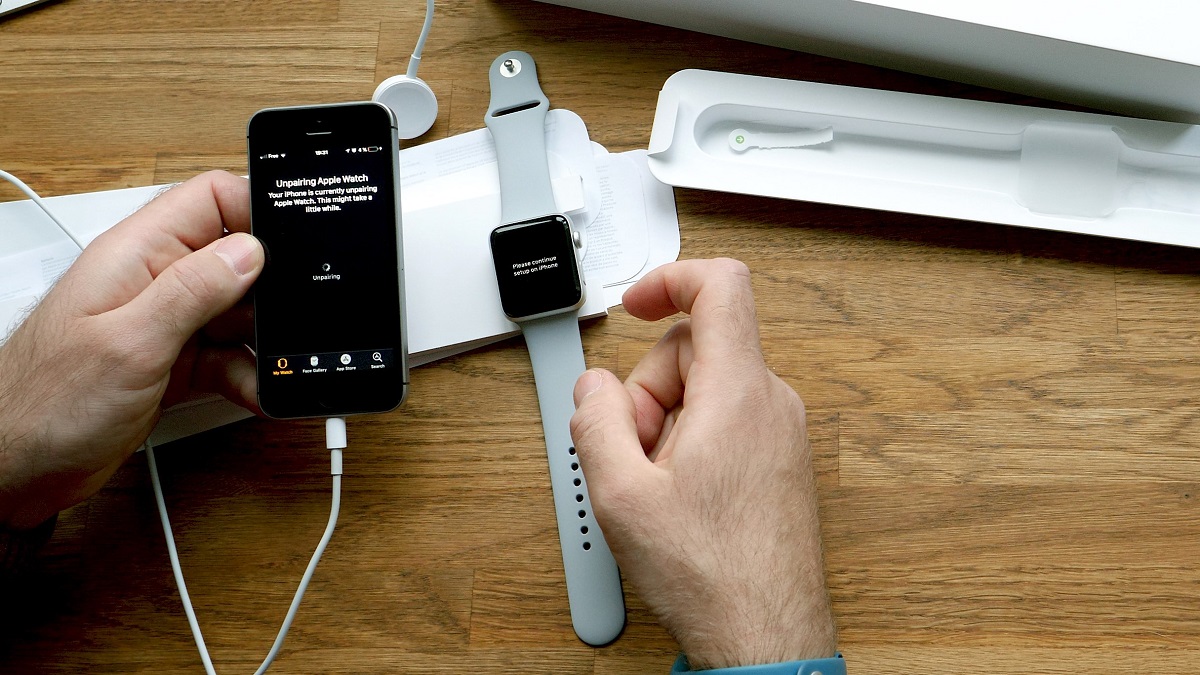
During the unpairing process, your Apple Watch will display a progress indicator. It may take a few minutes to complete. Ensure that your Apple Watch and iPhone remain in close proximity and connected throughout the unpairing process.
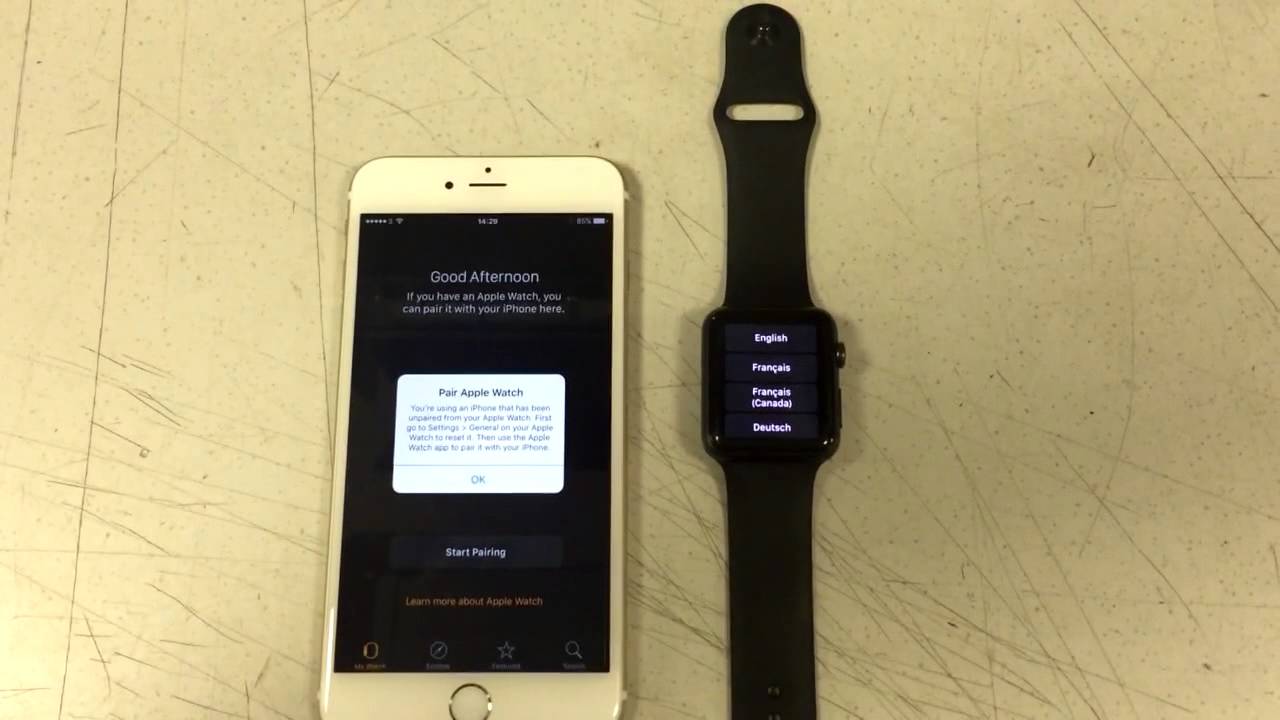
Once the unpairing process is complete, your Apple Watch will continue to show its screen, indicating that it is ready to be paired with a new phone or handed over to its next user. You can follow the on-screen instructions to pair the Apple Watch with a new iPhone.
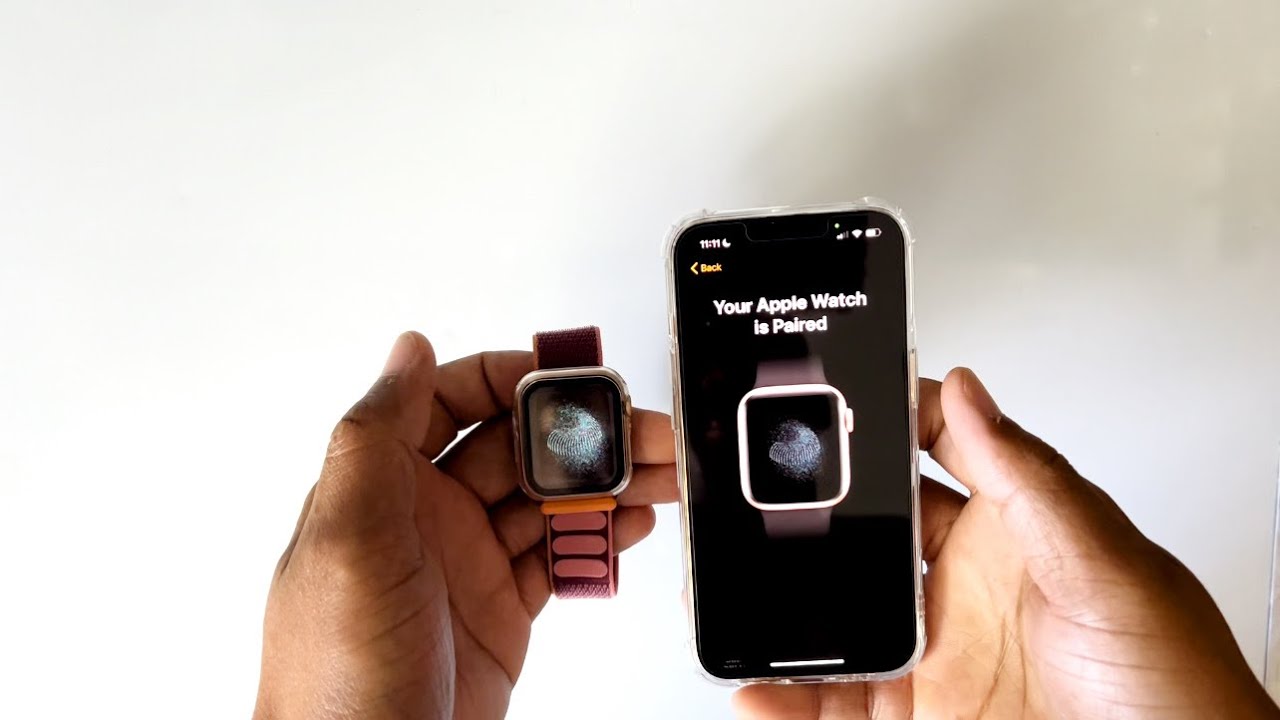
Congratulations! You have successfully completed the unpairing process for your Apple Watch. It is now ready to be paired with a new phone or passed on to its new owner.
Thank you for following this guide. If you have any further questions or need assistance, feel free to consult the official Apple support resources or reach out to their customer support team.
Conclusion
Unpairing your Apple Watch from your old phone is a simple process that ensures your personal data is securely transferred or erased before passing it on to a new user or pairing it with a new iPhone.
In this guide, we explored the step-by-step process to unpair your Apple Watch from your old phone:
- Open the Apple Watch app on your iPhone
- Tap on the “My Watch” tab
- Tap on your Apple Watch
- Tap on the “i” icon next to your Apple Watch
- Tap on “Unpair Apple Watch”
- Confirm the unpairing process
By following these steps, you can successfully disconnect your Apple Watch from your old phone and prepare it for a new user or pairing it with a new iPhone. Remember to back up any important data from your Apple Watch before initiating the unpairing process.
If you have any questions or encounter any difficulties during the unpairing process, be sure to consult Apple’s official support resources or reach out to their customer support team for assistance.
Thank you for reading this guide, and we hope it has been helpful in unpairing your Apple Watch from your old phone. Enjoy your Apple Watch experience with your new device!


