Introduction
Uninstalling a browser may be necessary for a variety of reasons. Whether you are switching to a different browser, experiencing technical issues, or simply want to perform a clean installation, knowing how to properly uninstall a browser is essential. In this guide, we will walk you through the step-by-step process of uninstalling a browser from your operating system.
Before we begin, it is important to note that uninstalling a browser will remove all of its associated data, including bookmarks, browsing history, and saved passwords. Therefore, we recommend backing up any important data or bookmarks before proceeding with the uninstallation process. Additionally, make sure to have an alternative browser installed or ready to install, as uninstalling your current default browser may temporarily leave you without a means to access the internet.
Now, let’s dive into the steps involved in uninstalling a browser and ensuring a seamless transition to a new or alternative browsing experience.
Step 1: Close all browser windows
Before we can begin uninstalling a browser, it is crucial to ensure that all browser windows and processes are closed. This step ensures that the uninstallation process goes smoothly without any interruptions.
To close all browser windows, follow these simple steps:
- Go to each open browser window and click on the “X” button located at the top right corner of the window. This will close the window.
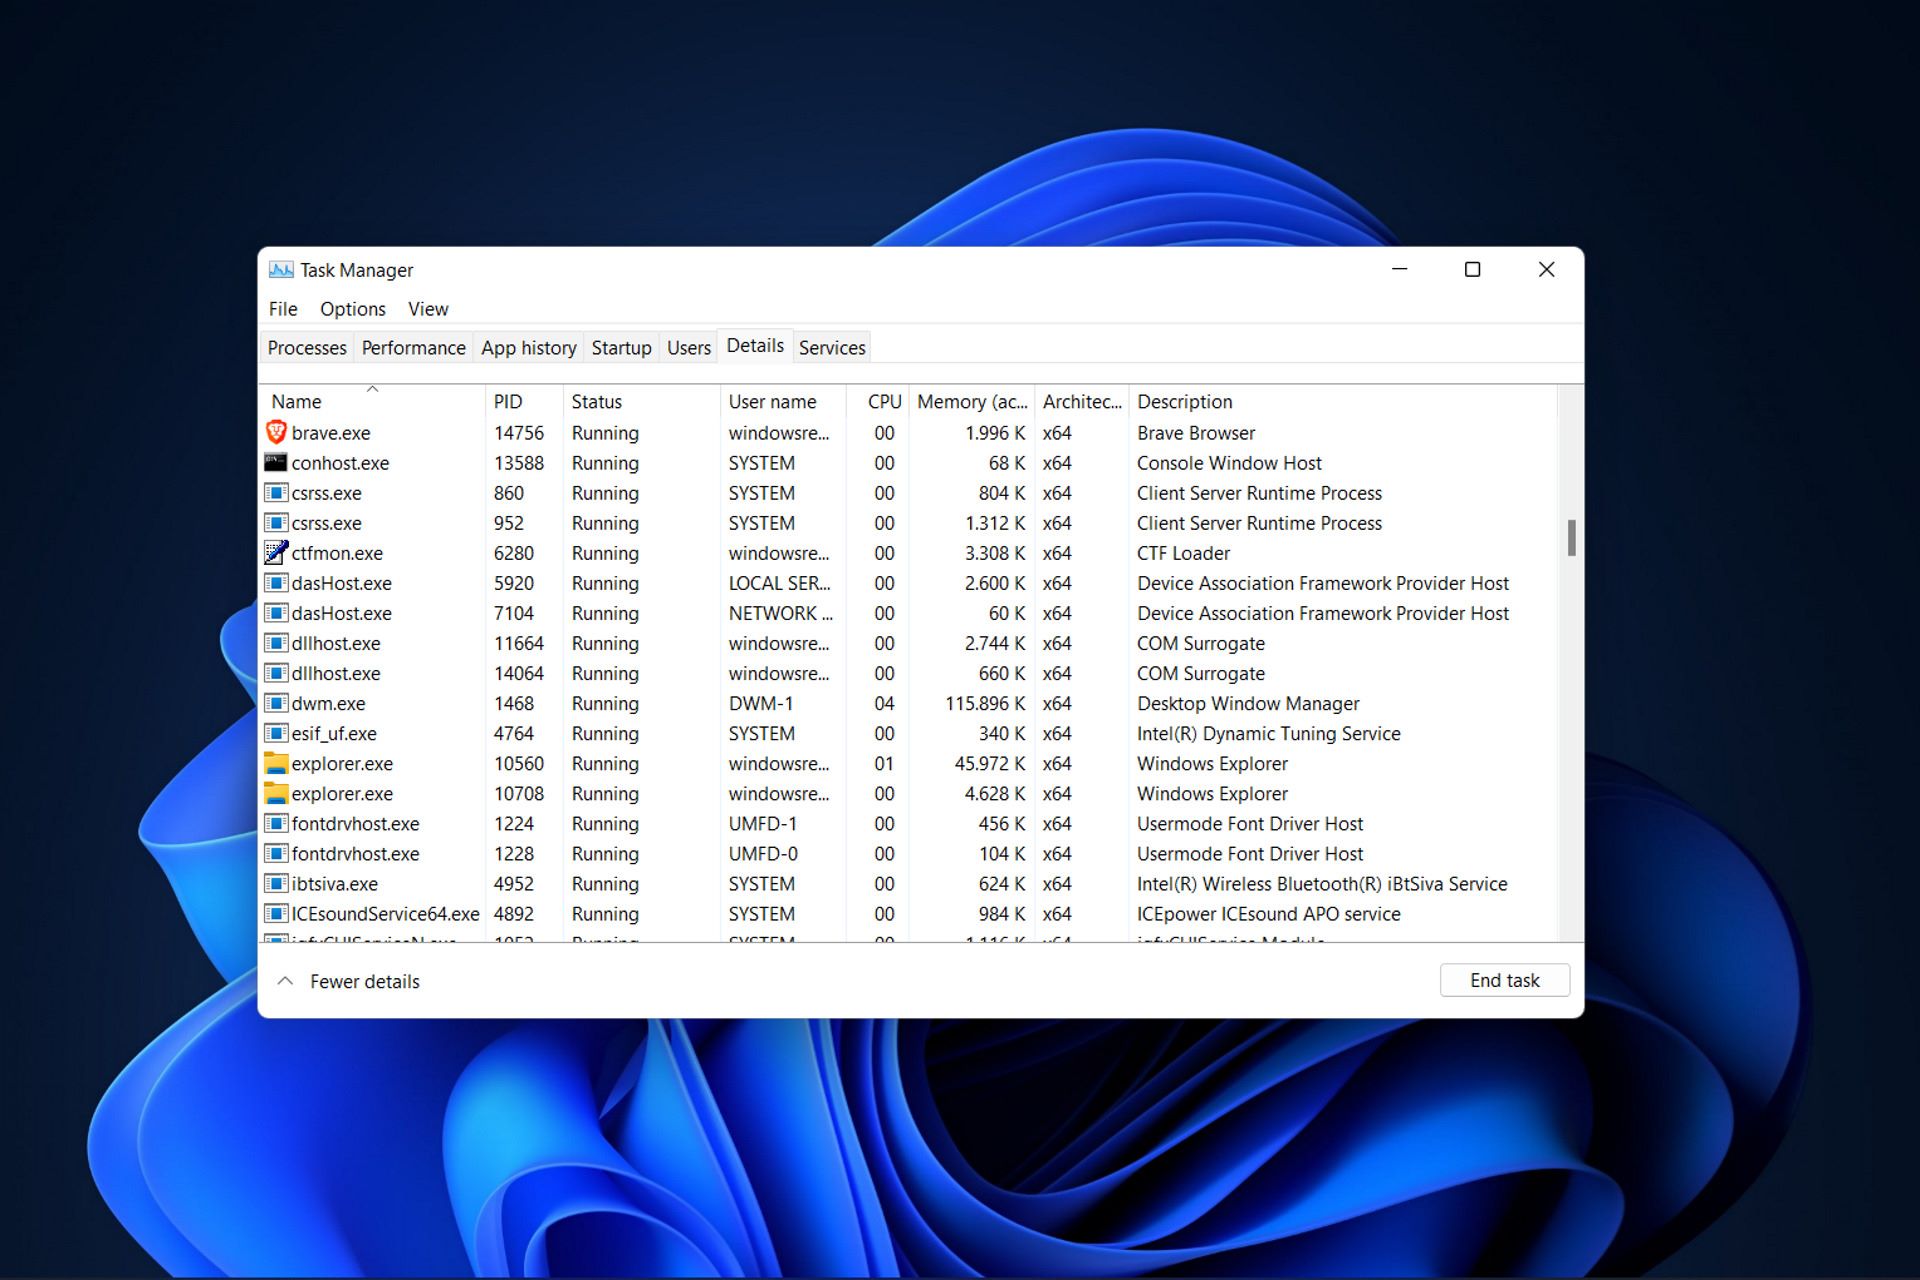
- If you are unable to locate the “X” button or if the browser is not responding, you can force-close it by pressing “Ctrl + Alt + Delete” on Windows or “Command + Option + Escape” on Mac. This will bring up the Task Manager or Force Quit Applications window, where you can select the browser and click on the “End Task” or “Force Quit” button, respectively.
- Once you have closed all browser windows and ensured that no browser processes are running in the background, you are ready to proceed to the next step.
It is important to close all browser windows to prevent any conflicts or issues during the uninstallation process. By closing all browser windows, you ensure that the browser is not actively running or accessing any files or resources on your computer, making the uninstallation process more efficient and thorough.
Now that you have successfully closed all browser windows, let’s move on to the next step: accessing the Control Panel.
Step 2: Access the Control Panel
To proceed with uninstalling a browser, you will need to access the Control Panel on your operating system. The Control Panel is a centralized hub where you can manage various settings and programs on your computer. Here’s how you can access the Control Panel:
- On Windows: Click on the Start menu or press the Windows key on your keyboard and type “Control Panel” in the search bar. Select “Control Panel” from the search results.
- On Mac: Click on the Apple menu located on the top left corner of your screen and select “System Preferences.” In the System Preferences window, click on “Users & Groups” or “Accounts” and then click on the “Lock” icon to authenticate yourself as an administrator.
Once you have accessed the Control Panel, you will see a variety of options and settings. From here, you can make changes to your computer’s configuration, uninstall programs, and manage system preferences.
Now that you have successfully accessed the Control Panel, you are ready to proceed to the next step: uninstalling the browser.
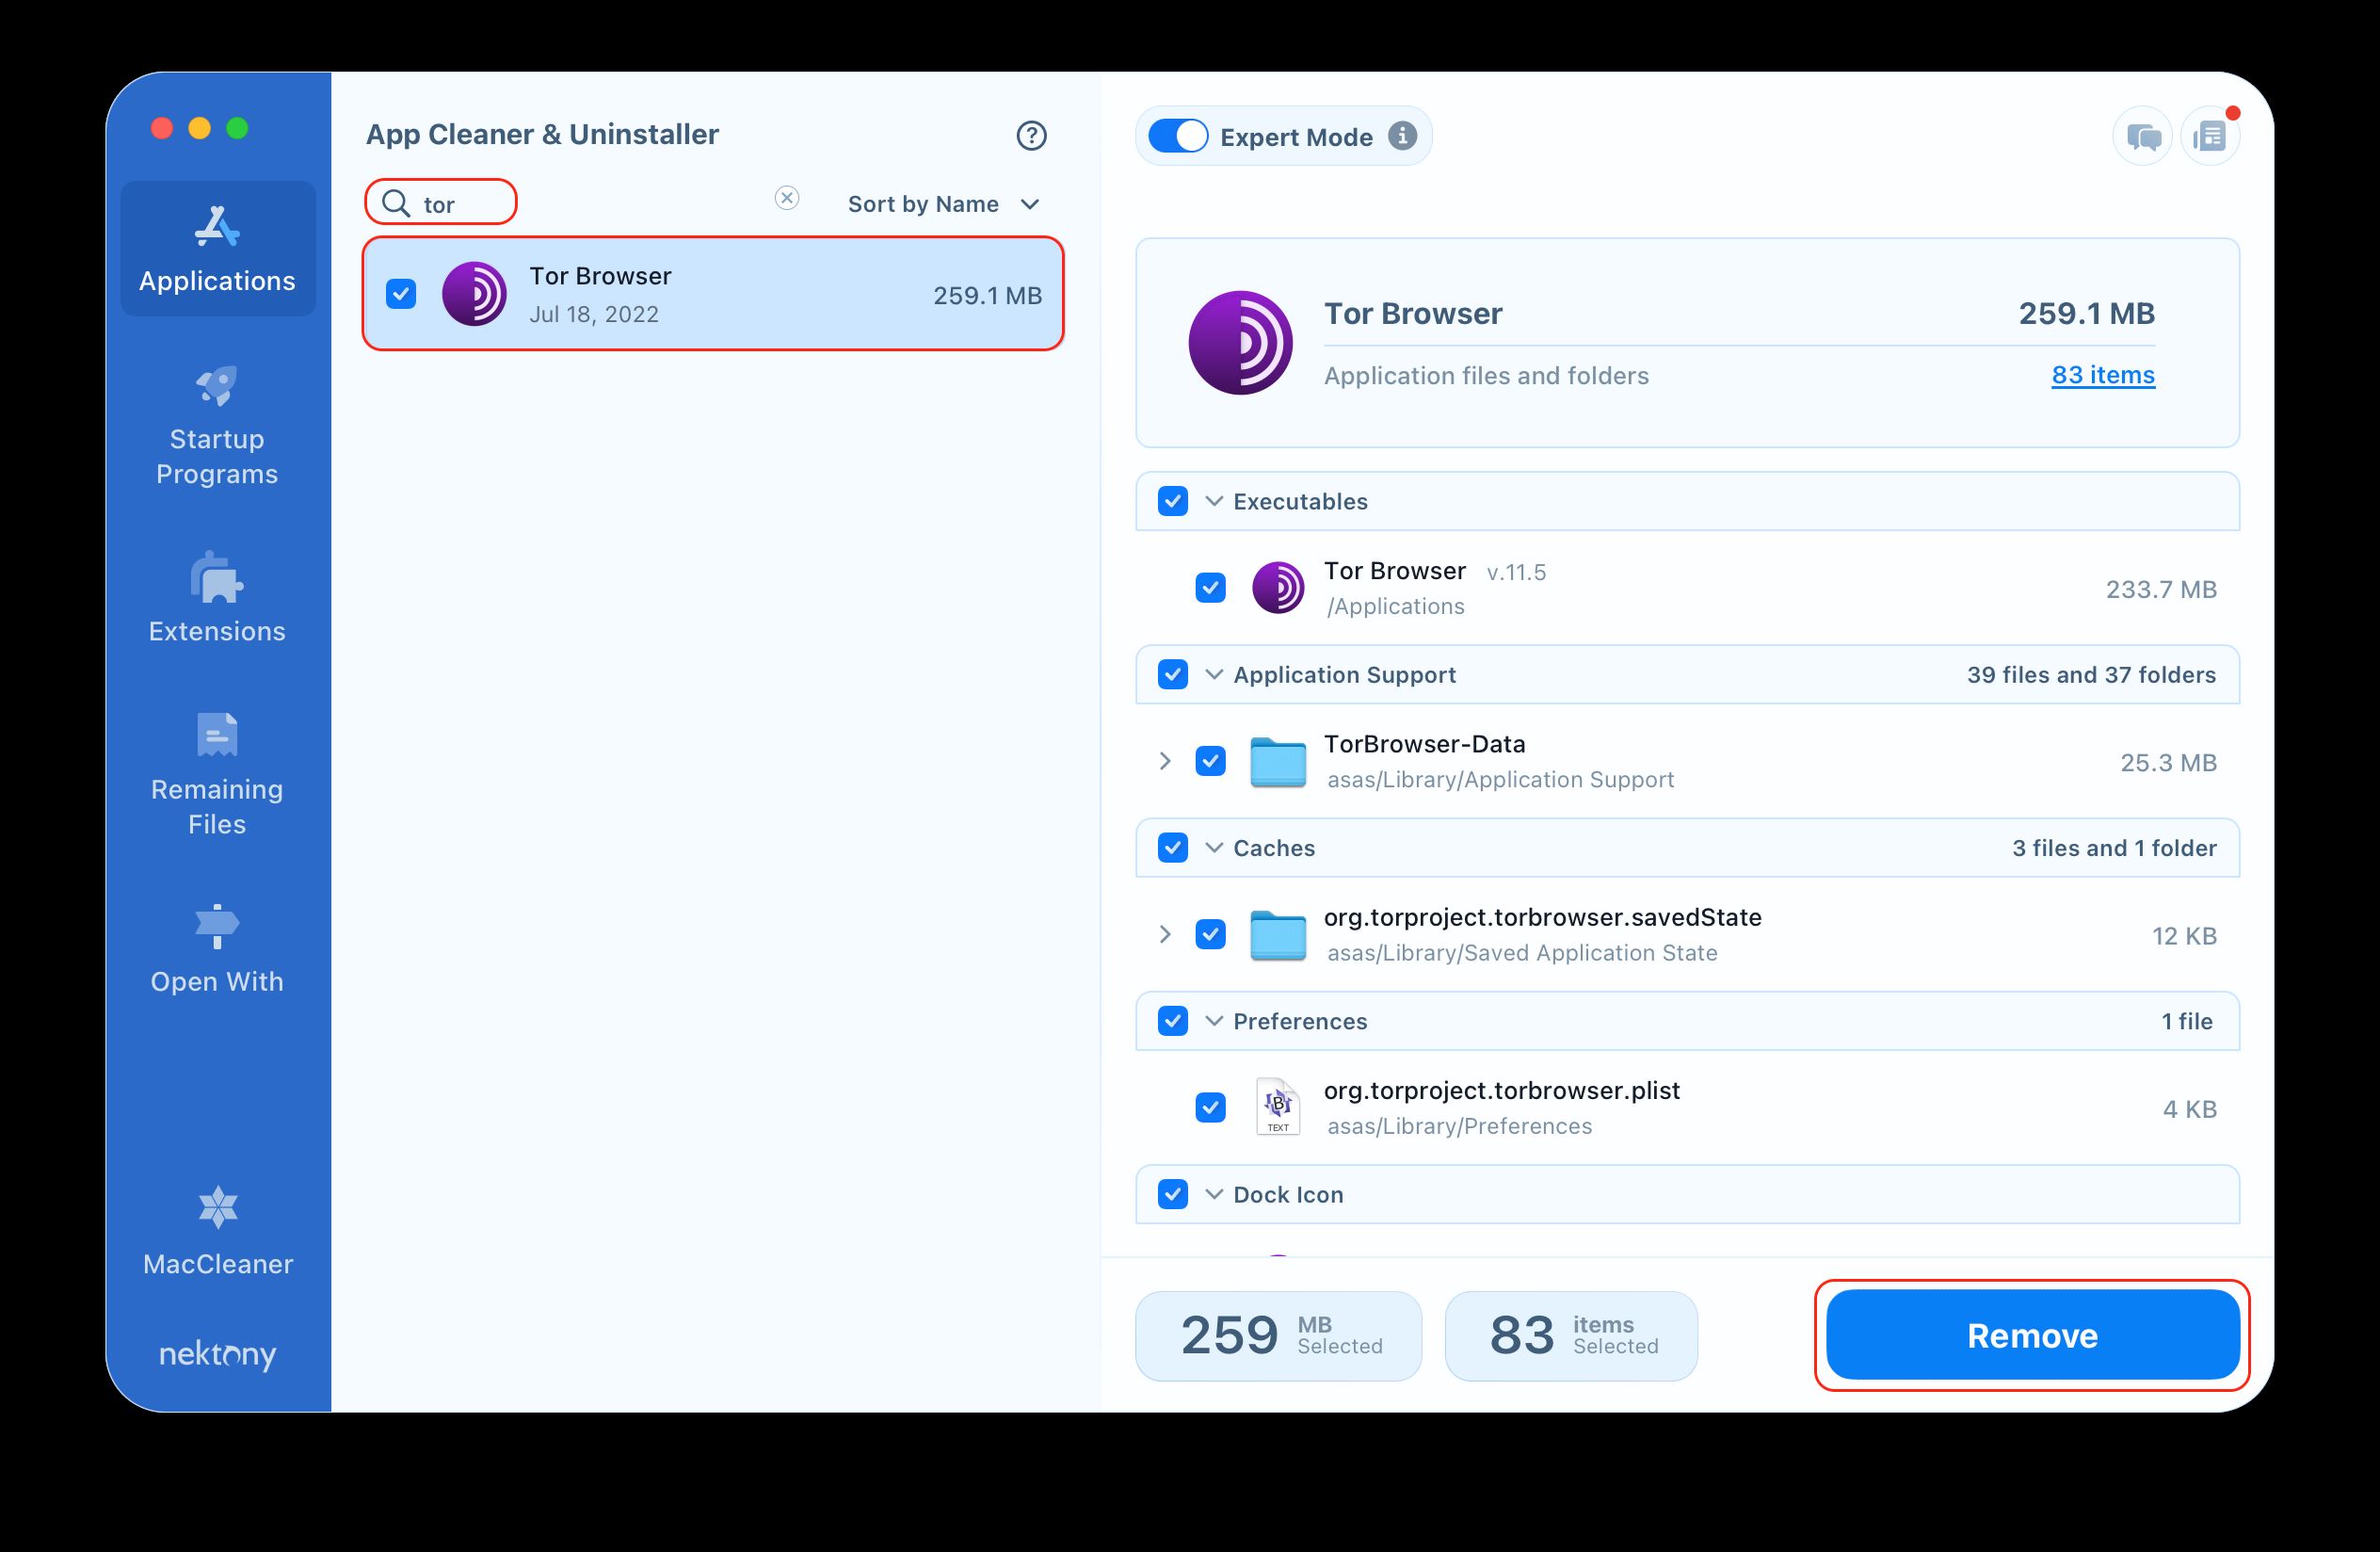
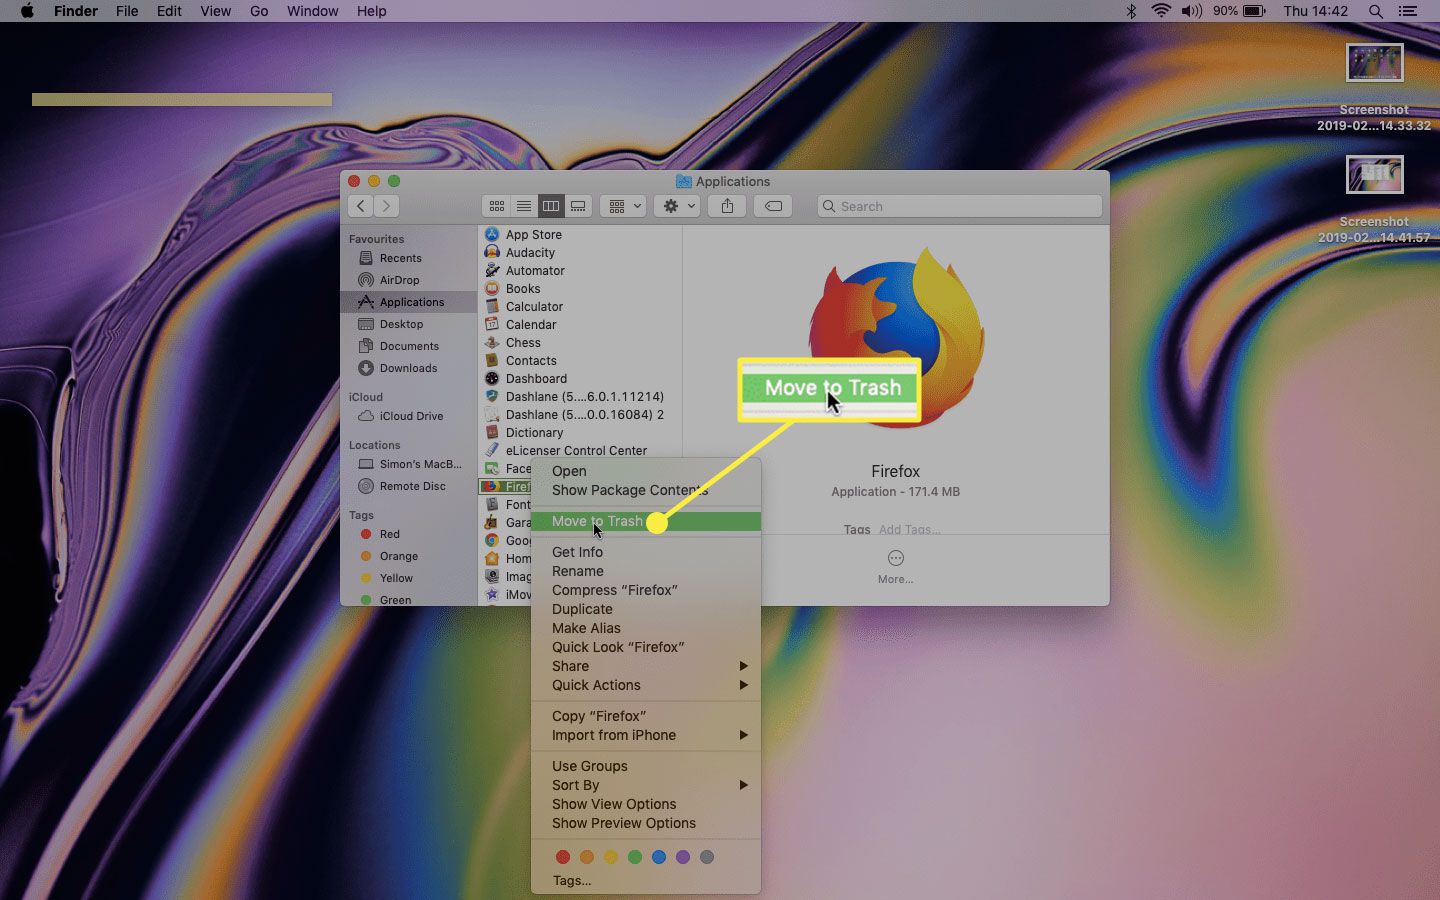
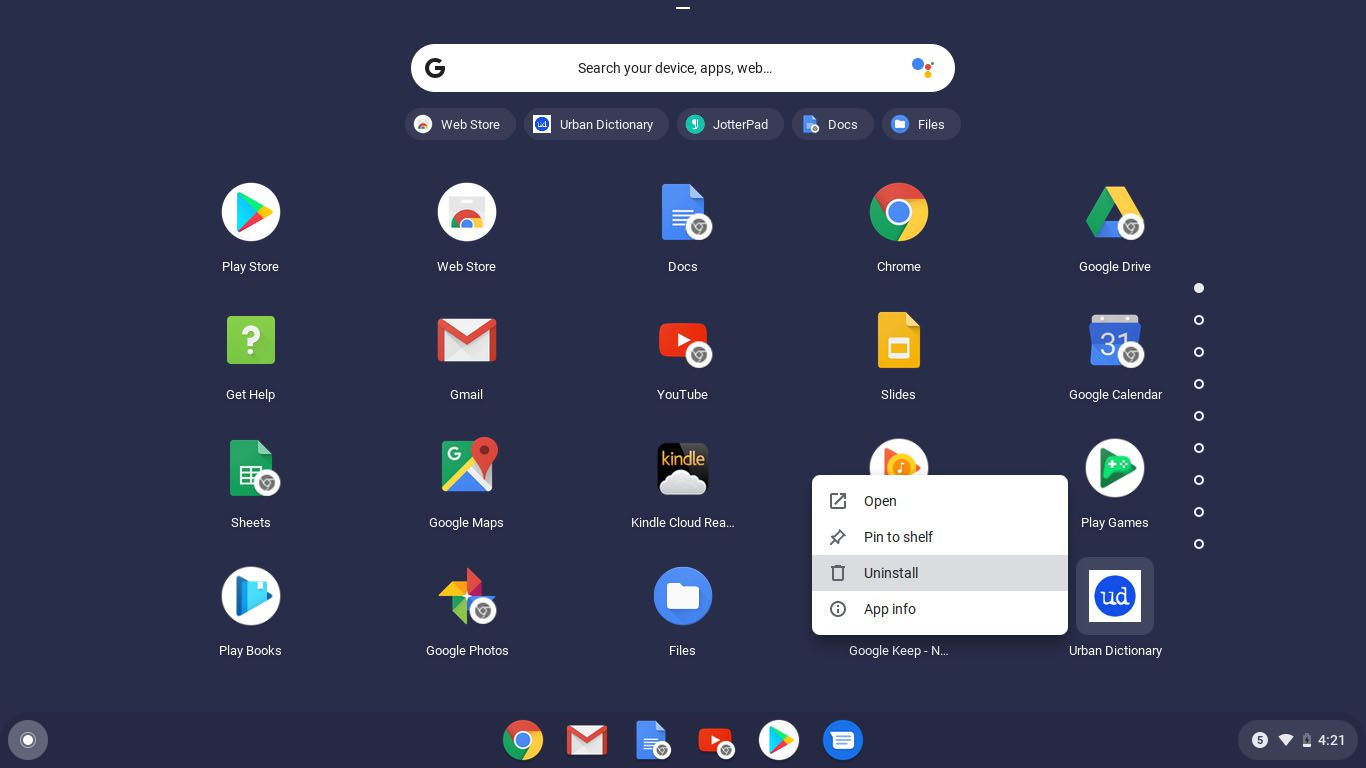
Step 3: Uninstall the browser
Once you have accessed the Control Panel, you can now proceed with uninstalling the browser from your computer. Follow the steps below to uninstall the browser:
- Within the Control Panel, locate the “Programs” or “Programs and Features” section. This section may also be labeled as “Add or Remove Programs” or “Uninstall a Program.”
- Click on the “Programs” or “Programs and Features” option to open the list of installed programs on your computer.
- Scroll through the list of installed programs and locate the browser you want to uninstall.
- Once you have found the browser, select it by clicking on it to highlight it.
- At the top of the list, you will find an option to uninstall the selected program. Click on the “Uninstall” or “Remove” button.
- A confirmation prompt may appear, asking you to confirm the uninstallation. Follow the prompts and click “Yes” or “Uninstall” to proceed with the removal.
- The uninstallation process will begin, and it may take a few moments to complete. Allow the process to finish before moving on to the next step.
- Once the browser has been successfully uninstalled, you will receive a notification or prompt confirming the completion of the uninstallation process.
It is important to note that some browsers may require an additional step or prompt during the uninstallation process. For instance, you may be asked to confirm if you want to remove all browsing data and settings associated with the browser. Make sure to read and follow the prompts carefully to ensure a complete uninstallation.
Now that you have successfully uninstalled the browser, let’s move on to the next step: removing browser data and extensions.
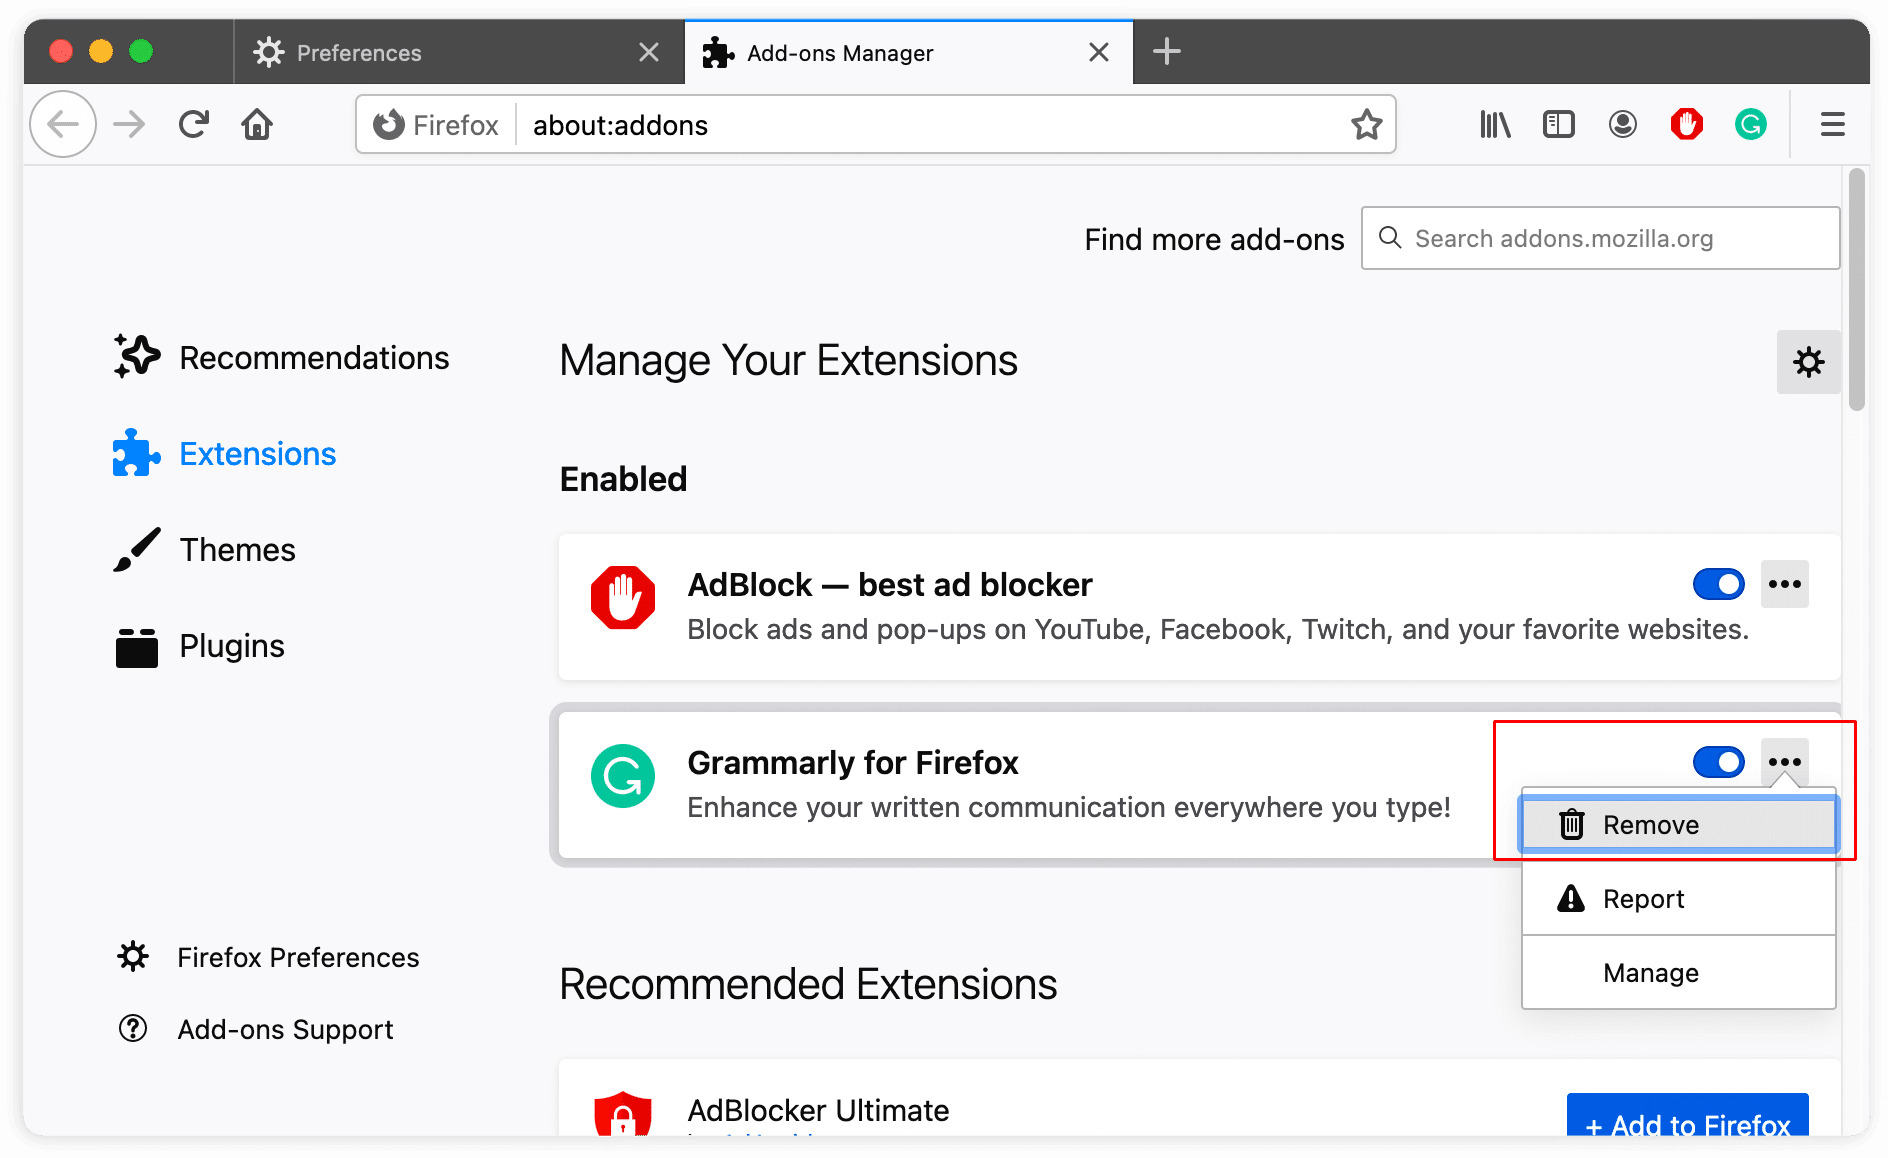
Step 4: Remove browser data and extensions
Once you have uninstalled the browser, it is important to remove any remaining browser data and extensions to ensure a clean slate. Follow the steps below to remove browser data and extensions:
- Open your file explorer and navigate to the following folders, replacing “BrowserName” with the name of the browser you uninstalled:
- On Windows:
C:\Users\YourUsername\AppData\Local\BrowserNameC:\Users\YourUsername\AppData\Roaming\BrowserName
- On Mac:
/Users/YourUsername/Library/Application Support/BrowserName/Users/YourUsername/Library/Caches/BrowserName
- On Windows:
- Delete all folders and files related to the browser. Make sure to empty the trash or recycle bin after the deletion to permanently remove the data.
- Next, open your alternative browser and access its settings or preferences menu.
- Look for the option to manage extensions or add-ons. This may be labeled as “Extensions,” “Add-ons,” or “Plugins.”
- Select and remove any extensions or add-ons associated with the uninstalled browser.
Removing browser data and extensions ensures that there are no residual files or settings left behind that could potentially interfere with your browsing experience or compromise your privacy.
Now that you have successfully removed browser data and extensions, let’s move on to the final step: restarting your computer.
Step 5: Restart your computer
After completing the previous steps of uninstalling the browser, removing browser data and extensions, it is recommended to restart your computer. Restarting your computer helps ensure that any changes made during the uninstallation process are applied correctly and that any remaining system resources or processes related to the uninstalled browser are cleared.
To restart your computer, follow these simple steps:
- Save any unsaved work or close any open programs on your computer.
- Click on the “Start” menu or press the Windows key on your keyboard.
- Select the “Power” option, which may be represented by an icon or a text menu.
- Click on “Restart” or “Restart computer.”
- Wait for your computer to shut down and restart.
Once the computer has finished restarting, you can proceed to use your alternative browser or install a new browser of your choice. By restarting your computer, any remaining traces of the uninstalled browser are fully cleared, ensuring a fresh start for your browsing experience.
Congratulations! You have successfully uninstalled a browser, removed browser data and extensions, and restarted your computer. You are now ready to enjoy a new and improved browsing experience with your chosen browser.
Conclusion
Uninstalling a browser may seem like a daunting task, but with the step-by-step guide provided in this article, you can confidently and successfully remove a browser from your computer. By following the process of closing all browser windows, accessing the Control Panel, uninstalling the browser, removing browser data and extensions, and restarting your computer, you can ensure a clean and smooth transition to a new browsing experience.
Remember to back up any important data or bookmarks before uninstalling a browser, as it will remove all associated data. Additionally, make sure to have an alternative browser installed or ready to install to avoid any interruption in your internet access.
Uninstalling a browser not only allows you to switch to a different browsing option but also helps resolve any technical issues or restore a clean installation of the browser. By removing any remaining browser data and extensions and restarting your computer, you ensure that the uninstallation is thorough and any potential conflicts or issues are resolved. This ensures that your new browser or alternative browsing experience is optimized for smooth and secure browsing.
Now that you have successfully uninstalled a browser and gone through the necessary steps, you are ready to explore the endless possibilities of the internet with a fresh start. Whether you choose to stick with your alternative browser or try out a new one, enjoy your browsing experience with confidence, knowing that you can uninstall and make changes whenever needed.
Thank you for choosing this guide to assist you in uninstalling a browser. Happy browsing!