Introduction
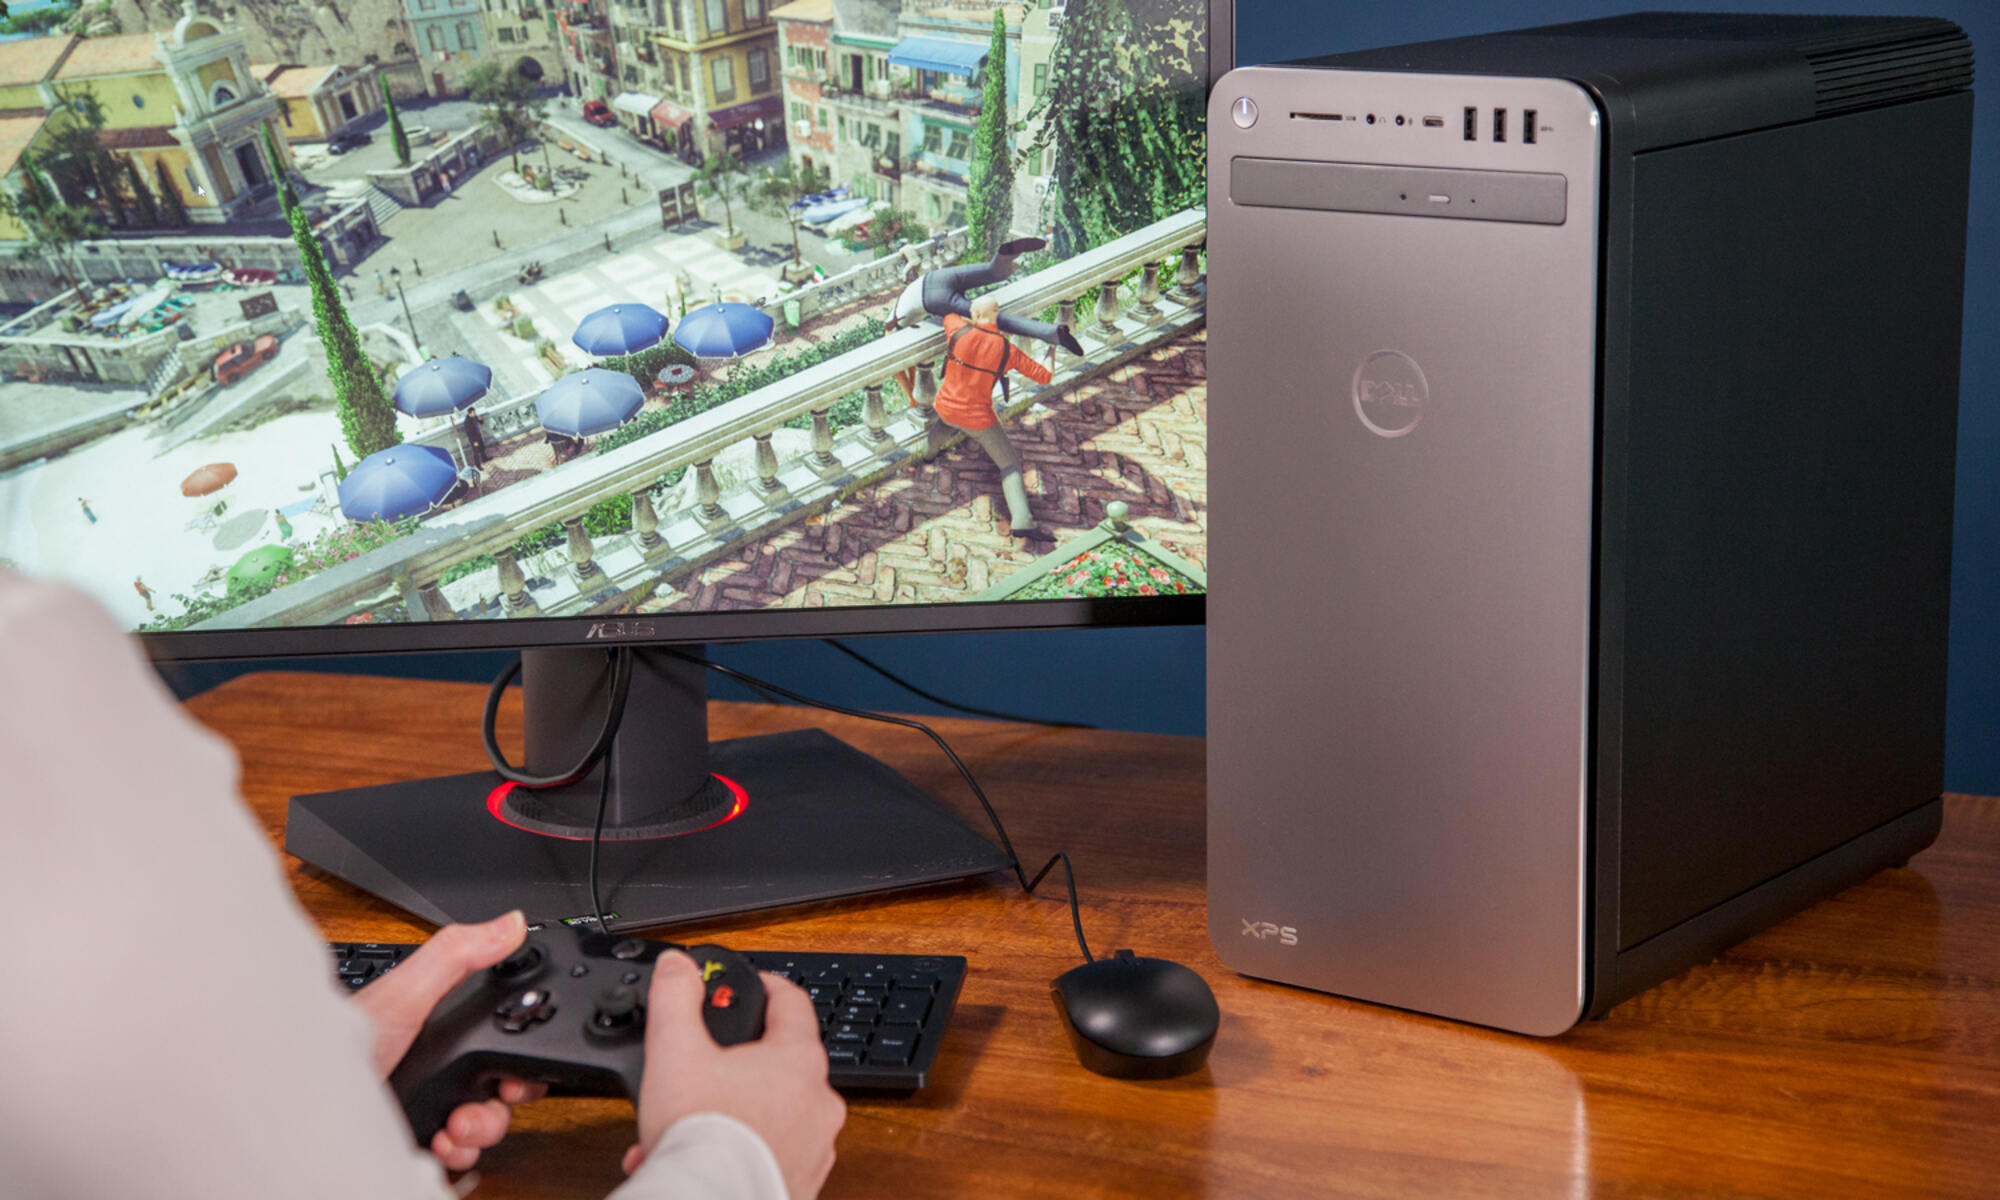
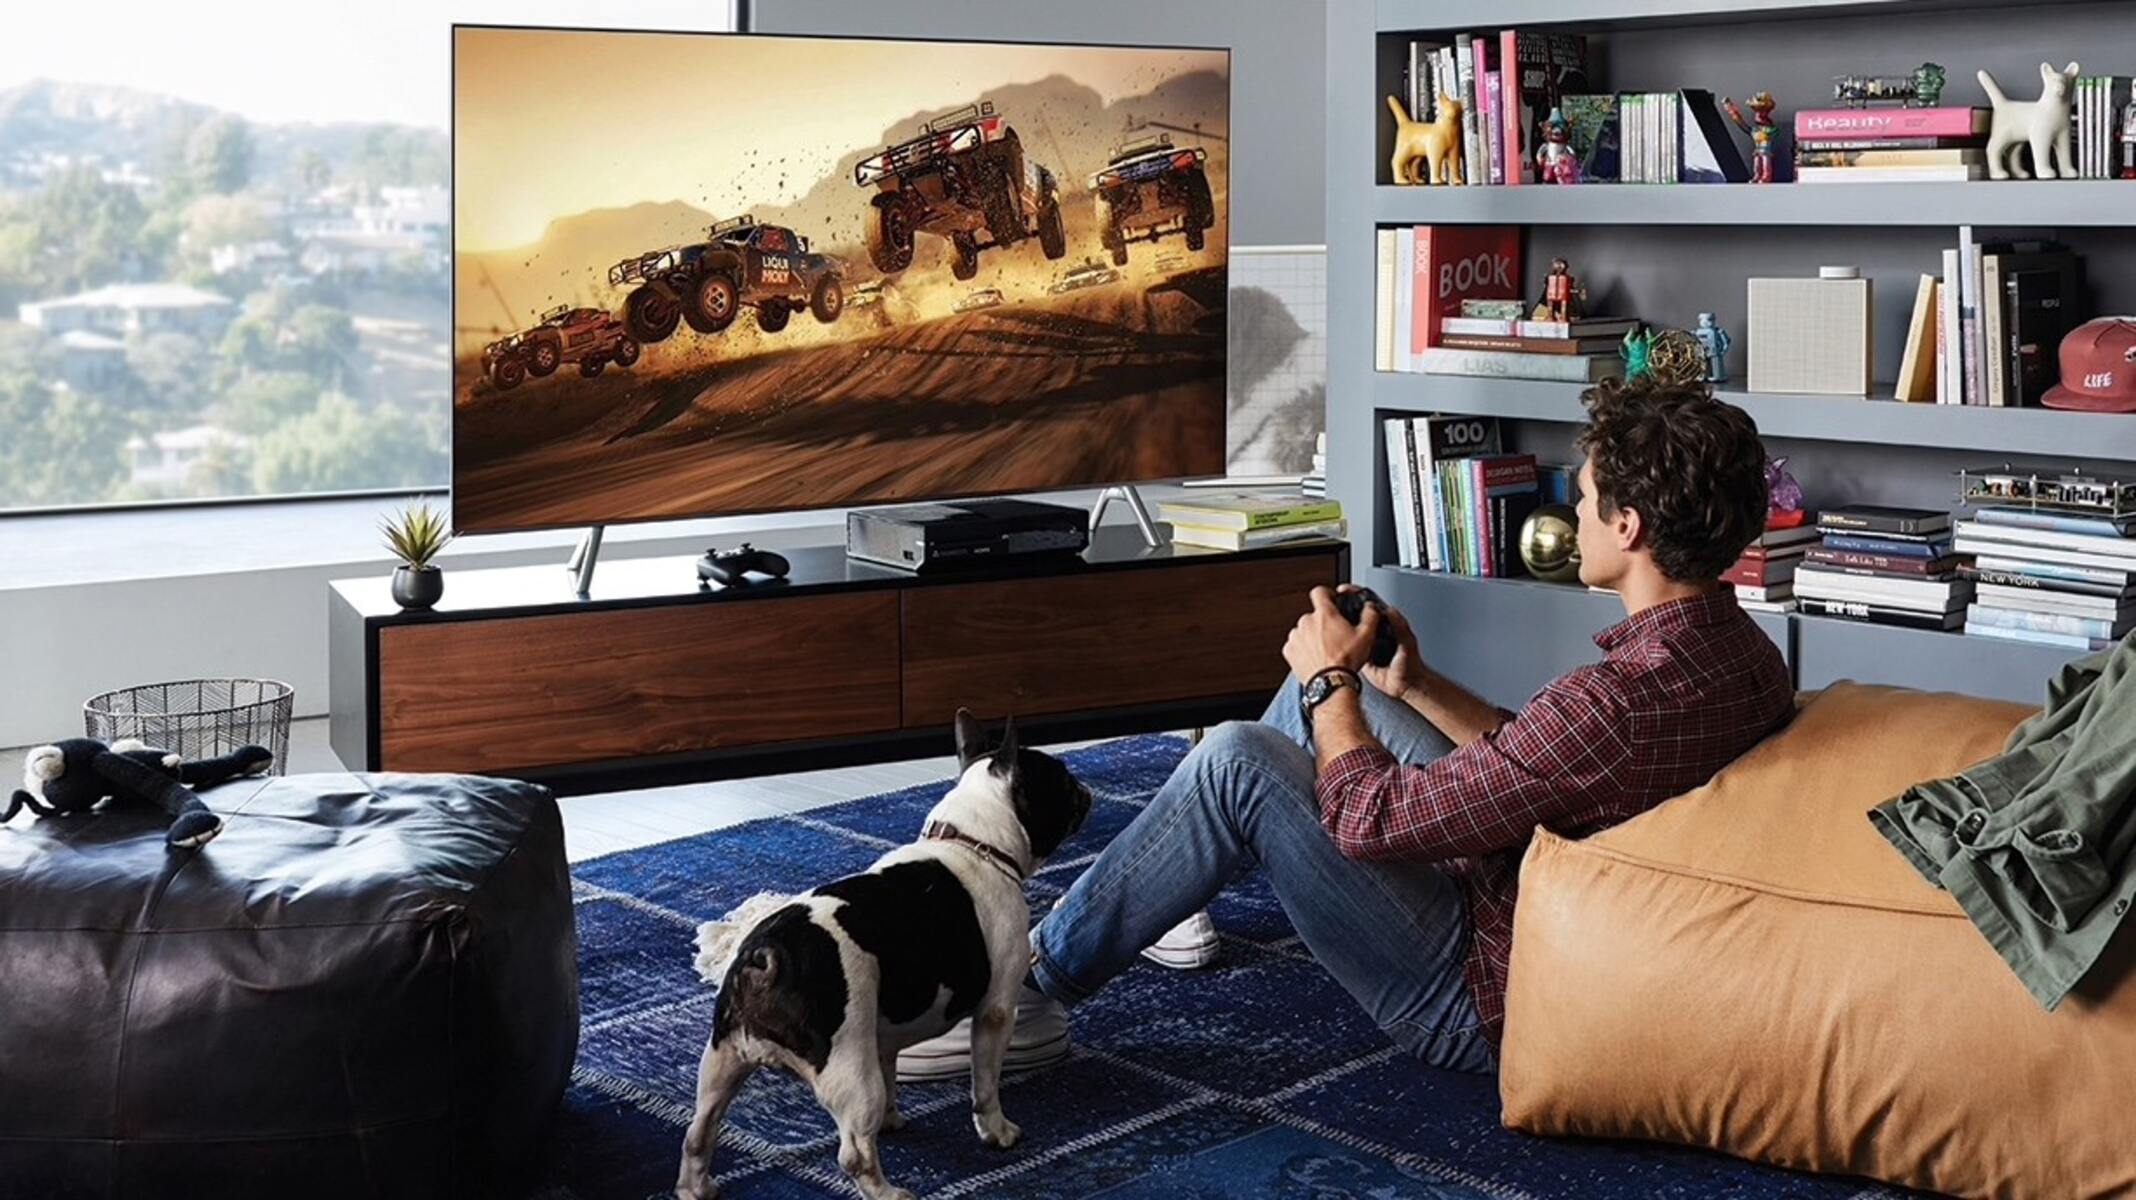
Welcome to the world of gaming, where immersive experiences and thrilling adventures await. If you’re tired of playing your favorite games on a small computer screen or are looking for a way to enhance your gaming experience, why not turn your TV into a gaming monitor?
Many modern televisions have the capability to connect to gaming consoles, making it possible to enjoy console gaming on a larger screen. By following a few simple steps, you can transform your TV into a gaming monitor and unlock a whole new level of excitement.
In this article, we will guide you through the process of turning your TV into a gaming monitor, helping you to optimize your gaming experience and make the most out of your gaming console. From checking the compatibility of your TV to adjusting display and picture settings, we will cover all the necessary steps to ensure a seamless and immersive gaming experience.
So, whether you’re a casual gamer looking for a more immersive gaming experience or a dedicated gamer seeking to optimize your setup, this guide is for you. Get ready to embark on a journey to enhance your gaming experience and take your gameplay to new heights.
Step 1: Check the Compatibility of Your TV
The first step in turning your TV into a gaming monitor is to ensure that your TV is compatible with your gaming console. Not all TVs are designed to work seamlessly with gaming consoles, so it’s important to verify compatibility before proceeding.
Start by checking the specifications of your TV and gaming console. Look for the HDMI ports on both devices. Most gaming consoles utilize HDMI output, so make sure your TV has at least one HDMI input. Additionally, check the supported resolutions and refresh rates of your TV. Typically, modern TVs support high-definition resolutions such as 1080p or 4K, which are ideal for gaming.
If you’re unsure about your TV’s compatibility, consult the user manual or visit the manufacturer’s website for detailed information. You can also search online forums or contact customer support for assistance.
Another important consideration is input lag. Input lag refers to the delay between pressing a button on your game controller and seeing the corresponding action on the screen. High input lag can negatively impact your gaming experience, making it feel sluggish and unresponsive. Look for a TV with low input lag, preferably below 30 milliseconds, to ensure a smooth and responsive gameplay experience.
Lastly, consider the size of the TV. While bigger screens offer a more immersive experience, they can also be more demanding on your gaming console’s performance. Make sure your gaming console can handle the resolution and refresh rate of your desired TV size. It’s also important to consider the viewing distance, as sitting too close to a large screen can strain your eyes.
Once you have verified the compatibility of your TV, you’re ready to move on to the next step: connecting your gaming console to the TV. With the right setup, you’ll be ready to dive into your favorite games on the big screen.
Step 2: Connect Your Gaming Console to the TV
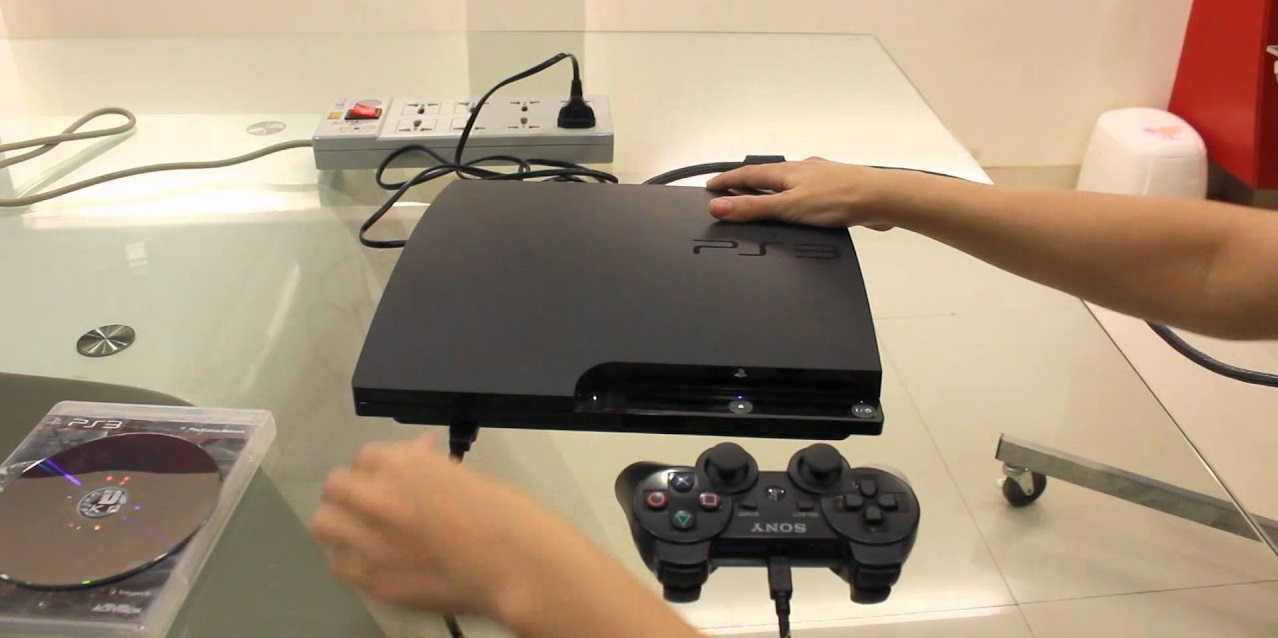
Now that you have confirmed the compatibility of your TV, it’s time to connect your gaming console. Follow these steps to ensure a proper connection:
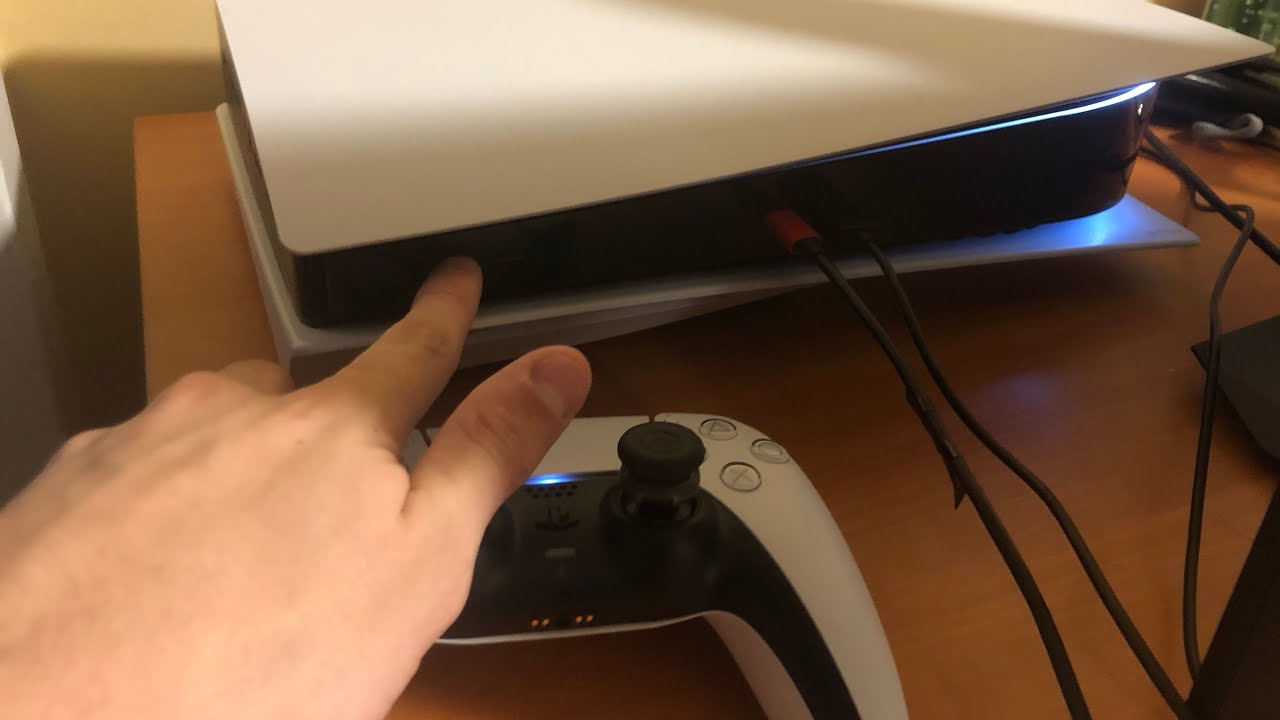
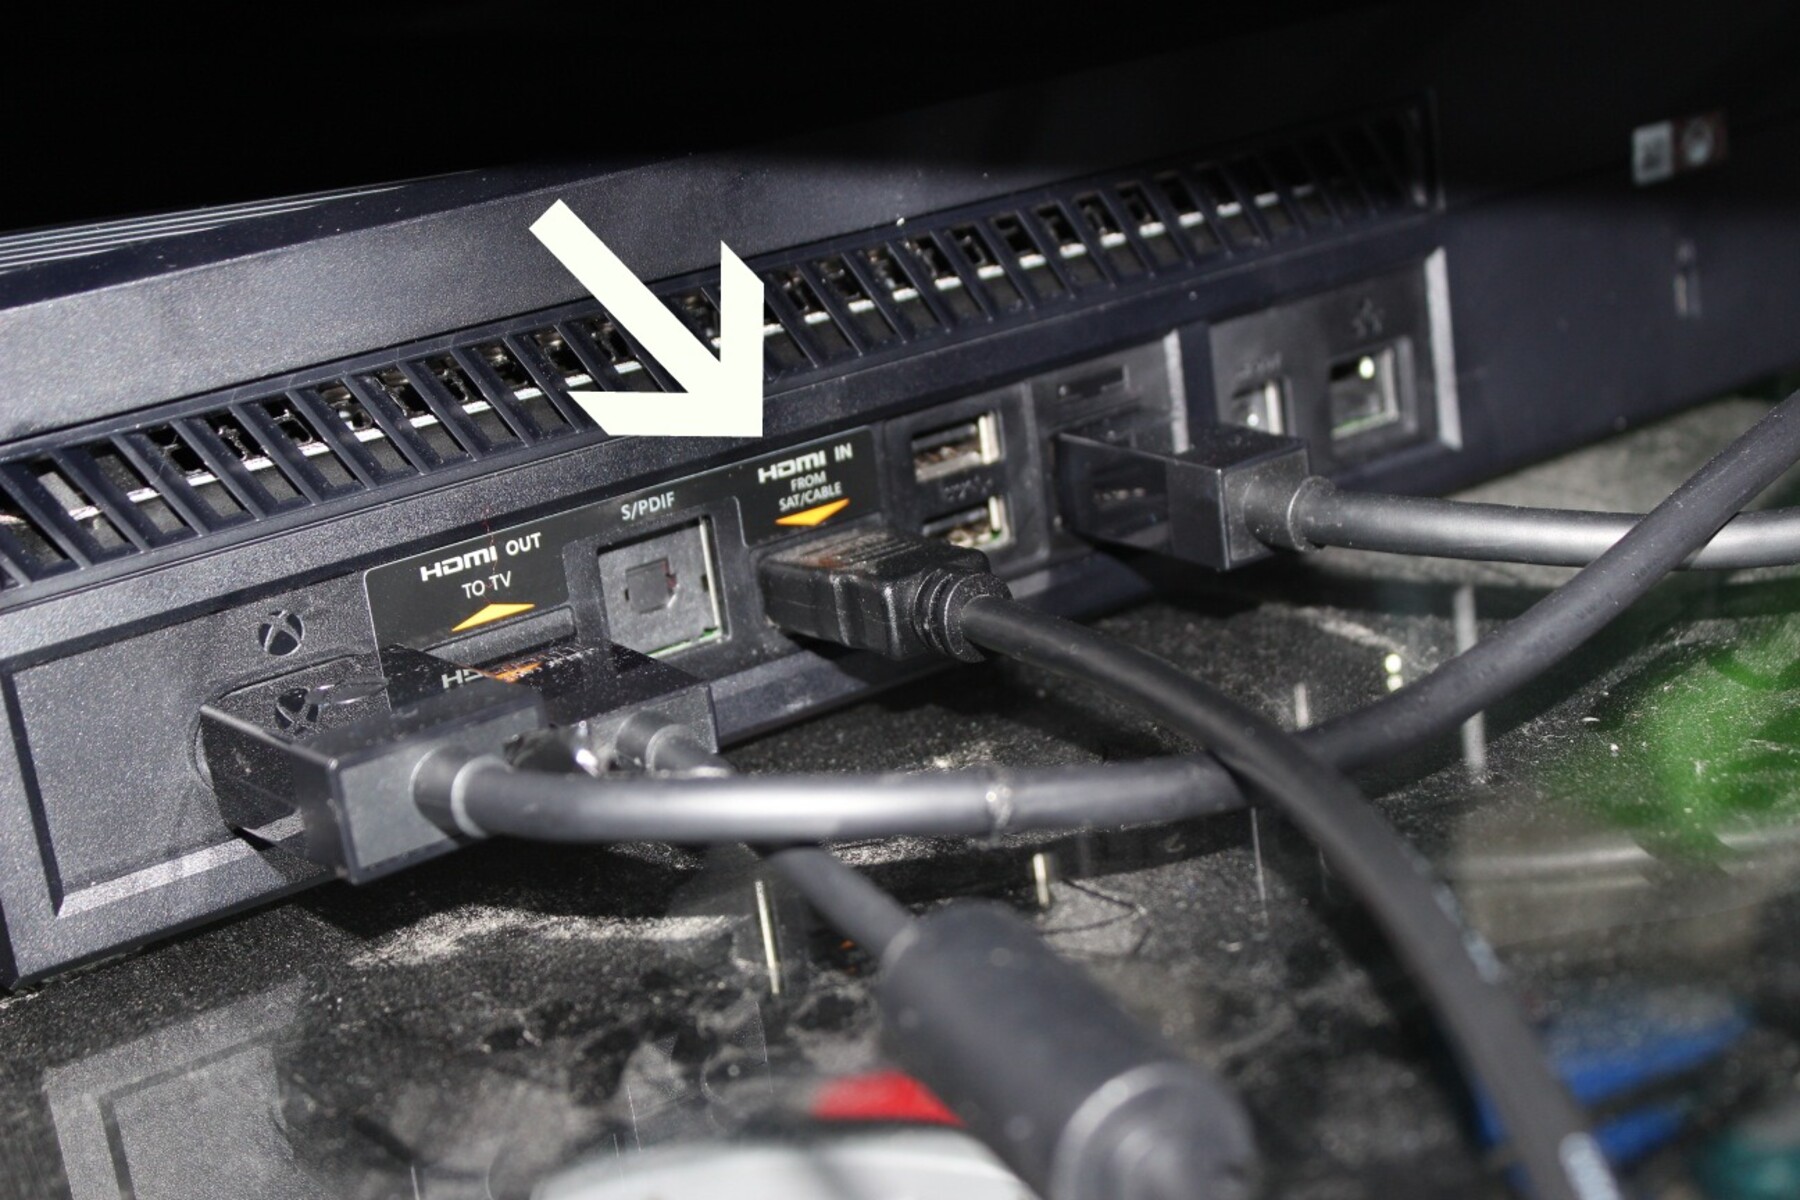
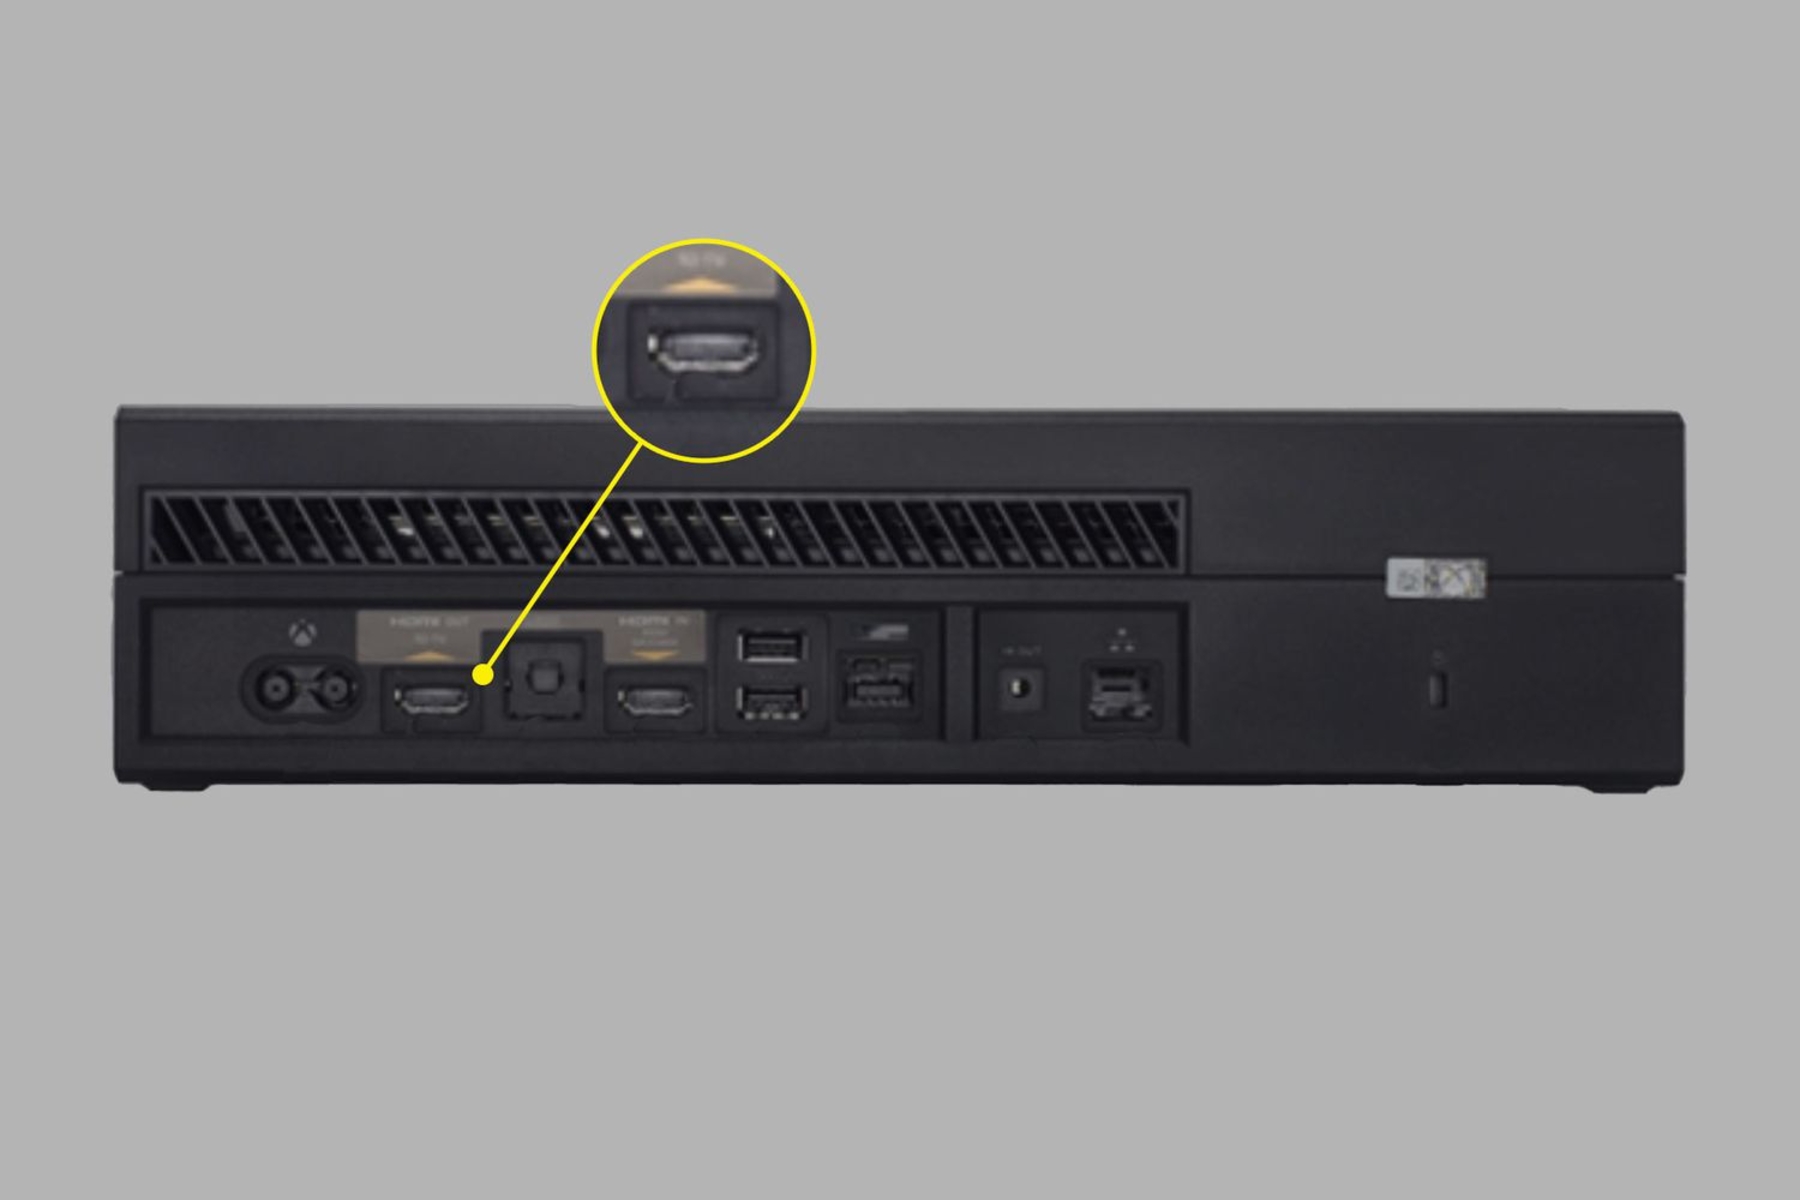
- Locate the HDMI port on your gaming console. Most consoles have an HDMI output port, labeled as “HDMI Out.”
- Identify the HDMI input on your TV. Look for HDMI ports on the back or side of the TV, usually labeled as “HDMI In.”
- Using an HDMI cable, connect one end to the HDMI output port on your gaming console and the other end to the HDMI input port on your TV.
- Ensure a secure connection by gently pushing the HDMI cable into both ports. Make sure it is inserted firmly but not forcefully.
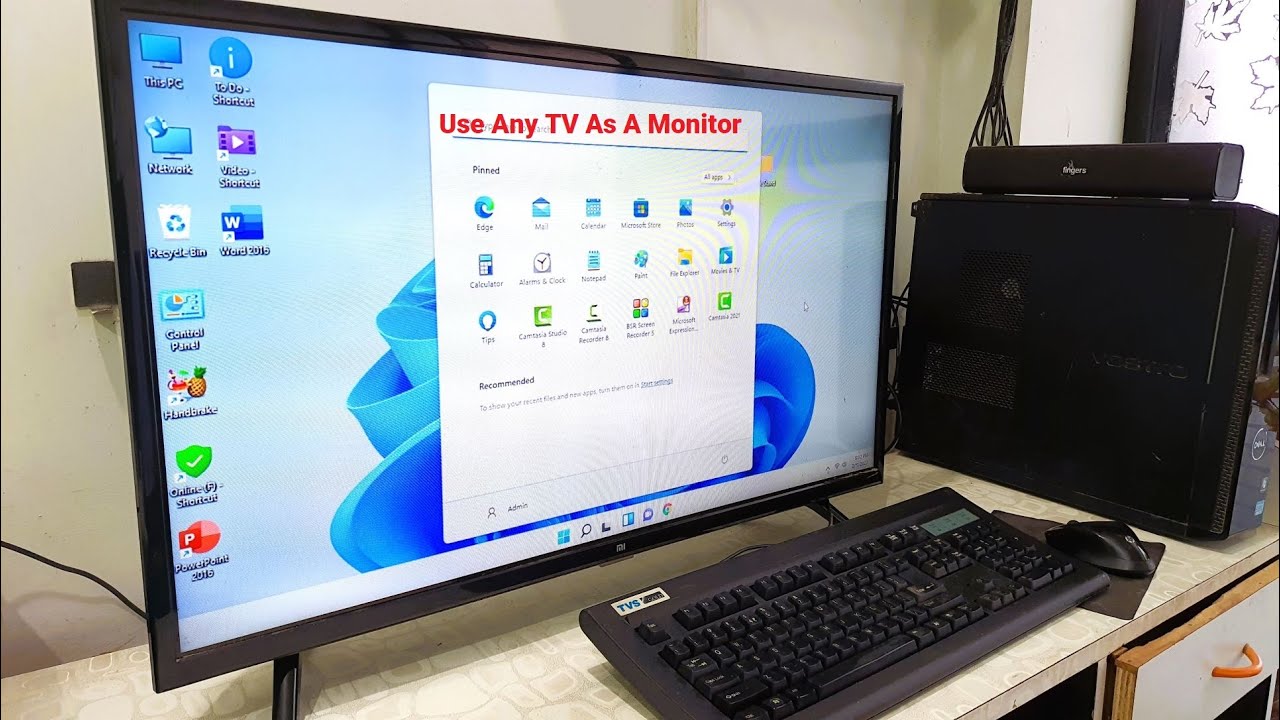
- Turn on your TV and select the appropriate HDMI input using the TV’s remote control. This step may vary depending on your TV model, but it is typically labeled as “Input” or “Source.”
- Power on your gaming console and wait for it to boot up. You should now see the console’s display on your TV screen.
It’s important to note that some gaming consoles may require additional audio connections. For instance, if your console supports surround sound or you prefer using external speakers, you may need to connect the audio output from your console to your TV or sound system separately.
Once your gaming console is successfully connected to your TV, you’re ready to move on to the next step: adjusting the display settings on your gaming console. This will help optimize the visuals and ensure the best gaming experience.
Step 3: Adjust the Display Settings on Your Gaming Console
After connecting your gaming console to the TV, it’s crucial to adjust the display settings on your console to optimize the visual output. This step will ensure that the games are displayed properly and provide you with the best gaming experience possible.
To adjust the display settings, follow these steps:
- Access the settings menu on your gaming console. This can usually be done by navigating through the console’s home screen or dashboard.
- Look for an option related to display or video settings. The exact terminology may vary depending on the console, but you should be able to find it under the settings menu.
- Adjust the resolution settings to match the capabilities of your TV. Choose the highest resolution available that is supported by both your console and your TV.
- Check if there are any options for adjusting the aspect ratio. In most cases, it’s best to select the “Auto” or “16:9” option to ensure the correct proportions and avoid any distortions.
- Consider enabling any additional visual enhancements provided by your console. Some consoles offer features like HDR (High Dynamic Range) or game-specific visual modes, which can enhance the graphics and colors of certain games.
- Save the changes and exit the settings menu.
It’s worth noting that different gaming consoles have varying display settings and options. Consult the instruction manual or online resources specific to your console for detailed information on adjusting the display settings.
Once you have adjusted the display settings on your gaming console, you can move on to the next step: enabling game mode on your TV. This will help reduce input lag and ensure a smoother gameplay experience.
Step 4: Enable Game Mode on Your TV
Game mode is a feature available on many modern TVs that optimizes the display settings specifically for gaming. By enabling game mode, you can reduce input lag and enhance the overall responsiveness of your gaming experience.
To enable game mode on your TV, follow these steps:
- Access the settings menu on your TV. This can be done by pressing the menu button on your TV remote control.
- Navigate to the picture or display settings section. Look for an option specifically labeled as “Game Mode” or “Gaming.”
- Select the game mode option and enable it. This will activate the specialized settings designed for gaming.
- Adjust any additional settings within the game mode menu to suit your preferences. This may include options such as brightness, contrast, or color settings.
- Save the changes and exit the settings menu.
Enabling game mode on your TV can significantly improve your gaming experience by reducing input lag. This means that the actions you perform in the game will be displayed on the screen with minimal delay, ensuring a more responsive and immersive gameplay experience.
If you’re unsure about how to enable game mode on your specific TV model, refer to the user manual or visit the manufacturer’s website for detailed instructions. Additionally, some TVs may have a dedicated gaming button on their remote control that can enable game mode quickly.
With game mode enabled on your TV, you’re one step closer to enjoying your favorite games with optimal responsiveness. However, to further enhance the visual quality, it’s essential to fine-tune the picture settings on your TV, which will be covered in the next step.
Step 5: Fine-tune the Picture Settings on Your TV
Now that you have enabled game mode on your TV, it’s time to fine-tune the picture settings to ensure the best visual quality for your gaming experience. Adjusting these settings will allow you to customize the brightness, contrast, color, and other visual aspects according to your preferences.
Follow these steps to fine-tune the picture settings on your TV:
- Access the settings menu on your TV, usually by pressing the menu button on your remote control.
- Navigate to the picture settings section. The exact label may vary depending on your TV model but look for options like “Picture,” “Display,” or “Image.”
- Adjust the brightness setting to your desired level. Increasing the brightness can make dark areas of the game more visible, while decreasing it can enhance contrast.
- Similarly, adjust the contrast setting to find a balance that brings out the details in the game without washing out the colors.
- Experiment with the color temperature setting. Cooler temperatures can provide a bluish tint, while warmer temperatures create a reddish or yellowish hue. Find the temperature that offers the most pleasing colors for your gaming experience.
- Consider enabling any additional picture enhancements or features offered by your TV. These may include options like dynamic contrast, motion smoothing, or noise reduction. Experiment with these settings, but be cautious as they can sometimes introduce artifacts or distortions.
- Save the changes and exit the settings menu.
It’s important to remember that picture settings can be subjective, and what looks best to you may not be the same for others. Don’t be afraid to experiment and find the optimal settings that suit your preferences and provide an enjoyable gaming experience.
If you’re unsure about specific picture settings or wish to learn more about calibrating your TV, you can refer to the user manual or seek online resources specific to your TV model. Some TVs even offer calibration guides or built-in test patterns that can assist in optimizing the picture quality.
With the picture settings fine-tuned on your TV, you’re ready to move on to the final step: connecting audio to enhance your gaming experience.
Step 6: Connect Audio for the Best Gaming Experience
While a stunning visual display is crucial for an immersive gaming experience, audio plays an equally important role in bringing your games to life. Connecting the right audio setup can enhance the excitement, immersion, and overall enjoyment of your gaming sessions. Follow these steps to connect audio and achieve the best gaming audio experience:
- Consider the audio output options on your gaming console and TV. Most gaming consoles support various audio output options, such as HDMI, optical audio, or analog audio. Choose the option that best suits your audio setup and is compatible with your TV.
- If you have a separate sound system or external speakers, connect them to your TV using the appropriate audio cables or interfaces. This will provide a more immersive audio experience and better sound quality.
- If you prefer using headphones for gaming, check if your gaming console supports headphone audio output. Many consoles have a dedicated headphone jack or offer wireless headphone connectivity.
- Adjust the audio settings on your gaming console and TV. Navigate to the audio settings menu and customize options such as volume, surround sound, equalizer settings, and audio output configurations to enhance the audio experience.
- Test the audio setup by playing a game or using audio testing tools. Ensure that the audio is synchronized with the visual display and that you’re getting the desired audio quality.
It’s worth mentioning that some TVs have limited audio capabilities, and connecting external audio devices or a sound system can significantly improve the audio quality. Additionally, some gaming consoles support advanced audio technologies like Dolby Atmos or DTS:X, which can offer an even more immersive audio experience if your audio setup supports them.
Experiment with different audio setups, adjusting the volume, balance, and other settings to find the audio configuration that suits your preferences and provides the best gaming experience.
By connecting the right audio setup and adjusting the audio settings, you can enhance the gameplay experience by immersing yourself in dynamic sound effects, engaging music, and crystal-clear dialogue. A well-rounded audio setup complements the visual aspect of gaming and ensures you don’t miss out on any action or intricate details.
Congratulations! With the audio connection established, you have successfully turned your TV into a gaming monitor and created an optimized gaming environment. Now, you can dive into your favorite games and enjoy an immersive gaming experience like never before.
Conclusion
Turning your TV into a gaming monitor opens up a whole new world of possibilities for gamers. By following the steps outlined in this guide, you can optimize your gaming experience and enjoy the thrill of console gaming on a larger screen. Here’s a recap of the steps:
- Check the compatibility of your TV to ensure it can connect to your gaming console.
- Connect your gaming console to the TV using an HDMI cable.
- Adjust the display settings on your gaming console to match your TV’s capabilities.
- Enable game mode on your TV to reduce input lag and enhance responsiveness.
- Fine-tune the picture settings on your TV to achieve the best visual quality.
- Connect audio to enhance the overall gaming experience, either through external speakers or headphones.
By going through these steps, you can create an immersive and enjoyable gaming setup that will elevate your gaming sessions to new heights. Remember, the specific steps and settings may vary depending on your TV and gaming console, so consult the user manuals or online resources for detailed instructions tailored to your equipment.
So, prepare to embark on epic adventures and engage in heart-pounding battles as you enjoy the vibrant visuals and immersive sound on your TV transformed into a gaming monitor. Get ready to experience your favorite games like never before!
With the right setup and a little bit of tinkering, you can create a gaming environment that delivers the perfect combination of stunning visuals, smooth gameplay, and captivating audio. So grab your controller, power on your console, and immerse yourself in the world of gaming on your TV turned gaming monitor.