Introduction
Connecting powered monitors to your LG OLED TV can greatly enhance your audio experience by providing clearer and more immersive sound. Whether you’re a movie enthusiast, a music lover, or a gaming aficionado, having high-quality audio can make a world of difference in your entertainment setup.
Powered monitors, also known as active speakers, are speakers that have a built-in amplifier. This means that you don’t need a separate amplifier or receiver to power them. They are a popular choice for audio enthusiasts because they offer convenience and high-quality sound reproduction.
In this guide, we will walk you through the steps to connect powered monitors to your LG OLED TV. We’ll also cover how to adjust the audio settings and troubleshoot any issues that may arise. With the right equipment and a few simple steps, you’ll be able to enjoy powerful and crystal-clear audio from your favorite movies, music, and games.
Before we dive into the connection process, it’s important to note that the specific steps may vary depending on the model of your LG OLED TV and the type of powered monitors you have. Be sure to consult the user manuals for your TV and speakers for any manufacturer-specific instructions. Additionally, make sure to gather all the necessary equipment before getting started.
Step 1: Gather the Necessary Equipment
Before you can connect your powered monitors to your LG OLED TV, you’ll need to gather a few essential pieces of equipment. Here’s what you’ll need:
- Powered Monitors: Make sure you have a pair of powered monitors or active speakers. These speakers have built-in amplifiers, so you don’t need a separate amplifier or receiver.
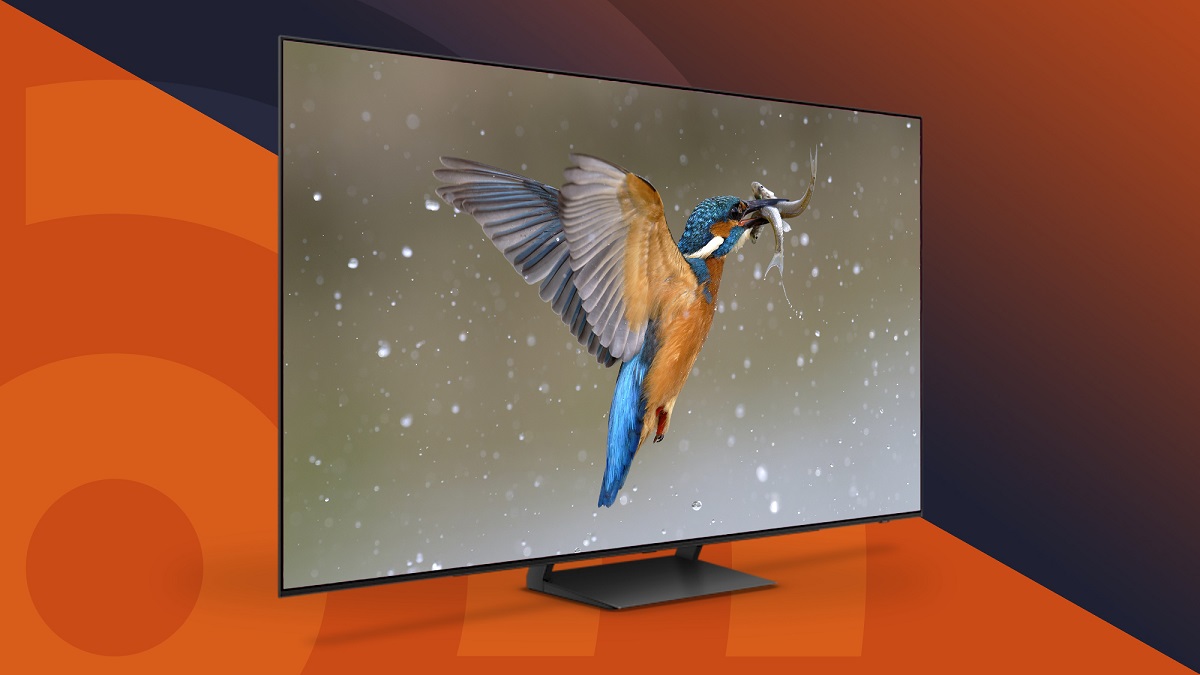
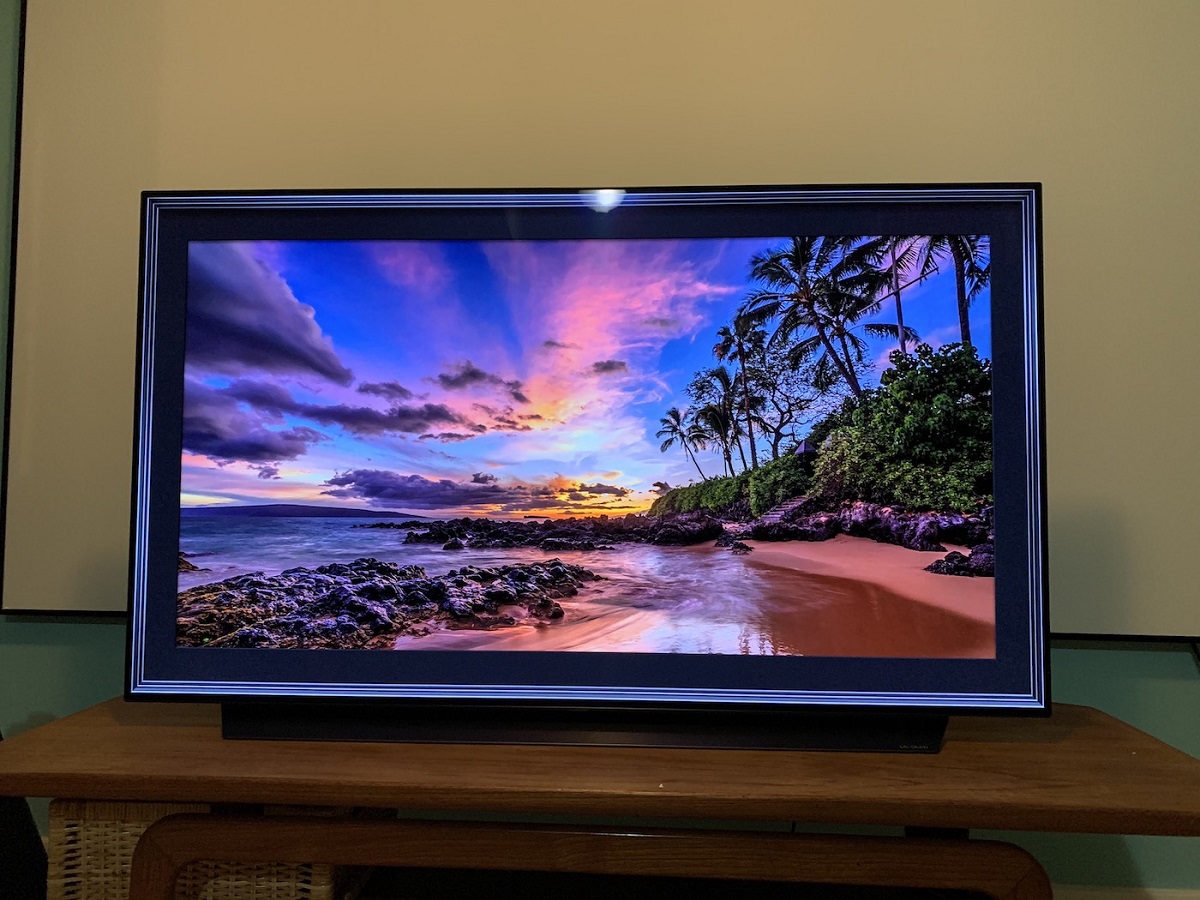
- LG OLED TV: You’ll obviously need an LG OLED TV as the source of video and audio. The steps in this guide are specifically tailored for LG OLED TVs, so it’s important to make sure you have the right TV model.
- Audio Cables: You’ll need the appropriate audio cables to connect your powered monitors to your TV. The type of cable you’ll need depends on the available audio outputs on your TV and the inputs on your powered monitors. The most common types of audio cables used are RCA, 3.5mm, or optical cables. Refer to the user manuals of your TV and speakers to determine the right type of cable for your setup.
- Power Cables: Ensure that you have the necessary power cables for both your LG OLED TV and your powered monitors. Make sure they are in good condition and have the correct connectors for your specific devices.
- Remote Control: Keep the remote control handy as you may need to adjust the TV’s settings during the process.
- User Manuals: It’s always helpful to have the user manuals for both your LG OLED TV and your powered monitors on hand. These manuals will provide detailed instructions specific to your devices and can help troubleshoot any issues that may arise during the setup process.
Once you have gathered all the necessary equipment, you’re ready to move on to the next step in connecting your powered monitors to your LG OLED TV.
Step 2: Establish the Connection
Now that you have all the necessary equipment, it’s time to establish the connection between your LG OLED TV and the powered monitors. Follow these steps to ensure a successful connection:
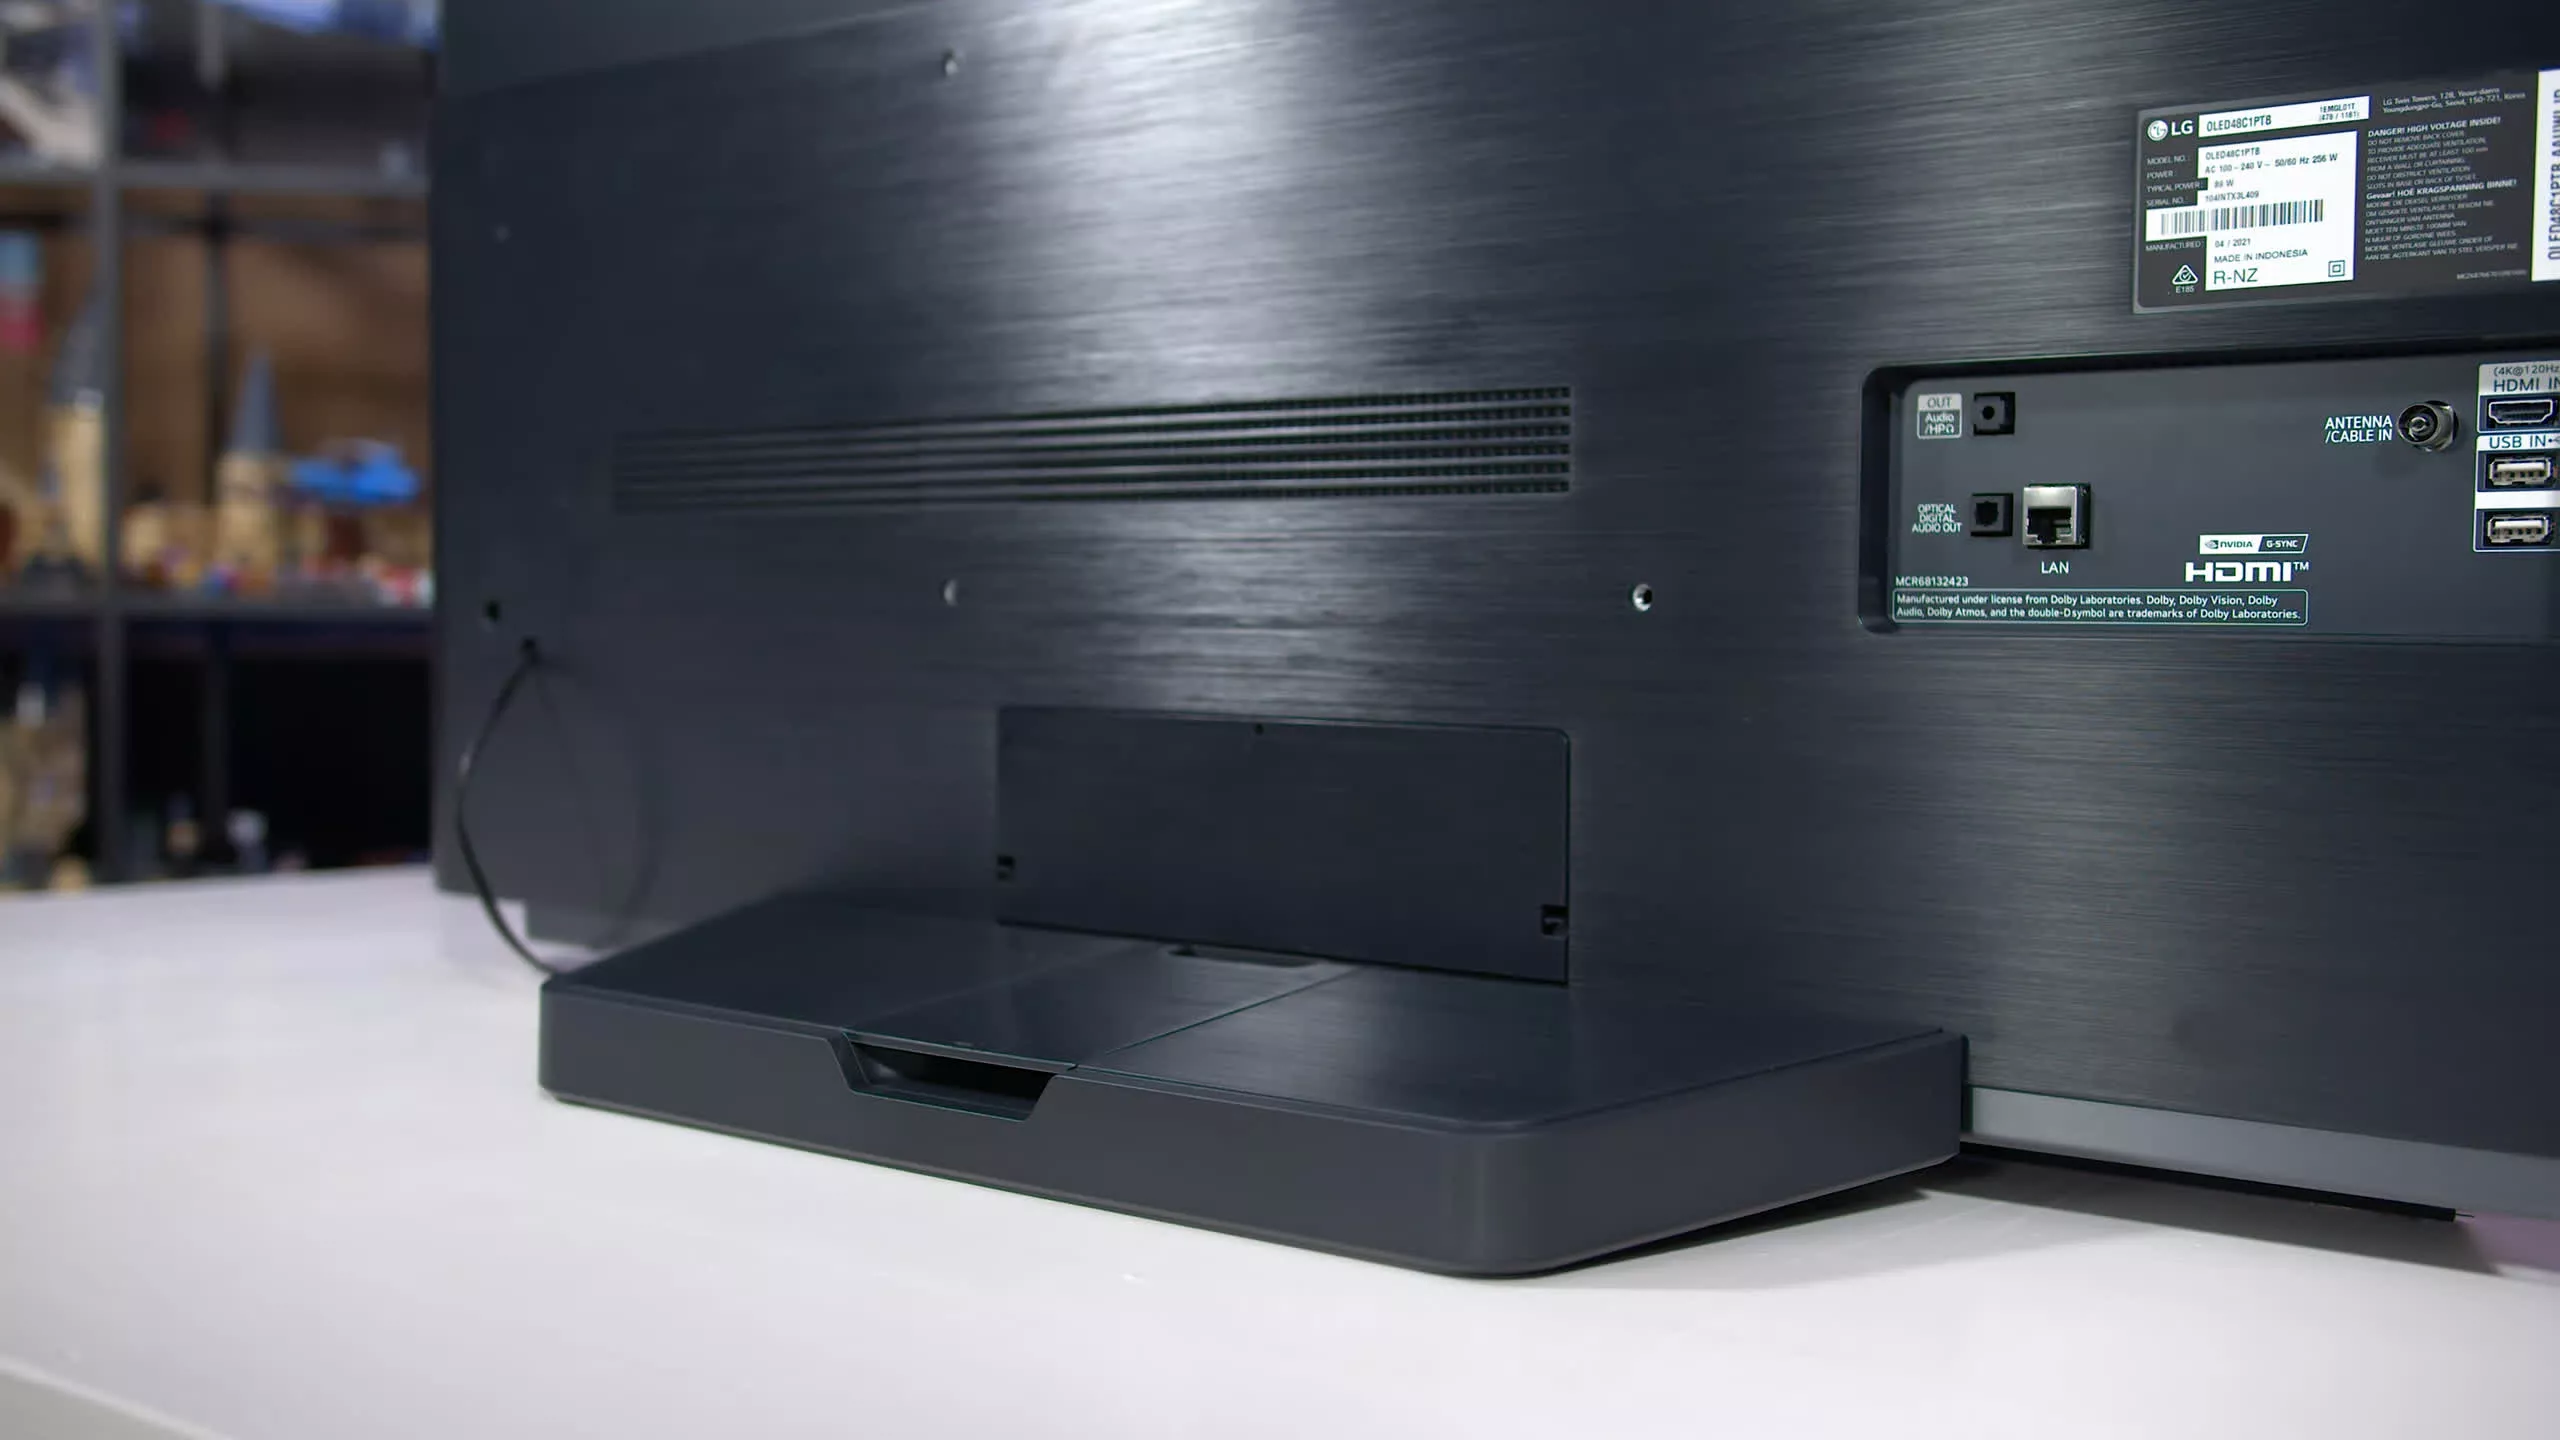
- Identify the Audio Outputs: Take a look at the back of your LG OLED TV to locate the audio outputs. The most common audio output options include RCA, 3.5mm, or optical outputs. Refer to your TV’s user manual for the exact location of these outputs.
- Connect the Audio Cable: Depending on the audio output on your TV and the input on your powered monitors, connect the appropriate audio cable. For example, if your TV has RCA outputs, connect the RCA cable from the TV’s output to the corresponding inputs on your powered monitors.
- Secure the Connections: Ensure that the audio cable is securely connected to both your TV and the powered monitors. A loose connection can result in audio distortion or no sound at all.
- Power On the Devices: Plug in the power cables for both your LG OLED TV and the powered monitors. Make sure they are properly connected to power outlets and turned on.
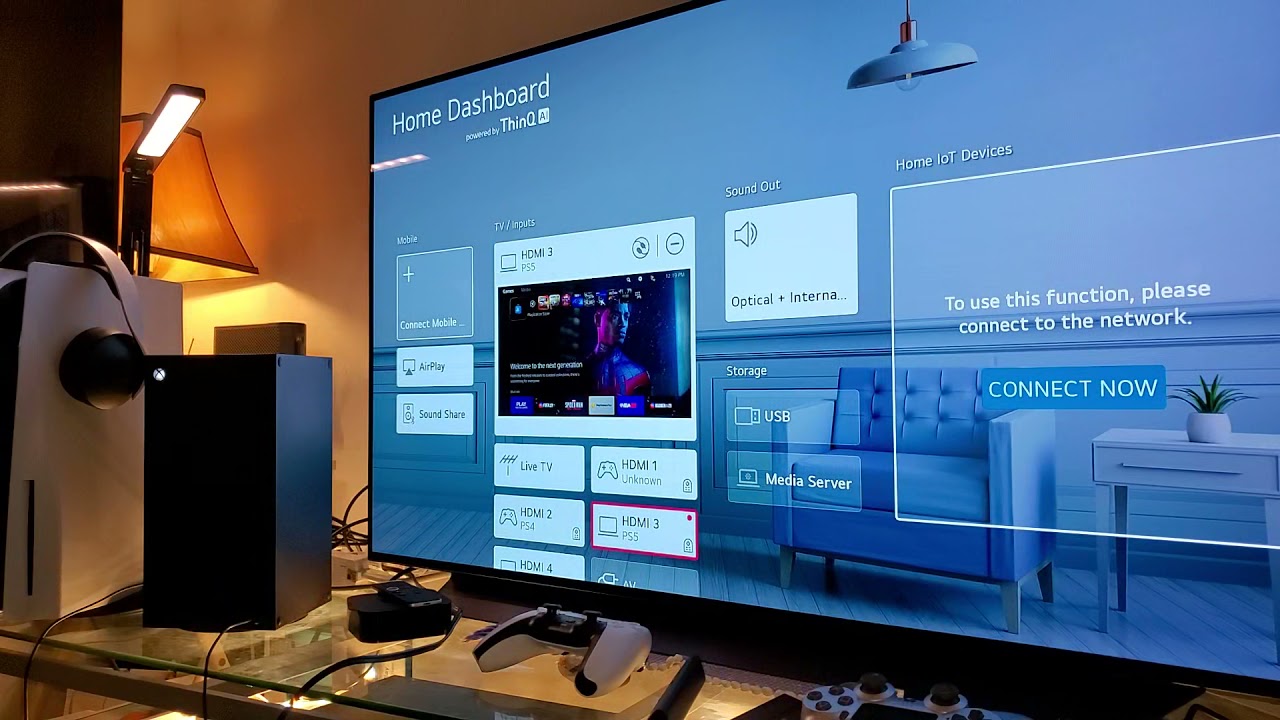
- Select the Audio Output: On your LG OLED TV, navigate to the audio settings. This can typically be done through the TV’s settings menu or by pressing the “Menu” button on your TV remote and selecting the audio settings. Choose the audio output that corresponds to the connection you made in the previous steps (e.g., RCA, 3.5mm, or optical).
- Adjust the Volume: Test the connection by playing some audio on your TV. Use the TV remote or the volume control on your powered monitors to adjust the volume to a comfortable level.
- Position the Powered Monitors: Place the powered monitors in an optimal location for audio playback. It is recommended to position them on either side of your TV and at ear level for the best sound reproduction.
With the connection established, you should now be able to enjoy the enhanced audio experience of your LG OLED TV through your powered monitors. If you’re not getting any sound or experiencing issues, refer to the troubleshooting section in the next step for assistance.
Step 3: Adjust the Audio Settings
Once you have connected your powered monitors to your LG OLED TV, it’s important to adjust the audio settings to optimize the sound quality. Follow these steps to fine-tune the audio settings:
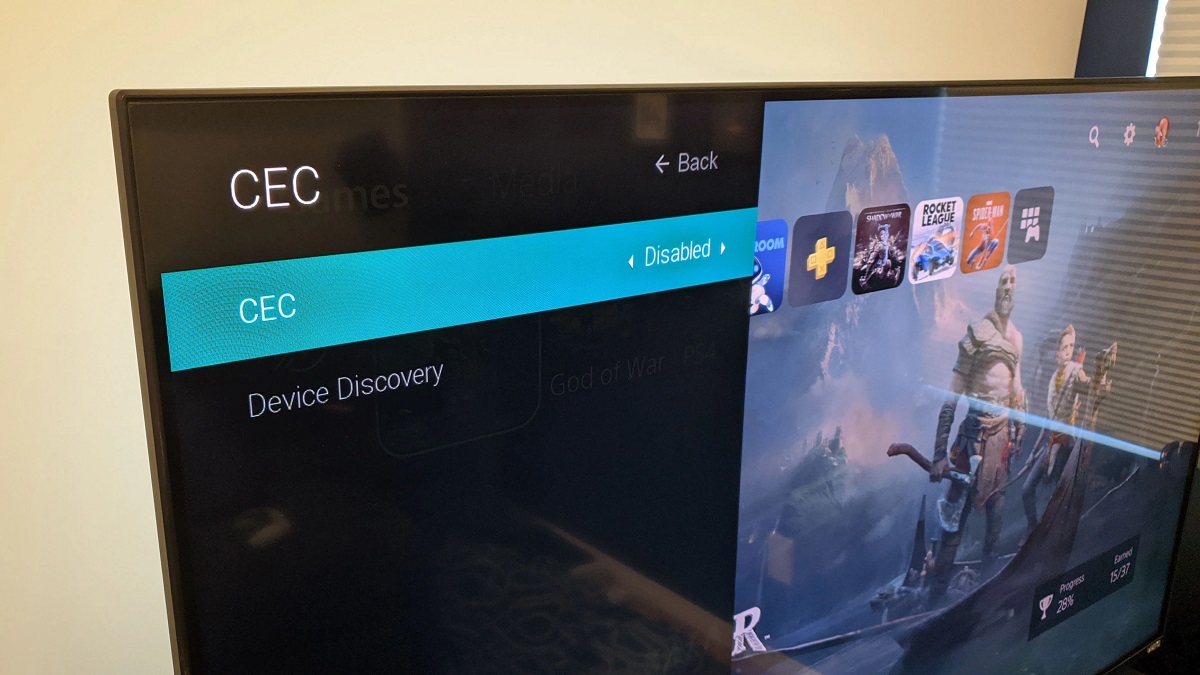
- Access the Audio Settings: Using your TV remote, navigate to the audio settings menu. This can usually be found in the TV’s settings or audio options menu.
- Audio Output Selection: Ensure that the audio output is set to the appropriate option that corresponds to the connection you made in the previous steps, such as RCA, 3.5mm, or optical. Make sure the TV is set to use the connected powered monitors as the audio output device.
- Sound Mode: Select the sound mode that best suits your preferences and the type of content you’re watching. Most TVs offer different sound modes such as Standard, Movie, Music, or Game. Experiment with different modes to find the one that provides the best audio experience for your powered monitors.
- Equalizer Settings: If your LG OLED TV offers an equalizer, take advantage of it to customize the sound according to your preference. Adjust the bass, treble, and other audio frequencies to enhance the overall audio quality.
- Surround Sound: If you have a surround sound audio system or simulated surround sound feature on your TV, you can enable it to create a more immersive audio experience. Check the TV’s settings for any surround sound options and adjust them to your liking.
- Volume Leveling: Some LG OLED TVs have a volume leveling feature that maintains a consistent volume level across different content. If available, you can enable this feature to prevent sudden volume changes between channels or during commercials.
It’s important to note that the specific options and features available in your TV’s audio settings may vary depending on the model and firmware version. Refer to the user manual or online resources provided by LG for detailed instructions on adjusting the audio settings for your specific TV model.
Once you have optimized the audio settings, sit back, relax, and enjoy the immersive sound experience provided by your LG OLED TV and powered monitors.
Step 4: Test and Troubleshoot the Connection
After establishing the connection between your LG OLED TV and powered monitors and adjusting the audio settings, it’s important to test the setup and address any potential issues that may arise. Follow these steps to test and troubleshoot the connection:
- Test the Audio Playback: Play various types of audio content on your TV, such as movies, music, or games, to ensure that the sound is coming through the powered monitors and that it is clear and balanced. Adjust the volume as needed.
- Check for Audio Sync Issues: Pay attention to the audio sync with the on-screen video. If there is a noticeable delay in the sound, you may need to adjust the audio delay settings in your TV’s audio menu. Consult the user manual for your TV or visit the manufacturer’s website for instructions on adjusting the audio delay.
- Ensure Proper Channel Balance: If you notice an imbalance in audio between the left and right powered monitors, check the cable connections and make sure they are secure. You may also need to adjust the balance settings in your TV’s audio menu to achieve equal sound output.
- Troubleshoot No Sound Issues: If you’re not getting any sound from your powered monitors, double-check the audio cable connections and ensure they are firmly plugged into both the TV and the speakers. Try switching to a different audio input on your powered monitors, and make sure they are powered on and the volume is turned up. It’s also worth checking the audio output settings on your TV to ensure the correct output source is selected.
- Consult Support Resources: If you’re still having trouble with the connection or experiencing any other audio issues, consult the user manuals for your LG OLED TV and powered monitors. You can also visit the manufacturer’s website or contact their customer support for further assistance.
By testing the audio playback, addressing any sync or channel balance issues, and troubleshooting any sound problems, you can ensure a seamless and enjoyable audio experience with your connected powered monitors and LG OLED TV setup.
Conclusion
Connecting powered monitors to your LG OLED TV is a great way to elevate your audio experience and immerse yourself in your favorite movies, music, and games. By following the steps outlined in this guide, you can easily establish a connection and enjoy clear and powerful sound reproduction.
In Step 1, we discussed the importance of gathering the necessary equipment, including powered monitors, audio cables, and power cables. Make sure to consult the user manuals for your specific devices to ensure a successful connection.
Step 2 focused on establishing the connection between your LG OLED TV and the powered monitors. By identifying the audio outputs on your TV and securely connecting the audio cables, you can ensure a stable and reliable connection.
Once the connection is established, Step 3 guided you through adjusting the audio settings on your TV to optimize the sound quality. By selecting the appropriate audio output, experimenting with sound modes and equalizer settings, and enabling surround sound if available, you can customize the audio to your liking.
Finally, Step 4 emphasized the importance of testing the connection and troubleshooting any potential issues. Testing the audio playback, checking for audio sync issues, ensuring proper channel balance, and addressing any sound problems will help you fine-tune your setup and enjoy a flawless audio experience.
Remember to consult the user manuals for your LG OLED TV and powered monitors, as well as the support resources provided by the manufacturers if you encounter any difficulties.
With the right equipment, proper connection, and adjustments to the audio settings, you can now sit back, relax, and immerse yourself in the rich and detailed sound produced by your LG OLED TV and connected powered monitors. Enjoy the enhanced audio experience and elevate your entertainment to a whole new level.