Introduction
Welcome to this guide on how to turn on noise cancelling on AirPods on a Chromebook! If you’re someone who loves their AirPods and enjoys a distraction-free audio experience, you might be wondering how you can activate noise cancellation on your Chromebook.
AirPods are known for their fantastic sound quality and advanced features, including noise cancellation. However, using AirPods with a Chromebook can sometimes require a few extra steps compared to using them with other devices. But worry not, as we’re here to help you navigate through the process.
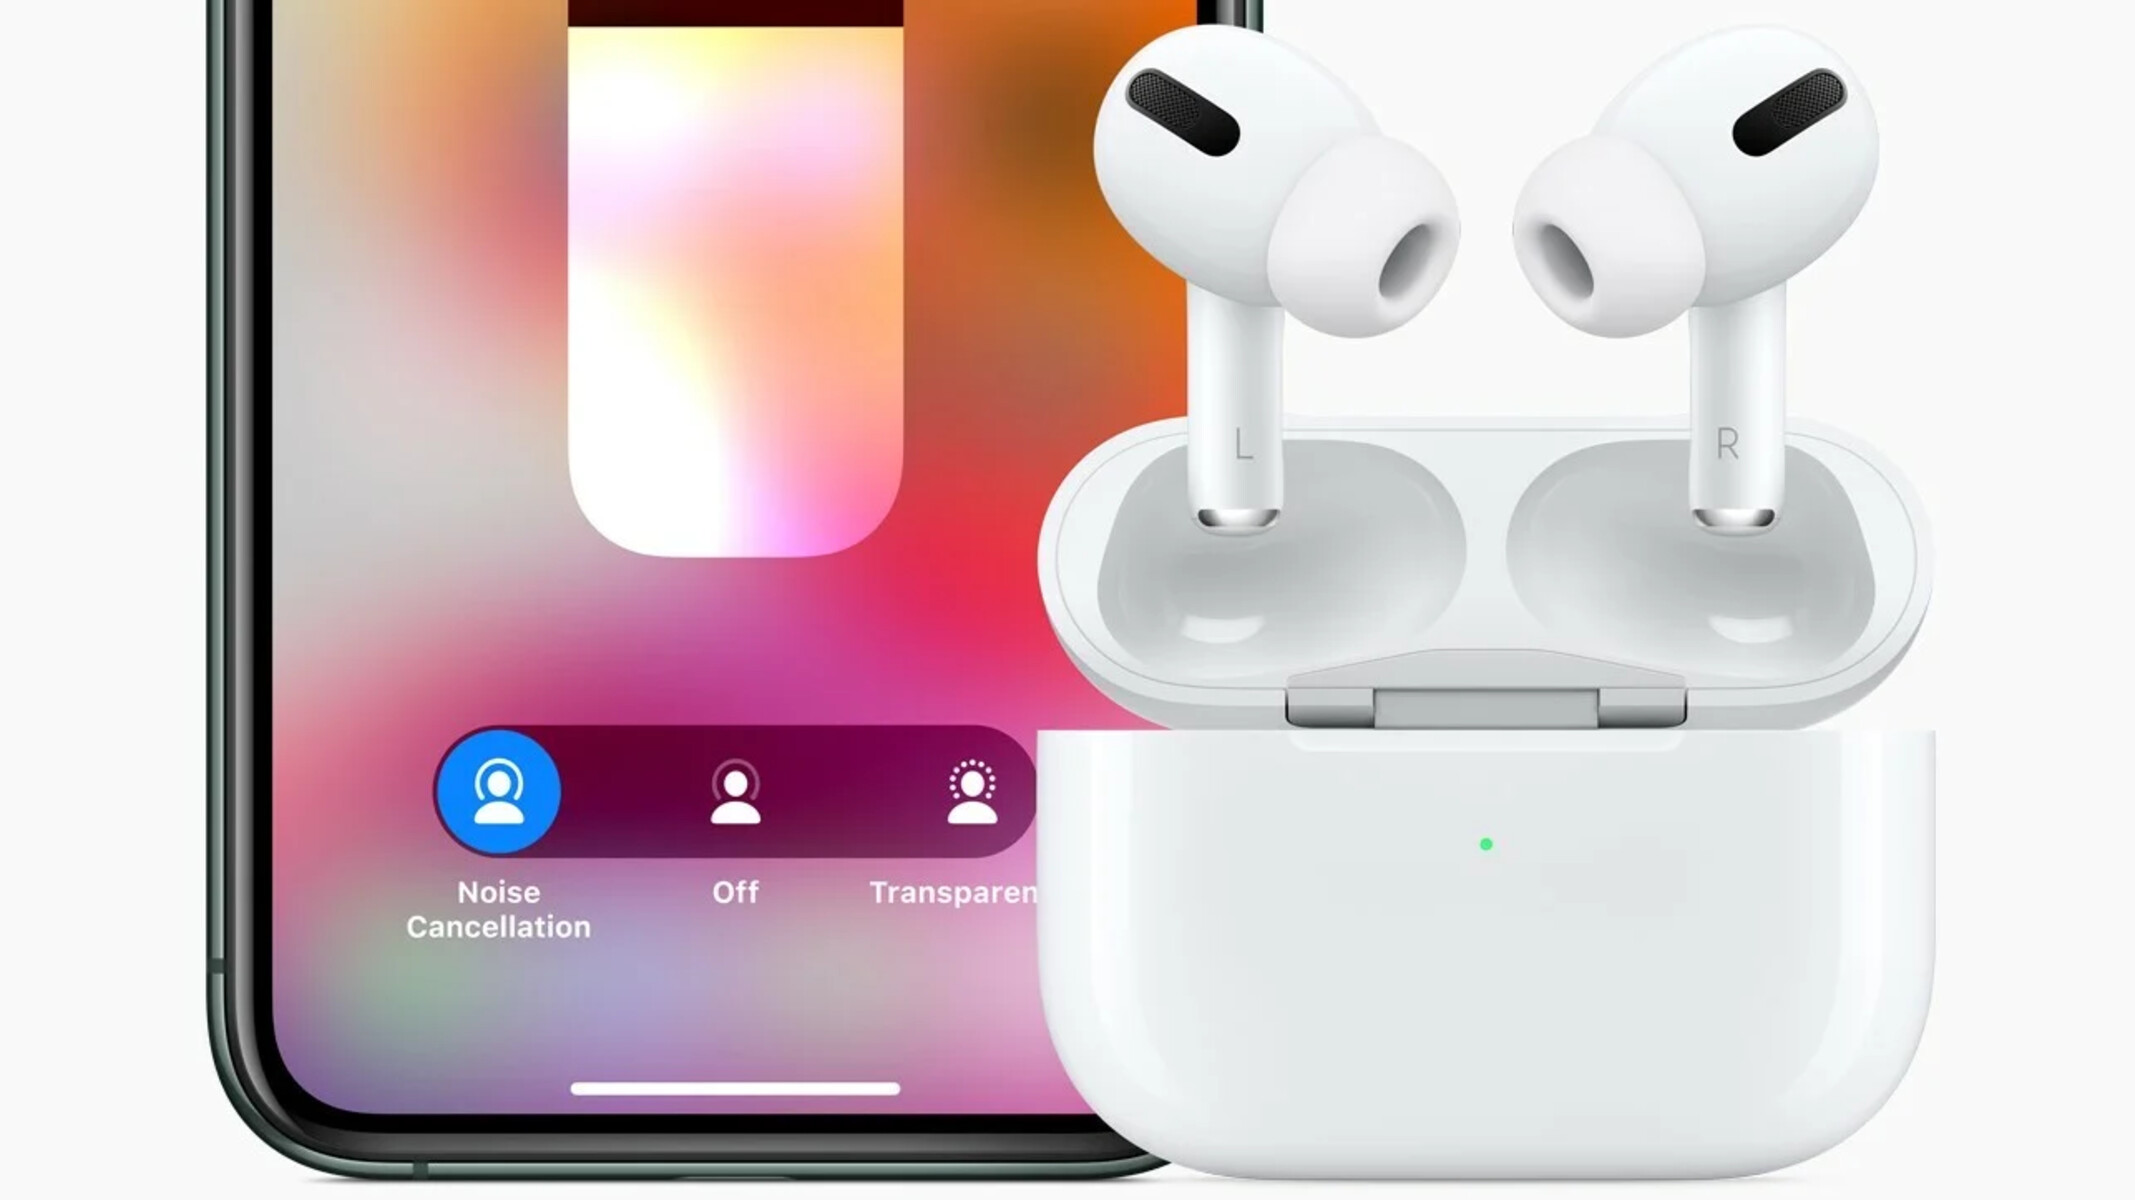
With noise cancellation, you can immerse yourself in your favorite music, podcasts, or audio content without any external distractions. It helps minimize background noises, allowing you to focus on what you’re listening to and enjoy a more enhanced audio experience.
In the following sections, we will guide you step-by-step through the process of turning on noise cancelling on your AirPods while using a Chromebook. We will cover everything from pairing your AirPods with your Chromebook to adjusting the necessary audio settings. So let’s get started and make the most out of your AirPods on Chromebook!
Step 1: Pairing your AirPods with your Chromebook
The first step in enabling noise cancelling on your AirPods on a Chromebook is to pair them with your device. This process ensures a seamless connection between your AirPods and Chromebook, allowing you to access all the features and settings.
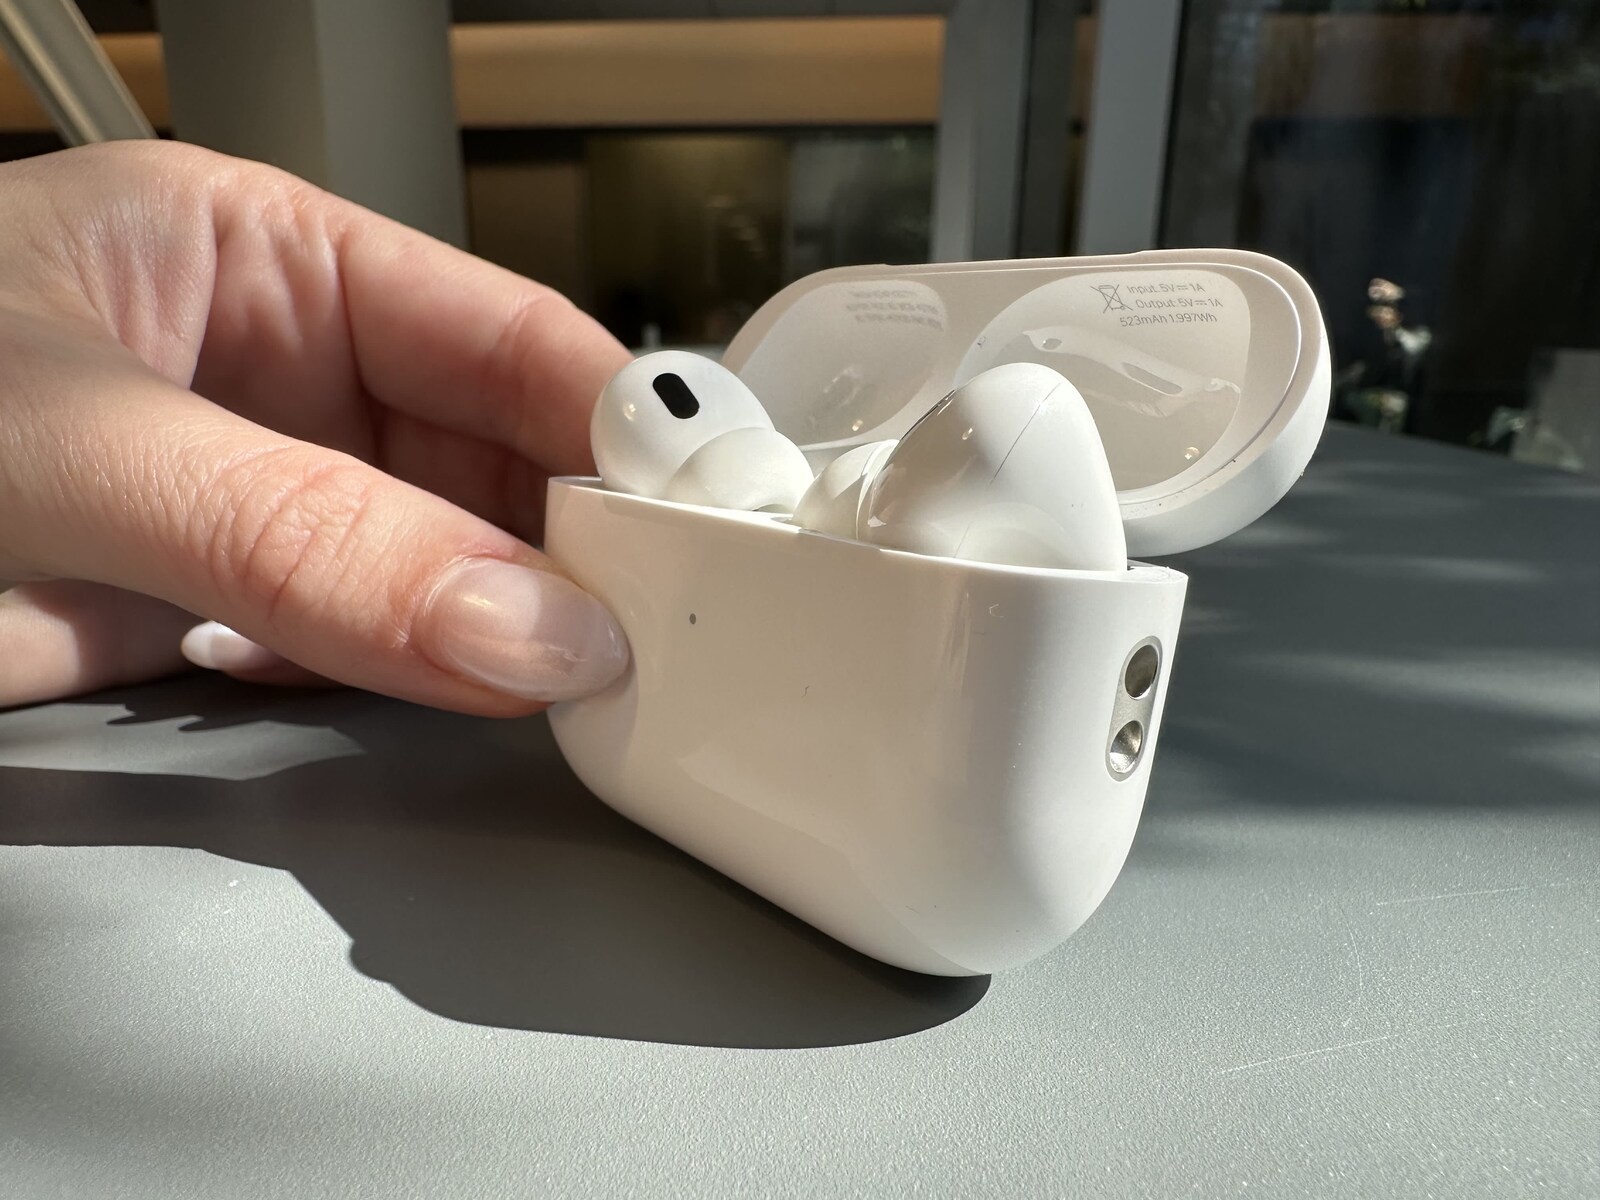
To begin, put your AirPods in their case and open the lid. Make sure they are charged and ready to use. On your Chromebook, click on the time in the lower right corner of the screen to open the system tray. From the list of options, select the Bluetooth icon to open the Bluetooth settings menu.
In the Bluetooth settings menu, ensure that Bluetooth is turned on. Your Chromebook will begin searching for available devices. On your AirPods case, locate the small button located on the back and press and hold it until the LED light on the front starts flashing white. This initiates the pairing mode on your AirPods.
In the Bluetooth settings menu on your Chromebook, you should see your AirPods appear in the list of available devices. Click on your AirPods’ name to initiate the pairing process. Your Chromebook will establish a connection with your AirPods, and once successfully paired, you will see a notification confirming the connection.
With your AirPods now paired with your Chromebook, you are ready to proceed to the next steps in enabling noise cancellation. Remember that your AirPods need to be in range of your Chromebook for a stable connection, so it’s a good idea to keep them nearby during the following steps.
That’s it for step 1! You’ve successfully paired your AirPods with your Chromebook. Now, let’s move on to the next step, where we’ll delve into accessing the Bluetooth settings on your Chromebook.
Step 2: Accessing the Bluetooth settings on your Chromebook
To enable noise cancellation on your AirPods on a Chromebook, you need to access the Bluetooth settings on your device. These settings allow you to manage and customize the Bluetooth connections, including the settings for your AirPods.
To begin, click on the time in the lower right corner of your Chromebook’s screen to open the system tray. From the list of options that appear, select the gear icon to open the Settings menu. Alternatively, you can press the “Search” key on your keyboard and type “Settings” to directly navigate to the Settings menu.
In the Settings menu, scroll down until you find the “Bluetooth” option. Click on it to access the Bluetooth settings. Here, you will find a list of already paired Bluetooth devices and the option to add new devices.
Make sure that the Bluetooth toggle switch is turned on to enable Bluetooth connectivity on your Chromebook. This allows your device to discover and connect to other Bluetooth devices, including your AirPods. If the toggle switch is off, click on it to turn it on.
Once Bluetooth is enabled, your Chromebook will start searching for available devices. In the list of available devices, you should see your AirPods listed, assuming they are in pairing mode. Click on your AirPods’ name to initiate the connection process.
If your AirPods don’t appear in the list, ensure that they are properly in pairing mode. This may require you to put them back in their case, close the lid, and then reopen it to re-enter pairing mode. Make sure the LED light on the front of the case is flashing white to indicate pairing mode.
Congratulations! You have successfully accessed the Bluetooth settings on your Chromebook. Now it’s time to move on to the next step and enable developer mode on your Chromebook to unlock additional features and settings.
Step 3: Enabling Developer mode on your Chromebook
In order to access advanced features and settings on your Chromebook, including noise cancellation for AirPods, you need to enable Developer mode. Developer mode allows you to customize and tailor your Chromebook’s settings to your preferences, granting you greater control over the device.
Before proceeding, it’s important to note that enabling Developer mode will reset your Chromebook to factory settings, erasing all data and files. It’s crucial to back up any important data before proceeding with this step.
To enable Developer mode, start by turning off your Chromebook. Once it’s powered off, press and hold the Esc and Refresh (F3) keys on the keyboard. While holding these keys, press the Power button to turn on your Chromebook. Keep holding the Esc and Refresh keys until you see a screen with a yellow exclamation mark.
On the screen with the yellow exclamation mark, press Ctrl and D together. A screen will appear with a message prompting you to enable Developer mode. Read the warning carefully and, if you’re ready to proceed, press Enter.
Your Chromebook will now enter Developer mode, with a progress bar indicating the process. This may take a few minutes to complete. Once the process is finished, your Chromebook will reboot into Developer mode, and you’ll see a message indicating that it’s in Developer mode.
Keep in mind that every time you turn on your Chromebook, you’ll see a warning screen reminding you that you’re in Developer mode. To bypass this screen and proceed to the login screen, press Ctrl and D together.
Congratulations! You have successfully enabled Developer mode on your Chromebook. Now, let’s move on to the next step, where we’ll discuss installing the Linux (Beta) feature on your Chromebook to unlock additional capabilities.
Step 4: Installing the Linux (Beta) feature on your Chromebook
To further enhance the capabilities of your Chromebook and enable noise cancellation on AirPods, you need to install the Linux (Beta) feature. Linux (Beta) allows you to run Linux applications alongside Chrome OS, expanding the range of software available on your device.
Before proceeding, ensure that your Chromebook is connected to the internet. Linux (Beta) requires an internet connection for installation and updates.
To begin, open the “Settings” menu on your Chromebook. You can do this by clicking on the time in the lower right corner of the screen and selecting the gear icon, or by pressing the “Search” key on your keyboard and typing “Settings” to search for it directly.
In the Settings menu, scroll down and look for the “Linux (Beta)” option in the left sidebar. Click on it to open the Linux settings.
On the Linux settings page, click the “Turn on” button to enable Linux (Beta) on your Chromebook. A window will appear, providing an overview of what to expect during the installation process. Click on the “Install” button to begin the installation.
The installation process may take some time, as your Chromebook downloads and prepares the necessary components for running Linux applications. Be patient and avoid interrupting the process.
Once the installation is complete, you will see a terminal window, indicating that Linux (Beta) has been successfully installed on your Chromebook. From here, you can access and utilize Linux-based software and tools.
Congratulations! You have successfully installed the Linux (Beta) feature on your Chromebook. Now, let’s move on to the next step, where we’ll enable Linux (Beta) and install a Terminal app to further customize your settings.
Step 5: Enabling Linux (Beta) and installing Terminal app
Now that you have Linux (Beta) installed on your Chromebook, it’s time to enable it and install a Terminal app. Enabling Linux (Beta) allows you to run Linux-based applications and utilities on your Chromebook, while the Terminal app gives you a command-line interface to interact with the Linux environment.
Begin by opening the “Settings” menu on your Chromebook. You can do this by clicking on the time in the lower right corner of the screen and selecting the gear icon or by pressing the “Search” key on your keyboard and typing “Settings” to search for it directly.
In the Settings menu, scroll down and find the “Linux (Beta)” option in the left sidebar. Click on it to access the Linux settings.
On the Linux settings page, click the “Turn on” button to enable Linux (Beta) on your Chromebook if it’s not already enabled. Once enabled, you’ll see the option to set up a Linux container. Click on the “Set up” button to proceed.
During the setup process, your Chromebook will download and configure the necessary files to create a Linux container environment. This may take a few minutes, depending on your internet connection speed.
Once the setup is complete, you’ll have access to the Linux terminal. To install the Terminal app, open the Linux terminal by clicking on the “Terminal” icon in the app drawer or by searching for “Terminal” in the search bar.
In the Terminal app, you can use standard Linux commands to navigate, install packages, and configure settings within the Linux environment on your Chromebook. To install the Terminal app, enter the following command in the terminal window:
sudo apt-get install gnome-terminal
Follow the on-screen prompts to complete the installation of the Terminal app. Once installed, you can access the Terminal app from the app drawer and use it to interact with the Linux environment on your Chromebook.
Congratulations! You have successfully enabled Linux (Beta) and installed the Terminal app on your Chromebook. Now, let’s move on to the next step, where we’ll install the PulseAudio volume control to adjust the audio settings.
Step 6: Installing PulseAudio volume control
In order to have better control over the audio settings on your Chromebook and enable noise cancelling on your AirPods, you will need to install the PulseAudio volume control. This tool allows you to manage and adjust various audio settings, including the volume levels and audio output devices.
To begin, open the Terminal app that you previously installed in the Linux environment on your Chromebook. If you’re not already in the Terminal app, you can find it in the app drawer or by searching for “Terminal” in the search bar.
Once in the Terminal app, you’ll need to enter a series of commands to install the PulseAudio volume control. Type the following command and press Enter to update your package list:
sudo apt-get update
After the package list is updated, enter the following command and press Enter to install the PulseAudio volume control:
sudo apt-get install pavucontrol
The Terminal app will prompt you to confirm the installation by entering your password. Enter your password and press Enter to proceed with the installation.
The system will fetch the necessary files and install the PulseAudio volume control on your Chromebook. This may take a few moments, depending on your internet connection speed.
Once the installation is complete, you can launch the PulseAudio volume control by searching for “PulseAudio Volume Control” in the app drawer or by running the following command in the Terminal app:
pavucontrol
The PulseAudio volume control app will open, providing you with a graphical interface to manage and adjust your audio settings. From here, you can control the volume, switch audio output devices, and configure other audio-related options.
Congratulations! You have successfully installed the PulseAudio volume control on your Chromebook. Now, let’s move on to the next step, where we’ll adjust the audio settings using PulseAudio to enable noise cancelling on your AirPods.
Step 7: Adjusting audio settings using PulseAudio
Now that you have installed the PulseAudio volume control on your Chromebook, it’s time to adjust the audio settings to enable noise cancelling on your AirPods. PulseAudio provides you with a user-friendly interface to manage and customize your audio options, allowing you to fine-tune the settings according to your preferences.
To begin, open the PulseAudio volume control app. You can do this by searching for “PulseAudio Volume Control” in the app drawer or by running the following command in the Terminal app:
pavucontrol
In the PulseAudio volume control app, you will see various tabs and controls that allow you to adjust different aspects of your audio settings. Look for the “Output Devices” tab and click on it.
Under the “Output Devices” tab, you should see a list of available output devices. Locate your AirPods in the list and select them as the preferred audio output device by clicking on them.
Once your AirPods are selected as the output device, you can adjust the volume level using the slider provided. You can also make use of the additional audio settings, such as balance and equalizer, if needed.
To enable noise cancellation on your AirPods, check if there is an option for it within the PulseAudio volume control app. Different devices and audio configurations may have varying options available. If there is a noise cancellation option specifically for AirPods, enable it to activate the feature.
Once you have made the desired adjustments, close the PulseAudio volume control app, and your settings will be saved for future use. You can always reopen the app to fine-tune your audio settings whenever needed.
Congratulations! You have successfully adjusted the audio settings using PulseAudio to enable noise cancelling on your AirPods. Now, you can enjoy an immersive and distraction-free audio experience on your Chromebook.
In the next and final step, we will cover how to activate noise cancellation on your AirPods themselves, completing the entire process.
Step 8: Activating noise cancellation on AirPods
Now that you have adjusted the audio settings on your Chromebook using PulseAudio, it’s time to activate the noise cancellation feature on your AirPods themselves. By following this step, you will fully enable noise cancellation and enjoy a more immersive audio experience.
To activate noise cancellation on your AirPods, make sure they are connected and paired with your Chromebook. Put your AirPods in your ears and open the audio or media application of your choice on your Chromebook.
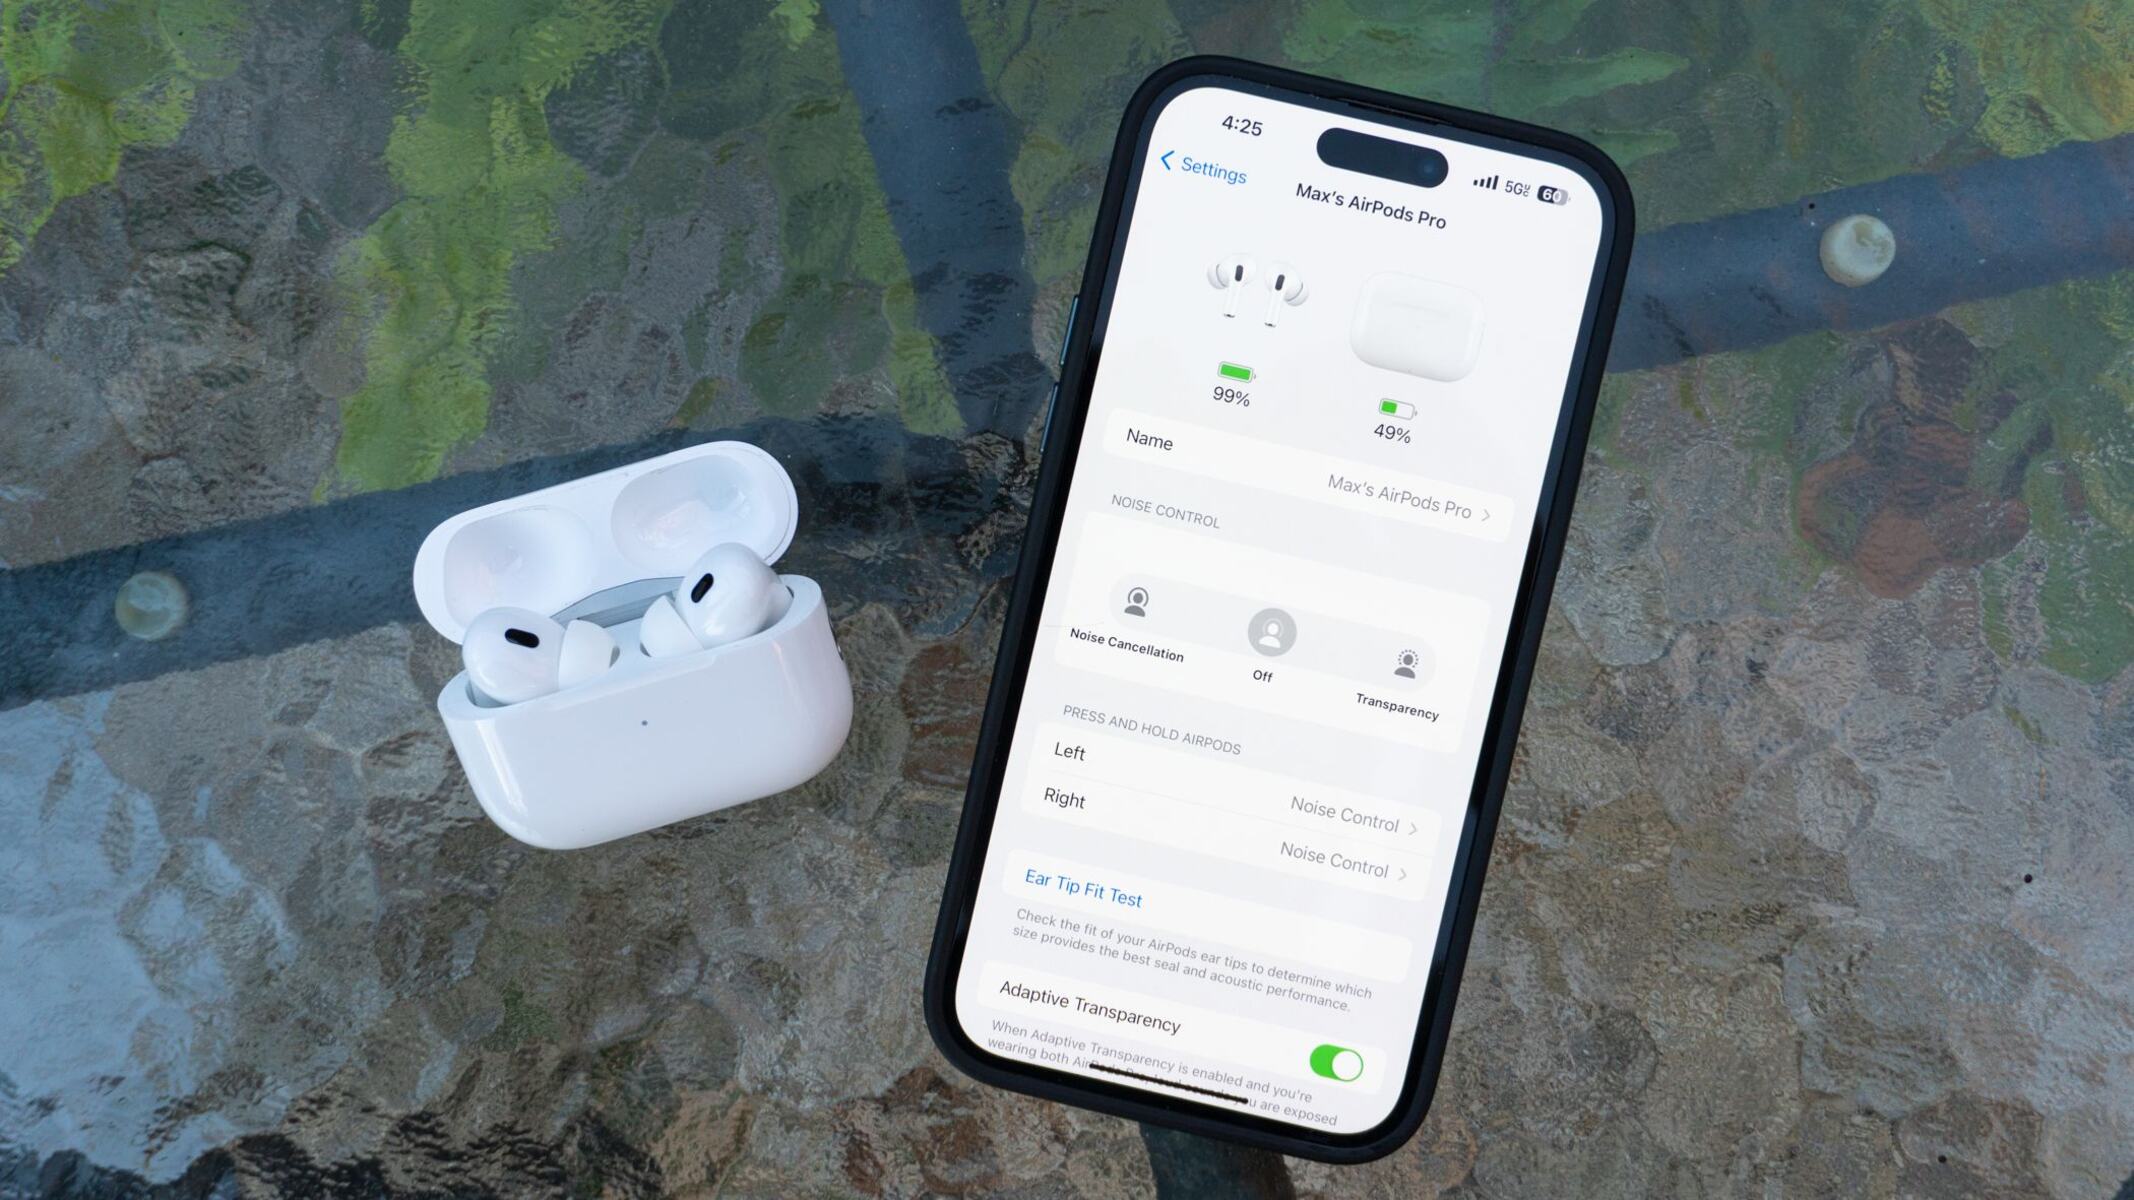
Once the audio or media is playing, locate the volume control buttons on your AirPods. On the right AirPod, press and hold the volume up button until you hear a chime or an additional tone. This indicates that the noise cancellation feature has been activated.
You can verify if the noise cancellation is working by listening to the audio and experiencing the reduced background noises. The noise cancellation feature helps minimize external sounds, allowing you to fully immerse yourself in your audio content.
If you wish to disable the noise cancellation feature and switch back to the normal audio mode, repeat the process. Press and hold the volume down button on your AirPods until you hear a chime or an additional tone confirming that noise cancellation has been turned off.
Remember that noise cancellation on AirPods works best in environments with consistent background noises, such as traffic or a noisy office. It may not be as effective in quieter environments with minimal ambient sounds.
Congratulations! You have successfully activated noise cancellation on your AirPods. Enjoy your enhanced audio experience and immerse yourself in your favorite audio content without any distracting noises.
With all the steps completed, you now have a thorough understanding of how to turn on noise cancellation on AirPods on a Chromebook. Enjoy your AirPods to the fullest on your Chromebook and embrace a truly immersive and uninterrupted audio experience.
Conclusion
Congratulations on successfully learning how to turn on noise cancellation on AirPods on your Chromebook! By following the step-by-step guide in this article, you have gained the knowledge and skills necessary to enhance your audio experience and enjoy a distraction-free environment while using your AirPods.
We started by pairing your AirPods with your Chromebook and accessing the Bluetooth settings. Then, we enabled Developer mode and installed the Linux (Beta) feature to unlock additional capabilities. Next, we installed the PulseAudio volume control to customize the audio settings and adjusted them to enable noise cancellation on AirPods.
Finally, we activated noise cancellation on AirPods themselves, giving you complete control over your audio experience. With this feature enabled, you can fully immerse yourself in your favorite music, podcasts, or audio content, free from external distractions.
Remember to follow each step carefully and ensure that your Chromebook is up to date and connected to the internet throughout the process. It’s also a good idea to regularly check for software updates and firmware updates for your AirPods to ensure optimal performance and access to the latest features.
Now that you have mastered the process of turning on noise cancellation on your AirPods on a Chromebook, you can enjoy a seamless and immersive audio experience wherever you go. No matter if you’re working, studying, or simply relaxing, noise cancellation will help you focus and enjoy your audio content to the fullest.
Thank you for choosing this guide as your resource! We hope that you find value in the information provided and that it enhances your audio experience with AirPods on your Chromebook. If you have any further questions or need assistance, don’t hesitate to refer back to this article or reach out for additional support.
Happy listening and enjoy your noise-free audio journey with AirPods and your Chromebook!


