Introduction
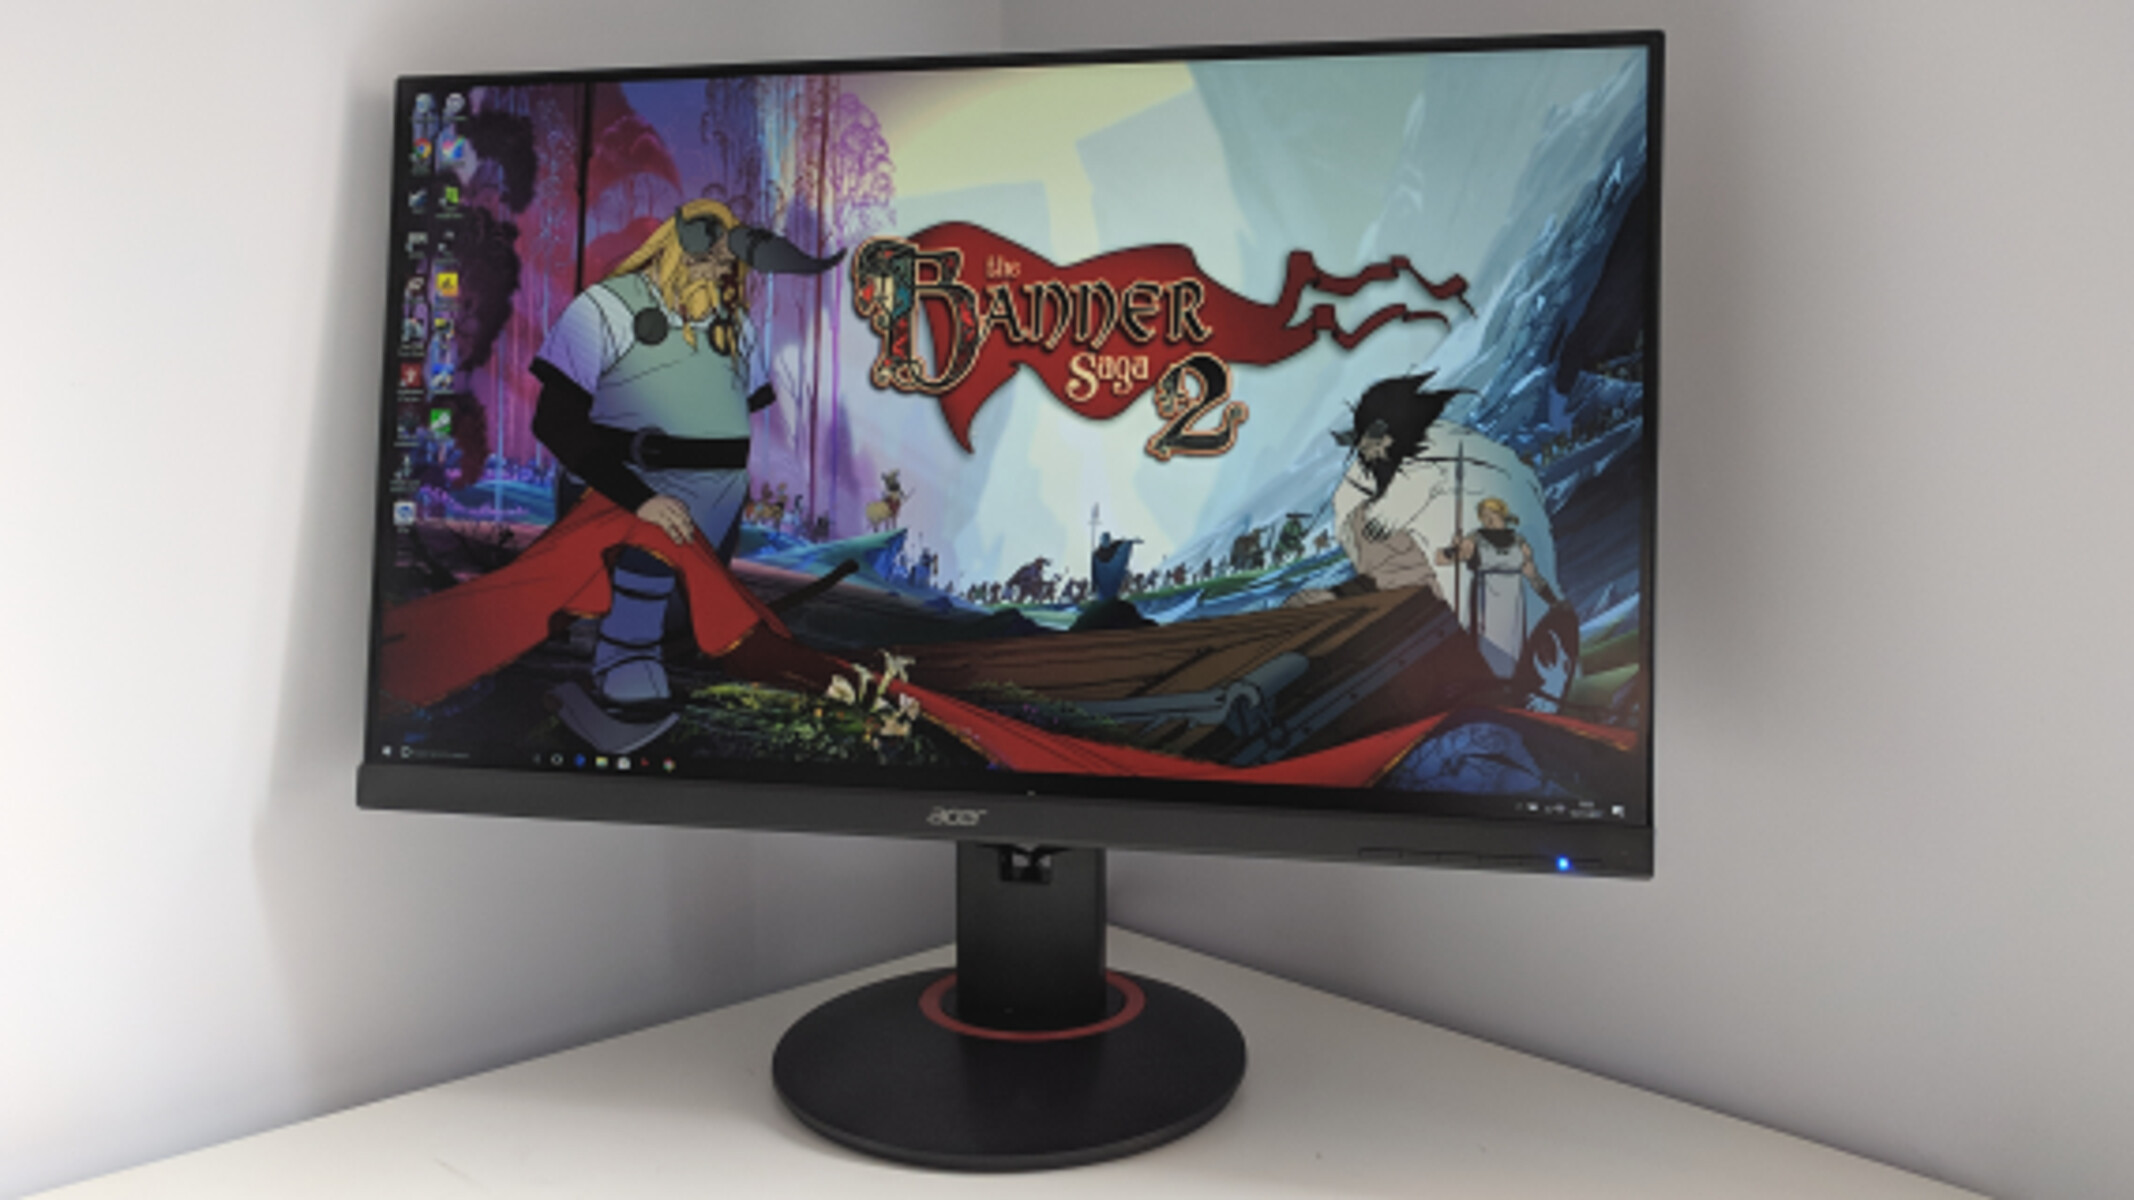
Welcome to this guide on how to turn on your Acer monitor. Whether you’re setting up a brand-new monitor or simply reactivating an old one, this step-by-step tutorial will provide you with all the information you need to get started. Turning on your Acer monitor is a straightforward process that requires only a few simple steps, and we’ll be walking you through each one.
Having a functional monitor is essential for a smooth computing experience, whether you’re working, gaming, or watching your favorite movies and shows. By properly setting up and turning on your Acer monitor, you can ensure that you’re getting the best visual experience possible.
Before we dive into the step-by-step instructions, it’s important to note that different models of Acer monitors may have varying button configurations and menu options. While we will provide general guidelines, it’s always recommended to consult your monitor’s user manual for specific instructions.
Now, let’s get started on turning on your Acer monitor and getting it ready for use!
Step 1: Get Ready
Before turning on your Acer monitor, it’s important to ensure that you have everything you need. Here are a few things to consider:
1. Check the box: Open the box containing your Acer monitor and check for any accessories or cables included. These may include a power adapter, display cable (HDMI, VGA, or DisplayPort), and any other connectors that may be required.
2. Read the user manual: Take a few minutes to familiarize yourself with the user manual that comes with your Acer monitor. This will provide specific instructions on the setup process and any additional features or settings that may be available.
3. Clear the workspace: Ensure that you have a clean and clutter-free surface to set up your monitor. Remove any objects that may obstruct the monitor or cables.
4. Check compatibility: Verify that your computer or device is compatible with the Acer monitor. Check the system requirements mentioned in the user manual or the Acer website to ensure proper compatibility.
5. Optional: Adjust lighting conditions: If possible, adjust the lighting conditions in the room where you’ll be using your Acer monitor. Avoid placing the monitor in an area with excessive glare or bright direct sunlight, as these conditions can affect the visibility and overall picture quality.
Once you have taken care of these preliminary steps, you are now ready to proceed with attaching the necessary cables and turning on your Acer monitor. Follow the subsequent steps for a seamless setup process.
Step 2: Attach Cables
Now that you’re ready to set up your Acer monitor, it’s time to connect the necessary cables. Follow these steps to ensure a proper connection:
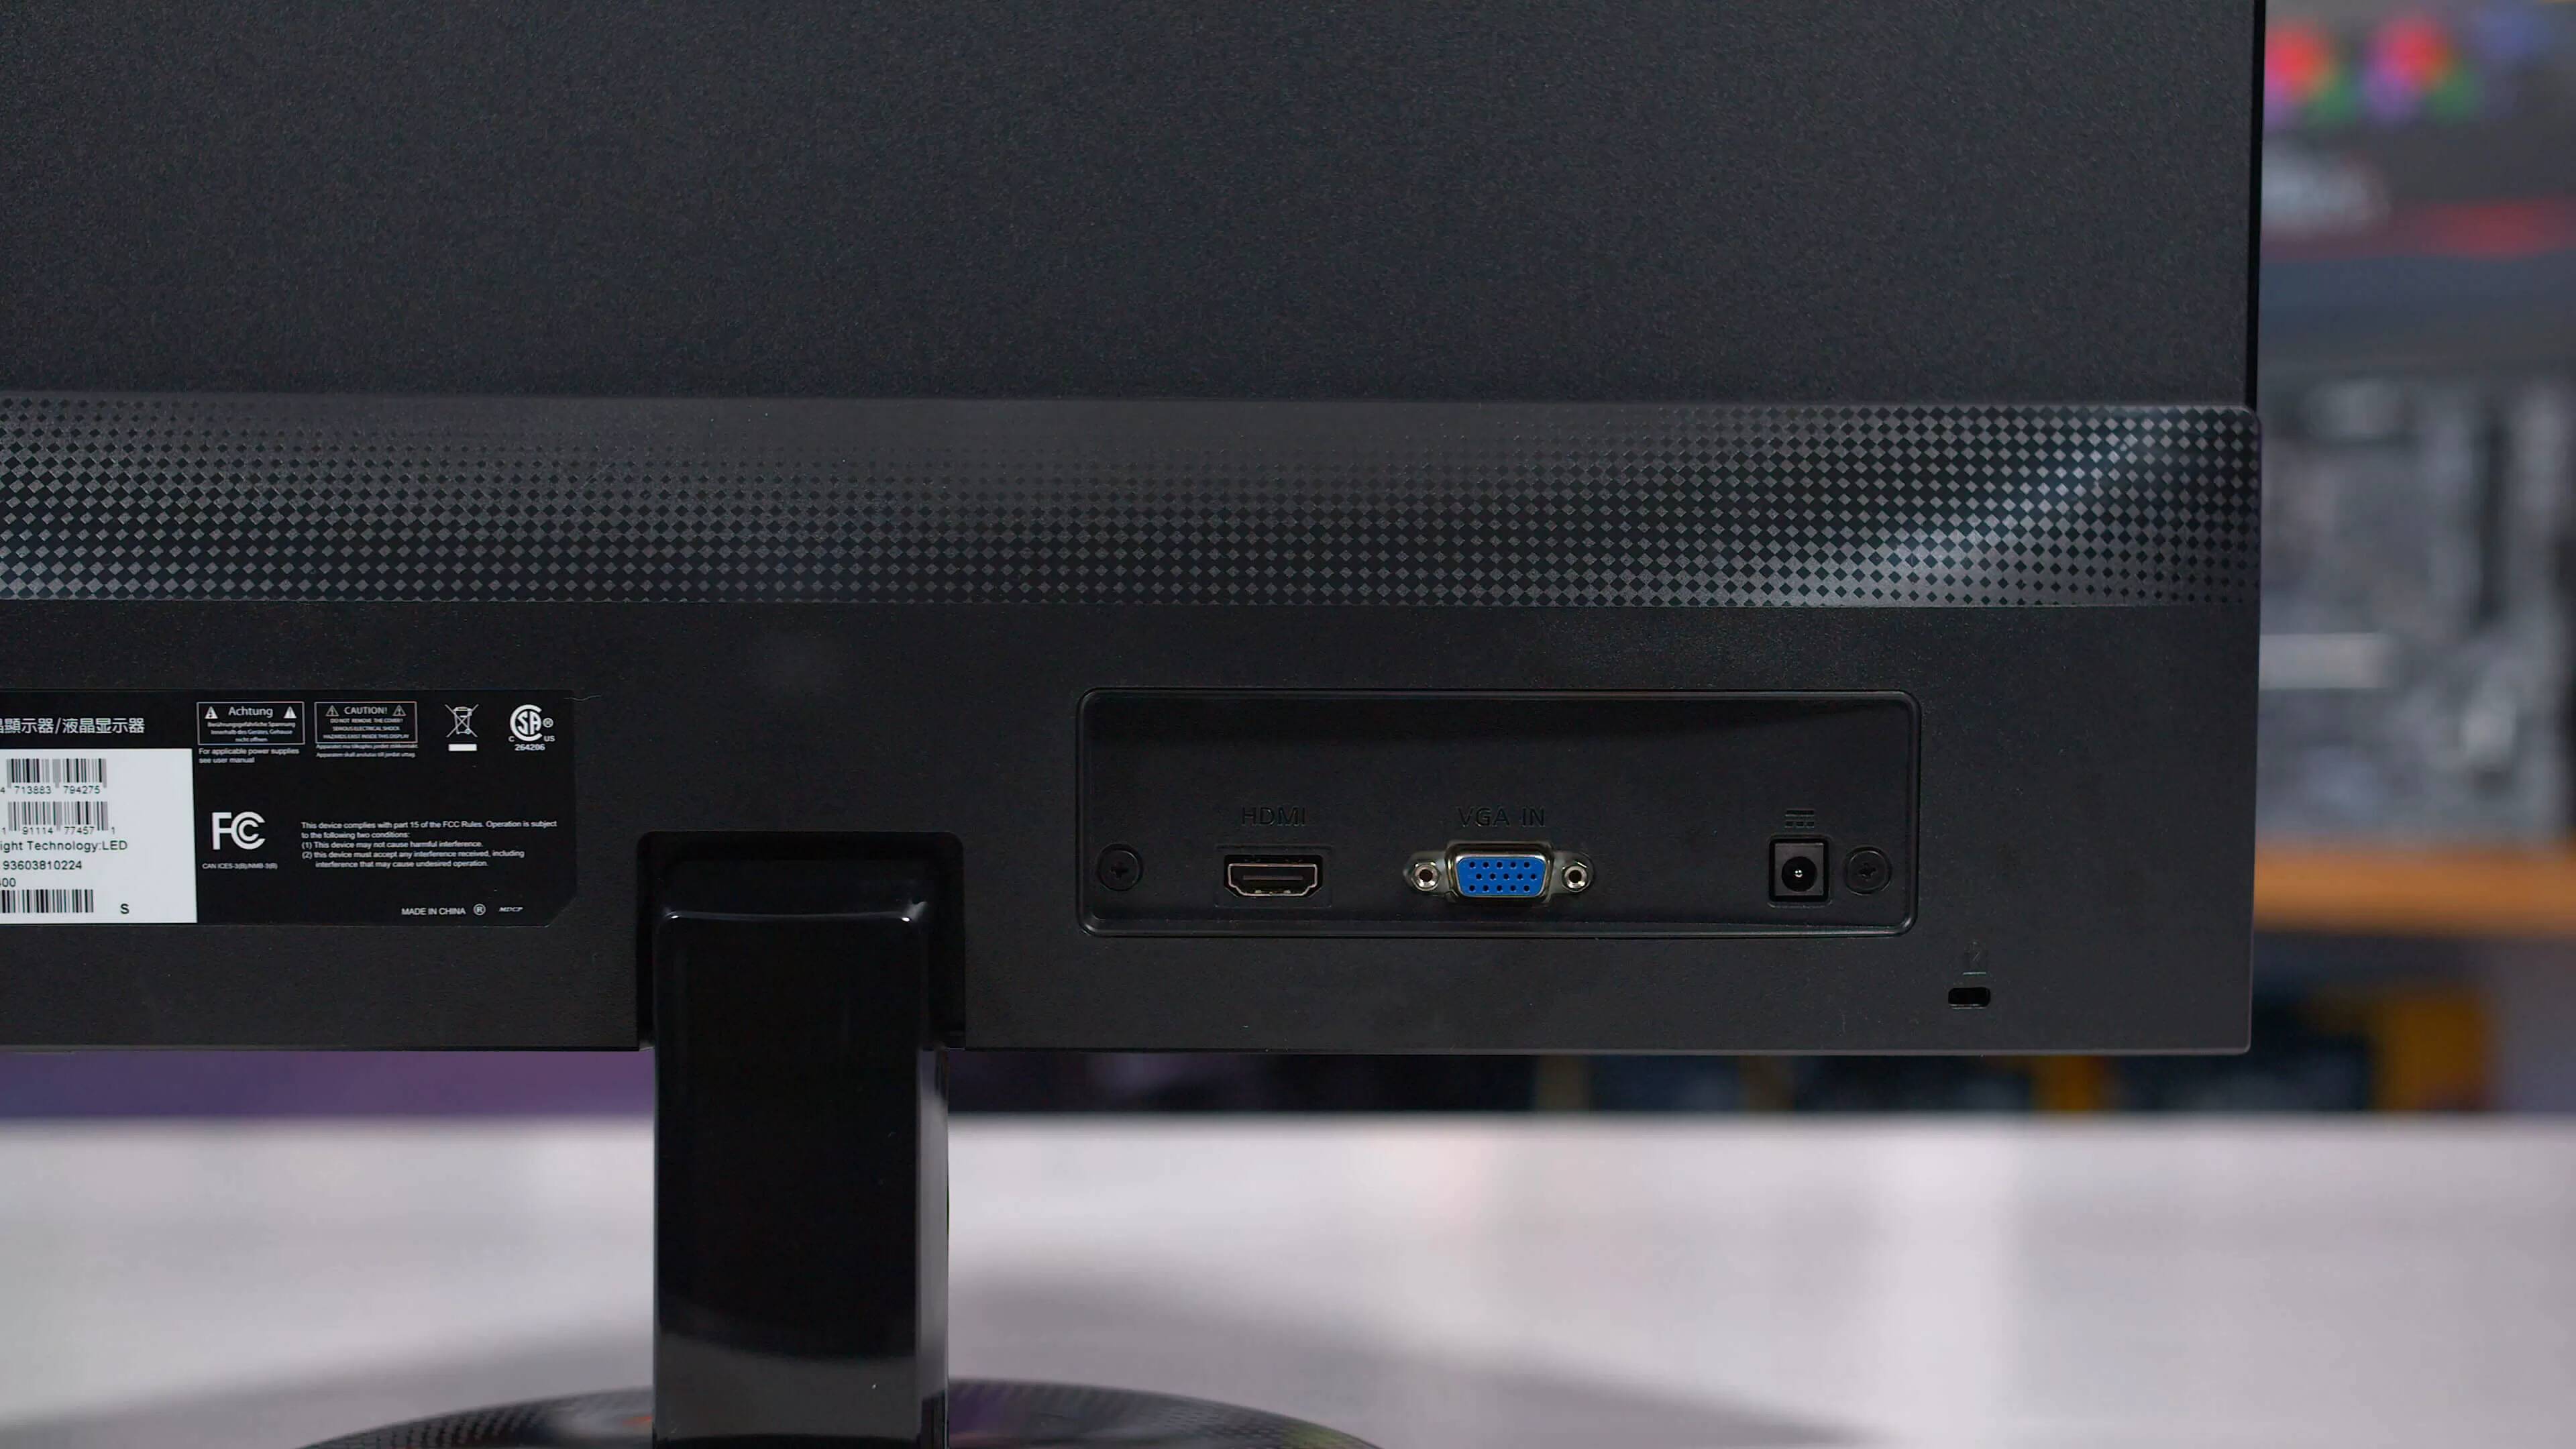
1. Power cable: Locate the power cable that came with your Acer monitor. Connect one end of the power cable to the power port on the back of the monitor, and the other end to a power outlet or surge protector.
2. Display cable: Depending on your monitor and computer’s available ports, choose the appropriate display cable (HDMI, VGA, or DisplayPort). Connect one end of the display cable to the corresponding port on the back of the monitor, and the other end to your computer’s graphics card or port.
3. Additional cables: If your Acer monitor has additional connectivity options such as USB ports or audio jacks, you can connect these cables as well. Follow the instructions in the user manual to determine the appropriate connections.
4. Cable management: Take a moment to organize and secure the cables to avoid tangling or accidental disconnections. Many monitors come with cable management features built into their stand, which can help keep the cables neatly arranged.
5. Confirm all connections: Double-check that all cables are securely connected on both ends. Loose connections can cause display issues or result in no input signal being detected.
Once you have successfully attached all the necessary cables, you are now ready to move on to the next step: connecting your Acer monitor to a power source and turning it on.
Step 3: Connect to Power Source
Now that you have attached the cables to your Acer monitor, it’s time to connect it to a power source. Follow these steps to ensure a proper power connection:
1. Locate the power button: Look for the power button on the monitor. It is typically located on the front or side of the monitor and may be labeled with a power icon.
2. Plug in the power cable: Take the power cable that you connected to the back of the monitor in the previous step and plug it into a power outlet or surge protector.
3. Flip the power switch: If your monitor has a physical power switch on the back or bottom, ensure that it is in the “on” position.
4. Press the power button: Press the power button on the front or side of the monitor to turn it on. The power button may be labeled with “power” or a power symbol. Hold the button for a few seconds if necessary.
5. Check for power indicator: Look for a power indicator light on the monitor. This light typically turns on when the monitor is receiving power and indicates that it is on.
Once you have successfully connected your Acer monitor to a power source and turned it on, you should see the screen come to life. However, you may need to adjust some display settings to ensure optimal performance, which we will cover in the next step.
Step 4: Press the Power Button
Now that you have connected your Acer monitor to a power source, it’s time to press the power button and turn it on. Follow these steps to properly activate your monitor:
1. Locate the power button: Look for the power button on the front or side of your Acer monitor. It is usually marked with a power symbol or the word “power”.
2. Press the power button: Using your finger, gently press the power button to turn on the monitor. Hold the button for a few seconds if the monitor does not turn on immediately.
3. Check for power indicator: After pressing the power button, check if a power indicator light on the monitor illuminates. This light confirms that the monitor is receiving power and is now turned on.
4. Wait for the display: Give the monitor a few moments to warm up and display an image. Depending on the model and settings, it may take a few seconds for the screen to come to life.
5. Adjust brightness: If the monitor display appears too dim or too bright, use the monitor’s built-in brightness controls to make adjustments. These controls are usually accessible through the monitor’s menu system, which can be accessed using the buttons on the monitor’s front or side.
By pressing the power button, your Acer monitor should now be turned on and ready for use. However, there may be additional display settings that need to be adjusted to suit your preferences, which we will cover in the next step.
Step 5: Adjust Display Settings
After turning on your Acer monitor, it’s important to adjust the display settings for optimal visual performance. Follow these steps to tweak the settings according to your preferences:
1. Access the settings menu: Most Acer monitors have an on-screen display (OSD) menu that allows you to adjust various settings. To access the OSD menu, look for a button labeled “Menu” or an icon resembling a square with lines on it. Press this button to bring up the menu.
2. Navigate the menu: Use the navigation buttons, typically labeled with arrow symbols, to move through the menu options. The buttons are typically located near the “Menu” button.
3. Adjust brightness and contrast: Locate the options for adjusting brightness and contrast in the OSD menu. Use the navigation buttons to select these options and adjust the values. Experiment with different settings until you achieve a comfortable and visually pleasing display.
4. Fine-tune color settings: If your Acer monitor offers color adjustment options, explore the OSD menu to find options such as color temperature, color saturation, and color balance. Adjust these settings to enhance the accuracy and vibrancy of colors on the display.
5. Explore additional settings: Depending on your monitor model, there may be additional settings available, such as aspect ratio, sharpness, or response time. Take the time to explore these settings and make adjustments according to your preferences and the requirements of the content you’ll be viewing.
6. Save your changes: Once you have adjusted the desired display settings, navigate to the option to save or exit the OSD menu. Different monitors may have varying ways to save changes, such as pressing another button or waiting for the settings to be automatically saved after a few seconds of inactivity.
By adjusting the display settings on your Acer monitor, you can optimize the visual output to suit your preferences and enhance the overall viewing experience.
Step 6: Troubleshooting
While setting up and turning on your Acer monitor is typically a smooth process, you may encounter some issues along the way. Here are a few troubleshooting tips to help you resolve common problems:
1. No power: If your Acer monitor doesn’t turn on at all, double-check that the power cable is securely connected to both the monitor and a power source. Try using a different power outlet or trying the monitor with a different power cable if available.
2. No display: If the monitor turns on but doesn’t display anything, make sure that the display cable is properly connected to both the monitor and your computer or device. You may also try using a different display cable or plugging the monitor into a different port on your device.
3. Incorrect resolution or display settings: If the monitor is displaying an incorrect resolution or the image appears distorted, access the display settings on your computer or device and adjust the resolution to match the recommended settings for your Acer monitor. You can typically access display settings through the Control Panel or Settings menu.
4. Color or image issues: If you notice any color inconsistencies, image artifacts, or other display-related problems, access the monitor’s OSD menu and reset the display settings to their default values. If the issues persist, consult the user manual or contact Acer customer support for further assistance.
5. Driver updates: Ensure that you have the latest display drivers installed for your computer’s graphics card. Outdated or incompatible drivers can cause display issues. Visit the manufacturer’s website for your graphics card to download and install the latest drivers.
6. Contacting customer support: If you’ve exhausted all troubleshooting steps and the issues persist, don’t hesitate to reach out to Acer customer support for further assistance. They can provide guidance specific to your monitor model and help diagnose and resolve any persisting problems.
Remember, troubleshooting steps may vary depending on your specific monitor model and computer setup. Always consult the user manual and seek assistance from Acer customer support if needed. With patience and troubleshooting, most common issues can be resolved, allowing you to enjoy your Acer monitor to its fullest potential.
Conclusion
Congratulations! You have successfully learned how to turn on your Acer monitor and get it ready for use. By following the step-by-step instructions provided in this guide, you should now have your monitor connected to a power source, powered on, and display settings adjusted to your preferences.
Remember, each Acer monitor model may have slight variations in the setup process and available settings. Always refer to the user manual for specific instructions and consult Acer customer support if you encounter any difficulties or have additional questions.
Now that you have your Acer monitor up and running, take some time to explore and enjoy the vibrant and high-quality visuals it provides. Whether you’re working on important tasks, gaming, or watching movies, a properly turned-on and calibrated monitor can greatly enhance your overall computing experience.
Additionally, periodically check for driver updates for your monitor and graphics card to ensure you have the latest software enhancements and compatibility improvements.
Thank you for choosing an Acer monitor, and we hope this guide has been helpful in assisting you with the setup process. If you have any further questions or need additional support, don’t hesitate to reach out to Acer’s customer support team. Happy computing!