Introduction
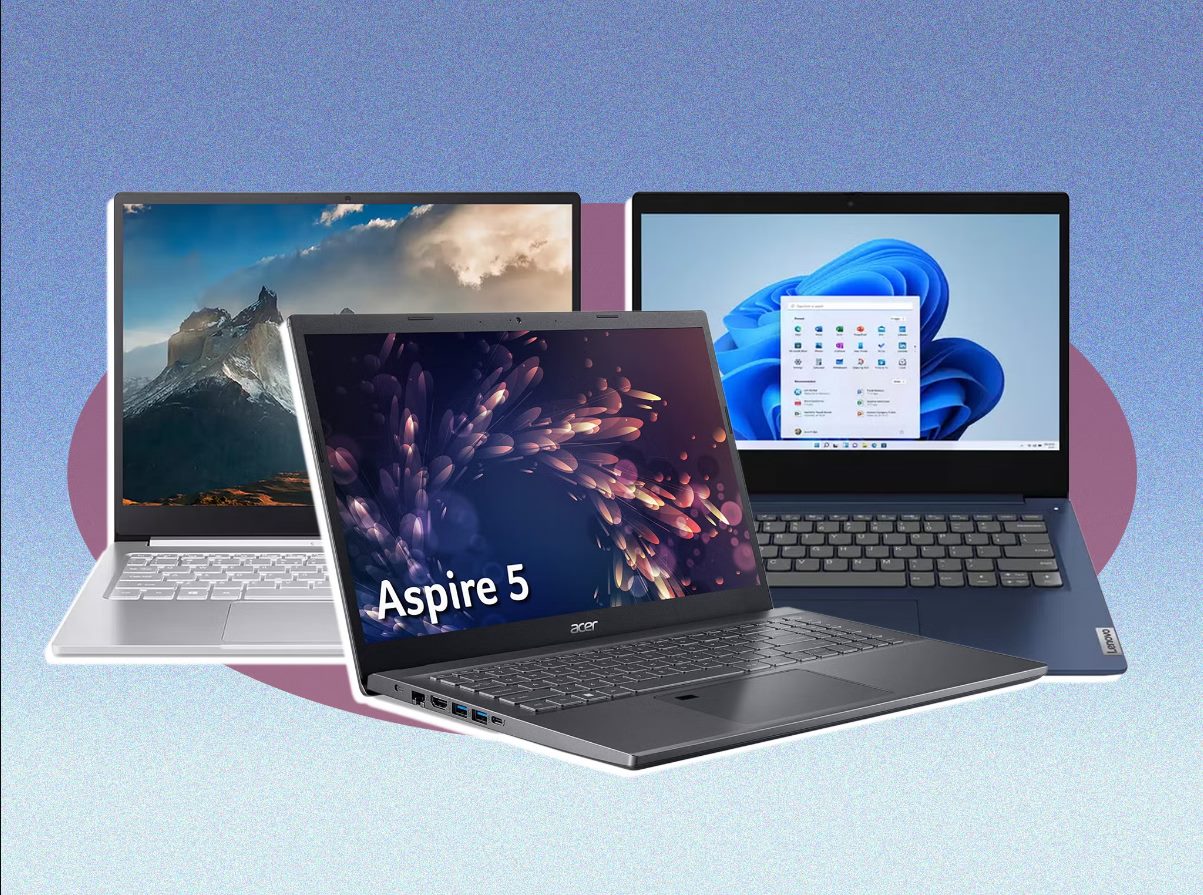
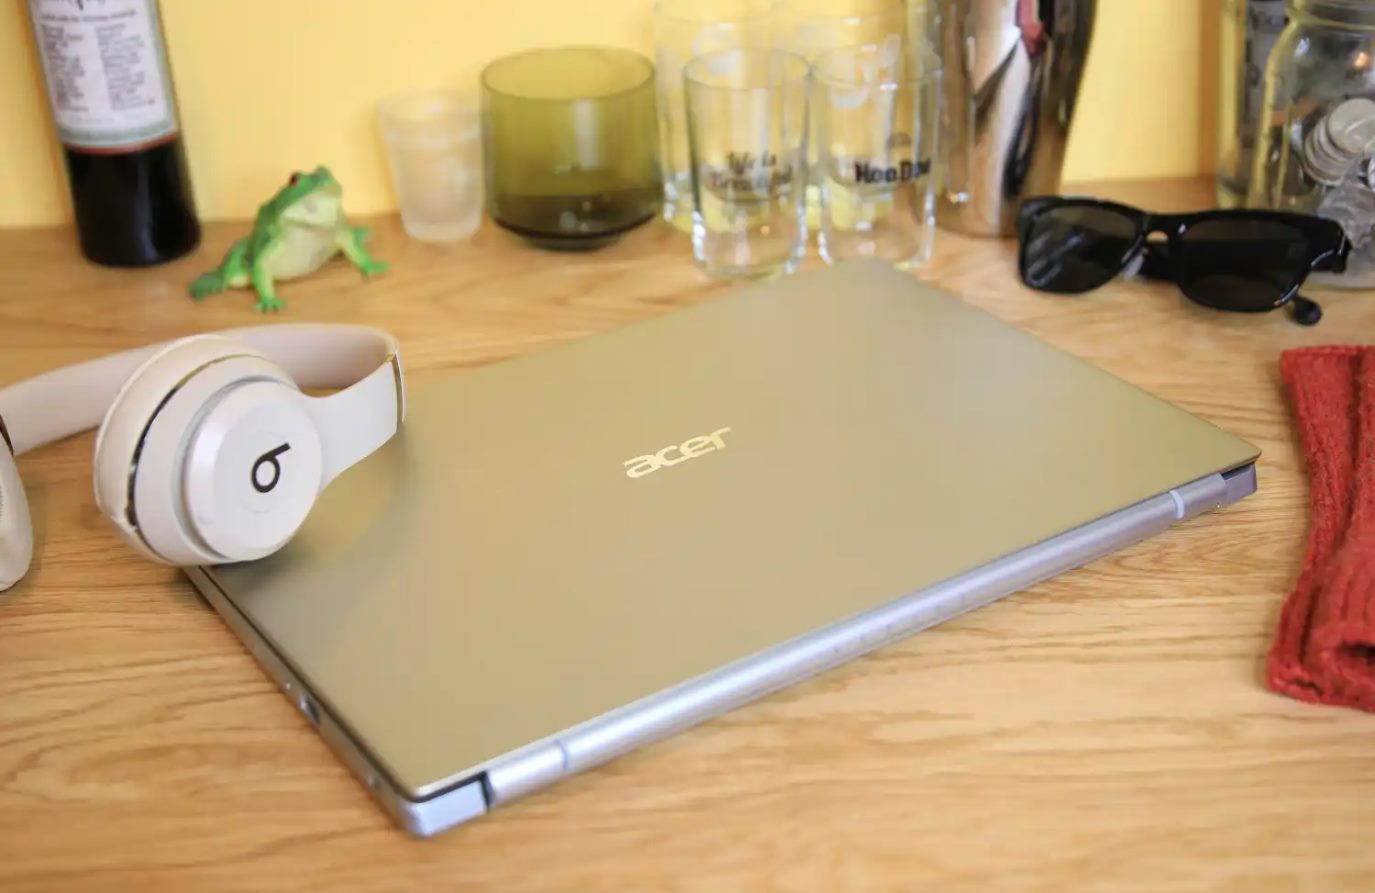
Welcome to this step-by-step guide on how to replace the HDD on your Acer Ultrabook. If you’re experiencing storage issues or want to upgrade to a larger capacity hard drive, this tutorial will walk you through the process.
Replacing the HDD on your Ultrabook can be a great way to improve performance and increase storage space. Whether you’re a tech-savvy individual or a beginner, this guide is designed to help you successfully complete the replacement with ease.
Before we dive into the details, it’s essential to note that working with hardware components comes with the risk of damaging your device. Therefore, it’s crucial to proceed with caution and follow each step carefully to ensure a successful HDD replacement.
In the following sections, we will guide you through the necessary steps to safely remove the old hard drive and install a new one. We will also address the importance of backing up your data beforehand, as well as reassembling your Ultrabook once the replacement is complete.
To help you understand the process better, we will provide detailed instructions and, where necessary, include relevant images. By following this guide, you will be able to replace the HDD on your Acer Ultrabook confidently.
It’s important to note that the specific steps may vary depending on the model of your Acer Ultrabook. However, the general process remains the same. We recommend consulting your Ultrabook’s user manual or visiting the official Acer support website for model-specific instructions if needed.
Now that we’re familiar with the purpose and basic guidelines of this guide, let’s move on to the first step: preparing the necessary tools and equipment for the HDD replacement.
Step 1: Prepare necessary tools and equipment
Before you begin replacing the HDD on your Acer Ultrabook, it’s important to gather all the necessary tools and equipment. Having everything ready beforehand will ensure a smooth and hassle-free process. Here are the tools you’ll need:
1. Screwdriver: You’ll require a small Phillips head screwdriver to remove the screws holding the Ultrabook’s bottom panel in place. Make sure the screwdriver size matches the screws on your specific model.
2. Anti-static wrist strap: To prevent any damage caused by static electricity, it’s advisable to use an anti-static wrist strap. This will help discharge any built-up static electricity from your body and prevent it from transferring to sensitive components.
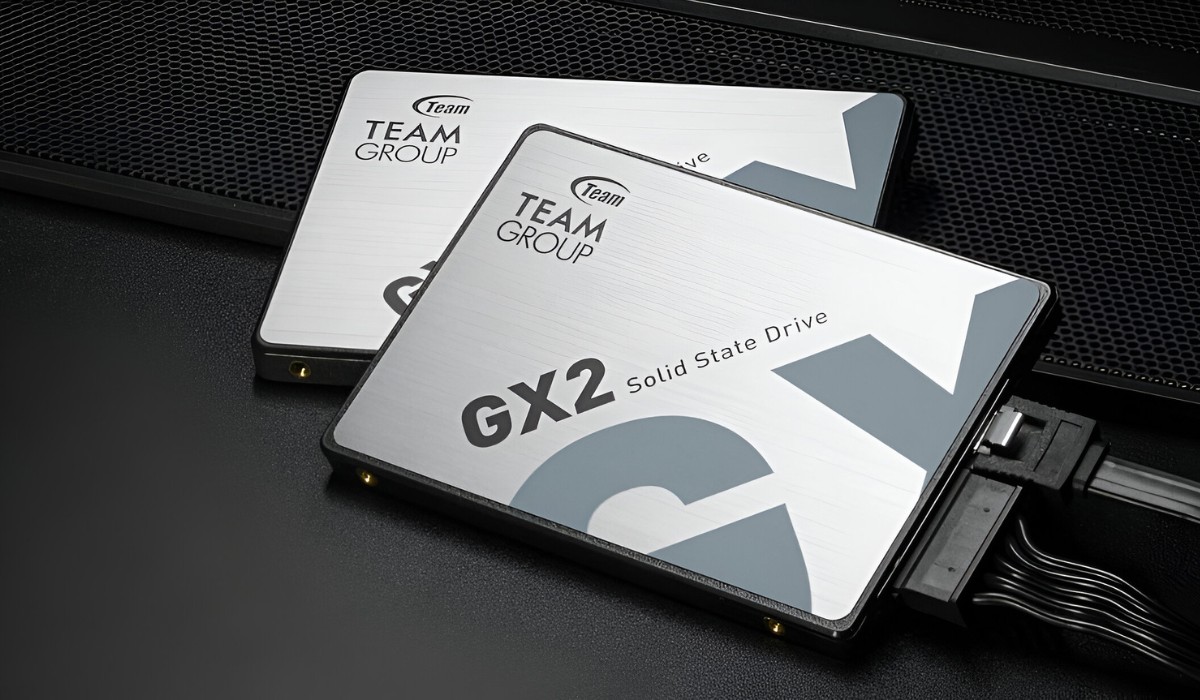
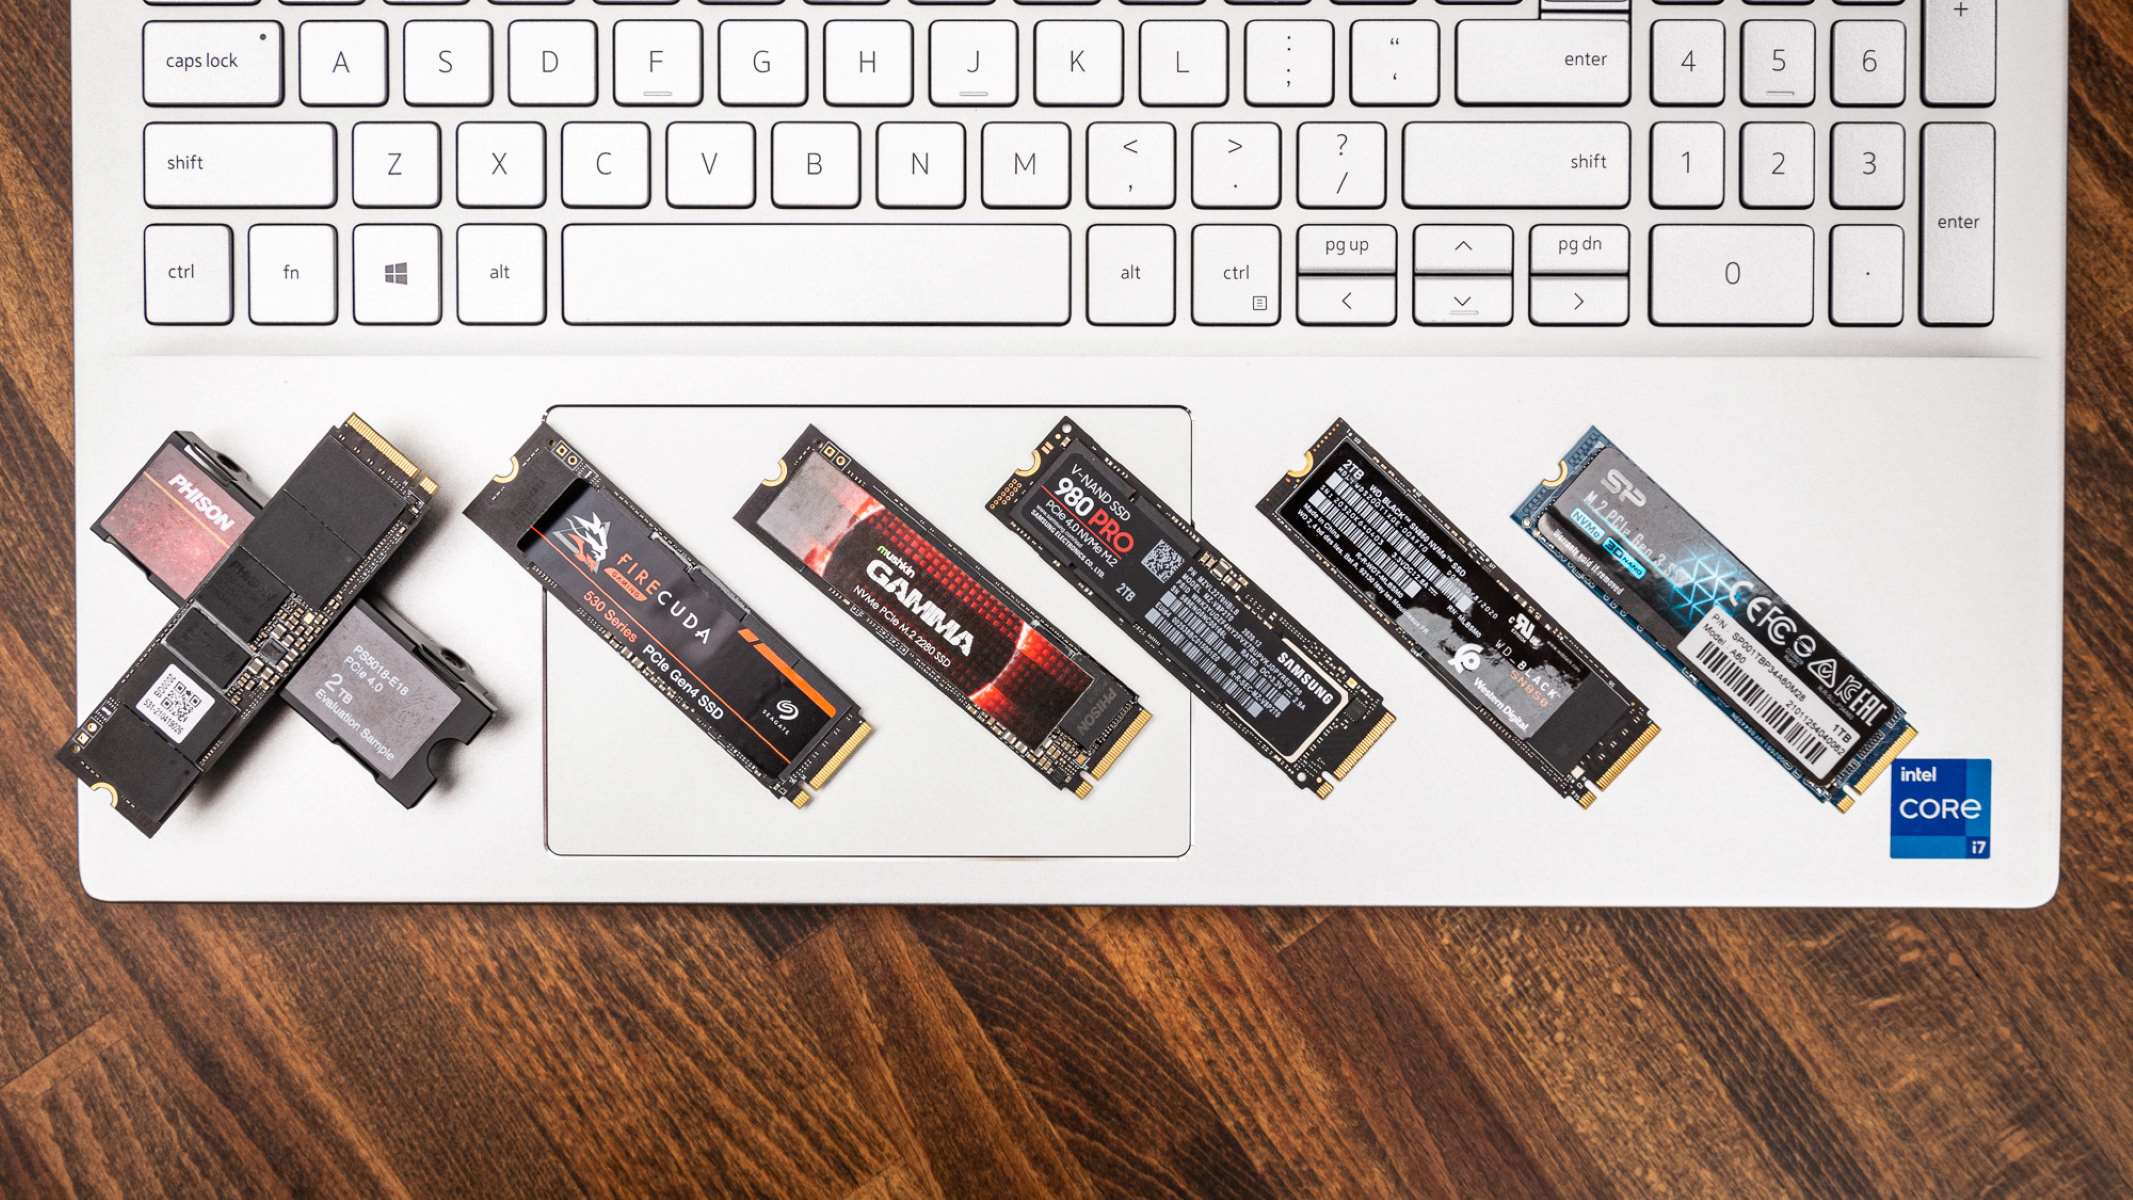
3. Replacement HDD: Choose a new hard drive that is compatible with your Acer Ultrabook. Check for specifications such as storage capacity, form factor, and interface compatibility with your device.
4. External storage or cloud service: It’s crucial to back up your data before replacing the HDD. Prepare an external storage device, such as an external hard drive or a USB flash drive, to transfer your files or opt for a cloud service to store your data securely.
5. Soft cloth or microfiber cloth: To keep your Ultrabook’s surfaces clean and free from scratches, have a soft cloth or microfiber cloth on hand.
Once you’ve gathered all the necessary tools and equipment, you’ll be prepared to proceed with the HDD replacement process.
Remember, it’s essential to handle your Ultrabook and its components with care throughout the entire process. Avoid static discharge, unnecessary force, and accidental drops that could damage the hardware. Reading through the entire guide before starting the procedure will also help you understand and follow each step effectively.
Now that you’re ready with the tools and equipment, let’s move on to the next step: backing up your data to ensure it remains safe during the HDD replacement.
Step 2: Backup your data
Before proceeding with the HDD replacement on your Acer Ultrabook, it is crucial to back up your data. Backing up your important files and documents ensures that you won’t lose any valuable information during the process. Here’s how you can easily back up your data:
1. External storage device: Connect an external storage device, such as an external hard drive or a USB flash drive, to your Acer Ultrabook.
2. Cloud storage: Alternatively, you can use a cloud storage service like Google Drive, Dropbox, or OneDrive to back up your data. Sign up for a cloud storage account and install the necessary applications on your Ultrabook.
3. Select your files: Identify the files, documents, photos, and any other data that you want to back up. Create a folder specifically for your backup, or select individual files to store in the external storage or upload to the cloud.
4. Transfer or upload your data: Copy and paste the selected files from your Ultrabook to the external storage device, or upload them to your cloud storage account. Ensure that the transfer is successful and that your data is safely stored.
5. Verify your backup: Double-check your backup to ensure that all the essential files have been successfully transferred or uploaded. Compare the file sizes and verify that the file structure is intact.
By backing up your data, you can have peace of mind knowing that even if something goes wrong during the HDD replacement process, your important files are safely stored elsewhere. After completing the backup, take a moment to ensure that everything is in order before proceeding to the next step.
It’s important to note that the time required for backing up your data may vary depending on the amount of data you have. It’s a good idea to allocate sufficient time for this step to ensure a thorough backup process.
Now that you have successfully backed up your data, you are ready to proceed to the next step: turning off the Ultrabook and disconnecting all peripherals.
Step 3: Turn off the Ultrabook and disconnect all peripherals
To ensure the safety of your Acer Ultrabook and prevent any damage to its components, it is essential to turn off the device and disconnect all peripherals before proceeding with the HDD replacement. Here’s how to do it:
1. Save and close any open programs: Before shutting down your Ultrabook, make sure to save any ongoing work and close all open programs to prevent data loss.
2. Shut down the Ultrabook: Click on the Start button or press the Windows key to open the Start menu. From there, click on the power icon and choose the “Shut down” option. Wait for the Ultrabook to completely shut down before proceeding to the next step.
3. Disconnect the power adapter: Unplug the power adapter from the Ultrabook and disconnect it from the power source. This will ensure there is no power supply to the device during the HDD replacement process.
4. Disconnect all peripherals: Remove any peripherals connected to the Ultrabook, such as USB devices, external monitors, or Ethernet cables. Safely disconnect them to avoid any accidental damage during the replacement process.
5. Ground yourself: To minimize the risk of static discharge, touch a grounded metal object or wear an anti-static wrist strap before proceeding. This will help dissipate any static electricity that could potentially harm the sensitive internal components of your Ultrabook.
By following these steps, you will ensure that your Ultrabook is completely powered off and properly disconnected from any external devices. This will help create a safe working environment for the next steps in the HDD replacement process.
It’s worth mentioning that when handling the internal components of your Ultrabook, it’s important to be gentle and avoid applying excessive force. This will prevent any potential damage that could affect the functionality of your device.
Now that you have successfully turned off your Ultrabook and disconnected all peripherals, you are ready to move on to the next step: removing the bottom panel to access the HDD.
Step 4: Remove the bottom panel
In this step, we will guide you through removing the bottom panel of your Acer Ultrabook to access the internal components, including the HDD. Follow these instructions carefully:
1. Place your Ultrabook on a clean, flat surface: Choose a well-lit area with ample space to work comfortably. Ensure that the surface is clean and free from any debris that could potentially scratch the Ultrabook.
2. Locate the screws securing the bottom panel: Turn the Ultrabook upside down and visually inspect the bottom panel. Look for screws that are holding the panel in place. These screws may have small icons or labels indicating their position.
3. Use the appropriate screwdriver: Once you have identified the screws, select the appropriate size of the Phillips head screwdriver that matches the screw heads. Using the wrong size screwdriver may lead to stripping or damaging the screws.
4. Unscrew the bottom panel: Start by carefully removing the screws one by one, either by turning them counterclockwise or by pushing them through the panel. Place the screws somewhere safe, such as a small container or a magnetic tray, to avoid misplacing them.
5. Gently lift and remove the bottom panel: Once all the screws are removed, gently lift the bottom panel using your fingers or a plastic opening tool. Apply light pressure around the edges of the panel, being cautious not to force or bend it excessively. Be mindful of any cables or connectors that may be attached to the panel when lifting it.
6. Set the bottom panel aside: Once the bottom panel is detached, set it aside in a safe and clean area. Avoid placing it on a surface where it could get scratched or damaged.
By carefully following these steps, you will successfully remove the bottom panel of your Acer Ultrabook. This will provide you with access to the internal components, including the HDD, for further replacement.
Remember, every Acer Ultrabook model may have slightly different screw placements or additional clips securing the bottom panel. If you encounter any resistance or difficulty, consult your Ultrabook’s user manual or Acer’s official support website for model-specific instructions.
With the bottom panel removed, you are now ready to proceed to the next step: locating the HDD and removing it from the Ultrabook.
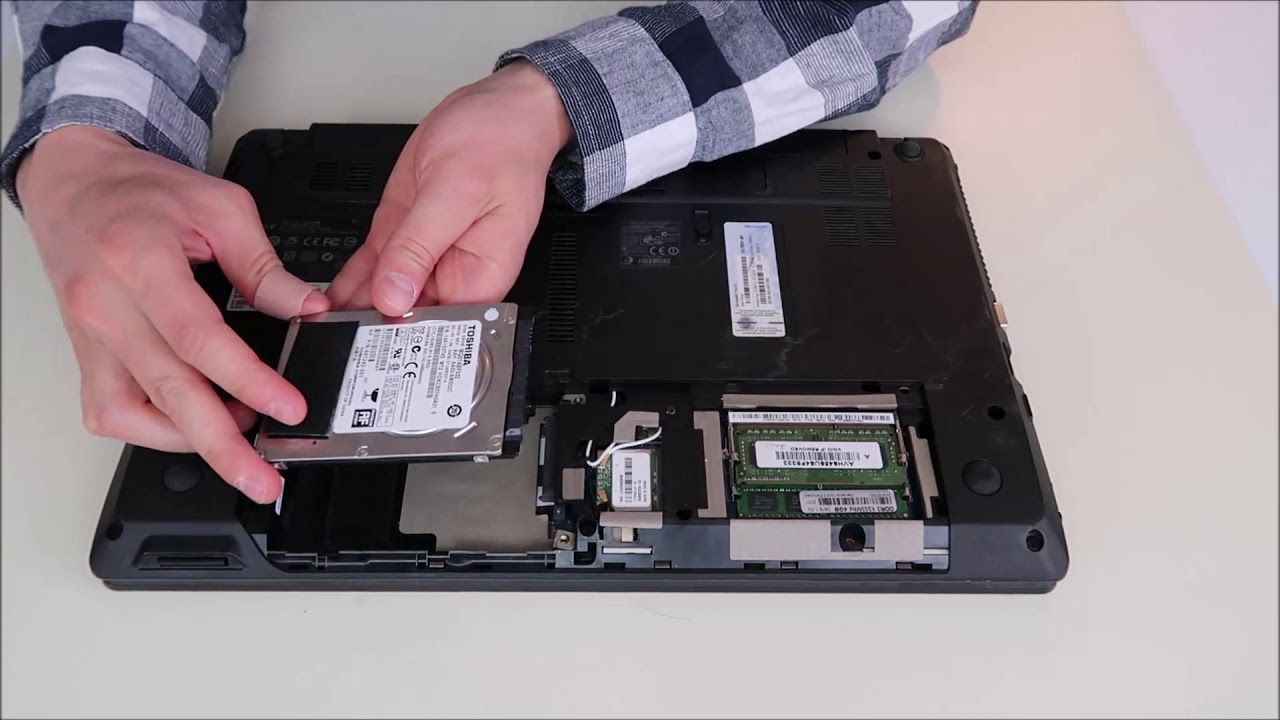
Step 5: Locate the HDD and remove it
Now that you’ve successfully removed the bottom panel of your Acer Ultrabook, it’s time to locate the HDD and remove it from the device. Follow these steps carefully:
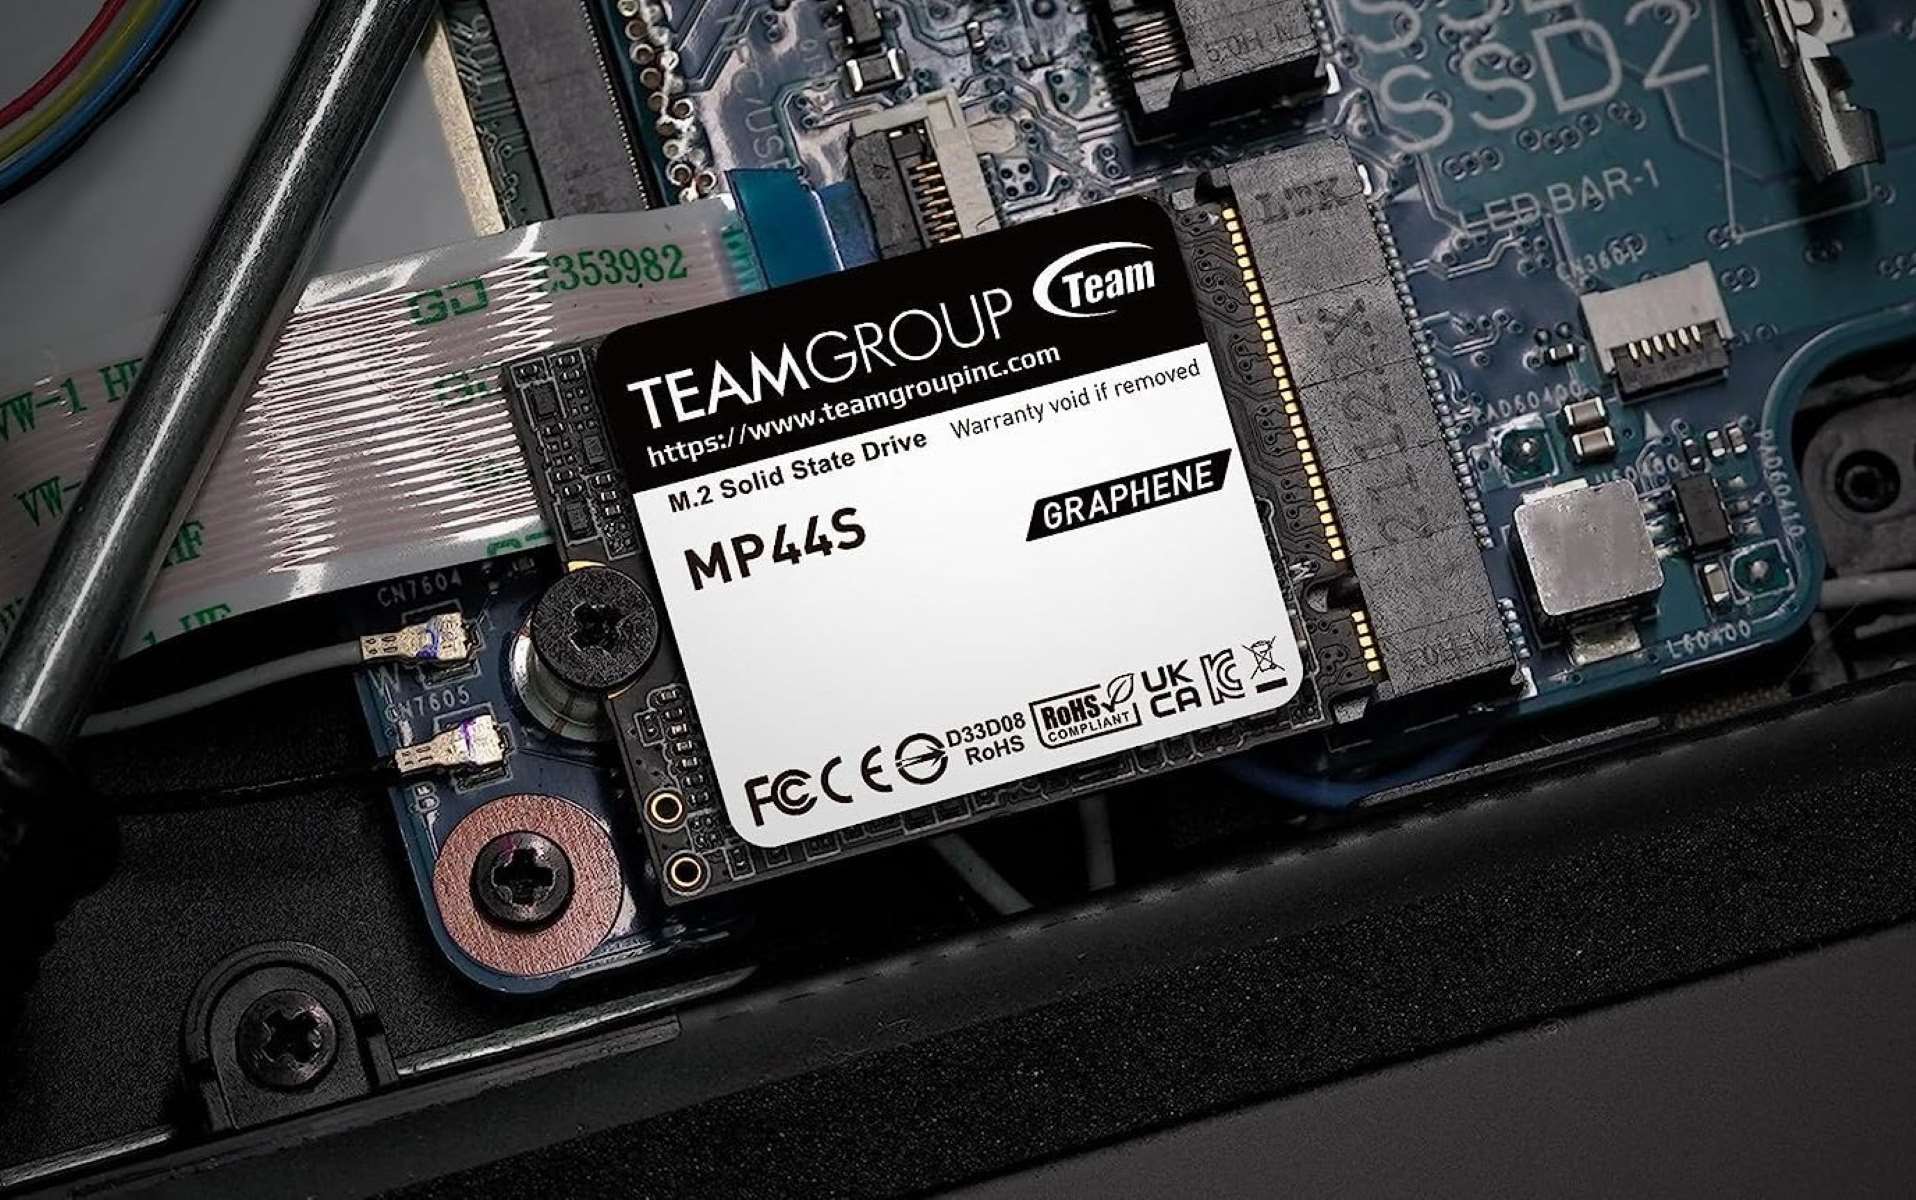
1. Locate the HDD: Once the bottom panel is removed, you will have a clear view of the internal components. Look for a small rectangular metal or plastic casing that houses the hard disk drive (HDD). The HDD is usually labeled with relevant information such as its storage capacity and manufacturer.
2. Identify the connector and cables: Take note of the connector and cables connected to the HDD. The connector is a small rectangular interface where the cables are attached. These cables are responsible for transferring data and power to the HDD.
3. Disconnect the cables: Using your fingers or a small pair of tweezers, gently detach the cables connected to the HDD. Be cautious and avoid pulling on the cables directly to prevent damage. Instead, grip the connector firmly and gently wiggle it back and forth while applying even pressure. This should loosen the connection, allowing you to remove the cables easily.
4. Remove the screws securing the HDD: Locate the screws holding the HDD in place. Depending on your Ultrabook model, there may be one or more screws securing the HDD to the internal chassis. Use the appropriate screwdriver to turn the screws counterclockwise and carefully remove them. Place the screws in a safe container to avoid misplacing them.
5. Slide or lift out the HDD: With the screws removed, you can now slide or lift out the HDD from its housing. Be cautious and handle the HDD with care, avoiding unnecessary tilting or shaking. Set the removed HDD aside in a safe place.
It’s worth noting that the process of locating and removing the HDD may vary slightly depending on the model of your Acer Ultrabook. It’s always a good idea to consult your Ultrabook’s user manual or Acer’s official support website for additional instructions specific to your device.
Once you have successfully removed the HDD, you can proceed to the next step: installing the new HDD in your Acer Ultrabook.
Step 6: Install the new HDD
Now that you have removed the old HDD from your Acer Ultrabook, it’s time to install the new one. Follow these steps carefully to ensure a proper installation:
1. Prepare the new HDD: Take the new HDD out of its packaging and ensure that it is compatible with your Acer Ultrabook. Check for specifications such as storage capacity, form factor, and interface compatibility to match the requirements of your device.
2. Align the new HDD: Align the new HDD with the HDD slot in your Ultrabook. Pay attention to the connector at the end of the HDD, ensuring that it matches the connector in the device.
3. Insert the new HDD: Gently slide or carefully lower the new HDD into the slot. Make sure it is aligned properly and securely fitted in place. Do not force the HDD into the slot, as it should fit smoothly and effortlessly.
4. Secure the new HDD: Locate the screw holes on the new HDD and align them with the screw holes in the Ultrabook’s chassis. Use the screws that were removed from the old HDD in the previous step to secure the new HDD. Tighten the screws firmly but not excessively, as overtightening may cause damage.
5. Reconnect the cables: Attach the cables that were disconnected from the old HDD to the appropriate connectors on the new HDD. Ensure a secure and snug fit by gently pushing the connectors into place. Make sure the cables are properly aligned and seated.
6. Double-check the connections: After connecting the cables, double-check that they are secure and properly attached. Verify that the connectors are seated fully and that there are no loose connections.
By carefully following these steps, you will successfully install the new HDD in your Acer Ultrabook. Once the new HDD is securely fitted and connected, you can proceed to the next step: reassembling your Ultrabook.
It’s important to note that the specific installation process may vary depending on the model of your Acer Ultrabook. Always refer to your Ultrabook’s user manual or Acer’s official support website for any model-specific instructions or additional guidance.
Now that the new HDD is installed in your Ultrabook, you’re one step closer to completing the replacement process and enjoying improved storage capacity and performance.
Step 7: Reassemble the Ultrabook
Now that you have successfully installed the new HDD in your Acer Ultrabook, it’s time to reassemble the device. Follow these steps carefully to ensure proper reassembly:
1. Retrieve the bottom panel: Locate the bottom panel that you set aside earlier. Ensure that it is clean and free from any debris that could potentially affect the reassembly process.
2. Align the bottom panel: Align the bottom panel with the chassis of your Ultrabook, ensuring that all the screw holes and clips match up. Be careful not to force the panel into place, as it should fit smoothly and securely.
3. Slide or press the bottom panel into place: Slide the bottom panel towards the front of the Ultrabook or press it firmly, depending on the specific design of your device. Apply even pressure along the edges to ensure that the panel snaps into place and is fully seated.
4. Insert and tighten the screws: Retrieve the screws that were removed from the bottom panel during the disassembly process. Insert them into their respective screw holes and tighten them using the appropriate screwdriver. Be cautious not to overtighten the screws, as it could strip the threads or damage the panel.
5. Verify the reassembly: Give the Ultrabook a quick visual inspection to confirm that the bottom panel is securely in place. Ensure that it sits flush with the rest of the device and that there are no gaps or loose areas.
With the Ultrabook reassembled, you have completed the physical aspect of the HDD replacement process. Now, it’s time to move on to the final step: restoring your data from the backup.
It’s important to note that reassembly steps may differ slightly depending on the model of your Acer Ultrabook. Always refer to your Ultrabook’s user manual or Acer’s official support website for any model-specific instructions or additional guidance.
Taking your time and being mindful of the components during the reassembly process is crucial for the longevity and functionality of your Ultrabook. By following these steps carefully, you can ensure a successful reassembly and an optimal computing experience with the new HDD.
Now that you have reassembled your Ultrabook, let’s proceed to the final step: restoring your data and completing the HDD replacement process.
Step 8: Restore your data from the backup
With the new HDD installed and the Ultrabook reassembled, it’s time to restore your data from the backup. Follow these steps to successfully transfer your files back onto your Acer Ultrabook:
1. Connect your storage device or access your cloud storage: If you backed up your data onto an external storage device, connect it to your Ultrabook. Alternatively, if you used a cloud storage service, log in to your account and ensure your files are accessible.
2. Copy your files back to the Ultrabook: Open the backup storage device or cloud storage, locate your files, and copy them to the appropriate location on your Ultrabook. This may include documents, photos, videos, and any other files you previously backed up.
3. Verify the integrity of your restored files: After transferring the files, take a moment to verify that they have been successfully restored. Open a few files from different folders or locations to ensure they open correctly and are intact.
4. Organize your files if necessary: During the restoration process, you may choose to reorganize your files and folders to your preferred structure. Create new folders or reorganize existing ones to optimize your Ultrabook’s storage.
5. Install any necessary applications or software: If your backup did not include the installation files for your applications or software, you will need to reinstall them. Locate the installation files and follow the respective instructions for each application or software.
By following these steps, you will be able to restore your important files and data onto your Acer Ultrabook after replacing the HDD. Take your time and ensure that all your files have been successfully transferred and restored before proceeding.
It’s crucial to mention that the time required to restore your data will depend on the amount of data you backed up and the transfer speed of your chosen storage method. Be patient and allocate sufficient time to complete this step without rushing.
With your data restored, you have completed the HDD replacement process for your Acer Ultrabook. Always keep a copy of your data backup in a secure location to ensure you can restore your files if needed in the future.
Congratulations on successfully replacing the HDD on your Acer Ultrabook! Enjoy the enhanced performance and increased storage capacity that your new hard drive provides. Should you require further assistance or encounter any issues, consult the user manual or contact Acer’s support for additional guidance.
Conclusion
In conclusion, replacing the HDD on your Acer Ultrabook can greatly improve performance and storage capacity. By following the step-by-step guide outlined in this article, you can successfully replace the HDD with ease.
We began by preparing the necessary tools and equipment, ensuring that you have everything needed for a smooth replacement process. Next, we emphasized the importance of backing up your data to prevent any loss during the HDD replacement.
We then proceeded to turn off the Ultrabook and disconnect all peripherals to create a safe working environment. Removing the bottom panel allowed us to access the HDD, which we then removed carefully.
After that, we installed the new HDD, reassembling the Ultrabook in the process. Taking precautions and handling the device gently during this step ensures a proper and secure installation.
Lastly, we discussed the importance of restoring your data from the backup, allowing you to retrieve your files and continue using your Ultrabook seamlessly.
Remember, every Acer Ultrabook model may have slight variations in the specific steps or screw placements. If you encounter any difficulties, consult your Ultrabook’s user manual or Acer’s official support website for model-specific instructions.
By successfully replacing the HDD on your Acer Ultrabook, you’ve unlocked the potential for improved performance and increased storage space. Enjoy the benefits of your new hard drive and make sure to keep a regular backup of your data to avoid any future inconveniences.
Thank you for following this guide, and we hope that your experience with the HDD replacement process was smooth and successful. Should you have any questions or concerns, feel free to seek additional support from Acer’s customer service. Happy computing!