Introduction
Welcome to our guide on how to trim a video on Android! Whether you’re a professional videographer or simply love capturing precious moments on your Android device, knowing how to trim videos can be incredibly useful. Trimming allows you to remove unwanted sections, reduce video length, and create more concise and impactful content.
With the ever-improving camera capabilities of Android smartphones and tablets, capturing high-quality videos has become easier than ever. However, not all footage is perfect, and sometimes you need to remove unnecessary parts to make your videos more polished and engaging.
Fortunately, Android devices offer a range of powerful video editing tools that allow you to trim videos directly on your device. You no longer need to transfer your footage to a computer or rely on external editing software. This guide will walk you through the process of trimming a video step by step, ensuring you can create professional-looking videos right from your Android device.
Whether you want to remove shaky footage, shorten a video for social media, or highlight specific moments in a longer video, this guide has got you covered. We’ll provide you with clear instructions on using the native video editing tools available on your Android device.
No matter which Android device you’re using, whether it’s a Samsung, Google Pixel, LG, or any other brand, the process of trimming a video is generally the same. So, without further ado, let’s dive into the steps required to trim a video on your Android device!
What You’ll Need
Before we get started with trimming a video on your Android device, there are a few things you’ll need:
- An Android device: This can be a smartphone or tablet running the Android operating system. Make sure your device is charged and has enough storage space to accommodate the video files.
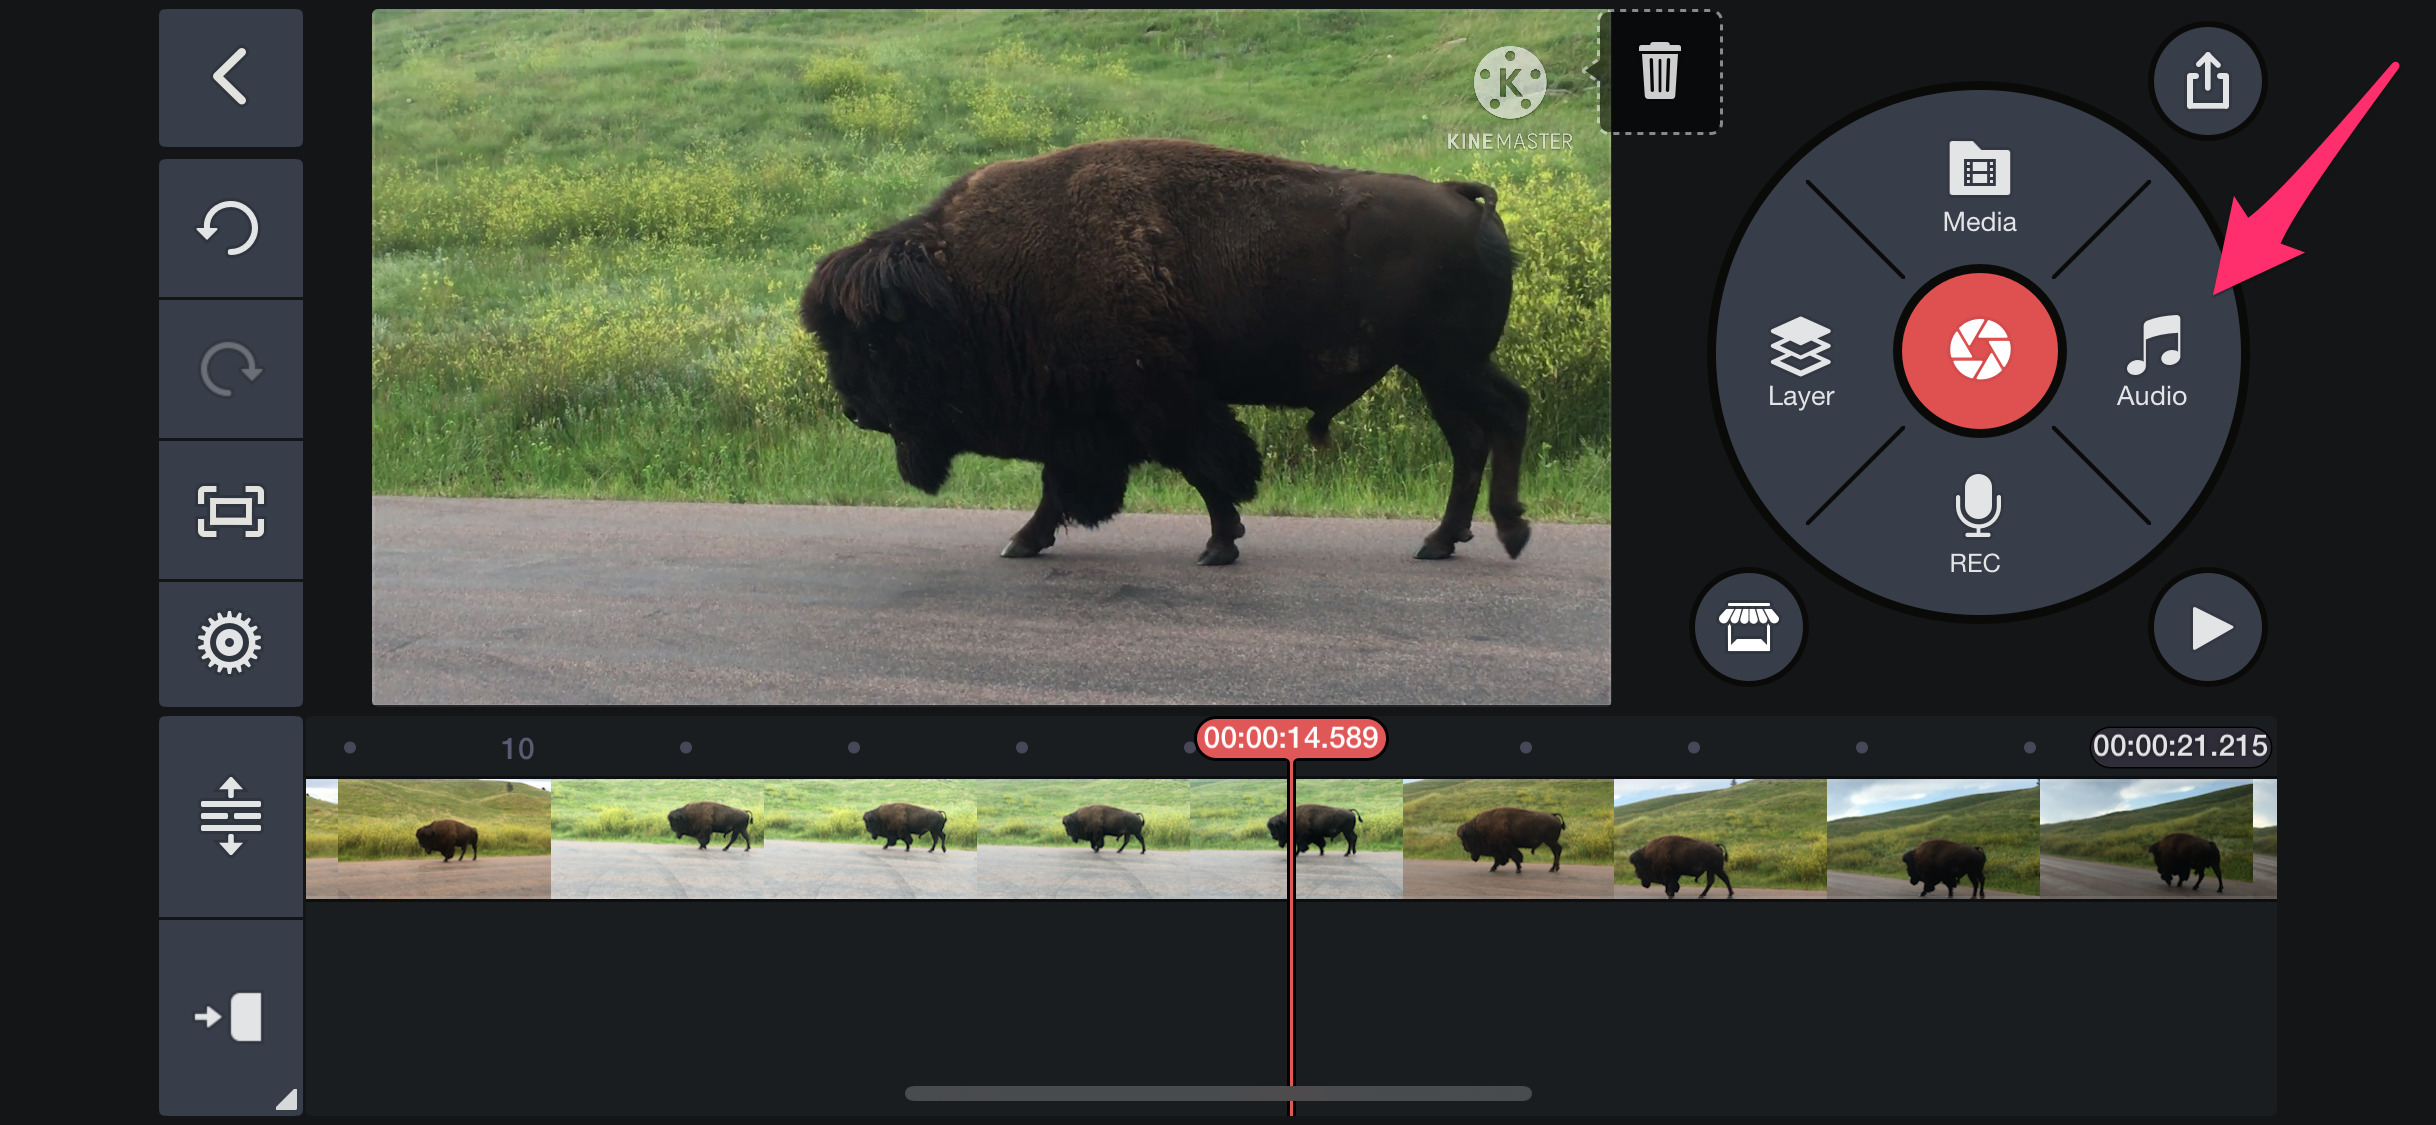
- A video editing app: Most Android devices come with a pre-installed video editing app. However, if you don’t have one or want to explore more advanced options, there are plenty of video editing apps available on the Google Play Store. Some popular ones include Adobe Premiere Rush, FilmoraGo, and Kinemaster.
- A video file: You’ll need a video file that you want to trim. This can be a video you recorded using your Android device or one that you have already imported onto your device.
Once you have these three essentials, you’re ready to start trimming your videos! Now let’s move on to the step-by-step process of trimming a video on Android.
Step 1: Record or Import a Video
The first step in trimming a video on your Android device is to either record a new video or import an existing one. Here’s how you can do it:
- Recording a Video: Open your camera app and switch to video mode. Frame your shot and press the record button to start recording. Make sure to capture all the footage you need for your video, keeping in mind what parts you may want to trim later.
- Importing a Video: If you already have a video file that you want to trim, you’ll need to import it into your Android device. You can do this by connecting your device to your computer and transferring the video file, or by downloading the video file directly onto your device from a cloud storage service or email attachment.
Once you have your video ready, move on to the next step to start trimming it!
Step 2: Open the Video Editing Tool
Once you have your video recorded or imported onto your Android device, the next step is to open the video editing tool. Most Android devices come with a built-in video editing app that allows you to trim and edit videos directly on your device. Here’s how you can access the video editing tool:
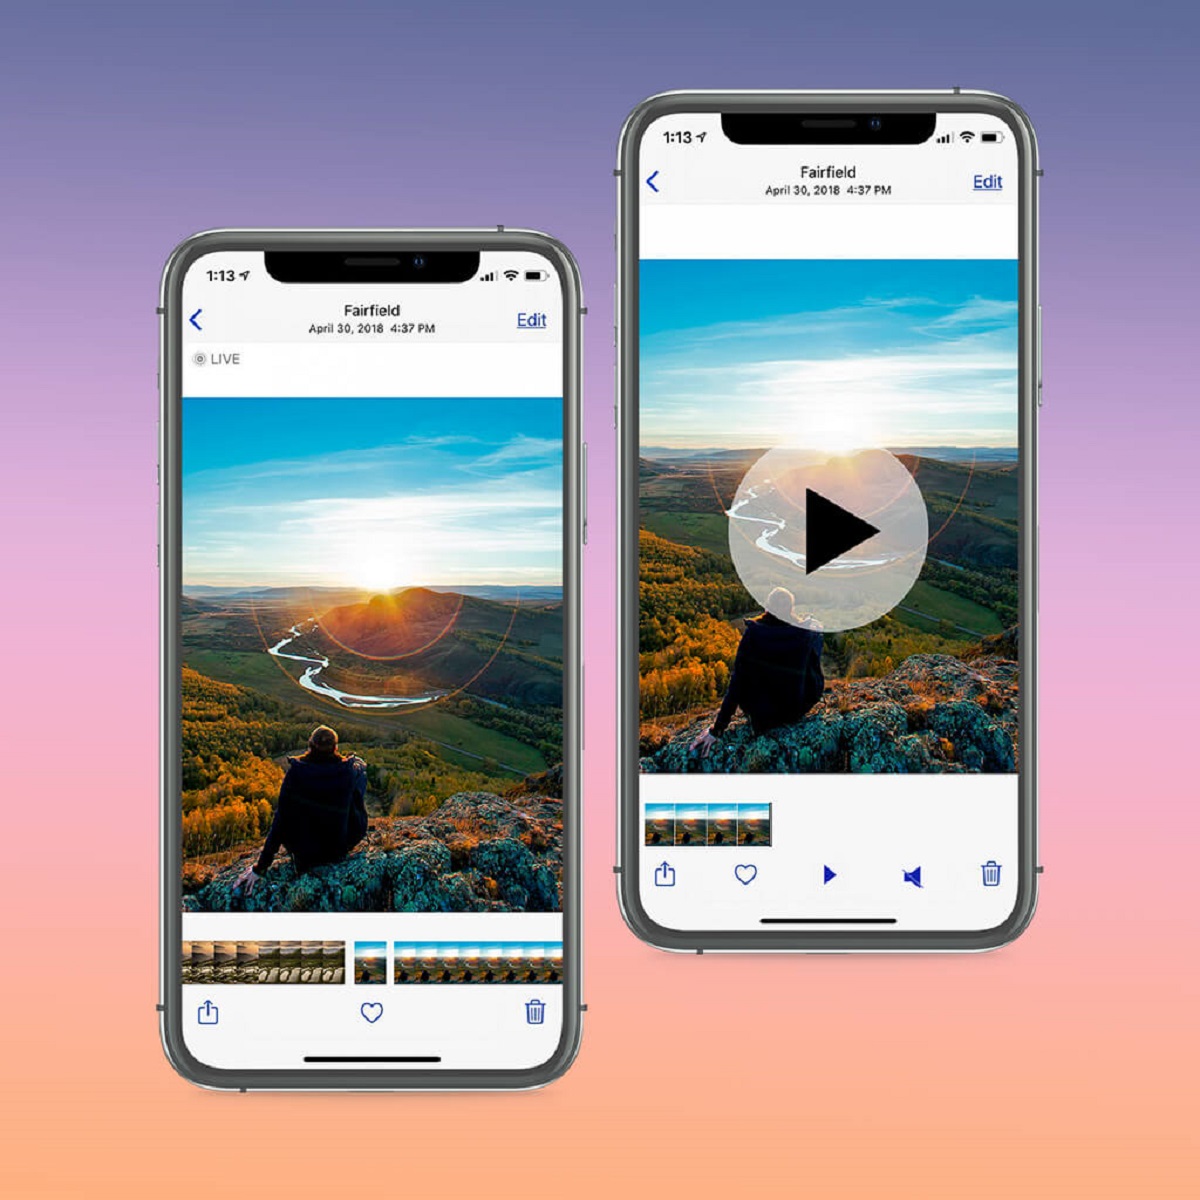
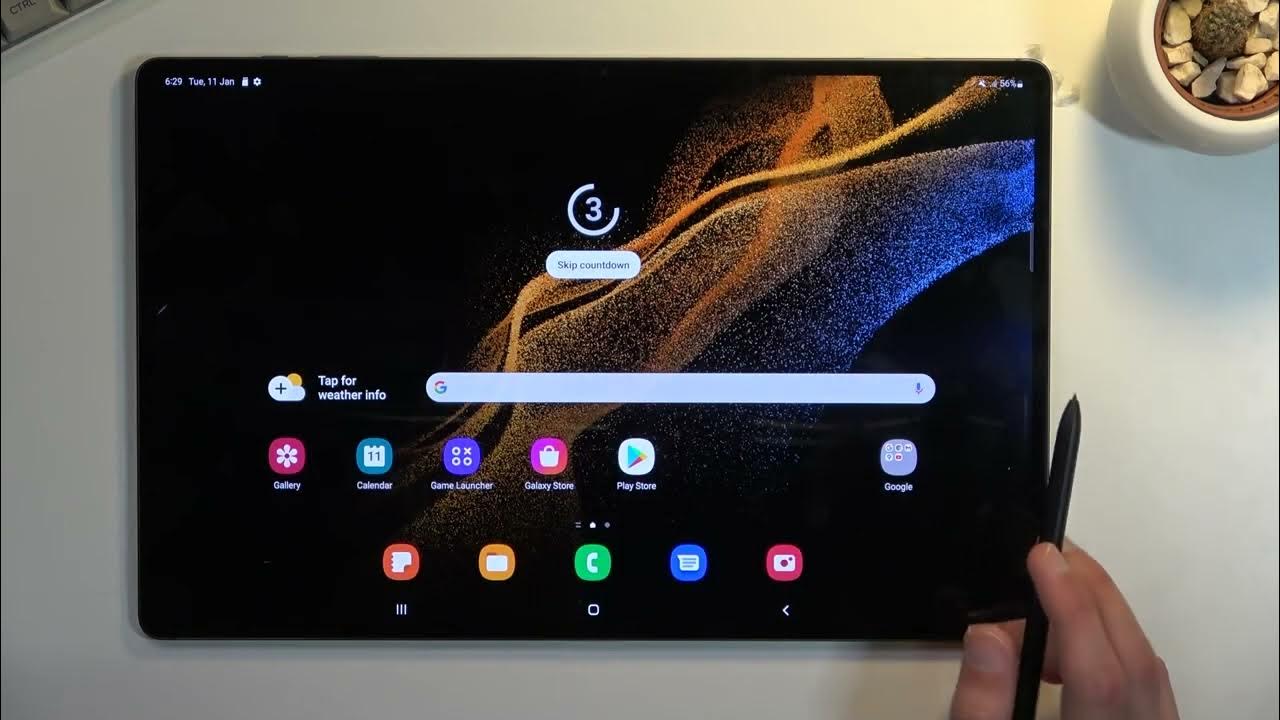
- Open the Gallery or Photos app on your Android device. This is where your recorded or imported videos are stored.
- Browse through your videos and select the one you want to trim. Tap on the video to open it in full screen.
- Look for the “Edit” or “Edit Video” option. This can usually be found as an icon with a pencil or sliders, or it may be accessible through the menu options or three-dot menu icon.
- Tap on the “Edit” option to open the video editing tool.
If your device doesn’t have a built-in video editing app, you can download one from the Google Play Store. There are plenty of free and paid options available, offering a range of features and customization options.
Once you have accessed the video editing tool, you’re ready to move on to the next step of selecting the video segment you want to trim!
Step 3: Select the Video Segment to Trim
Now that you have opened the video editing tool on your Android device, it’s time to select the specific segment of the video that you want to trim. Follow these steps to do so:
- Within the video editing tool, you’ll typically see a timeline or preview screen that displays the entire video.
- Look for the markers or handles at either end of the timeline. These markers allow you to select the start and end points of the segment you want to trim.
- Drag the marker at the beginning of the timeline to the desired starting point of your trimmed segment. Similarly, drag the marker at the end of the timeline to the desired ending point.
- As you select the segment to trim, you’ll usually see a preview of the selected portion playing in real-time. This helps you ensure that you have chosen the correct segment.
It’s important to be precise when selecting the segment to trim. Take into account any unwanted footage, unnecessary pauses, or shaky sections that you want to remove from the video. Remember that the goal is to create a more concise and visually appealing video.
Once you have selected the segment to trim, it’s time to move on to the next step of actually trimming the video!
Step 4: Trim the Selected Segment
With the desired segment of the video selected, it’s time to trim it and remove any unwanted portions. Follow these steps to trim the selected segment:
- Look for the “Trim” or “Crop” option within the video editing tool. It is usually represented by an icon of scissors or a crop symbol.
- Tap on the “Trim” or “Crop” option to access the trimming controls.
- Within the trimming controls, you will typically see the start and end points of the selected segment highlighted on the timeline.
- Drag the start or end points of the timeline to further fine-tune the segment you want to keep. You can adjust the trimming points by moving them left or right.
- As you adjust the trimming points, you’ll usually see a real-time preview of the trimmed segment.
- Continue adjusting the trimming points until you are satisfied with the length and content of the segment.
Be mindful of preserving the flow and continuity of the video while trimming. Ensure there are no abrupt jumps or disruptions in the final trimmed segment. Consider using smooth transitions if necessary for a seamless viewing experience.
Once you have successfully trimmed the selected segment, you’re ready for the final step of previewing and saving your trimmed video!
Step 5: Preview and Save the Trimmed Video
After trimming the selected segment of your video, it’s time to preview the final result and save your trimmed video. Follow these steps to complete the process:
- Within the video editing tool, look for the “Preview” or “Play” button. This will allow you to play the trimmed video and review the changes you made.
- Tap on the “Preview” or “Play” button to watch the trimmed video in real-time.
- While previewing, pay close attention to the segment you trimmed to ensure it meets your expectations. Check for any errors, disruptions, or areas that may need further adjustment.
- If you are satisfied with the trimmed video, look for the “Save” or “Export” option within the video editing tool.
- Tap on the “Save” or “Export” option to save the trimmed video to your device’s storage.
- Choose a destination folder or location on your device where you want to save the trimmed video. You may also have the option to rename the video file before saving.
- Once you have selected the save location and provided a file name (if applicable), tap on the “Save” or “Export” button to finalize the process.
Depending on the video editing app you are using, you may also have additional options for adjusting the video settings, applying filters or effects, adding text or overlays, and more. Explore these features to further enhance your trimmed video if desired.
Once the trimmed video is saved, it will be available in your device’s gallery or video folder. You can now easily share it with others, upload it to social media, or use it for any other purpose.
Congratulations! You have successfully trimmed a video on your Android device. With these simple steps, you can now create more concise and visually appealing videos that captivate your audience.
Conclusion
Trimming videos on your Android device is a powerful tool that allows you to remove unwanted sections and create more polished and engaging content. With the native video editing tools available on Android devices, you can easily trim videos without the need for external software or transferring files to a computer.
In this guide, we walked you through the step-by-step process of trimming a video on your Android device. We started by discussing the importance of trimming videos and the convenience of having this feature directly on your device.
We then outlined the essentials you’ll need for trimming videos, including an Android device, a video editing app, and a video file to trim. Having these three elements in place ensures a smooth and successful trimming process.
Next, we explained how to record or import a video onto your Android device, which serves as the foundation for the trimming process. Whether you’re capturing the moment with your device’s camera or importing a pre-recorded video, this step sets the stage for customization and creativity.
We then delved into the steps required to open the video editing tool on your Android device, emphasizing the pre-installed options on most devices and the availability of alternative video editing apps on the Google Play Store.
Once inside the video editing tool, we guided you through the process of selecting the specific segment you want to trim, ensuring precision and focus in your final video. We highlighted the importance of being attentive to unwanted footage, pauses, or shaky sections and nudged you towards maintaining the flow and continuity of your videos.
Following that, we explained how to trim the selected segment using the available trimming controls. We emphasized the importance of real-time previews and adjusting the trimming points until you are satisfied with the length and content of the segment.
Finally, we covered the last step of previewing and saving the trimmed video. We encouraged you to play the trimmed video, make any necessary last-minute adjustments, and save the final version to your device’s storage, making it ready for sharing or further editing.
By following these steps, you can confidently trim videos on your Android device and create more captivating and concise content. Whether you’re a professional videographer or an enthusiast capturing precious moments, the ability to trim videos directly on your Android device gives you the power to elevate your videos to the next level.
So, grab your Android device, start trimming those videos, and unleash your creativity!