Introduction
Adding music to a video can significantly enhance its impact and resonation with the audience. Whether you want to create a heartfelt montage, a thrilling action sequence, or a fun-filled vlog, incorporating the right music can take your video to the next level.
Fortunately, with the popularity of smartphones, it has become easier than ever to edit videos on the go. Android devices offer a wide range of video editing apps that allow you to add music effortlessly. In this article, we will guide you through the process of adding music to a video on Android.
Before we dive into the steps, it’s essential to note that the method may vary slightly depending on the video editing app you choose to use. However, the basic principles remain the same, and we will provide general guidelines that apply to most apps.
So, whether you have captured a memorable moment on your smartphone or have downloaded a video from the internet, let’s embark on this exciting journey of adding music to your videos!
Step 1: Choose a Video Editing App
The first step in adding music to your video on Android is to choose a video editing app that suits your needs. There are various options available on the Google Play Store, each offering different features and functionalities. Here are a few popular video editing apps you can consider:
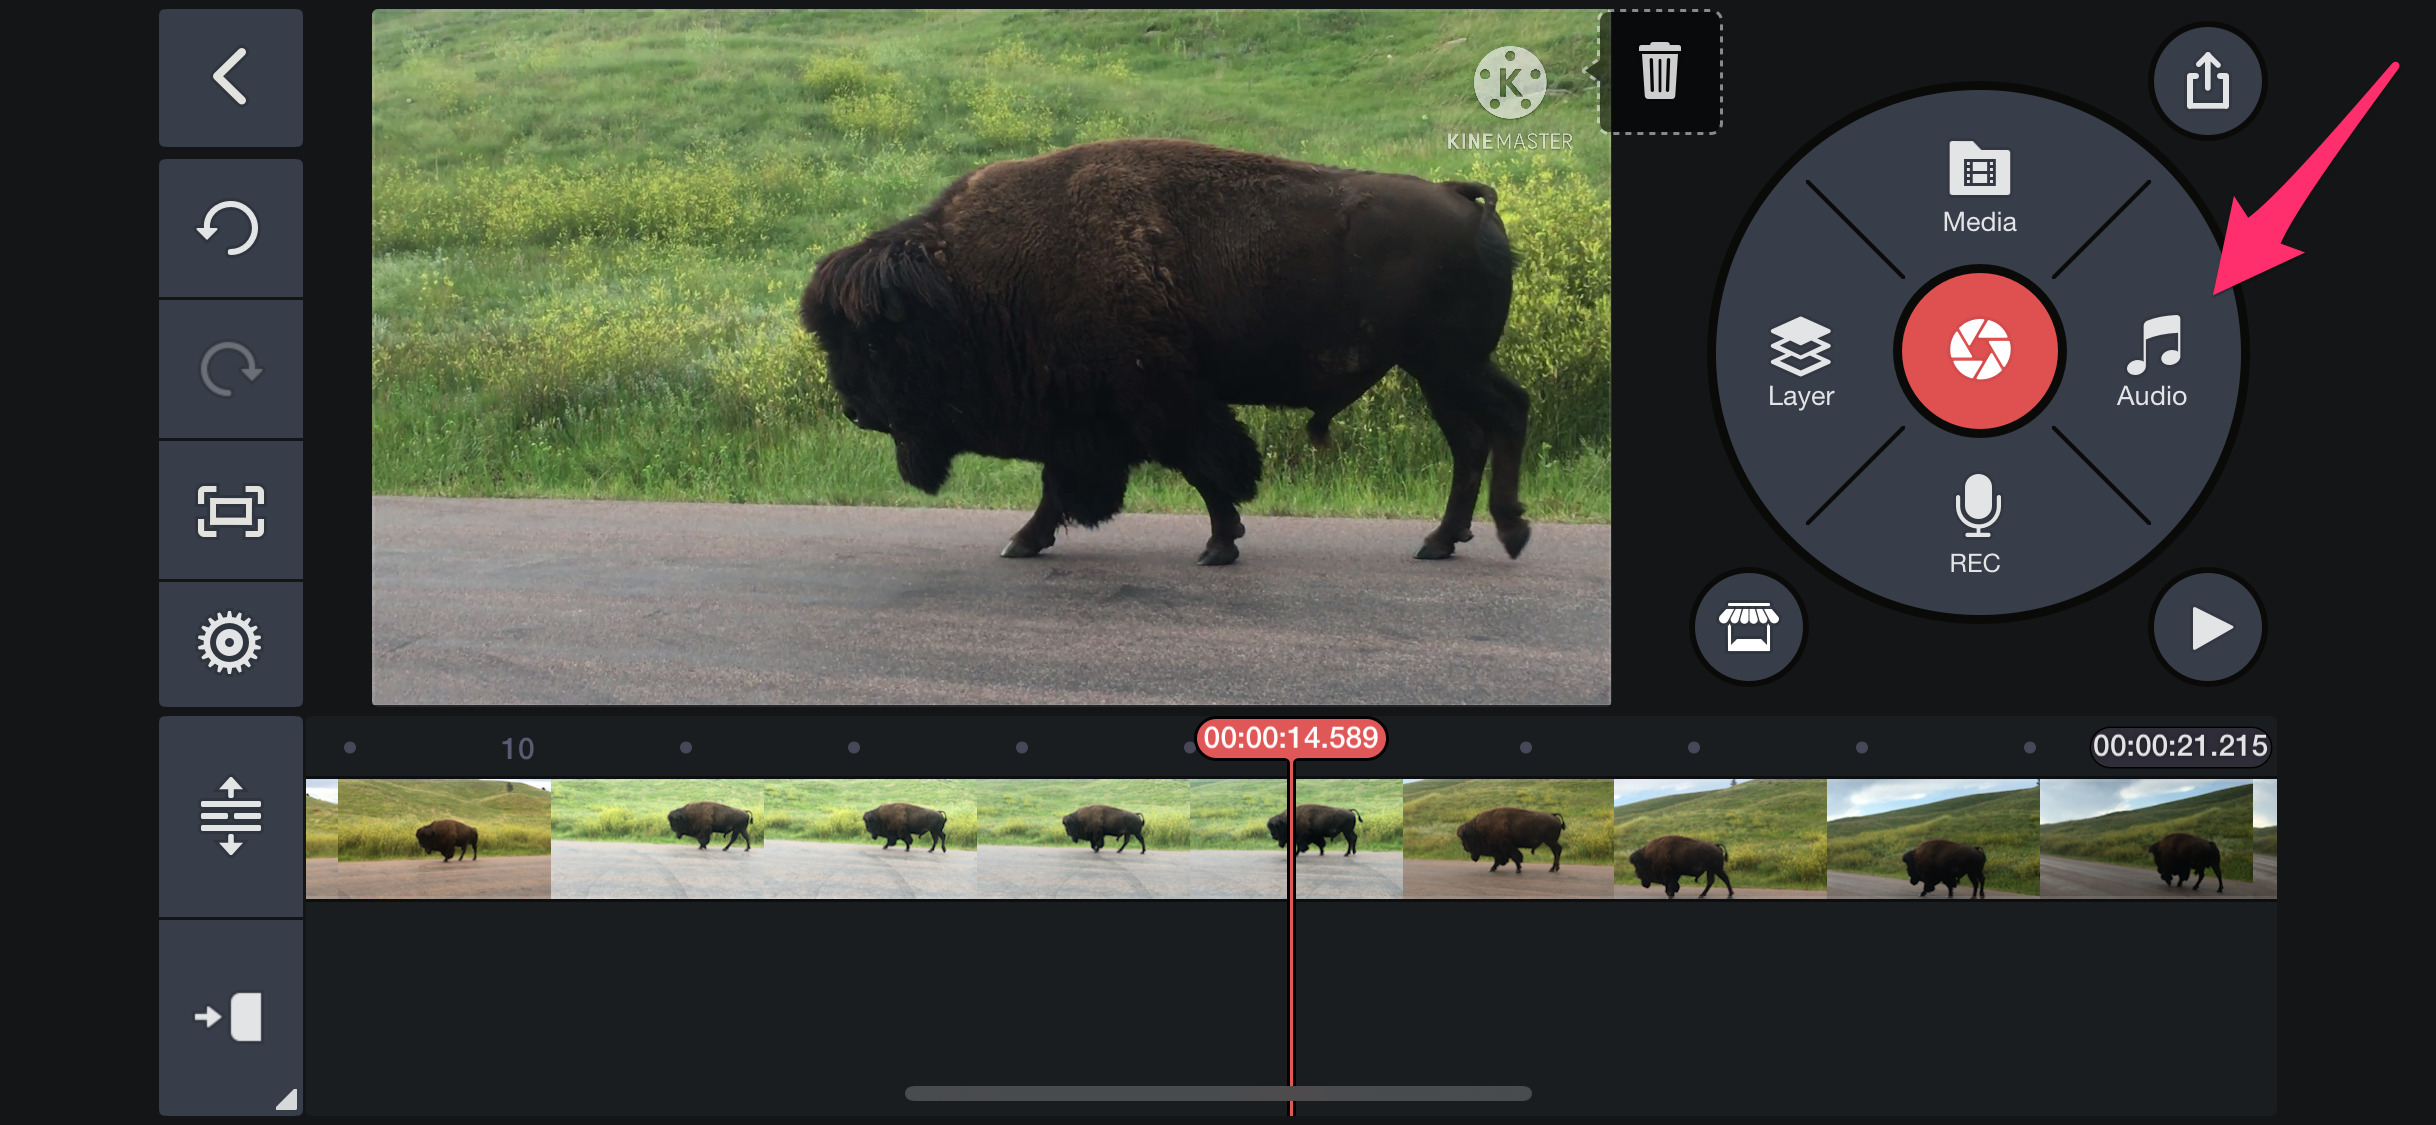
- KineMaster: KineMaster is a versatile video editing app that allows you to add multiple audio tracks, adjust volume levels, and apply various effects and transitions.
- PowerDirector: PowerDirector offers a user-friendly interface and provides a wide range of audio editing tools, including the ability to trim, mix, and fade audio.
- Adobe Premiere Rush: Adobe Premiere Rush is a powerful app that allows you to edit videos and add music seamlessly. It offers a vast music library and customizable audio controls.
- Quik: Quik is a simple yet effective video editing app that automatically synchronizes your footage to the beat of the music. It offers a selection of pre-loaded soundtracks.
Once you have chosen the app, download and install it on your Android device. Make sure to select an app that aligns with your editing skills and desired level of creativity. Familiarize yourself with the app’s interface and features to make the most out of the editing process.
Remember, the app you choose will determine the specific steps and options available to add music to your video. In the next section, we will discuss the general process of importing your video into the chosen video editing app.
Step 2: Import Your Video
After you have chosen the video editing app, the next step is to import your video into the app. Here’s a general guide on how to import your video:
- Open the video editing app on your Android device.
- Look for the option to import or start a new project. It is usually indicated by a “+” or an icon resembling a film reel or camera.
- Select the video you want to add music to from your device’s storage or gallery.
- Wait for the app to import and load your video into the editing interface.
Once your video is successfully imported, you can start exploring various editing options and functionalities provided by the app. These may include trimming, adding effects, adjusting the video’s speed, and, of course, adding the desired music.
Note that the specific steps might vary slightly depending on the app you are using. Some apps may offer additional options for importing videos, such as importing directly from your camera or cloud storage.
It’s important to choose a video editing app that supports the file format of your video. Most apps are compatible with popular video formats like MP4, MOV, and AVI. If your video is in a different format, you may need to convert it to a compatible format using a separate file conversion tool or app.
With your video successfully imported and ready for editing, let’s move on to the next step – importing the music you want to add to your video.
Step 3: Import Your Music
Now that your video is imported into the editing app, it’s time to import the music that you want to add to your video. Follow these general steps to import your music:
- Within the video editing app, locate the option to import or add audio. This can typically be found in the menu or toolbar.
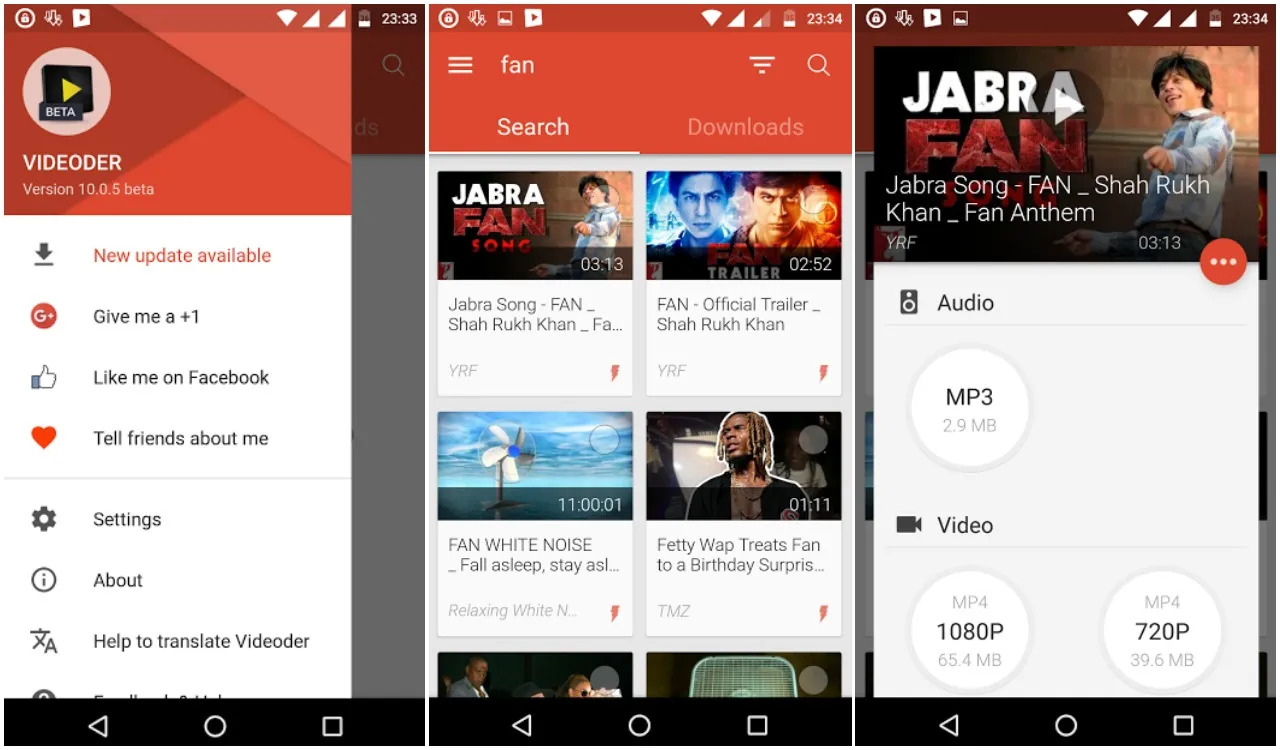
- Select the music file you want to add from your device’s storage or music library. Some apps also offer built-in libraries of royalty-free music that you can choose from.
- Wait for the app to import and load the music file into the editing interface.
Once your music is imported, you will be able to see its waveform representation or a thumbnail image in the editing interface. This will allow you to visualize and navigate through the audio track.
It’s worth noting that some video editing apps may also allow you to customize aspects of the music, such as trimming the audio file or adjusting its volume levels. Take some time to explore the features provided by your chosen app to make the most of your music editing options.
Remember, the choice of music plays a significant role in setting the mood and enhancing the impact of your video. Consider selecting a track that complements the content and evokes the desired emotions. Whether you opt for a lively soundtrack, a soothing melody, or something in between, ensure that it aligns with the overall theme and flow of your video.
Now that your video and music are imported into the editing app, let’s move on to the next step – adjusting the audio levels to achieve a balanced mix.
Step 4: Adjust the Audio Levels
After importing your video and music into the video editing app, it’s essential to ensure that the audio levels are balanced. This step will help you achieve a harmonious mix between your video’s original audio (if any) and the added music. Here’s how you can adjust the audio levels:
- Locate the audio tracks in the editing interface. Most video editing apps will display separate tracks for video and audio.
- Select the audio track that corresponds to the music you imported.
- Look for options to adjust the volume or gain of the selected audio track. These options are usually represented by sliders or numerical values.
- Gradually increase or decrease the volume of the music track to find the optimal balance with the video’s original audio or ambient sound.
- Play your video to preview the audio mix while keeping an eye on the audio level indicators. Adjust the volume until you achieve a pleasing blend between the video and music.
It’s crucial to maintain a balanced audio mix, ensuring that neither the video’s original audio nor the added music overwhelms the other. Striking the right balance will enhance the overall viewing experience and prevent any audio elements from overpowering the visuals.
While adjusting the audio levels, keep in mind the intended purpose and tone of your video. For example, if you’re creating a tutorial or a vlog, you may want to prioritize the clarity of the narration or dialogue over the background music. Conversely, if you’re producing a music video or an artistic montage, you may want the music to take center stage.
With the audio levels appropriately adjusted, your video will now have a well-balanced soundtrack. In the next step, we will discuss how to sync the music to the video for a seamless viewing experience.
Step 5: Sync the Music to the Video
Once you have adjusted the audio levels, the next step is to synchronize the music with your video. Syncing the music will ensure that the beats and timing of the music align with the visuals, creating a seamless and engaging viewing experience. Here’s how you can sync the music to your video:
- Zoom in on the timeline or scrub through the video to locate the specific points where you want the music to start and end.
- Align the music track’s starting point with the desired starting point of the video. Most video editing apps allow you to drag and adjust the position of the music track on the timeline.
- Listen to the video while moving along the timeline to identify key visual moments or transitions that could be emphasized with the music.
- Make any necessary adjustments to the position of the music track to ensure that it complements the pacing and mood of the video. You can trim the music track or move it forward or backward on the timeline as needed.
- Preview the video with the music overlaid to assess the synchronization. Pay attention to the dynamics and rhythm of the music in relation to the video’s content, making adjustments as necessary.
Syncing the music to the video requires a creative approach and an understanding of the desired impact. It’s important to keep in mind the mood, pacing, and style of your video to effectively match the visuals with the rhythm and beats of the music.
By synchronizing the music and video, you can create powerful effects such as emphasizing impactful moments, enhancing dramatic sequences, or creating a cohesive visual and auditory experience throughout the video.
Once you are satisfied with the synchronization of your music and video, let’s move on to the final step – previewing and exporting your video with music!
Step 6: Preview and Export Your Video with Music
After adding music to your video and ensuring everything is synchronized, it’s time to preview your final creation and export it with the music included. This step allows you to review and make any necessary adjustments before sharing your video with others. Follow these steps to preview and export your video:
- Play the video from the beginning within the editing app to preview the final result. Pay attention to the visual and audio elements to ensure that they complement each other seamlessly.
- If you notice any issues or areas that require changes, go back to the relevant sections in the video editing app and make the necessary adjustments. This may involve modifying the timing, volume levels, or editing effects.
- Once you are satisfied with the final video, look for the export or save option in the editing app’s menu or toolbar.
- Select the desired video quality or resolution for your exported video. Higher quality settings may produce larger file sizes, so consider the intended platform or device on which your video will be viewed.
- Choose a destination folder or location to save your exported video.
- Press the export or save button to start the exporting process. Depending on the length and complexity of your video, this may take some time.
- After the exporting process is complete, navigate to the destination folder where your video is saved.
- Open the exported video file on your Android device to ensure that the music is properly included and synchronized with the visuals.
By previewing and exporting the video with music, you can confirm that the final output matches your creative vision and meets your expectations. Taking the time to review the exported video ensures that any issues or errors are addressed before sharing it with others or uploading it online.
Now that your video is exported and ready to be shared, you can showcase your creative talent and captivate your audience with your beautifully enhanced video!
Conclusion
Adding music to your videos on Android can transform them from ordinary recordings into captivating visual experiences. With the right video editing app and a well-chosen music track, you can elevate the overall impact and emotional resonance of your videos.
In this article, we have discussed the step-by-step process of adding music to a video on Android. We began by selecting a video editing app that suits your needs, followed by importing your video into the app. We then explored how to import the desired music and adjust the audio levels for proper balance. Synchronizing the music with the video was the next important step, ensuring a harmonious blend between visuals and sound. Finally, we discussed the importance of previewing and exporting your video with the added music.
Remember, each video editing app may have its own unique interface and additional features, but the fundamental principles we discussed remain the same. Be sure to explore and experiment with the specific options and functionalities provided by your chosen app to achieve the desired results.
So, whether you’re making a personal vlog, a promotional video for your business, or simply sharing a memorable moment with friends and family, adding music to your videos can take them to a whole new level. Engage your viewers, create an emotional connection, and leave a lasting impression by harnessing the power of music in your videos.
Now, armed with this knowledge, it’s time to unleash your creativity and start adding music to your Android videos. Get ready to produce stunning and captivating videos that will grab the attention and touch the hearts of your audience!