Introduction
Upgrading your computer’s storage to a solid-state drive (SSD) can significantly improve its performance and speed. One way to make the transition seamless is by transferring your operating system to the new SSD. This process ensures that all your files, programs, and settings are replicated onto the SSD, allowing you to enjoy faster boot times and smoother overall operation.
In this article, we will guide you through the steps of transferring your operating system to an SSD. Whether you’re looking to upgrade your laptop or desktop, this process can help breathe new life into your device. We will cover all the necessary equipment you’ll need, as well as the software and techniques required to successfully clone your operating system.
It’s important to note that transferring your operating system is a technical process that may require some level of computer knowledge. However, by following our step-by-step instructions, even beginners can confidently transfer their operating system to an SSD. So let’s dive in and get started on maximizing your computer’s speed and efficiency.
Step 1: Gather necessary equipment
Before you begin the process of transferring your operating system to an SSD, it’s important to gather the necessary equipment to ensure a smooth and successful transition. Here’s what you’ll need:
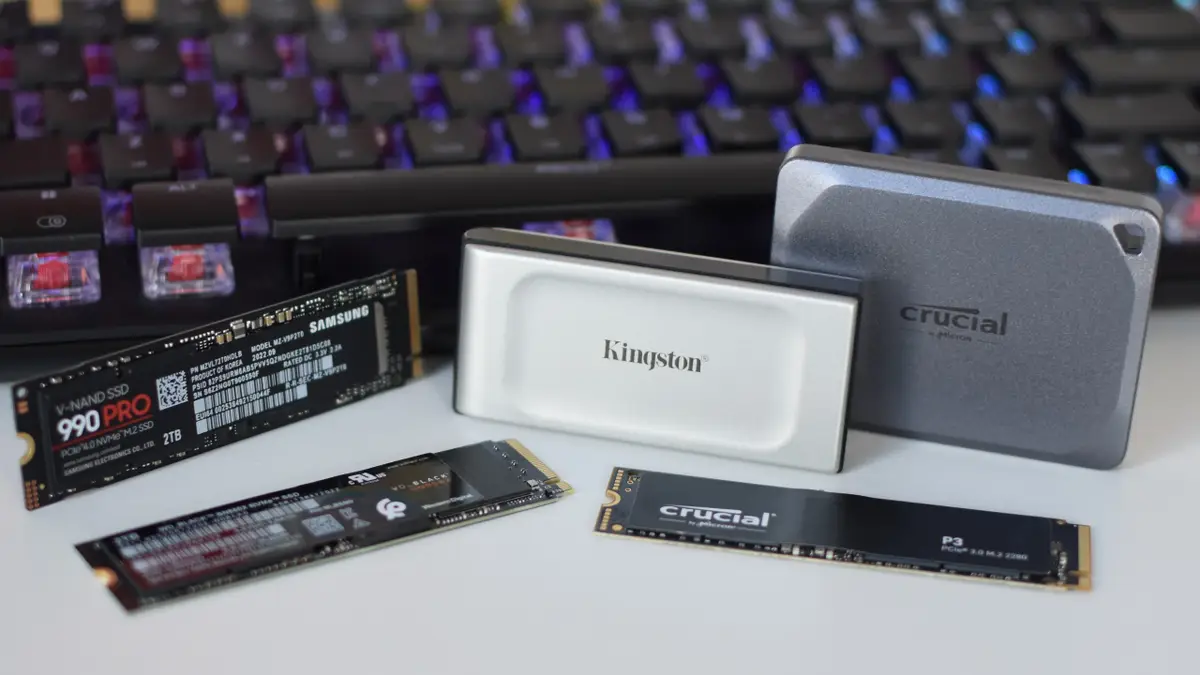
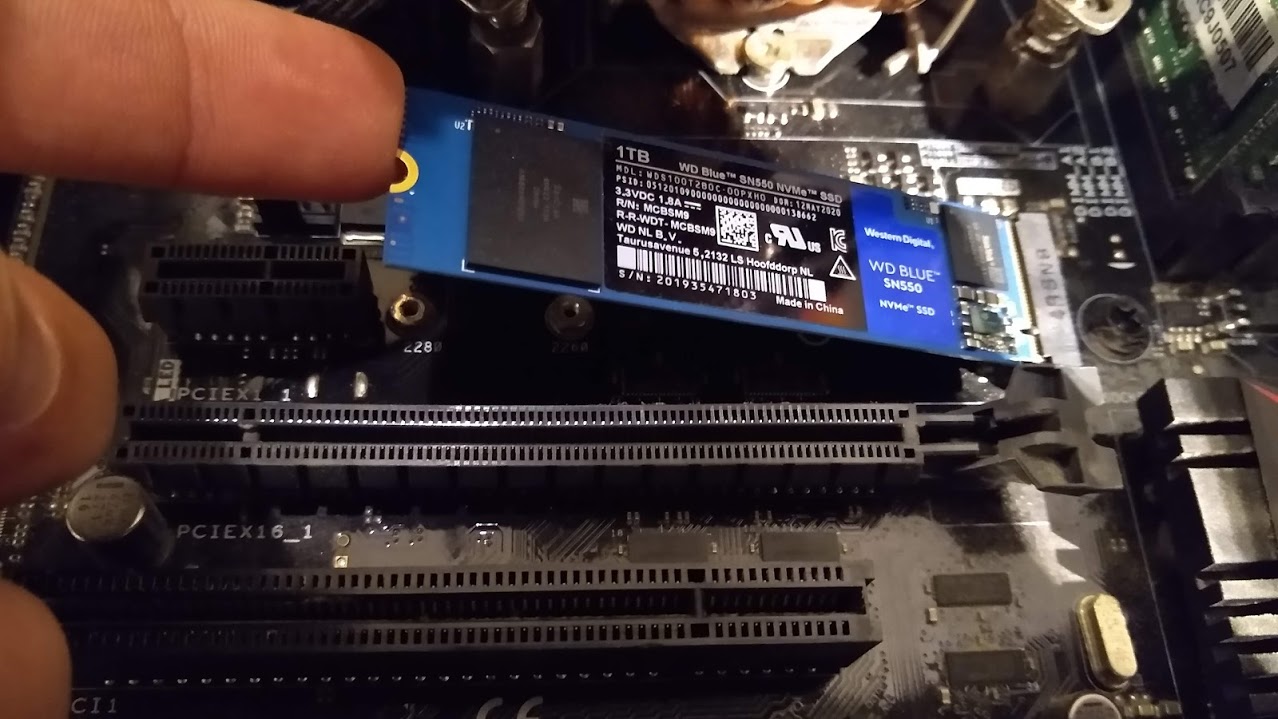
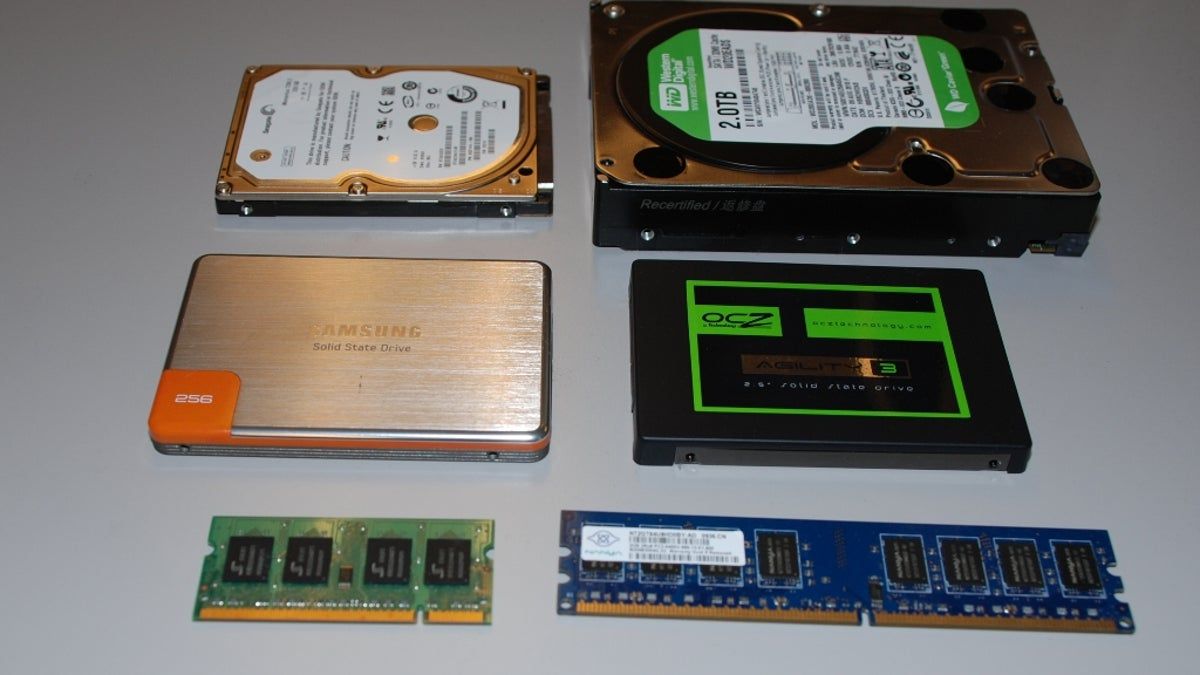
- An SSD: Ensure that you have a compatible SSD with sufficient storage capacity to accommodate your operating system and files.
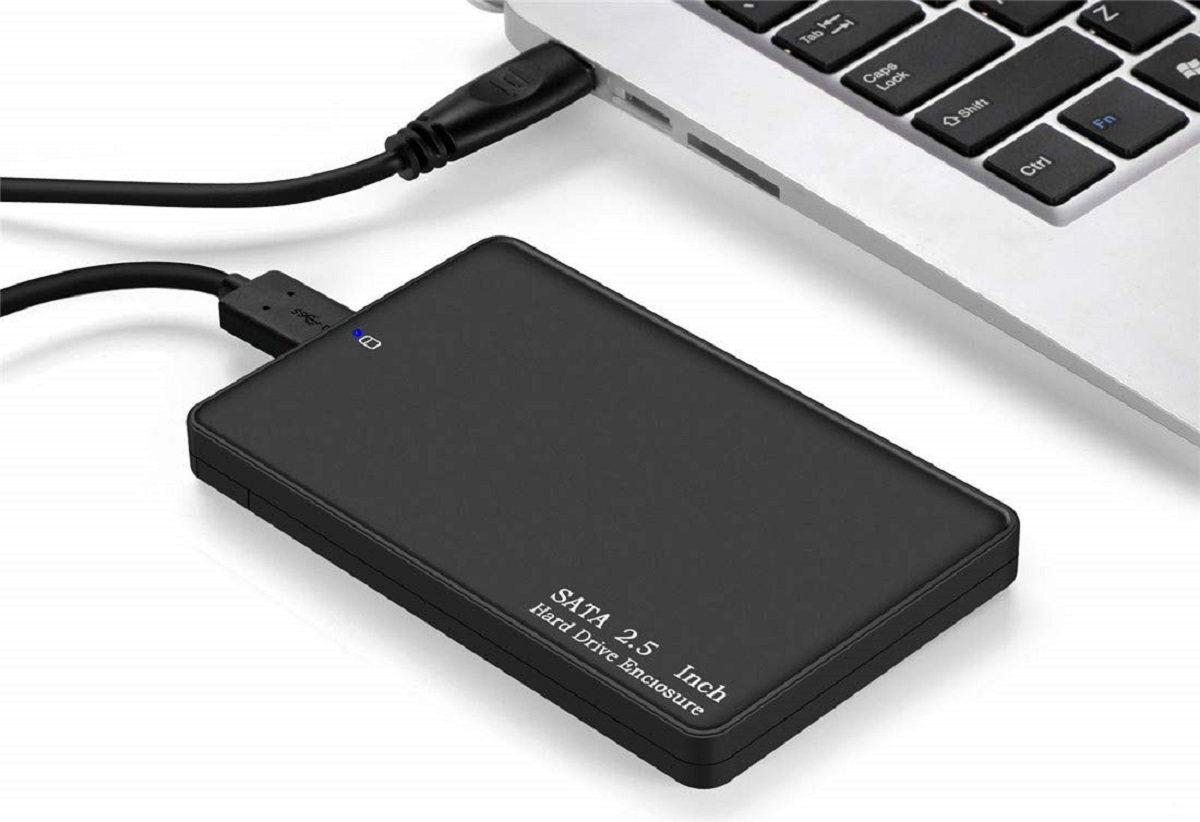
- A SATA or USB cable: You’ll need a cable to connect the SSD to your computer. The type of cable will depend on your computer’s available ports.
- Backup storage: It’s crucial to have an external hard drive or cloud storage solution to back up your data before proceeding with the transfer.
- Cloning software: You’ll need reliable cloning software that supports operating system transfers. Popular options include EaseUS Todo Backup, Acronis True Image, and Clonezilla.
- A screwdriver: Depending on your computer model, you may need a screwdriver to open the case and install the SSD.
Ensure that you have all the necessary equipment ready before proceeding to the next steps. This will help minimize any delays or interruptions during the process.
Step 2: Back up your data
Before you embark on transferring your operating system to an SSD, it is crucial to back up all your important data. This step ensures that even if anything goes wrong during the transfer process, your files will remain safe and accessible. Here’s how to back up your data:
- Identify your important files: Determine which files, documents, photos, and videos you want to back up. Focus on your personal files, as system files can be easily reinstalled.
- Choose a backup method: You have several options to back up your data. You can use an external hard drive, a USB flash drive, or utilize cloud storage services like Google Drive or Dropbox. Select the method that best fits your needs and preferences.
- Copy your files: Using the chosen backup method, copy and transfer all the identified files to the backup destination. Ensure that the process is complete and that all your files are successfully backed up.
- Verify your backup: Once the transfer is complete, take a moment to verify your backup. Open a few files from the backup destination to ensure they are intact and accessible. This step gives you peace of mind, knowing that your important data is safely stored.
Remember that backing up your data is crucial before any major changes to your system. It provides a safety net and allows you to restore your files in case of any unexpected issues during the transfer process. So take the time to secure your data before proceeding to the next steps.
Step 3: Determine the size of your SSD
Choosing the right size for your SSD is an important step in the process of transferring your operating system. You’ll want to ensure that the SSD has enough storage capacity to accommodate your operating system, files, and future updates. Here’s how to determine the appropriate size:
- Assess your current storage usage: Take a look at the total storage space currently in use on your computer. This includes the size of your operating system, installed programs, and personal files. Understanding your current storage usage will give you a baseline for selecting the appropriate size for your SSD.
- Plan for future growth: Consider any future changes or upgrades you may want to make to your system. This could include installing new programs, downloading large files, or storing media files. Allowing room for future growth can help prevent the need for upgrading your SSD again in the near future.
- Factor in the transfer process: Keep in mind that when transferring your operating system, some space on the SSD will be allocated to system files and the cloning process itself. It’s recommended to have at least 10-20% more storage capacity on the SSD than your current storage usage to ensure a seamless transfer.
Once you have assessed your current usage, planned for future growth, and factored in the transfer process, you will have a better idea of the appropriate size for your SSD. It is generally recommended to opt for a slightly larger SSD than you think you need to allow for flexibility and future requirements.
Step 4: Choose a cloning software
To successfully transfer your operating system to an SSD, you’ll need reliable cloning software. This software will create a duplicate of your operating system and all your files onto the SSD. Here are some factors to consider when choosing a cloning software:
- User-friendly interface: Look for cloning software with a user-friendly interface that makes the process easy to understand and navigate. This will help simplify the cloning process, especially if you’re new to transferring operating systems.
- Compatibility: Ensure that the cloning software is compatible with your current operating system and the SSD you’re using. Check the software’s documentation or website for compatibility information before downloading or purchasing.
- Advanced features: Consider any advanced features offered by the cloning software. Some software may offer options like sector-by-sector cloning, advanced partitioning, or the ability to selectively clone specific partitions.
- Customer reviews and ratings: Research customer reviews and ratings of different cloning software options. Real user experiences can provide valuable insight into the performance, reliability, and ease of use of the software.
- Support and updates: Check if the cloning software offers technical support and regular updates. This ensures you can get assistance if you encounter any issues during the cloning process and that the software stays up to date with the latest technology.
Based on these factors, you can make an informed decision and choose the cloning software that best suits your needs. Popular cloning software options include EaseUS Todo Backup, Acronis True Image, and Clonezilla. Take the time to research and select the software that is most compatible with your system and offers the features and support you require.
Step 5: Connect the SSD to your computer
Once you have chosen the cloning software and gathered all the necessary equipment, it’s time to connect the SSD to your computer. Follow these steps to ensure a proper connection:
- Power off your computer: Before making any hardware connections, ensure that your computer is powered off. This will prevent any potential damage to the SSD or your computer’s internal components.
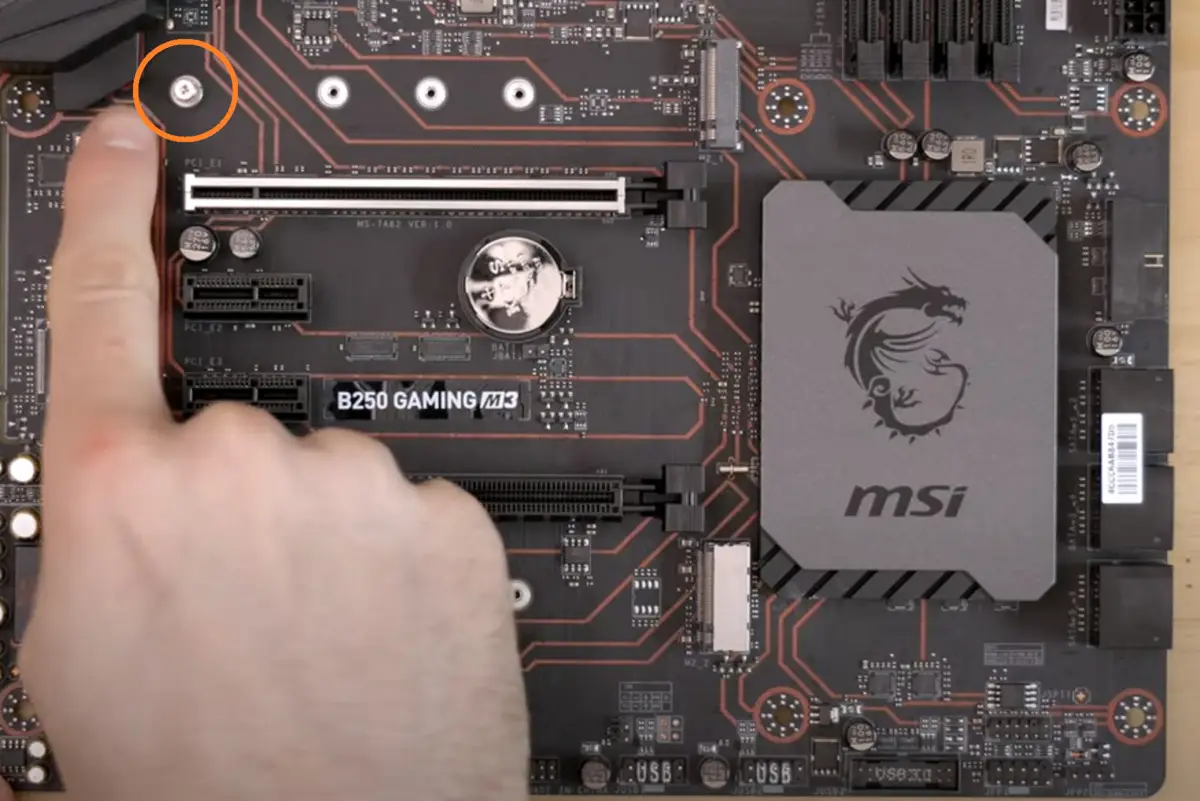
- Open your computer case: Depending on your computer model, you may need to open the case to access the internal components. Use a screwdriver to remove the screws holding the case in place, and gently remove the cover.
- Identify a suitable slot: Locate an available slot where you can install the SSD. Most desktop computers have 2.5″ or 3.5″ drive bays, while laptops often have specific SSD slots or require an adapter.
- Connect the SSD: Carefully insert the SSD into the designated slot, ensuring that the connection pins align properly. Use the screws or brackets provided with your SSD or computer to secure the SSD in place.
- Connect the cables: Depending on the SSD and your computer’s ports, connect either a SATA or USB cable to the SSD and the corresponding port on your computer. Make sure the connections are secure.
- Close your computer case: Once the SSD is properly connected, close the computer case by replacing the cover and tightening the screws.
It is crucial to handle the SSD and components with care to avoid any damage. If you’re unsure about the installation process, consult your computer’s manual or seek professional assistance to ensure a proper connection.
Step 6: Clone your operating system
With the SSD properly connected to your computer, it’s time to clone your operating system. Follow these steps to successfully transfer your operating system to the SSD:
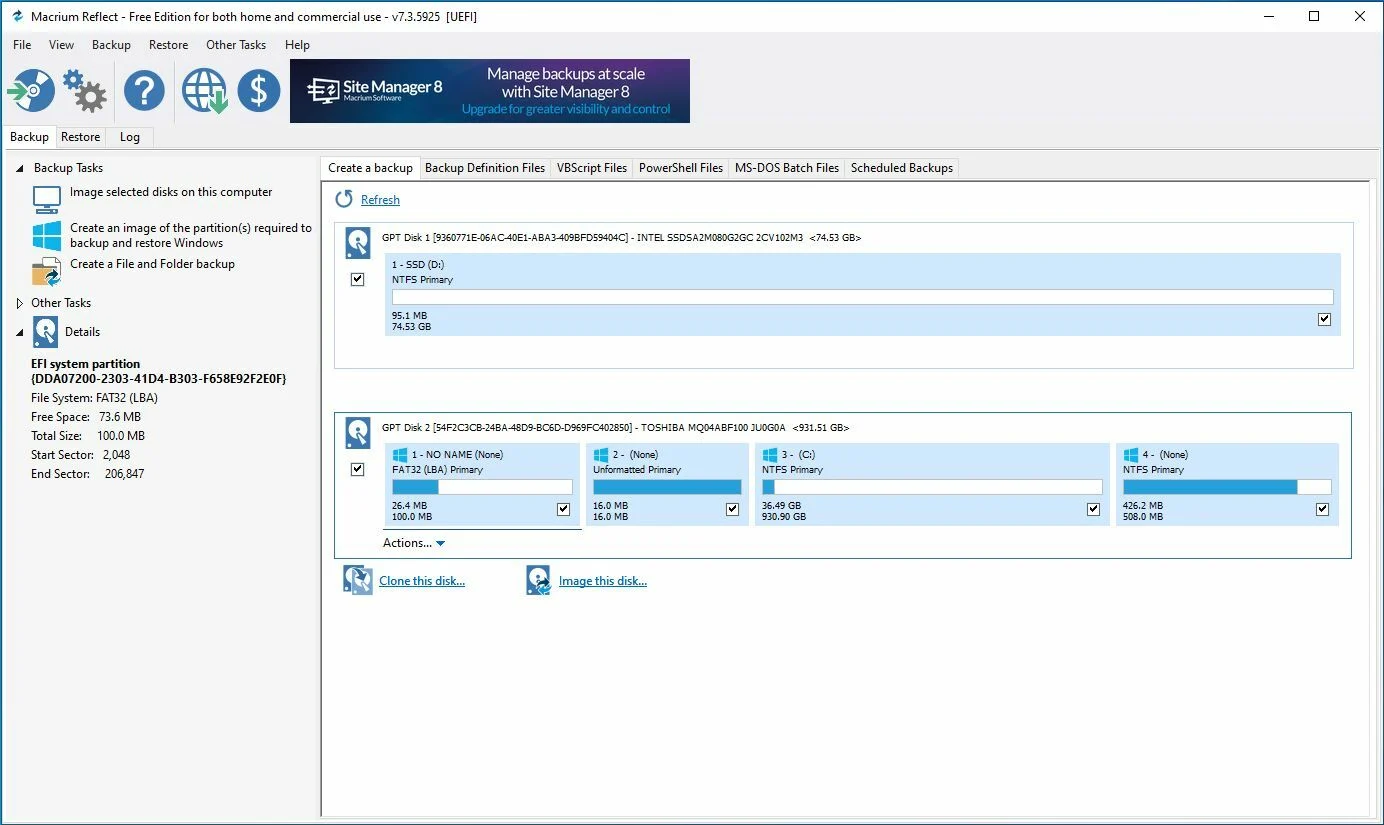
- Launch the cloning software: Open the cloning software you previously chose in Step 4.
- Select the source and destination: In the software, select the source drive (your current operating system drive) and the destination drive (the connected SSD). Double-check that you have selected the correct drives to avoid any data loss.
- Configure the cloning settings: Depending on the cloning software, you may have the option to customize the cloning settings. These settings may include the partition size, clone method (sector-by-sector or intelligent cloning), and additional options specific to the software.
- Start the cloning process: Once you have configured the necessary settings, start the cloning process. This may take some time, depending on the size of your operating system and the speed of your computer and SSD.
- Monitor the progress: During the cloning process, keep an eye on the progress indicator provided by the software. It will show you the estimated time remaining and the completion percentage.
- Verify the clone: After the cloning process is complete, check if the software indicates a successful clone. Some software may provide a report that confirms the successful transfer of your operating system to the SSD.
- Exit the cloning software: Once you have verified the successful clone, exit the cloning software and close any associated windows.
It’s important to note that during the cloning process, you should avoid using your computer or making any changes to your files to prevent any data discrepancies. Once the cloning is complete, you’ll have an exact replica of your operating system on the SSD.
Step 7: Install the SSD into your computer
Now that you have successfully cloned your operating system to the SSD, it’s time to physically install the SSD into your computer. Follow these steps to ensure a proper installation:
- Power off your computer: Before starting the installation process, ensure that your computer is powered off to prevent any damage.
- Open your computer case: Use a screwdriver to remove the screws holding the case in place, and carefully remove the cover to gain access to the internal components.
- Locate a suitable drive bay: Identify an available drive bay where you can install the SSD. Desktop computers usually have 2.5″ or 3.5″ drive bays, while laptops may have specific SSD slots or require an adapter.
- Secure the SSD: Insert the SSD into the chosen drive bay, ensuring that the connection pins align properly. Use the screws or brackets provided with your SSD or computer to secure the SSD in place.
- Connect the cables: Attach the necessary cables to the SSD. This may include a SATA cable and power cable, or for laptops, connecting any necessary adapters and connectors.
- Close your computer case: Once the SSD is securely installed and connected, carefully close the computer case by placing the cover back on and tightening the screws.
It is essential to handle the SSD and internal components with care during the installation process. If you’re unsure about the steps or encounter any difficulties, consult your computer’s manual or seek professional assistance to ensure a proper installation.
Step 8: Change the boot order in BIOS
After installing the SSD into your computer, you need to adjust the boot order in the BIOS to ensure that your computer recognizes the SSD as the primary boot device. Follow these steps:
- Restart your computer: Restart your computer and wait for the manufacturer’s logo or initial boot screen to appear.
- Access the BIOS: To enter the BIOS settings, usually you need to press a specific key like F2, Del, or Esc. The correct key will be displayed on the screen during the boot process. You may need to repeatedly press the key until the BIOS settings menu opens.
- Navigate to the Boot Order: Once in the BIOS, navigate to the Boot Order or Boot Priority section. This section may have different names depending on your motherboard manufacturer.
- Set the SSD as the first boot device: In the Boot Order section, locate the SSD from the list of available devices and move it to the top of the boot order list. This ensures that the computer will boot from the SSD first.
- Save and exit: After setting the SSD as the first boot device, save the changes you made in the BIOS and exit the settings menu. The computer will reboot.
When the computer restarts, it should now boot from the SSD, resulting in faster boot times and improved overall performance. If you encounter any issues or are unfamiliar with BIOS settings, refer to your computer’s manual or consult the manufacturer’s website for specific instructions tailored to your system.
Step 9: Test the new SSD
After transferring your operating system to the new SSD and changing the boot order in BIOS, it’s important to test the functionality of the SSD to ensure a successful transfer. Follow these steps to verify that everything is working properly:
- Restart your computer: Restart your computer and wait for it to boot up.
- Observe the boot time: Pay attention to the boot time of your computer. Since the operating system is now located on the SSD, you should notice a significant improvement in boot speed compared to when it was on the previous drive.
- Check for all system files and programs: Ensure that all your system files and installed programs are functioning correctly. Open some programs and files to confirm that they are loading without any issues.
- Verify disk capacity: Check the available disk space on the SSD to ensure that the entire operating system and all your files have been successfully transferred.
- Perform a restart and shutdown: Restart your computer and then shut it down to verify that the SSD continues to work properly during subsequent boot-ups.
- Run benchmark tests: If you want to further evaluate the performance of your SSD, consider running benchmark tests. These tests measure the read and write speeds, as well as other performance metrics, of your SSD.
By testing the new SSD, you can confirm that the operating system transfer was successful and that your computer is running optimally. If you encounter any issues or notice any anomalies during testing, double-check your installation steps, consult your computer’s manual, or seek technical support for further assistance.
Conclusion
Transferring your operating system to an SSD can significantly enhance your computer’s performance and speed. Following the steps outlined in this guide, you can successfully migrate your operating system and enjoy faster boot times, improved system responsiveness, and smoother overall operation.
In this article, we covered the essential steps required to transfer your operating system to an SSD. We began by gathering the necessary equipment, including an SSD, cables, backup storage, and cloning software. Then, we emphasized the importance of backing up your data before proceeding with the transfer process to ensure the safety and accessibility of your files.
Next, we guided you through determining the appropriate size for your SSD and choosing reliable cloning software. We explained how to physically connect the SSD to your computer and provided instructions on cloning your operating system using the chosen software. Additionally, we explained how to install the SSD into your computer, change the boot order in BIOS, and test the functionality of the new SSD.
By following these steps, you can confidently transfer your operating system to an SSD and enjoy the numerous benefits it offers. Remember to exercise caution during the process, handle the hardware with care, and consult relevant documentation or seek professional assistance whenever needed.
With a newly transferred operating system on your SSD, you can experience improved performance, faster boot times, and a more efficient computing experience overall. Enjoy the smooth operation and enhanced speed that an SSD brings to your computer.