Introduction
Welcome to this comprehensive guide on how to test HDMI cables. High-Definition Multimedia Interface (HDMI) cables have become the standard for connecting audiovisual devices, such as televisions, monitors, and gaming consoles. Whether you are setting up a new home theater system or troubleshooting an existing one, it is crucial to ensure that your HDMI cables are in proper working condition.
Testing HDMI cables is essential to guarantee a stable and uninterrupted audiovisual experience. Faulty or damaged HDMI cables can result in issues like poor picture quality, audio dropouts, or even complete signal loss. By testing your HDMI cables, you can identify any potential problems and take the necessary steps to rectify them.
In this article, we will discuss various methods and techniques to test HDMI cables effectively. We will cover everything from visual inspections to signal quality tests, audio tests, and troubleshooting tips. Whether you are a tech enthusiast, a home theater aficionado, or a professional installer, you will find valuable information to help you ensure the optimal performance of your HDMI cables.
Before we dive into the testing methods, let’s first take a look at the equipment you will need. Having the right tools at your disposal will make the testing process smoother and more accurate. So, let’s get started with the next section where we explore the equipment needed for testing HDMI cables.
Why Test HDMI Cables?
Testing HDMI cables is crucial for several reasons. Let’s explore why it is essential to test your HDMI cables regularly:
1. Ensuring Signal Integrity: HDMI cables carry both audio and video signals, and any issues with the cables can result in degraded signal quality. By testing HDMI cables, you can ensure that the signals are transmitting properly without any interference or loss, ensuring a high-quality audiovisual experience.
2. Identifying Faulty Cables: Over time, HDMI cables can experience wear and tear, leading to faults like loose connections, damaged wires, or faulty pins. By running tests, you can identify any faulty cables and replace them promptly to maintain optimal performance.
3. Troubleshooting Connectivity Issues: If you’re encountering problems like flickering screens, intermittent audio, or no signal at all, testing the HDMI cables can help you pinpoint the source of the problem. It could be a faulty cable, a loose connection, or compatibility issues between devices.
4. Preventing Compatibility Problems: HDMI technology is constantly evolving, with new versions and features being introduced. By testing your HDMI cables, you can ensure they are compatible with the devices you are using. Incompatible cables can result in reduced resolution, limited audio capabilities, or the inability to utilize advanced features like 3D or HDR.
5. Saving Time and Money: Regularly testing HDMI cables can help you catch any issues early on, preventing potential damage to your expensive audiovisual equipment. By identifying and addressing problems promptly, you can avoid costly repairs or device replacements.
6. Optimizing Performance: By ensuring your HDMI cables are in good working condition, you can optimize the overall performance of your audiovisual setup. Clear and stable signals will result in a sharper picture, immersive sound, and a more enjoyable entertainment experience.
7. Peace of Mind: Ultimately, testing HDMI cables provides peace of mind. Knowing that your cables are functioning perfectly allows you to relax and enjoy your favorite movies, TV shows, games, and music without any interruptions or worries.
In the next section, we will discuss the equipment required for testing HDMI cables, so you can be fully prepared before you start testing.
Equipment Needed for Testing HDMI Cables
Before you start testing HDMI cables, it is essential to have the right equipment at hand. Here are the tools you will need:
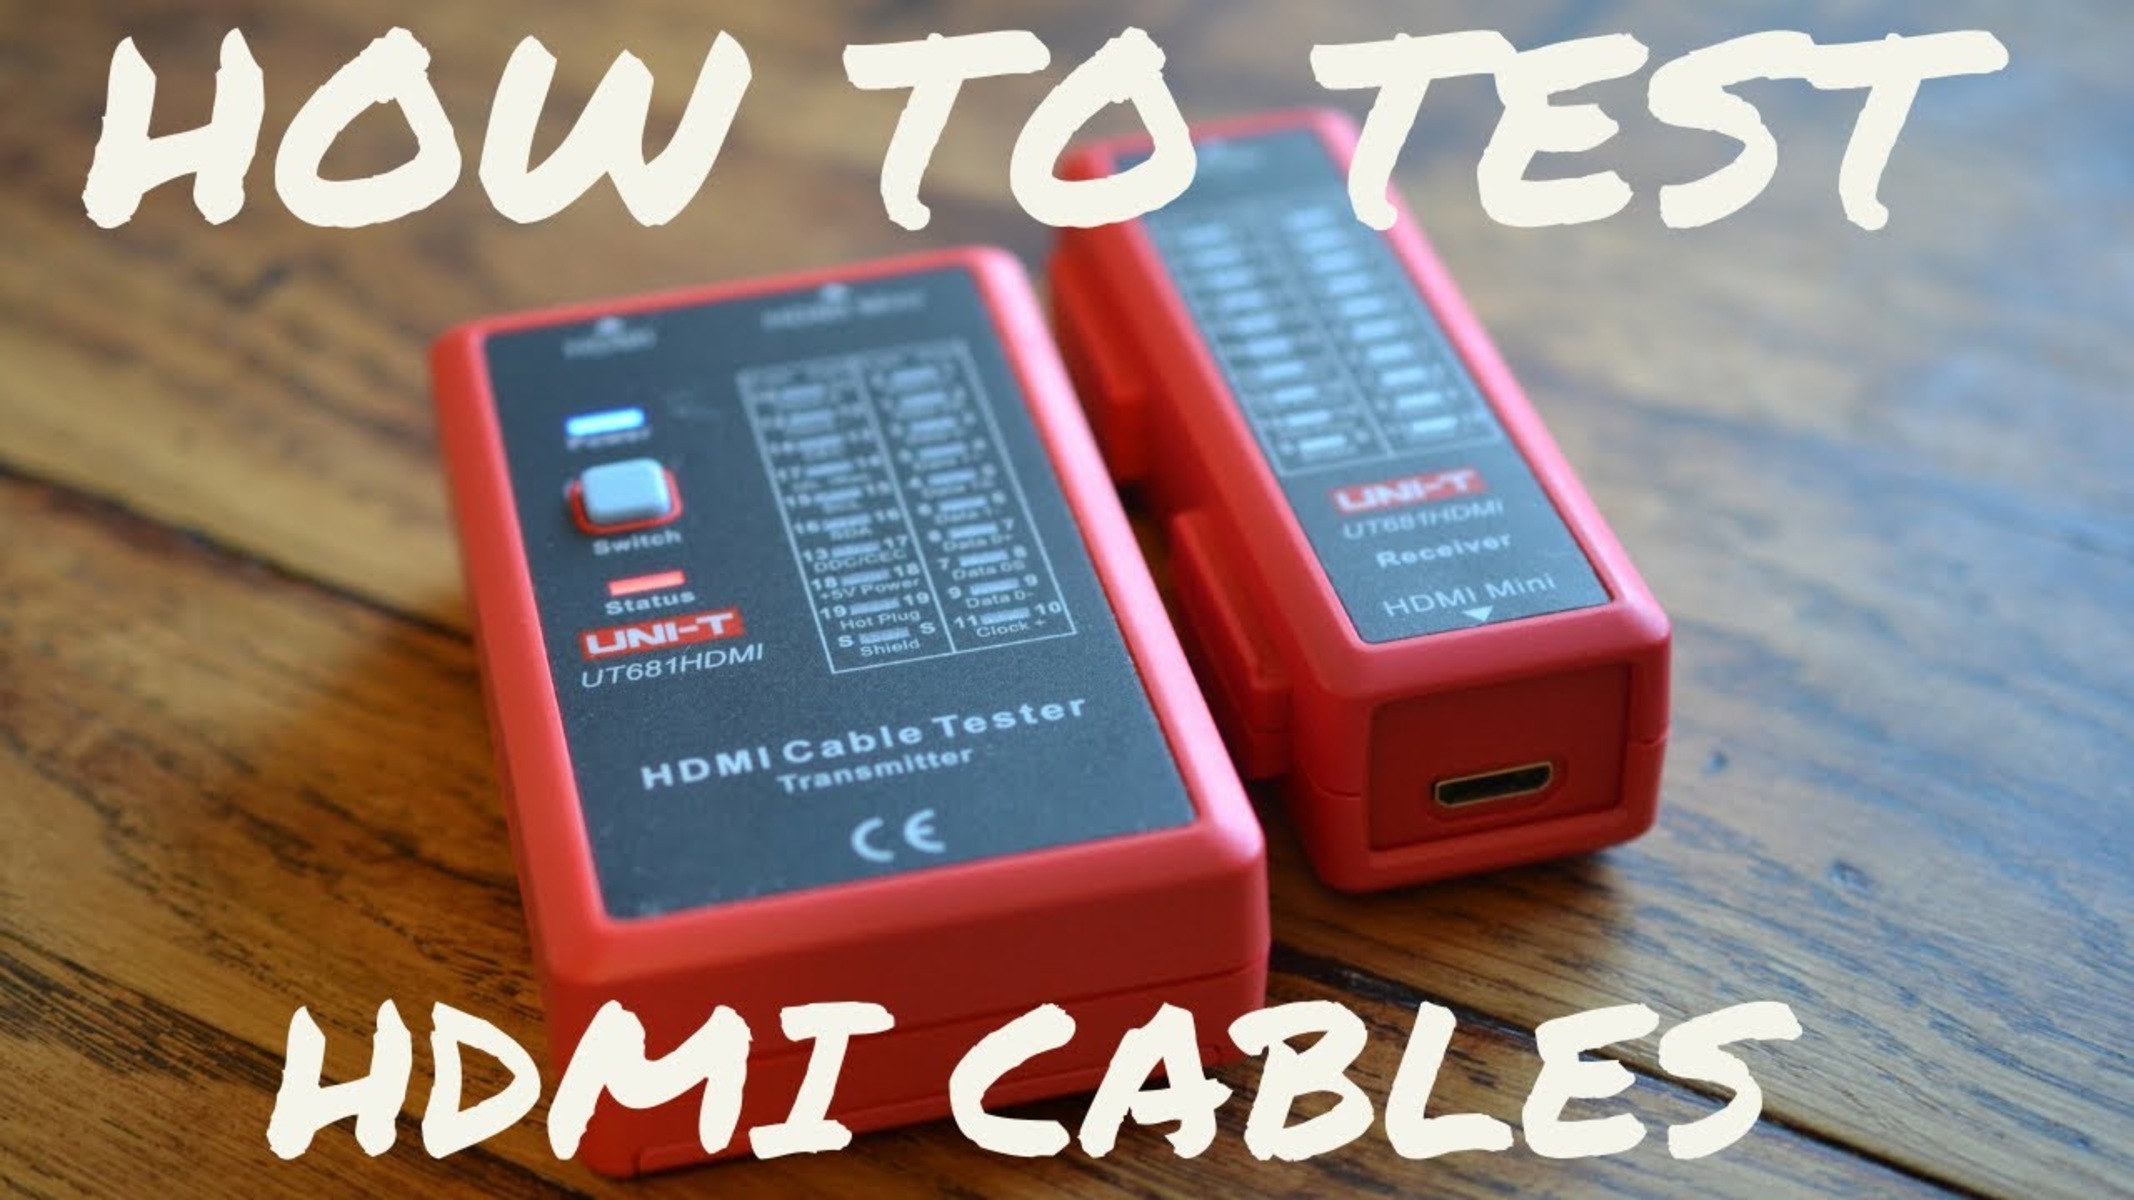
1. HDMI Cable Tester: A reliable HDMI cable tester is the most crucial tool for testing HDMI cables. It helps you check for connectivity, signal quality, and other potential issues. Look for a tester that supports the HDMI version you are working with and offers comprehensive testing capabilities.
2. HDMI Source Device: You will need a device that can output an HDMI signal, such as a Blu-ray player, gaming console, or media player. This will serve as the source for transmitting the signal through the HDMI cable.
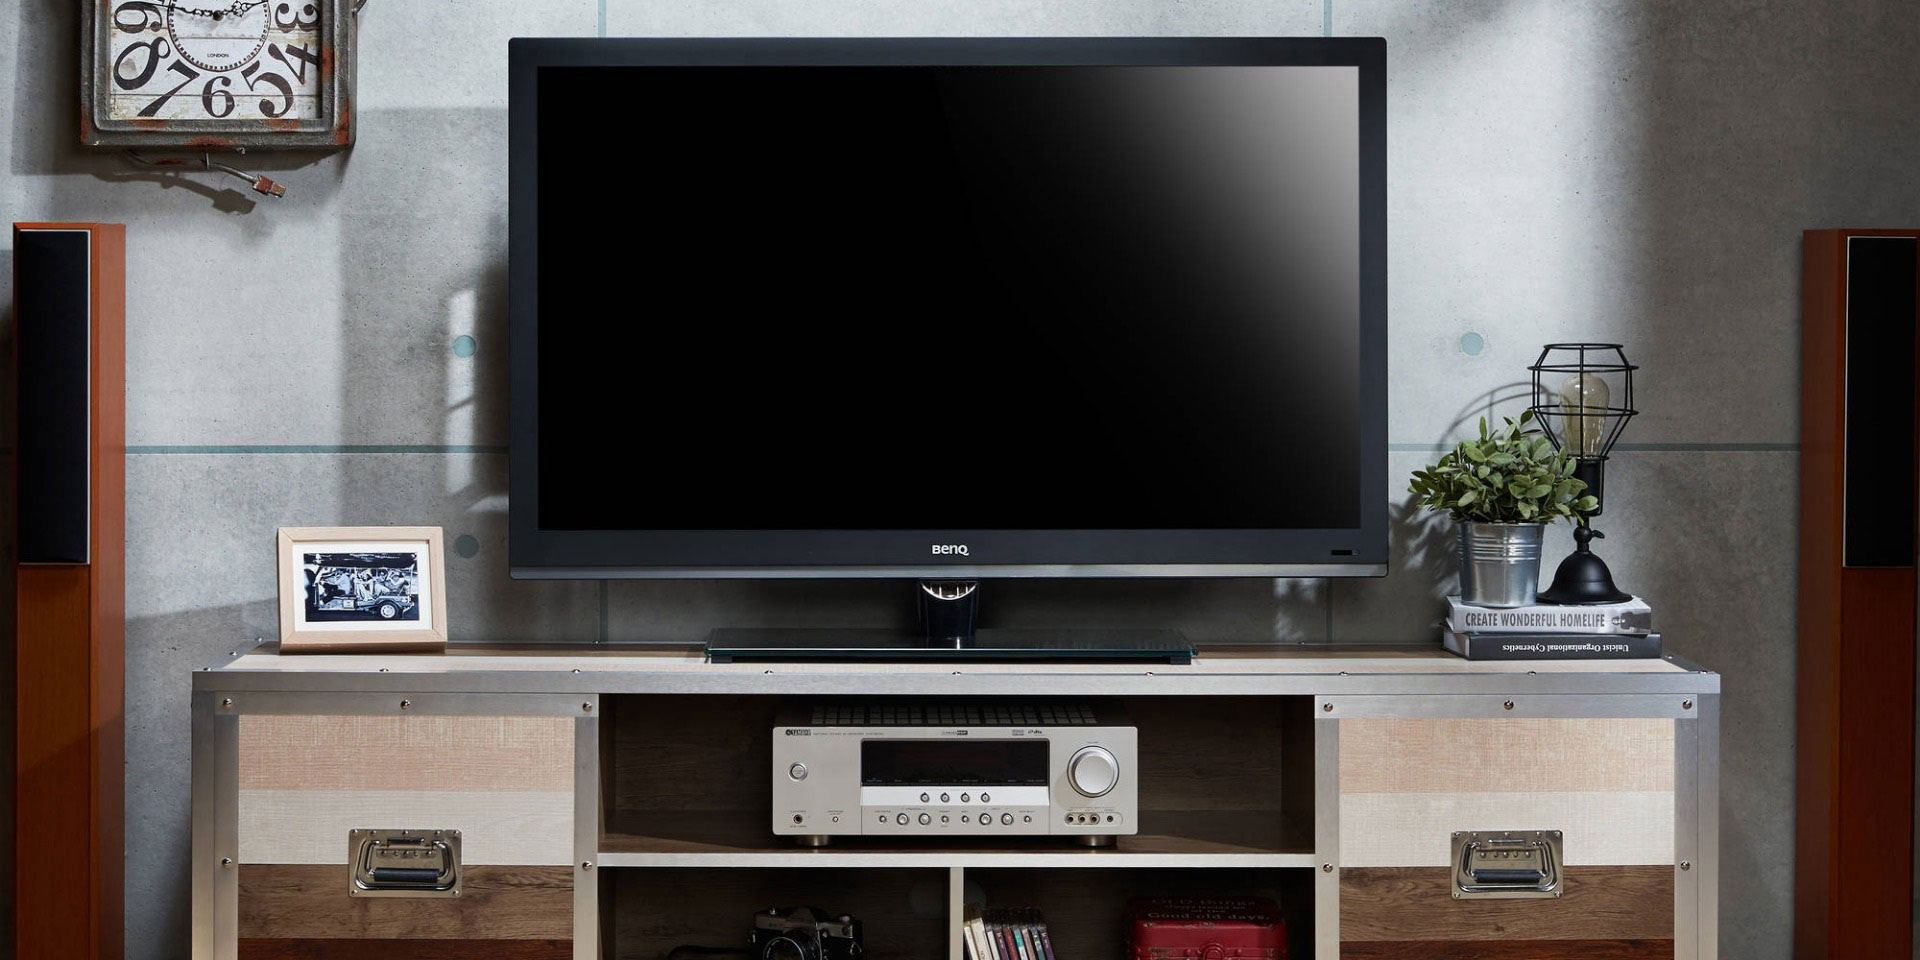
3. HDMI Display Device: You will also need a display device, such as a television or monitor, to receive the HDMI signal and verify the quality of the output. It is best to use a high-resolution display device to accurately assess the signal integrity.
4. HDMI Switch or Splitter (optional): If you have multiple HDMI devices or need to test multiple cables simultaneously, an HDMI switch or splitter can be helpful. It allows you to connect multiple devices or cables to a single display device, simplifying the testing process.
5. HDMI Signal Generator (optional): For advanced testing, an HDMI signal generator can be useful. It generates specific test patterns and signals to evaluate display capabilities and identify issues with HDMI cables and devices.
6. Cleaning Supplies: It is crucial to have cleaning supplies like lint-free cloths or compressed air to remove dust or debris from the HDMI connectors. Dirty connectors can affect signal transmission and cause intermittent connectivity issues.
7. Labels and Markers: Labels and markers may come in handy for organizing and identifying cables during the testing process. They can help you keep track of which cables have been tested and any specific observations for each cable.
8. Notebook or Spreadsheet: It is a good practice to have a notebook or create a spreadsheet to record your test results. This will help you keep track of any issues, compare different cable performances, and have a reference for future testing or troubleshooting purposes.
By having these tools ready, you will be well-prepared to effectively test your HDMI cables and ensure their reliability. In the following sections, we will explore various tests and techniques you can perform to assess the performance of your HDMI cables.
Visual Inspection of HDMI Cables
A visual inspection of HDMI cables is the first step in testing their overall condition. It helps identify any visible signs of damage, wear, or poor craftsmanship that could affect their performance. Here is a step-by-step guide for visually inspecting HDMI cables:
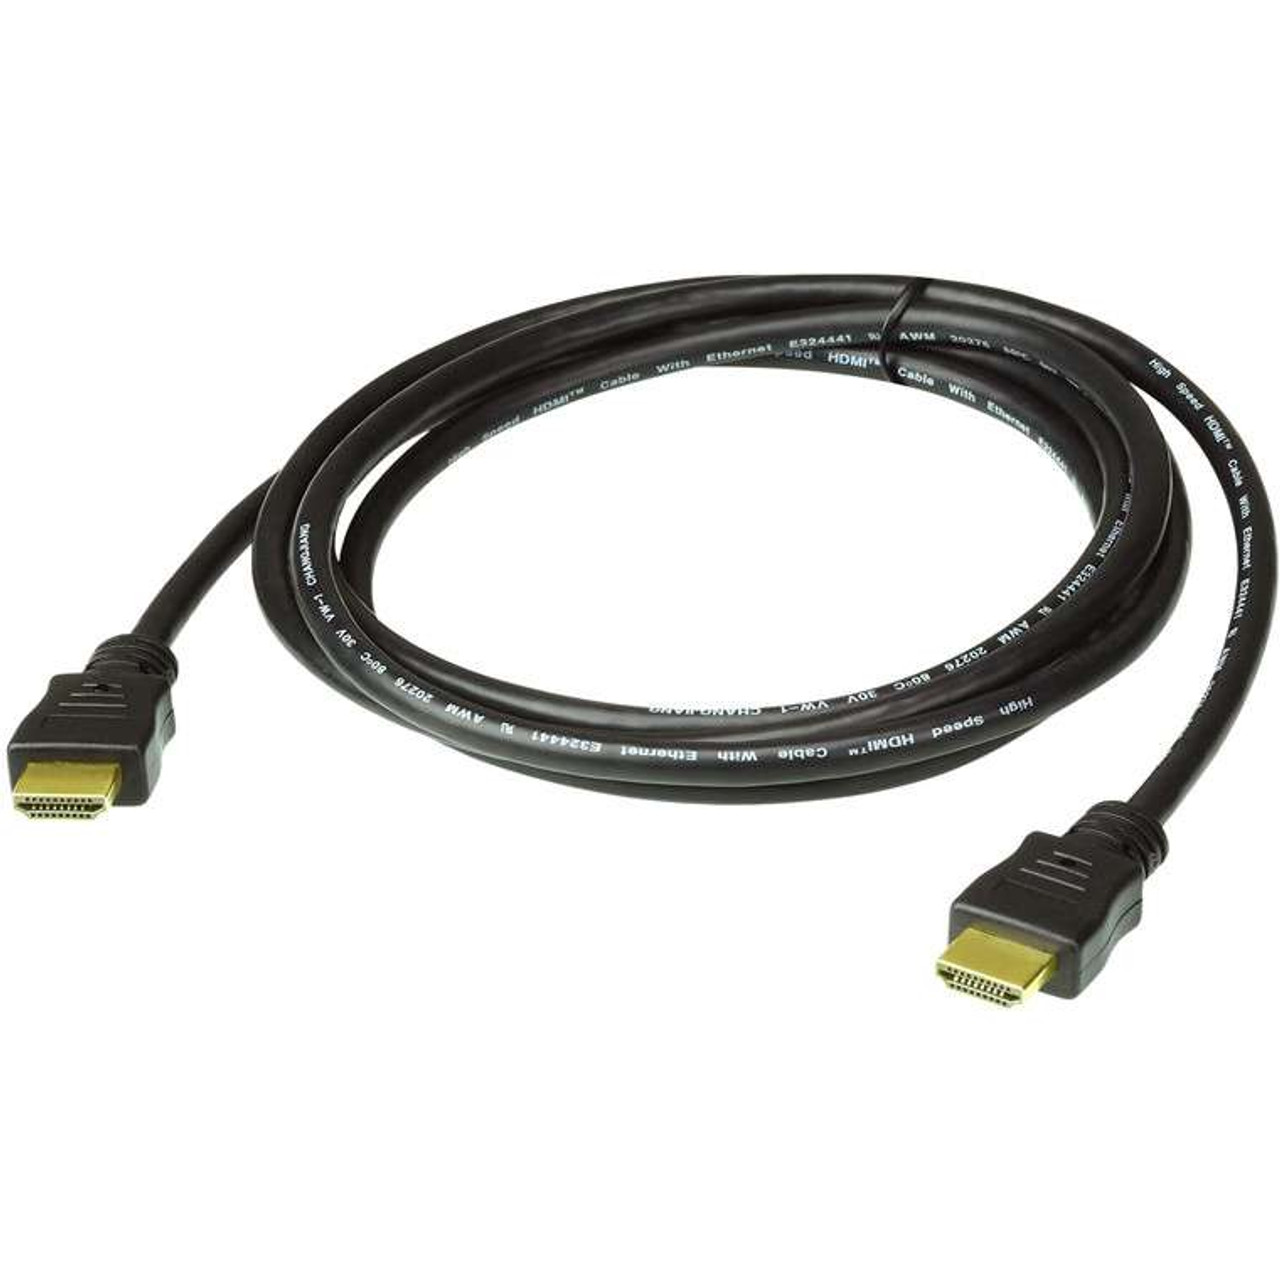
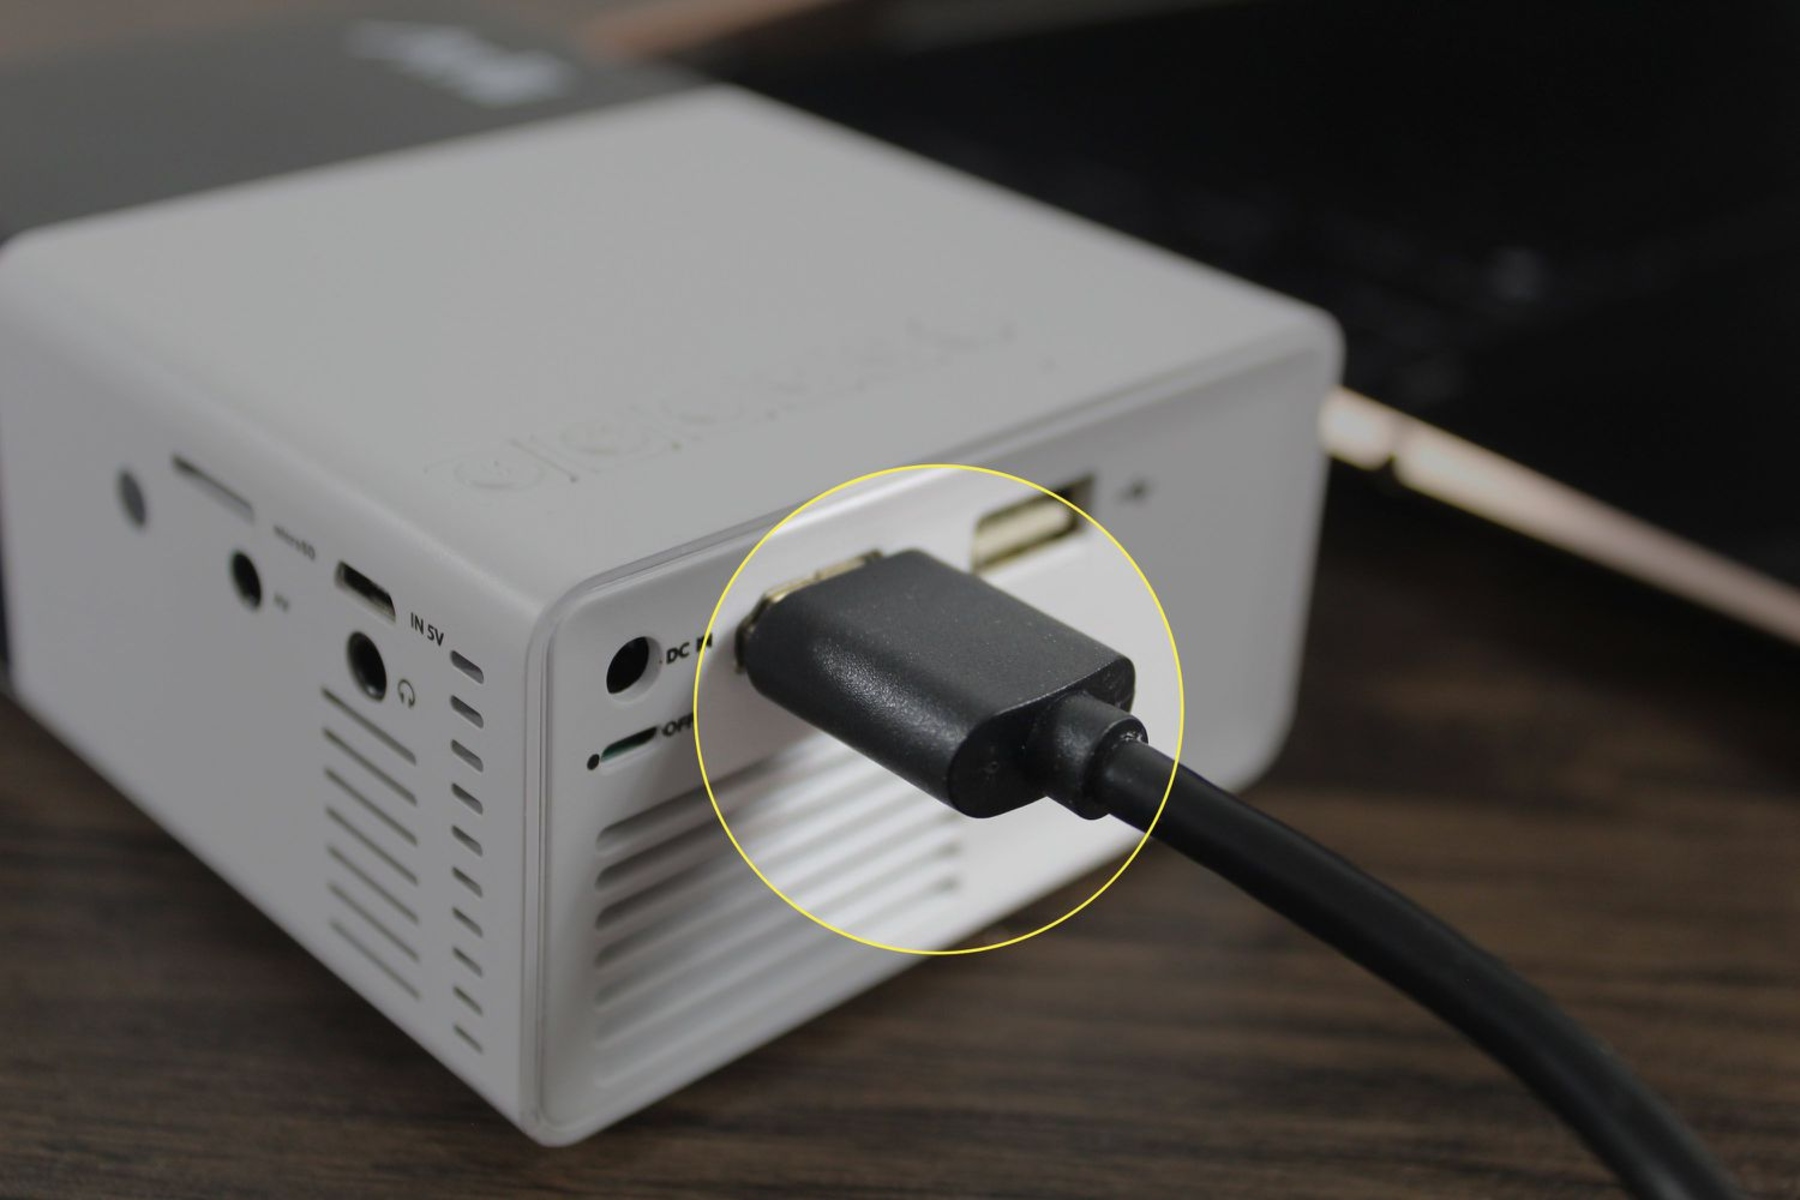
1. Check the Connector Ends: Examine both ends of the HDMI cable connectors. Look for any bent or broken pins, corrosion, or debris that may hinder a secure connection. Make sure the pins are straight and aligned properly with no signs of damage.
2. Inspect the Cable Sheath: Carefully examine the outer layer of the cable, known as the sheath. Look for any visible cuts, fraying, or dents that may expose the internal wires. Damaged sheathing can lead to signal interference or intermittent connectivity issues.
3. Check for Connectors Secured Properly: Make sure that the connectors are securely fastened to the cable. Loose connectors can result in poor signal transmission or audiovisual glitches. Verify that the connectors are tightly attached to the cable without any wiggling or play.
4. Evaluate Cable Length and Flexibility: Consider the length and flexibility of the HDMI cable. Longer cables may be prone to signal loss, especially if they do not meet the required specifications. Excessively stiff or inflexible cables can be challenging to install or maneuver, especially in tight spaces.
5. Check for Branding and Certification Labels: Look for manufacturer branding and certification labels on the HDMI cable. Reliable brands often provide additional reassurance of quality and adherence to standards. Also, check for the HDMI logo, which indicates compliance with HDMI standards.
6. Examine Cable Color and Material: While it may not directly affect performance, the color and material of the cable can indicate its quality. Look for cables with high-quality materials, such as gold-plated connectors and braided shielding, which can provide better durability and signal integrity.
7. Verify HDMI Version: Check the HDMI version of the cable, which is usually denoted on the packaging or cable itself. Ensure that it matches the version required by your devices. Using an outdated cable version may limit your audiovisual capabilities or prevent you from accessing certain features.
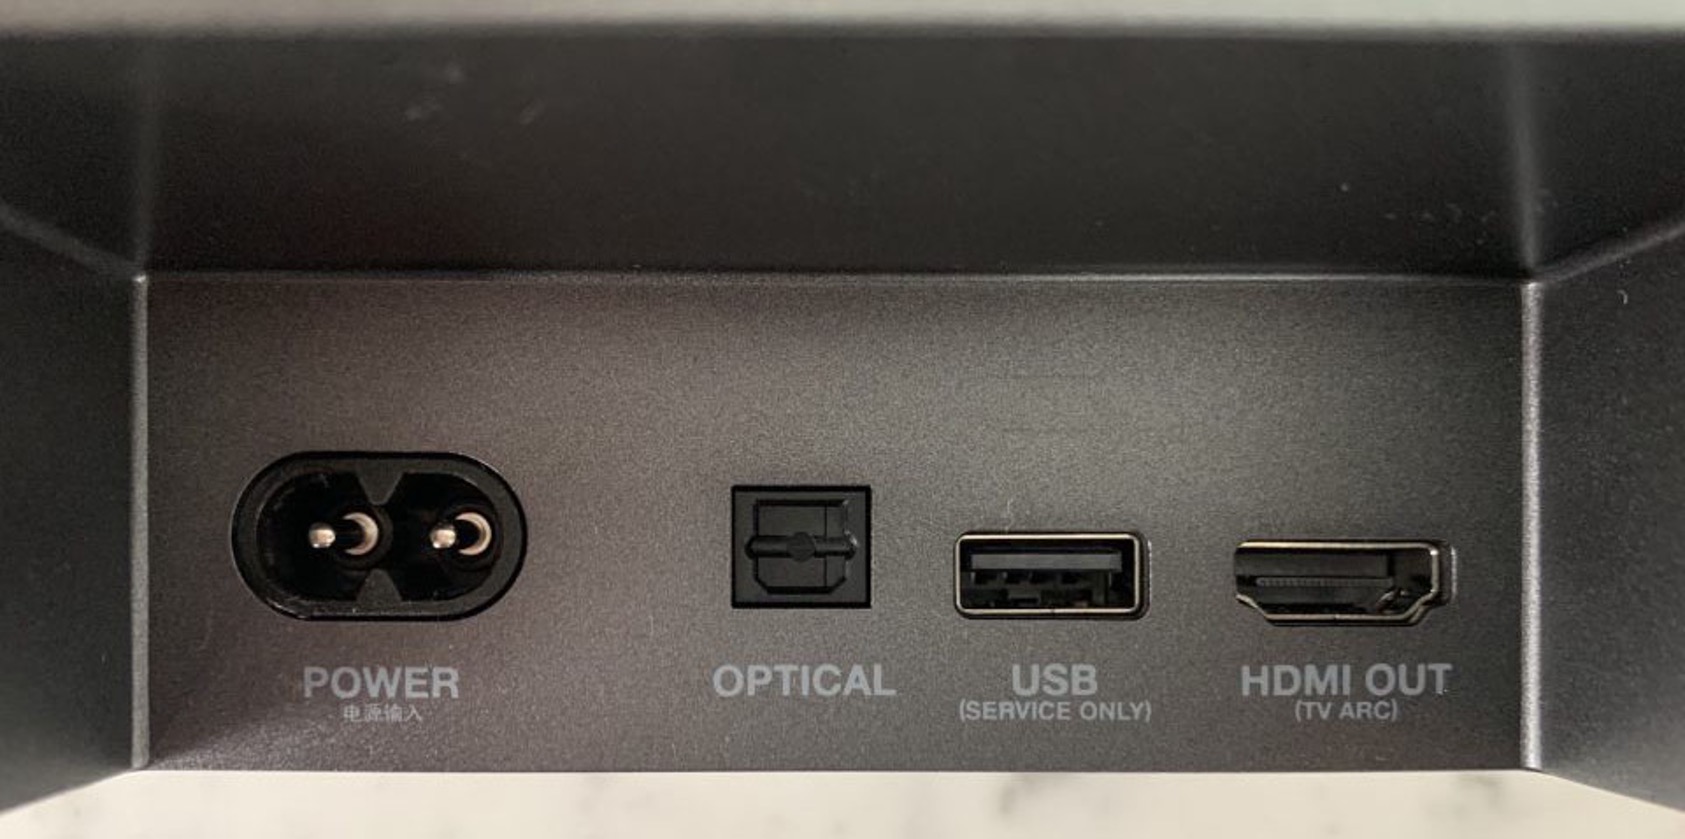
8. Test Different HDMI Inputs and Outputs: To be thorough, try testing the HDMI cable on multiple devices and different HDMI inputs and outputs. This can help identify any specific issues related to certain devices or ports.
By performing a visual inspection, you can identify any apparent issues that may require further testing or cable replacement. In the next sections, we will explore additional tests and techniques to further assess the quality and performance of HDMI cables.
Continuity Test
A continuity test is a simple but effective method to check for connectivity and integrity in HDMI cables. This test helps identify any breaks or interruptions in the cable’s conductive path. Here’s how you can perform a continuity test on an HDMI cable:
1. Disconnect the HDMI Cable: Ensure that all devices connected to the HDMI cable are powered off and unplugged. Disconnect the HDMI cable from both the source device and the display device.
2. Set the Multimeter: Set your multimeter to the continuity or resistance measurement mode. It is typically indicated by the symbol of two arrows forming a circle.
3. Identify the Pins: HDMI cables have 19 pins at each connector end. Refer to the HDMI pinout diagram to identify the pins that need to be tested. Here is a general pinout guide for reference:
- Pin 1: TMDS Data2-
- Pin 2: TMDS Data2+
- Pin 3: TMDS Data2/4 Shield
- Pin 4: TMDS Data4-
- Pin 5: TMDS Data4+
- Pin 6: DDC Clock
- Pin 7: DDC Data
- Pin 8: TMDS Data1-
- Pin 9: TMDS Data1+
- Pin 10: TMDS Data1/3 Shield
- Pin 11: TMDS Data3-
- Pin 12: TMDS Data3+
- Pin 13: CEC
- Pin 14: Reserved (N.C.)
- Pin 15: SCL
- Pin 16: SDA
- Pin 17: CEC Ground
- Pin 18: +5V Power
- Pin 19: Hot Plug Detect
4. Test the Pin Connections: Take one end of the HDMI cable and touch the positive (red) probe of the multimeter to one of the pins you want to test. Place the negative (black) probe on the corresponding pin on the other end of the cable. Repeat this process for all the pins you want to test.
5. Check for Continuity: If there is continuity between the corresponding pins, the multimeter will produce a beep or indicate a low resistance value. This indicates that the conductive path is complete and the cable is functioning properly. If there is no continuity or a high resistance value, it suggests a break or interruption in the cable.
6. Repeat for Other Pins: Test all the desired pins on both ends of the HDMI cable, ensuring that the continuity is maintained for each pin.
A continuity test helps you identify any breaks or faults in the HDMI cable, ensuring that the signals can flow uninterrupted. If you detect any connectivity issues during this test, it is advisable to replace the faulty cable with a new one.
In the next sections, we will explore additional tests to assess the signal quality, color, image, and audio capabilities of HDMI cables.
Signal Quality Test
Testing the signal quality of HDMI cables is essential to ensure optimal audiovisual performance. This test helps assess the integrity and stability of the signal being transmitted through the cable. Here’s how you can perform a signal quality test on HDMI cables:
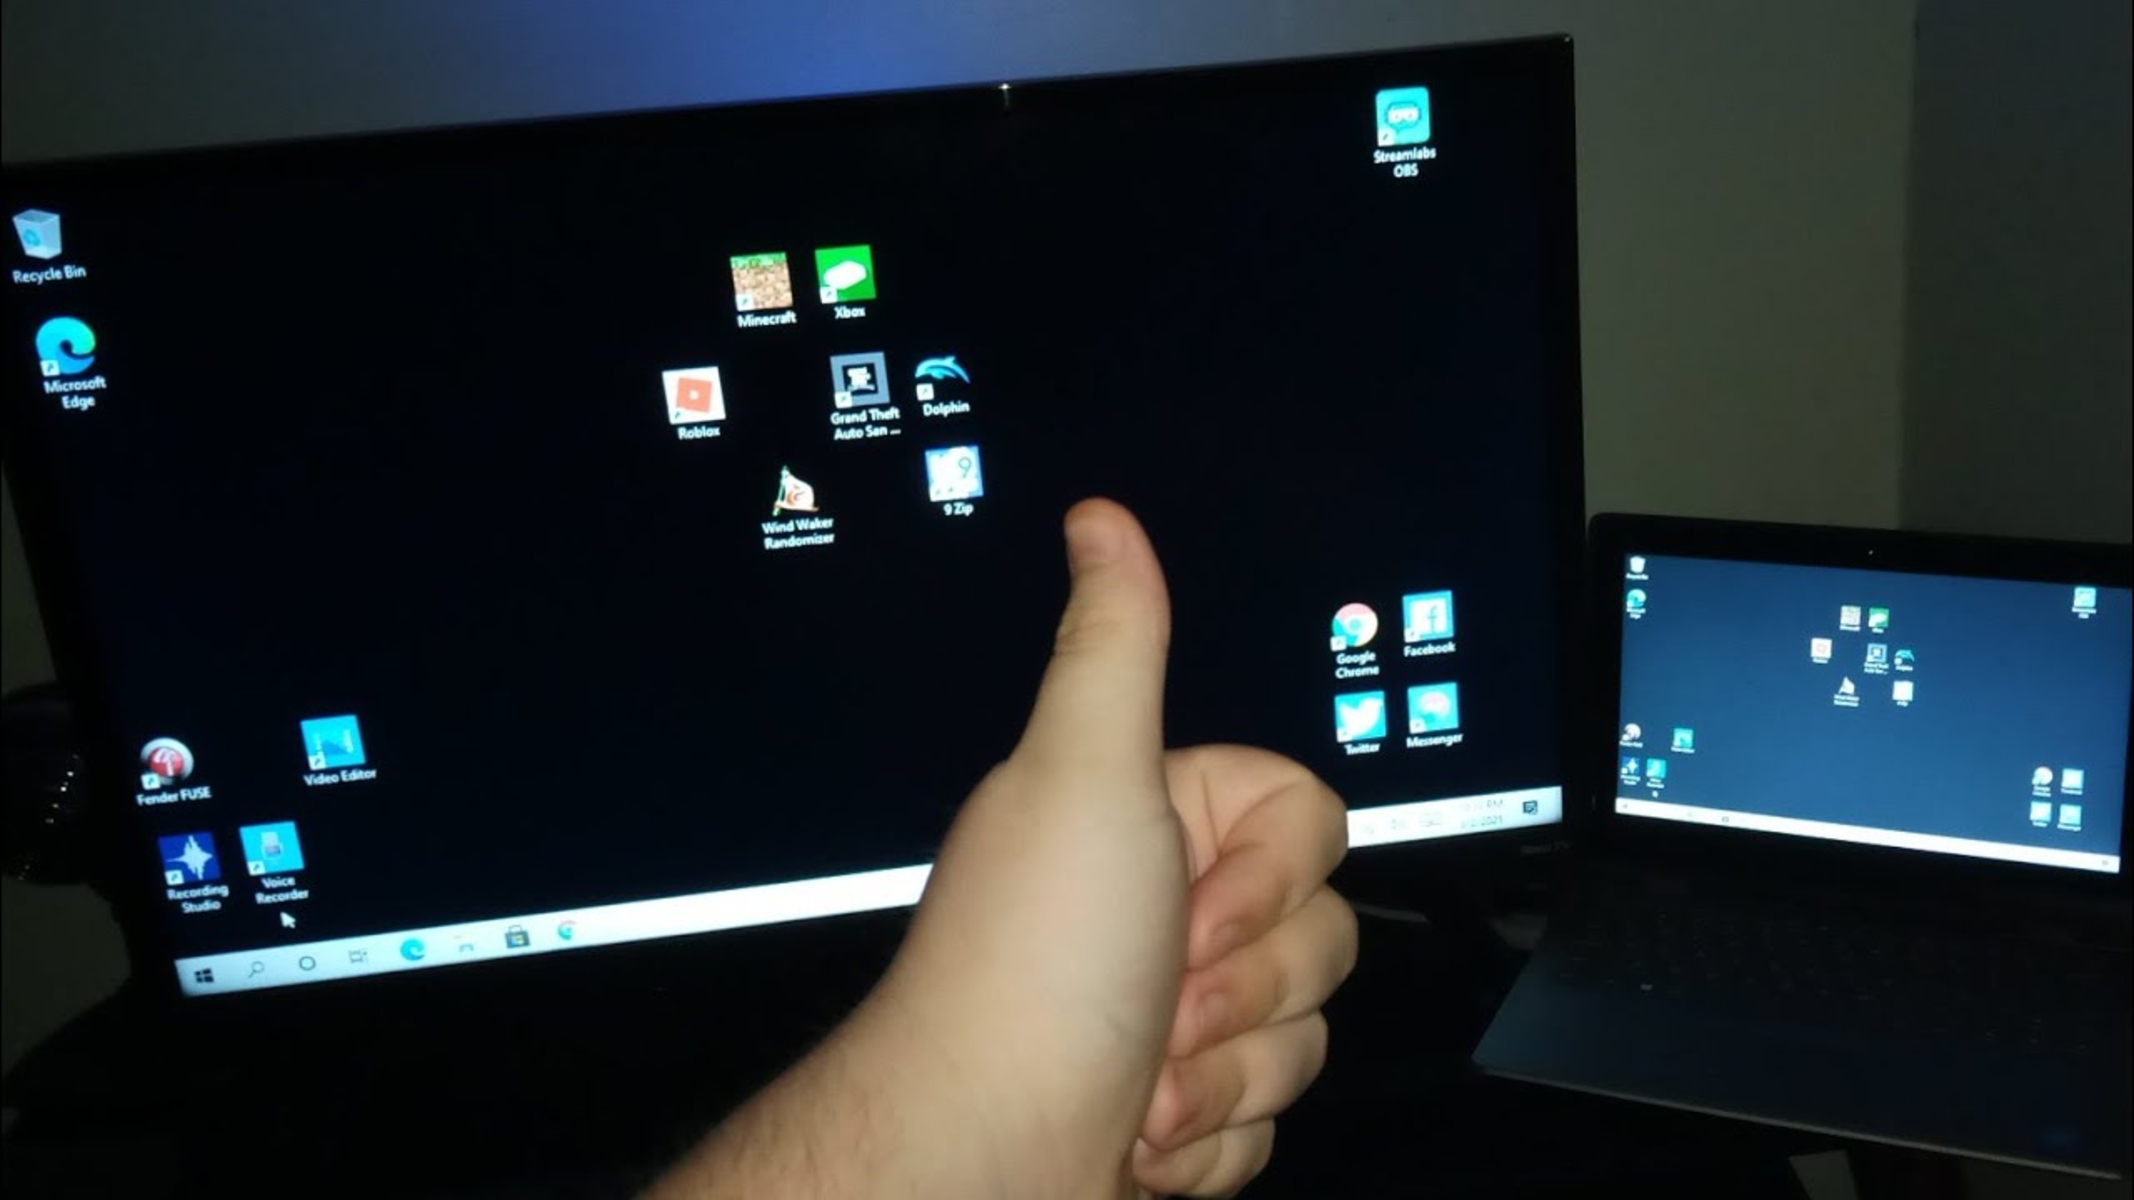
1. Connect the HDMI Cable: Connect one end of the HDMI cable to the HDMI source device and the other end to the HDMI display device. Make sure the devices are powered on and properly connected.
2. Access the Display Settings: Navigate to the display settings on the source device and access the video output settings. Look for options related to resolution, refresh rate, and color depth. Note the current settings for reference.
3. Select a Test Pattern: Many HDMI devices come with built-in test patterns that can be used to evaluate signal quality. Select a test pattern that provides a variety of colors, gradients, and sharpness to effectively assess the signal output.
4. Display the Test Pattern: Set the source device to output the selected test pattern, ensuring that the display settings match the native resolution and refresh rate of the display device. This helps eliminate any issues caused by upscaling or downscaling the signal.
5. Assess the Signal Quality: Carefully observe the test pattern displayed on the screen. Look for any abnormalities such as flickering, tearing, artifacts, or color inconsistencies. These issues may indicate poor signal quality or compatibility problems.
6. Check for Signal Dropouts: While displaying the test pattern, monitor the screen for any sudden signal dropouts or blackouts. A stable and uninterrupted signal is crucial for a seamless audiovisual experience.
7. Compare with Reference Settings: Compare the displayed test pattern with the reference settings noted earlier. Ensure that the colors are accurate, gradients are smooth, details are sharp, and there are no noticeable distortions or anomalies.
8. Repeat the Test: If you have multiple HDMI cables or devices, repeat the signal quality test with different combinations to check for any variations. It helps identify if there are specific issues with certain cables or devices.
By assessing the signal quality, you can detect any potential issues that may affect the visual output and overall experience. If you encounter significant signal quality problems, consider troubleshooting the cable connections, adjusting display settings, or considering a different HDMI cable that meets the required specifications.
In the upcoming sections, we will explore tests to evaluate color, image quality, audio performance, and ethernet capabilities of HDMI cables.
Color and Image Test
Evaluating the color reproduction and image quality of HDMI cables is crucial to ensure a vibrant and accurate visual experience. This test helps identify any issues related to color accuracy, contrast, brightness, and overall image quality. Here’s how you can perform a color and image test on HDMI cables:
1. Connect the HDMI Cable: Connect one end of the HDMI cable to the HDMI source device and the other end to the HDMI display device. Ensure both devices are powered on and properly connected.
2. Display a Variety of Images: Prepare a range of images that showcase different colors, tones, and levels of detail. These can include high-resolution photographs, movie scenes, or test images specifically designed for image quality assessment.
3. Assess Color Accuracy: Display each image and carefully analyze the colors. Compare them to a reference image or the original source to determine if the colors are represented accurately. Look for any noticeable color shifts, inaccuracies, or saturation issues.
4. Evaluate Contrast and Black Levels: Pay attention to the contrast and black levels in the displayed images. Check if there is a proper distinction between dark and light areas. Ensure that black areas appear deep and rich, and bright areas are clearly defined without any loss of detail.
5. Check for Image Artifacts: Look for any artifacts in the images that may disrupt the image quality. These can include visible pixelation, image blurring, banding, noise, or ghosting effects. These artifacts can be indicative of poor signal transmission or compatibility issues.
6. Verify Image Sharpness: Ensure that the displayed images exhibit sharpness and clarity. Look for fine details, text legibility, and overall image sharpness. Blurred or pixelated images may indicate problems with signal quality or resolution mismatch.
7. Test Motion Performance: Play a video or animation with fast-moving scenes to assess the motion performance. Look out for motion blur, stuttering, or other motion-related artifacts. Smooth and fluid motion is crucial for an immersive viewing experience.
8. Compare with Reference Display: If available, compare the displayed images with a reference display known for its accurate color reproduction and image quality. This can help further identify any discrepancies or issues with the HDMI cable’s performance.
By conducting a color and image test, you can detect any potential problems that may affect the visual presentation. If you encounter significant issues with color accuracy, image quality, or motion performance, consider troubleshooting the cable connections, adjusting display settings, or using a different HDMI cable that meets the required specifications.
In the next sections, we will explore tests to evaluate audio performance, ethernet capabilities, and troubleshooting techniques for HDMI cables.
Audio Test
Testing the audio performance of HDMI cables is essential to ensure a high-quality sound experience. This test helps determine if the audio signal is transmitted correctly and without any distortions or interruptions. Here’s how you can perform an audio test on HDMI cables:
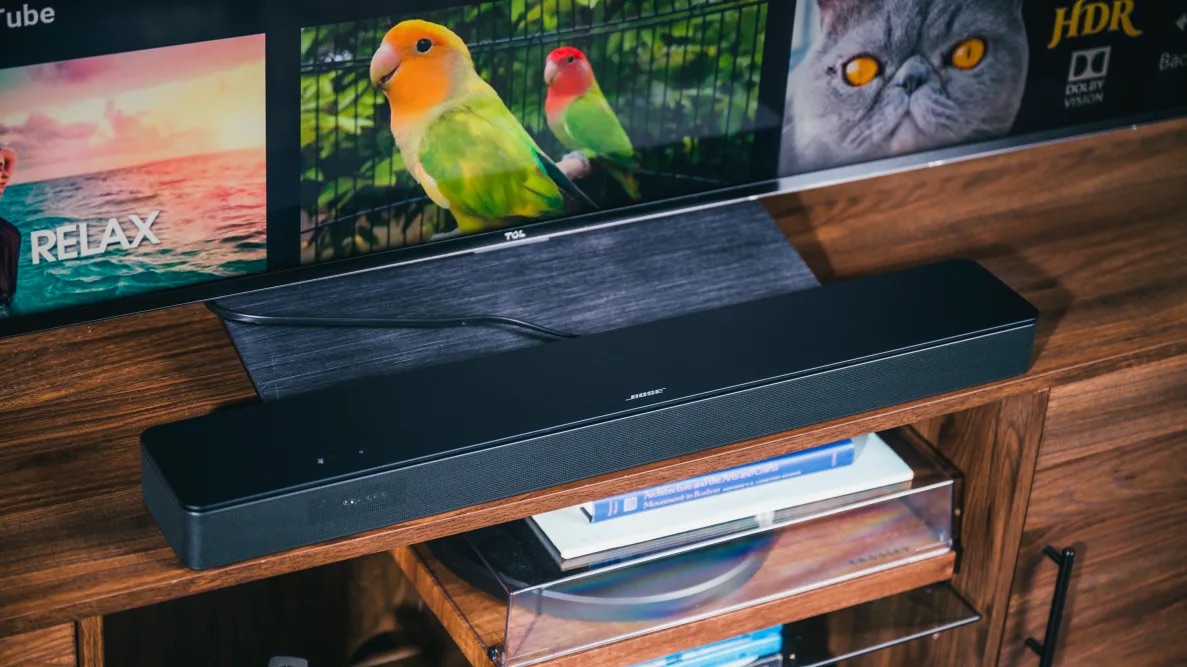
1. Connect the HDMI Cable: Connect one end of the HDMI cable to the HDMI source device that outputs the audio signal and the other end to the HDMI display device or audio receiver that plays the audio.
2. Set the Audio Source: Set the audio source device to output a test sound or a known audio file, such as music or a movie with clear and distinct audio elements.
3. Listen for Audio Quality: Pay close attention to the audio playback from the connected device. Listen for any abnormalities like distorted or muffled sounds, static noise, dropouts, or missing audio channels. Ensure that the audio is clear, balanced, and free from any noticeable audio issues.
4. Check Audio Channels: Verify that all audio channels are working properly. If the content you’re playing is known to have multiple audio channels, such as surround sound or stereo, make sure that each channel is playing correctly from the respective speaker or audio output.
5. Assess Audio Sync: Pay attention to any discrepancies between the audio and video playback. Ensure that the audio and video are in sync without any noticeable delay or latency. Audio delays can result in an unsatisfying viewing experience.
6. Test Audio Formats: If possible, play audio files or content with various audio formats, such as Dolby Digital, DTS, or PCM. This test helps ensure that the HDMI cable can handle different audio formats and correctly transmit them to the audio output device.
7. Volume Control: Adjust the volume settings on both the source device and the audio output device. Make sure that the HDMI cable allows proper volume control, without any sudden spikes or loss of audio quality as the volume level is adjusted.
8. Test Audio Return Channel (ARC) (if applicable): If your HDMI cable supports Audio Return Channel (ARC), check if it functions properly. ARC allows the audio signal from the display device to be sent back to the audio system, eliminating the need for a separate audio connection.
By conducting an audio test, you can identify any potential issues with the audio transmission, ensuring that the HDMI cable delivers high-quality sound without any disruptions or distortions. If you encounter significant audio problems, consider troubleshooting the cable connections, adjusting audio settings, or trying a different HDMI cable that meets the required specifications.
In the next section, we will explore testing the ethernet capabilities of HDMI cables and troubleshooting techniques for common HDMI cable issues.
Ethernet Test
Testing the Ethernet capabilities of HDMI cables is crucial if you want to utilize the networking capabilities offered by HDMI with Ethernet (HEC) feature. This test helps determine if the HDMI cable can transmit Ethernet signals effectively. Here’s how you can perform an Ethernet test on HDMI cables:
1. Check Device Compatibility: Ensure that both the source device and display device support HDMI with Ethernet (HEC) feature. This feature allows HDMI cables to transmit Ethernet signals alongside audio and video.
2. Connect HDMI Devices to a Network: Connect both the HDMI source device and display device to the same network using Ethernet cables or Wi-Fi. This step is necessary for the Ethernet test, as it requires an active network connection.
3. Enable Ethernet Over HDMI: Access the settings on both the source device and the display device to enable Ethernet over HDMI. This setting may vary depending on the device, so refer to the user manual or online resources for specific instructions.
4. Confirm Network Connection: Use the network settings on both devices to verify that they are connected to the network. Ensure that both devices have valid IP addresses and can communicate with other devices on the network.
5. Test Network Connectivity: Through the HDMI connection, test the network connectivity by accessing online content or streaming media from the source device. Use applications that require network access, such as web browsers, streaming services, or network-connected games.
6. Monitor Network Performance: Monitor the network performance while using the HDMI cable for network connectivity. Evaluate the download and upload speeds, latency, and overall stability of the network connection. Slow speeds or frequent disconnections may indicate issues with the Ethernet transmission over HDMI.
7. Test Device-to-Device Communication: Check if the HDMI devices connected over Ethernet can communicate with each other directly. This test is particularly useful when devices need to share data or interact with each other through the network connection.
8. Troubleshoot Network Issues (if applicable): If you encounter any network-related issues, ensure that the HDMI cable is properly connected and that the network settings on both devices are correctly configured. Consider restarting the devices or consulting the manufacturer’s support resources.
By performing an Ethernet test, you can ensure that the HDMI cable can effectively transmit Ethernet signals, allowing you to take advantage of network connectivity features offered by HDMI devices. If you experience significant network-related problems, consider checking your network setup, using a different HDMI cable, or seeking assistance from the device manufacturers.
In the next section, we will explore troubleshooting techniques for common HDMI cable issues that you may encounter during testing or regular usage.
Testing Different HDMI Versions
HDMI technology is continuously evolving, with new versions and features being introduced. It is essential to test HDMI cables for compatibility with different HDMI versions to ensure optimal performance and avoid potential issues. Here’s how you can test HDMI cables with different versions:
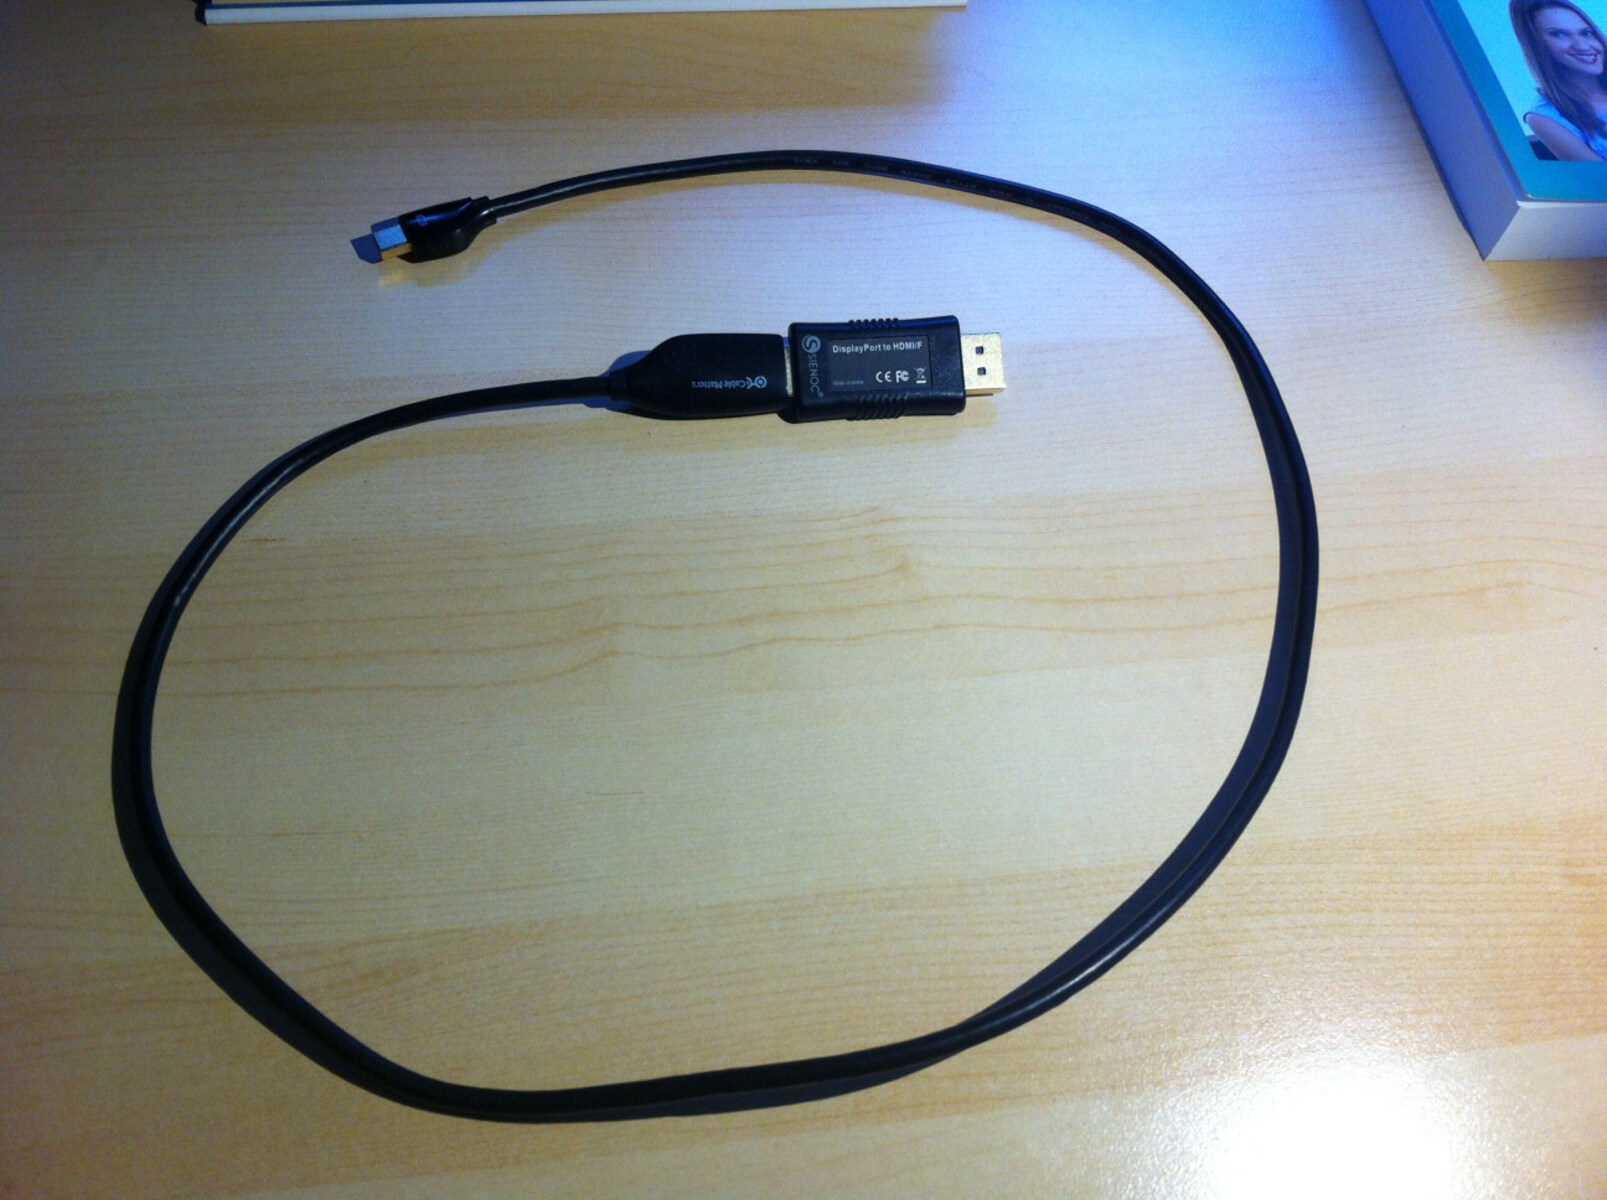
1. Identify the HDMI Versions: Determine the HDMI versions supported by the source device and the display device. Check the user manual or the manufacturer’s website for this information. HDMI versions are typically denoted as HDMI 1.x, HDMI 2.x, or HDMI 2.x with specific subversions like HDMI 2.0 or HDMI 2.1.
2. Review Cable Specifications: Verify that the HDMI cable you are testing is compatible with the HDMI versions of the connected devices. This information can usually be found in the cable’s specifications or packaging. Pay attention to the maximum supported resolutions, refresh rates, or additional features like HDR or ARC.
3. Connect the HDMI Cable: Connect the HDMI cable between the source device and the display device with compatible HDMI versions. Ensure a secure and snug connection on both ends.
4. Test Audio and Video Capabilities: Play audio and video content on the source device to test the audio and video capabilities of the HDMI cable at the supported resolutions and refresh rates. Verify if features like Dolby Atmos, Dolby Vision, or HDR are functioning correctly if they are supported by the connected devices.
5. Evaluate Advanced Features (if applicable): If the connected devices support advanced HDMI features like 3D, Deep Color, or Ethernet over HDMI, test each feature to ensure proper functionality. Enable the features, if available, in both the source and display device settings and verify their performance.
6. Monitor Signal Stability: Observe the stability of the audio and video signals during testing. Look for any signal dropouts, flickering, or interruptions. A stable signal is crucial for a seamless audiovisual experience.
7. Check for Compatibility Errors: If the connected devices have mismatched HDMI versions, you may encounter compatibility errors or limited functionality. Pay attention to any error messages or reduced capabilities during the testing process.
8. Repeat Tests with Different HDMI Versions: If you have multiple HDMI cables and devices, repeat the testing process with different combinations of HDMI versions to ensure compatibility and identify any specific issues related to certain HDMI versions.
By testing HDMI cables with different versions, you can ensure compatibility with the connected devices and take advantage of the features and capabilities offered by each HDMI version. If you experience significant compatibility issues, consider using HDMI cables that support the HDMI version required by your devices or seeking guidance from the device manufacturers.
In the next section, we will explore troubleshooting techniques to address common HDMI cable issues that may arise during testing or regular usage.
Troubleshooting HDMI Cable Issues
While HDMI cables are generally reliable, you may encounter occasional issues that can affect the audiovisual experience. Troubleshooting HDMI cable issues can help identify and resolve common problems. Here are some troubleshooting techniques to consider:
1. Check Cable Connections: Ensure that the HDMI cable is securely connected to both the source device and the display device. Remove and reinsert the cable to ensure a proper connection. Sometimes, loose connections can result in no signal or intermittent audiovisual issues.
2. Try a Different HDMI Port: If you are connecting the HDMI cable to a device with multiple HDMI ports, try a different port. It is possible that the HDMI port being used is damaged or not functioning properly. Testing another port can help isolate the issue.
3. Test with a Different HDMI Cable: Use a different HDMI cable to verify if the problem lies with the cable itself. Connect a known working HDMI cable between the same source and display devices to check if the issue persists. If the problem is resolved with the new cable, it indicates that the original cable is faulty.
4. Power Cycle the Devices: Power off and unplug both the source device and the display device. Wait for a few minutes and then plug them back in and power them on. This can help reset any temporary glitches in the devices’ HDMI interfaces.
5. Update Firmware and Drivers: Ensure that the firmware or software of the source device, display device, and any intermediary equipment (such as AV receivers or HDMI switches) are up to date. Outdated firmware or drivers can cause compatibility issues with HDMI cables.
6. Adjust Display Settings: Access the display settings on both the source and display devices. Verify that the resolution and refresh rate settings match the capabilities of the connected devices. Use the recommended or native settings for the best performance.
7. Test Different Audio and Video Settings: Experiment with different audio and video settings on both the source and display devices. Adjust options like audio format, Dolby settings, or color settings to see if it resolves any audiovisual issues. Sometimes, incompatible or incorrect settings can result in problematic audio or picture quality.
8. Verify HDMI Cable Quality: Ensure that the HDMI cable meets the required specifications for the connected devices. Poor-quality or non-compliant cables may cause signal degradation, intermittent connectivity, or limited capabilities. Invest in high-quality HDMI cables from reputable brands for optimal performance.
9. Consult Manufacturer Support: If the issues persist or if you are experiencing complex problems, consider reaching out to the manufacturer’s customer support. They can provide specific troubleshooting guidance based on your devices and help address any HDMI cable-related issues.
By following these troubleshooting techniques, you can effectively resolve common HDMI cable issues and enjoy a seamless audiovisual experience. However, if the problems persist or seem to be beyond the scope of these steps, it is advisable to seek professional assistance or consult with the manufacturer for further support.
Conclusion
Testing HDMI cables is essential for ensuring optimal audiovisual performance and identifying potential issues that may arise. By following the methods and techniques outlined in this guide, you can effectively assess the condition and functionality of your HDMI cables.
Starting with a visual inspection, you can check for any visible damage or poor craftsmanship that may impact the cable’s performance. Conducting continuity tests helps identify breaks or interruptions in the conductive path of the HDMI cable. Signal quality tests evaluate the integrity and stability of the audiovisual signal being transmitted.
Color and image tests allow you to assess color accuracy, contrast, brightness, and overall image quality, while audio tests ensure the proper transmission of audio signals without any distortions or interruptions. Ethernet tests measure the capability of HDMI cables to transmit Ethernet signals effectively.
Additionally, testing HDMI cables with different versions helps ensure compatibility with connected devices and enables the utilization of specific features and capabilities offered by each HDMI version.
If you encounter any issues during testing or regular usage, troubleshooting techniques are available to help identify and resolve common HDMI cable issues. Checking cable connections, trying different HDMI ports or cables, power cycling devices, updating firmware and drivers, adjusting display settings, and consulting manufacturer support can all contribute to resolving HDMI cable-related problems.
By incorporating these testing methods and troubleshooting techniques, you can enhance your audiovisual experience and ensure that your HDMI cables perform optimally. Remember to use high-quality HDMI cables from reputable brands to maintain the highest level of performance and reliability.
So, gear up with your testing equipment, implement these techniques, and enjoy a seamless and immersive audiovisual experience with your HDMI cables!