Introduction
Connecting your Xbox to your PC using an HDMI cable can open up a whole new world of gaming and entertainment possibilities. With this connection, you can enjoy your favorite Xbox games on a larger screen, take advantage of your PC’s superior sound system, and even use your PC as a streaming device for your Xbox gameplay.
Whether you want to connect your Xbox to your PC for gaming purposes or to access multimedia content, the process is relatively straightforward. However, before you dive into the steps, it’s essential to ensure that both your PC and Xbox are compatible with an HDMI connection.
In this guide, we will walk you through the process of connecting your Xbox to your PC using an HDMI cable. We will cover the necessary equipment, step-by-step instructions, and how to adjust display and audio settings for the best possible experience.
So, if you’re ready to take advantage of the benefits of connecting your Xbox to your PC, let’s get started!
Step 1: Check Your PC’s Compatibility
Before you begin the process of connecting your Xbox to your PC using an HDMI cable, it’s crucial to ensure that your PC is compatible with this type of connection. Here are a few key aspects to consider:
- Hardware Requirements: Check if your PC has an HDMI port. Most modern PCs come equipped with HDMI ports, but it’s always a good idea to double-check. If your PC doesn’t have an HDMI port, you may need to use an adapter or consider alternative connection options.
- Operating System Compatibility: Make sure that the operating system on your PC is compatible with Xbox connectivity. Generally, Windows 10 is the most compatible operating system for Xbox connections. However, if you’re using an older version of Windows, you may need to update your system to ensure compatibility.
- Graphics Card: Verify that your PC’s graphics card supports HDMI output. You can do this by checking the specifications of your graphics card or referring to the manufacturer’s website. A graphics card with HDMI output will ensure a high-quality visual experience when connecting your Xbox to your PC.
By confirming your PC’s compatibility, you can proceed with confidence, knowing that your hardware and software are capable of establishing a stable connection with your Xbox. Once you’ve verified compatibility, you can move on to the next step: checking your Xbox’s compatibility.
Step 2: Check Your Xbox’s Compatibility
After verifying your PC’s compatibility, it’s essential to ensure that your Xbox is also compatible with an HDMI connection. Here are a few factors to consider:
- Xbox Model: Check if your Xbox model supports HDMI connectivity. Most modern Xbox models, such as the Xbox One and Xbox Series X/S, come equipped with an HDMI port. However, if you’re using an older Xbox model, it may not have an HDMI port or may require an adapter. Check the specifications or consult the manufacturer’s website to confirm.
- Software Updates: Ensure that your Xbox has the latest software updates installed. Software updates often include compatibility improvements and bug fixes that can enhance the HDMI connection between your Xbox and PC. Check for updates in the system settings menu of your Xbox and install any available updates.
- Display Settings: Adjust the display settings on your Xbox to optimize the HDMI connection. By accessing the display settings menu on your Xbox, you can adjust the resolution and refresh rate to match your PC’s capabilities. Using the recommended display settings will help ensure seamless compatibility between your Xbox and PC.
By confirming your Xbox’s compatibility, you can proceed confidently with the HDMI connection process. It’s crucial to have both your PC and Xbox compatible to establish a stable and high-quality connection for an enjoyable gaming and multimedia experience. Once you’ve ensured compatibility, you can proceed to the next step: gathering the necessary equipment.
Step 3: Gather the Necessary Equipment
Before you can connect your Xbox to your PC using an HDMI cable, you need to gather the necessary equipment. Here’s what you’ll need:
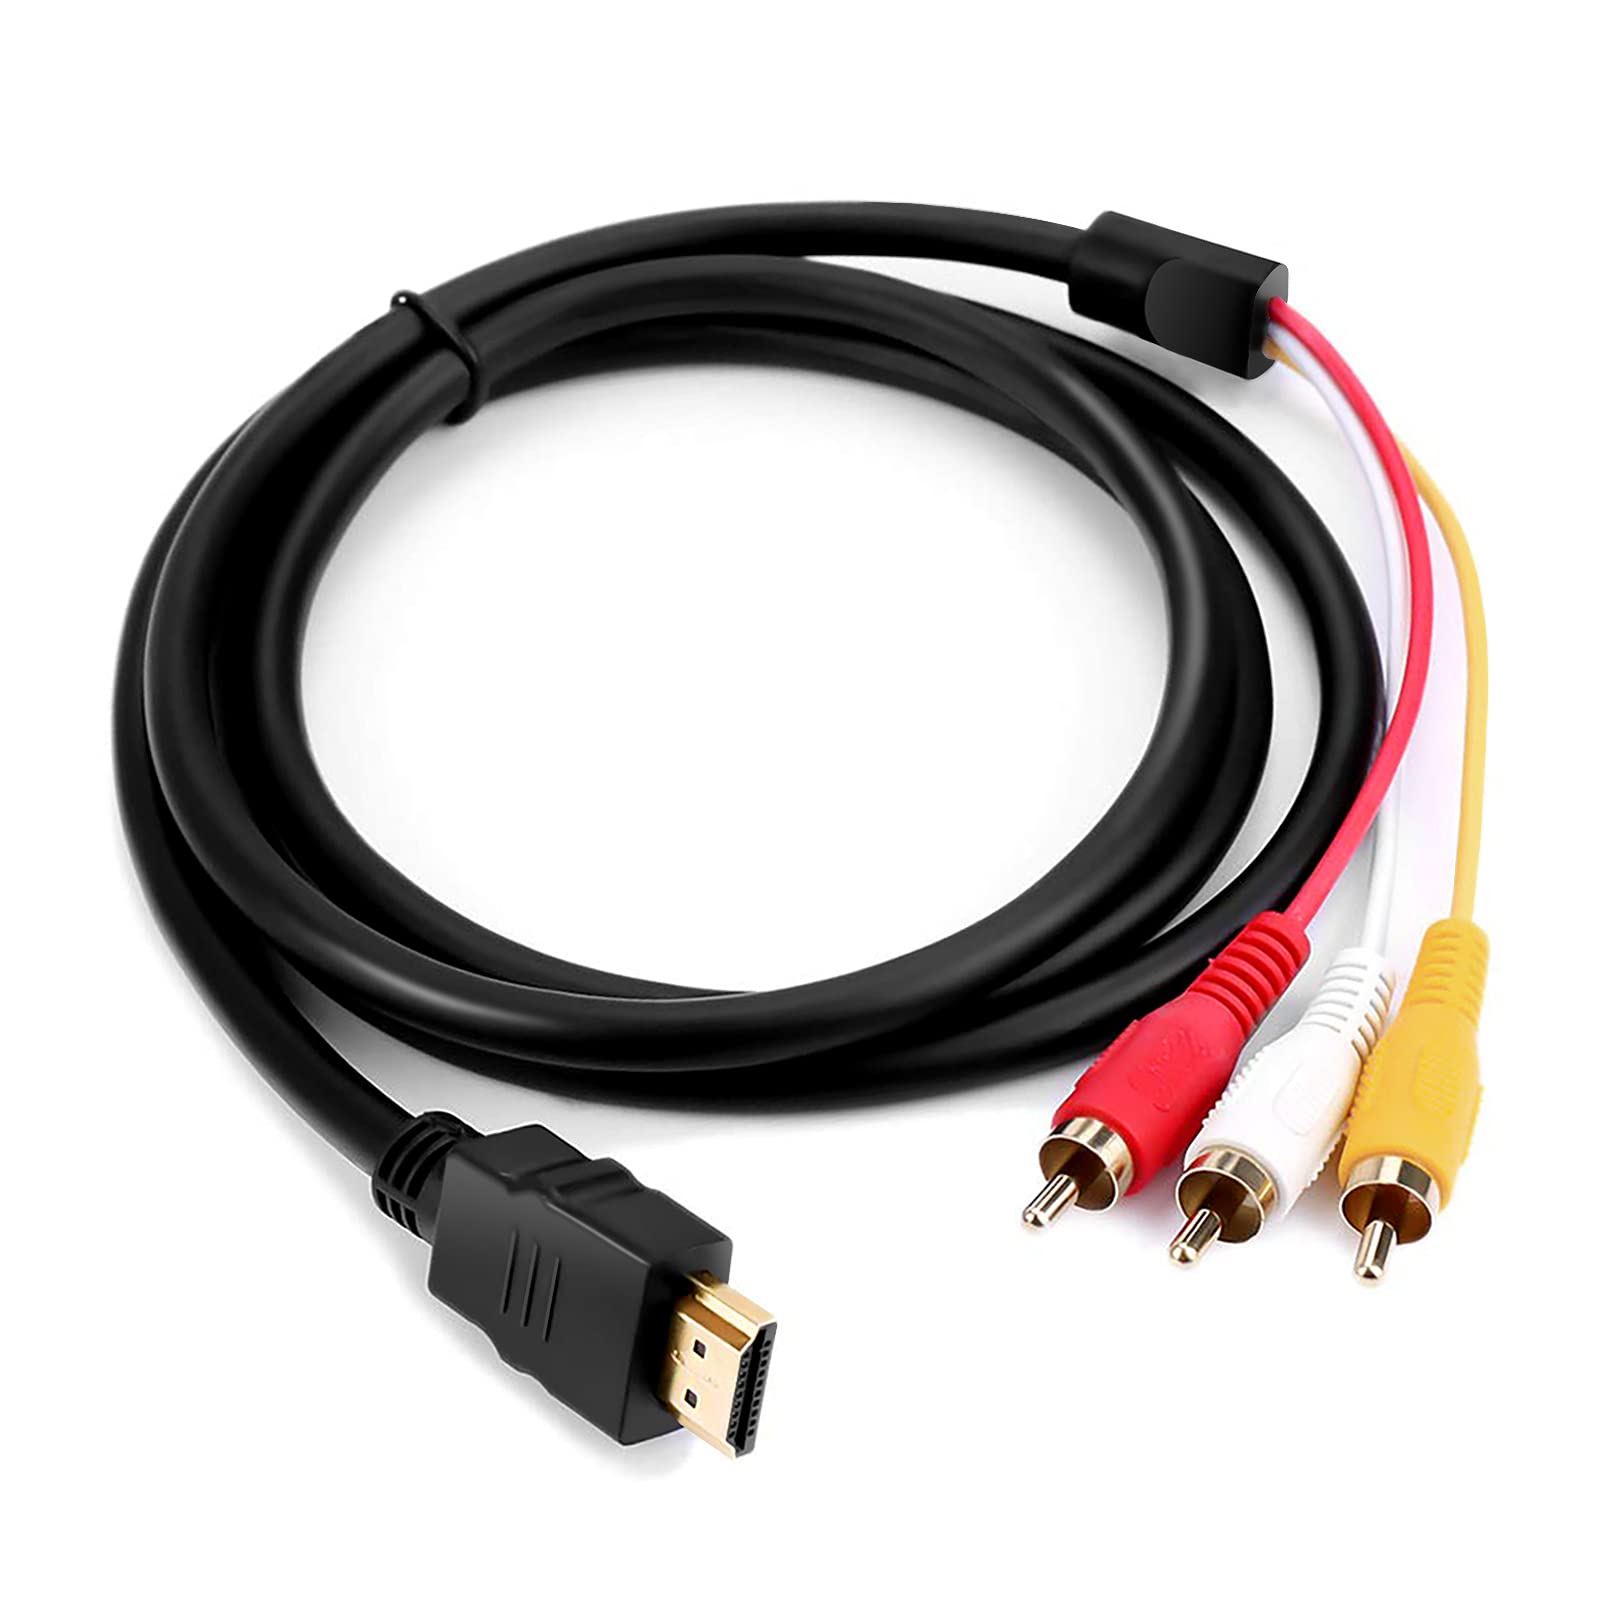
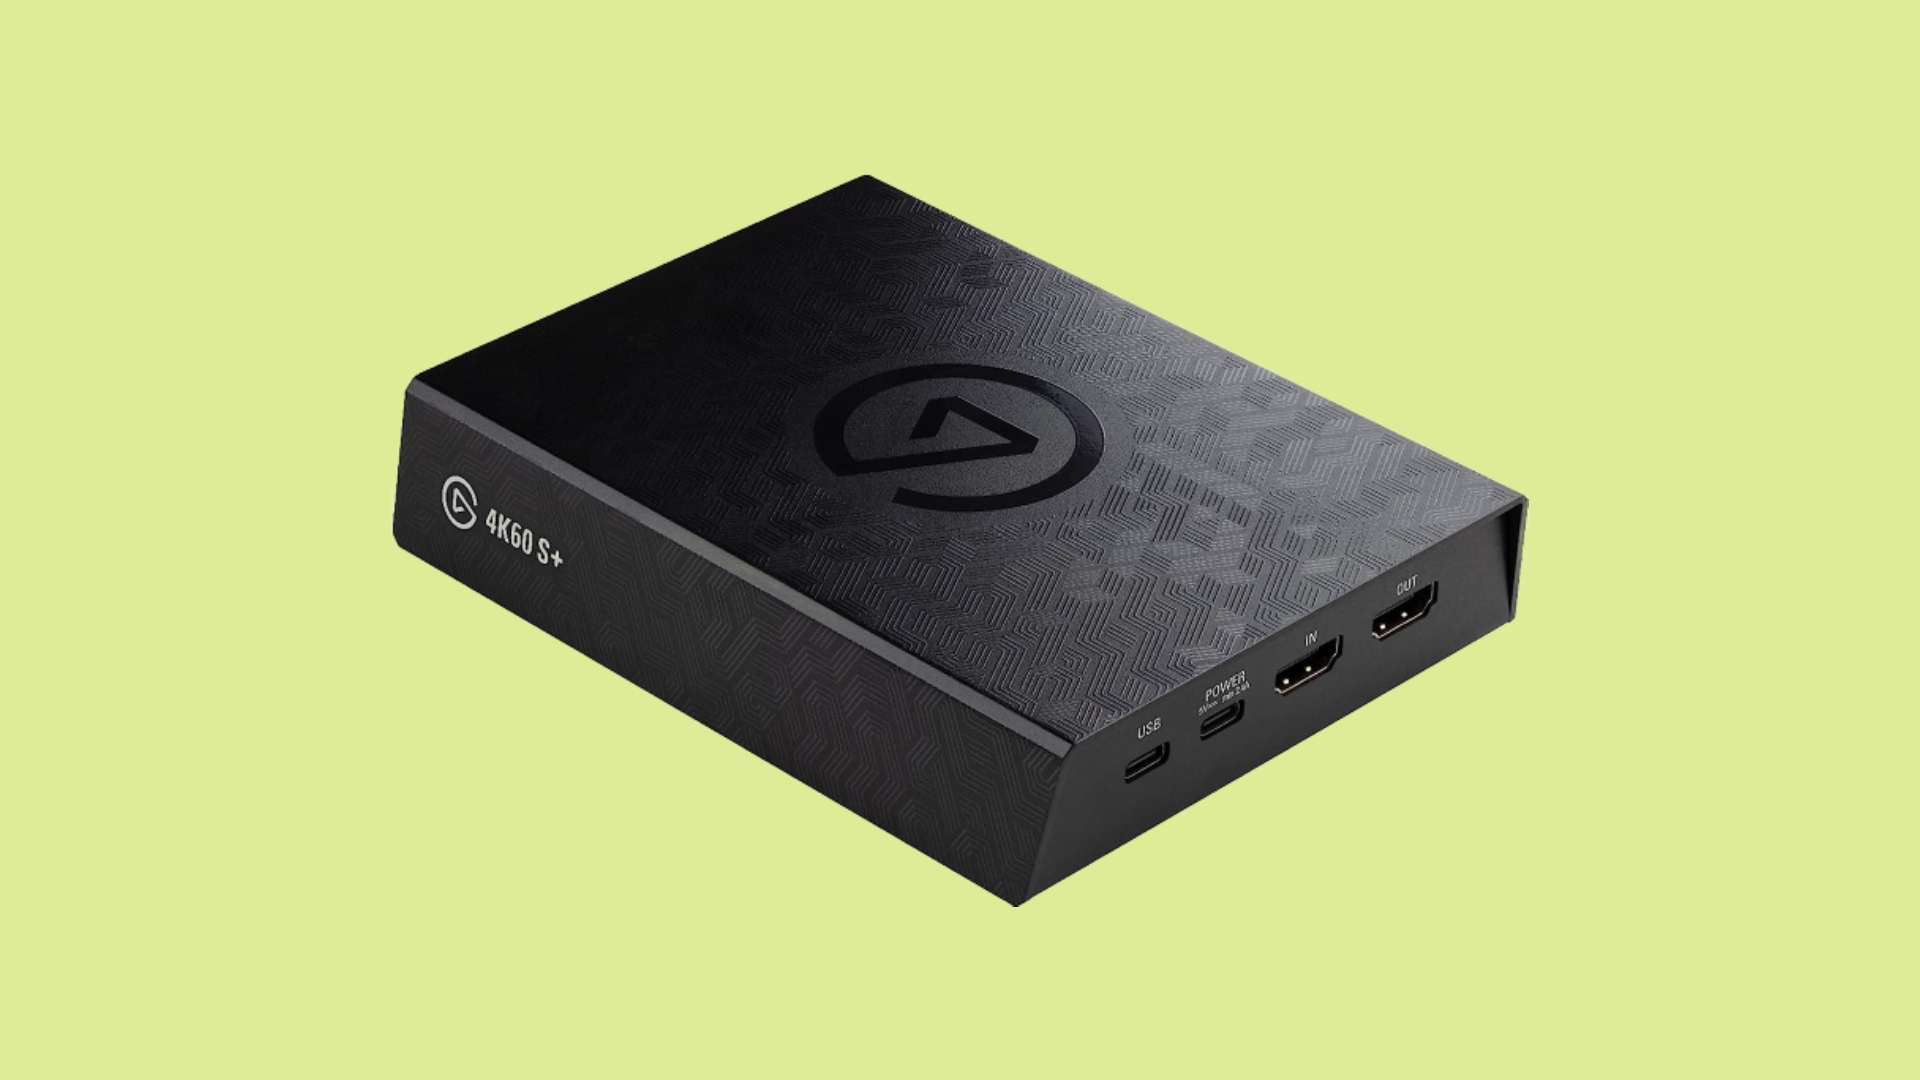
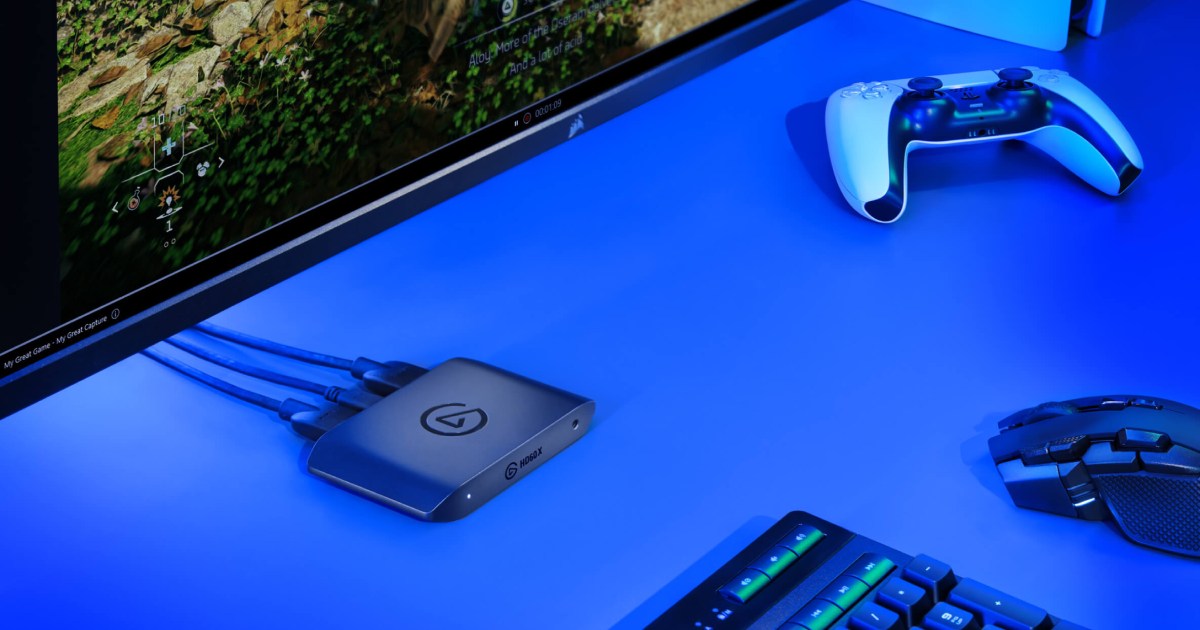
- HDMI Cable: Obtain an HDMI cable that is compatible with both your Xbox and PC. It’s essential to use a high-quality HDMI cable to ensure the best possible audio and video transmission. Depending on the distance between your Xbox and PC, you may need a longer HDMI cable.
- HDMI Port: Ensure that both your Xbox and PC have an available HDMI port. The HDMI port on your Xbox is usually located at the back or side of the console, while the HDMI port on your PC is typically found on the graphics card or motherboard.
- Power Sources: Make sure that both your Xbox and PC are connected to a power source. This ensures that they have enough power to establish and maintain the HDMI connection. Plug them into a wall outlet or power strip, ensuring a stable power supply.
- Monitor or TV: Prepare a monitor or TV with an available HDMI input. This will serve as the display device for your Xbox gameplay and content. Ensure that the monitor or TV is turned on and set to the appropriate HDMI input channel.
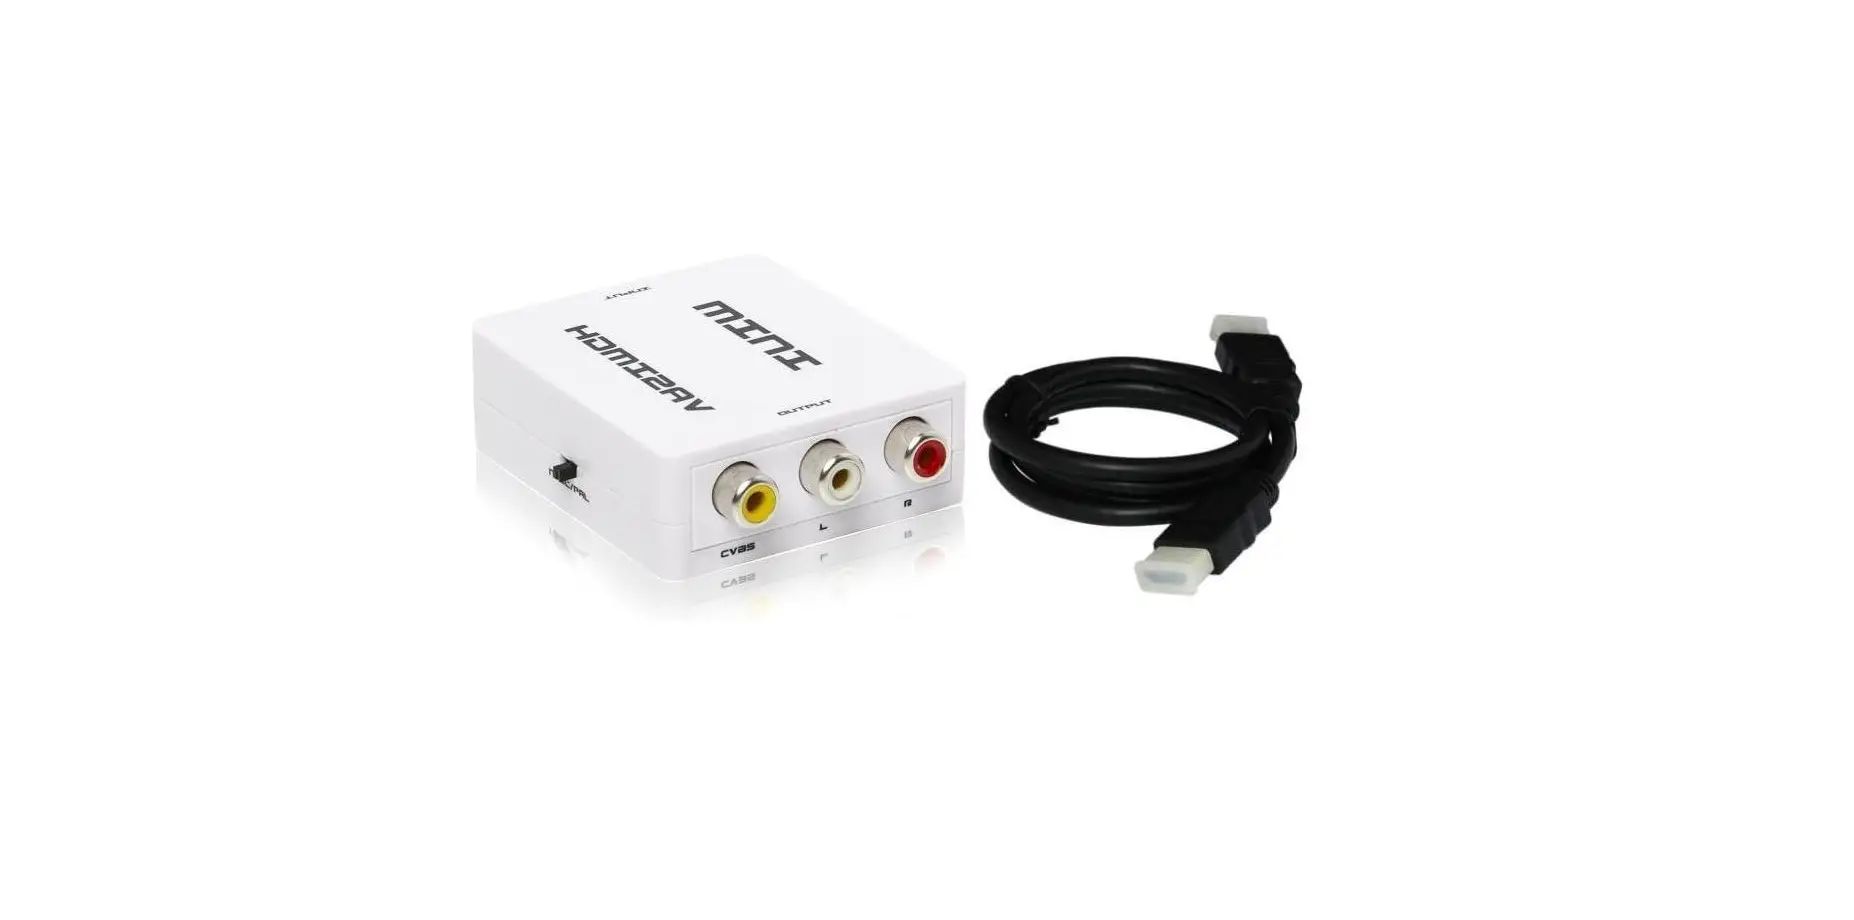
- Optional Accessories: Depending on your specific setup and preferences, you may need additional accessories, such as an HDMI adapter or audio cables, to enhance your experience. Check your requirements and gather any necessary accessories before proceeding.
Once you have gathered all the necessary equipment, you are ready to move on to the next step: connecting the HDMI cable to your Xbox. Having everything prepared beforehand will make the connection process quicker and smoother, allowing you to enjoy your Xbox games and content on your PC screen.
Step 4: Connect the HDMI Cable to Your Xbox
Now that you have all the required equipment in place, it’s time to connect the HDMI cable to your Xbox. Follow these steps:
- Locate the HDMI port on the back or side of your Xbox console. It is usually labeled as “HDMI” and may be accompanied by other ports.
- Take one end of the HDMI cable and insert it into the HDMI port on your Xbox. Make sure the connector is securely plugged in.
- If your HDMI cable has a locking mechanism, gently twist the connector until it locks into place, ensuring a stable connection.
- Once the HDMI cable is connected to your Xbox, you are ready to proceed to the next step: connecting the HDMI cable to your PC.
By successfully connecting the HDMI cable to your Xbox, you have established the first part of the HDMI connection. This cable will transmit both video and audio signals from your Xbox to your PC, allowing you to enjoy your gameplay and multimedia content on a larger screen. Now, let’s move on to the next step and connect the HDMI cable to your PC.
Step 5: Connect the HDMI Cable to Your PC
Now that you have successfully connected the HDMI cable to your Xbox, it’s time to connect the other end of the cable to your PC. Follow these steps:
- Locate the HDMI port on your PC. Depending on your setup, it can be found on the back, side, or front of your PC tower. The HDMI port is usually labeled as “HDMI” and may be surrounded by other ports.
- Take the other end of the HDMI cable and insert it into the HDMI port on your PC. Ensure that the connector is securely plugged in.
- If your HDMI cable has a locking mechanism, gently twist the connector until it locks into place, providing a stable connection.
- With the HDMI cable now connected to both your Xbox and PC, you have established the essential link between the two devices.
By connecting the HDMI cable to your PC, you have completed the final step in establishing the HDMI connection between your Xbox and PC. This connection allows you to transmit audio and video signals from your Xbox to your PC, enabling you to enjoy your favorite games and multimedia content on a larger screen with superior audio quality.
Now that the physical connection is complete, let’s proceed to the next step: adjusting the display and audio settings for an optimal experience.
Step 6: Adjust Display and Audio Settings
After connecting the HDMI cable between your Xbox and PC, it’s important to make some adjustments to the display and audio settings to ensure an optimal experience. Follow these steps to adjust the settings:
- On your PC, right-click on the desktop and select “Display settings” from the context menu. This will open the display settings menu.
- In the display settings menu, locate the option for multiple displays. Select the option that allows you to extend or duplicate your display to the connected HDMI device.
- Choose the desired display mode – “Extend” allows you to have separate displays on your PC and the connected HDMI device, while “Duplicate” mirrors your PC’s display on the HDMI device. Select the mode that suits your preferences.
- Adjust the resolution and refresh rate settings to match the capabilities of your PC and the connected HDMI device. Opt for higher resolutions and refresh rates if your hardware supports it for a more immersive experience.
- Ensure that the audio output is set to the HDMI device. On your PC, open the sound settings by right-clicking on the audio icon in the system tray and selecting “Open Sound settings.” Under the “Output” section, choose the HDMI device as the default audio output.
- Once you have made the necessary adjustments, save the settings and close the display and sound settings menus.
By adjusting the display and audio settings, you can tailor the experience to your preferences and ensure optimal visual and audio quality while playing games or enjoying multimedia content on your PC through the HDMI connection from your Xbox.
Now that you have adjusted the settings, it’s time to proceed to the final step: testing the connection to ensure everything is working correctly.
Step 7: Test the Connection
After completing the steps to connect your Xbox to your PC using an HDMI cable and adjusting the necessary settings, it’s crucial to test the connection to ensure everything is functioning correctly. Follow these steps to test the connection:
- Turn on your Xbox console and PC, making sure they are both connected to a power source.
- On your PC, navigate to the desktop or open any application to test the display. You should see the Xbox interface or content mirrored on your PC screen.
- Launch a game or play a video on your Xbox to test the audio and video output. You should hear the audio coming from your PC speakers or the connected audio device.
- Ensure that the controls on your Xbox console or connected Xbox controller are responsive and working correctly on your PC.
- While enjoying the Xbox content on your PC, make sure there are no display or audio issues, such as screen flickering, distorted graphics, or sound interruptions.
- If you encounter any issues during the test, double-check the connections, settings, and compatibility of your devices. Troubleshoot the problem accordingly, such as updating drivers or ensuring the HDMI cable is functioning properly.
By thoroughly testing the connection, you can confirm that your Xbox and PC are successfully linked through the HDMI connection, allowing you to enjoy gaming, multimedia content, and other Xbox functionalities seamlessly on your PC.
Congratulations! You have successfully connected your Xbox to your PC using an HDMI cable. Enjoy the expanded gaming and entertainment experience that this connection offers!
Conclusion
Connecting your Xbox to your PC using an HDMI cable can greatly enhance your gaming and entertainment experience. By following the steps outlined in this guide, you can establish a stable and high-quality connection between your Xbox and PC, allowing you to enjoy your favorite games, multimedia content, and Xbox functionalities on a larger screen with superior audio.
Throughout this process, it’s important to check the compatibility of your PC and Xbox, gather the necessary equipment, and make the appropriate adjustments to the display and audio settings. By doing so, you can ensure optimal performance and enjoyment from your Xbox and PC connection.
Remember to verify that your PC and Xbox have HDMI ports, update the necessary software, and adjust the settings to suit your preferences. Additionally, gathering the required equipment, such as an HDMI cable and a display device, is essential for a successful connection.
Once everything is set up, take the time to test the connection to ensure that the audio, video, and controls are working correctly. If any issues arise, troubleshoot and make the necessary adjustments to resolve them.
By connecting your Xbox to your PC, you unlock the potential for a more immersive gaming experience, access to a larger screen, and the ability to utilize your PC’s superior sound system. Whether you want to enjoy Xbox games, stream gameplay, or access multimedia content, this connection opens up a world of possibilities.
Now that you have successfully connected your Xbox to your PC, it’s time to sit back, relax, and enjoy the captivating world of gaming and entertainment that awaits you!