Introduction
When it comes to troubleshooting or upgrading your computer, testing your graphics card is an essential step. A faulty or malfunctioning graphics card can lead to display issues, performance problems, or even system crashes. However, you may find yourself in a situation where you need to test your graphics card without a computer. Maybe you don’t have access to a spare computer, or perhaps you want to determine if the graphics card is the cause of your computer’s issues.
In this article, we will explore several methods that allow you to test your graphics card without the need for a computer. These methods can help you troubleshoot potential issues with your graphics card and verify its functionality before proceeding with any repairs or replacements. Whether you are a tech enthusiast, a DIY computer builder, or someone who wants to gain a better understanding of their hardware components, these methods will come in handy.
Throughout this article, we will discuss four different methods for testing your graphics card without a computer. Each method has its advantages and suitability depending on your situation. By following these methods, you will be able to detect any hardware issues with your graphics card and make informed decisions on how to proceed.
From using an external GPU dock to utilizing a CPU with integrated graphics or diagnostic tools specifically designed for testing graphics cards, we will cover all the necessary steps to help you diagnose and verify the working condition of your graphics card.
Method 1: Using an External GPU Dock
If you have access to an external GPU dock, this method allows you to test your graphics card without a computer. An external GPU dock is a device that connects to your laptop or desktop via a Thunderbolt or USB connection, allowing you to use a dedicated graphics card externally.
Here’s how you can use an external GPU dock to test your graphics card:
- Connect the external GPU dock: Begin by connecting the external GPU dock to your laptop or desktop using the appropriate interface, such as Thunderbolt or USB.
- Insert the graphics card: Open the enclosure of the external GPU dock and carefully insert your graphics card into the appropriate slot. Make sure it is firmly seated and properly aligned.
- Power on the dock: Once the graphics card is inserted, connect the external GPU dock to a power source and turn it on. The dock will provide the necessary power to the graphics card.
- Connect a monitor: Connect a monitor to the external GPU dock using the appropriate video cable, such as HDMI or DisplayPort. Ensure that the monitor is powered on and set to the correct input source.
- Power up the dock and monitor: Power on the external GPU dock and then turn on the monitor. The display should now show the output from the graphics card.
- Verify graphics card functionality: If the external GPU dock is working properly, you should see the display output on the connected monitor. You can now test the graphics card using benchmark software or run visually demanding applications to ensure its performance.
Using an external GPU dock provides a convenient way to test your graphics card without a computer. However, keep in mind that this method does require access to an external GPU dock and may not be suitable for everyone. Additionally, make sure to check the compatibility of your graphics card with the external GPU dock before proceeding.
Method 2: Using a CPU with Integrated Graphics
If your computer has a CPU with integrated graphics, you can utilize this feature to test your graphics card without a dedicated GPU. Integrated graphics refer to the built-in graphics processing capabilities found within certain CPUs. Here’s how you can use a CPU with integrated graphics to test your graphics card:
- Ensure compatibility: Check if your CPU has integrated graphics capabilities. Not all CPUs have this feature, so it’s essential to confirm beforehand.
- Disconnect the dedicated graphics card: If you have a dedicated graphics card installed in your computer, power off your system and carefully remove the card from its slot.
- Connect the monitor: Connect your monitor directly to the video output port on the motherboard, typically located on the rear panel. Use the appropriate video cable, such as HDMI or DisplayPort, matching the available ports on your motherboard and monitor.
- Power on the computer: Power on your computer and ensure that the monitor is connected and powered on as well. The display should now show the output from the CPU’s integrated graphics.
- Test the integrated graphics: Run visually demanding applications or benchmark software to test the performance of the integrated graphics. This will help you verify if the integrated graphics are functioning properly.
- Verify the dedicated graphics card: Once you’ve tested the integrated graphics, you can now reinstall the dedicated graphics card and test if it is the cause of any issues you were experiencing. If the dedicated graphics card is indeed malfunctioning, you may need to consider repair or replacement options.
Using a CPU with integrated graphics provides a practical solution to test your graphics card without relying on a dedicated GPU. This method is ideal for those who have a compatible CPU with integrated graphics capabilities. Additionally, it allows you to isolate any issues related to the dedicated graphics card and determine if a replacement is necessary.
Method 3: Using a Diagnostic Tool
If you are looking for a more specialized approach to testing your graphics card, you can use a diagnostic tool designed specifically for this purpose. These tools provide comprehensive testing and analysis of your graphics card’s functionality. Here’s how you can use a diagnostic tool to test your graphics card without a computer:
- Choose a reliable diagnostic tool: Research and select a reputable diagnostic tool that is compatible with your graphics card. There are various options available, both free and paid.
- Download and install the tool: Follow the instructions provided by the diagnostic tool’s developer to download and install it on your computer.
- Create a bootable USB drive: Most diagnostic tools require creating a bootable USB drive. Follow the tool’s instructions to create the bootable drive using another computer.
- Connect the USB drive: Insert the bootable USB drive into the appropriate USB port on your computer. Ensure that your computer is powered off before doing so.
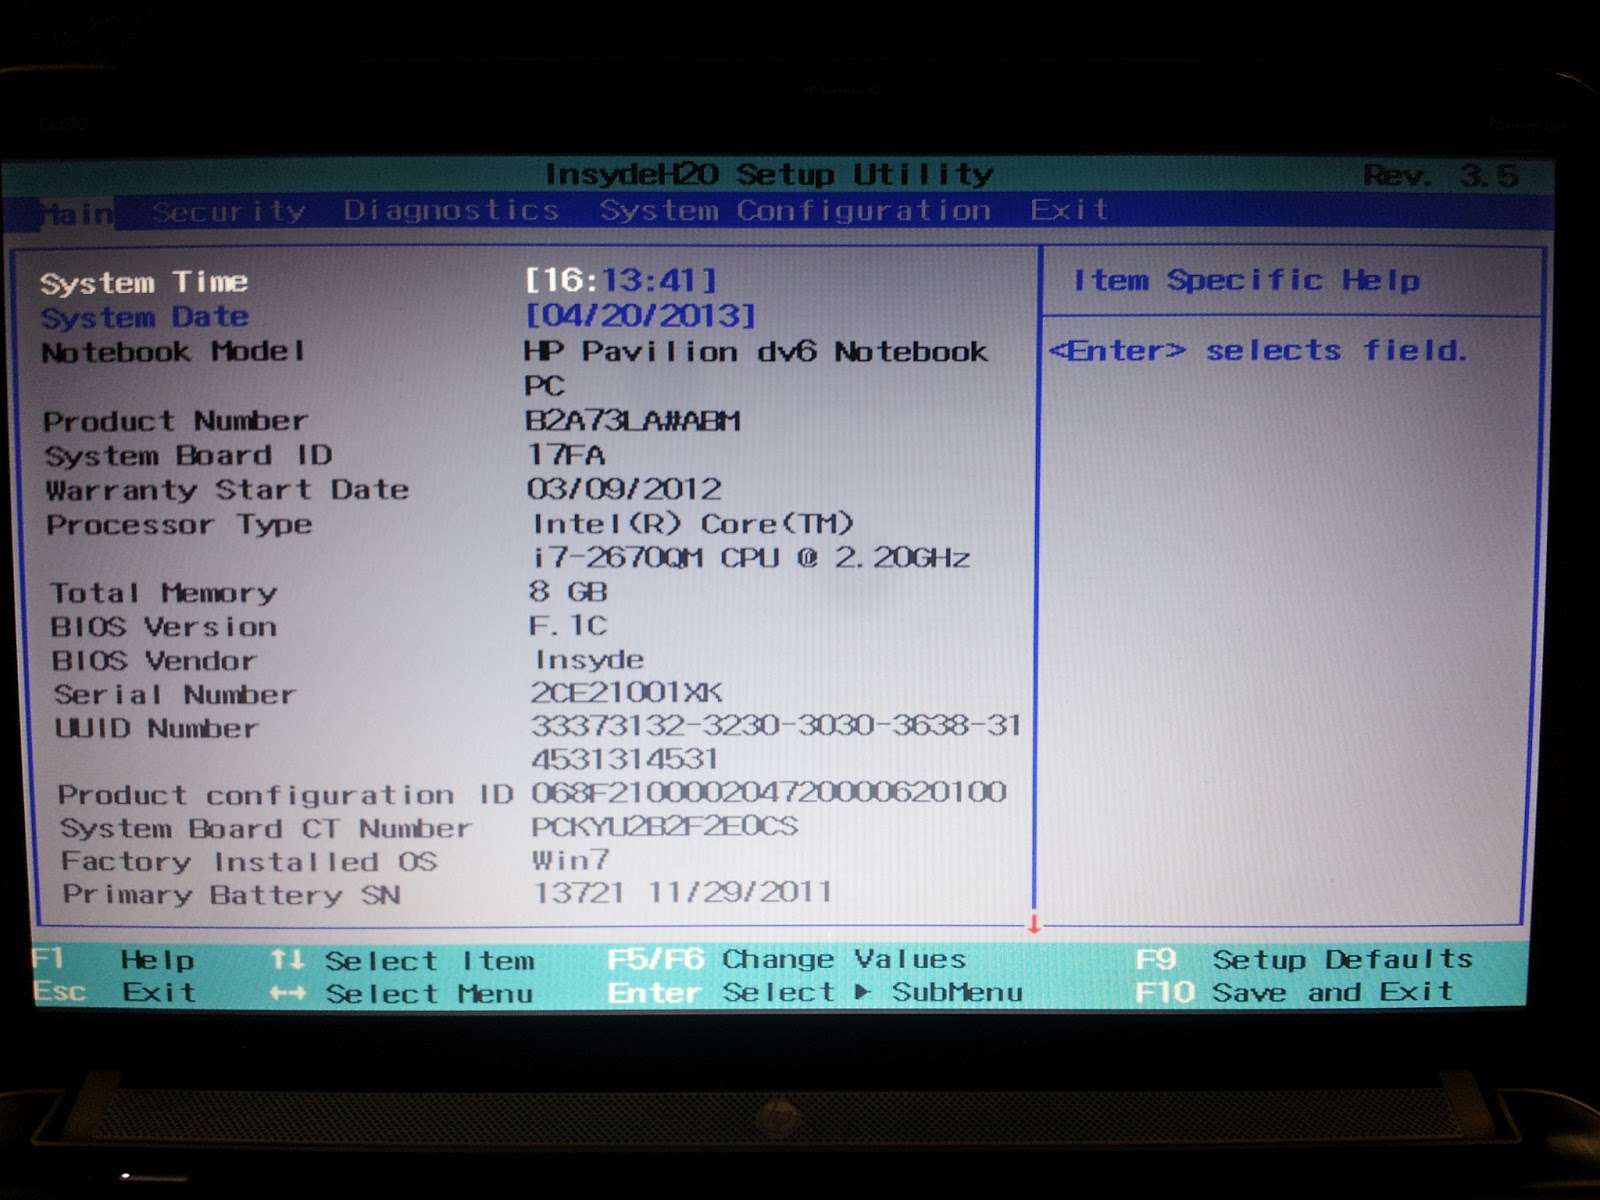
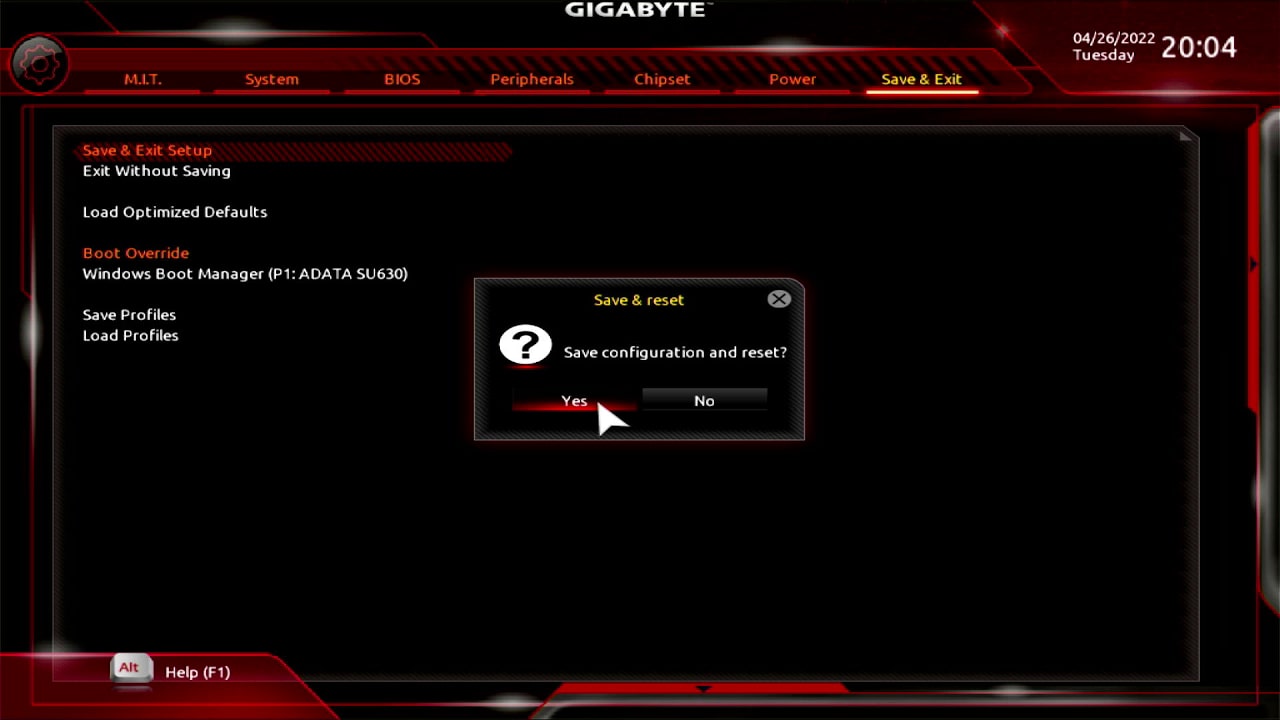
- Boot from the USB drive: Power on your computer and access the BIOS settings. Set the boot priority to boot from the USB drive. Save the changes and exit the BIOS.
- Run the diagnostic tool: Once your computer boots from the USB drive, the diagnostic tool will launch. Follow the on-screen instructions to start the graphics card testing process.
- Review the test results: After the diagnostic tool completes its testing, it will provide you with detailed reports on the health and performance of your graphics card. Analyze the results to identify any potential issues.
Using a diagnostic tool offers a comprehensive and specialized approach to testing your graphics card. These tools provide in-depth analysis and can help pinpoint any hardware or software problems with your graphics card. Make sure to choose a trusted diagnostic tool and carefully follow the instructions to ensure accurate results.
Method 4: Using a Video Card Tester
If you want a straightforward and efficient method to test your graphics card without a computer, using a video card tester is an excellent option. Video card testers are standalone devices designed specifically to test the functionality of graphics cards. Here’s how you can use a video card tester:
- Obtain a video card tester: Purchase or borrow a video card tester from a reputable source. Ensure that the tester is compatible with your graphics card’s interface, such as PCI Express or AGP.
- Power off your computer: Before proceeding, power off your computer and unplug it from the power source.
- Connect the video card tester: Connect the video card tester to the interface of your graphics card. Make sure it is securely inserted into the appropriate slot.
- Connect power to the video card tester: Depending on the tester model, you may need to provide power to the tester using a separate power supply or connecting it to a power source.
- Verify the connection: Ensure that all connections are secure and properly seated. Double-check that the video card tester is correctly connected to your graphics card.
- Power on the video card tester: Turn on the power to the video card tester. It will initiate the testing process and provide feedback on the state of your graphics card.
- Review the test results: The video card tester will display test results and indicate any issues with your graphics card. It may also provide detailed error codes or messages to guide you in diagnosing the problem.
Using a video card tester is a simple and efficient way to test the functionality of your graphics card. These testers are designed specifically for this purpose and provide accurate results. However, keep in mind that video card testers are standalone devices and may not diagnose certain software or compatibility issues. If you suspect such issues, consider using other methods discussed in this article for a more comprehensive assessment.
Conclusion
Testing your graphics card is crucial for identifying any issues or performance concerns. While it may seem challenging to test your graphics card without a computer, there are several effective methods available.
In this article, we explored four different methods that allow you to test your graphics card without the need for a computer:
- Using an external GPU dock provides a convenient way to test your graphics card if you have access to one.
- Utilizing a CPU with integrated graphics allows you to test your graphics card without a dedicated GPU.
- Using a diagnostic tool designed specifically for graphics card testing provides comprehensive analysis and troubleshooting.
- Using a video card tester is a simple and efficient method that provides dedicated testing for graphics cards.
Each method has its advantages and suitability depending on your situation and available resources. It’s recommended to choose the method that best fits your needs and preferences.
By following these methods, you can verify the functionality of your graphics card, diagnose any issues, and make informed decisions regarding repairs or replacements.
Remember, it’s important to handle your graphics card with care and follow proper safety precautions when conducting any testing or maintenance procedures.
Whether you are a tech enthusiast, a DIY computer builder, or someone looking to troubleshoot their graphics card, these methods will help you gain a better understanding of your hardware and ensure optimal performance.
Utilize the appropriate method based on your circumstances, and you’ll be well on your way to determining the health and functionality of your graphics card without the need for a computer.