Introduction
Welcome to this guide on how to switch rows and columns in Google Sheets. Google Sheets is a powerful tool that allows you to work with spreadsheets and analyze data in a convenient and efficient way. However, there may be instances where you need to rearrange your data by switching the rows and columns. This can be especially useful when you want to change the orientation of your data or perform calculations on different sets of data.
In this article, we will explore three methods that will enable you to easily switch the rows and columns in your Google Sheets. You will learn how to use the TRANSPOSE function, copy and paste special, and even utilize Google Apps Script for more advanced automation. Whether you are organizing data for a report, analyzing trends, or simply need to present your information in a different format, these methods will come in handy.
Before diving into the methods, it is important to have a basic understanding of how Google Sheets works. Familiarize yourself with the interface and the different tools available. Additionally, it is beneficial to have some prior knowledge of using functions in Google Sheets. Having a firm grasp of these fundamentals will make it easier for you to follow along with the steps mentioned in this article.
So, let’s begin exploring these three methods to switch rows and columns in Google Sheets. By the end of this guide, you will have the knowledge and skills needed to transform your data and enhance your productivity in Google Sheets.
Prerequisites
Before you can start switching rows and columns in Google Sheets, there are a few prerequisites that you need to ensure are in place:
- A Google account: To access Google Sheets, you will need a Google account. If you don’t have one, you can easily create a free account by visiting the Google Account creation page.
- Access to Google Sheets: Make sure you have access to Google Sheets. You can access Google Sheets through your web browser by visiting the Google Sheets website or by opening the Google Sheets app on your mobile device.
- Basic knowledge of Google Sheets: It is beneficial to have a basic understanding of how Google Sheets works. Familiarize yourself with the interface and the different tools available. If you are new to Google Sheets, consider taking a short online tutorial or watching some introductory videos to get acquainted with the basics.
It is important to note that the methods mentioned in this guide are specific to switching rows and columns in Google Sheets. Therefore, make sure you are working within Google Sheets and not any other spreadsheet software.
Once you have met these prerequisites, you are ready to explore the methods for switching rows and columns in Google Sheets. Let’s move on to the next sections, where we will dive into the different techniques and step-by-step instructions to help you achieve this task.
Method 1: Using the TRANSPOSE Function
One of the simplest ways to switch rows and columns in Google Sheets is by using the TRANSPOSE function. This function allows you to transpose or switch the orientation of your data, creating a new arrangement where rows become columns and columns become rows.
To use the TRANSPOSE function, follow these steps:
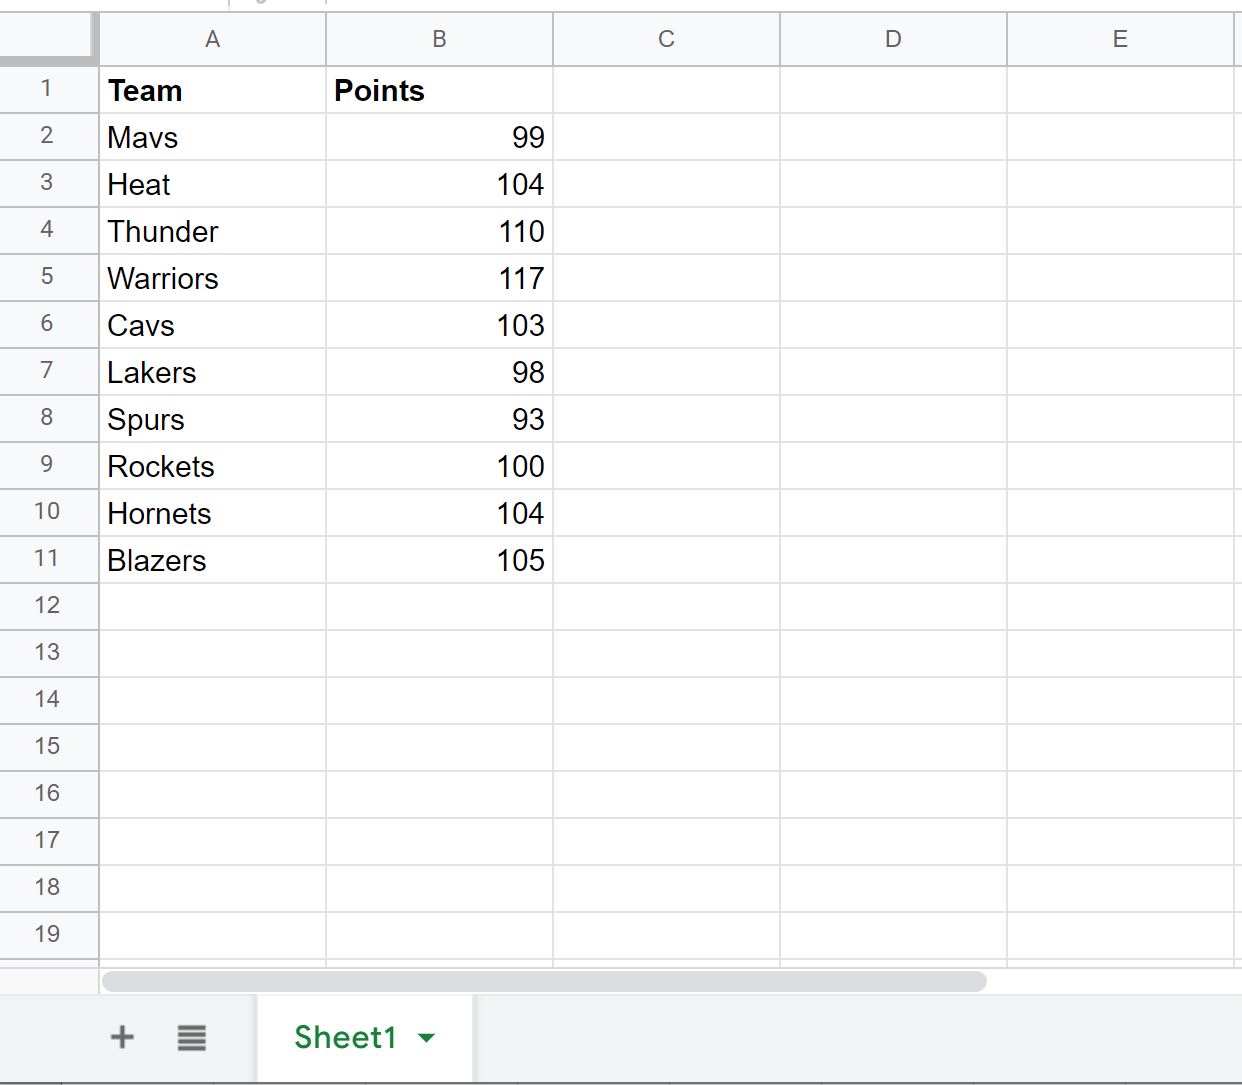
- Select the range of cells that you want to transpose. This can be a single column, multiple rows, or any combination of cells.
- In an empty cell where you want the transposed data to appear, enter the following formula:
- Press Enter to apply the formula.
=TRANSPOSE(range)
Replace “range” with the actual reference to the cell range you selected in step 1. For example, if you selected cells A1:A5, the formula would be =TRANSPOSE(A1:A5).
Google Sheets will automatically transpose the data and display it in the selected cell range. Any changes you make to the original data will be reflected in the transposed data, and vice versa.
This method is ideal when you only need to switch the rows and columns temporarily or when you want to perform calculations or analysis on the transposed data without permanently rearranging your spreadsheet.
Now that you know how to use the TRANSPOSE function to switch rows and columns, let’s explore another method that involves using copy and paste special.
Method 2: Using Copy and Paste Special
Another method to switch rows and columns in Google Sheets is by utilizing the Copy and Paste Special feature. This method allows you to quickly and easily rearrange your data without the need for any complex formulas.
Follow these steps to use Copy and Paste Special:
- Select the range of cells that you want to switch. This can be a single row, multiple rows, a single column, or multiple columns.
- Right-click on the selected range and choose “Copy” from the context menu, or use the keyboard shortcut Ctrl+C (Windows) or Command+C (Mac).
- Select an empty cell where you want the transposed data to appear.
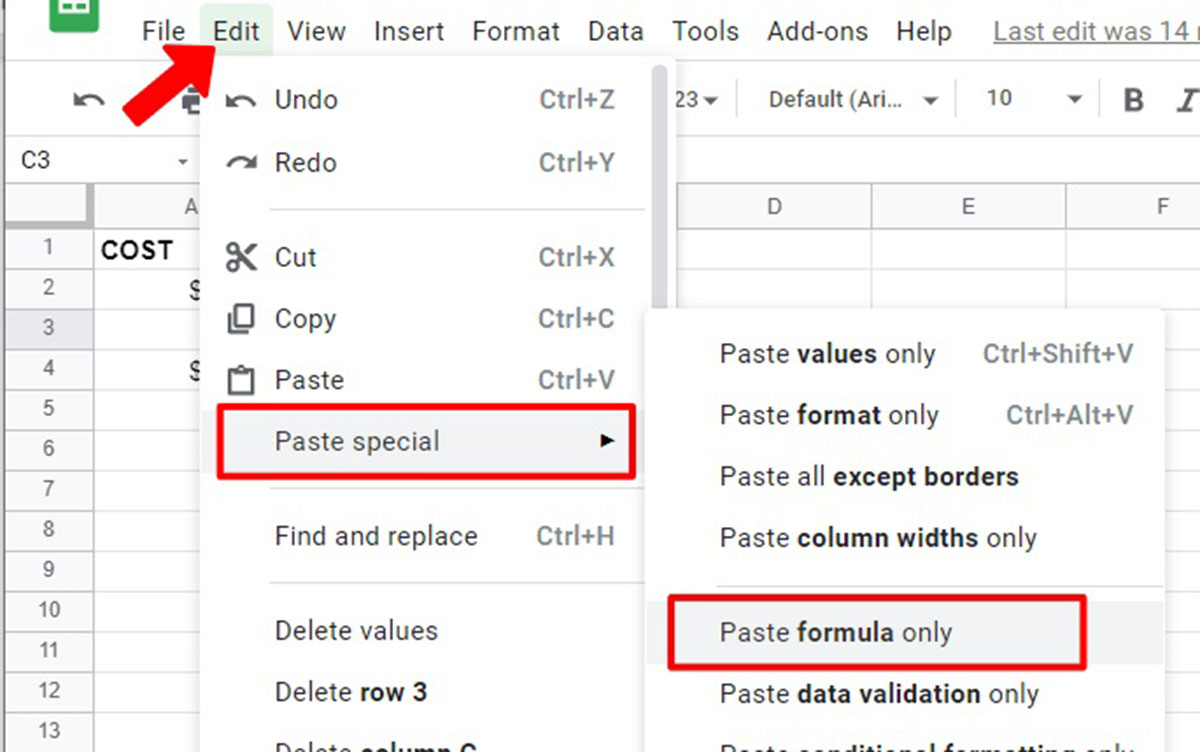
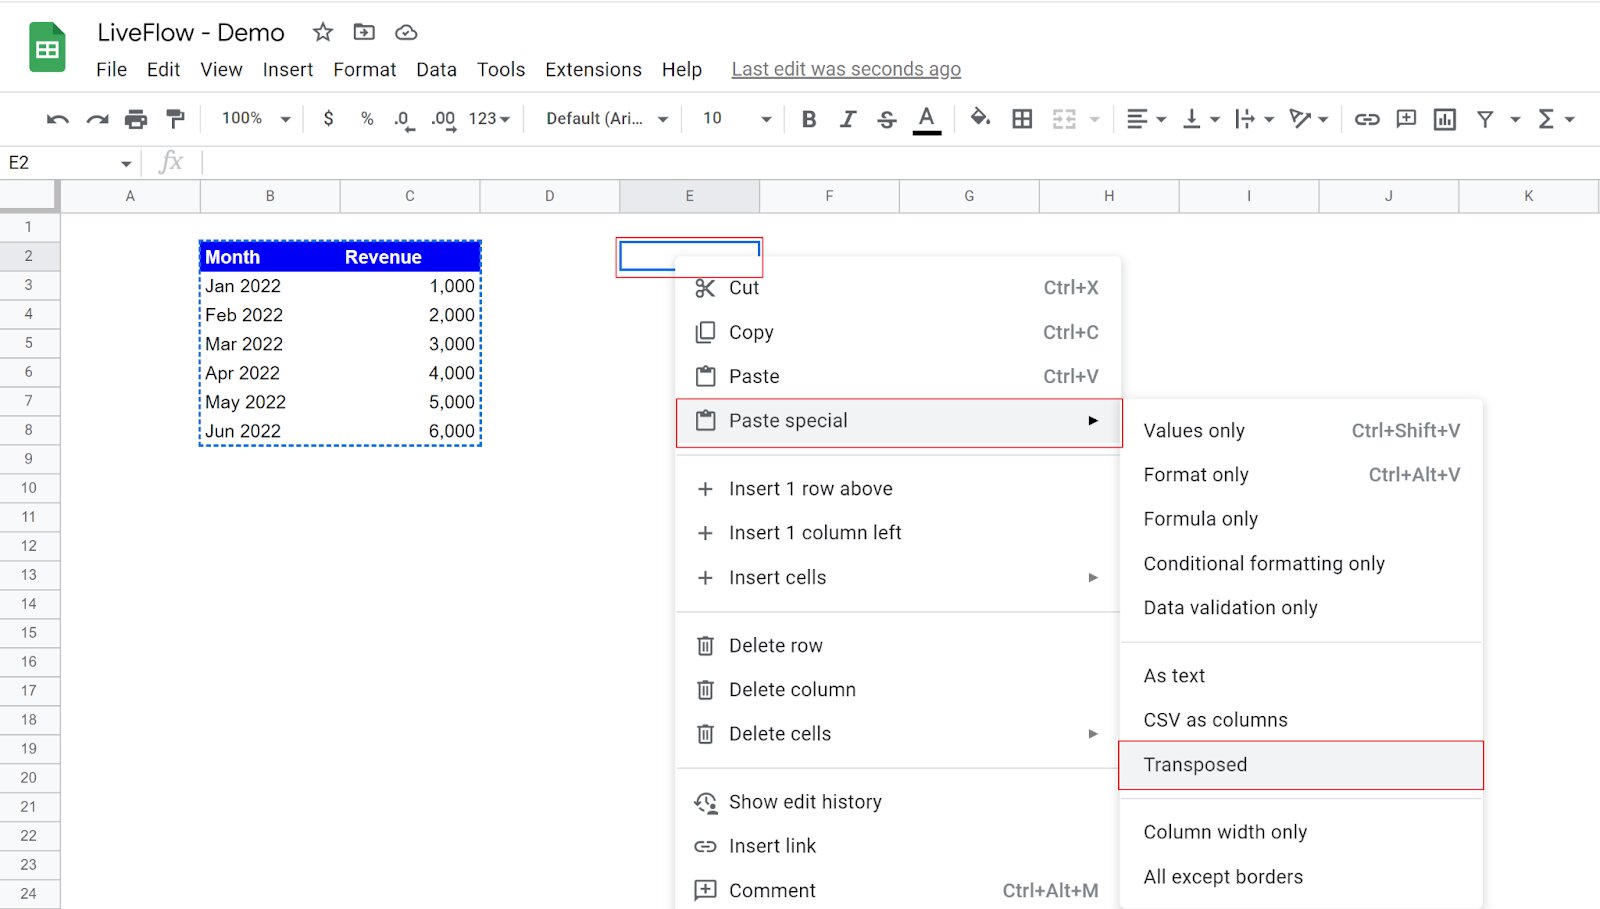
- Right-click on the selected cell and choose “Paste Special” from the context menu, or use the keyboard shortcut Ctrl+Shift+V (Windows) or Command+Shift+V (Mac) to open the Paste Special dialog box.
- In the Paste Special dialog box, check the “Transpose” option and click on the “Paste” button.
Google Sheets will copy the selected data and transpose it, placing the transposed data in the new cell range. The original data will remain unchanged, and the transposed data will update dynamically if you make any changes to the original data.
This method is useful when you want to permanently switch the rows and columns of your data or if you prefer a visual representation of the transpose operation before pasting the data in a new location.
Now that you are familiar with the Copy and Paste Special method, let’s move on to the third method, which involves using Google Apps Script for more advanced automation.
Method 3: Using Google Apps Script
If you need more advanced automation or want to automate the process of switching rows and columns in Google Sheets, you can utilize Google Apps Script. Google Apps Script is a scripting language that allows you to extend the functionality of Google Sheets and automate various tasks.
Follow these steps to use Google Apps Script to switch rows and columns:
- Open your Google Sheets document.
- Click on “Extensions” in the top menu and select “Apps Script” from the dropdown menu.
- In the Google Apps Script editor, delete any existing code and enter the following script:
- Save the script by clicking on the floppy disk icon or using the keyboard shortcut Ctrl+S (Windows) or Command+S (Mac).
- Close the Google Apps Script editor.
- Go back to your Google Sheets document and click on the "Extensions" menu again.
- Select "Apps Script" from the dropdown menu and choose the "switchRowsColumns" function from the list.
- Click on the "Run" button to execute the script.
function switchRowsColumns() {
  var sheet = SpreadsheetApp.getActiveSpreadsheet().getActiveSheet();
  var range = sheet.getDataRange();
  var data = range.getValues();
  var newData = [];

  for (var i = 0; i < data[0].length; i++) {
    newData[i] = [];
    for (var j = 0; j < data.length; j++) {
      newData[i][j] = data[j][i];
    }
  }

  range.setValues(newData);
}The script will run and switch the rows and columns of the active sheet. The transposed data will replace the existing data in the sheet. You can modify the script or create a custom menu for even more advanced functionality.
This method is especially useful when you have complex data arrangements or need to perform repetitive switching tasks on multiple sheets.
With the use of Google Apps Script, you have a powerful tool at your disposal to automate and streamline the process of switching rows and columns in Google Sheets.
Conclusion
Switching rows and columns in Google Sheets is a useful technique that can help you reorganize and analyze data in a more effective way. In this guide, we explored three methods that allow you to easily switch the orientation of your data: using the TRANSPOSE function, copy and paste special, and utilizing Google Apps Script.
The TRANSPOSE function is a simple and quick way to temporarily switch rows and columns in your spreadsheet. It is especially useful when you need to perform calculations or analysis on the transposed data without permanently rearranging your sheet.
The Copy and Paste Special method provides a straightforward way to permanently switch rows and columns. This method is ideal when you want to visually see the transposed data before pasting it in a new location or if you prefer a non-formula-based approach.
For more advanced automation and customization, Google Apps Script is a powerful tool. By utilizing scripting, you can automate the process of switching rows and columns in Google Sheets. This method is particularly beneficial when you have complex data arrangements or need to perform repetitive switching tasks.
Remember to practice and experiment with these methods to become comfortable with switching rows and columns in Google Sheets. Each method has its own strengths and can be applied based on your specific requirements.
So go ahead and start utilizing these techniques to enhance your data analysis, reporting, and productivity in Google Sheets. Switch rows and columns effortlessly to gain new insights and present information in a format that best suits your needs.
Happy spreadsheet editing!