Introduction
Google Photos is a popular cloud-based service that allows users to store, organize, and share their photos and videos. With its user-friendly interface and ample storage space, it has become a go-to platform for millions of people worldwide.
Sharing photos from Google Photos is a breeze, whether you want to send them to a friend, family member, or share them with a wider audience on social media. You have various options to choose from, including sharing individual photos, creating albums, and adjusting privacy settings.
In this article, we will guide you through the different methods of sharing photos from Google Photos and provide some valuable tips to make the process more efficient. Whether you are new to Google Photos or a seasoned user looking for new ways to share your favorite moments, this guide will help you navigate the sharing features with ease.
So, if you’re ready to learn how to share your cherished memories easily and effectively, let’s dive into the wonderful world of Google Photos!
Understanding Google Photos
Before we delve into the various methods of sharing photos from Google Photos, it is important to have a basic understanding of the platform. Google Photos serves as a central hub for storing, organizing, and accessing all your precious memories.
Google Photos offers users unlimited free storage for high-quality photos and videos, with the option to upgrade to the paid storage plan if you require additional space or want to store your photos in their original quality.
One of the standout features of Google Photos is its powerful search functionality. The service uses advanced algorithms to recognize objects, people, and locations in your photos, making it easy to find specific images without having to manually sort through hundreds or thousands of files.
Google Photos also automatically creates albums, collages, animations, and movies from your photos, saving you time and effort in creating engaging visual content to share with others.
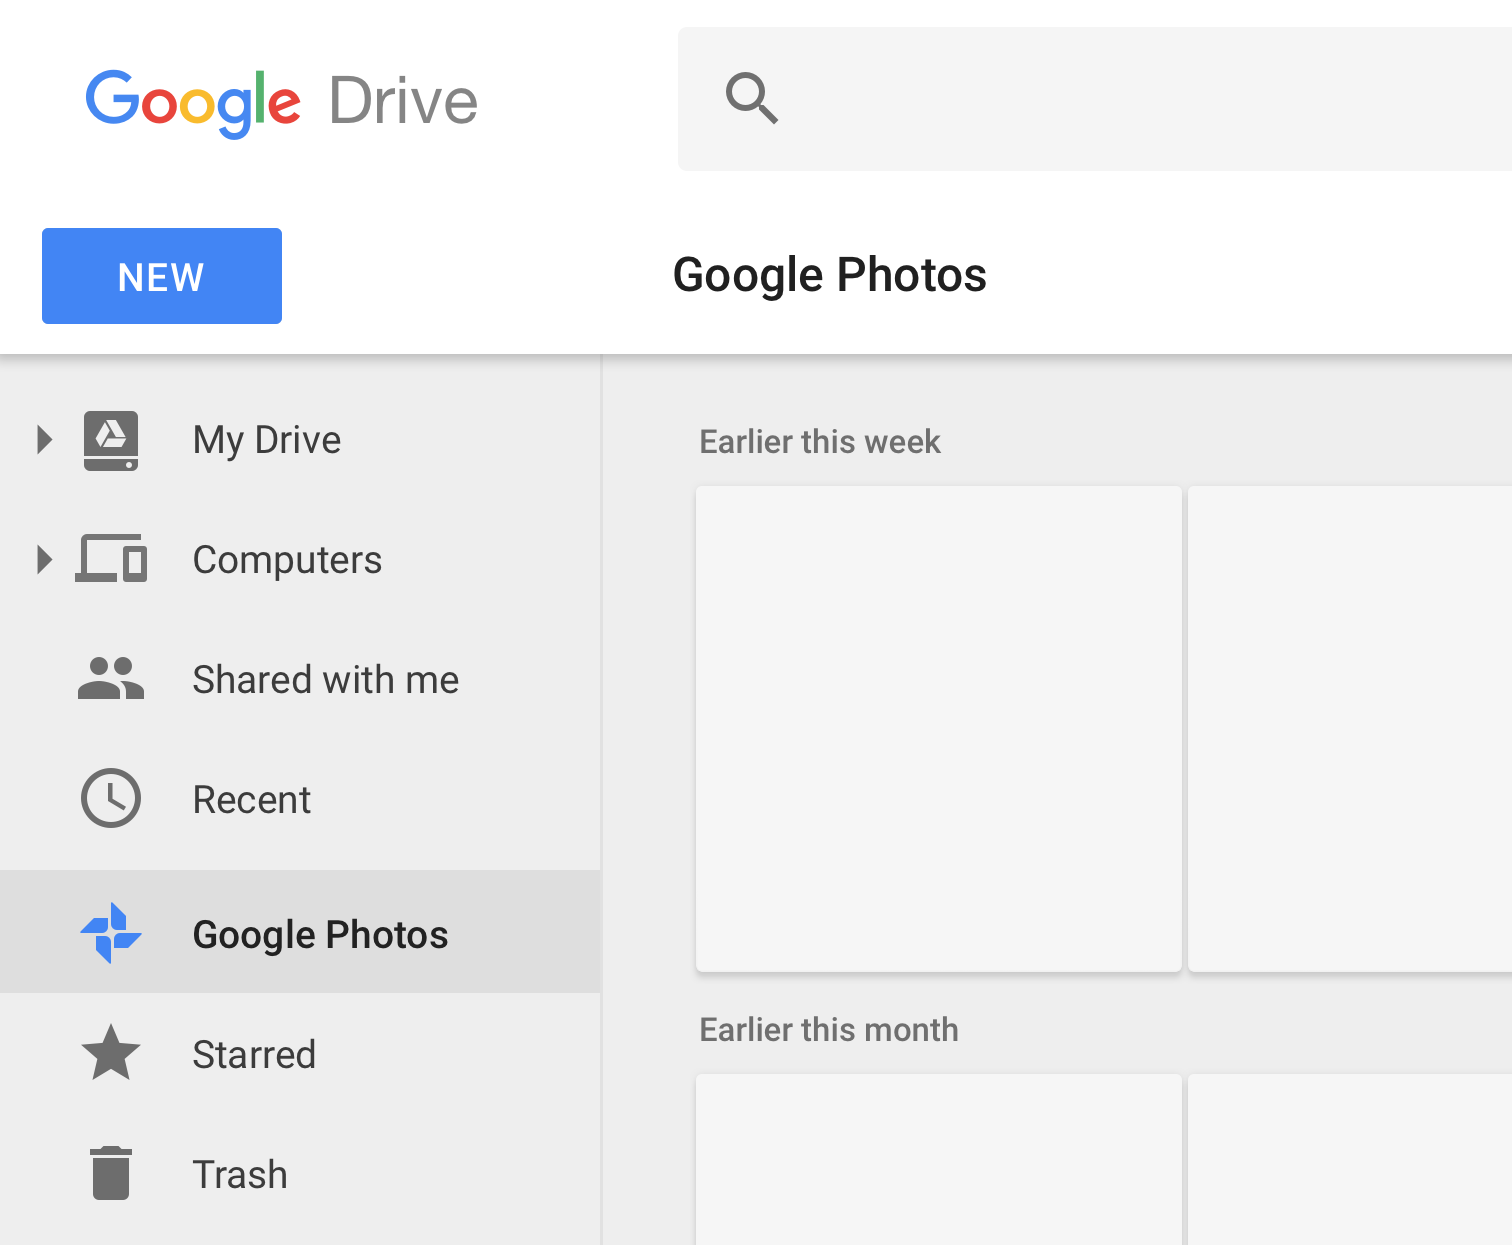
Moreover, Google Photos provides seamless integration with other Google services, such as Google Drive and Gmail. This enables you to easily attach and share photos through email or access your photos across multiple devices.
Whether you’re using Google Photos on your smartphone, tablet, or computer, the intuitive interface allows for a seamless and enjoyable experience, making it accessible to users of all skill levels.
Now that we have a general understanding of Google Photos, let’s explore the different methods you can use to share your photos with others.
Sharing Individual Photos
Google Photos makes it incredibly easy to share individual photos with your friends, family, or anyone else you choose. Here’s how you can do it:
1. Open the Google Photos app or go to the Google Photos website on your computer.
2. Find the photo you want to share by scrolling through your library or using the search function.
3. Once you’ve located the photo, tap on it to open it in full view.
4. Look for the share icon, which is typically represented by an upward-pointing arrow or by three connected dots. Tap on this icon.
5. A pop-up menu will appear with various sharing options. You can choose to share the photo via email, messaging apps, social media platforms, or by copying the link.
6. Select your preferred sharing option and follow the prompts to share the photo.
When you share an individual photo, Google Photos maintains its original quality, ensuring that the recipient sees your image in all its glory. Additionally, you can add a caption or message to accompany the shared photo, adding a personal touch to your message.
It’s worth noting that if the person you share the photo with is also using Google Photos, they will have the option to add the photo to their own library or create a shared album to collaborate with others.
Sharing individual photos is a quick and convenient way to show someone a specific image without having to share an entire album. However, if you have several photos you want to share or want to organize your photos around a specific theme or event, creating an album might be a more efficient option. Let’s explore the process of creating albums and sharing them with others.
Creating Albums and Sharing with Others
If you have multiple photos that you want to share with someone or a group of people, creating an album in Google Photos is the ideal solution. Albums allow you to organize and share a collection of photos with ease. Here’s how you can create and share albums:
1. Open the Google Photos app or go to the Google Photos website on your computer.
2. Navigate to the “Albums” tab, which is typically located at the bottom of the screen on the mobile app or on the left-hand side on the website.
3. Tap on the “+” button to create a new album.
4. Give your album a title that reflects its content or theme.
5. Select the photos you want to include in the album by tapping on each one.
6. Tap on the “Create” or “Done” button to create the album.
Once you have created the album, you can share it with others. Here’s how:
1. Open the album you want to share.
2. Look for the share icon, usually represented by an upward-pointing arrow or three connected dots. Tap on this icon.
3. Choose your preferred sharing method: email, messaging apps, social media, or copy the link.
4. Follow the prompts to complete the sharing process.
When sharing an album, you have the option to allow others to add their own photos to the album, creating a collaborative experience. This is especially useful for events or trips where multiple people may have taken photos.
It’s important to note that when you share an album, the recipients will only be able to view the photos within the album and won’t have access to your entire Google Photos library. This helps to maintain privacy and control over your other photos.
Creating albums and sharing them with others provides a more organized and comprehensive way to share your photos. However, if you want others to have the ability to contribute, adding collaborators to an album is the way to go. Let’s explore this further in the next section.
Adding Collaborators to an Album
Collaborating on photo albums can be a fun and efficient way to curate and share memories with a group of people. Google Photos allows you to add collaborators to an album, giving them the ability to contribute their own photos and maintain a shared collection. Here’s how you can add collaborators to an album:
1. Open the Google Photos app or go to the Google Photos website on your computer.
2. Navigate to the “Albums” tab and select the album you want to add collaborators to.
3. Tap on the share icon within the album, usually represented by an upward-pointing arrow or three connected dots.
4. Choose your preferred sharing method, such as email, messaging apps, or social media.
5. In the sharing options, look for “Add People” or “Collaborate”, and tap on it.
6. Enter the email addresses or select the contacts of the people you want to invite as collaborators.
7. Customize the access level for each collaborator. You can choose between “Can add photos” or “Can view and add photos”.
8. Send the sharing invitation to the selected collaborators.
Once the collaborators receive the invitation, they can join the album and start adding their own photos. Every collaborator’s contributions will be visible to all other collaborators, fostering a shared experience and creating a comprehensive collection of memories.
Adding collaborators to an album is not only great for group events or projects, but it can also be a way to bring friends and family together to contribute and relive special moments.
Now that we’ve explored how to share individual photos, create albums, and add collaborators, let’s move on to another popular method of sharing photos from Google Photos – sharing via links.
Sharing Photos via Links
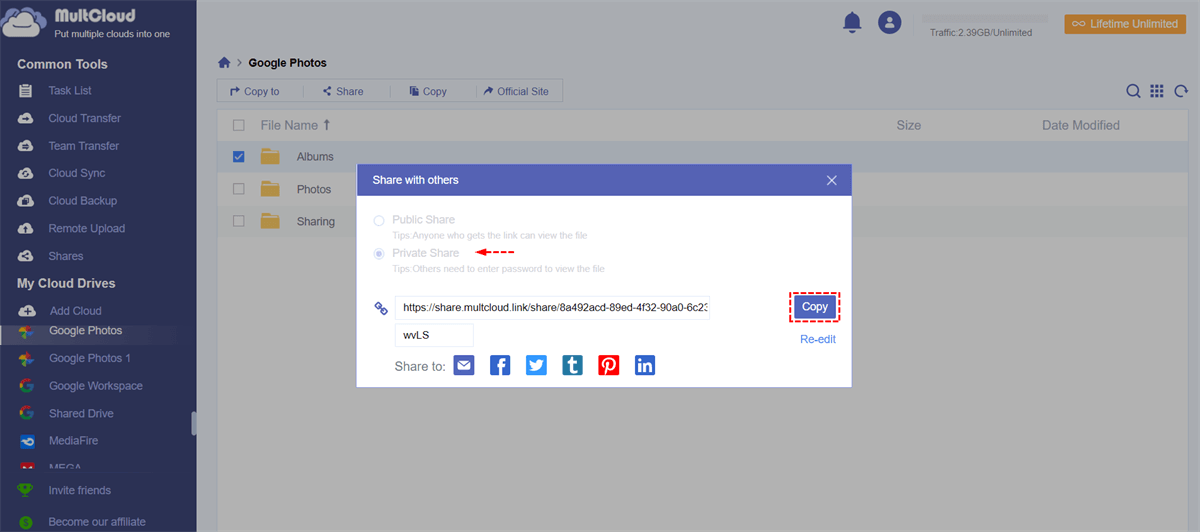
Sharing photos via links is a flexible and convenient way to grant access to specific photos or albums in Google Photos. By generating a shareable link, you can easily share your photos with others, regardless of whether they have a Google Photos account or not. Here’s how you can share photos via links:
1. Open the Google Photos app or go to the Google Photos website on your computer.
2. Find the photo or album you want to share and open it.
3. Look for the share icon, typically represented by an upward-pointing arrow or three connected dots. Tap on this icon.
4. Select the option to share via link.
5. You can choose whether to allow the recipients to view the photos only or to also give them the ability to add photos or collaborate.
6. Generate the shareable link.
7. Copy the link and share it with the intended recipients through email, messaging apps, social media, or any other preferred method.
The recipients can simply click on the link to access the shared photos or albums. If they have a Google Photos account, they can add the photos to their own library or collaboratively contribute to the shared collection.
Sharing photos via links gives you more control over who can view or interact with your photos. It is particularly useful for sharing with individuals who may not be using Google Photos or for situations where you want to limit access to specific photos or albums.
Now that you know how to share photos via links, let’s explore how you can easily share your Google Photos on social media platforms.
Sharing Photos on Social Media
Social media platforms are a popular avenue for sharing photos and connecting with friends, family, and even a wider audience. Google Photos makes it seamless to share your favorite photos directly to various social media platforms. Here’s how you can do it:
1. Open the Google Photos app or go to the Google Photos website on your computer.
2. Find the photo or album you want to share and open it.
3. Look for the share icon, typically represented by an upward-pointing arrow or three connected dots. Tap on this icon.
4. Choose the social media platform where you want to share the photo, such as Facebook, Instagram, Twitter, or others.
5. Follow the prompts to log in to your social media account (if necessary) and complete the sharing process.
By sharing photos on social media platforms, you can reach a wider audience and engage with your friends, followers, and community. It’s a great way to showcase your photography skills, share special moments, or simply connect with others through pictures.
When sharing photos to social media, Google Photos optimizes the image quality and size to ensure optimal viewing on each respective platform. This means that your photos will look their best, whether they are viewed on a smartphone, tablet, or computer.
Sharing photos on social media via Google Photos saves you the hassle of manually downloading and uploading images. It streamlines the process, enabling you to share your photos quickly and efficiently.
Now that you know how to share your Google Photos on social media, let’s delve into how you can share your photos on other apps and services.
Sharing Photos to Other Apps or Services
Aside from social media, there are various other apps and services that you may want to share your Google Photos with. Google Photos provides seamless integration with many popular apps, allowing you to easily transfer and share your photos across platforms. Here’s how you can do it:
1. Open the Google Photos app or go to the Google Photos website on your computer.
2. Find the photo or album you want to share and open it.
3. Look for the share icon, typically represented by an upward-pointing arrow or three connected dots. Tap on this icon.
4. Scroll through the sharing options and look for the specific app or service you want to share the photo with.
5. Select the app or service and follow the prompts to complete the sharing process.
Google Photos provides integrations with a wide range of apps and services, including messaging apps, email clients, cloud storage platforms, and more. Whether you want to send a photo via WhatsApp, attach it to an email, or save it to another cloud storage provider, the process is made easy and streamlined.
Sharing photos to other apps or services opens up a world of possibilities for collaboration, communication, and creative projects. It allows you to seamlessly transfer your photos to the desired platform and share them with specific individuals or groups.
Moreover, by sharing photos to other apps or services, you can take advantage of the unique features and functionalities offered by each platform. For example, you can use photo editing apps to enhance and customize your photos further, or you can easily upload your photos to a printing service to create physical copies or personalized products.
Now that you know how to share your Google Photos with other apps and services, let’s dive into adjusting the privacy settings for shared photos.
Adjusting Privacy Settings for Shared Photos
When sharing photos from Google Photos, it is essential to have control over the privacy settings to ensure that your photos are only seen by the intended audience. Google Photos offers various privacy options to give you the flexibility and peace of mind when sharing your precious memories. Here’s how you can adjust the privacy settings for shared photos:
1. Open the Google Photos app or go to the Google Photos website on your computer.
2. Find the photo or album you want to adjust the privacy settings for and open it.
3. Look for the share icon, typically represented by an upward-pointing arrow or three connected dots. Tap on this icon.
4. In the sharing options, you’ll have the ability to customize the privacy settings.
5. You can choose to allow the recipients to view and collaborate on the shared photo or album, or you can limit their access to view-only.
6. Additionally, you can set password protection for shared links to add an extra layer of security.
7. If you want to revoke access to shared photos or albums, you can do so by changing the privacy settings or removing individual collaborators.
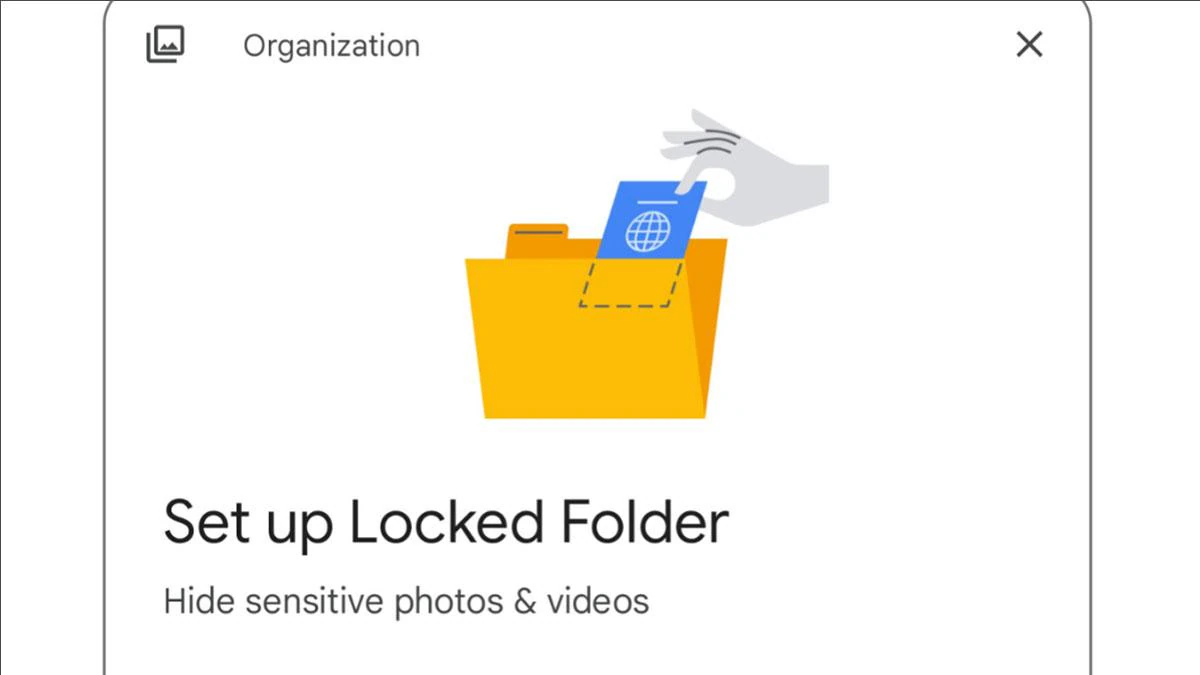
By adjusting the privacy settings for shared photos, you can ensure that your photos remain private and are only accessible to those you trust. This is particularly important when sharing sensitive or private images.
Google Photos prioritizes the security and privacy of your shared photos. However, it is always a good practice to review and double-check the privacy settings before sharing to ensure that your photos are protected and shared with confidence.
Now that you understand how to adjust the privacy settings, let’s move on to managing shared photos and albums in Google Photos.
Managing Shared Photos and Albums
After sharing photos and albums from Google Photos, you may want to manage and keep track of the shared content. Google Photos provides convenient ways to monitor and control the shared photos and albums. Here’s how you can manage shared photos and albums:
1. Open the Google Photos app or go to the Google Photos website on your computer.
2. Navigate to the “Sharing” tab, which is usually located at the bottom of the screen on the mobile app or on the left-hand side on the website.
3. Here, you’ll find a list of all the photos and albums you have shared.
4. Tap on a shared photo or album to view the details and access additional options.
5. In the sharing options, you can manage individual collaborators, change their access levels, remove collaborators, or revoke access altogether.
6. You can also monitor the activity and interactions within shared albums, such as viewing who has added photos or made comments.
7. If you want to make changes to the shared content, such as adding or removing photos, you can easily do so by editing the album or individual photo.
Managing shared photos and albums allows you to maintain control over the content you have shared and ensures that it remains up-to-date and relevant. It offers flexibility in adjusting permissions and settings based on changing circumstances or preferences.
Regularly reviewing and managing shared photos and albums is a good practice to ensure that your shared content aligns with your intentions and privacy preferences.
Now that you’re equipped with the knowledge to manage shared photos and albums, let’s explore some tips and tricks to make the process of sharing photos from Google Photos even more efficient.
Tips and Tricks for Sharing Photos Efficiently
Sharing photos from Google Photos can be a seamless and efficient process with these tips and tricks. Here are some ways to make your photo sharing experience even better:
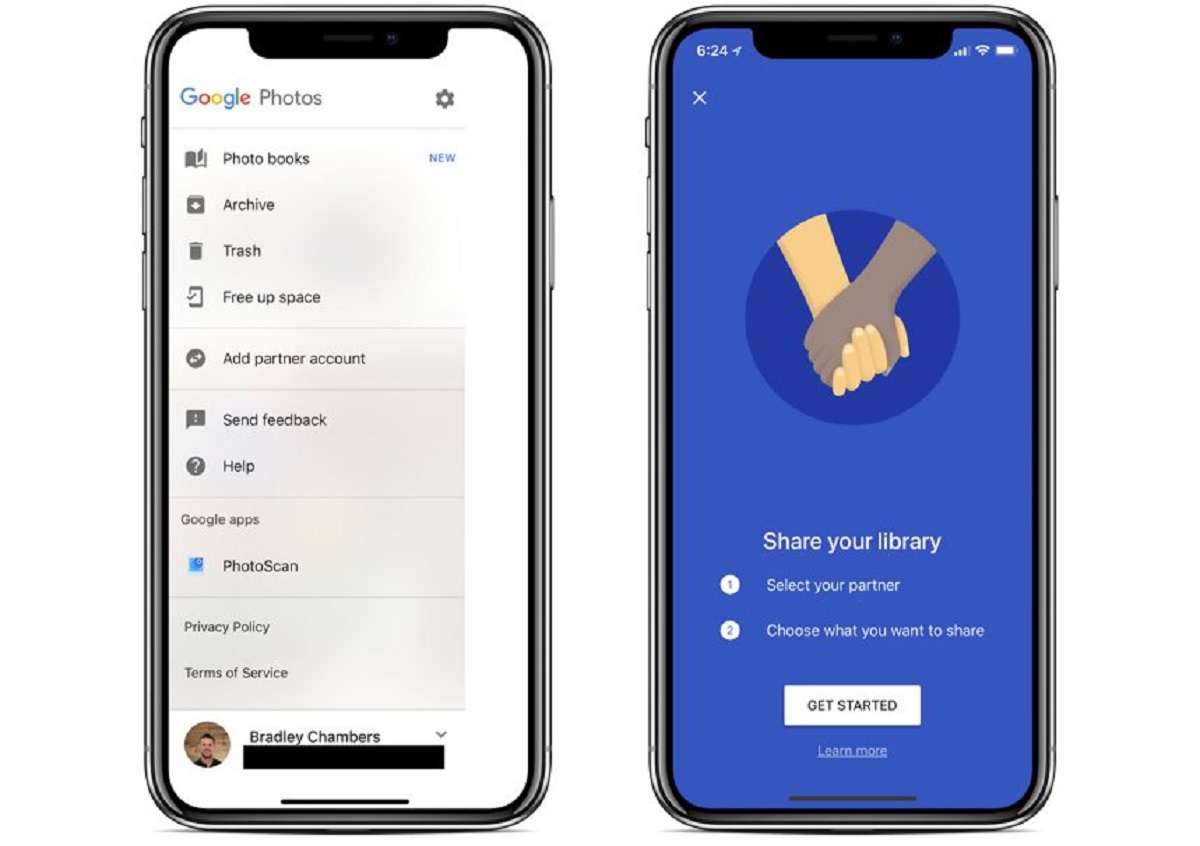
1. Utilize the “Shared Libraries” feature: With Shared Libraries, you can automatically share specific photos with chosen contacts, making it easier to share photos with your closest friends and family members.
2. Use the “Suggested Sharing” feature: Google Photos uses AI and machine learning to suggest sharing options for your photos. Take advantage of these suggestions to quickly share relevant photos with the right people.
3. Enable the “Collaborative Albums” option: When creating an album, enable the “Collaborative Albums” option to allow other users to contribute and add their own photos to the shared album, creating a collaborative and comprehensive collection.
4. Share multiple photos at once: Instead of sharing one photo at a time, select multiple photos and share them as a batch. This saves time and streamlines the sharing process.
5. Customize sharing permissions: Take advantage of the different sharing permission options available in Google Photos to control who can view, edit, or contribute to your shared photos and albums.
6. Organize your photos: Before sharing, take some time to organize your photos into albums or collections based on specific themes or events. This makes it easier to share a cohesive and curated set of photos.
7. Edit and enhance your photos: Use the built-in editing tools in Google Photos to enhance your photos before sharing. Adjusting brightness, applying filters, or cropping can make your photos look even more stunning.
8. Explore additional sharing features: Google Photos constantly adds new features and updates. Stay up to date with the latest changes to discover new ways to share, collaborate, and interact with your shared photos.
By incorporating these tips and tricks into your photo sharing routine, you can streamline the process, maximize the usefulness of Google Photos’ features, and ensure that your shared photos are effectively communicated to your intended audience.
Now that you’re armed with these valuable tips, you’re ready to share your photos efficiently and with confidence!
Conclusion
Google Photos provides a comprehensive platform for storing, organizing, and sharing your photos and videos. With a range of features and sharing options, sharing your cherished memories has never been easier.
In this guide, we explored the various methods of sharing photos from Google Photos, including sharing individual photos, creating albums, adding collaborators, sharing via links, and sharing on social media and other apps or services. We also covered how to adjust privacy settings, manage shared photos and albums, and provided useful tips to make the sharing process more efficient.
Whether you’re sharing with loved ones, collaborating on a project, or showcasing your photography skills to a wider audience, Google Photos offers the flexibility and tools to make your photo sharing experience seamless and enjoyable.
Remember to utilize the different sharing options, customize privacy settings, and manage shared content regularly to maintain control and ensure a positive sharing experience.
So, go ahead and relive your precious memories by sharing them from Google Photos. Whether it’s a stunning sunset, a hilarious moment, or a heartfelt celebration, let your photos shine and bring joy to others!


