Introduction
Welcome to the world of Instagram, where users can express their creativity through photos, videos, and now, Reels. With the rise in popularity of short-form video content, Instagram introduced Reels as a way to share entertaining and engaging videos with your followers. Whether you want to showcase your dance moves, share a cooking tutorial, or simply entertain your audience with funny clips, Reels is the perfect feature for you.
In this article, we will guide you through the process of sharing a Reel on Instagram. From capturing the perfect video to adding creative effects and finally hitting that share button, we’ll cover everything you need to know. So, let’s dive in!
But first, make sure you have the latest version of the Instagram app downloaded on your device. Reels is available on both iOS and Android, so you can start sharing your creative content regardless of your mobile operating system.
Are you ready to spark your creativity, engage your audience, and make a splash on Instagram? Let’s get started with the process of sharing a Reel.
Step 1: Open the Instagram app
The first step to share a Reel on Instagram is to open the Instagram app on your mobile device. Locate the Instagram icon on your home screen or app drawer and tap on it to launch the app. If you are not already logged in, enter your username and password to access your Instagram account.
Once you are logged in, you will be greeted with your Instagram home feed, displaying photos and videos from the accounts you follow. To proceed with sharing a Reel, we need to navigate to the camera screen.
To access the camera screen, look for the camera icon in the top left corner of the screen. It is usually a small icon resembling a camera. Tap on this icon to open the camera.
If you are using an older version of Instagram, the placement of the camera icon may be slightly different. Look for the camera icon in the middle or bottom of the screen, depending on your app version.
Once you tap on the camera icon, you will be taken to the camera screen, where you can capture photos, record videos, and now, create Reels.
Having completed step one, you are now one step closer to sharing your creative Reel on Instagram. Let’s move on to the next step: selecting Reels from the bottom menu.
Step 2: Tap on the camera icon at the top left corner
After opening the Instagram app, you will find yourself on the home feed. To create a Reel, you need to tap on the camera icon located at the top left corner of the screen.
When you tap on the camera icon, the camera screen will open, allowing you to capture photos, record videos, and create Reels. The camera screen offers various options and features to enhance your Reel creation experience.
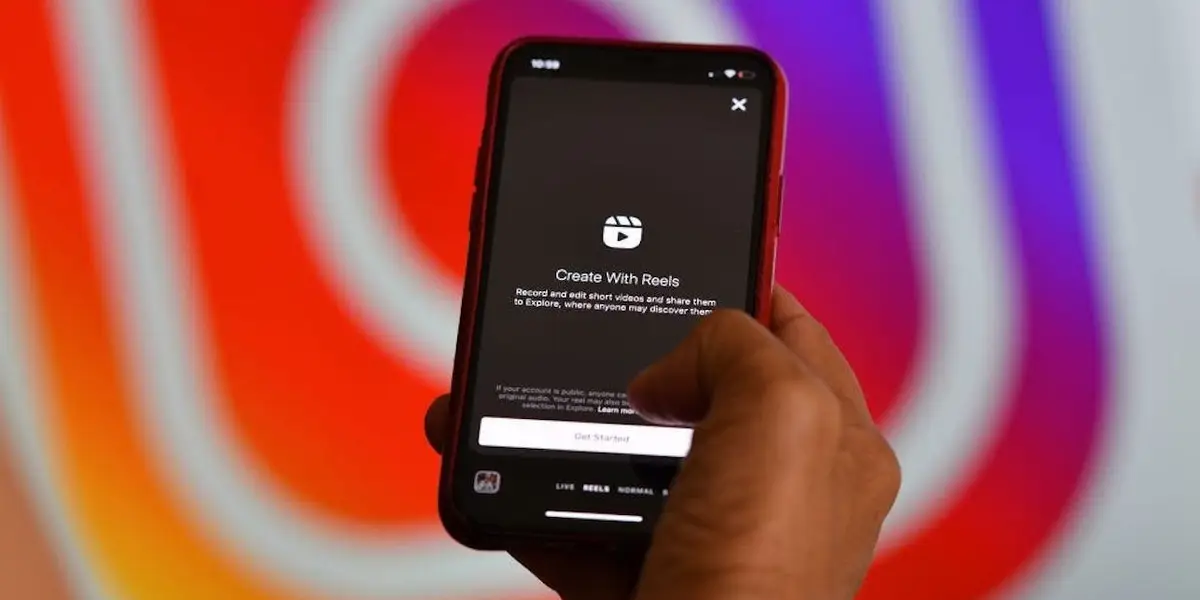
At the bottom of the screen, you’ll find different camera modes, including “Live,” “Story,” “Reels,” and “Normal.” To create a Reel, make sure the “Reels” option is selected. You can switch between camera modes by swiping left or right on the screen.
Once you have selected the Reels mode, you will see various tools and options on the screen. These include:
- Record button: Tap and hold this button to start recording your Reel. You can record videos up to 30 seconds in length. To record multiple clips, simply lift your finger off the button to stop recording, then tap and hold again to continue.
- Upload button: Tap this button to select videos from your device’s gallery. This allows you to use pre-recorded videos in your Reel.
- Effects: Access a wide range of creative effects by swiping left at the bottom of the screen. Experiment with filters, effects, and augmented reality (AR) options to add a touch of uniqueness to your Reel.
- Audio: Tap on the audio icon to browse and select audio tracks for your Reel. You can choose from Instagram’s vast library of music or use your original audio.
- Timer and Countdown: Set a timer to control the length of your videos and use the countdown feature to prepare for recording.
By tapping on the camera icon and familiarizing yourself with the various options and features, you are ready to capture and create an engaging Reel. Proceed to the next step to learn how to record or select a video for your Reel.
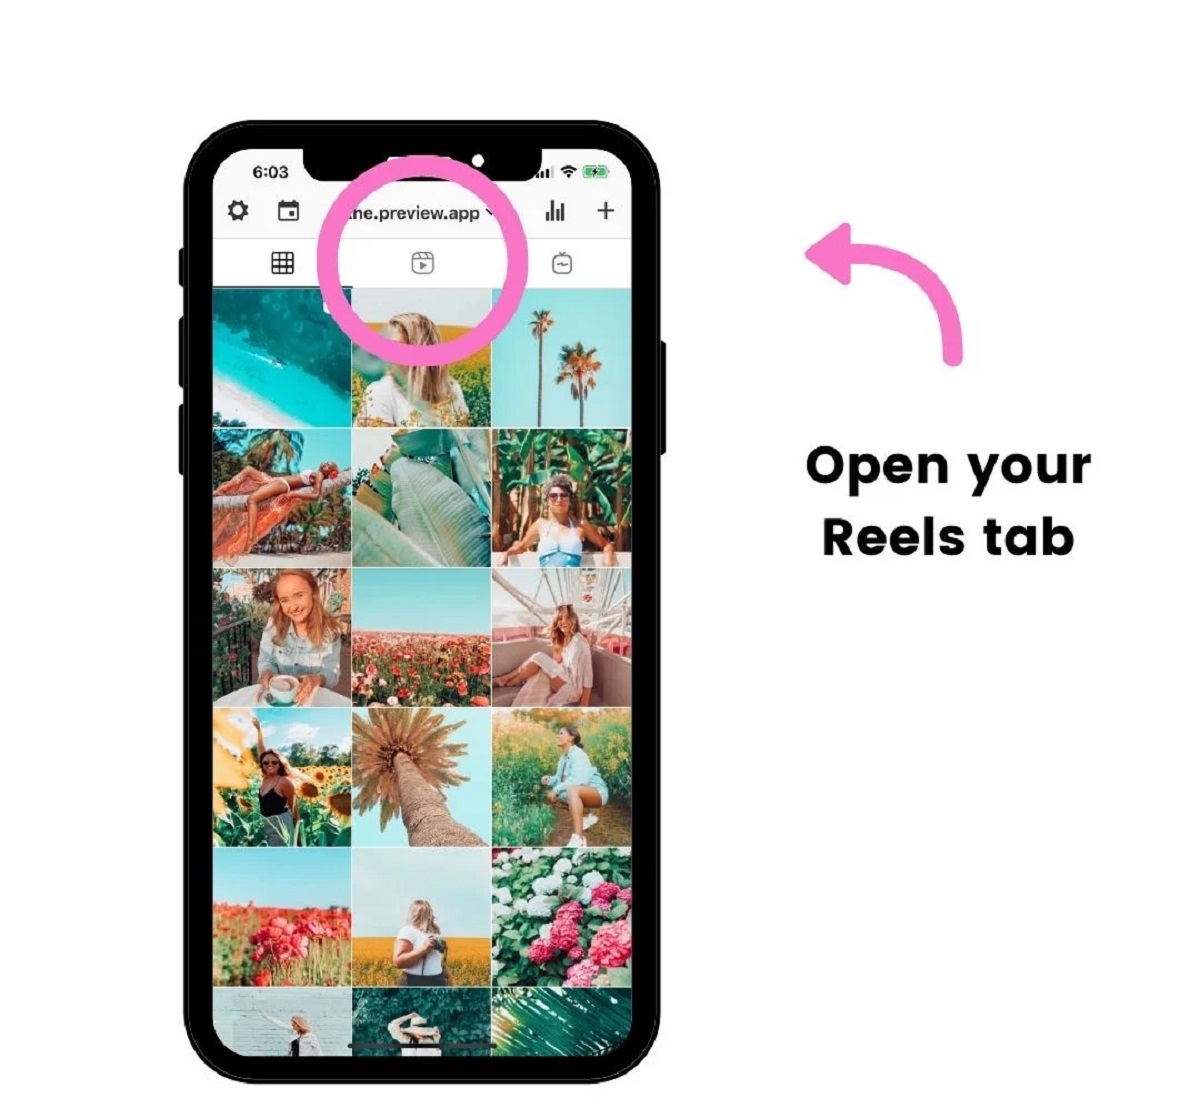
Step 3: Select Reels from the bottom menu
Now that you’re on the camera screen, it’s time to select the Reels feature from the bottom menu. The bottom menu consists of different options that allow you to customize and enhance your Reel creation process.
At the bottom of the camera screen, you’ll notice various icons arranged in a horizontal bar. These icons represent different camera modes and features. To create a Reel, you need to specifically select the Reels mode.
To do this, swipe your finger horizontally across the bottom menu until you see the “Reels” option. It is usually represented by a clapperboard icon or the word “Reels” itself. Once you find the Reels mode, tap on it to activate it.
By selecting the Reels mode, you are now in the perfect position to start capturing or importing videos for your Reel. Keep in mind that Reels can be up to 30 seconds long, giving you plenty of time to showcase your creativity and engage your audience.
Now that you have successfully selected the Reels mode, it’s time to move on to the next step: recording or selecting a video for your Reel. This step will allow you to bring your creative vision to life and create captivating content for your followers.
Step 4: Record or select a video for your reel
With the Reels mode activated, you are now ready to capture or select a video for your Reel. Instagram provides you with two options: recording a video in real-time or choosing a pre-recorded video from your device’s gallery.
To record a video, simply tap and hold the record button on the camera screen. Once you start recording, a progress bar will appear at the top of the screen to indicate the elapsed time. You have up to 30 seconds to record your Reel, so make sure to plan your content accordingly.
For creating multi-clip Reels, lift your finger off the record button to stop recording and then tap and hold again to continue capturing additional clips. This feature allows you to create seamless transitions and incorporate various elements into your Reel.
If you prefer to use a pre-recorded video, tap on the upload button on the camera screen. This will take you to your device’s gallery, where you can select the video you want to include in your Reel. Instagram supports various video formats, so you can choose the one that best fits your needs.
Once you have either recorded a video or chosen one from your gallery, it’s time to move on to the next step: customizing your Reel with effects, text, and stickers. This step allows you to add a touch of creativity and personalization to your Reel, making it visually appealing and engaging.
Step 5: Customize your reel with effects, text, and stickers
After recording or selecting a video for your Reel, it’s time to unleash your creativity and customize it with exciting effects, text, and stickers. Adding these elements can enhance the visual appeal of your Reel and make it more engaging for your audience.
To customize your Reel, look for the icons and options available on the camera screen. Here are a few ways you can make your Reel stand out:
Effects: Instagram offers a wide range of effects, filters, and augmented reality (AR) options. To access them, swipe left at the bottom of the screen. Explore the different effects available and find the ones that best complement your Reel’s theme or style. Whether you want to add a vintage look, a dramatic filter, or fun AR accessories, the Effects feature has you covered.
Text: Adding text to your Reel can convey messages, provide context, or simply add a creative touch. To add text, tap on the “Aa” icon on the camera screen. You can choose from various font styles, sizes, and colors. Position the text on the screen as desired, and feel free to experiment with multiple text elements to create dynamic visuals.
Stickers: Stickers are a fun and interactive way to engage your audience. You can find stickers by tapping on the smiley face icon on the camera screen. Explore the different sticker options, including emojis, GIFs, location tags, and more. Choose stickers that align with the content of your Reel or use them to add humor and personality.
Remember that customization options may vary depending on your device’s operating system and the version of the Instagram app. Take some time to explore and experiment with different effects, text styles, and stickers to find the perfect combination for your Reel.
Once you’re satisfied with the customization of your Reel, it’s time to add a captivating caption and relevant hashtags. Don’t worry, we’ll guide you through this process in the next step.
Step 6: Add a caption and hashtags
Now that your Reel is visually appealing and engaging, it’s time to add a compelling caption and relevant hashtags. The caption allows you to provide context, share your thoughts, or simply engage with your audience on a deeper level.
To add a caption, look for the caption field located below your Reel on the share screen. Tap on the field to open the keyboard and start typing your caption. Instagram allows captions of up to 2,200 characters, but keep in mind that shorter captions are often more effective in grabbing attention.
Your caption can be a witty remark, a thought-provoking question, a call-to-action, or a brief description of what viewers can expect from your Reel. Let your creativity shine as you find the perfect words to accompany your visual masterpiece.
In addition to the caption, you can also include hashtags to extend the reach of your Reel and attract a wider audience. Hashtags categorize your content and make it discoverable by users searching for specific topics. To add hashtags, simply type the “#” symbol followed by a relevant keyword or phrase.
Make sure to research and include hashtags that are popular within your niche or relevant to the content of your Reel. Aim for a mix of broad and niche-specific hashtags to optimize your reach and engage with potential followers.
Instagram allows you to include up to 30 hashtags per Reel, but using too many may make your caption look cluttered. Select your hashtags wisely and consider placing them at the end of your caption or in a separate comment to keep your caption clean and visually appealing.
Now that you’ve added a captivating caption and relevant hashtags, it’s time to move on to the next step: choosing your sharing options. This step allows you to control who can view your Reel and how it appears on your profile.
Step 7: Choose your sharing options
When sharing your Reel on Instagram, you have control over the sharing options, allowing you to decide who can view your content and how it appears on your profile. Customizing these options will help you tailor the visibility and accessibility of your Reel to your preferences and target audience.
On the share screen, you’ll find various options that determine the visibility of your Reel:
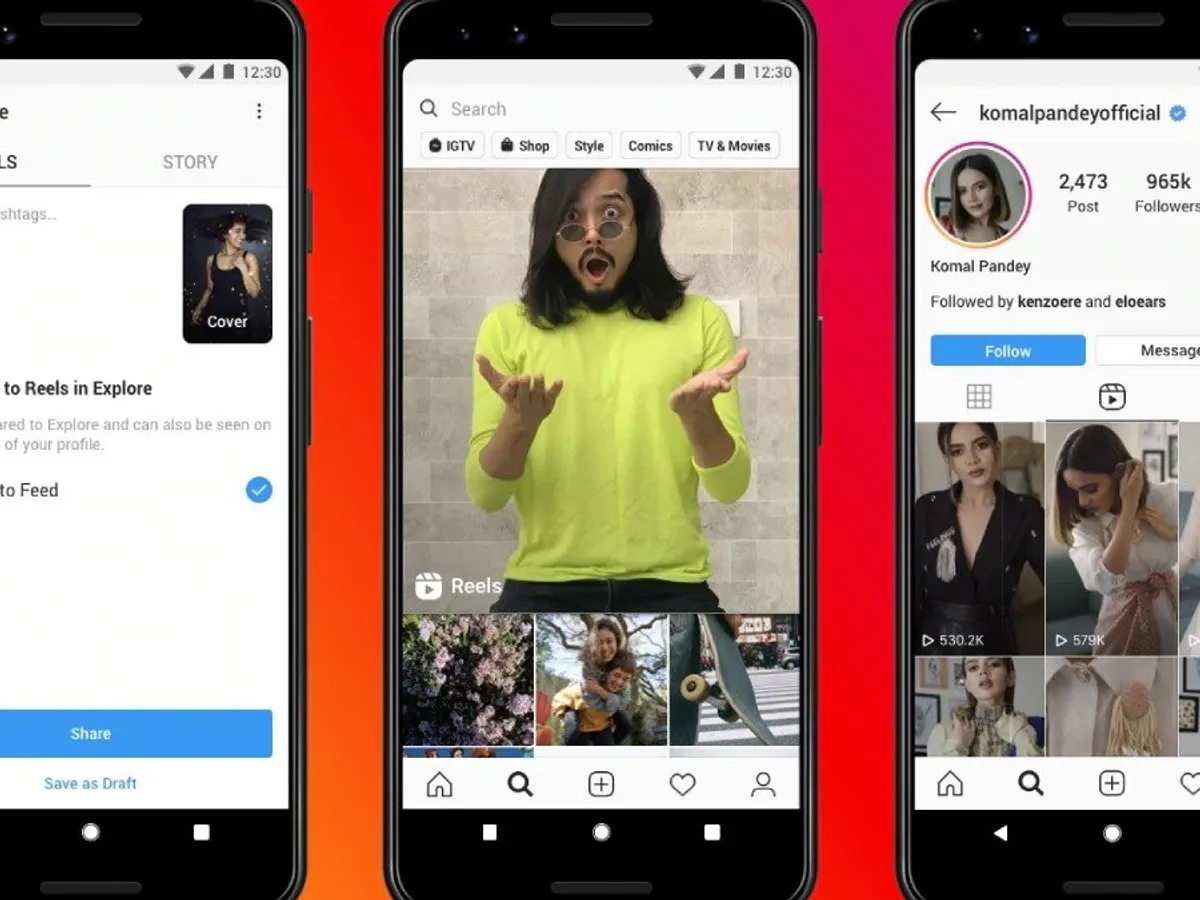
Reel Cover: The Reel cover is the thumbnail image that represents your Reel on your profile and in the Reels Explore feed. By default, Instagram automatically selects a cover image, usually from one of the frames of your Reel. However, you can tap on the “Edit Cover” button to choose a custom cover image from your Reel or upload one from your device’s gallery. Select an eye-catching and representative image that entices viewers to click and watch your Reel.
Share to Feed: This option allows you to share your Reel as a post on your Instagram feed. By enabling this option, your Reel will appear in your followers’ feeds just like any other Instagram post. This is a great way to maximize the visibility of your Reel and increase engagement.
Share to Explore Page: Enabling this option gives your Reel a chance to be featured on the Instagram Explore page, where users can discover new and trending content. If your Reel aligns with Instagram’s algorithm and catches the attention of a wider audience, it may be showcased on the Explore page, providing significant exposure to your content.
Facebook: If you have linked your Instagram and Facebook accounts, you can choose to share your Reel simultaneously on your Facebook profile or page. This option allows you to extend the reach of your Reel beyond the Instagram platform.
Cross-Posting: By enabling this option, you can automatically share your Reel on other platforms like TikTok or Snapchat. This feature is especially useful if you want to reach a broader audience across multiple social media platforms.
Take a moment to consider your preferences and goals before selecting your sharing options. Once you’re satisfied with your choices, it’s time to move on to the final step: sharing your Reel on Instagram and captivating your audience with your creative content.
Step 8: Share your reel on Instagram
After customizing your Reel and selecting the sharing options, it’s finally time to share your creation with the world. Sharing your Reel on Instagram is a simple process that allows you to instantly showcase your creativity and engage with your followers.
To share your Reel, locate the “Share” button on the bottom right corner of the share screen. It is usually represented by an arrow pointing to the right. Tap on this button to initiate the sharing process.
Once you tap the share button, Instagram will process your Reel and upload it to the platform. The duration of this process may vary depending on the length and size of your Reel, as well as your internet connection speed.
During the upload process, Instagram will display a loading bar indicating the progress. Once the upload is complete, you will receive a notification confirming that your Reel has been shared successfully.
Your Reel will now be visible to your followers and anyone else who views your profile or comes across your Reel through hashtags or the Explore page. Users can like, comment, and share your Reel, helping to boost engagement and potentially expand your audience.
As your Reel gains traction, monitor the engagement and interact with your viewers by responding to comments and engaging in conversations. This will help foster a sense of community and encourage viewers to continue watching and sharing your Reel.
Remember to keep an eye on the analytics provided by Instagram. You can access insights about your Reel’s reach, impressions, and engagement, which can guide your content strategy and help you create even more successful Reels in the future.
Congratulations! You have successfully shared your Reel on Instagram. Now it’s time to sit back, relax, and enjoy the engagements, likes, and shares as your creative content captivates the Instagram community.
Conclusion
Sharing a Reel on Instagram allows you to express your creativity, engage your audience, and make a lasting impression in the world of short-form video content. By following the simple steps outlined in this guide, you can easily create and share captivating Reels that leave a lasting impact.
From opening the Instagram app to customizing your Reel with effects, text, and stickers, each step is designed to help you create visually stunning and engaging content. Adding a compelling caption and relevant hashtags further increases the discoverability and reach of your Reel, attracting a wider audience and generating meaningful interactions.
Remember to choose your sharing options wisely, as they determine the visibility and accessibility of your Reel. Whether you decide to share it on your feed, explore page, or across other social media platforms, strategically selecting these options can maximize your Reel’s exposure and engagement potential.
Once your Reel is shared, keep an eye on the analytics provided by Instagram. These insights can help you understand your audience’s preferences, measure your Reel’s performance, and refine your content strategy moving forward.
So, are you ready to unleash your creativity, showcase your talents, and make a splash on Instagram with Reels? Follow the steps outlined in this guide, experiment with different ideas, and have fun along the way. Your Reels have the power to captivate, entertain, and inspire, so go ahead and create something amazing!