Introduction
A Virtual Private Network (VPN) is a valuable tool that allows you to create a secure and private connection to the internet. With the increasing vulnerabilities and privacy concerns online, setting up a VPN on your Windows device has become essential in ensuring your online safety and protecting your sensitive information.
A VPN works by encrypting your internet connection, providing you with a secure tunnel through which your data is transmitted. This prevents hackers, government agencies, and other malicious entities from intercepting your data and gaining access to your personal information, such as passwords, credit card details, or browsing history.
Additionally, a VPN masks your IP address, making it difficult for websites, advertisers, and other third parties to track your online activities. This adds an extra layer of privacy and allows you to browse the internet anonymously, free from targeted ads or other forms of surveillance.
In this guide, we will walk you through the process of setting up a VPN on your Windows device. Whether you’re using Windows 10, 8, or 7, this step-by-step tutorial will help you navigate through the installation process, create a VPN connection, and configure the necessary settings to ensure smooth and secure browsing.
Before diving into the technicalities, it’s important to understand why you need a VPN and how it can benefit you. So, let’s explore the various reasons why a VPN is an essential tool in today’s digital age.
What is a VPN?
A Virtual Private Network, commonly known as a VPN, is a technology that creates a secure and encrypted connection over a public network. It allows users to send and receive data across shared or public networks as if their devices were directly connected to a private network. This virtual tunnel protects your data from being intercepted or accessed by unauthorized entities.
A VPN utilizes various security protocols, such as OpenVPN, IPSec, or L2TP, to establish a secure connection between your device and the VPN server. By encrypting your data and routing it through the VPN server, a VPN adds an extra layer of protection to your online activities.
Besides security, a VPN also provides other benefits. One of the main advantages is the ability to hide your IP address. When you connect to a VPN server, your IP address is replaced with the server’s address, masking your true identity and location. This allows you to browse the internet anonymously, protecting your privacy and preventing websites from tracking your online activities.
Furthermore, VPNs can bypass geo-restrictions and censorship imposed by governments or organizations. By connecting to a VPN server located in a different country, you can access content and services that are otherwise unavailable in your region. This is particularly useful for streaming services, social media platforms, and accessing websites while traveling abroad.
Overall, a VPN offers a secure and private online experience by encrypting your data, hiding your IP address, and bypassing restrictions. It is an essential tool for anyone concerned about their online privacy and security.
Why do you need a VPN?
There are several compelling reasons why using a VPN is crucial in today’s digital landscape. Let’s explore some of the key reasons why you should consider using a VPN:
- Enhanced security: One of the primary reasons to use a VPN is to enhance your online security. By encrypting your internet connection, a VPN ensures that your data remains secure and protected from hackers, cybercriminals, and other malicious entities. It is especially crucial when using public Wi-Fi networks, which are often insecure and prone to data breaches.
- Privacy protection: With the increasing concerns about online privacy, a VPN helps safeguard your personal information from prying eyes. By hiding your IP address and encrypting your internet traffic, a VPN prevents websites, advertisers, and other third parties from tracking your online activities and collecting your data.
- Bypassing censorship and geo-restrictions: Many countries impose restrictions on internet access, blocking certain websites or services. A VPN allows you to bypass these restrictions and access blocked content by routing your connection through servers in different locations. This is particularly useful for accessing streaming platforms, social media, or news websites while traveling or living in countries with strict internet censorship.
- Secure remote access: If you work remotely or need to access company resources while away from the office, using a VPN is essential. It provides a secure connection to your company’s network, allowing you to access files, databases, and other resources privately and securely.
- Anonymous browsing: By routing your internet traffic through a VPN server, a VPN enables anonymous browsing. Your true IP address is replaced with the IP address of the VPN server, making it difficult for websites or online services to identify and track your online activities. This helps protect your privacy and ensures that your online behavior remains anonymous.
- Safely accessing public Wi-Fi: Public Wi-Fi networks, such as those found in coffee shops, airports, or hotels, are notoriously insecure. Hackers can easily intercept data transmitted over these networks and gain access to your personal information. By using a VPN, you can encrypt your connection and ensure that your data remains secure, even when connected to public Wi-Fi.
Considering these benefits, it is clear that using a VPN is essential for anyone who values online privacy, security, and unrestricted access to the internet. In the following sections, we will guide you through the process of setting up a VPN on your Windows device, ensuring that you can enjoy a safe and private online experience.
Choosing the right VPN provider
When it comes to choosing a VPN provider, it’s important to consider several factors to ensure that you select a reliable and trustworthy service. With numerous options available in the market, the following considerations can help you make an informed decision:
- Security and privacy: The foremost consideration is the level of security and privacy offered by the VPN provider. Look for providers that offer strong encryption protocols, a strict no-logs policy, and advanced security features like a kill switch or DNS leak protection. These features ensure that your data remains secure and your online activities are kept private.
- Server network: The size and distribution of the VPN provider’s server network can have an impact on your browsing experience. A larger server network means better availability and more options for connecting to servers in different locations. Consider your specific needs, such as accessing content from a particular country, and choose a provider with servers in those locations.
- Speed and performance: VPNs can sometimes affect your internet speed due to the encryption process and server load. Look for VPN providers that offer fast and reliable connections, with minimal impact on your internet speed. Some providers even offer dedicated servers optimized for streaming or gaming to ensure a smooth experience.
- User-friendly interface: Opt for a VPN provider that offers an intuitive and user-friendly interface. The setup and configuration process should be straightforward, allowing even beginners to easily establish a VPN connection. Additionally, look for providers that offer apps for Windows and other platforms, as these can streamline the setup process.
- Customer support: In case you encounter any issues or have questions, reliable customer support is essential. Look for VPN providers that offer 24/7 customer support through various channels, such as live chat, email, or phone. Prompt and helpful support can ensure a smooth experience and assist you in any troubleshooting.
- Price and value for money: VPN providers offer different pricing plans, so consider your budget and the value you expect to receive. While free VPN services exist, they often have limitations or compromise on security. Paid VPN providers generally offer more advanced features, better performance, and higher security standards.
Take your time to research and compare different VPN providers based on these criteria. Read reviews from trusted sources and examine user feedback to gauge the reputation and performance of each provider. By selecting the right VPN service, you can enjoy a secure and reliable connection, protecting your privacy and online activities.
Setting up VPN on Windows
Setting up a VPN on your Windows device is a straightforward process that involves a few simple steps. Whether you’re using Windows 10, 8, or 7, the following guide will help you establish a VPN connection:
4.1 Installing a VPN client
The first step is to choose a VPN provider that offers a client application for Windows. Visit the provider’s website and download the appropriate client software for your Windows version. Once downloaded, run the installation file and follow the on-screen instructions to install the VPN client on your device.
4.2 Creating a VPN connection
After installing the VPN client, launch the application and follow the prompts to create a new VPN connection. You may be required to provide login credentials or activate your VPN account during this process. Make sure to have your VPN provider’s login information ready.
4.3 Configuring connection settings
Once the VPN connection is created, you may have the option to configure specific settings based on your preferences. These settings can include choosing the VPN protocol, selecting encryption options, or enabling features like a kill switch or split tunneling. Review the options and adjust them according to your needs.
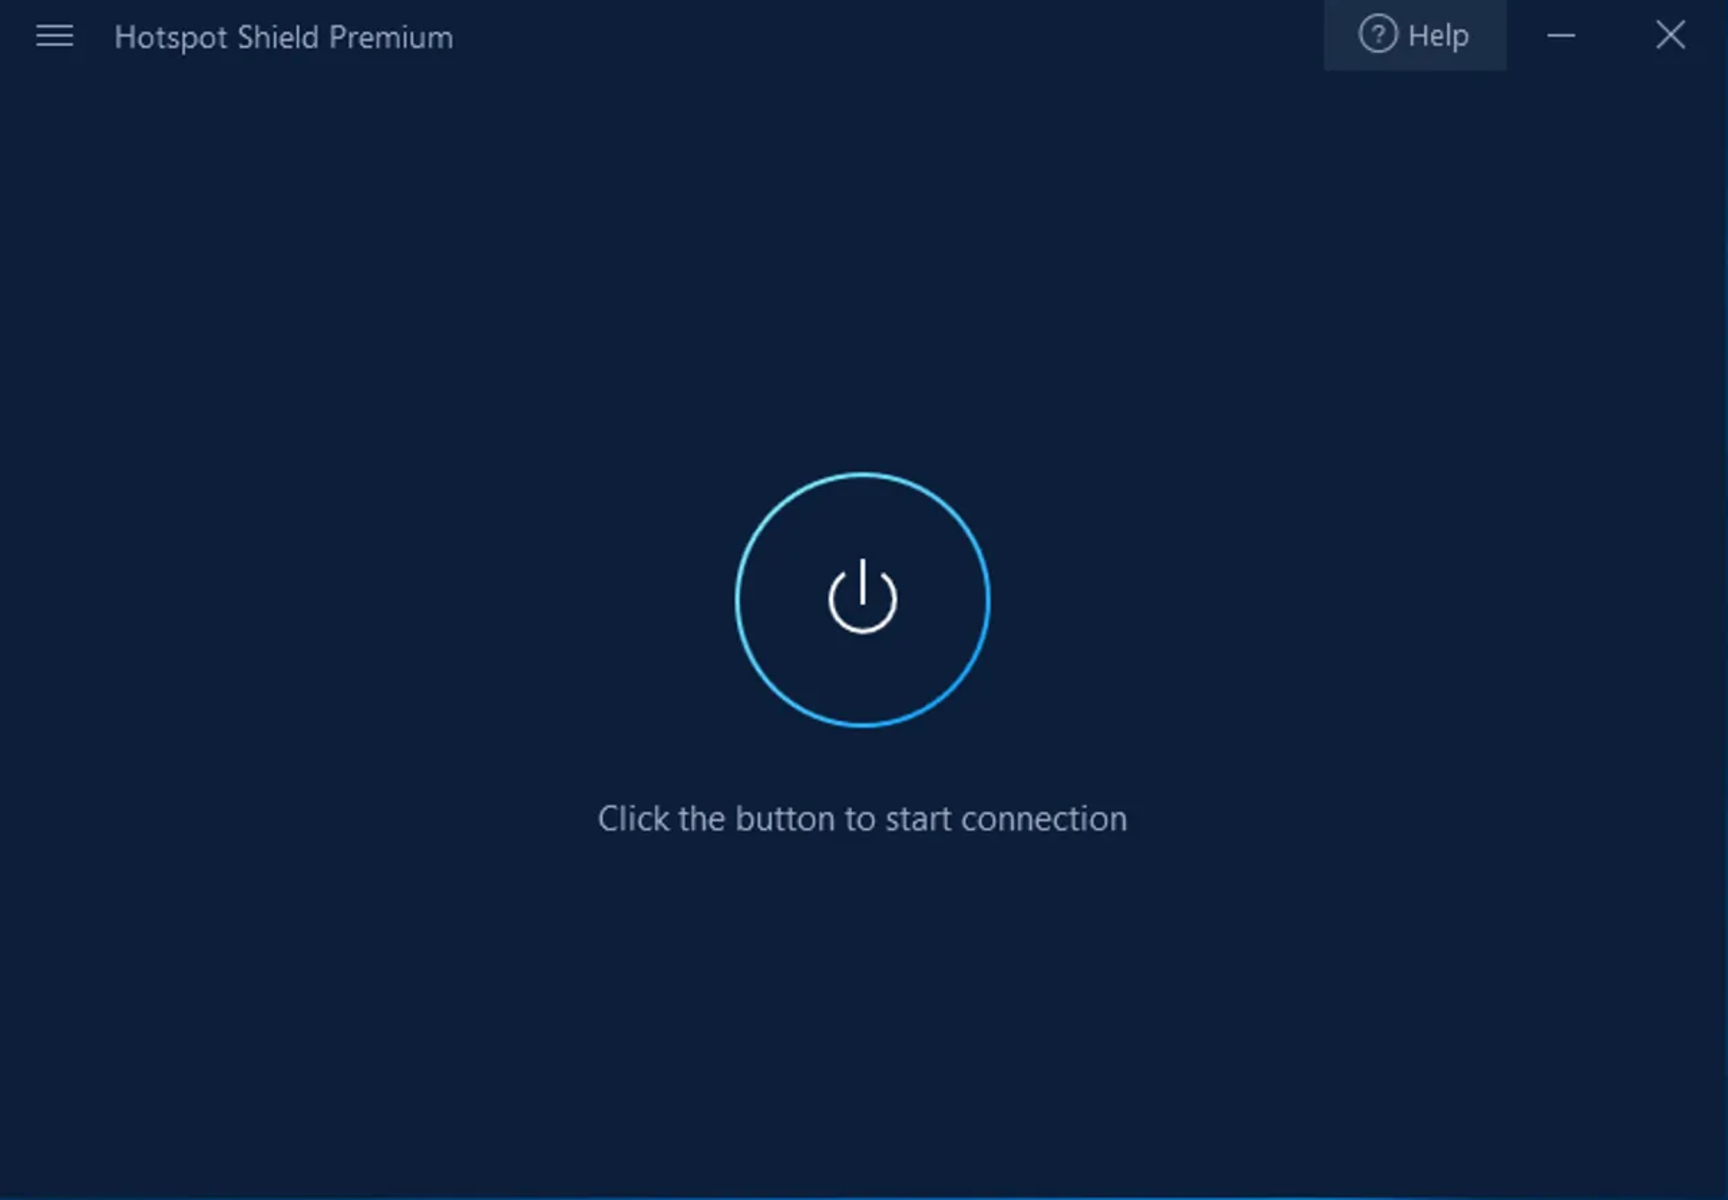
4.4 Connecting to the VPN
With the VPN connection created and configured, you are now ready to connect to the VPN. Open the VPN client on your Windows device and click on the “Connect” or “Start” button. The client will establish a connection to the VPN server, and you will be assigned a new IP address based on the server’s location.
4.5 Disabling or removing the VPN connection
If you want to disable or remove the VPN connection from your Windows device, you can do so easily. Open the VPN client and click on the “Disconnect” or “Stop” button to end the VPN connection. If you wish to remove the VPN connection entirely, you can do this through the network settings of your Windows device.
Once you have successfully set up the VPN on your Windows device, it is recommended to test the connection by accessing the internet through different web browsers and applications. This will ensure that your internet traffic is routed through the VPN tunnel and that your data remains secure and private.
Remember to always connect to the VPN when you want to browse the internet privately and securely. By following these steps, you can enjoy the benefits of a VPN on your Windows device and protect your online activities from prying eyes.
1 Installing a VPN client
Installing a VPN client is the first step in setting up a VPN on your Windows device. The VPN client is a software application provided by the VPN provider, which enables you to connect to their VPN servers and establish a secure connection. Here’s how you can install a VPN client:
- Choose a VPN provider: Start by selecting a reputable VPN provider that offers a client application for Windows. Consider factors such as security features, server network, and user-friendly interface when making your decision.
- Visit the provider’s website: Go to the VPN provider’s official website using your preferred web browser.
- Download the client software: Look for the download section or page on the VPN provider’s website. Choose the client software compatible with your Windows version (e.g., Windows 10, 8, or 7) and click on the download button to begin the download process.
- Run the installation file: Once the download is complete, locate the downloaded installation file and double-click on it to run it. Some VPN clients may require administrative privileges, so make sure you have the necessary permissions.
- Follow the installation wizard: The installation wizard will guide you through the installation process. Read the prompts carefully and select the preferred options as required. It’s generally recommended to proceed with the default settings unless you have specific preferences.
- Agree to the terms and conditions: At some point during the installation process, you may be prompted to accept the terms and conditions of the VPN provider. Read them, and if you agree, check the appropriate box or button to proceed.
- Complete the installation: Once you have reviewed the settings and accepted the terms, click on the “Finish” or “Install” button to complete the installation process. The VPN client will be installed on your Windows device.
After the installation is complete, you may find the VPN client’s shortcut icon on your desktop or in the system tray. Double-clicking on the shortcut icon will launch the VPN client, allowing you to proceed with creating a VPN connection as explained in the next section.
Ensure that you have your VPN provider’s login credentials ready, as you may be required to enter them during the initial setup of the VPN client. By following the instructions provided by your VPN provider and successfully installing the VPN client, you are one step closer to securing your online activities and enjoying the benefits of a VPN on your Windows device.
2 Creating a VPN connection
After installing the VPN client on your Windows device, the next step is to create a VPN connection. This connection allows you to establish a secure and encrypted connection to the VPN server. Here’s how you can create a VPN connection:
- Launch the VPN client: Open the installed VPN client by double-clicking on its shortcut icon on your desktop or from the system tray.
- Log in or activate your VPN account: Depending on the VPN provider, you may need to log in using your VPN account credentials before creating a VPN connection. If you don’t have an account yet, follow the provider’s instructions to activate your account.
- Locate the connection settings: Once you are logged in, look for the option to create a new connection or configure settings. This option is typically found within the VPN client’s interface, often in a tab or menu labeled “Settings” or “Connection.”
- Create a new VPN connection: In the connection settings, you should find an option to create a new VPN connection. Click on this option to start the process of creating a VPN connection.
- Enter the connection details: When creating a new VPN connection, you may be prompted to provide certain details, such as the server address or hostname. These details are typically provided by your VPN provider, and you can usually find them on their website or in their documentation.
- Select the VPN protocol: You may also be asked to select the VPN protocol to be used for the connection. Common protocols include OpenVPN, L2TP/IPSec, or PPTP. If you’re unsure which protocol to choose, consult your VPN provider’s support or documentation.
- Save the connection: After entering the required details and selecting the protocol, save the VPN connection settings. Some VPN clients may have a dedicated “Save” or “Apply” button, while others may automatically save the settings as you proceed.
Once you have created a VPN connection, it should appear in your VPN client’s interface as an available connection. You can usually manage and edit your VPN connections from the client interface, allowing you to modify settings or add new connections if needed.
By successfully creating a VPN connection, you are now ready to configure connection settings and establish a secure connection to the VPN server. Follow the next section on configuring connection settings to ensure smooth and secure browsing using your VPN on Windows.
3 Configuring connection settings
Once you have created a VPN connection on your Windows device, you may have the option to configure certain settings to enhance your VPN experience. These settings can vary depending on the VPN client you are using and the features offered by your VPN provider. Here are some common configuration settings that you may encounter:
- VPN Protocol: You may have the choice to select the VPN protocol to be used for your connection. Common protocols include OpenVPN, L2TP/IPSec, or PPTP. Consider the security and performance aspects of each protocol when making your selection.
- Encryption Settings: Some VPN clients allow you to specify the level of encryption used for your VPN connection. Selecting a higher level of encryption provides greater security but may impact the speed of your connection. Choose an encryption setting that balances both security and performance.
- Auto-connect: If you want your VPN client to automatically connect to the VPN server whenever you start your computer or connect to the internet, look for an auto-connect option. Enabling this setting ensures that your internet connection is always secured without manual intervention.
- Split Tunneling: Split tunneling allows you to route only a portion of your internet traffic through the VPN, while the rest bypasses the VPN connection. This can be useful if you want to access local network resources while connected to the VPN. Enable or disable split tunneling based on your specific needs.
- Kill Switch: A kill switch is a valuable security feature that automatically blocks internet access if the VPN connection drops unexpectedly. This prevents your data from being exposed to the internet when you are not connected to the VPN. Ensure that the kill switch is enabled for an added layer of protection.
- DNS Leak Prevention: DNS leaks can compromise your online privacy by revealing your real IP address to websites. Some VPN clients offer DNS leak prevention features to ensure that DNS queries are encrypted and routed through the VPN. Enable this setting to protect against potential DNS leaks.
Explore the settings provided by your VPN client and review the available options. Adjust the configuration settings based on your preferences and the recommended settings provided by your VPN provider.
Remember that while modifying some settings can enhance your VPN experience, it is essential to understand the implications of your choices. Make informed decisions considering both security and performance factors.
By configuring the connection settings according to your needs, you can optimize your VPN connection on your Windows device and ensure a secure and reliable browsing experience.
4 Connecting to the VPN
Once you have created a VPN connection and configured the necessary settings on your Windows device, you are ready to establish a secure connection to the VPN server. Connecting to the VPN is a straightforward process and can be done through the VPN client. Here’s how to connect to the VPN:
- Launch the VPN client: Open the VPN client by double-clicking on its shortcut icon on your desktop or from the system tray. Ensure that the VPN client is running and accessible on your device.
- Locate the VPN connection: Within the VPN client’s interface, you should see a list of available VPN connections. Locate the specific VPN connection you want to connect to. This will typically be displayed by the name you gave it during the setup process.
- Start the connection: To initiate the VPN connection, click on the “Connect” or “Start” button associated with the VPN connection you selected. This will initiate the connection process and establish a secure connection to the VPN server.
- Enter credentials if prompted: Depending on your VPN provider’s configuration, you may be prompted to enter your VPN account credentials, such as your username and password. Enter the required information to proceed with the connection.
- Monitor the connection process: As the connection is established, you may see the VPN client display status messages indicating the progress of the connection process. The client may display messages such as “Connecting” or “Connected” when the VPN connection is successfully established.
Once the VPN connection is established, your internet traffic will be securely routed through the VPN server. This means that your online activities are protected, and your IP address is masked to enhance privacy and security.
You can now browse the internet, access online services, or use applications while connected to the VPN. Take note that depending on your VPN provider’s configuration, you may experience a slight decrease in internet speed due to the encryption and routing process. However, a reputable VPN service should provide a reliable and efficient connection for your needs.
Whenever you want to disconnect from the VPN, simply open the VPN client and click on the “Disconnect” or “Stop” button associated with the active VPN connection. This will terminate the VPN connection and restore your regular internet connection.
By successfully connecting to the VPN, you can enjoy the benefits of a secure and private internet browsing experience on your Windows device.
5 Disabling or removing the VPN connection
There may be times when you need to disable or remove a VPN connection from your Windows device. Disabling the connection temporarily allows you to switch back to your regular internet connection without completely removing the VPN configuration. Here’s how you can disable or remove a VPN connection:
- Open the VPN client: Launch the VPN client on your Windows device by double-clicking on its shortcut icon on your desktop or from the system tray. Ensure that the VPN client is running.
- Locate the VPN connection: Within the VPN client’s interface, you should see a list of available VPN connections. Locate the specific VPN connection that you want to disable or remove. This will typically be displayed by the name you gave it during the setup process.
- Disable the VPN connection: To temporarily disable the VPN connection, look for a button or option that allows you to disconnect or disable the connection. This button may be labeled as “Disconnect,” “Stop,” or “Disable.” Click on it to disable the VPN connection. Your regular internet connection will be restored, and you can browse the internet without going through the VPN.
- Remove the VPN connection: To completely remove the VPN configuration from your Windows device, follow these steps:
- Go to the network settings: Open the network settings on your Windows device. This can typically be accessed through the Control Panel, Network and Sharing Center, or by right-clicking on the network icon in the system tray and selecting “Open Network & Internet settings.”
- Access the VPN settings: Look for an option or tab related to VPN connections within the network settings. This may be labeled as “VPN” or “Network Connections.” Click on it to access the VPN settings.
- Select and remove the VPN connection: In the VPN settings, you will see a list of configured VPN connections. Locate the specific VPN connection you want to remove, right-click on it, and select the option to remove or delete the connection. Confirm the action when prompted. The VPN connection will be permanently removed from your Windows device.
By disabling or removing a VPN connection, you can switch between a VPN and your regular internet connection based on your needs. Remember that if you choose to remove the VPN connection, you will need to go through the setup process again if you decide to use the VPN in the future.
Having the ability to disable or remove a VPN connection gives you flexibility and control over your network configurations, ensuring that you can effortlessly transition between VPN and non-VPN connections as required.
Troubleshooting common VPN issues
While setting up and using a VPN on your Windows device is generally straightforward, you may encounter certain issues that can disrupt your VPN connection. Here are some common VPN issues and troubleshooting steps to resolve them:
- Connection failures: If you are unable to establish a VPN connection, first ensure that your internet connection is stable. Check your network settings, restart your router, or try connecting to a different network. If the issue persists, verify that you have entered the correct server address and credentials. Additionally, try connecting to a different VPN server location as some servers may experience high traffic or maintenance.
- Slow connection speed: If you experience a noticeable decrease in internet speed, try connecting to a different VPN server location. Remember that distance to the server and server load can affect speed. Also, check if your VPN client offers settings for protocol selection or bandwidth optimization. Experiment with different settings to find the optimal balance between security and performance.
- Interference with other applications: Some antivirus or firewall programs may interfere with VPN connections. Temporarily disable or reconfigure these programs to see if they are causing any conflicts. Additionally, check if any other VPN or proxy-related software is running simultaneously, as they can interfere with your VPN connection.
- DNS or IP leaks: Occasionally, DNS or IP leaks may occur, revealing your true IP address or DNS queries to the internet. Enable DNS leak prevention, if available, in your VPN client settings. You can also perform DNS leak tests online to ensure that your VPN is functioning properly and not leaking any sensitive information.
- Compatibility issues: Ensure that your VPN client is compatible with your Windows version. Check for any available updates for the VPN client and install them. If compatibility issues persist, try reinstalling the VPN client or contacting your VPN provider’s support for assistance.
- Firewall or router restrictions: Some firewalls or routers may block VPN traffic. Configure your firewall or router to allow VPN connections, or try connecting from a different network to determine if these restrictions are causing the issue. You may need to consult your network administrator or internet service provider for further assistance.
- Unexpected disconnections: If your VPN connection drops unexpectedly, first ensure that you have a stable internet connection. Check for any settings related to “auto-reconnect” or “kill switch” in your VPN client. Enabling these features can help maintain a stable VPN connection. Switching to a different VPN server location might also resolve the issue.
If you encounter persistent issues and cannot resolve them with the provided troubleshooting steps, reach out to your VPN provider’s customer support. They can provide further assistance and troubleshooting tailored to their specific service and client software.
By addressing common VPN issues, you can ensure a smooth and trouble-free VPN experience on your Windows device, allowing you to enjoy enhanced security and privacy while browsing the internet.
Final thoughts
Setting up a VPN on your Windows device can significantly enhance your online security, privacy, and browsing experience. By encrypting your internet connection and masking your IP address, a VPN ensures that your data remains secure and your online activities are kept private. Throughout this guide, we have covered the essential steps to install, configure, and use a VPN on your Windows device.
Remember to choose a reputable VPN provider that offers robust security features and a wide server network. Consider factors such as encryption protocols, server availability, speed, and customer support when selecting a VPN service.
Once you have set up your VPN, don’t forget to periodically review the settings to optimize your VPN connection. Adjusting protocols, encryption levels, and other features can help you find the right balance between security and performance.
While VPNs are powerful tools, they are not a panacea. It’s important to remember that using a VPN does not make you completely anonymous online, and it should not be used for illegal activities. Always exercise caution, practice safe browsing habits, and remain informed about the latest threats and privacy concerns.
By implementing VPN protection on your Windows device, you are taking an important step towards safeguarding your privacy and ensuring a secure online experience. Enjoy the benefits of a VPN and browse the internet with peace of mind, knowing that your data is protected.