Introduction
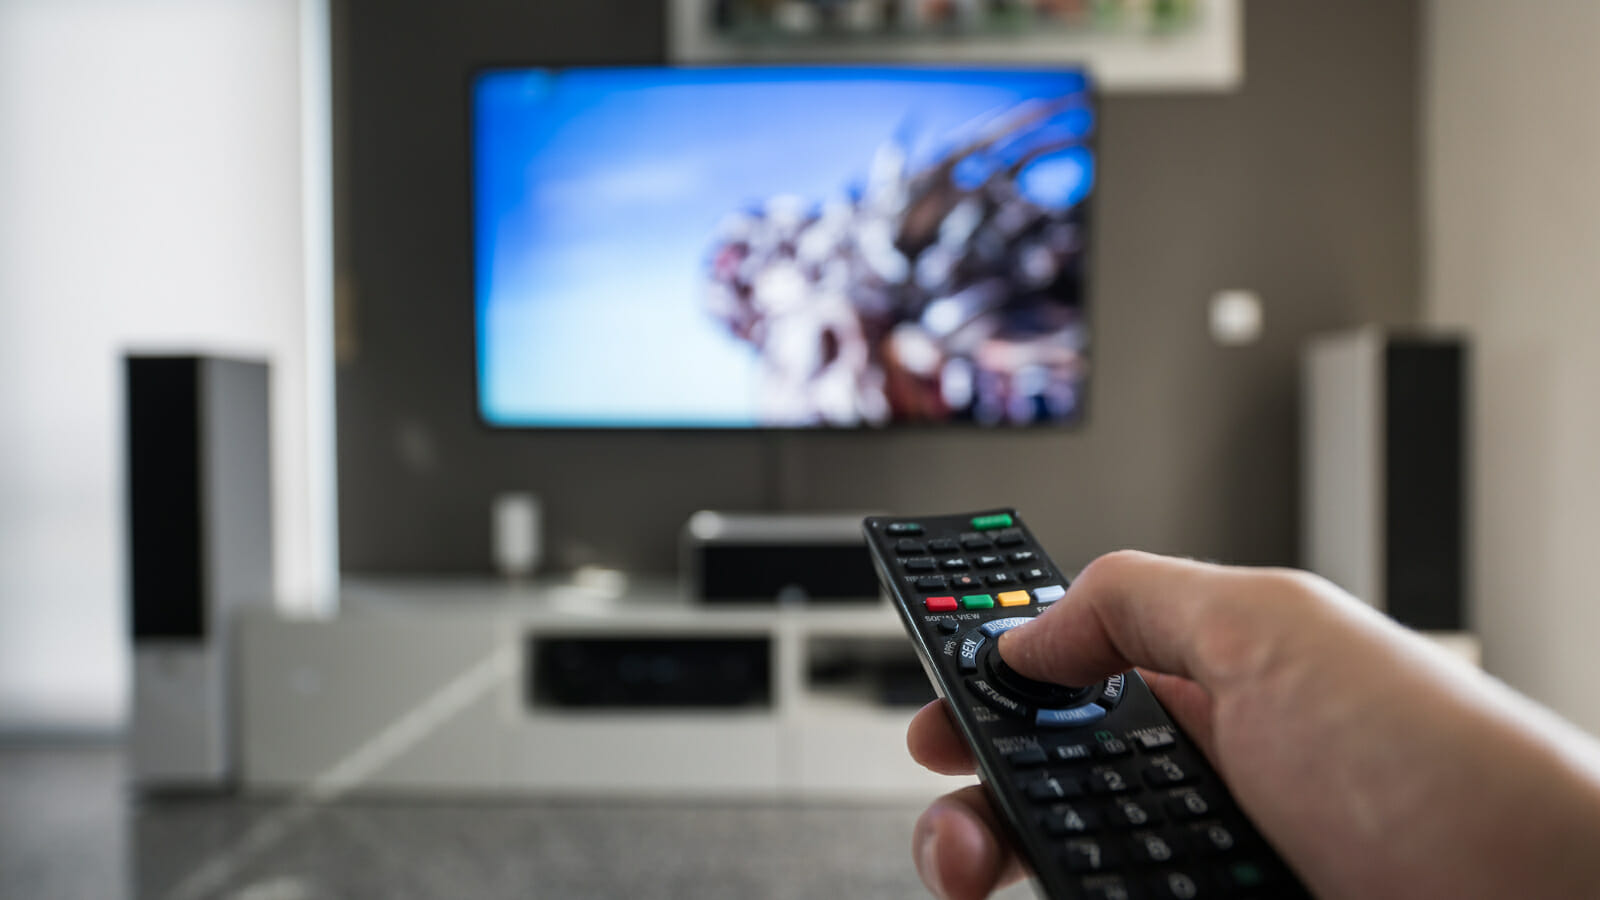
Setting up an LG Smart TV without a remote may seem like a daunting task, but with a few simple steps, you can easily connect your TV to your home network and enjoy a world of entertainment. Whether you’ve lost your remote or it’s not functioning properly, don’t worry – there are alternative methods to get your TV up and running.
LG Smart TVs are designed to provide a seamless and intuitive user experience, allowing you to stream your favorite movies and TV shows, access popular apps, and browse the web right from your TV screen. However, to take advantage of these features, you first need to connect your TV to your home network.
In this guide, we will walk you through the step-by-step process of setting up your LG Smart TV without a remote. We will show you how to connect to a Wi-Fi network using the on-screen display controls or through the Wi-Fi Direct feature. So, let’s get started!
Before we begin, it’s important to note that you will need either a smartphone or a tablet with the LG TV Plus app installed, or access to a computer with an internet connection to complete the setup process. These alternative methods will allow you to control your TV and navigate through the on-screen menus.
Now that we have everything in place, let’s move on to the first step – connecting your LG Smart TV to a network.
Step 1: Connect to a Network
The first step in setting up your LG Smart TV without a remote is to connect it to a network. By establishing a network connection, you will be able to access online streaming services, download apps, and enjoy other online features on your TV.
To connect your LG Smart TV to a network, follow these steps:
- Power on your LG Smart TV. If you have a physical power button on your TV, press it to turn on the TV. If not, simply plug in the power cord and the TV will turn on automatically.
- Use the controls on your TV or the LG TV Plus app on your smartphone to navigate to the home menu. The home menu is usually represented by a house icon and is the main hub for accessing various settings and features.
- Once you are in the home menu, look for the Settings option. It is usually represented by a gear or a wrench icon. Navigate to the Settings option and select it.
- In the Settings menu, you will find a list of options. Look for the Network option and select it. This will take you to the network settings page.
- In the network settings page, you will see a list of available network connections. If your LG Smart TV supports Wi-Fi Direct, you will see an option for it. Wi-Fi Direct allows you to connect your TV directly to your smartphone or tablet without the need for a traditional Wi-Fi network. If you prefer to connect to a Wi-Fi network, select the Wi-Fi option.
- If you chose the Wi-Fi option, your TV will scan for available networks. Once the scan is complete, a list of networks will appear on the screen. Select your preferred network from the list.
- If your Wi-Fi network is password-protected, you will be prompted to enter the Wi-Fi password. Use the on-screen keyboard to enter the password correctly.
- After entering the password, select Connect or a similar option to establish the connection. Your LG Smart TV will attempt to connect to the selected network.
- If the connection is successful, you will see a confirmation message on the screen. Your LG Smart TV is now connected to the network.
Congratulations! You have successfully connected your LG Smart TV to a network. Now you can move on to the next steps to complete the setup process and start enjoying the exciting features of your Smart TV.
Step 2: Access the Home Menu
Now that your LG Smart TV is connected to a network, the next step is to access the home menu. The home menu serves as the central hub from which you can navigate through various settings and features of your TV.
To access the home menu on your LG Smart TV, follow these steps:
- Ensure that your LG Smart TV is powered on and connected to a network.
- If you are using a physical remote, locate the home button on your remote control. It is usually denoted by a house icon or a similar symbol. Press the home button to access the home menu.
- If you are using the LG TV Plus app on your smartphone or tablet, open the app and make sure your device is connected to the same network as your TV. Tap on the home icon within the app to access the home menu.
- If you are using a computer, open a web browser and enter the IP address of your LG Smart TV. The IP address can usually be found in the network settings of your TV. Once you enter the IP address, a web interface will appear. Look for the home icon or a similar option to access the home menu.
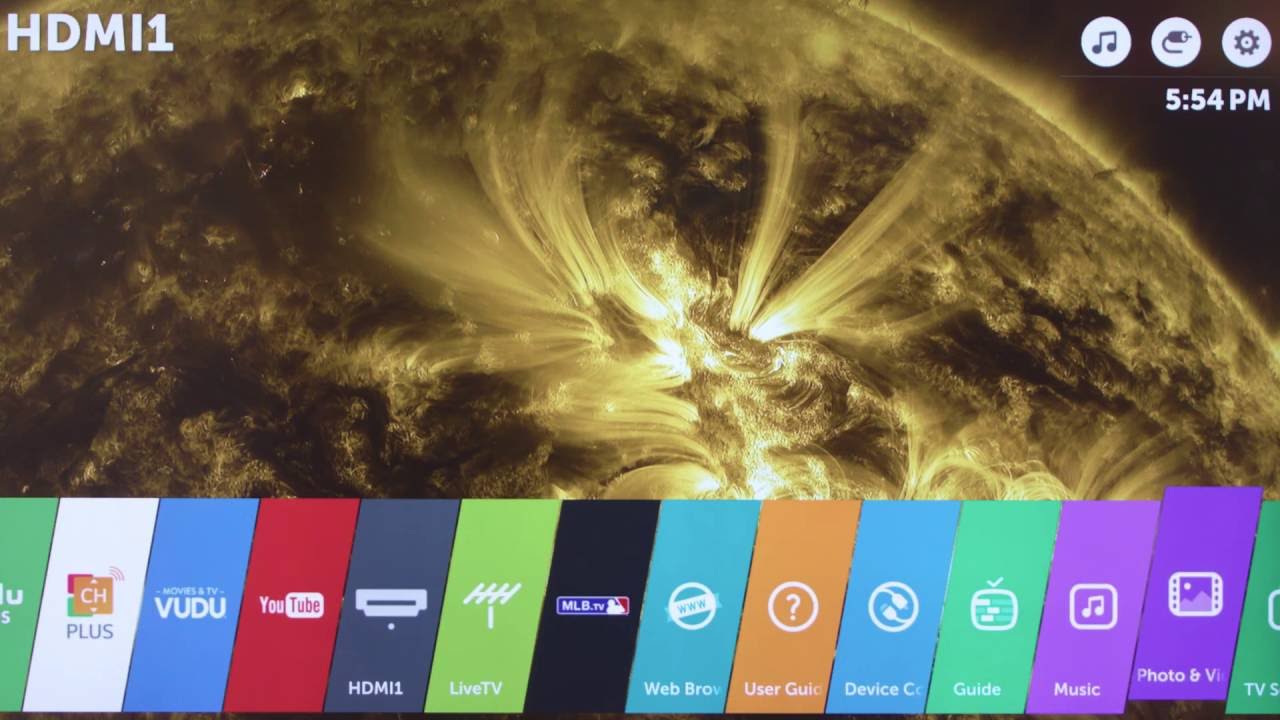
- Once you have accessed the home menu, you will see a display of various apps, settings, and features that you can explore.
The home menu is designed to be user-friendly and intuitive. It may vary slightly depending on the model of your LG Smart TV, but generally, you will find options such as Live TV, Apps, Settings, and more. To navigate through the menu, use the arrow buttons on your remote control or swipe on your smartphone or tablet screen.
The home menu not only provides access to apps and settings but also allows you to customize your LG Smart TV experience. You can rearrange the position of apps, add or remove shortcuts, and personalize the layout according to your preferences.
Now that you have successfully accessed the home menu, you are ready to move on to the next steps and configure your LG Smart TV to your liking. Explore the various options available and make the most out of your Smart TV experience.
Step 3: Navigate to Settings
In order to customize and configure your LG Smart TV to your preferences, you will need to navigate to the settings menu. The settings menu allows you to make adjustments to various aspects of your TV, including picture and sound settings, network settings, app preferences, and more.
To navigate to the settings menu on your LG Smart TV, follow these steps:
- Ensure that you are on the home menu of your LG Smart TV. If not, press the home button on your remote control or access the home menu using the LG TV Plus app or web interface, as mentioned in the previous step.
- Once you are on the home menu, use the arrow keys on your remote control or swipe on your smartphone or tablet screen to navigate to the Settings option. It is usually represented by a gear or wrench icon.
- Once you have highlighted the Settings option, press the enter or select button on your remote control, or tap on the screen if you are using the LG TV Plus app or web interface.
- This will open up the settings menu, which displays a variety of options for you to explore and customize.
In the settings menu, you will find a range of categories and subcategories that allow you to adjust different aspects of your LG Smart TV. Some common categories include Picture, Sound, Network, Apps, General, and more.
Using the arrow keys or swiping on your device, navigate through the categories and subcategories to find the specific setting you want to modify. For example, if you want to adjust the picture settings, locate the Picture category and explore the options within it.
Once you have found the desired setting, press the enter or select button on your remote control, or tap on the screen using the LG TV Plus app or web interface. This will allow you to make adjustments or view detailed information related to that setting.
It’s worth noting that the settings menu may vary slightly depending on the model of your LG Smart TV. Some models may have additional or different categories and options. However, the overall process of navigating to the settings menu remains the same.
Now that you have successfully accessed the settings menu, you can start customizing your LG Smart TV to enhance your viewing and user experience. Explore the different settings and make adjustments according to your preferences.
Step 4: Select the Network Connection
After navigating to the settings menu, the next step in setting up your LG Smart TV without a remote is to select the network connection you want to use. This step is crucial as it allows your TV to establish a stable and reliable connection to the network.
To select the network connection on your LG Smart TV, follow these steps:
- Make sure you are in the settings menu of your LG Smart TV, as described in the previous step.
- Within the settings menu, look for the Network category. This category is typically represented by an icon resembling a globe or network signal bars.
- Navigate to the Network category using the arrow keys on your remote control or by swiping on your smartphone or tablet screen.
- Once you are in the Network category, you will see a list of available network connections. These may include Wi-Fi networks, Ethernet (wired) connections, or even Wi-Fi Direct connections if your TV supports it.
- If you want to connect to a Wi-Fi network, look for the Wi-Fi option and select it.
- If you are using an Ethernet cable to connect your TV directly to the router, select the Ethernet or Wired option instead.
- If you prefer to connect your TV to a mobile device using Wi-Fi Direct, select the Wi-Fi Direct option.
It is important to choose the appropriate network connection option based on your specific setup and preferences.
Once you have selected the desired network connection option, the system will search for available networks or devices. This process may take a few moments.
On the screen, you will see a list of available networks or devices. Use the arrow keys on your remote control or swipe on your smartphone or tablet screen to highlight the network or device you want to connect to.
If you chose to connect to a Wi-Fi network or Wi-Fi Direct device, you may be prompted to enter the network’s password. Use the on-screen keyboard to enter the password correctly.
After entering the password or selecting the desired network or device, press the enter or select button on your remote control, or tap on the screen using the LG TV Plus app or web interface.
Your LG Smart TV will now attempt to establish a connection to the selected network or device. If the connection is successful, you will see a confirmation message on the screen.
Congratulations! You have successfully selected and connected to the network connection on your LG Smart TV. You can now proceed with the setup process and enjoy the numerous features and entertainment options available to you.
Step 5: Choose your Preferred Network
After selecting the network connection option in the previous step, the next step in setting up your LG Smart TV without a remote is to choose your preferred network. This step allows you to select the specific network you want your TV to connect to, whether it’s a Wi-Fi network, an Ethernet (wired) connection, or a Wi-Fi Direct device.
To choose your preferred network on your LG Smart TV, follow these steps:
- Make sure you are in the network connection settings menu of your LG Smart TV, as described in the previous step.
- Within the network connection settings, you will see a list of available networks or devices depending on the connection option you chose.
- If you are connecting to a Wi-Fi network, navigate through the list of available networks using the arrow keys on your remote control or by swiping on your smartphone or tablet screen.
- Highlight the network you want to connect to and press the enter or select button on your remote control, or tap on the screen using the LG TV Plus app or web interface.
- If the Wi-Fi network you want to connect to is not listed, select the “Scan” or “Refresh” option to rescan for available networks. This will update the list of networks on the screen.
- If you are connecting using an Ethernet cable, no further selection is required as the connection is established by plugging in the Ethernet cable.
- If you are using Wi-Fi Direct, ensure that the desired device you want to connect to is within range and has Wi-Fi Direct enabled. Select the device name from the list of available devices on the screen.
Once you have chosen your preferred network or device, the system will attempt to establish a connection. You may see a loading or connecting message on the screen while the connection is being established.
If you are connecting to a Wi-Fi network, and the network is password-protected, you may be prompted to enter the network password. Use the on-screen keyboard to enter the password correctly.
After entering the password or selecting the desired network or device, press the enter or select button on your remote control, or tap on the screen using the LG TV Plus app or web interface.
Your LG Smart TV will now attempt to connect to the selected network or device. If the connection is successful, you will see a confirmation message on the screen.
Congratulations! You have successfully chosen your preferred network on your LG Smart TV. Now you are ready to continue with the setup process and explore the countless entertainment options and features that your Smart TV has to offer.
Step 6: Enter the Wi-Fi Password
If you have chosen to connect your LG Smart TV to a Wi-Fi network in the previous step, the next step is to enter the Wi-Fi password. This step is necessary if the Wi-Fi network you are connecting to is password-protected.
To enter the Wi-Fi password on your LG Smart TV, follow these steps:
- Make sure you have reached the screen where you are prompted to enter the Wi-Fi password. This screen will appear after selecting the desired Wi-Fi network from the available networks list.
- Using the arrow keys on your remote control or by swiping on your smartphone or tablet screen, navigate to the field where you can enter the password.
- Once you have selected the password field, an on-screen keyboard will appear. Use the arrow keys on your remote control or tap on the screen (if using the LG TV Plus app or web interface) to navigate through the characters and enter the password.
- Enter the Wi-Fi password carefully, ensuring that each character is input correctly. Pay attention to uppercase and lowercase letters, as Wi-Fi passwords are case-sensitive.
- If necessary, use the “Shift” or “Caps Lock” key on the on-screen keyboard to switch between uppercase and lowercase letters.
- If you make a mistake while entering the password, use the backspace key on the on-screen keyboard to delete characters.
- Once you have entered the Wi-Fi password correctly, double-check it to ensure that it is accurate.
- After verifying the password, press the enter or select button on your remote control, or tap on the screen using the LG TV Plus app or web interface. This will confirm and save the entered Wi-Fi password.
Once you have successfully entered the Wi-Fi password and confirmed it, your LG Smart TV will attempt to connect to the Wi-Fi network.
If the password is correct and the connection is successful, you will see a confirmation message on the screen. This indicates that your LG Smart TV is now connected to the Wi-Fi network.
Now you can proceed with the setup process and start exploring the numerous entertainment options and features available on your LG Smart TV.
Step 7: Connect to the Wi-Fi Network
After entering the Wi-Fi password in the previous step, the next important step in setting up your LG Smart TV without a remote is to connect to the Wi-Fi network you have chosen. This step ensures that your TV establishes a stable and reliable connection to the network, allowing you to enjoy seamless streaming, app downloads, and other online features.
To connect to the Wi-Fi network on your LG Smart TV, follow these steps:
- Ensure that you have successfully entered the Wi-Fi password and have reached the screen where you need to connect to the Wi-Fi network.
- Using the arrow keys on your remote control or by swiping on your smartphone or tablet screen, navigate to the “Connect” or “Join” button on the screen. This button is usually located near the Wi-Fi network name or password field.
- Once you have selected the “Connect” or “Join” button, press the enter or select button on your remote control, or tap on the screen using the LG TV Plus app or web interface. This will initiate the connection process.
- Your LG Smart TV will attempt to connect to the Wi-Fi network using the entered password. It may take a few moments to establish the connection.
- If the Wi-Fi network is within range and the correct password has been entered, you will see a confirmation message on the screen indicating that your LG Smart TV is now connected to the Wi-Fi network.
- You may also notice the Wi-Fi indicator icon on the screen change to show a successful connection. This icon is usually displayed on the top or bottom corner of the screen.
Once the connection is established, you can start taking full advantage of the online capabilities of your LG Smart TV. You can stream your favorite movies and TV shows, download apps, browse the web, and much more.
It’s important to note that if the connection process fails, double-check that you have entered the correct Wi-Fi password and that you are within range of the Wi-Fi network. If issues persist, try restarting your TV or troubleshooting your network settings.
Congratulations! You have successfully connected your LG Smart TV to the Wi-Fi network of your choice. You’re now one step closer to enjoying a world of entertainment and functionality right from your TV screen.
Step 8: Troubleshooting Tips
While setting up your LG Smart TV without a remote, you may encounter some common issues or challenges. In this step, we will provide you with some troubleshooting tips to help you overcome these challenges and ensure a smooth setup process.
Here are some troubleshooting tips to consider:
- Check Wi-Fi Signal: Ensure that you are within range of the Wi-Fi network. If the signal strength is weak, try moving closer to the router or consider using a Wi-Fi repeater or extender to improve the signal.
- Verify Wi-Fi Network Name and Password: Double-check that you have entered the correct Wi-Fi network name (SSID) and password. Wi-Fi passwords are case-sensitive, so ensure that you have entered uppercase and lowercase letters correctly.
- Restart your LG Smart TV: Sometimes, a simple restart can resolve connectivity issues. Power off your TV, wait for a few seconds, and then power it back on. This can help refresh the network settings and establish a fresh connection.
- Reset Network Settings: If you are still experiencing connection problems, you can try resetting the network settings on your LG Smart TV. Navigate to the network settings menu and look for the option to reset network settings. Keep in mind that this will erase any custom network configurations, so you will need to set up the connection again.
- Update TV Firmware: Ensure that your LG Smart TV is running the latest firmware version. Outdated firmware can sometimes cause connectivity issues. Check for firmware updates in the settings menu and install any available updates.
- Use Wi-Fi Direct: If you are still having trouble connecting to a Wi-Fi network, consider using Wi-Fi Direct if your TV supports it. Wi-Fi Direct allows you to connect your TV directly to your mobile device without the need for a traditional Wi-Fi network.
- Seek Help from LG Support: If all else fails, don’t hesitate to reach out to LG customer support for further assistance. They can provide specific troubleshooting steps based on your TV model and help resolve any connection issues you may be encountering.
By following these troubleshooting tips, you will be able to overcome common challenges and successfully set up your LG Smart TV without a remote. Remember, persistence and patience are key when troubleshooting, and don’t hesitate to seek help if needed. Once you have successfully resolved any issues, you can start enjoying the full range of features and entertainment that your LG Smart TV has to offer.
Conclusion
Congratulations! You have successfully learned how to set up your LG Smart TV without a remote. By following the step-by-step instructions provided in this guide, you can connect your TV to a network, access the home menu, navigate to settings, and choose your preferred network connection. Additionally, you have gained valuable troubleshooting tips to aid you along the way.
Setting up an LG Smart TV without a remote may initially seem daunting, but with alternative methods such as using the LG TV Plus app or a web interface, you can easily control your TV and complete the setup process. This allows you to enjoy a wide range of features, from streaming your favorite shows and movies to accessing popular apps right from your TV screen.
Remember, it is important to ensure a stable and reliable network connection for optimal performance. Double-check your Wi-Fi network name and password, and consider the placement of your TV in relation to the router to maximize Wi-Fi signal strength.
If you encounter any challenges during the setup process, we have provided troubleshooting tips for common issues. Restarting your TV, verifying network settings, and updating firmware are some effective ways to resolve connectivity problems. If needed, don’t hesitate to seek assistance from LG customer support for further guidance.
Now that you have successfully set up your LG Smart TV, take the time to customize your settings, explore the various features and apps available, and make the most out of your entertainment experience. Enjoy streaming your favorite content, playing games, and browsing the web seamlessly from the comfort of your living room.
We hope this guide has been helpful in assisting you with setting up your LG Smart TV without a remote. Enjoy your new TV and the endless possibilities it brings!