Introduction
Welcome to the world of the Magic Keyboard! This innovative device from Apple brings a whole new level of comfort and convenience to your computing experience. Whether you’re using it with your Mac, iPad, or iPhone, the Magic Keyboard offers a seamless typing experience with its sleek design and responsive keys.
In this guide, we’ll walk you through the steps to set up your Magic Keyboard and get it ready for use. From unboxing to customizing settings, we’ve got you covered. So, let’s dive in and get your Magic Keyboard up and running!
Before we proceed, it’s important to note that the Magic Keyboard is compatible with various Apple devices such as Mac computers running macOS 10.12.4 or later, iPads running iPadOS 13.4 or later, and iPhones running iOS 13.4 or later. Make sure your device meets the requirements before proceeding with the setup.
Now, let’s get started with unboxing the Magic Keyboard and setting it up!
Step 1: Unbox the Magic Keyboard
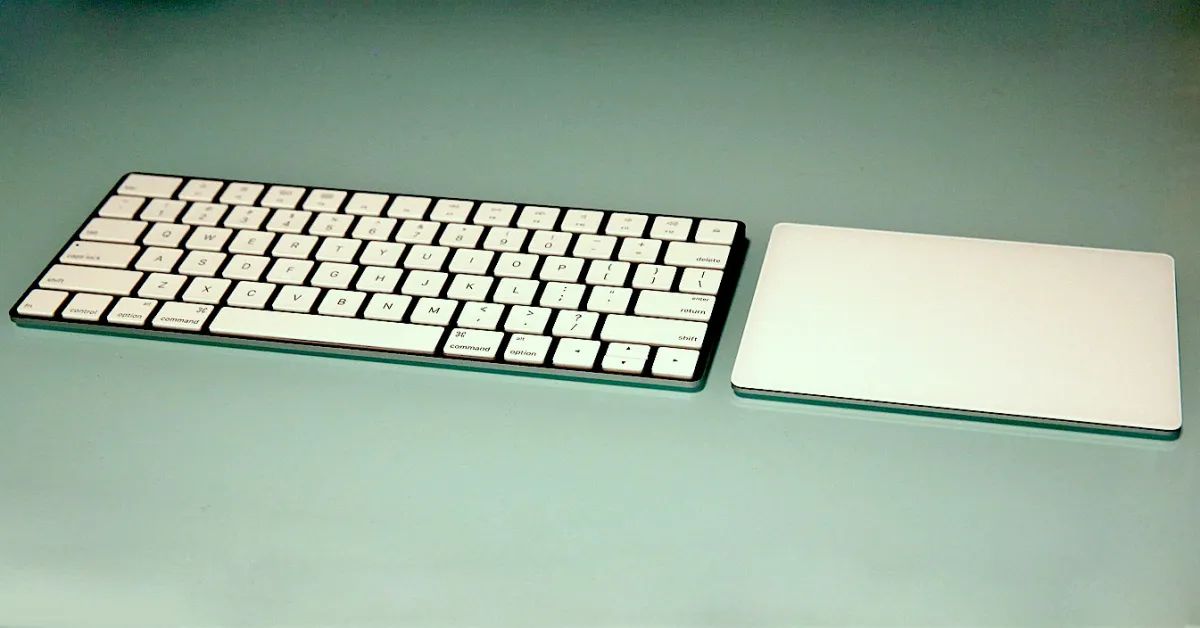
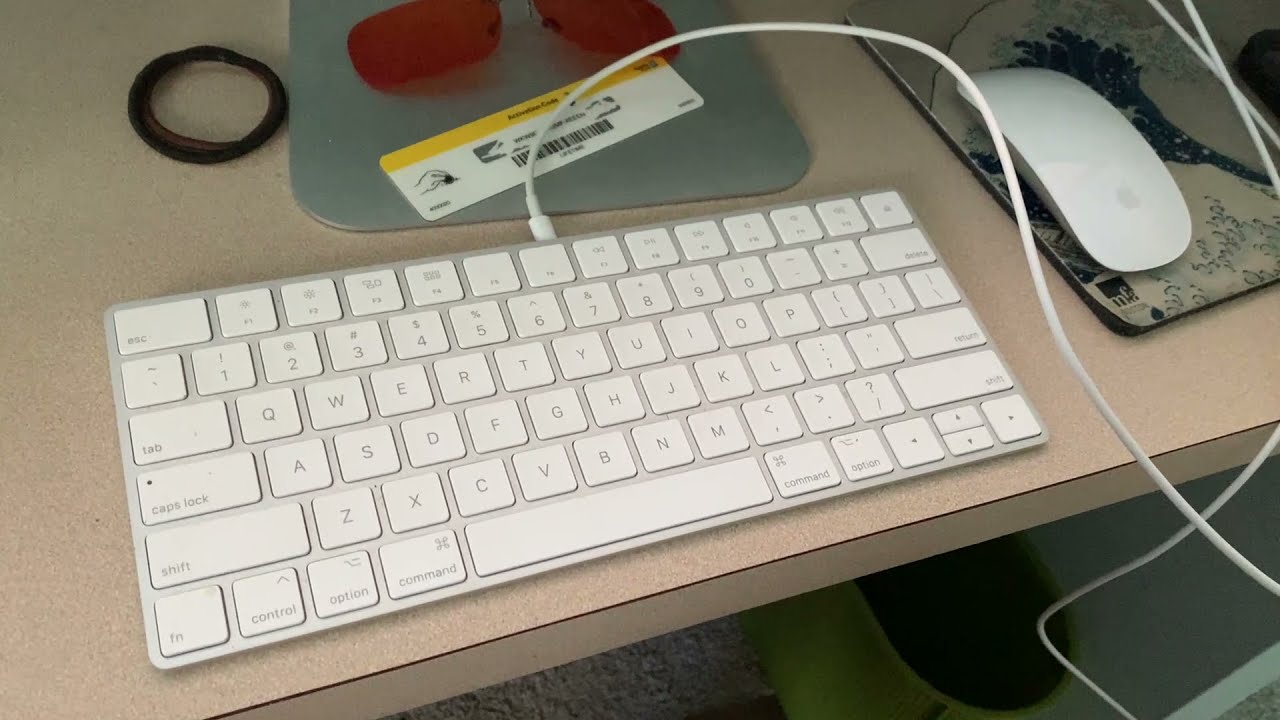
The first step in setting up your Magic Keyboard is to carefully unbox it. Apple’s packaging is known for its sleek design and attention to detail, so take your time to ensure you don’t accidentally damage any of the components.
Start by locating the box containing the Magic Keyboard. It will typically be labeled with the Apple logo and the name of the device. Gently remove the box from any protective sleeves or packaging materials.
Once you’ve taken the box out, you’ll find the Magic Keyboard neatly placed inside. Carefully lift the keyboard out, making sure to hold it by the edges to avoid touching the keys. Apple takes great care in packing their products, so you’ll often find the keyboard nestled in foam or a protective plastic covering.
Set the box aside and rest the Magic Keyboard on a clean and flat surface. Take a moment to appreciate the sleek and elegant design of the keyboard. The Magic Keyboard features a minimalistic layout with smooth edges and a low-profile design, which not only adds to its aesthetic appeal but also allows for comfortable typing.
Inspect the Magic Keyboard for any visible damage or defects. Apple’s quality control is usually top-notch, but it’s always a good idea to double-check. Look for any scratches, dents, or misaligned keys. If you notice any issues, contact Apple Support for assistance.
With the unboxing complete, you’re now ready to move on to the next step: charging your Magic Keyboard. Ensuring your keyboard has enough power is crucial for a seamless setup and uninterrupted usage.
Step 2: Charge the Magic Keyboard
Once you have unboxed your Magic Keyboard, the next step is to ensure it has sufficient power to function. While the keyboard comes with a built-in rechargeable battery, it may require charging before initial use.
Begin by locating the Lightning to USB cable included with the Magic Keyboard. This cable is used for both charging and connecting the keyboard to your device. Connect one end of the cable to the Lightning port on the Magic Keyboard.
Next, find a USB power source, such as a wall adapter or a powered USB port on your computer, and connect the other end of the cable to it. Ensure that the power source is reliable and provides a steady power supply for efficient charging.
Once connected, the Magic Keyboard’s LED indicator should light up, indicating that the battery is charging. In some cases, you may need to press the power button on the keyboard to initiate the charging process.
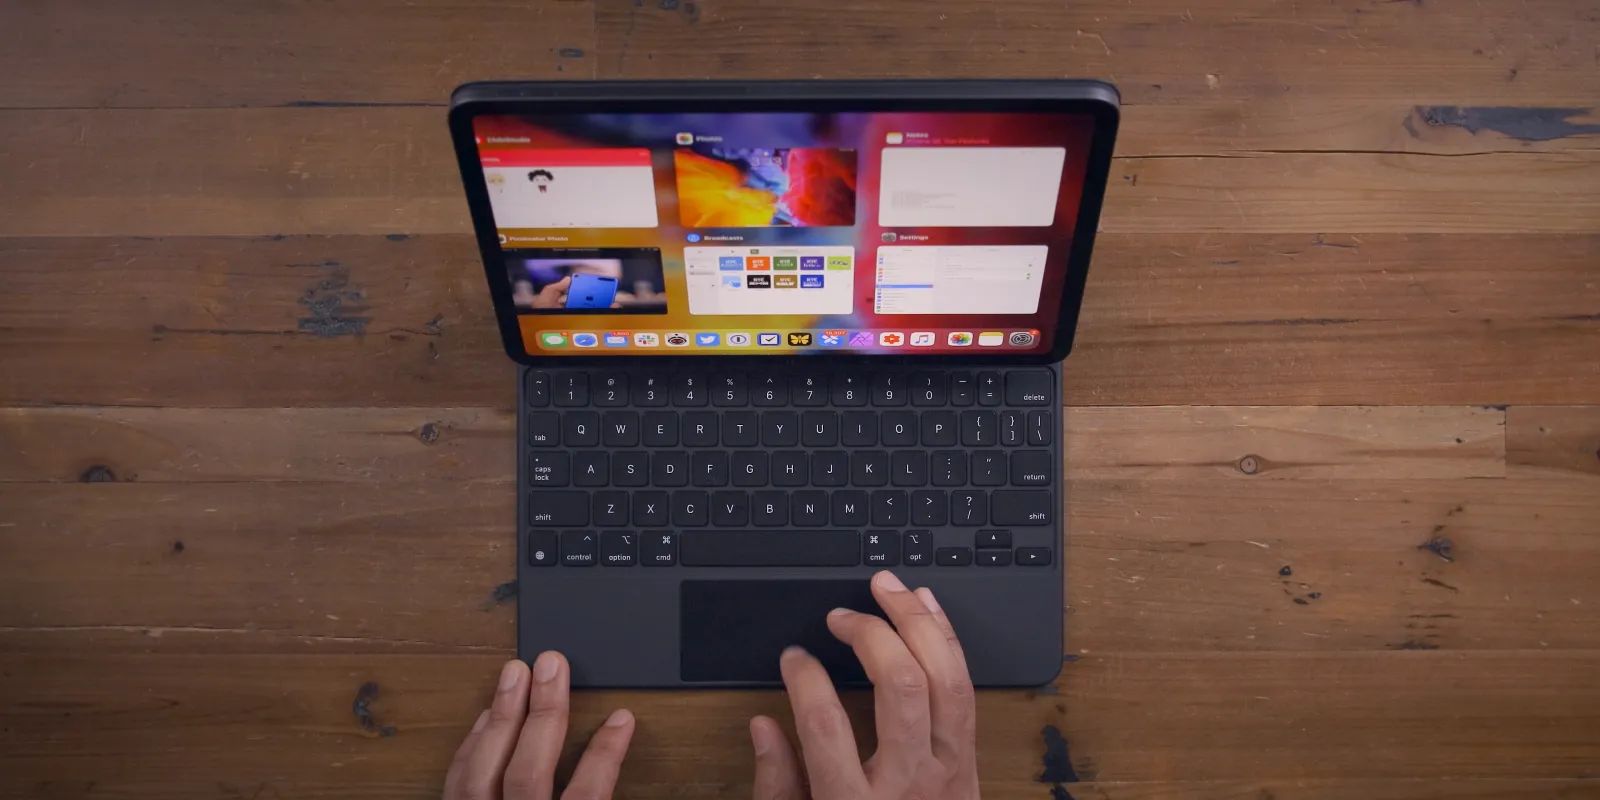
While the Magic Keyboard is charging, take this time to familiarize yourself with its features. The Magic Keyboard boasts a slim profile with a full-sized layout, complete with function keys, a numeric keypad (on certain models), and dedicated media controls. Its scissor mechanism ensures precise and responsive typing, while the low-profile keys provide a comfortable typing experience.
It’s important to note that the Magic Keyboard’s battery life can last for weeks or even months on a single charge, depending on usage. Apple’s advanced power management ensures efficient energy usage, so you won’t have to worry about frequent recharging.
Once the Magic Keyboard is fully charged, the LED indicator will turn off, indicating that it is ready to be paired with your device. Charging times may vary, so it’s advisable to wait until the battery is adequately charged before moving on to the next step.
With the Magic Keyboard charged and ready to go, it’s time to move on to the next step: turning on Bluetooth on your device. This will allow your device to establish a wireless connection with the keyboard.
Step 3: Turn on Bluetooth on your device
In order to connect your Magic Keyboard to your device, you need to ensure that Bluetooth is turned on. Bluetooth technology allows for a wireless connection between devices, enabling seamless communication between the Magic Keyboard and your computer, iPad, or iPhone.
Start by locating the Bluetooth settings on your device. The exact location of these settings may vary depending on the operating system you’re using, but it is typically found in the “Settings” or “System Preferences” menu.
Open the Bluetooth settings and make sure that the Bluetooth toggle or switch is turned on. This will activate Bluetooth connectivity on your device, allowing it to discover and connect with other Bluetooth devices.
Once Bluetooth is enabled, your device will scan for nearby Bluetooth devices, including the Magic Keyboard. Wait for the scan to complete, and you should see the name of your Magic Keyboard appear on the list of available devices.
Select the Magic Keyboard from the list of available devices on your device’s Bluetooth menu. This will initiate the pairing process between your device and the keyboard. Depending on your device, you may be prompted to enter a passcode or confirm a pairing request.
Follow the on-screen instructions to complete the pairing process. Your device will establish a secure connection with the Magic Keyboard, and a confirmation message will appear once the pairing is successful.
Now that your Magic Keyboard is successfully paired with your device, you’re one step closer to enjoying its amazing features. The wireless connection provided by Bluetooth allows you to use the keyboard without the hassle of wires and cables, providing you with freedom and flexibility in your workspace.
With Bluetooth successfully enabled and the Magic Keyboard paired, it’s time to move on to the next step: customizing keyboard settings. This will allow you to personalize your experience and tailor the keyboard to your specific needs and preferences.
Step 4: Pair the Magic Keyboard with your device
Now that you have turned on Bluetooth on your device, it’s time to pair the Magic Keyboard with it. Pairing allows for a secure and seamless connection between the keyboard and your computer, iPad, or iPhone.
Start by ensuring that the Magic Keyboard is turned on. Look for the power button located on the top-right corner of the keyboard. Press the power button to turn it on and activate the keyboard.
Once the keyboard is powered on, your device will detect it as a nearby Bluetooth device. It should appear in the list of available devices on the Bluetooth settings screen.
Select the Magic Keyboard from the list of available devices on your device’s Bluetooth menu. Depending on your device, you may be prompted to enter a passcode or confirm a pairing request. Follow the on-screen instructions to complete the pairing process.
Some devices may display a passcode that you need to enter on the Magic Keyboard to establish a secure connection. If prompted, type in the passcode using the Magic Keyboard’s keys and press the Enter or Return key.
Once the pairing process is complete, your device will confirm the successful connection with the Magic Keyboard. You may receive a notification or see a message on the screen indicating that the pairing is successful.
Now that the Magic Keyboard is successfully paired with your device, it is ready to use. You can start typing on the keyboard, and the characters should appear on your device’s screen without any delay.
It’s important to note that once the Magic Keyboard is paired with your device, it will automatically connect whenever it is in range and turned on. This means you can enjoy a hassle-free typing experience without having to go through the pairing process repeatedly.
With the Magic Keyboard successfully paired with your device, it’s time to move on to the next step: customizing keyboard settings. This will allow you to further enhance your typing experience and personalize the keyboard to suit your preferences.
Step 5: Customize keyboard settings (optional)
Once you have successfully paired your Magic Keyboard with your device, you have the option to customize the keyboard settings to further enhance your typing experience. While these settings are optional, they allow you to personalize the keyboard to suit your preferences and work style.
To access the keyboard settings, navigate to the settings or preferences menu on your device. Look for the section or option related to keyboards or input devices. The exact location may vary depending on your device and operating system.
Once you have found the keyboard settings, you will have various customization options at your disposal. Some common settings you may encounter include:
- Keyboard Layout: Choose the layout that matches your country or region. This ensures that the keys on the keyboard correspond correctly to the characters displayed on the screen.
- Key Repeat: Adjust the speed at which a key repeats when held down. You can set it to a faster or slower rate depending on your typing preference.
- Key Feedback: Enable or disable auditory feedback, such as key clicks, as you type. This can be useful for those who prefer to have an audible confirmation when pressing keys.
- Modifier Keys: Customize the behavior of modifier keys like Shift, Control, Option/Alt, and Command keys. You can swap or remap these keys to better align with your workflows or personal preferences.
- Function Keys: Configure the behavior of the function keys (F1 through F12) on the Magic Keyboard. You can assign specific functions or shortcuts to these keys, such as adjusting brightness or controlling media playback.
Explore the available settings and adjust them according to your preferences. Don’t be afraid to experiment and find the configuration that feels most comfortable and efficient for you.
It’s worth noting that not all devices and operating systems provide the same level of customization for the Magic Keyboard. The available settings may vary, so check your device’s documentation or online support resources for more specific guidance on customizing the keyboard.
With the keyboard settings customized to your liking, you’re now ready to start using the Magic Keyboard to its full potential. Whether you’re writing an email, working on a project, or simply browsing the web, the Magic Keyboard will provide a seamless and enjoyable typing experience.
In the next step, we’ll wrap up the setup process and provide some final tips for using your Magic Keyboard.
Step 6: Start using the Magic Keyboard
Congratulations, you have successfully set up and customized your Magic Keyboard! Now it’s time to start using it and enjoy its seamless typing experience.
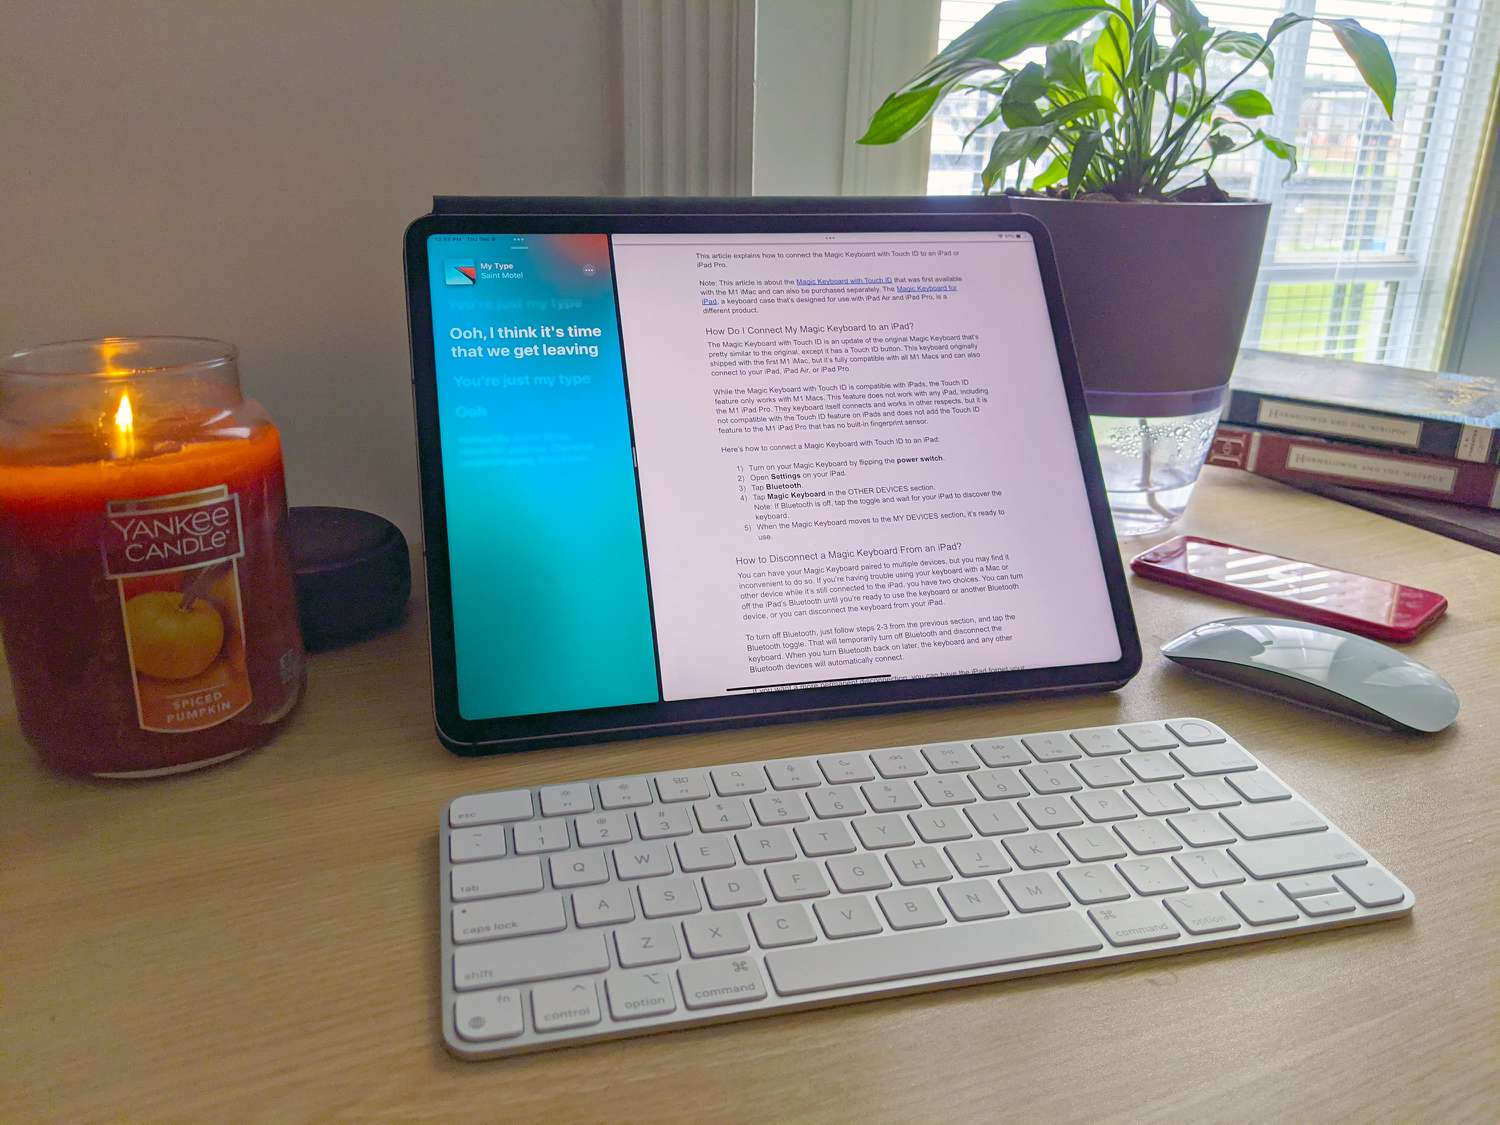
Place your Magic Keyboard in a comfortable position in front of your computer, iPad, or iPhone. Ensure that it is within a reasonable distance from your device, allowing for a reliable wireless connection.
As you start typing on the Magic Keyboard, you’ll notice its responsive keys and comfortable typing experience. The scissor mechanism provides precise and smooth key movement, allowing for effortless typing.
Take advantage of the full-sized layout and function keys to maximize productivity. The Magic Keyboard’s low-profile keys provide a comfortable typing experience, reducing strain on your fingers and wrists during extended typing sessions.
Whether you’re writing an email, working on a document, or browsing the web, your Magic Keyboard will help you accomplish tasks with ease and efficiency.
Additionally, the Magic Keyboard offers convenient media controls that allow you to adjust volume, play/pause media, and navigate tracks without reaching for your device. Take advantage of these features to enhance your multimedia experience.
Remember to keep your Magic Keyboard clean and free from dust and debris. Avoid eating or drinking near the keyboard to prevent accidental spills that could damage its functionality. If needed, gently wipe the keyboard with a soft, lint-free cloth to remove any smudges or fingerprints.
Should you encounter any issues or have questions regarding the usage of your Magic Keyboard, consult the user manual provided by Apple or visit their support website for troubleshooting guidance and additional resources.
With the Magic Keyboard fully set up and ready to use, enjoy the seamless typing experience it offers and let it enhance your productivity and creativity.
That concludes the setup process for your Magic Keyboard. We hope this guide has been helpful in assisting you with the setup and customization of your keyboard. Get ready to embrace the full potential of your Magic Keyboard and elevate your typing experience!
Conclusion
Setting up your Magic Keyboard is a straightforward process that allows you to unlock its full potential and enjoy a seamless typing experience. From unboxing to customizing settings, each step ensures that your Magic Keyboard is ready to serve as your reliable input device.
By following these steps, you have unboxed your Magic Keyboard with care, charged it to ensure sufficient power, turned on Bluetooth on your device, paired the keyboard, customized settings to suit your preferences, and started using it with ease.
The Magic Keyboard’s sleek design, responsive keys, and wireless functionality make it a valuable tool for your computing needs. Its full-sized layout and customizable settings enable you to tailor the keyboard to your unique requirements and work style.
Remember to keep your Magic Keyboard clean and free from debris to maintain its optimal performance and extend its lifespan. Additionally, consult the user manual or online support resources provided by Apple if you encounter any issues or have further questions.
With your Magic Keyboard ready to go, embrace the enhanced comfort and productivity it offers. Whether you’re writing, designing, or simply browsing, let the Magic Keyboard be your trusted companion for effortless and efficient typing.
Thank you for choosing the Magic Keyboard, and we hope this guide has provided you with the necessary information to set up and utilize your keyboard to its fullest potential. Happy typing!