Introduction
Welcome to the world of iMessage on your iPad! With iMessage, you can send text messages, photos, videos, and more to your friends and family using your Apple devices. It’s a convenient and seamless way to stay connected with your loved ones, all from the comfort of your iPad.
In this article, we will guide you through the process of setting up iMessage on your iPad. Whether you’re a seasoned iPad user or new to the device, we’ve got you covered. You’ll be up and running with iMessage in no time!
iMessage uses your internet connection to send and receive messages, rather than traditional SMS or MMS. This means that you can send messages to other iOS users for free, regardless of their location. Plus, iMessage offers advanced features like read receipts, typing indicators, and the ability to send messages from your email addresses or phone numbers.
So, let’s get started! In the following steps, we’ll show you how to update your iPad software, sign in with your Apple ID, enable iMessage in Settings, add email addresses and phone numbers to iMessage, customize iMessage settings, and start using iMessage on your iPad.
Step 1: Update your iPad software
Before you can start using iMessage on your iPad, it’s important to ensure that your device is running the latest software. Software updates often include bug fixes and new features, so it’s always a good idea to stay up to date.
To check for software updates, follow these steps:
- Open the “Settings” app on your iPad. It’s the icon that looks like gears.
- Scroll down and tap on “General”.
- Tap on “Software Update”.
- Your iPad will check for available updates. If an update is available, you’ll see a message indicating so.
- If an update is available, tap on “Download and Install”. Make sure your iPad is connected to a stable Wi-Fi network and has sufficient battery life or is plugged in.
- Follow the on-screen prompts to complete the installation. Your iPad will restart after the update is finished.
Note: If your iPad is running on the latest software version, you won’t see the option to update.
Updating your iPad software ensures that you have the latest features and improvements for iMessage. It also helps maintain the security and stability of your device. Now that your iPad is up to date, let’s move on to the next step.
Step 2: Sign in with your Apple ID
To use iMessage on your iPad, you’ll need to sign in with your Apple ID. Your Apple ID is the account that you use for all Apple services, such as the App Store, iCloud, and iMessage.
If you don’t have an Apple ID yet, you can create one by visiting the Apple ID website or through the “Settings” app on your iPad. Follow these steps to sign in with your Apple ID:
- Open the “Settings” app on your iPad.
- Tap on your name at the top of the Settings menu.
- Tap on “Sign In to your iPad” if you’re not already signed in.
- Enter your Apple ID and password in the provided fields.
- If requested, enter the six-digit verification code sent to your trusted device or phone number.
- Tap on “Sign In” to complete the sign-in process.
If you’ve forgotten your Apple ID or password, you can recover them by selecting “Forgot Apple ID or password” on the sign-in screen.
Signing in with your Apple ID allows you to sync your iMessage conversations across all your Apple devices. This means that you can continue your conversations seamlessly from your iPhone to your iPad, for example.
Now that you’re signed in with your Apple ID, let’s move on to enabling iMessage on your iPad.
Step 3: Enable iMessage in Settings
In order to use iMessage on your iPad, you’ll need to enable it in the Settings. Here’s how you can do it:
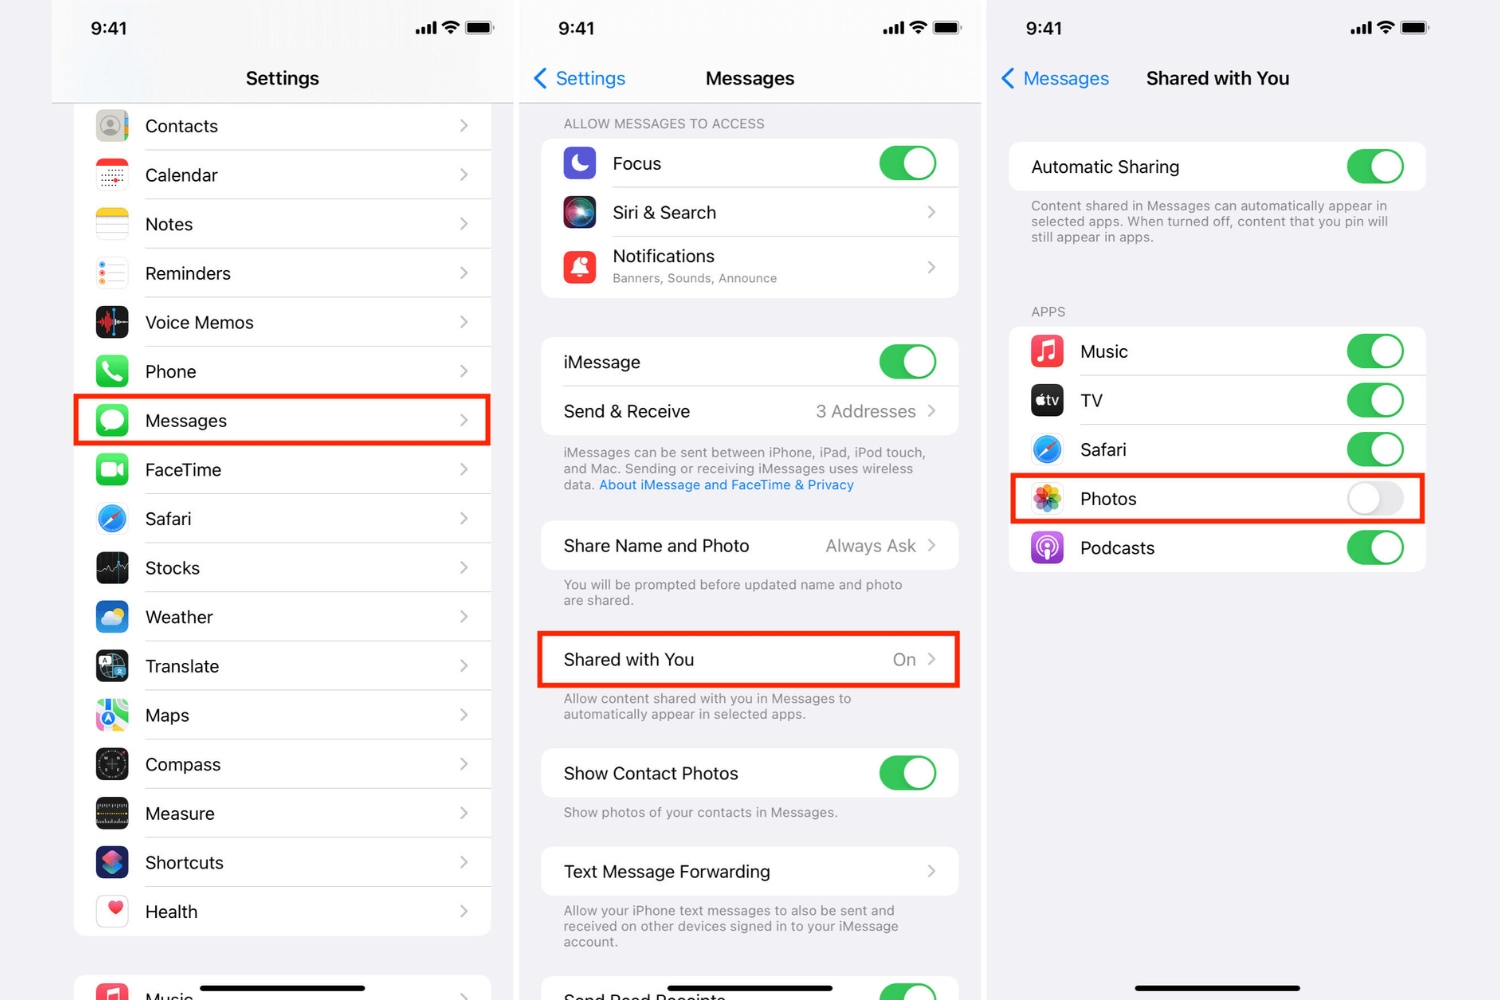
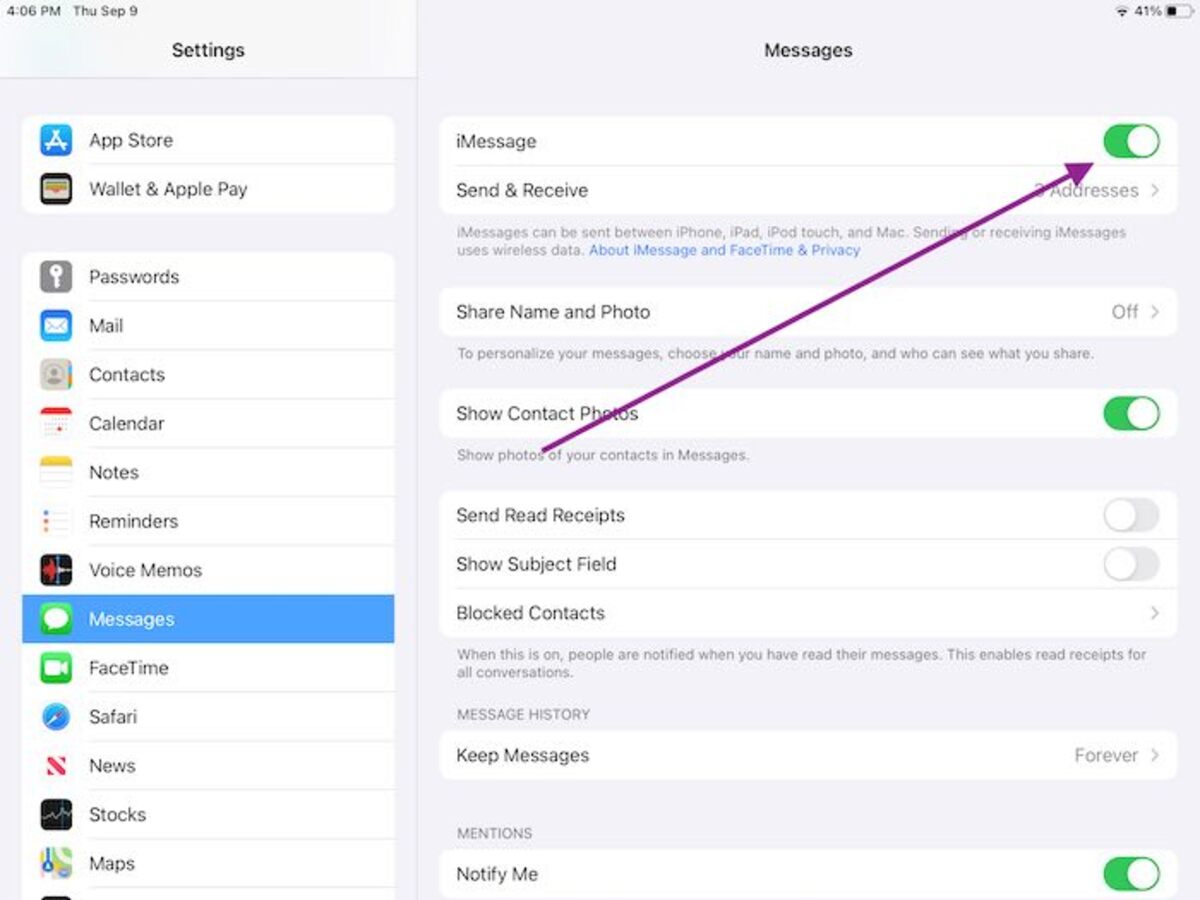
- Open the “Settings” app on your iPad.
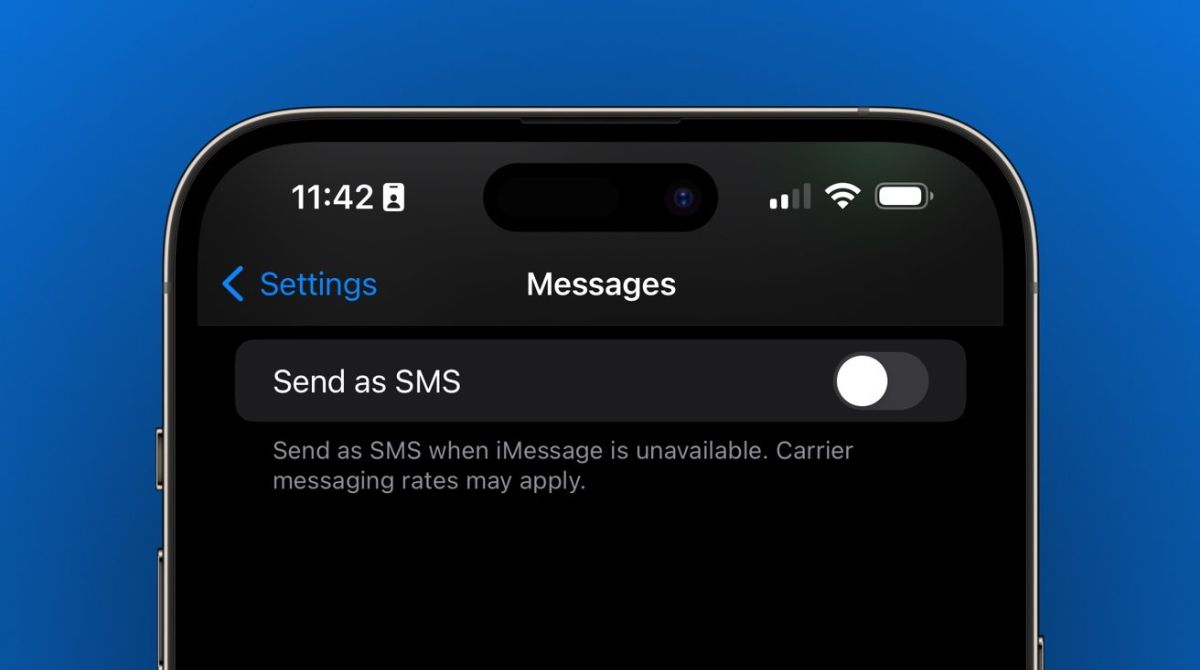
- Scroll down and tap on “Messages”.
- Toggle the switch next to “iMessage” to turn it on. The switch will turn green once it is enabled.
Enabling iMessage allows you to send and receive messages using your Apple ID instead of your phone number. It also allows you to access advanced features like read receipts, typing indicators, and the ability to send messages from your email addresses.
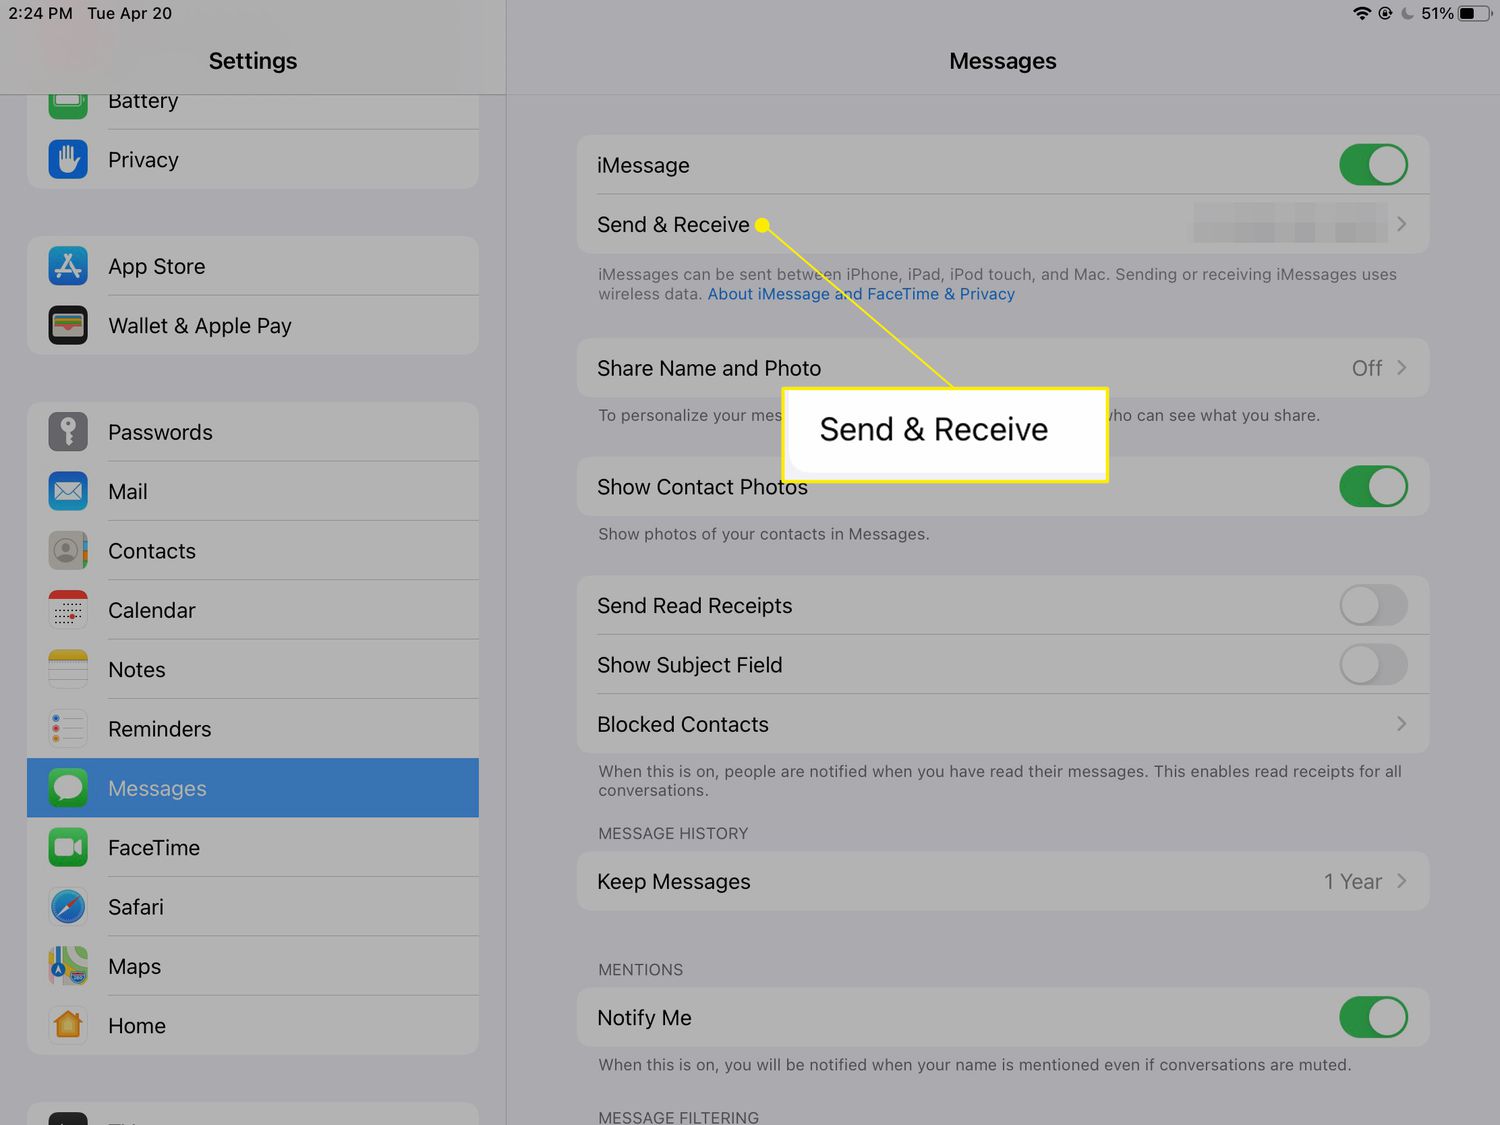
Once you have enabled iMessage, you can also customize your preferences by tapping on “Send & Receive”. This allows you to choose which phone numbers and email addresses you want to associate with iMessage, as well as set a default address for starting new conversations.
Keep in mind that iMessage requires an internet connection to function. If you’re not connected to Wi-Fi, it will use your cellular data to send and receive messages.
Now that iMessage is enabled on your iPad, let’s move on to the next step of adding email addresses and phone numbers to iMessage.
Step 4: Add email addresses and phone numbers to iMessage
Now that iMessage is enabled on your iPad, you can add email addresses and phone numbers that you want to use for iMessage. This allows you to send and receive messages from multiple contact options. Here’s how you can add them:
- Open the “Settings” app on your iPad.
- Scroll down and tap on “Messages”.
- Tap on “Send & Receive”.
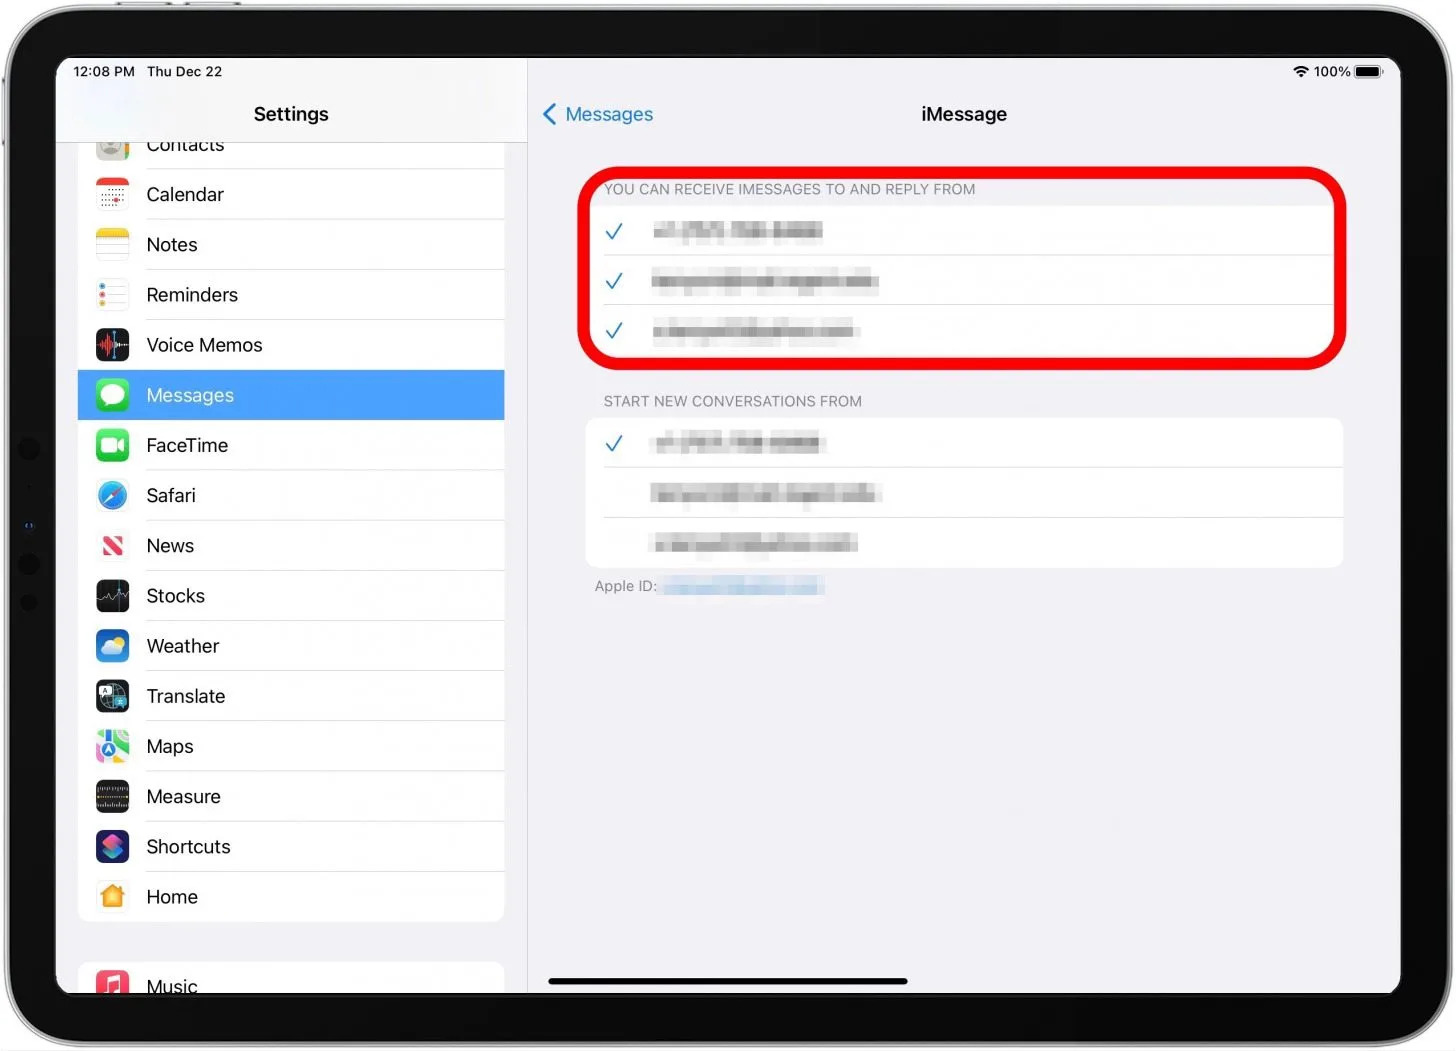
- Under the “You can be reached by iMessage at” section, you’ll see your Apple ID displayed. Tap on it to add or remove email addresses associated with your Apple ID for iMessage.
- Below that, you’ll see a “Start New Conversations From” section. Tap on it to select which email address or phone number you want to use as the default for starting new conversations.
- You can also tap on “Add Email or Phone Number” to add additional contact options if needed.
Adding email addresses and phone numbers to iMessage gives you the flexibility to choose how you want to be contacted and allows others to easily reach you through various channels.
Keep in mind that the email addresses and phone numbers you add should be associated with your Apple ID and accessible to you. This ensures that you can receive messages sent to those contact options.
Now that you’ve added your email addresses and phone numbers to iMessage, let’s move on to customizing iMessage settings in the next step.
Step 5: Customize iMessage settings
Customizing iMessage settings allows you to personalize your messaging experience on your iPad. You can control various aspects such as notification preferences, message effects, and privacy settings. Here’s how you can customize iMessage settings:
- Open the “Settings” app on your iPad.
- Scroll down and tap on “Messages”.
- Here, you’ll find a variety of settings that you can customize according to your preferences.
- Let’s explore some of the important customization options:
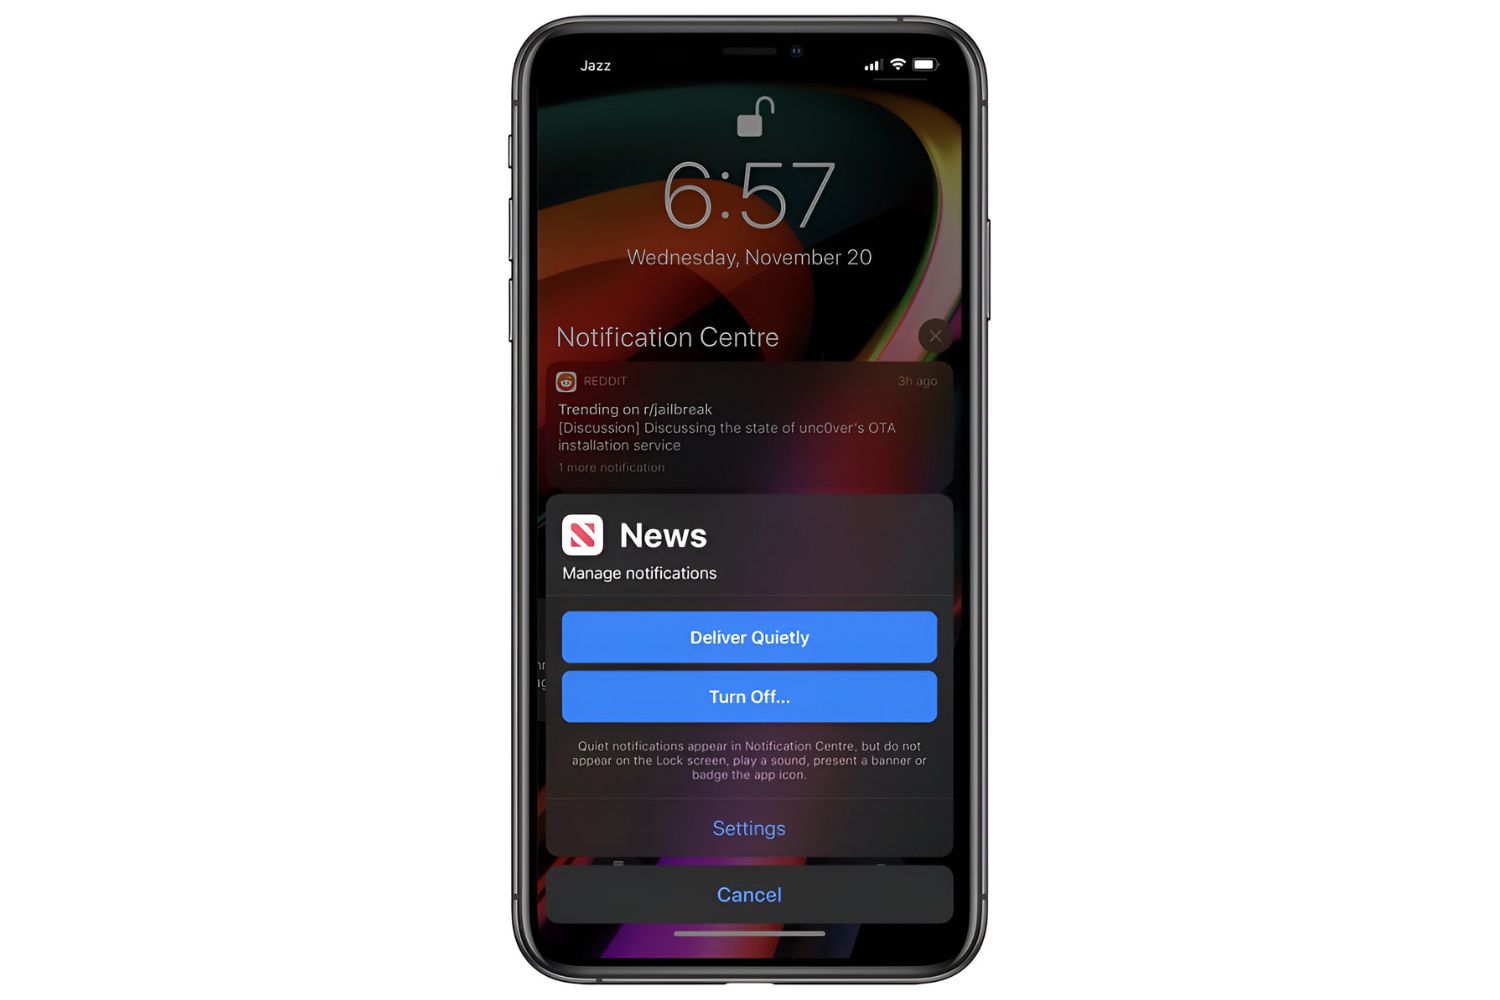
- Notifications: Tap on “Notifications” to control how you receive alerts for new messages. You can choose to show previews, enable or disable sounds, and configure other notification preferences.
- Message Effects: Tap on “iMessage” and then “Bubble Effects” or “Screen Effects” to add visual effects to your messages. Play around with different effects like balloons, confetti, or lasers to make your conversations more fun and engaging.
- Privacy: Tap on “Send Read Receipts” to enable or disable the feature that lets others know when you’ve read their messages. You can also manage your blocked contacts and configure other privacy settings.
- Filter Unknown Senders: Enable “Filter Unknown Senders” to automatically sort messages from people not in your contacts into a separate list. This helps you focus on important conversations and avoid spam.
- Manage Storage: If you’re running low on storage, you can tap on “Manage Storage” to view and delete old conversations, photos, and videos to free up space.
These are just a few examples of the customization options available in iMessage settings. Feel free to explore and adjust the settings to suit your preferences.
Now that you’ve customized your iMessage settings, it’s time to start using iMessage on your iPad in the final step.
Step 6: Start using iMessage on your iPad
Now that you have set up iMessage on your iPad and customized the settings, it’s time to start using this fantastic messaging service. Here’s how you can begin using iMessage:
- Open the “Messages” app on your iPad. It’s the app with a green speech bubble icon.
- Tap on the compose icon (a pencil and paper) in the top-right corner of the screen to start a new conversation.
- Enter the recipients’ name, phone number, or email address in the “To” field. You can select multiple recipients by separating their names with commas or by tapping the “+” icon.
- Once you’ve entered the recipients, start typing your message in the input field at the bottom of the screen.
- You can also tap on the camera icon to attach and send photos or videos from your iPad’s photo library or take new ones.
- Tap on the arrow icon to send your message.
As you continue using iMessage on your iPad, you’ll discover additional features and options such as adding stickers, using reactions, sharing your location, and more. You can explore these features by tapping on the App Store icon in the message input field.
Remember, iMessage allows you to send unlimited free messages to other iOS users, so feel free to connect with your friends and family without worrying about SMS or MMS charges.
Additionally, any iMessage conversations you have on your iPad will sync across your other Apple devices linked to the same Apple ID, such as your iPhone or Mac. This ensures that you can seamlessly continue your conversations across devices.
Now that you know how to start using iMessage on your iPad, enjoy staying connected with your loved ones in a convenient and interactive way!
Conclusion
Congratulations! You have successfully set up iMessage on your iPad and are now ready to enjoy seamless messaging with your friends and family. By following the steps outlined in this article, you have enabled iMessage, customized your settings, and learned how to start using this powerful messaging service.
iMessage offers a range of features that make communication not only convenient but also fun. Whether it’s sending text messages, photos, videos, or using message effects, iMessage allows you to express yourself and connect with your loved ones in a more personalized way.
With iMessage, you can easily send messages to other iOS users without worrying about SMS or MMS charges. The ability to sync conversations across multiple Apple devices ensures that you can effortlessly continue your chats on different devices, keeping your conversations up-to-date and easily accessible.
Remember to keep your iPad software up to date to ensure you have the latest features and improvements for iMessage. Additionally, don’t forget to manage your iMessage settings to customize your messaging experience according to your preferences.
Now that you are familiar with the setup and usage of iMessage on your iPad, start exploring the various features and options available to enhance your messaging experience. Have fun staying connected and enjoy the benefits of iMessage!