Introduction
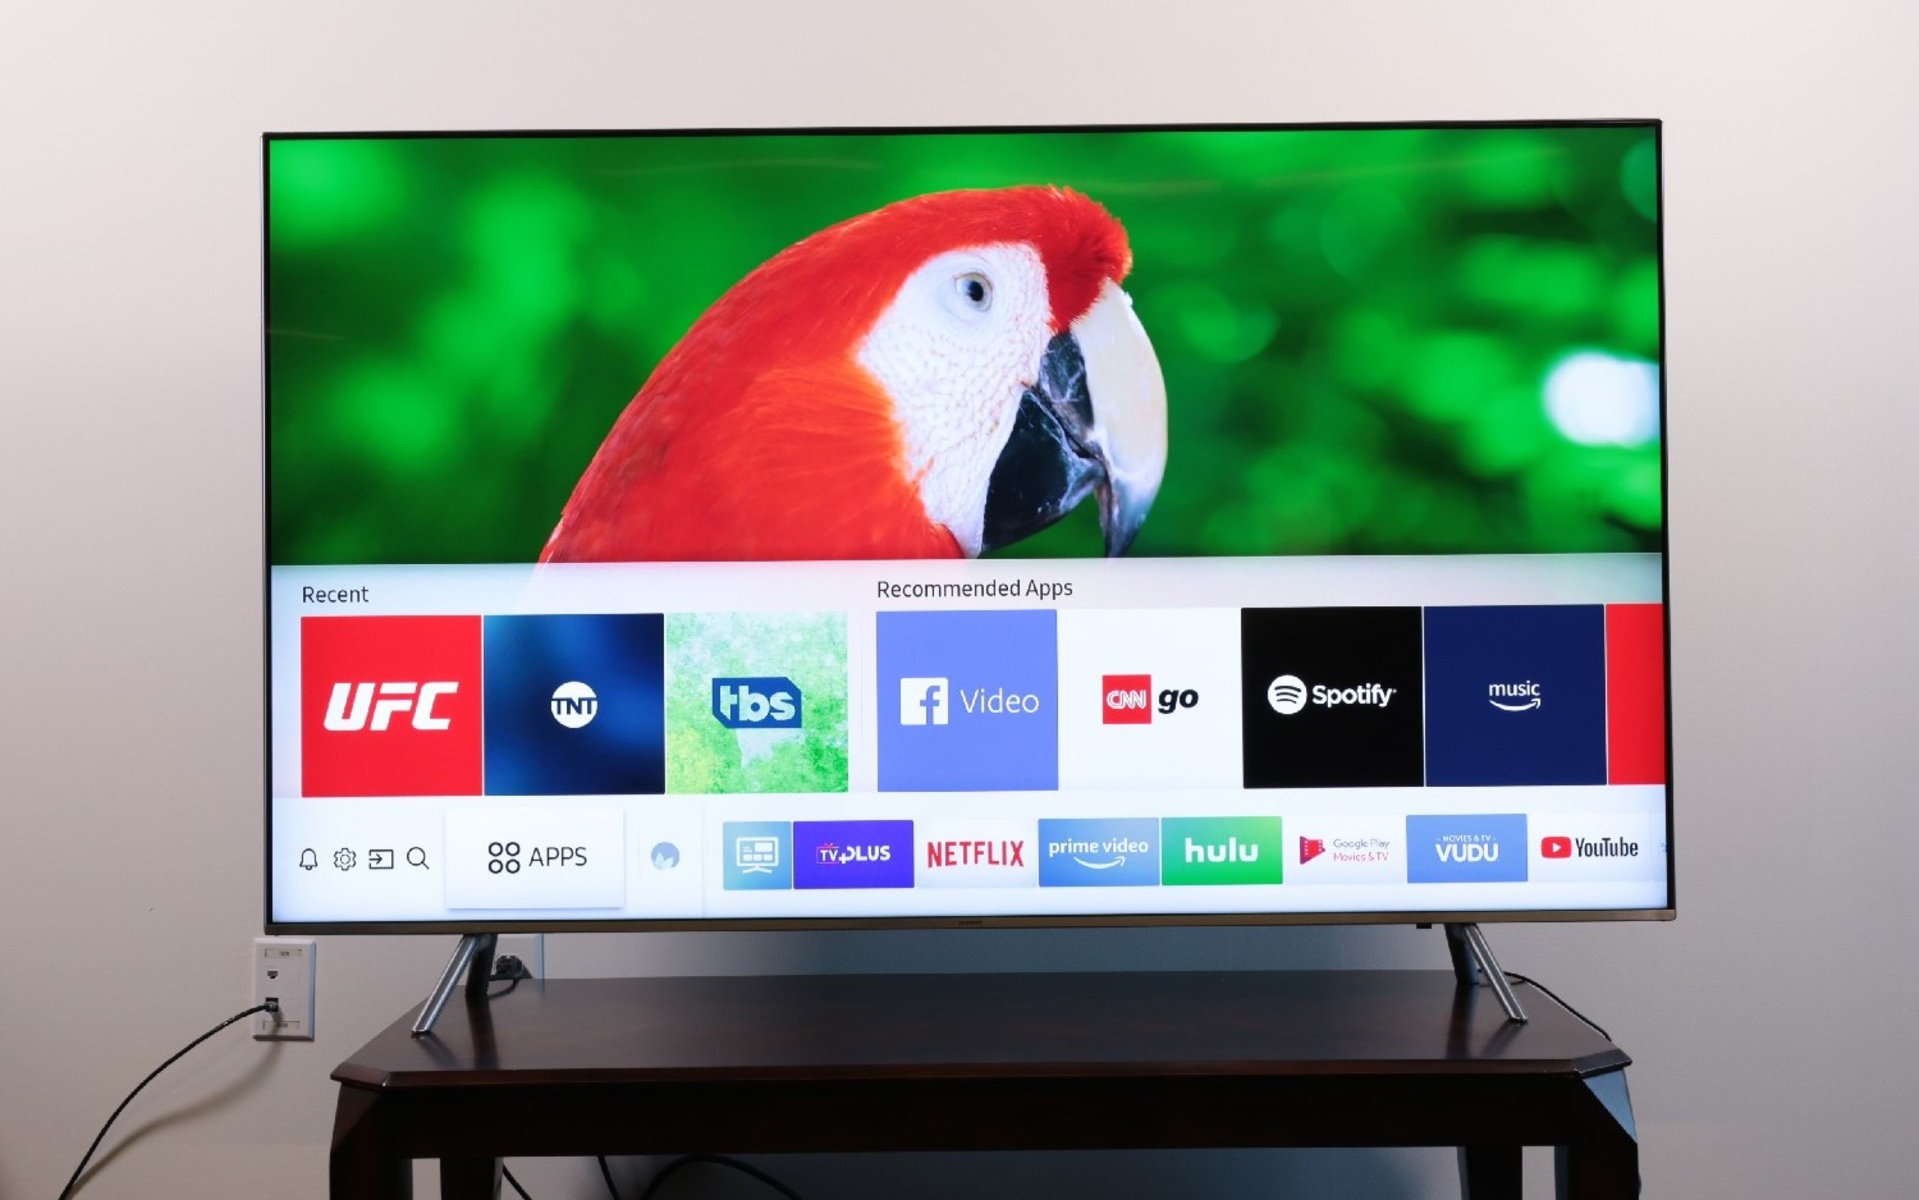
Welcome to our guide on how to set up HDMI on your Samsung TV. HDMI (High-Definition Multimedia Interface) is a popular connection method used to transmit high-quality audio and video signals from various devices to your television. Whether you want to connect a Blu-ray player, gaming console, or streaming device, setting up HDMI on your Samsung TV is a straightforward process that will greatly enhance your viewing experience.
Samsung TVs are known for their exceptional picture quality and advanced features, and connecting devices via HDMI allows you to take full advantage of these capabilities. With HDMI, you can enjoy crisp, high-definition visuals and immersive surround sound right from the comfort of your living room. In this guide, we will walk you through the step-by-step process of setting up HDMI on your Samsung TV, ensuring that you can seamlessly connect all your devices and enjoy a premium entertainment experience.
Before we dive into the setup process, it is important to note that not all Samsung TVs are equipped with the same HDMI capabilities. Older models may have fewer HDMI ports or limited support for advanced features like ARC (Audio Return Channel) or HDMI 2.1. Therefore, it’s essential to check your TV’s specifications and ensure it has the necessary HDMI ports and features to meet your specific requirements.
Now that we have covered the basics, let’s get started with the step-by-step process of setting up HDMI on your Samsung TV.
Step 1: Check the Samsung TV Compatibility
Before connecting any HDMI devices to your Samsung TV, it’s crucial to ensure that your TV is compatible with HDMI connections. Take a moment to verify the following:
- Available HDMI ports: Examine the back or side of your TV and locate the HDMI ports. Most Samsung TVs have multiple HDMI ports, usually labeled as HDMI 1, HDMI 2, and so on. Make sure you have at least one available HDMI port for connecting your device.
- HDMI version: Check the HDMI version supported by your TV. The latest HDMI versions offer improved features and capabilities, such as higher resolutions and enhanced audio formats. HDMI 2.1 is the most recent version, but your TV may support older versions like HDMI 2.0 or HDMI 1.4.
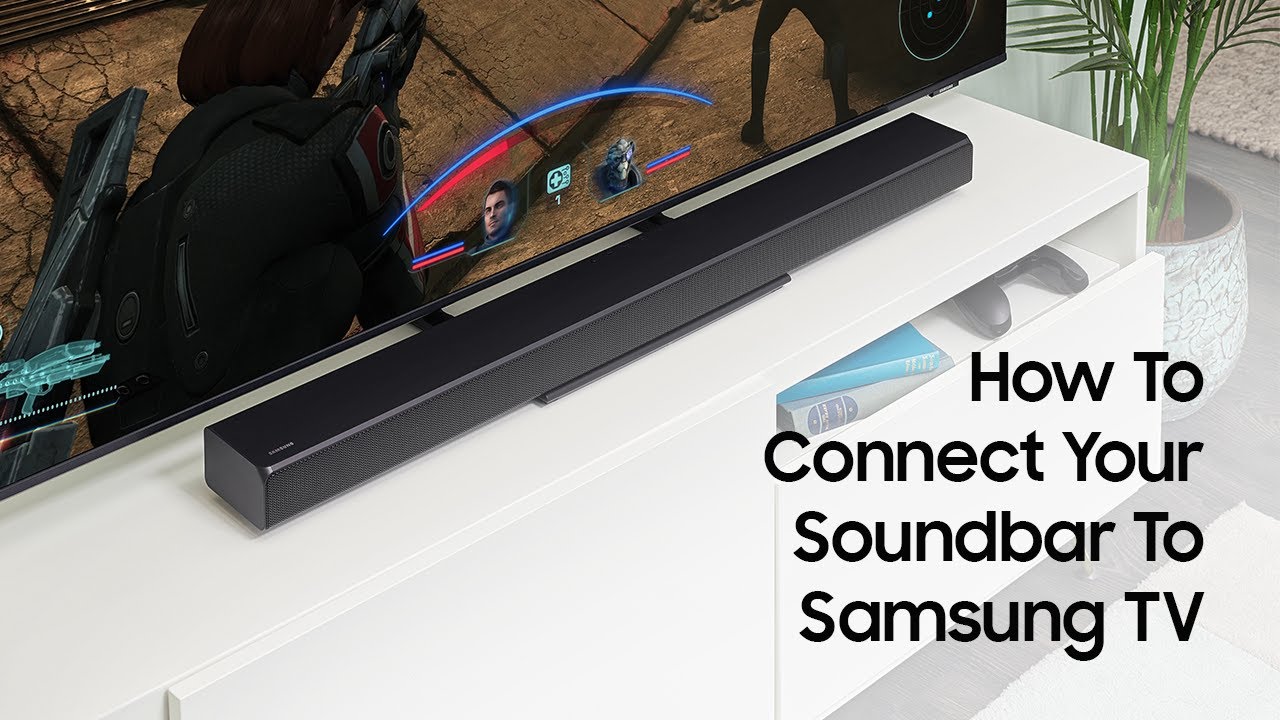
- ARC support: If you plan to connect an audio device, such as a soundbar or A/V receiver, to your TV using HDMI, ensure that your TV supports ARC (Audio Return Channel). ARC allows audio to be sent from the TV to the connected device, eliminating the need for additional audio cables.
If your Samsung TV meets these compatibility requirements, you are ready to proceed to the next step. However, if your TV lacks the necessary HDMI ports or features, you may need to consider alternative connection methods or explore external HDMI adapters to meet your connectivity needs.
It’s worth mentioning that while HDMI offers the best audio and video quality, it’s always a good idea to refer to your device’s user manual for specific instructions on HDMI compatibility and recommended settings.
Step 2: Connect the HDMI Cable
Now that you have confirmed the compatibility of your Samsung TV, it’s time to connect the HDMI cable. Follow these steps to ensure a secure and reliable connection:
- Identify the HDMI ports: Locate the HDMI ports on your Samsung TV. They are usually found on the back or side panel of the television. HDMI ports are labeled as HDMI 1, HDMI 2, and so on.
- Connect one end of the HDMI cable: Take one end of the HDMI cable and firmly insert it into the HDMI port on your Samsung TV. Make sure the connection is secure, and the cable is inserted completely.
- Connect the other end of the HDMI cable: Take the other end of the HDMI cable and insert it into the HDMI output port of the device you want to connect to your Samsung TV. This could be a Blu-ray player, gaming console, streaming device, or any other HDMI-enabled device.
- Tighten the connections: Once the HDMI cable is connected to both the TV and the device, gently tighten the cable connections to ensure they are snug. However, avoid applying excessive force or over-tightening, as it can damage the ports or the cable itself.
It’s worth noting that HDMI cables are designed to be plug-and-play, meaning you don’t need to worry about specific orientations or configurations. The HDMI cable will transmit both the audio and video signals, eliminating the need for separate cables for each.
If you need to connect multiple devices to your Samsung TV using HDMI, repeat the process for each device, ensuring that you connect each HDMI cable to an available HDMI port on the TV.
Now that you have successfully connected the HDMI cable, let’s move on to the next step of setting up HDMI on your Samsung TV.
Step 3: Select the HDMI Input on the TV
After connecting the HDMI cable to your Samsung TV and the external device, it’s time to select the appropriate HDMI input on your TV. This step ensures that the TV recognizes the connected device and displays the corresponding content. Follow these steps to select the HDMI input:
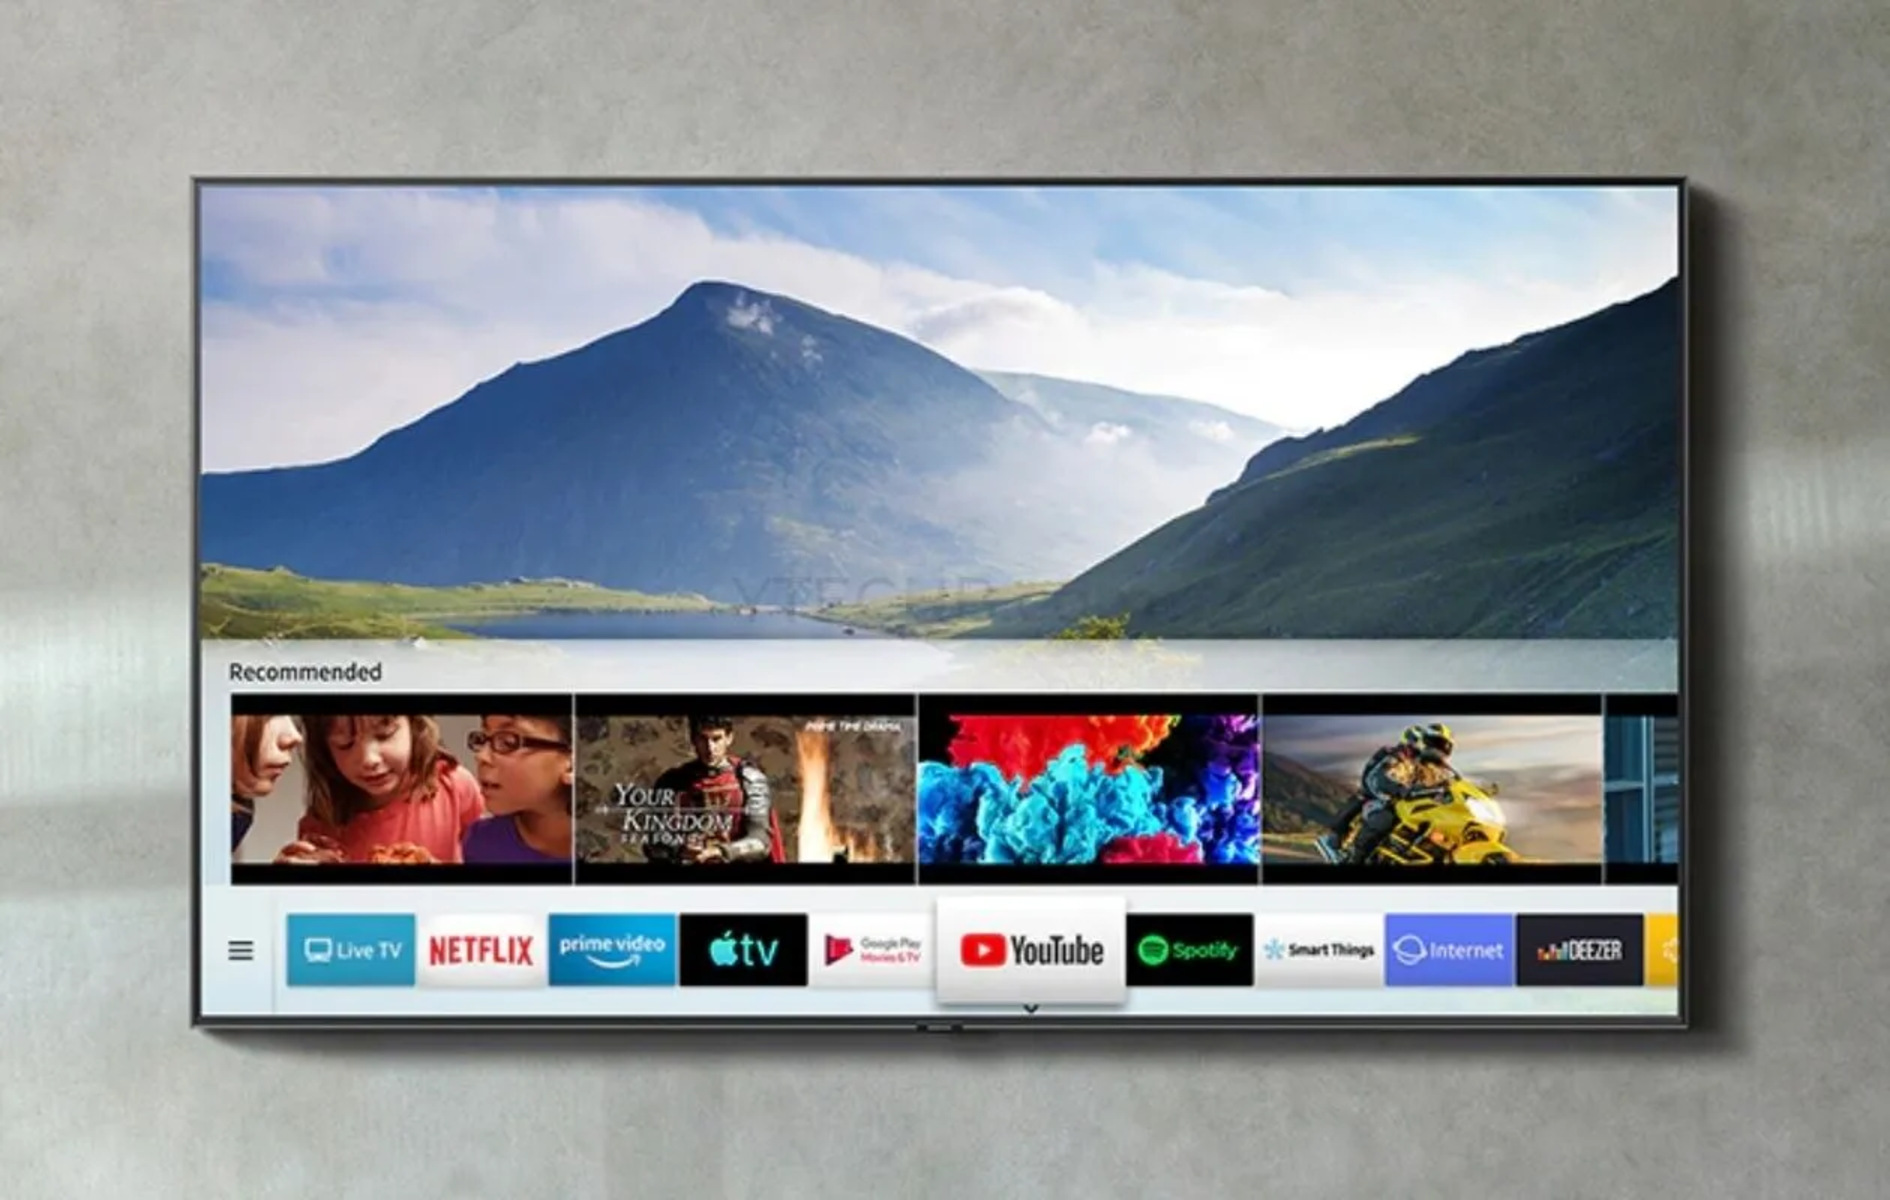
- Turn on your Samsung TV: Using the TV’s remote control, power on your Samsung TV. Wait for it to fully boot up and display the home screen or the last input used.
- Access the input/source menu: Look for a button on your Samsung TV remote control labeled “Input” or “Source”. Press this button to access the input/source menu.
- Navigate to the HDMI input: In the input/source menu, navigate through the options using the arrow buttons on the remote control until you find the HDMI input corresponding to the device you connected. The HDMI inputs are typically labeled as HDMI 1, HDMI 2, and so on. Select the appropriate HDMI input by pressing the enter or select button.
- Confirm the selection: Once you have selected the HDMI input, press the enter or select button again to confirm your choice. Your Samsung TV will now switch to the selected HDMI input and display the content from the connected device.
It’s important to note that some Samsung TVs may offer additional features like auto-detection of HDMI devices. If enabled, the TV will automatically switch to the active HDMI input when it detects a device being powered on. However, if auto-detection is not available or not preferred, manually selecting the HDMI input is the recommended method.
If you have multiple devices connected to different HDMI inputs, you can switch between them at any time by accessing the input/source menu and selecting the desired HDMI input.
Now that you have selected the HDMI input on your Samsung TV, let’s move on to the next step of configuring the HDMI settings.
Step 4: Configure the HDMI Settings
Once you have selected the HDMI input on your Samsung TV, you may need to configure the HDMI settings to optimize the viewing experience. Depending on your TV model and the connected device, you may have various settings options available. Follow these general steps to configure the HDMI settings:
- Access the settings menu: On your Samsung TV remote control, look for a button labeled “Menu” or “Settings”. Press this button to access the TV’s settings menu.
- Navigate to the HDMI settings: In the settings menu, navigate through the options using the arrow buttons on the remote control until you find the HDMI settings or input settings. Select this option to access the HDMI settings.
- Adjust picture and audio settings: Within the HDMI settings menu, you may have options to adjust picture and audio settings specific to the HDMI input you have selected. These settings may include adjusting the aspect ratio, picture mode, color settings, audio output, and more. Customize these settings according to your preferences or the recommendations provided by the connected device’s manufacturer.
- Enable advanced features: If your Samsung TV and the connected device support advanced HDMI features like ARC (Audio Return Channel), HDMI-CEC (Consumer Electronics Control), or HDR (High Dynamic Range), check the HDMI settings for these options. Enable or disable them based on your requirements. Refer to the TV and device manuals for more information on these features and their benefits.
- Save and exit: Once you have adjusted the desired HDMI settings, navigate to the option to save or apply the changes. Press the enter or select button to save the settings and exit the HDMI settings menu.
It’s important to note that the available HDMI settings and their names may vary depending on your Samsung TV model and firmware version. Therefore, it’s recommended to consult your TV’s user manual or the manufacturer’s website for detailed instructions on accessing and configuring the HDMI settings specific to your television.
Now that you have configured the HDMI settings on your Samsung TV, it’s time to move on to the final step of testing the HDMI connection.
Step 5: Test the HDMI Connection
After setting up and configuring the HDMI connection on your Samsung TV, it’s important to test the connection to ensure everything is working correctly. Follow these steps to test the HDMI connection:
- Power on the connected device: Turn on the device that you have connected to your Samsung TV using the HDMI cable. It could be a Blu-ray player, gaming console, or streaming device.
- Select the appropriate input on the device: Using the device’s remote control or interface, select the HDMI output that corresponds to your Samsung TV. The device should now be outputting its content through the HDMI connection.
- Check the TV display: Look at your Samsung TV screen and ensure that the content from the connected device is being displayed properly. If everything is working correctly, you should see a clear picture with synchronized audio.
- Test audio playback: If you have connected an audio device, such as a soundbar or A/V receiver, via HDMI, play some audio content on the connected device and check if the sound is being output through the audio device. Adjust the volume on both the device and the TV as needed.
- Switch devices (optional): If you have multiple HDMI devices connected to your Samsung TV, repeat the previous steps to test the HDMI connection for each device. Make sure to select the appropriate HDMI input on the TV and verify that the content is being displayed correctly.
If you encounter any issues during the testing phase, ensure that all the connections are securely plugged in, the HDMI cables are undamaged, and both the TV and device are powered on. You may also need to revisit the HDMI settings and verify the settings for each input. Refer to the user manuals for your Samsung TV and the connected device for troubleshooting tips specific to your situation.
Once you have successfully tested the HDMI connection and confirmed that everything is working as expected, you can start enjoying your favorite movies, games, and other media on your Samsung TV with superior audio and video quality.
Troubleshooting Common HDMI Issues
While HDMI connections are generally reliable, you may encounter some common issues along the way. Here are a few troubleshooting tips to resolve common HDMI problems:
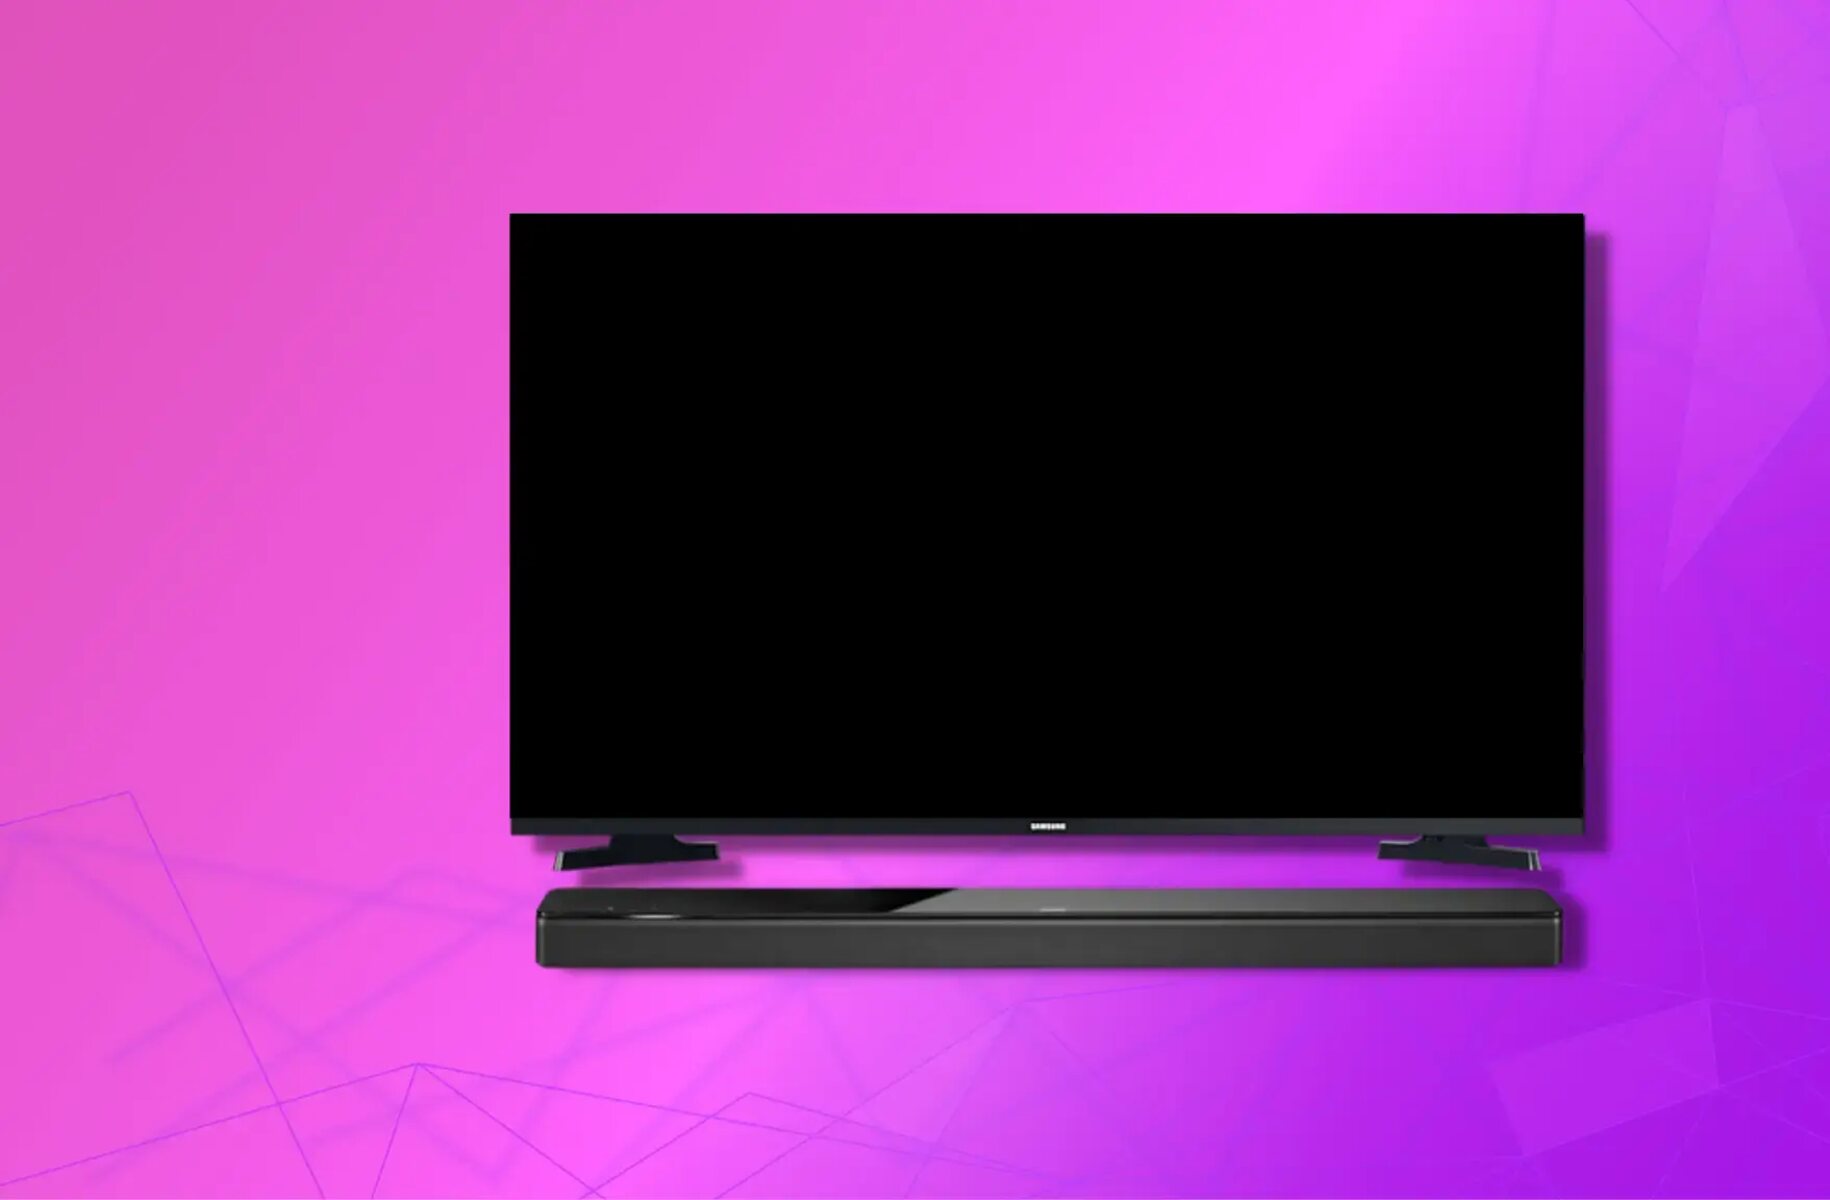
- No signal: If your Samsung TV displays a “No signal” message or a blank screen when you select the HDMI input, first ensure that both the TV and the connected device are powered on. Check the HDMI cables for any damage or loose connections. Try unplugging and replugging the HDMI cable at both ends to establish a secure connection.
- Poor picture or audio quality: If the picture or audio quality is not up to par, it could be due to a faulty HDMI cable. Try using a different HDMI cable to see if it improves the quality. Additionally, check the HDMI settings on both the TV and the connected device to ensure they are set correctly for optimal performance. It’s also worth checking if there are any firmware updates available for your TV or device that could address any compatibility issues.
- Audio not working: If you are not getting any sound through the HDMI connection, check the audio settings on your Samsung TV. Ensure that the TV’s audio output is set to the HDMI input you are using. If you have an audio device connected to the TV via HDMI, make sure its input is set to receive audio from the HDMI connection.
- HDMI-CEC not working: HDMI-CEC (Consumer Electronics Control) allows you to control multiple HDMI devices with a single remote. If HDMI-CEC is not functioning as expected, check the settings on both the TV and the connected devices to ensure HDMI-CEC is enabled. If it’s already enabled and not working, try power cycling all the connected devices by unplugging them from power for a few minutes and then turning them back on.
- Incompatibility with older devices: Newer Samsung TVs may not be fully compatible with older HDMI devices. If you are using an older device, ensure that it supports the HDMI version of your TV. In some cases, you may need to use an HDMI converter or adapter to connect older devices to your Samsung TV.
If you continue to experience HDMI issues even after trying the suggested troubleshooting steps, it’s advisable to contact Samsung support or consult a professional technician for further assistance. They will be able to provide more specific guidance based on your TV model and the nature of the issue.
Remember, patience and persistence are often key to resolving HDMI issues. By following these troubleshooting tips, you can help ensure a smooth and reliable HDMI connection on your Samsung TV.
Conclusion
Setting up HDMI on your Samsung TV can greatly enhance your entertainment experience by delivering high-quality audio and video from your connected devices. By following the step-by-step guide provided in this article, you should now have a solid understanding of how to successfully set up HDMI on your Samsung TV.
Remember to check the compatibility of your Samsung TV, ensuring it has the necessary HDMI ports and supports the features you require. Connecting the HDMI cable securely and selecting the appropriate HDMI input on the TV are crucial steps for establishing a proper connection.
Configuring the HDMI settings can further optimize your viewing experience, allowing you to customize picture and audio settings and enable advanced features like ARC or HDMI-CEC if available. Finally, testing the HDMI connection ensures that everything is functioning correctly and allows you to address any issues that may arise.
If you encounter common HDMI problems, troubleshooting techniques such as checking connections, trying different HDMI cables, adjusting audio settings, and verifying HDMI-CEC functionality can help resolve the issues.
Remember, the specifics of HDMI setup and troubleshooting may vary based on your Samsung TV model, firmware version, and the devices you are connecting. Hence, consult the user manuals for your specific devices or seek assistance from Samsung support or a professional technician if needed.
Now that you have successfully set up HDMI on your Samsung TV, sit back, relax, and enjoy your favorite movies, TV shows, games, and more with the stunning audio and visual quality that HDMI provides.